Home>Types of Gardening>Ornamental Gardening>How To Grow Paper White Bulbs

Ornamental Gardening
How To Grow Paper White Bulbs
Published: January 20, 2024
Learn how to grow paper white bulbs in your garden with this comprehensive guide on ornamental gardening.
(Many of the links in this article redirect to a specific reviewed product. Your purchase of these products through affiliate links helps to generate commission for Chicagolandgardening.com, at no extra cost. Learn more)
Table of Contents
Introduction
Welcome to the world of ornamental gardening! If you’re passionate about adding beauty and elegance to your outdoor spaces, then growing paper white bulbs is an excellent choice. These delicate and fragrant flowers can effortlessly transform any garden or indoor space into a vibrant and enchanting oasis.
Originating from the Narcissus family, paper white bulbs are renowned for their snowy-white petals and intoxicating scent. They offer a delightful burst of freshness and bring life to dreary winter months when other plants are not in bloom. Whether you’re a seasoned gardening enthusiast or a beginner, cultivating paper whites is a rewarding and relatively simple endeavor.
In this article, you’ll discover everything you need to know about how to grow paper white bulbs successfully. From choosing the right bulbs to caring for them and troubleshooting common issues, we’ve got you covered.
So, let’s dig in (pun intended!) and unlock the secrets of growing these exquisite flowers!
Choosing and Preparing Paper White Bulbs
When it comes to choosing paper white bulbs, it’s important to select high-quality bulbs that are firm and free from any visible damage or disease. Look for bulbs that are plump and have a smooth, healthy appearance. Avoid bulbs that are soft or have moldy spots, as these may not produce healthy plants.
You can find paper white bulbs at your local garden center or order them online from reputable suppliers. Popular varieties include ‘Ziva’ and ‘Inbal,’ both of which are known for their strong fragrance and beautiful white flowers.
Before planting your paper white bulbs, it’s crucial to prepare them properly. Start by inspecting the bulbs for any loose or dead roots. Gently remove them without disturbing the healthy roots. Then, soak the bulbs in lukewarm water for a few hours. This rehydrates the bulbs and kickstarts their growth process.
If you’d like to enhance the growth and blooming of your paper white bulbs, you can also try a technique called ‘pre-chilling.’ Simply place the soaked bulbs in a paper bag and store them in a cool (but not freezing) place, like a refrigerator, for about four to six weeks. This mimics the bulbs’ natural winter dormancy period and helps stimulate their flowering.
Before planting, make sure to choose the right container or pot for your paper white bulbs. Opt for a container with drainage holes to prevent waterlogging and root rot. You can use decorative pots, shallow bowls, or even vases, as long as they provide adequate drainage.
Now that your bulbs are well-prepared, it’s time to move on to the exciting part – planting them! Read on to the next section to learn how to plant paper white bulbs for optimal growth and bloom.
Planting Paper White Bulbs
Planting paper white bulbs is a straightforward process that requires minimal effort. Whether you choose to grow them indoors or outdoors, here are the steps to ensure successful planting:
- Choose a well-draining potting mix: Use a high-quality potting mix that allows for proper drainage. You can also mix in some perlite or sand to improve the drainage even further.
- Select a suitable container: As mentioned earlier, select a container with drainage holes. The size of the container will depend on the number of bulbs you want to plant. Make sure it provides enough space for the roots to grow.
- Planting depth: Dig a hole in the potting mix that is about 2-3 times the height of the bulb. Place the bulb in the hole with the pointed end facing upwards.
- Spacing: If you’re planting multiple bulbs, space them a few inches apart to give them room to grow and prevent competition for nutrients.
- Cover and water: Once the bulbs are in place, cover them with the potting mix, leaving the tip of the bulb exposed. Gently press down on the soil to secure the bulbs. Water thoroughly to settle the soil.
- Location and sunlight: If planting outdoors, choose a sunny spot with well-draining soil. If planting indoors, place the container in a location that receives bright, indirect light. Avoid placing the container in direct sunlight, as this may cause the flowers to wilt.
- Temperature and humidity: Paper white bulbs thrive in cool temperatures (around 55-65°F or 13-18°C). Maintain a moderate level of humidity by misting the leaves occasionally.
Now that you’ve planted your paper white bulbs, they will need proper care and attention to ensure healthy growth and abundant blooms. The next section will guide you through the essential steps for caring for your paper whites.
Caring for Paper White Bulbs
To ensure that your paper white bulbs thrive and produce stunning blooms, there are a few key care practices that you should follow:
- Watering: Keep the soil evenly moist but not overly saturated. Water the bulbs whenever the top inch of soil feels dry. Avoid overwatering, as this can lead to root rot. If you notice water accumulating in the saucer beneath the container, remove the excess to prevent waterlogged soil.
- Fertilizing: Paper white bulbs do not require regular fertilization. The nutrients stored in the bulb are usually sufficient for their growth and bloom. However, if you are growing paper whites in containers, you can apply a diluted, balanced liquid fertilizer once every two to three weeks during the growth phase.
- Supporting: As the paper white flowers grow taller, they may become top-heavy and start to lean or flop over. To prevent this, you can use stakes or small supports to provide extra support to the stems. Gently tie the stems to the support using soft twine or plant ties.
- Deadheading: As the flowers fade and wilt, it is important to remove them. This process, known as deadheading, prevents energy from being wasted on seed production and encourages the plant to focus on producing more flowers.
- Providing airflow: Good air circulation is crucial for preventing fungal diseases. If you notice signs of mold or mildew, such as fuzzy growth on leaves or a sour smell, ensure that the area has adequate ventilation. You can also gently move the plants or place a fan nearby to improve air circulation.
- Protecting from extreme temperatures: Paper white bulbs are sensitive to extreme temperatures. If exposed to freezing temperatures, they may suffer damage. In cold climates, it’s best to grow them indoors or provide protection with a frost cloth or row cover if planting outdoors.
By following these care guidelines, you’ll be well on your way to enjoying a bountiful display of fragrant paper white blooms. However, it’s important to be aware of common issues that may arise during the growing process. The next section will help you troubleshoot these issues and keep your paper whites healthy.
Troubleshooting common issues
While growing paper white bulbs is generally a straightforward process, you may encounter some common issues along the way. Here are a few problems you may face and how to troubleshoot them:
- Weak or floppy stems: If you notice that your paper white stems are weak or floppy, it could be due to insufficient light. Move the plants to a brighter location, ensuring they receive at least six hours of indirect sunlight each day. Providing extra support with stakes or supports can also help.
- Yellowing leaves: Yellowing leaves can be a sign of overwatering or underwatering. Check the soil moisture level to ensure it’s neither too dry nor waterlogged. Adjust your watering routine accordingly, allowing the top inch of soil to dry out before watering again.
- Stunted growth or no blooms: If your paper white bulbs are not blooming or showing stunted growth, it could be due to insufficient cold treatment. While not all varieties require pre-chilling, some may benefit from a period of cold dormancy. Try pre-chilling the bulbs for four to six weeks before planting to stimulate flowering.
- Fungal diseases: Fungal diseases, such as gray mold or powdery mildew, can sometimes occur. To prevent these diseases, ensure good air circulation, avoid overwatering, and remove any affected leaves or flowers promptly. Applying a fungicidal spray according to the manufacturer’s instructions can also help combat fungal infections.
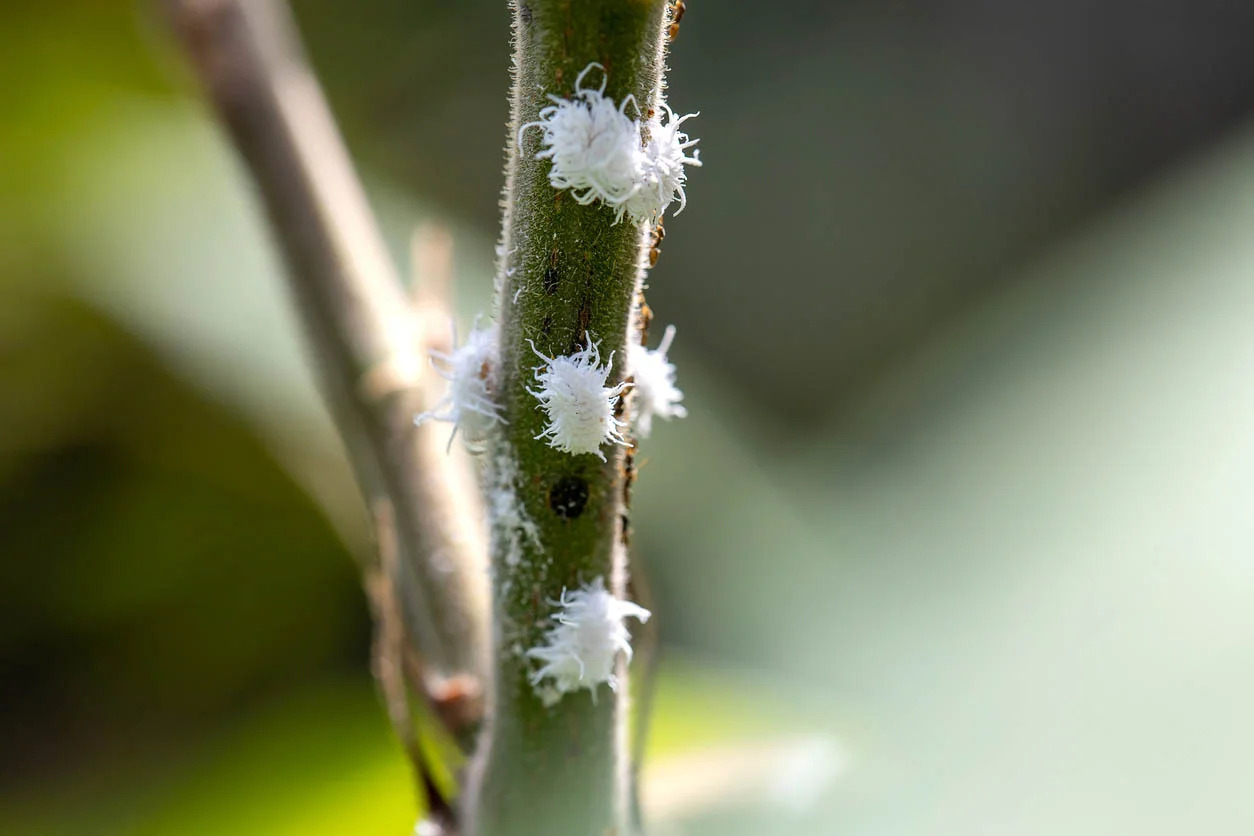
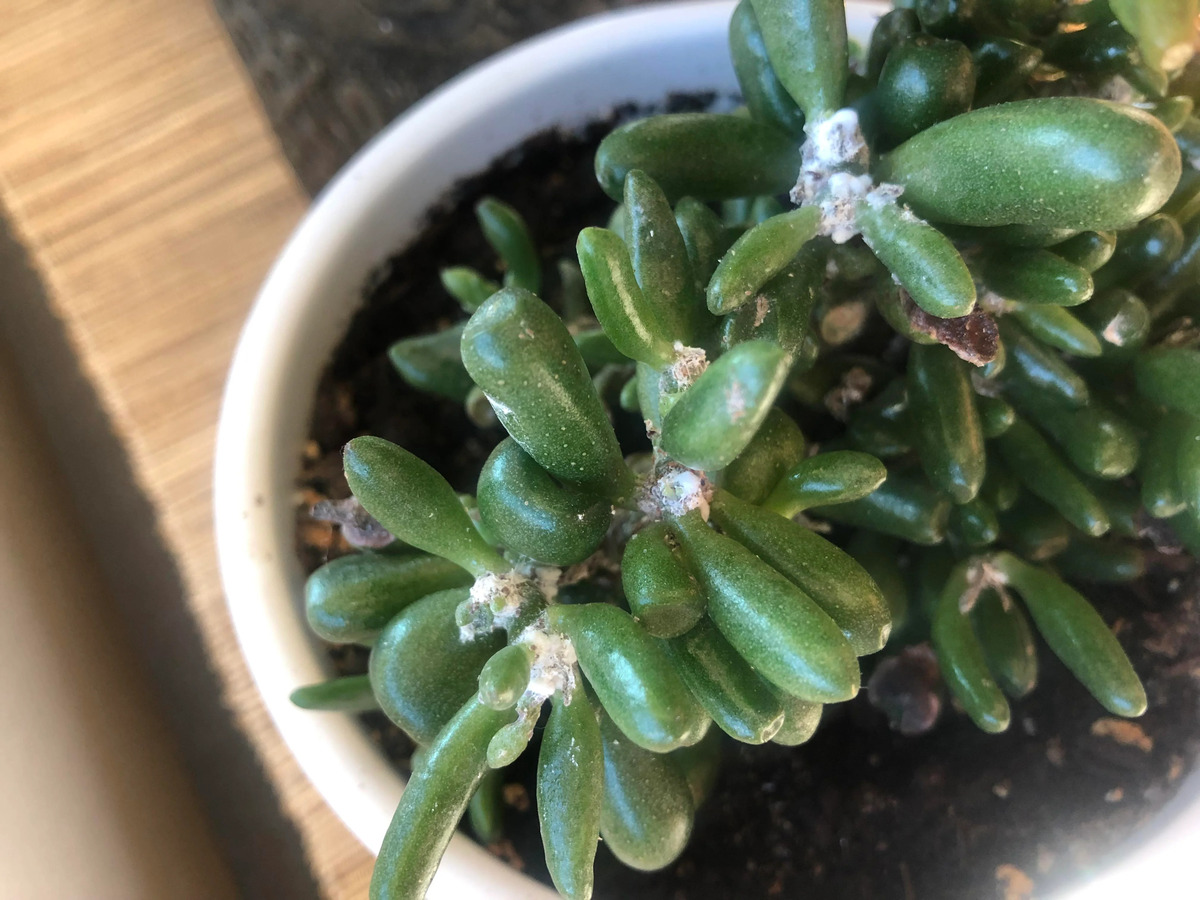
- Pest infestations: Paper white bulbs are generally not susceptible to serious pest infestations. However, aphids and spider mites can occasionally pose a threat. If you notice pests on your plants, you can remove them manually or use an insecticidal soap spray to control the infestation.
Remember to regularly inspect your paper white bulbs for any signs of problems and take immediate action to address them. With proper care and attention, you can overcome these common issues and enjoy beautiful, thriving paper white plants.
Now that you are aware of how to troubleshoot common issues, let’s move on to the next section to learn about harvesting your paper white bulbs.
Harvesting Paper White Bulbs
Once your paper white flowers have bloomed and brought joy to your garden or indoor space, you may wonder about harvesting the bulbs to save for future planting or to use as cut flowers. Here are some tips for properly harvesting your paper white bulbs:
- Timing: Harvesting paper white bulbs is best done after the flowers have faded and the green foliage has started to yellow and wither. This usually occurs around four to six weeks after planting.
- Preparing the bulbs: Carefully dig up the bulbs, being mindful not to damage them. Gently remove any soil or debris from the bulbs, but avoid washing them with water as this can encourage rot. Trim off any remaining foliage, leaving about an inch above the bulb.
- Drying: Place the harvested bulbs in a cool, dry, and well-ventilated area to allow them to dry. Avoid exposing them to direct sunlight, extreme heat, or humidity. Allow the bulbs to dry for a few days to a week until the outer layers become papery and the bulbs feel firm to the touch.
- Storage: Once the bulbs are dry, store them in a cool, dark, and dry place until you are ready to plant them again. You can place them in a paper bag, a mesh bag, or store them in a cool room with good air circulation. Avoid storing them near fruits or vegetables, as their release of ethylene gas can negatively impact the bulbs.
- Replanting: When you’re ready to replant the bulbs, simply follow the planting instructions mentioned earlier in this article. Remember to provide them with proper care and conditions to encourage healthy growth and flowering.
Harvesting your paper white bulbs allows you to preserve the bulbs for future use and create a continuous cycle of growth and beauty in your garden or indoor space.
Now that you know how to harvest and store paper white bulbs, let’s move on to the final section to conclude our journey into the world of ornamental gardening.
Storing Paper White Bulbs
If you want to store your paper white bulbs for the future or save them from one season to the next, proper storage is key. Here’s how to store your bulbs to ensure their viability and health:
- Drying the bulbs: After harvesting the bulbs, gently brush off any excess soil or debris. Allow the bulbs to dry for a few days in a well-ventilated, shaded area. This drying period helps the bulbs develop a protective layer and reduces the risk of rot during storage.
- Preparing for storage: Once the bulbs are dry, remove any remaining foliage or roots. It’s important to detach all parts that are not connected to the bulb itself. These leftover parts can rot and cause damage to the bulbs during storage.
- Choosing the right storage container: Select a storage container that is well-ventilated and can provide protection from moisture and pests. Some suitable options include mesh bags, cardboard boxes, or paper bags that allow for air circulation. Avoid using plastic bags or containers, as they can trap moisture and lead to mold or rot.
- Preparing the storage medium: To ensure the bulbs remain dry, place a layer of dry sand, vermiculite, or peat moss at the bottom of the container. Gently place the bulbs on top of the medium, making sure they are not touching one another.
- Managing temperature and humidity: Store the bulbs in a cool location with a consistent temperature between 40-50°F (4-10°C). Avoid areas with high humidity, as excess moisture can lead to mold or rot. A basement, garage, or cellar can be suitable storage locations.
- Periodic check-ups: Regularly inspect the stored bulbs to ensure they remain firm and free from signs of decay or damage. If you notice any soft spots, mold growth, or strange odors, remove and discard those affected bulbs immediately to prevent the spread of disease.
With proper storage, paper white bulbs can be successfully stored for several months until you are ready to plant them again. Follow these guidelines to maintain the health and vitality of your bulbs, ensuring a successful and beautiful display in the future.
As we conclude our journey into the world of growing paper white bulbs, we hope this article has provided you with valuable insights and guidance. By following the steps for choosing, preparing, planting, caring for, troubleshooting, harvesting, and storing paper white bulbs, you can enjoy their delightful blooms and fragrance year after year.
Conclusion
Growing paper white bulbs can be a rewarding and enjoyable experience for any ornamental gardening enthusiast. These delicate and fragrant flowers have the power to transform any space into a vibrant and enchanting oasis.
From choosing high-quality bulbs and preparing them for planting to providing proper care, troubleshooting common issues, and harvesting and storing bulbs for future seasons, this comprehensive guide has provided you with the knowledge and techniques needed to successfully grow paper white bulbs.
Remember to select firm and healthy bulbs, properly prepare them before planting, and provide them with adequate water, light, and nutrients. Regular inspections, timely troubleshooting, and appropriate storage practices will ensure the longevity and vitality of your bulbs.
By cultivating paper white bulbs, you can bring a touch of elegance and fragrance to your garden, patio, or even indoor spaces. These beautiful blooms will brighten up even the coldest winter days. So, grab your gardening tools, get your hands dirty, and create a stunning display of paper white flowers that will captivate all who see them.
Happy gardening!