Home>Gardening Techniques>DIY Projects>How To Plant Seedlings In Egg Cartons

DIY Projects
How To Plant Seedlings In Egg Cartons
Modified: February 9, 2024
Learn how to create unique DIY projects by planting seedlings in egg cartons. Transform your garden with this fun and eco-friendly technique.
(Many of the links in this article redirect to a specific reviewed product. Your purchase of these products through affiliate links helps to generate commission for Chicagolandgardening.com, at no extra cost. Learn more)
Table of Contents
Introduction
Welcome to the world of DIY projects! If you’re an avid gardener or someone who enjoys getting your hands dirty, you’re in for a treat. In this article, we’ll be diving into the fascinating world of planting seedlings in egg cartons.
Why egg cartons, you may ask? Well, not only are they readily available and cost-effective, but they’re also an eco-friendly option that repurposes waste materials. By using egg cartons as planters, you’re giving a second life to these seemingly insignificant objects.
Planting seedlings in egg cartons is a fantastic way to start your gardening journey. Whether you have limited space or are looking for an innovative and sustainable planting method, this DIY project is perfect for beginners and experienced gardeners alike.
Throughout this article, we’ll guide you step by step on how to choose the right egg cartons, prepare them for planting, select the appropriate seeds, and nurture your seedlings until they’re ready for transplanting. By the end, you’ll be equipped with the knowledge and skills to successfully grow your own plants from seed.
So, put on your gardening gloves and let’s get started on this exciting DIY project of planting seedlings in egg cartons!
Choosing the Right Egg Cartons
When it comes to choosing egg cartons for planting seedlings, there are a few factors to consider. Firstly, opt for cardboard egg cartons as they are biodegradable and will break down naturally once planted in the soil. Styrofoam or plastic cartons should be avoided as they do not decompose and can harm the environment.
Next, take a look at the size and shape of the egg cartons. The individual egg compartments should be deep enough to accommodate the roots of the seedlings as they grow. The standard-sized cartons are usually suitable for most plants, but if you’re planning to grow larger plants or vegetables, consider using jumbo-size or reusable egg cartons.
Additionally, evaluate the condition of the egg cartons. Ensure that they are clean and free from any leftover egg residue. It’s also important to check for any cracks or damage that may affect the structural integrity of the cartons.
If you don’t have access to used egg cartons, you can purchase blank cartons from gardening stores or online retailers. Alternatively, you can ask your local farmers or grocery stores if they have any empty cartons they are willing to give away.
By choosing the right egg cartons, you’re setting yourself up for a successful seedling planting project. Not only will you be repurposing waste materials, but you’ll also be creating an ideal environment for your seedlings to thrive. So, gather your cartons and let’s move on to the next step of preparing them for planting.
Preparing the Egg Cartons
Before you can start planting your seedlings, it’s essential to properly prepare the egg cartons. This step will help create a suitable environment for your seedlings to germinate and grow.
The first thing you’ll want to do is to poke a few drainage holes in the bottom of each egg compartment. Use a small nail or a sharp object to create holes that are approximately ¼ inch in diameter. These holes will allow excess water to drain out, preventing waterlogged soil and potential root rot.
Next, place the egg cartons on a tray or a shallow container to catch any excess water that drains out. This will help keep your gardening area clean and prevent water from pooling around your seedlings.
Now it’s time to fill the egg cartons with a good quality seed starting mix. This type of soil is specifically formulated to provide the necessary nutrients and proper drainage for young seedlings. Gently fill each egg compartment with the soil, making sure not to pack it down too tightly.
After filling the egg cartons, give the soil a light misting of water. This will help moisten the soil without drenching it. Avoid overwatering, as excessive moisture can lead to mold or fungal growth.
Finally, cover the filled egg cartons with a plastic dome or plastic wrap to create a mini greenhouse effect. This will trap moisture and heat, creating a favorable environment for germination. Place the cartons in a warm location, away from direct sunlight, until the seeds start to sprout.
By properly preparing the egg cartons, you’re setting the stage for successful seed germination and healthy seedling growth. Now that the cartons are ready, it’s time to select the right seeds for your project. Let’s move on to the next step of this DIY journey!
Selecting the Right Seeds
Choosing the right seeds is a crucial step in determining the success of your seedling planting project. There are various factors to consider when selecting seeds, such as the type of plant, growing conditions, and your personal preferences.
Start by determining the type of plants you want to grow. Are you interested in growing flowers, herbs, vegetables, or a mix of different plants? Consider your local climate and the amount of sunlight your garden receives to ensure that the seeds you choose are appropriate for your region.
When purchasing seeds, look for certified organic seeds, especially if you prefer to grow your plants organically. These seeds are grown without the use of synthetic chemicals, pesticides, or genetically modified organisms, ensuring a more natural and sustainable gardening experience.
It’s also important to consider the growth habits of the plants. Some plants, like tomatoes or cucumbers, require stakes or trellises for support, while others, like lettuce or radishes, can be grown directly in the ground or in containers. Take into account the space and resources you have available for your plants.
Another consideration is the time it takes for the seeds to germinate and reach maturity. Some seeds, like beans or sunflowers, germinate quickly and grow rapidly, while others, like carrots or peppers, may have a longer growing season. Make sure to choose seeds that align with your desired timeline and patience level for gardening.
Lastly, don’t be afraid to experiment and try new plants or varieties. Gardening is all about learning and exploring, so have fun and be adventurous in your seed selection. Consider heirloom or unusual varieties to add diversity to your garden.
By carefully selecting the right seeds, you’ll set yourself up for a successful and enjoyable gardening experience. Now that you have your seeds ready, let’s move on to the next step of filling the egg cartons with soil.
Filling the Egg Cartons with Soil
Now that your egg cartons are prepared and you have selected the right seeds, it’s time to fill the egg compartments with soil. Properly filling the cartons with soil will provide a suitable medium for your seeds to germinate and grow into healthy seedlings.
Start by gathering your seed starting mix or a well-draining potting soil. These types of soil are light, sterile, and provide the right balance of nutrients for young seedlings. Avoid using regular garden soil, as it may contain pests, weed seeds, or be too heavy for the delicate roots of the seedlings.
Hold the egg carton firmly, and carefully fill each egg compartment with the soil. Gently press the soil down to ensure there are no air pockets. The goal is to have the soil level slightly below the rim of the egg compartments.
Avoid overfilling the compartments, as this can lead to soil spilling over when watered or can hinder proper germination. However, don’t underfill them either, as the seedlings may not have enough soil to establish and grow strong roots.
Once all the compartments are filled, give the soil a light misting of water. This will provide initial moisture and help settle the soil. Be mindful not to oversaturate the soil, as excessive moisture can lead to damping-off or other fungal diseases.
At this stage, it’s crucial to label each compartment with the name of the seed or plant variety. This will help you keep track of what you’ve planted and make it easier to identify the seedlings as they sprout and grow.
Now that your egg cartons are filled with soil and labeled, it’s time to proceed to the exciting step of planting the seedlings. In the next section, we’ll guide you through the process of planting the seeds in the prepared egg cartons.
Planting the Seedlings
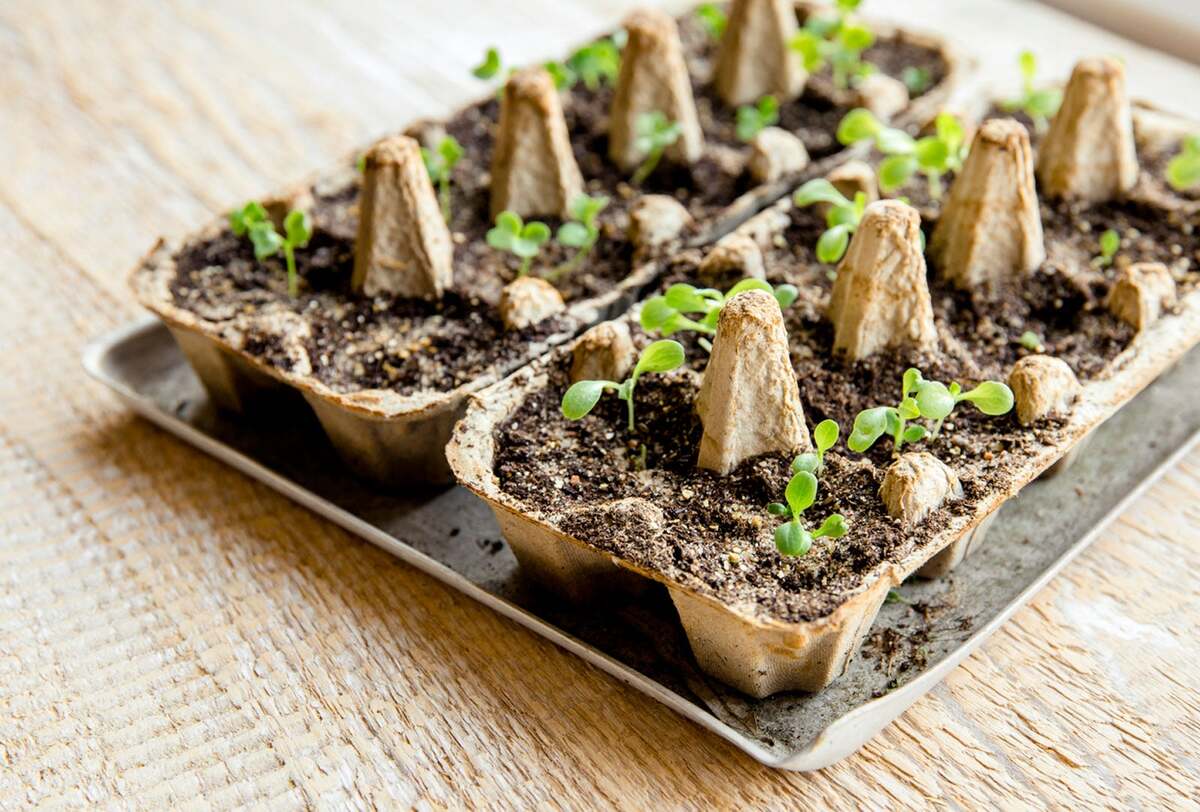
With your prepared egg cartons and filled compartments, it’s time to move on to the exciting step of planting the seedlings. This is where you’ll carefully sow the seeds and create the foundation for your future garden.
Start by following the instructions on the seed packet for optimal planting depth. Generally, the rule of thumb is to plant the seeds at a depth that is two to three times their diameter. Use your finger or a small tool to create a small indentation in the soil of each compartment.
Gently drop one or two seeds into each indentation. If you’re planting smaller seeds, such as lettuce or basil, it’s okay to sprinkle them lightly over the soil and cover them with a thin layer of soil. Be mindful not to overcrowd the compartments, as this can lead to competition for nutrients and space among the seedlings.
After placing the seeds, cover them with a thin layer of soil. This layer should be just enough to lightly cover the seeds and create good seed-to-soil contact. It will help retain moisture and provide support to the emerging seedlings.
Once all the seeds are planted and covered, lightly mist the soil with water to ensure it remains evenly moist. However, be cautious not to overly saturate the soil, as this may cause the seeds to rot or develop mold.
After planting, it’s important to provide the seedlings with the right conditions for germination. Place the egg cartons in a warm and well-lit area, but away from direct sunlight. A sunny windowsill or a grow light can provide the ideal amount of light for the seedlings to thrive.
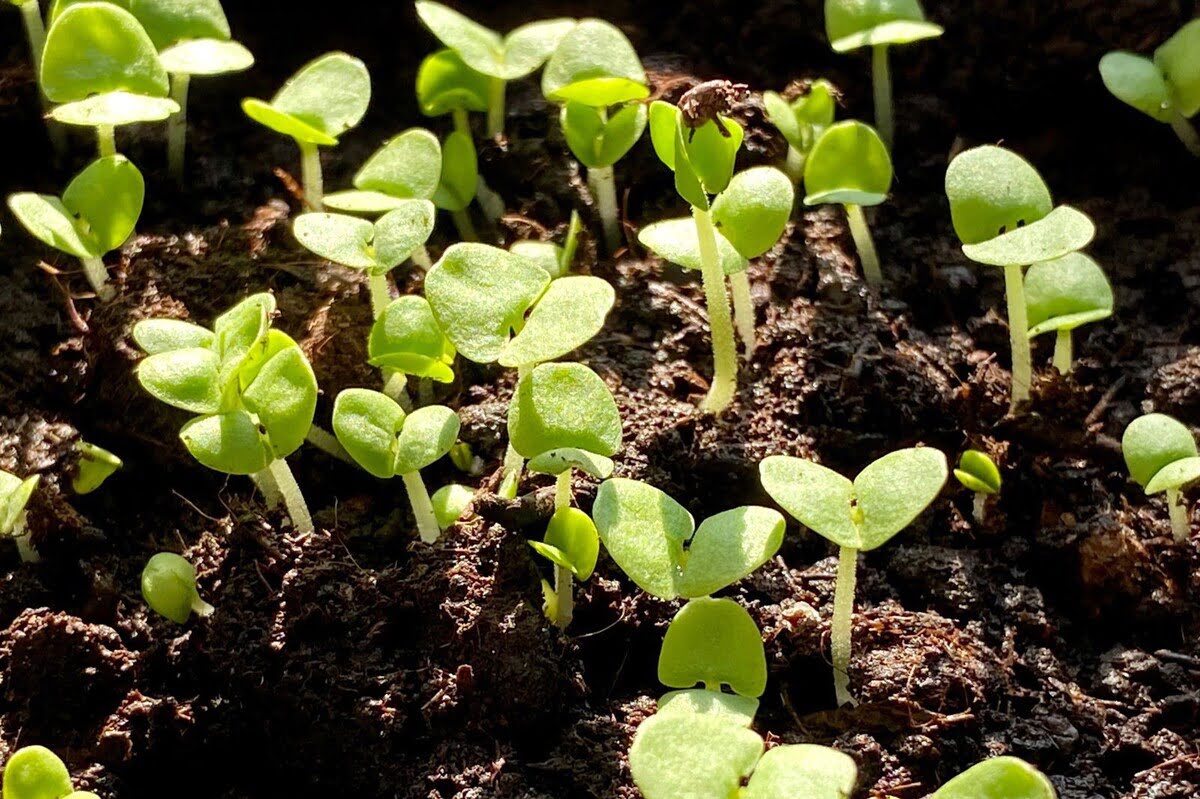
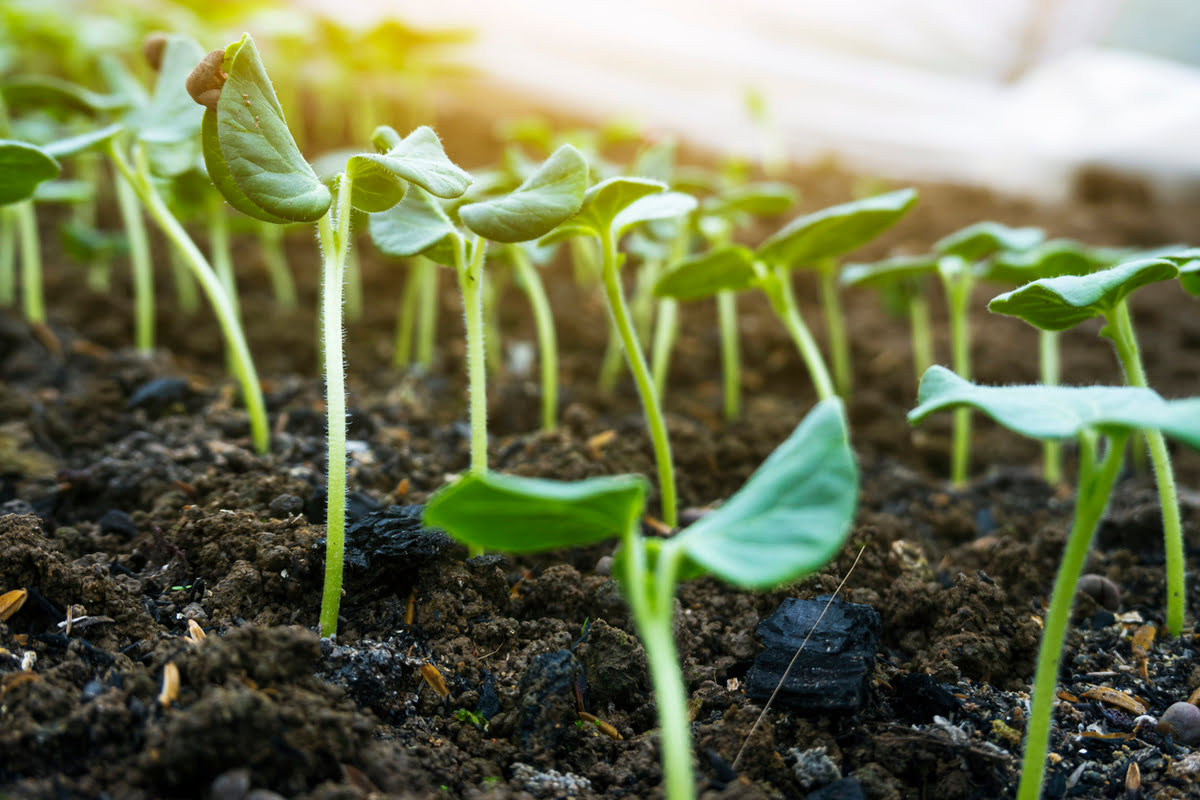
Now, all you need is patience and a watchful eye. Keep an eye on the moisture level of the soil and mist it lightly as needed to prevent it from drying out. In a matter of days or weeks, depending on the seed variety, you’ll start to see tiny sprouts emerge from the soil.
As the seedlings grow, it’s important to provide proper care and maintenance. In the next section, we’ll delve into the essential steps for caring for your seedlings to ensure their healthy development. Let’s keep the excitement growing!
Caring for the Seedlings
Caring for your seedlings is essential to their healthy development and successful transition into mature plants. As your seedlings continue to grow, there are several key aspects of care to keep in mind.
First and foremost, maintaining the right moisture level is crucial. Check the soil regularly and water the seedlings when the top inch of soil feels dry. Use a spray bottle or a gentle watering can to avoid disturbing the delicate seedlings. It’s important not to overwater, as excessive moisture can lead to root rot or fungal diseases.
Providing adequate light is equally important. As the seedlings grow, they require sufficient light to promote strong and compact growth. If you’re growing your seedlings indoors, ensure they receive at least 12-16 hours of bright, indirect light each day. A grow light can be a great investment if natural light is limited.
Temperature is another crucial factor to consider. Most seedlings prefer temperatures between 65-75°F (18-24°C) during the day and slightly cooler temperatures at night. Avoid exposing seedlings to extreme temperature fluctuations, as it can stress the plants and hinder their growth.
Air circulation is also important for the health of your seedlings. Adequate airflow helps prevent damping-off disease and encourages strong stem development. You can gently place a small fan nearby to create a gentle breeze or open a nearby window to promote ventilation.
As the seedlings continue to grow, it’s essential to thin them out if necessary. Crowded seedlings can lead to competition for resources and stunted growth. Carefully remove the weaker seedlings, leaving behind the strongest ones, ensuring they have enough space to develop and thrive.
In addition to the above care practices, it’s also crucial to provide your seedlings with proper nutrients. After the seedlings develop their first true leaves, you can start fertilizing with a diluted liquid organic fertilizer. Follow the instructions on the fertilizer packaging to ensure the correct dosage and frequency of application.
Throughout the caring process, keep a watchful eye for any signs of pests or diseases. Remove any affected seedlings or gently treat them with organic pest control methods to prevent the spread of infestations.
With proper care and attention, your seedlings will grow into strong and healthy plants, ready for the next stage: transplanting into the garden. In the next section, we’ll explore the essential steps for transplanting your seedlings and establishing them in their final growing location.
Transplanting the Seedlings
After caring for your seedlings and watching them grow, it’s time to transplant them into their permanent growing location. This process will allow the seedlings to establish their roots and continue their growth towards maturity.
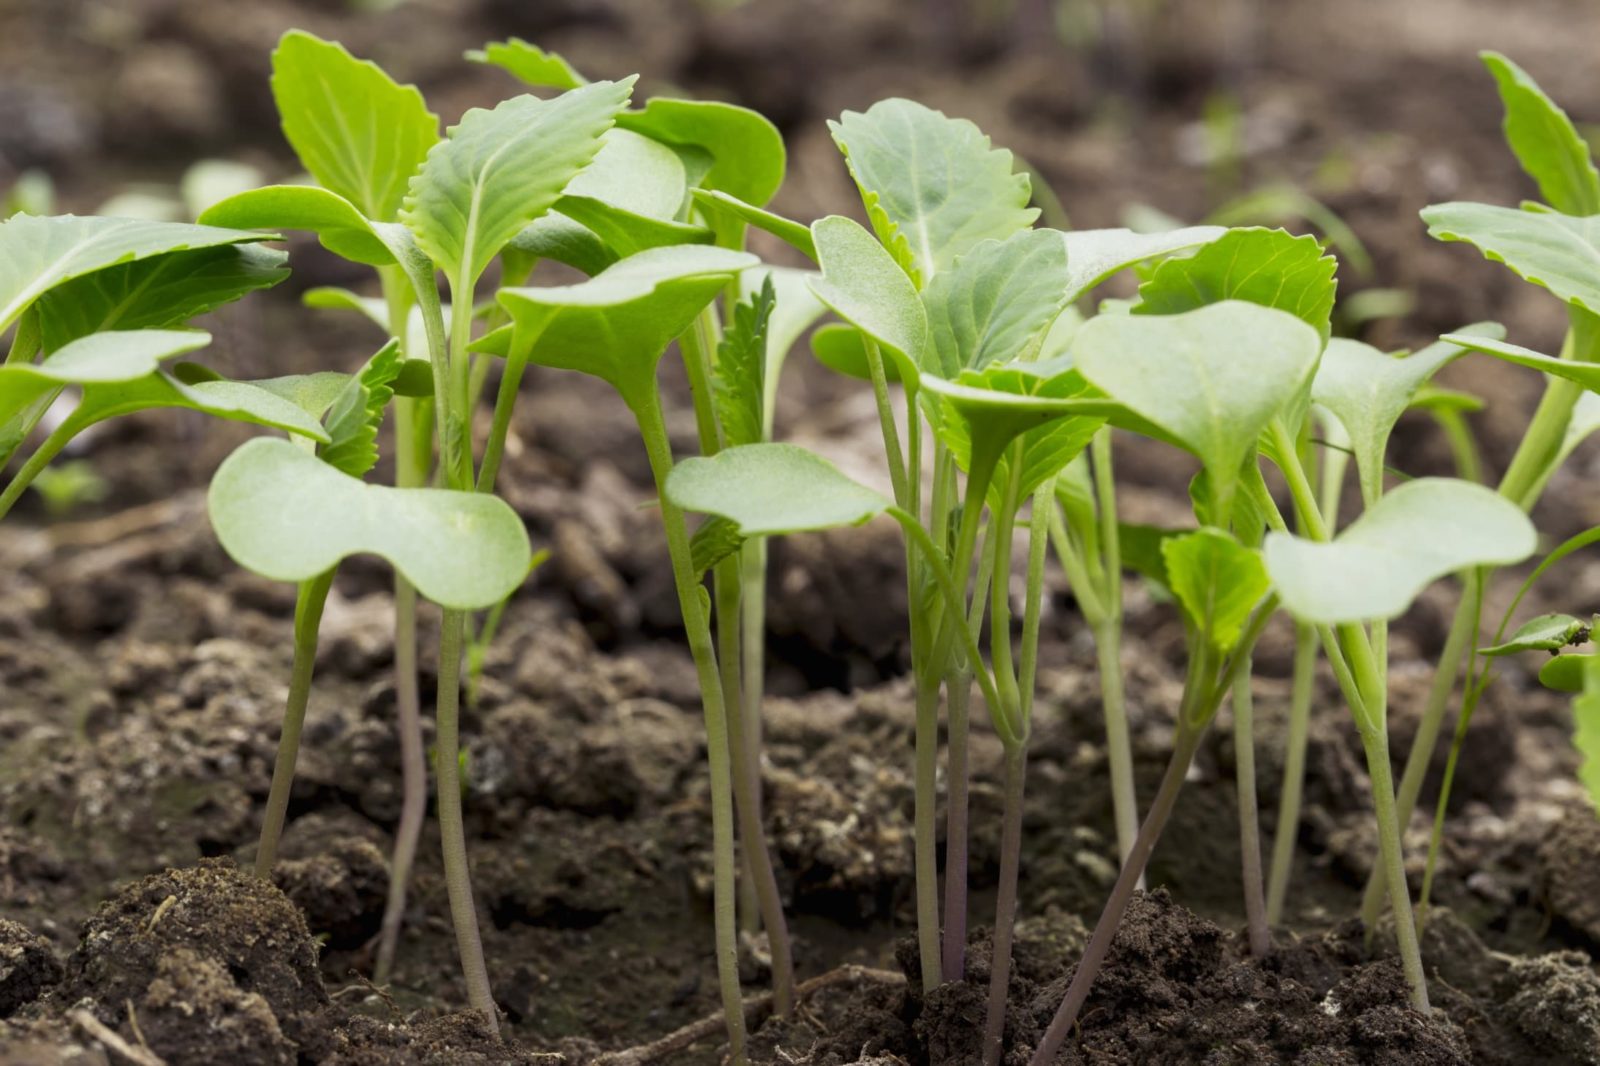
Before transplanting, it’s important to choose the right time. Seedlings should be transplanted when they have developed a strong root system and have several sets of true leaves. This usually happens about 4-6 weeks after germination, but it can vary depending on the plant type.
Prepare the outdoor planting area by loosening the soil and removing any weeds. Gradually acclimate the seedlings to the outdoor environment by exposing them to increasing amounts of sunlight and outdoor conditions over the course of several days.
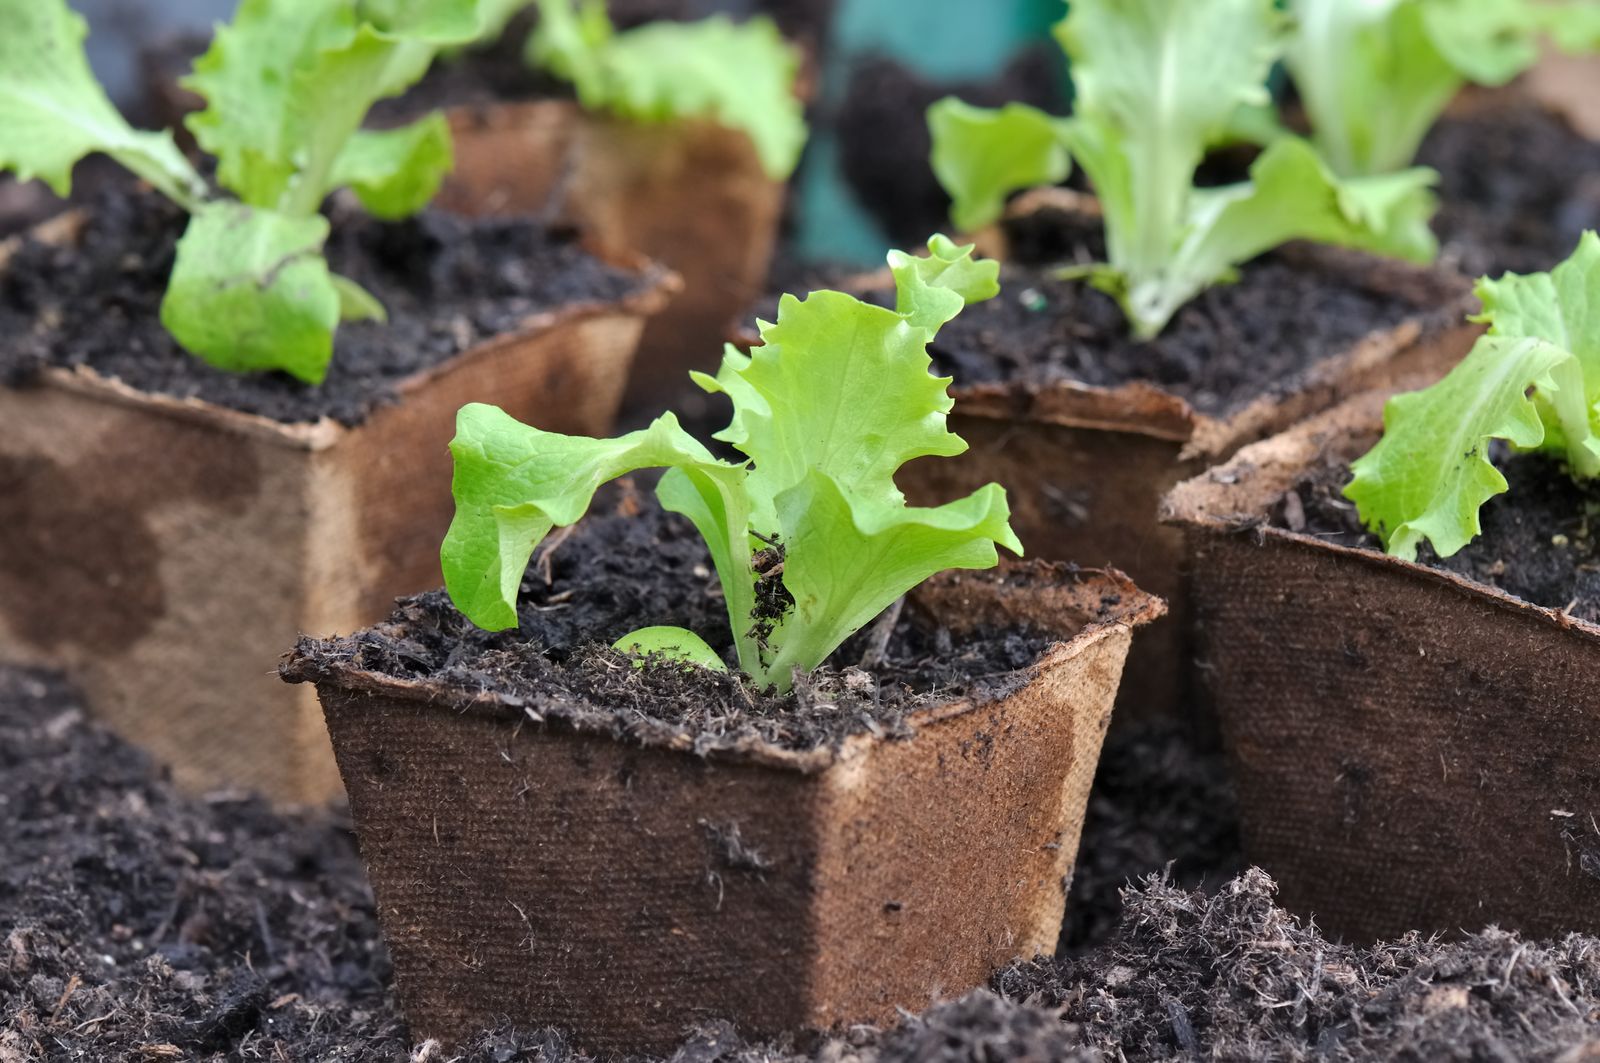
Dig a hole in the prepared soil that is slightly larger than the root ball of the seedling. Gently remove the seedling from its egg compartment, being careful not to damage the delicate roots. If the seedlings are tightly packed together, you can gently separate them, ensuring each has enough space to grow.
Place the seedling into the hole, making sure that the top of the root ball is level with the soil surface. Fill the hole with soil, gently but firmly pressing it around the base of the seedling to eliminate any air pockets.
Water the newly transplanted seedlings thoroughly to help settle the soil around the roots and provide them with the moisture they need to establish themselves. Continue to water the seedlings regularly, keeping the soil evenly moist but not waterlogged.
Depending on the plant type and growing conditions, you may need to provide additional support. For tall or vining plants, consider using stakes, trellises, or cages to support their growth. This will help prevent the plants from drooping or breaking as they mature.
After transplanting, monitor the seedlings closely for any signs of stress or shock. Providing some shade during the hottest part of the day for the first few days can help ease the transition for the seedlings.
Continue to care for your transplanted seedlings by providing them with appropriate watering, mulching to conserve moisture, and regular fertilization as needed. Keep an eye out for any pests or diseases and take appropriate measures to manage them.
With proper care and attention, your transplanted seedlings will continue to grow and flourish in their new environment. Before you know it, you’ll be enjoying the fruits of your labor and reaping the rewards of your DIY seedling planting project.
In the concluding section, we’ll recap the key points and offer some final thoughts on the benefits of planting seedlings in egg cartons.
Conclusion
Congratulations on successfully planting your seedlings in egg cartons! This DIY project has allowed you to repurpose waste materials, create an eco-friendly gardening solution, and nurture your very own plants from seed.
Throughout this process, you’ve learned the importance of choosing the right egg cartons, preparing them properly, selecting the appropriate seeds, filling the cartons with soil, and planting the seedlings with care. You’ve also discovered the essential steps for caring for your seedlings, ensuring they receive adequate moisture, light, temperature, and airflow.
Transplanting your seedlings into their permanent growing location was a monumental milestone, allowing them to establish strong roots and continue their growth towards maturity. With ongoing care and attention, you’ll soon be rewarded with beautiful, flourishing plants that bring life and vibrancy to your garden.
Planting seedlings in egg cartons not only offers a sustainable and cost-effective solution for starting your garden, but it also provides a sense of accomplishment and connection to the natural world. By growing your own plants from seed, you have the opportunity to witness the entire life cycle of your garden, from tiny seeds to bountiful harvests.
So, continue to nurture your seedlings, adapt and learn from any challenges that may arise, and enjoy the journey of tending to your growing garden. Remember, gardening is a continuous learning process, and each new season brings new opportunities for growth and discovery.
Thank you for joining us on this DIY gardening adventure. We hope this article has inspired you to explore the world of planting seedlings in egg cartons and embark on your own gardening projects. Happy gardening!
