Home>Gardening Techniques>DIY Projects>How To Make A Walking Path In Your Backyard
DIY Projects
How To Make A Walking Path In Your Backyard
Modified: January 22, 2024
Learn how to create a beautiful and functional walking path in your backyard with our DIY projects. Enhance your outdoor space and enjoy the benefits of a well-designed pathway.
(Many of the links in this article redirect to a specific reviewed product. Your purchase of these products through affiliate links helps to generate commission for Chicagolandgardening.com, at no extra cost. Learn more)
Table of Contents
- Introduction
- Step 1: Planning Your Walking Path
- Step 2: Clearing the Area
- Step 3: Choosing the Path Material
- Step 4: Marking the Path Layout
- Step 5: Excavating the Path Area
- Step 6: Installing Edging or Border
- Step 7: Adding a Weed Barrier
- Step 8: Laying the Path Material
- Step 9: Leveling and Compacting the Path
- Step 10: Jointing and Sealing the Path Material
- Step 11: Adding Finishing Touches
- Conclusion
How To Make A Walking Path In Your Backyard
Introduction
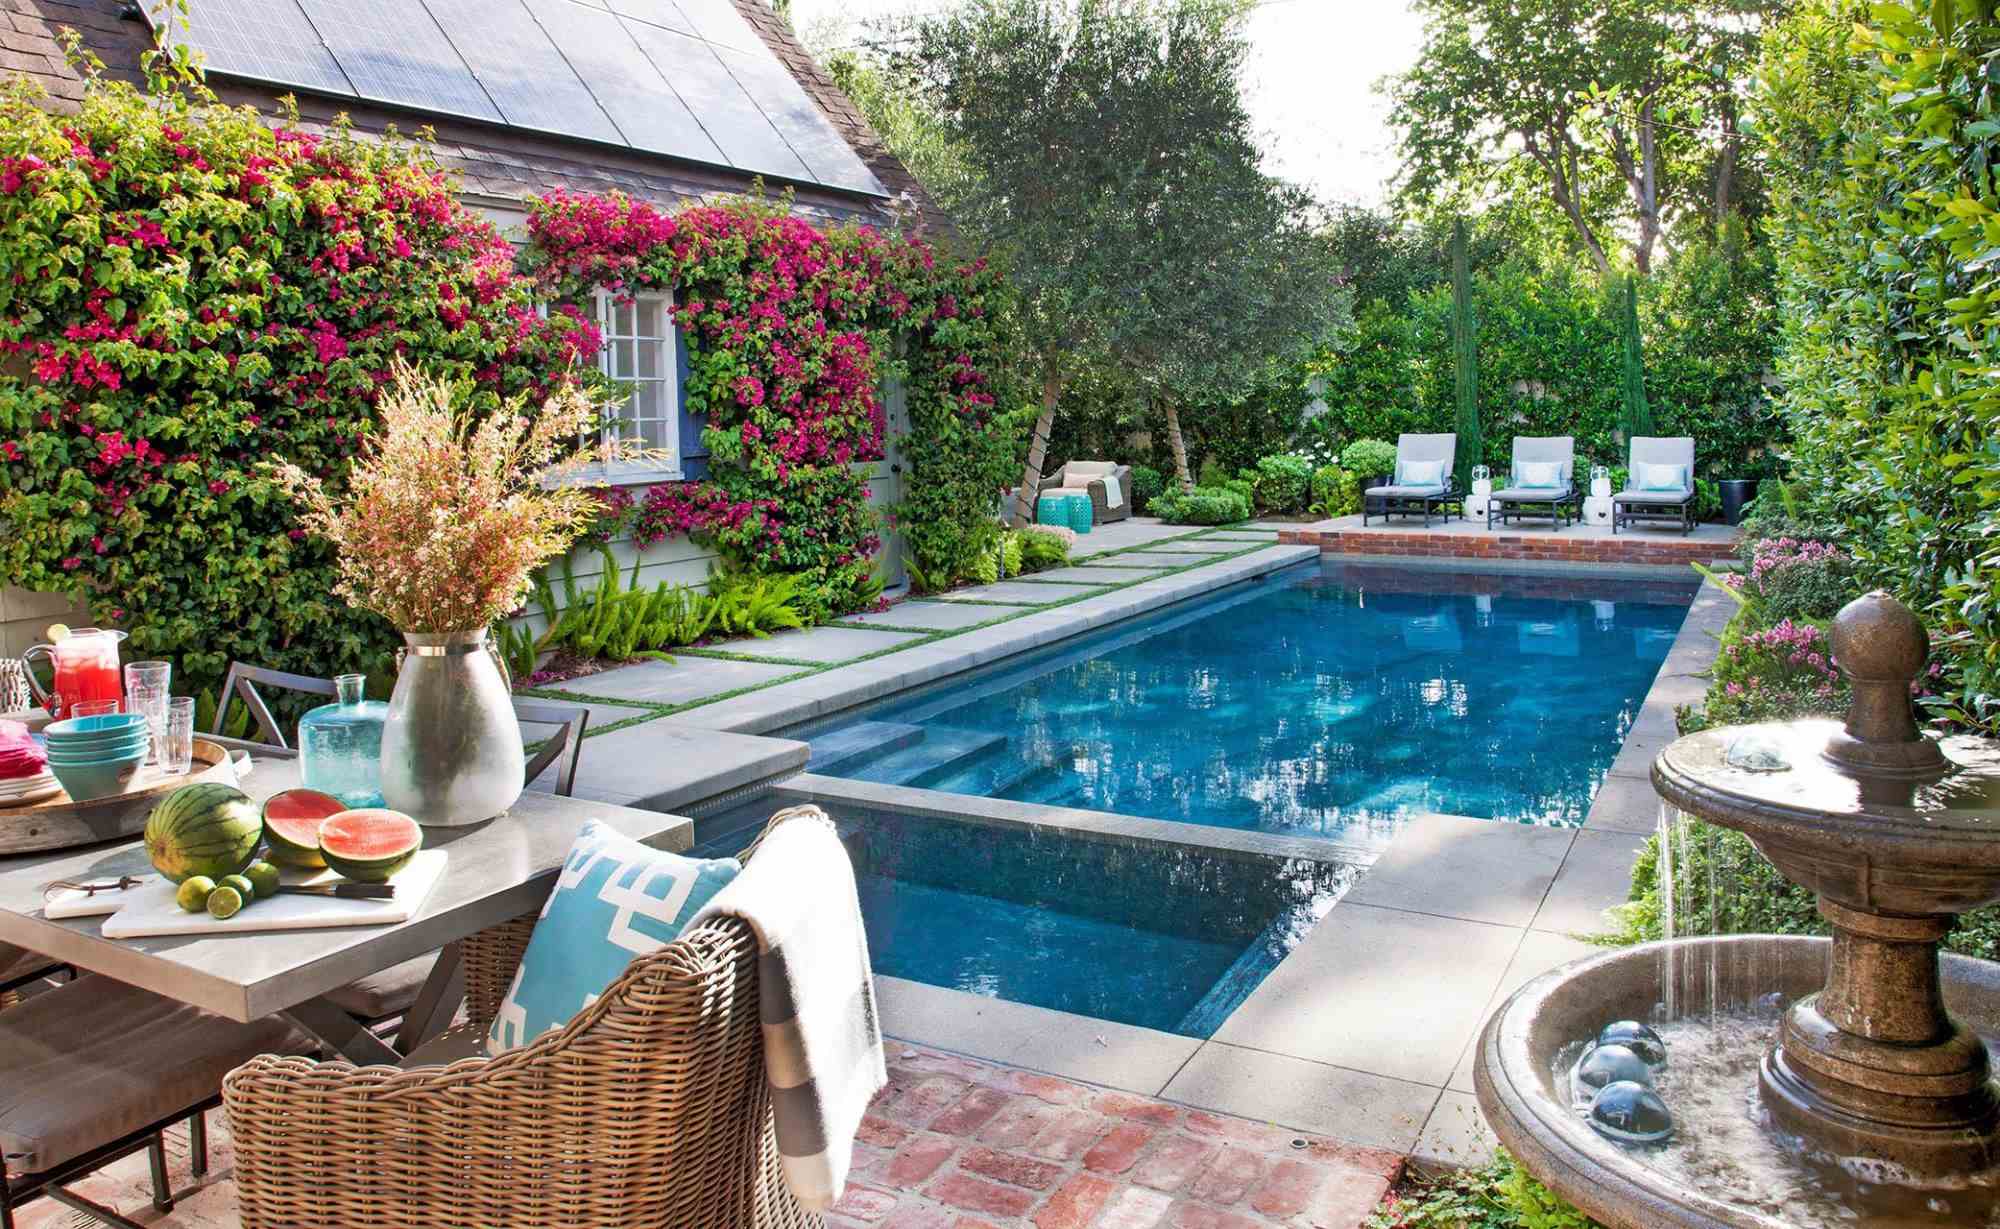
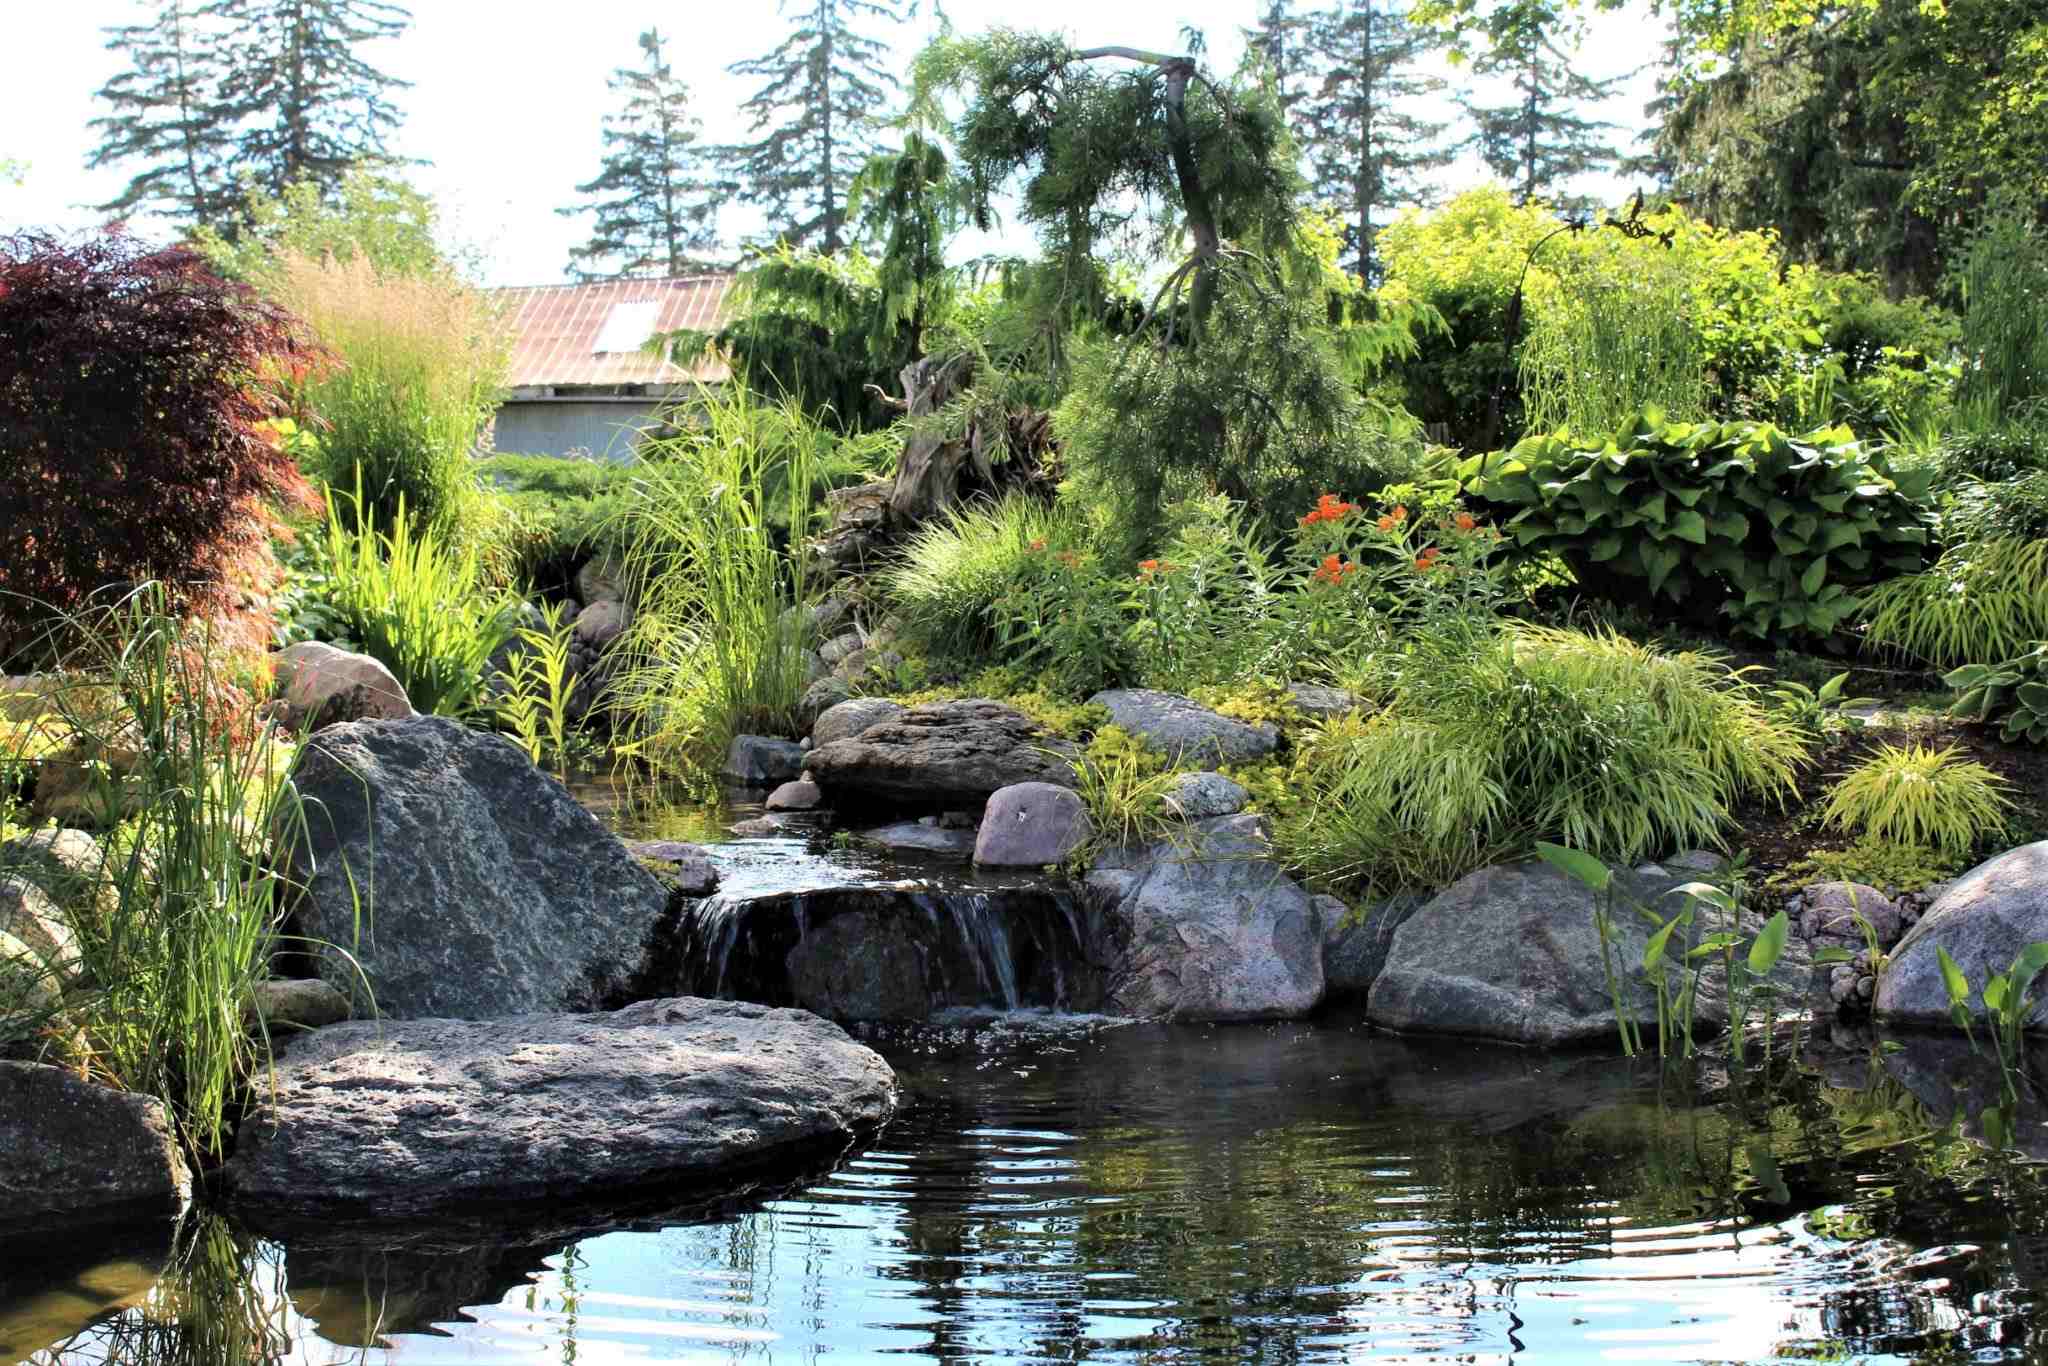
Creating a walking path in your backyard is a fantastic way to add both functionality and aesthetic appeal to your outdoor space. Whether you’re looking to enhance the overall design of your garden, provide a designated pathway for leisurely strolls, or simply want to have a clear, defined route from one area of your backyard to another, a walking path is the perfect solution.
Having a defined walking path not only improves the flow and organization of your backyard but also offers a practical and safe way to navigate through your outdoor space, especially in areas with uneven terrain or delicate plants. Plus, it can be a fun and engaging DIY project that allows you to unleash your creativity and design skills.
Creating a walking path in your backyard may seem like a daunting task, but with a little planning and some elbow grease, it’s a project that you can easily tackle on your own. In this article, we will guide you through each step of the process, from planning the layout to adding the finishing touches. By the end, you’ll have a beautiful and functional walking path that you can enjoy for years to come.
So, let’s roll up our sleeves and get started on transforming your backyard into a haven of tranquility and beauty with your very own walking path.
Step 1: Planning Your Walking Path
The first step in creating a walking path in your backyard is to carefully plan and visualize your desired path. This involves assessing your backyard space, considering the purpose and functionality of the path, and determining the best route for your needs.
Start by taking a walk around your backyard and identifying the areas where you want the walking path to be. Consider the natural flow of your outdoor space, the existing landscaping features, and any potential obstacles or challenges that may need to be addressed.
Next, decide on the width and length of your walking path. This will depend on the available space in your backyard and the intended use of the path. If you plan to have multiple people walking side by side, a wider path is recommended. Take into account any specific features or areas you want the path to connect to, such as a patio, garden, or seating area.
It’s also important to think about the style and design of your path. Do you prefer a straight and linear path, or one that meanders and curves through your backyard? Consider the overall aesthetic of your outdoor space and choose a path shape that complements the existing landscape.
- Tips:
– Use a garden hose or string to outline the proposed path layout and get a visual representation before finalizing the design.
– Don’t forget about proper drainage. If your backyard tends to have standing water or poor drainage, plan the path in a way that helps redirect the flow of water.
– If you have any underground utilities or cables in your yard, make sure to call the respective authorities to ensure that you won’t accidentally dig into them while excavating for the path.
– Consider adding focal points along the path, such as potted plants, decorative stones, or solar-powered lights, to enhance its visual appeal and make the walking experience more enjoyable.
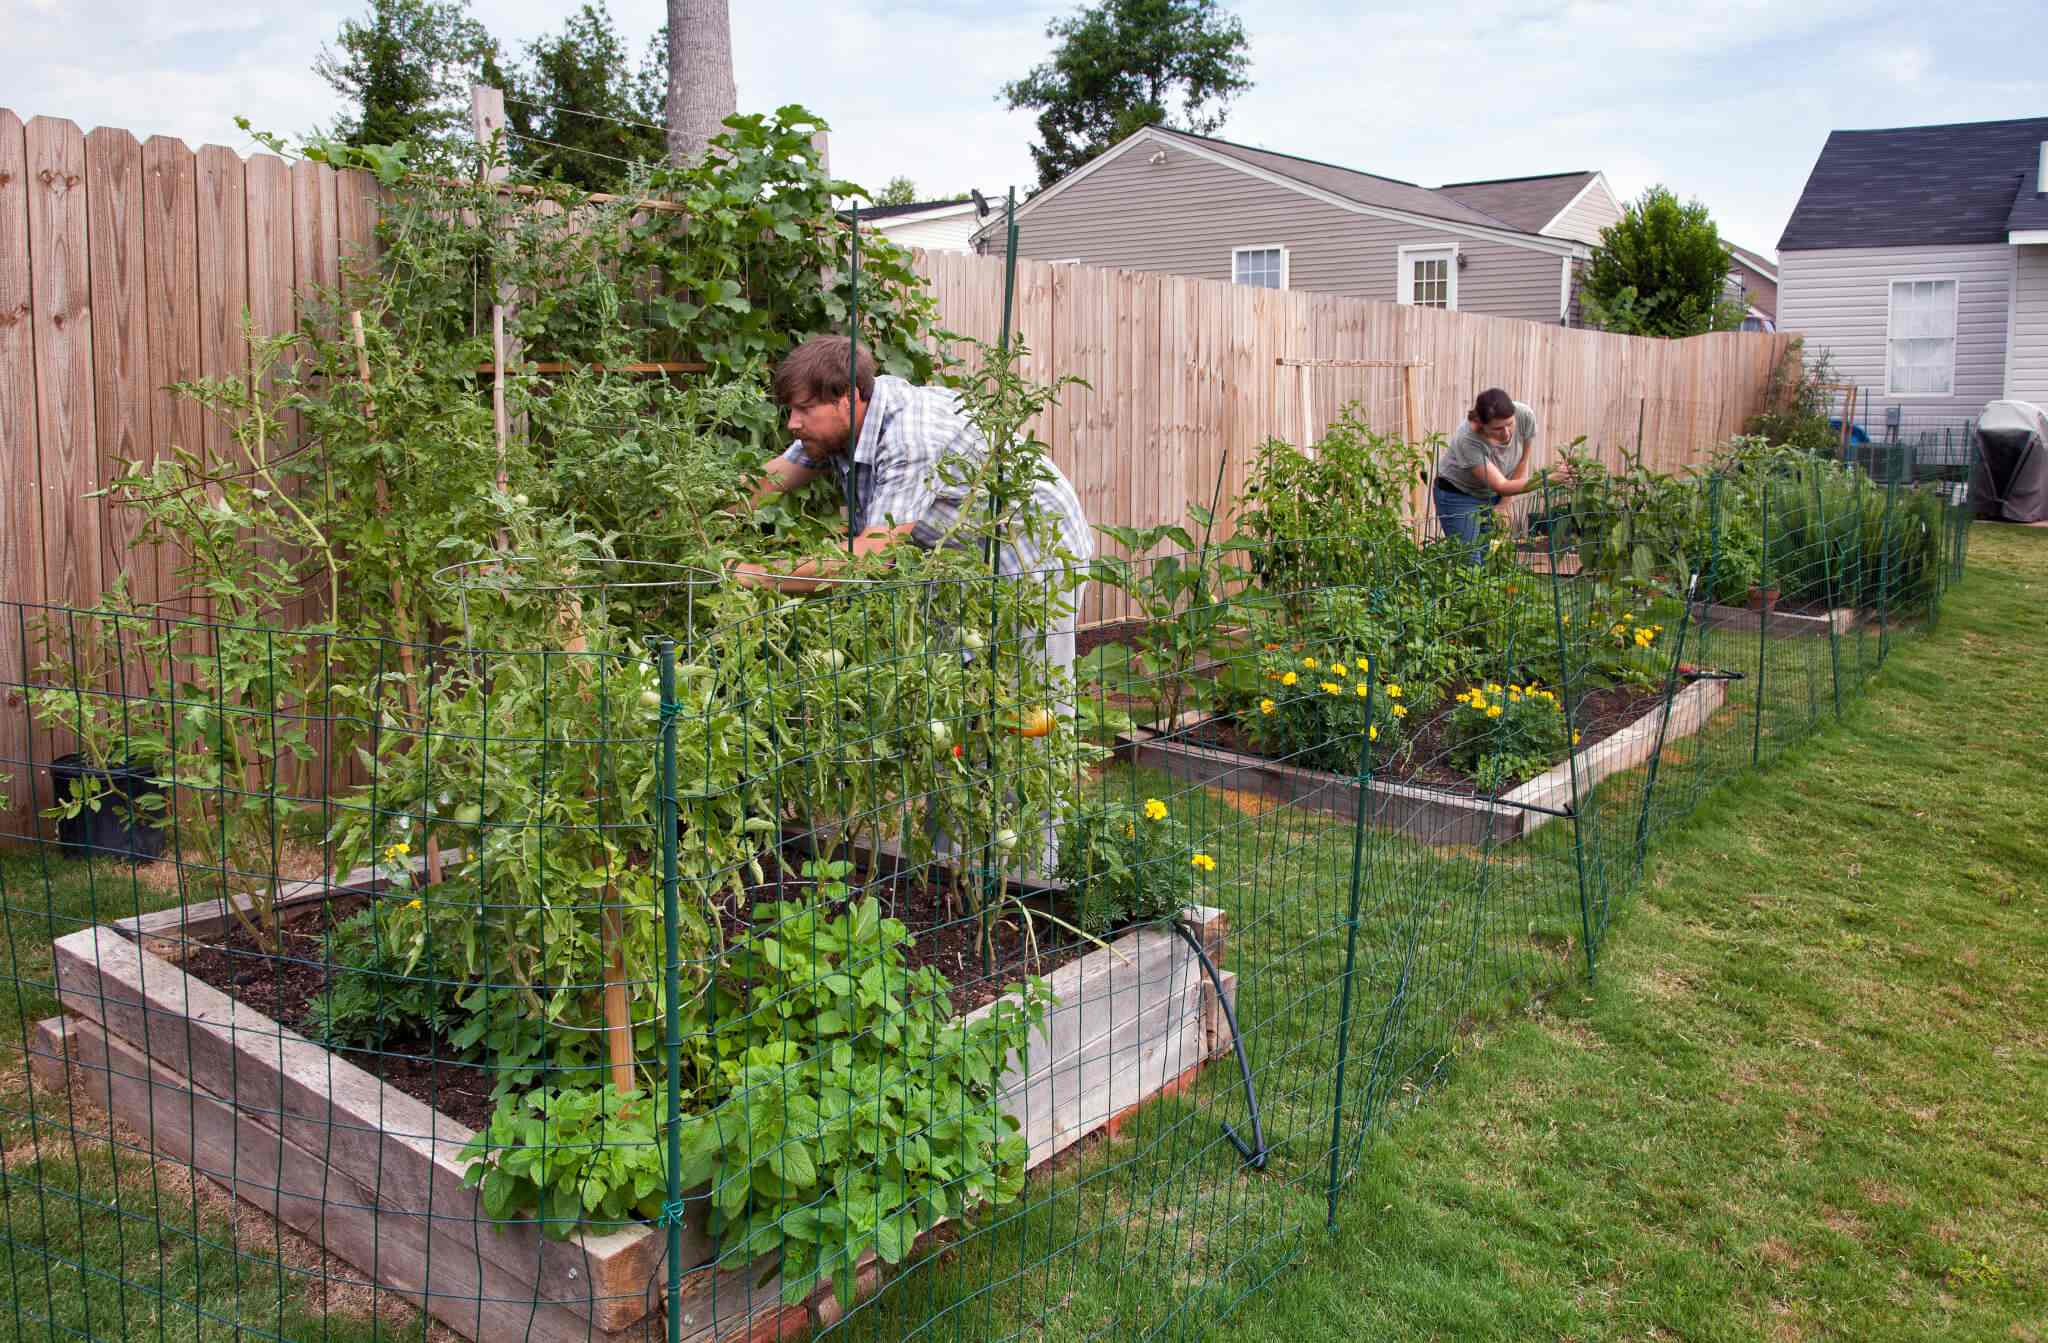
Step 2: Clearing the Area
Once you have your walking path plan in place, the next step is to clear the area where the path will be located. This involves removing any existing vegetation, rocks, debris, or other obstructions that may hinder the construction of your pathway.
Start by marking the boundaries of your pathway using stakes or spray paint. This will give you a clear reference when removing the unwanted materials. Before you begin, it’s a good idea to put on work gloves and protective eyewear to ensure your safety.
If there is any grass or turf where the path will be, use a shovel or a turf cutter to carefully remove it. Work in small sections, cutting along the marked boundaries and then lifting the turf with the shovel. You can either discard the turf or repurpose it elsewhere in your garden.
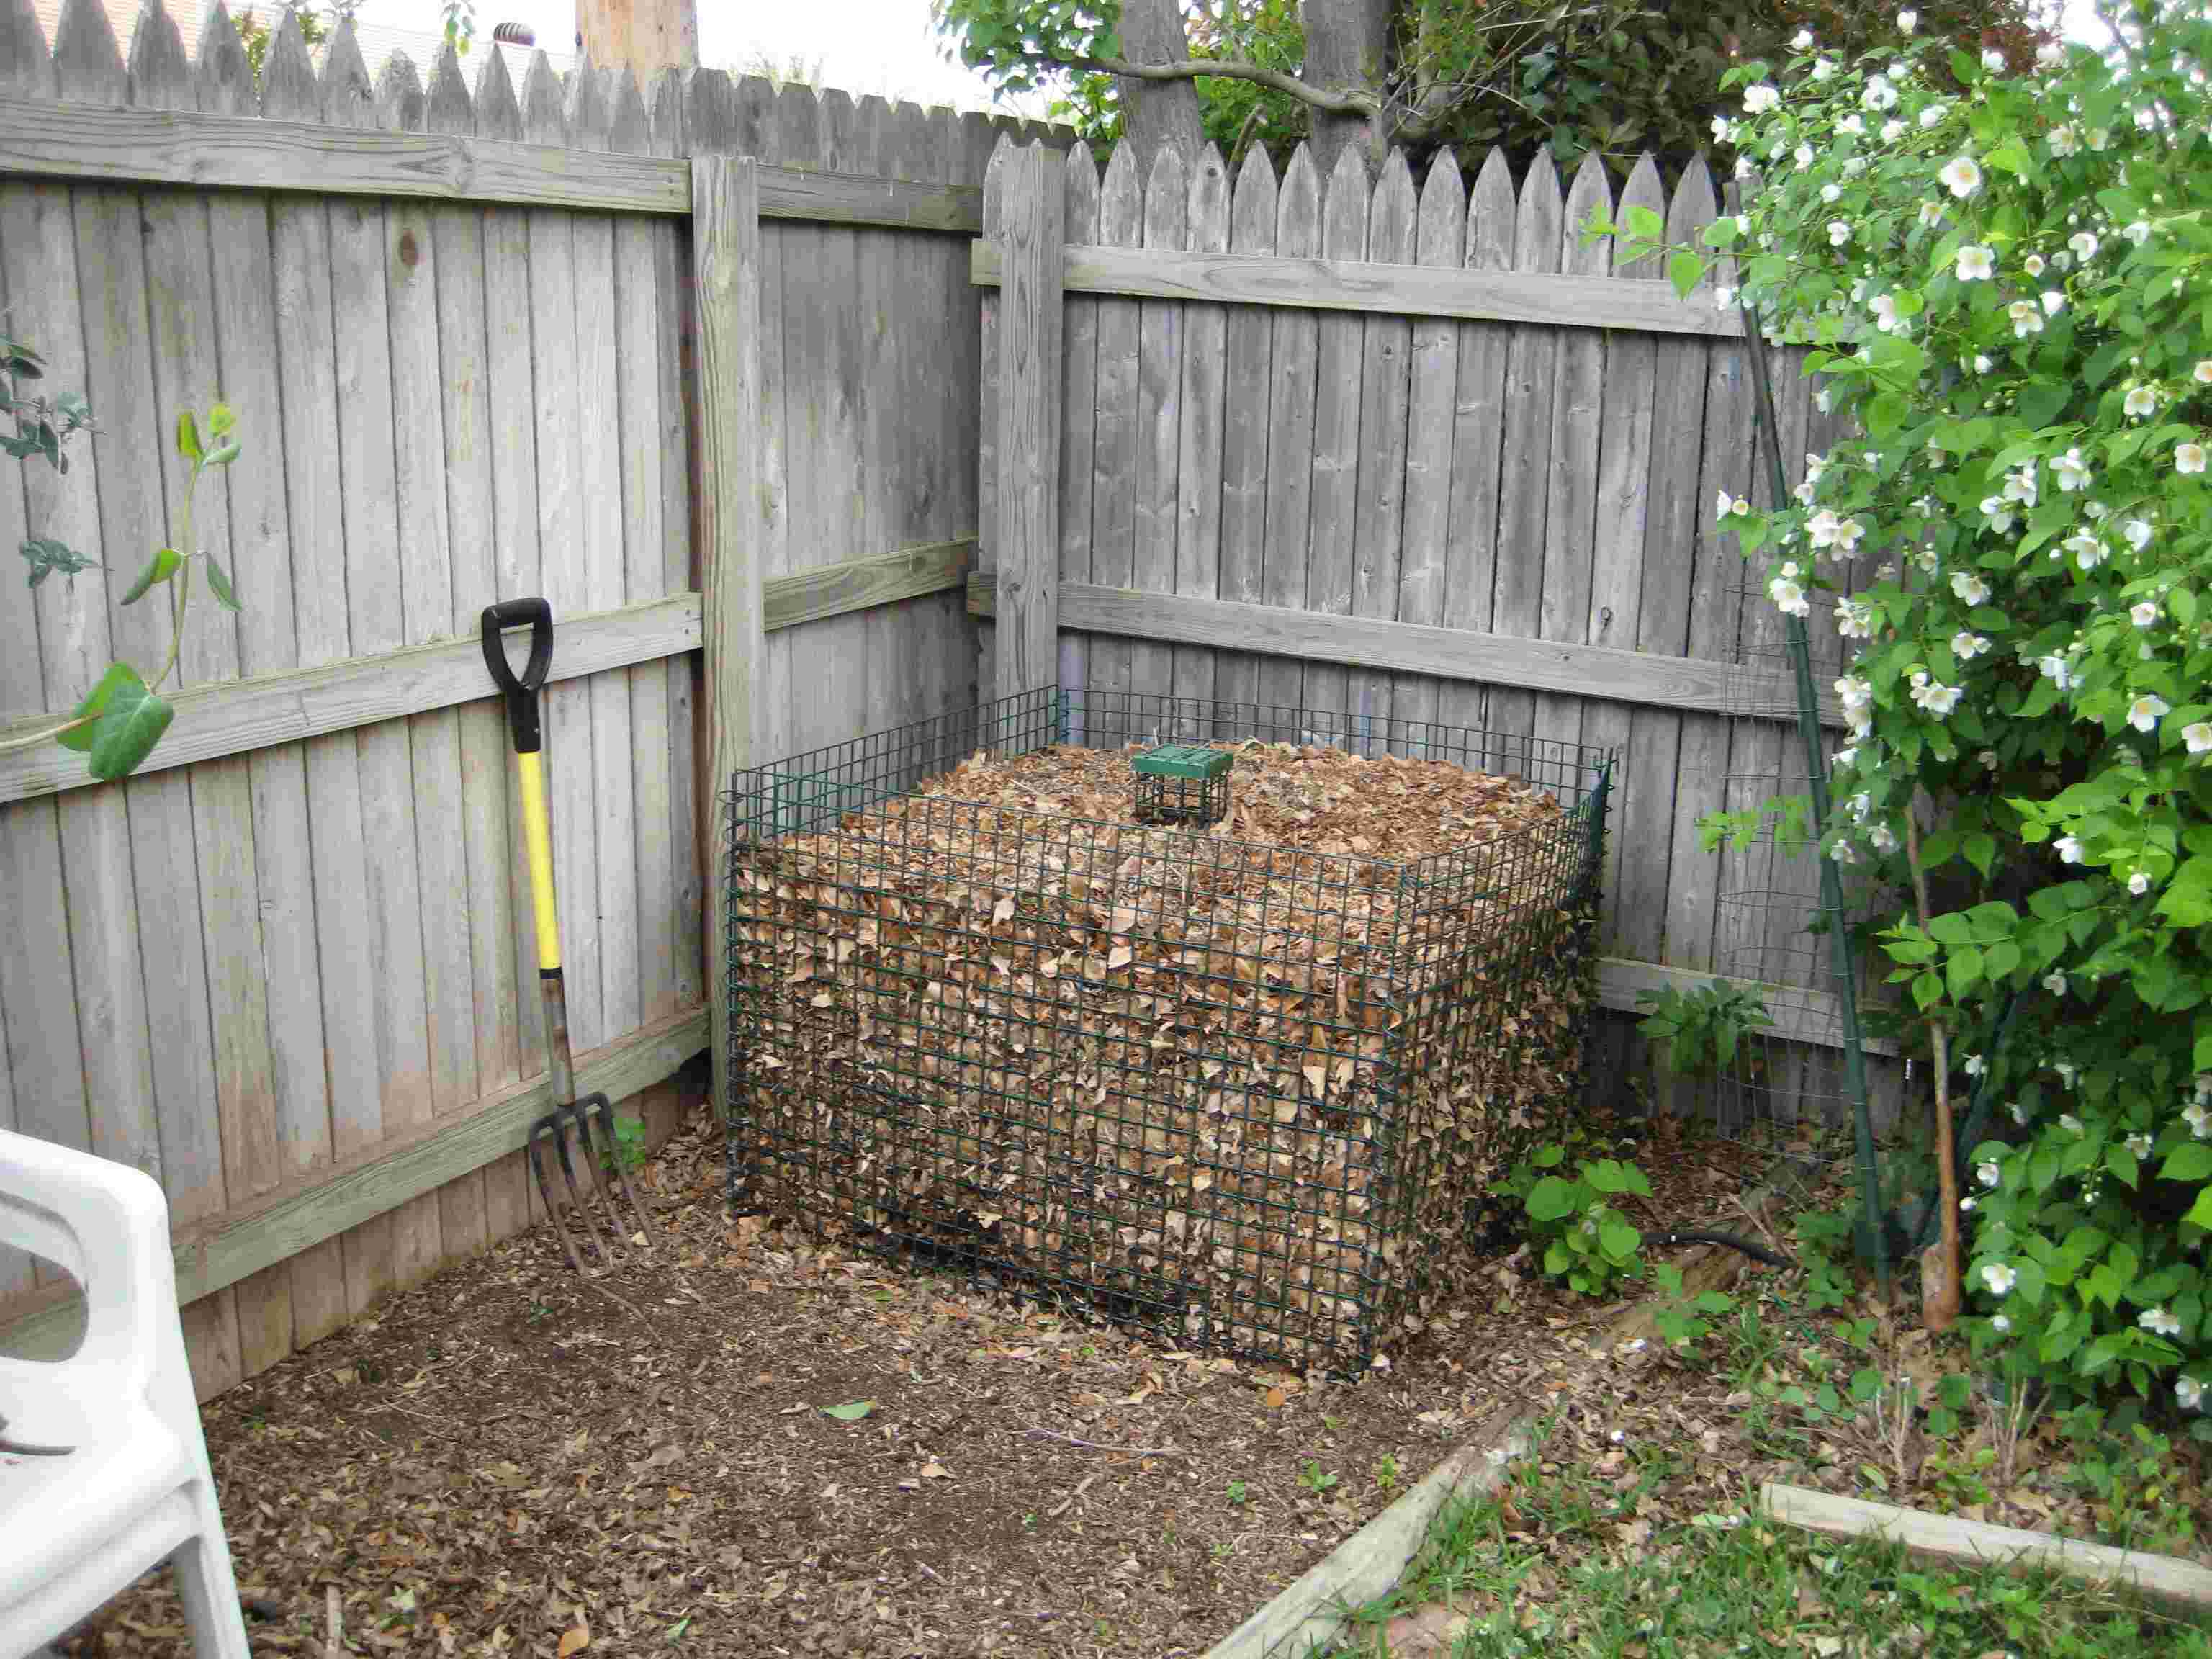
Next, remove any weeds, plants, or shrubs within the pathway area. Use a garden fork or hand trowel to loosen the soil around the roots and gently pull out the unwanted vegetation. If you encounter any particularly stubborn or deep-rooted plants, you may need to use a weed killer or herbicide to completely eradicate them.
If there are rocks, stones, or other debris in the pathway area, gather them up and relocate them to a designated area. You can reuse them later as part of your path design or incorporate them into other landscaping features.
Once the area is cleared of vegetation and debris, use a rake to smooth out the soil and create a level surface. This will provide a solid foundation for your walking path construction.
- Tips:
– If you have a larger area to clear, consider using a mini-excavator or hiring professional help to speed up the process.
– If there are tree roots in the pathway area, you may need to carefully prune or remove them to ensure the path remains level and safe.
– Be mindful of any underground utilities or cables during the clearing process. If in doubt, consult with the appropriate authorities or hire a professional to locate and mark them.
– Dispose of the cleared vegetation and debris responsibly by composting or recycling where possible.
With the area cleared and prepped, you’re ready to move on to the next step: choosing the path material.
Step 3: Choosing the Path Material
Choosing the right material for your walking path is crucial to ensure durability, functionality, and aesthetics. There are various options available, each with its own advantages and considerations. Take into account factors such as the overall style of your backyard, the intended use of the path, maintenance requirements, and your budget.
1. Gravel: Gravel paths offer a charming and rustic look to your backyard. They are relatively easy to install and are cost-effective. However, keep in mind that gravel paths may require periodic regrading and replenishing of gravel to maintain their appearance and prevent erosion.
2. Mulch: Mulch paths provide a natural and organic look, blending well with garden beds and surrounding vegetation. They are comfortable to walk on and have good drainage properties. However, mulch paths may require frequent replenishment as it decomposes over time.
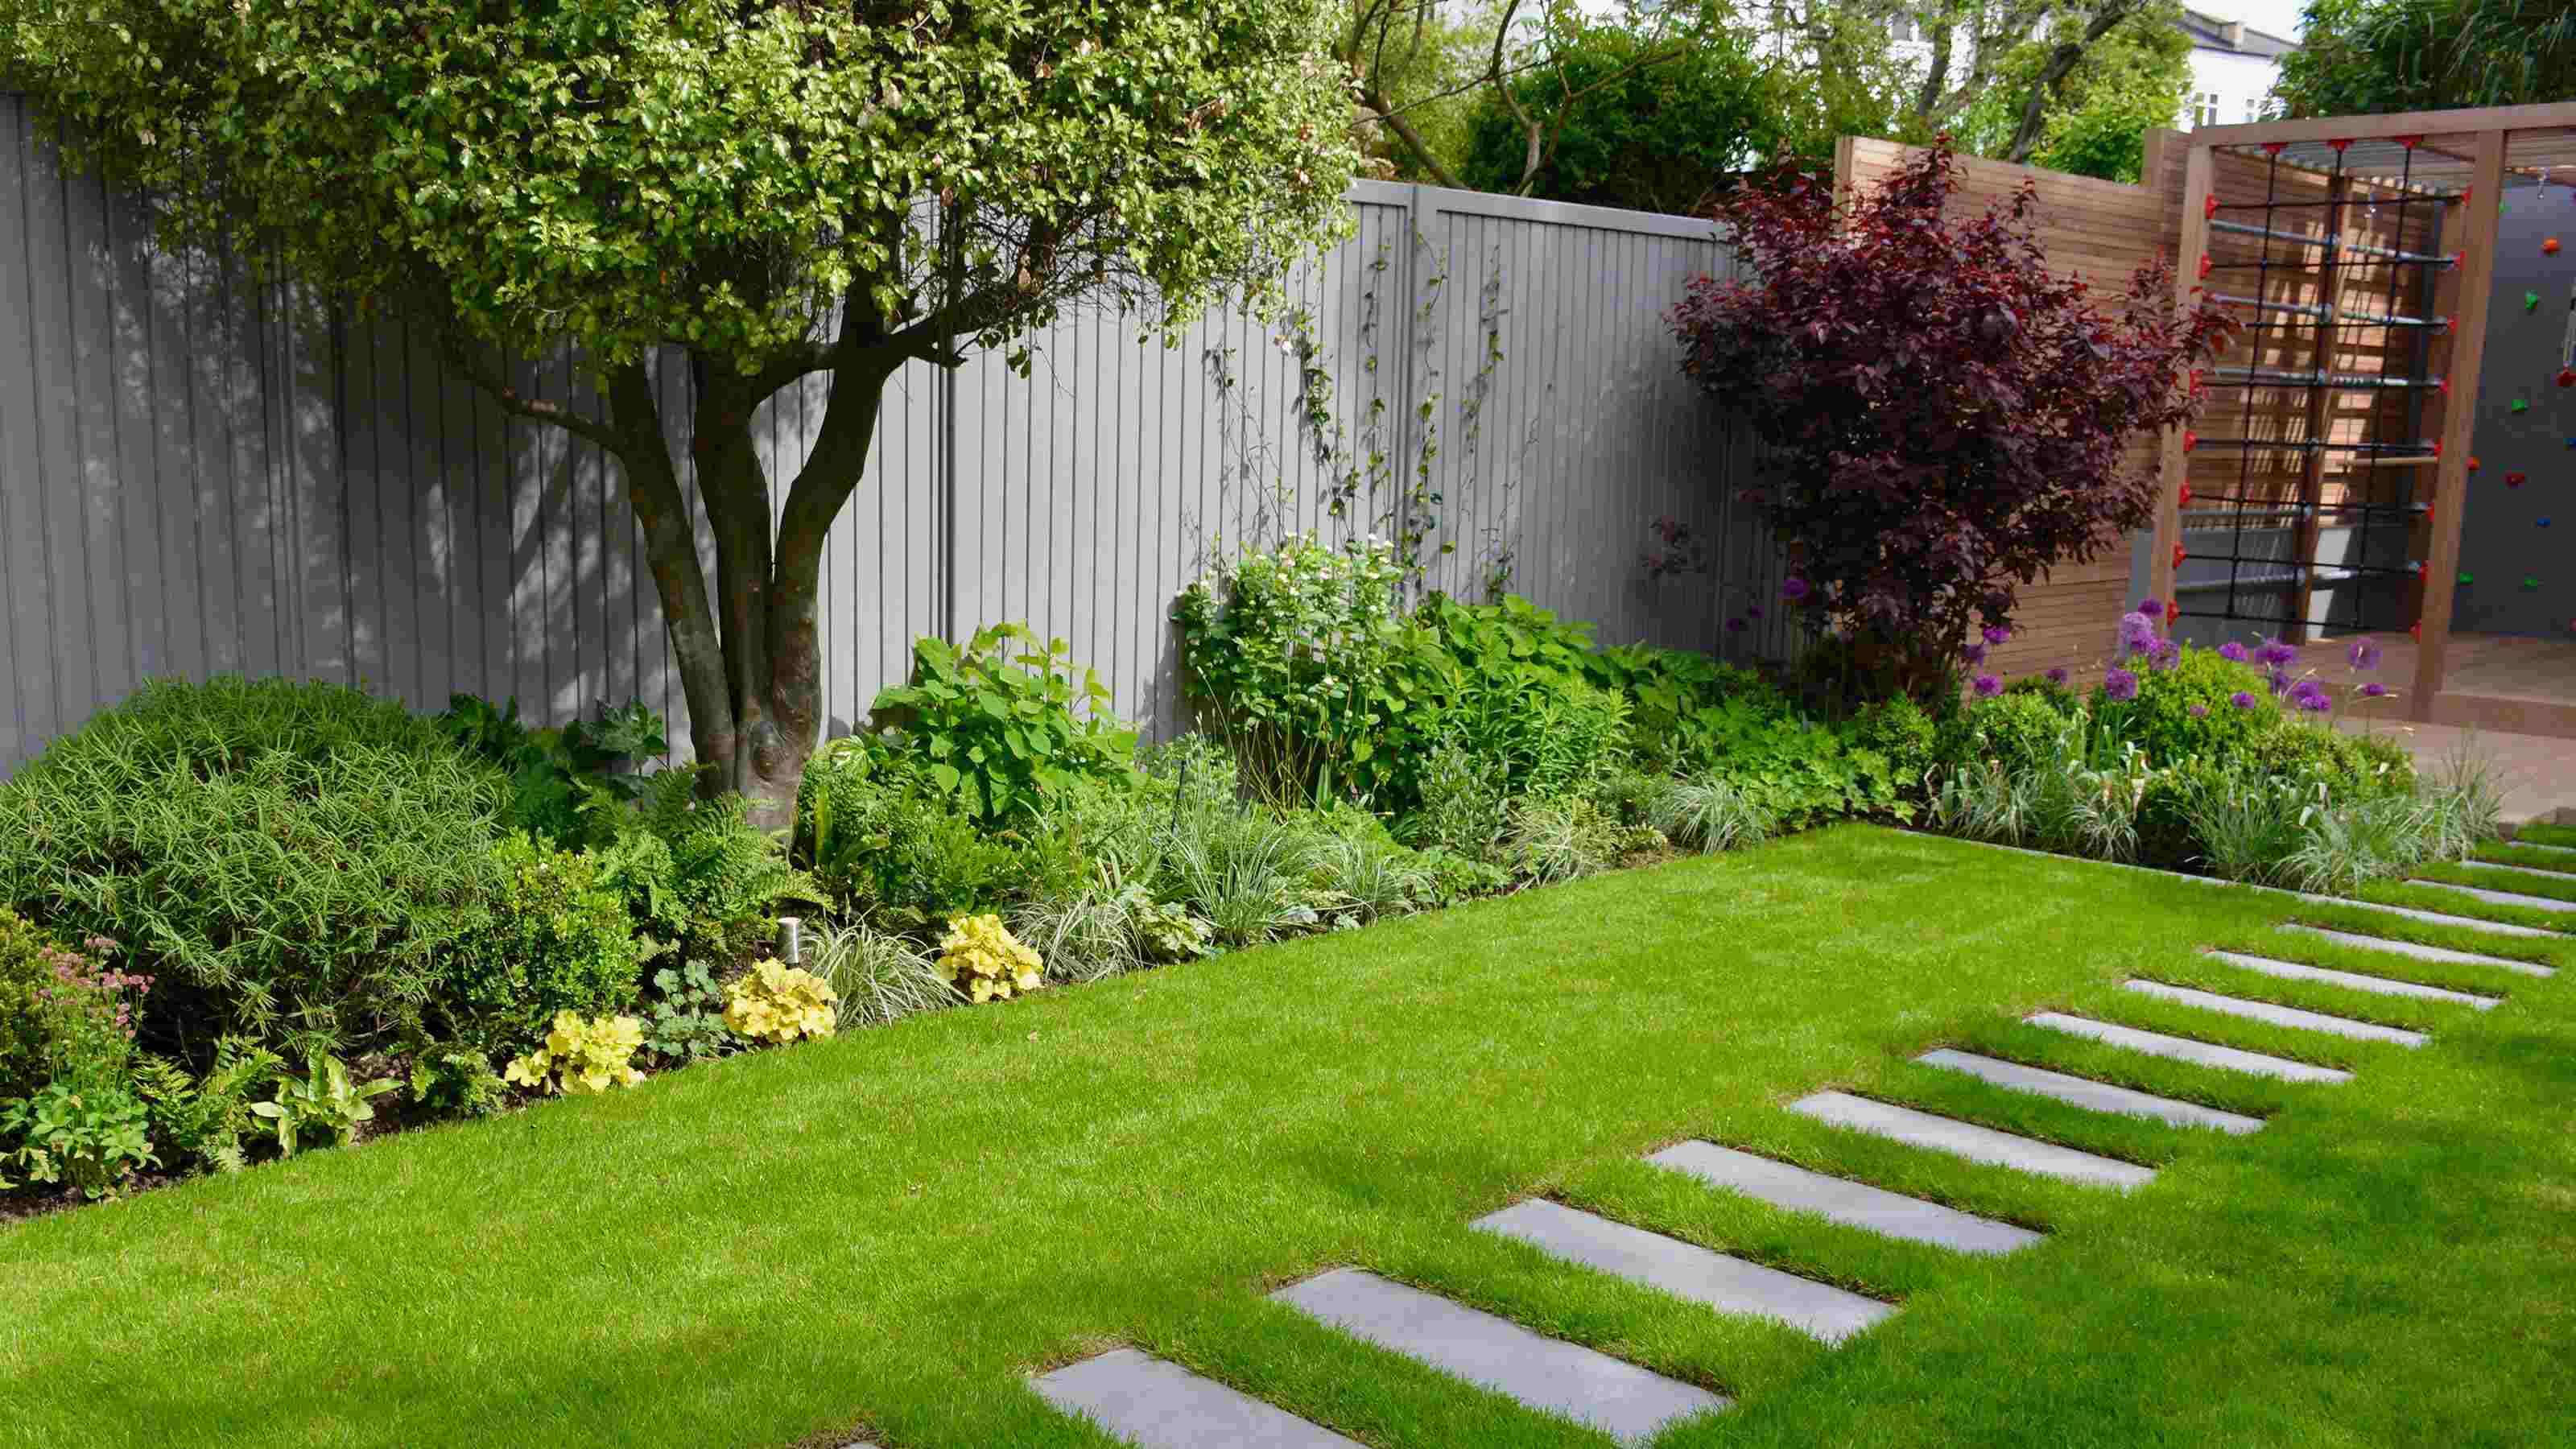
3. Stepping Stones: Stepping stones add a touch of elegance to your pathway. They can be made of natural stone, concrete, or even recycled materials like reclaimed wood. Stepping stones create a defined and stable surface, but proper leveling and spacing are crucial for safety.
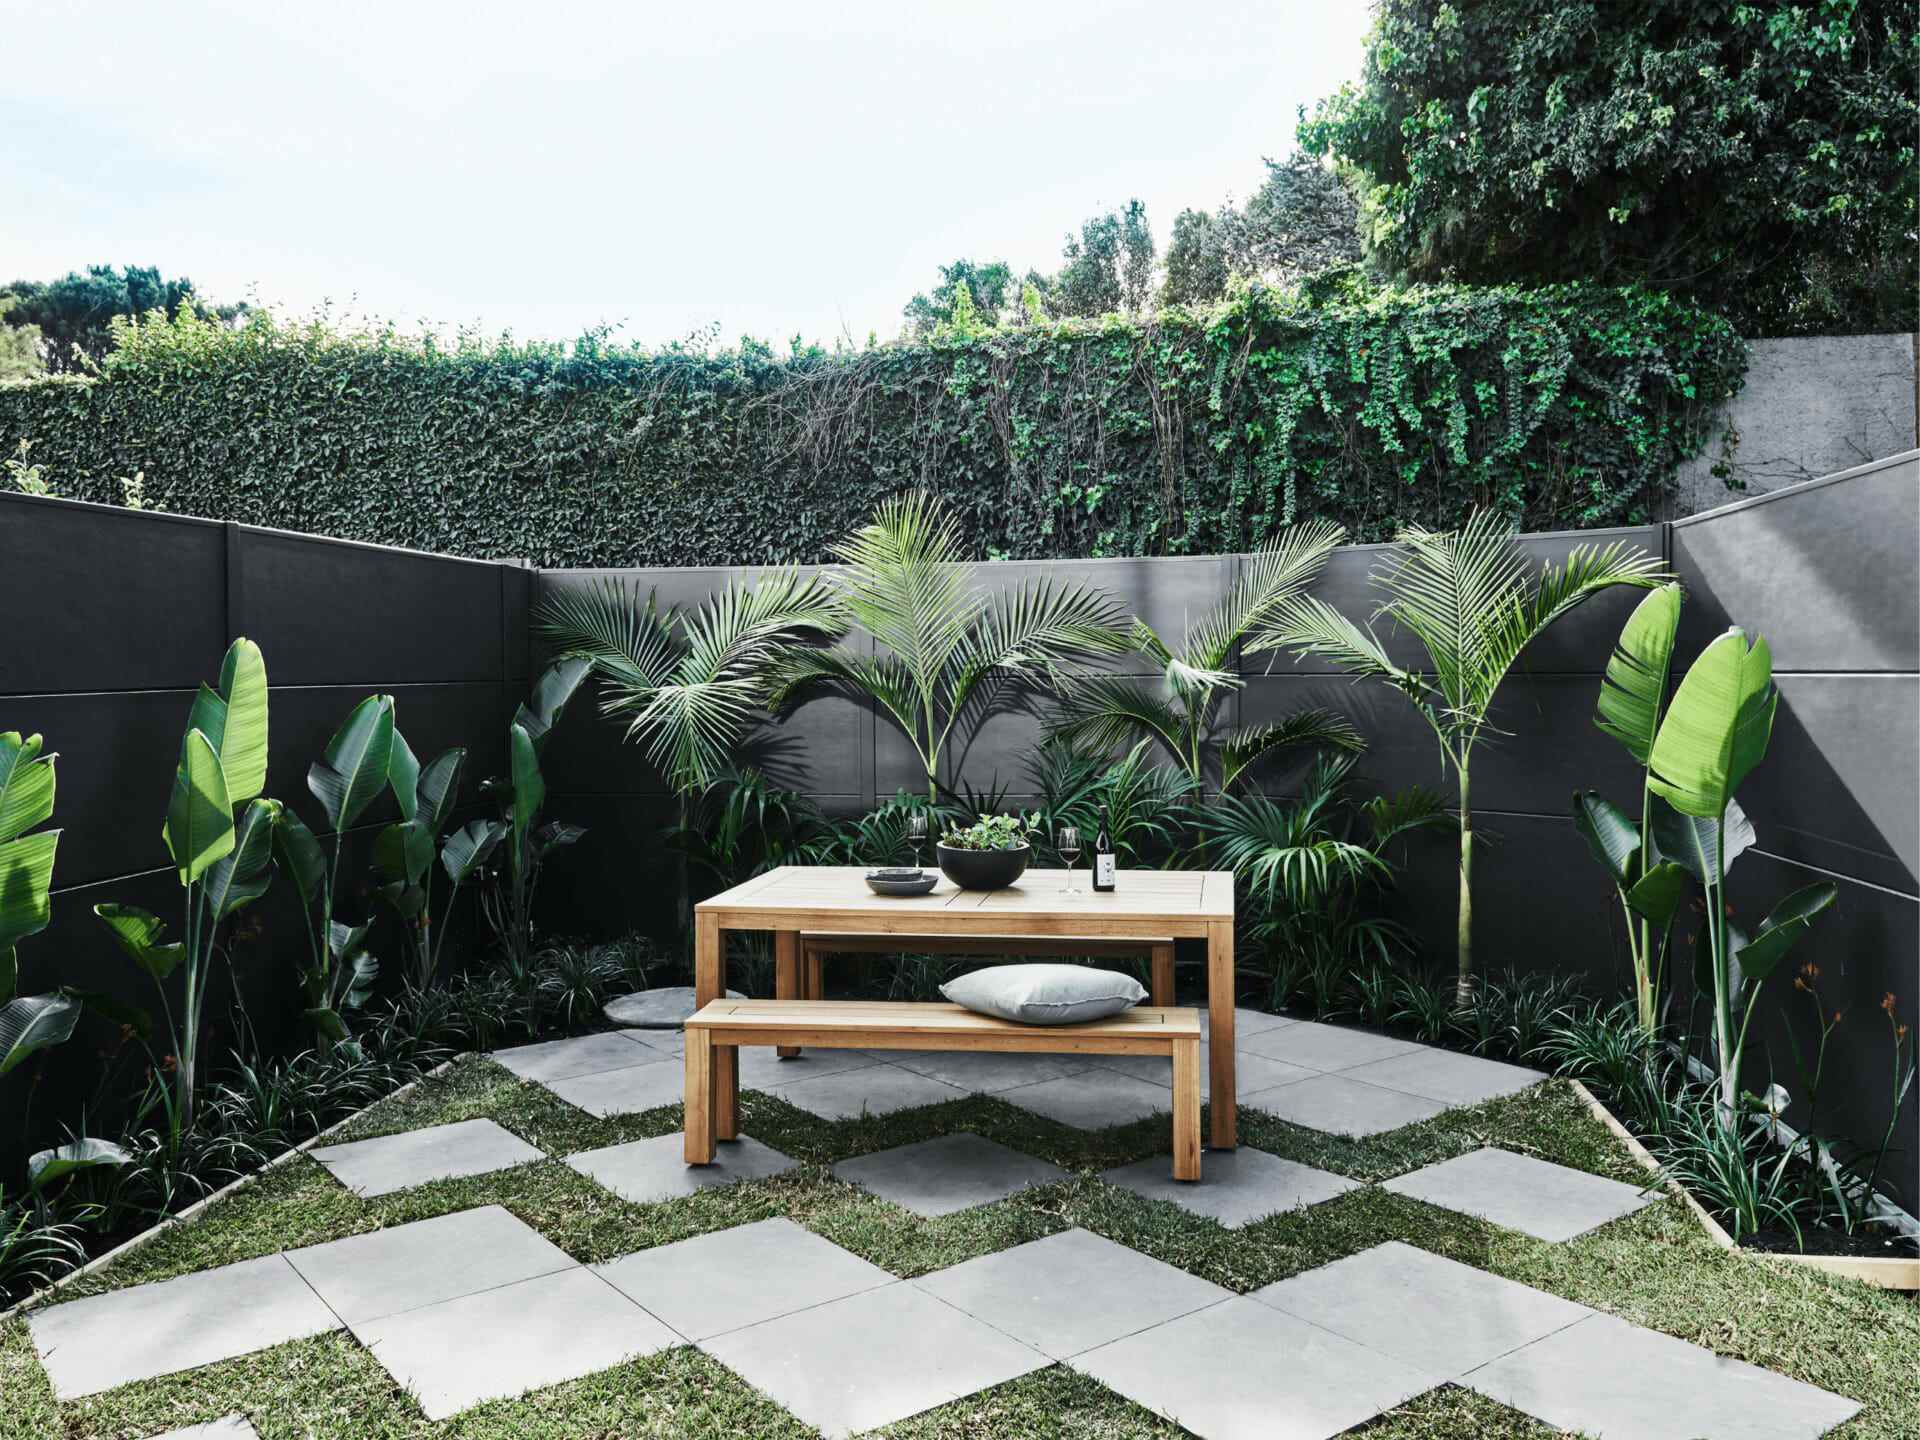
4. Pavers: Paver paths offer a wide range of design options and can be tailored to match the style of your backyard. They are durable, low-maintenance, and provide a stable surface. Pavers can vary in size, shape, and material, such as concrete, brick, or natural stone.
5. Flagstone: Flagstone paths provide a beautiful and timeless look to your backyard. They are available in various shapes and sizes and can be arranged in different patterns. However, flagstone paths require careful installation to ensure stability and may be more expensive compared to other options.
Consider the climate and weather conditions in your area when selecting the path material. Some materials may perform better in certain climates, while others may be susceptible to cracking or shifting in extreme temperatures or heavy rainfall.
Additionally, think about the maintenance requirements of each material. Some paths may require more frequent sweeping, weeding, or releveling, while others may only need occasional cleaning or sealing.
- Tips:
– Visit local garden centers or hardscaping suppliers to see and feel different path materials in person before making your decision.
– Consider using a combination of materials to create visual interest and define different sections of your walking path.
– Take into account any accessibility needs, such as providing a smooth and level surface for strollers, wheelchairs, or mobility aids if required.
Once you have selected the path material, you can move on to the next step: marking the path layout.
Step 4: Marking the Path Layout
Marking the path layout is an essential step in ensuring accuracy and precision during the construction of your walking path. By properly marking the path’s boundaries and shape, you can visualize the final result and make any necessary adjustments before moving forward.
Start by using stakes or spray paint to outline the path’s edges. Begin at one end of the pathway and place stakes at regular intervals along the proposed path. Connect the stakes using string or a garden hose to form a clear boundary line. Doing so will give you a visual representation of the path’s layout and allow you to make any necessary modifications.
When marking the path layout, consider the width and shape you decided on during the planning stage. Ensure that the path is wide enough for comfortable walking and any desired features, such as adding plants or stepping stones. Take into account the surrounding landscape and ensure that the path flows naturally within your backyard.
If you’re using irregularly shaped materials, such as flagstones, lay them out along the marked path to get a better sense of the final design. This will help you make adjustments to the layout, including spacing and arrangement, before the construction phase begins.
- Tips:
– Use a tape measure or ruler to ensure that the width of the path remains consistent throughout the layout process. This will help create a visually appealing and easy-to-navigate walking surface.
– Make sure to take into account any existing features or obstacles in your backyard, such as trees, flower beds, or irrigation systems. Adjust the path’s layout accordingly to work around these elements or enhance their presence.
– If you prefer a more organic and natural look, consider adding gentle curves or bends to your path rather than having a strictly straight design.
– Take a step back and view the marked path layout from different angles to see if it aligns well with your overall backyard design and aesthetics.
Once you’re satisfied with the marked path layout, you can proceed to the next step: excavating the path area.
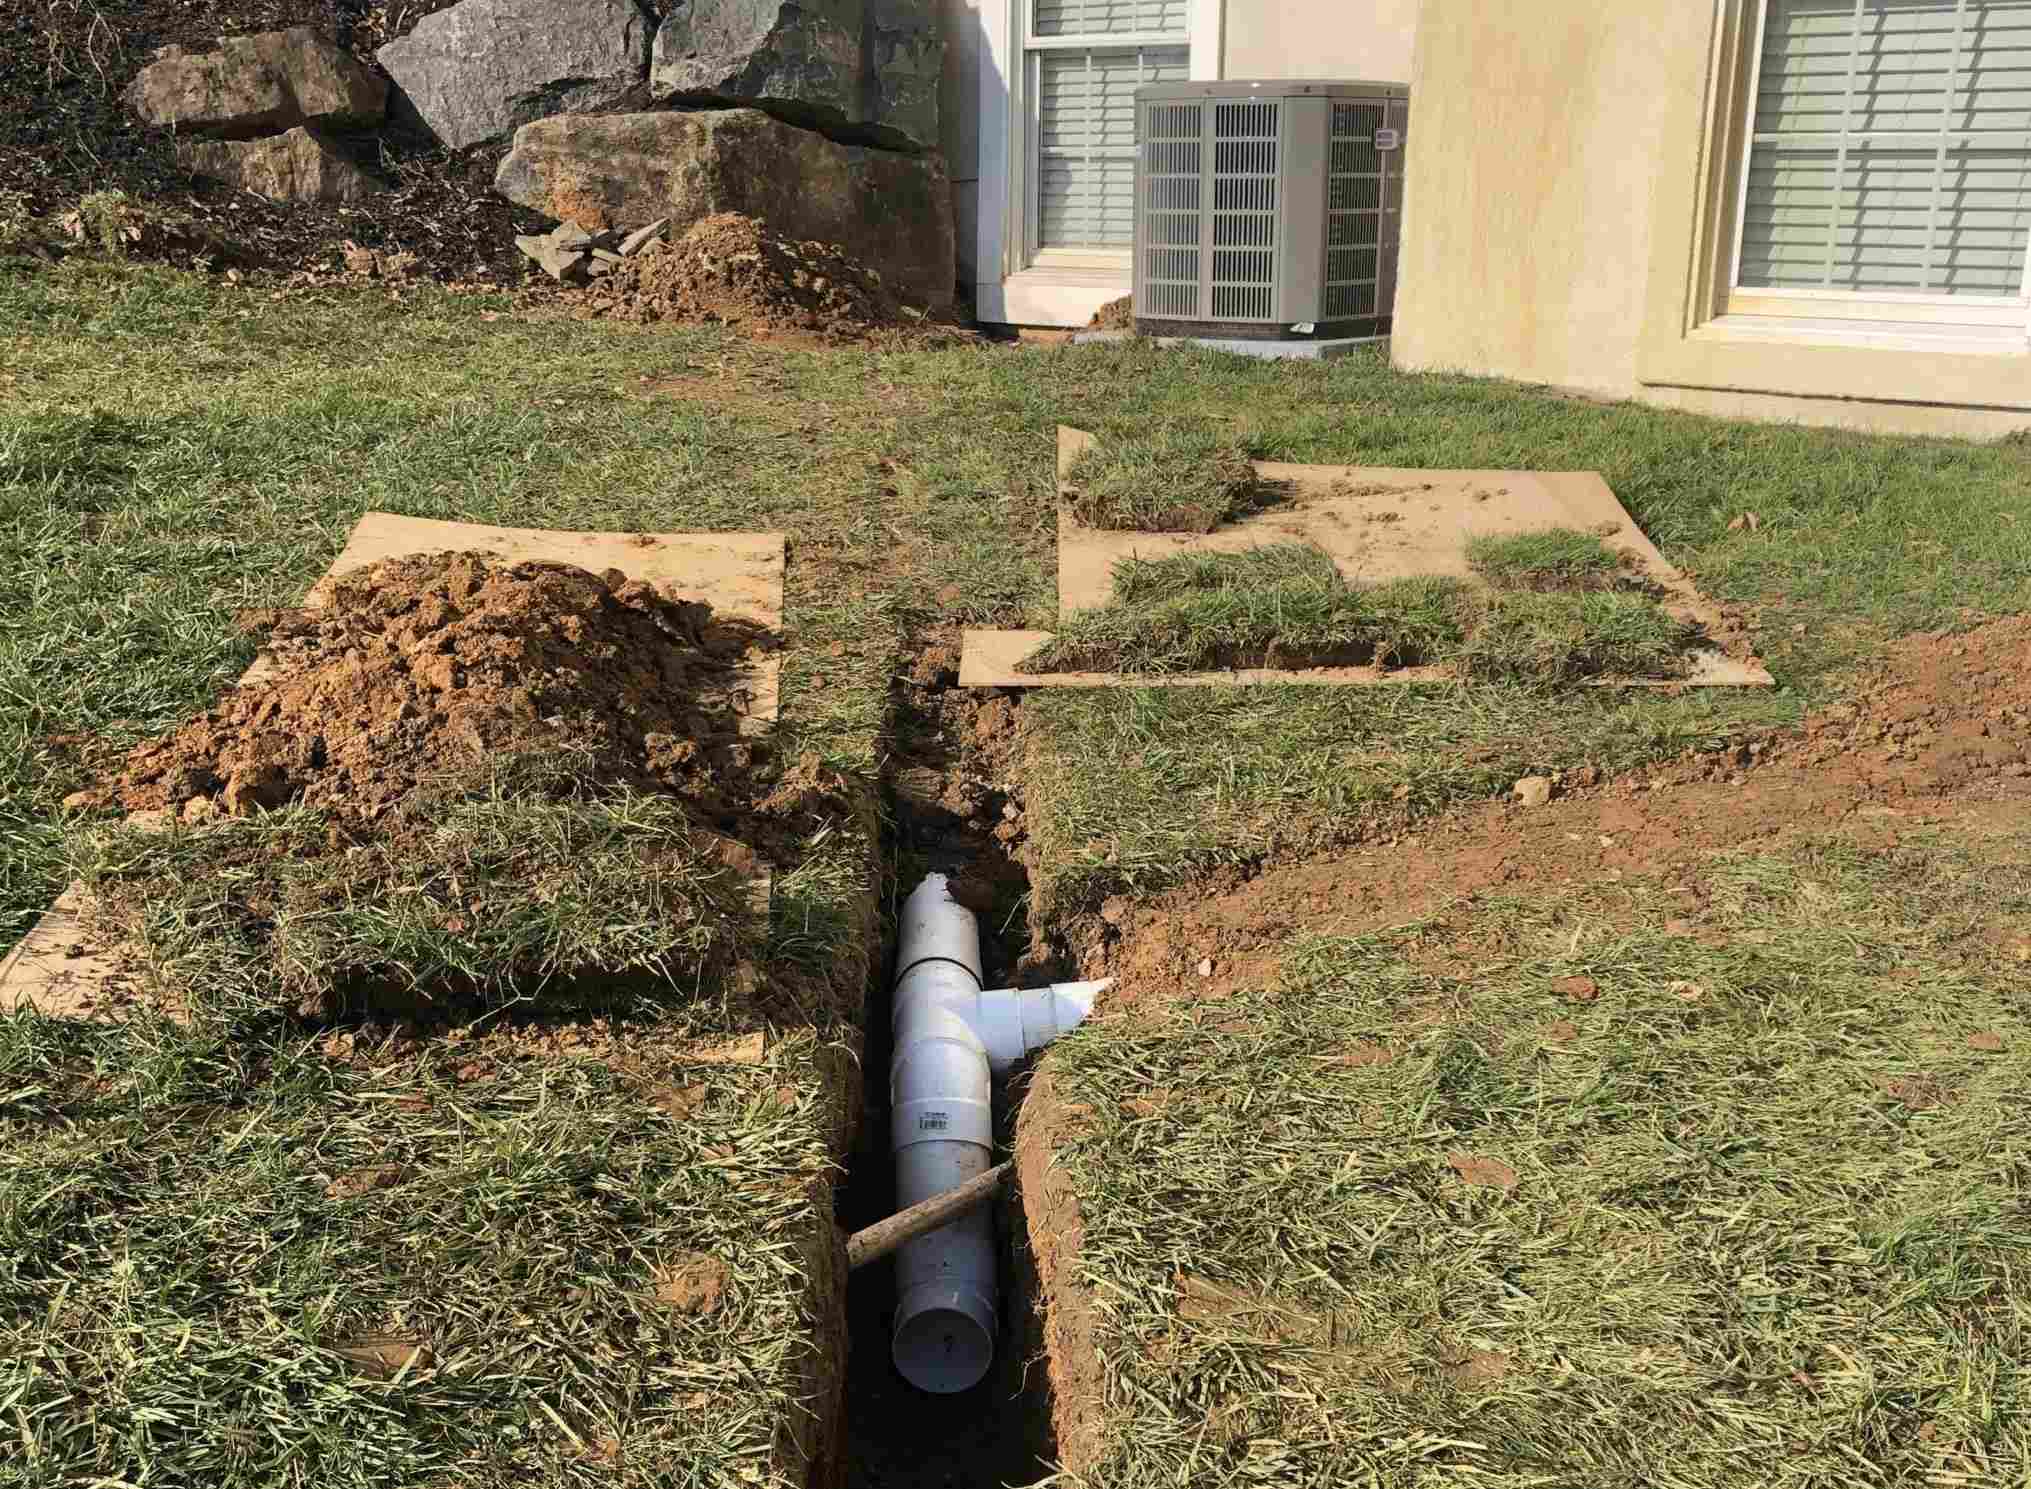
Step 5: Excavating the Path Area
Excavating the path area is a crucial step in creating a solid foundation for your walking path. It involves removing the top layer of soil and creating a leveled and stable base to ensure the longevity and stability of your pathway.
Before you begin excavation, it’s important to refer to your marked path layout to guide the digging process. Use a shovel or a spade to start removing the top layer of grass, plants, and soil within the marked boundaries. Begin at one end of the path and work your way to the other end, gradually digging to a depth of about 4 to 6 inches.
As you excavate, keep in mind the desired width and shape of the path. Use a level or a long board to check for evenness and adjust the depth of the excavation as needed. Ensure that the path slopes slightly to allow for proper drainage, with a gentle slope of about 1/4 inch per foot away from any structures or buildings.
Remove any rocks, roots, or other debris that you encounter during the excavation process. These can create an uneven base and potentially cause problems in the future. Take the time to make the path area as smooth and clear as possible.
If you have larger rocks or boulders that are too difficult to remove, you can either work around them or consider incorporating them into the path design as interesting focal points or stepping stones.
- Tips:
– If your soil is particularly compacted or prone to waterlogging, consider loosening it up and improving drainage by adding a layer of coarse sand or gravel at the bottom of the excavation.
– Work in small sections at a time to ensure accuracy and efficiency during the excavation process. This will also prevent the soil from drying out too quickly if you’re working under hot weather conditions.
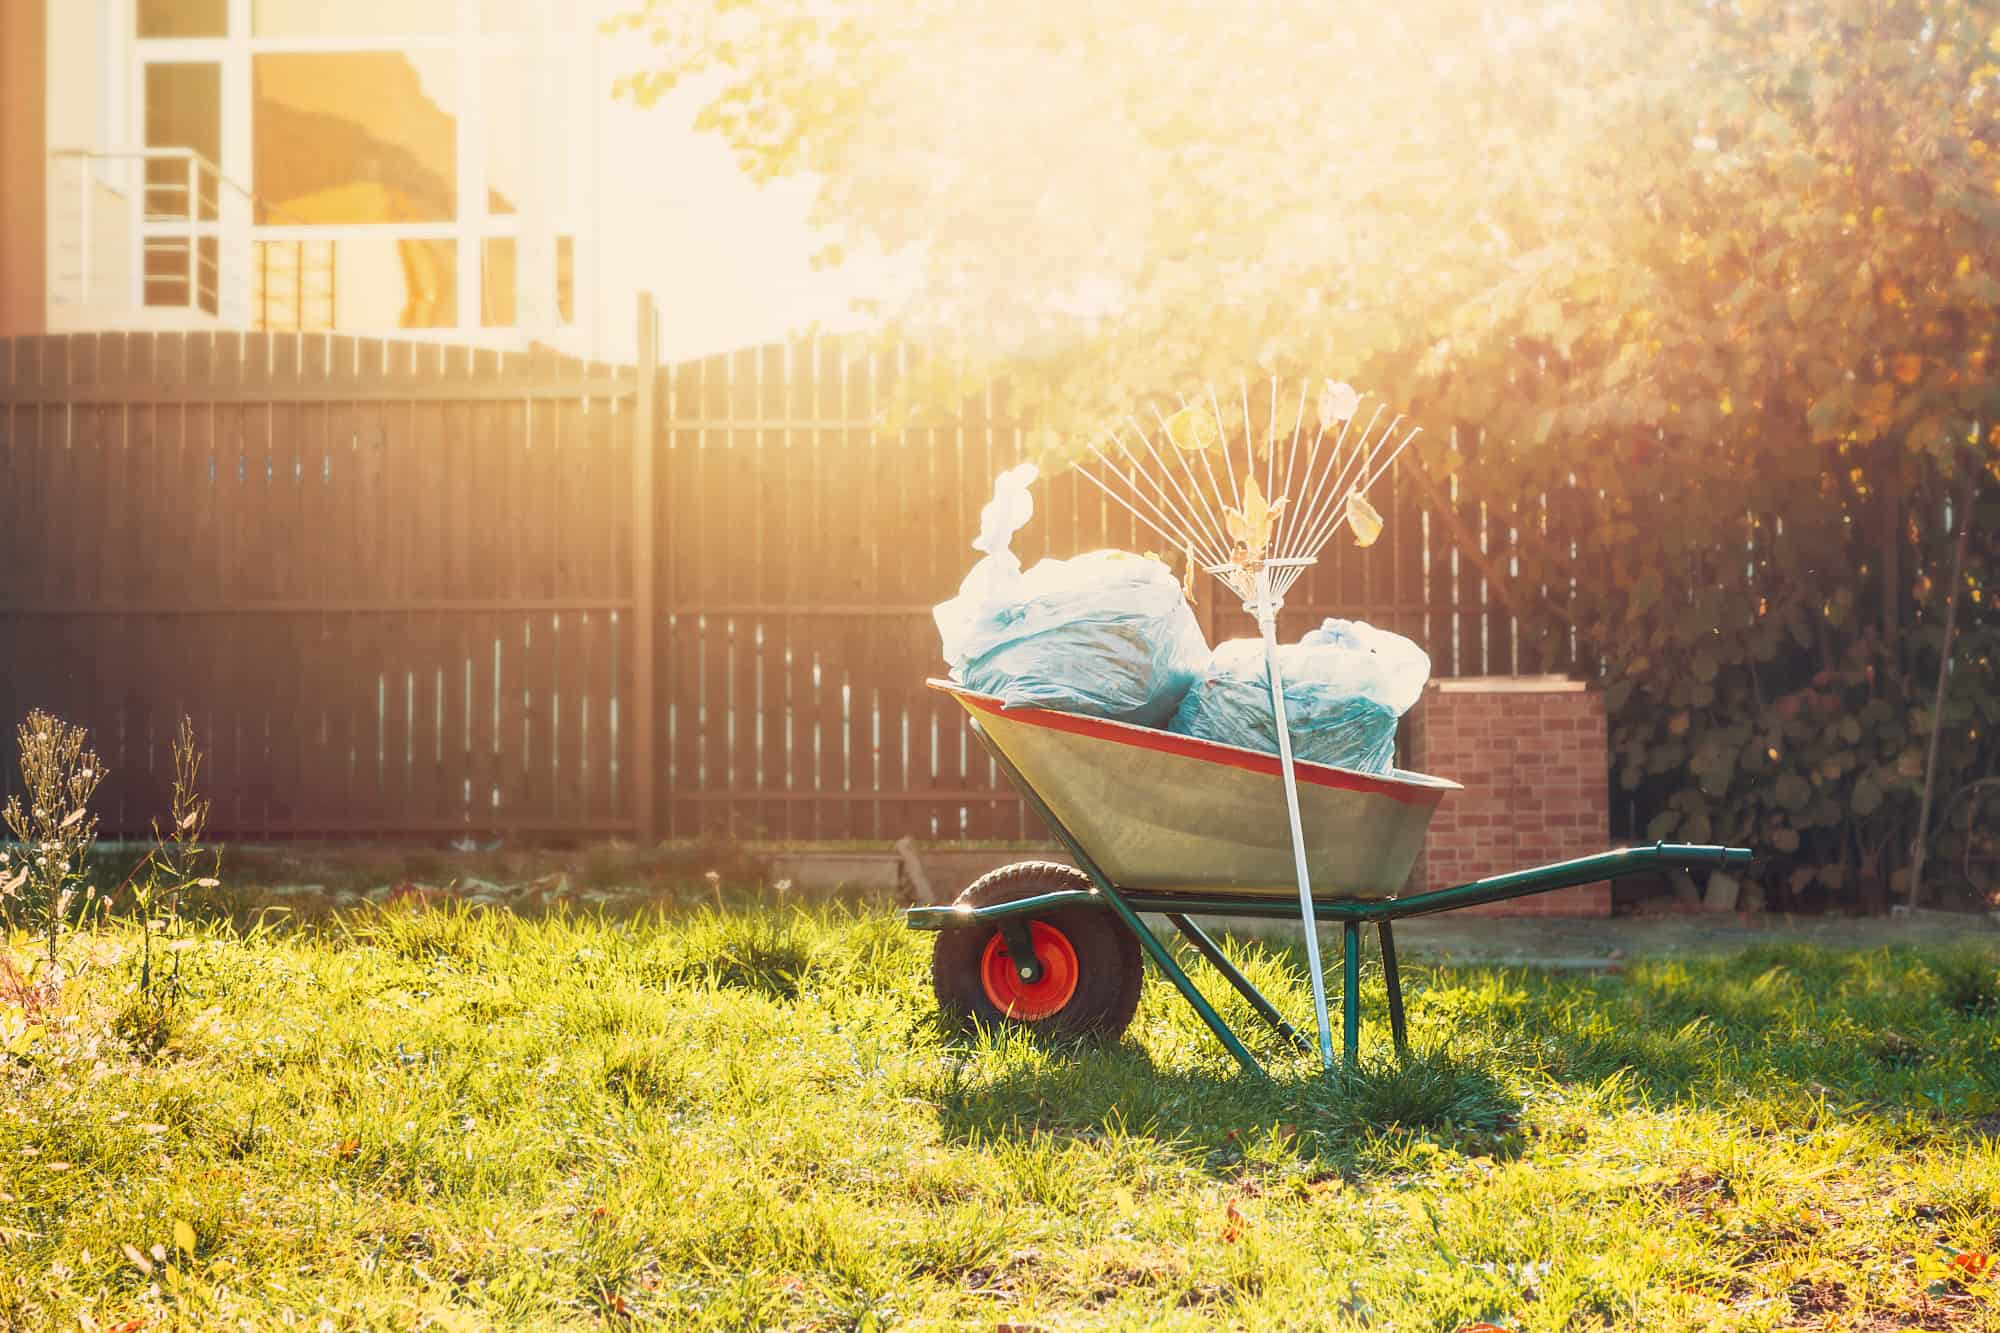
– Keep a wheelbarrow or a tarp nearby to collect and dispose of the excavated soil. You can reuse it elsewhere in your garden or consider donating it to local community projects.
– Pay close attention to the depth and leveling of the path area to ensure a smooth and even surface. This will make the installation of edging or borders, as well as laying the path material, much easier.
With the path area excavated and prepared, you’re ready for the next step: installing edging or borders to define your walking path.
Step 6: Installing Edging or Border
Installing edging or borders is an important step in defining and maintaining the shape of your walking path. Edging not only adds aesthetic appeal but also helps to keep the path material in place and prevent it from spreading or shifting over time.
There are various options for edging materials, including plastic, metal, wood, or concrete. Choose a material that complements the overall style of your backyard and matches the durability requirements of your walking path.
Start by placing the edging along the edges of the excavated path area, following the marked layout. Use a mallet or a rubber mallet to secure the edging firmly into the ground, ensuring that it is flush with the surface of the path.
If you’re using pre-formed edging, make sure to connect the individual pieces securely. If using flexible edging, bend and shape it according to the curves and angles of your path. Trim any excess edging material as needed to create a clean and seamless look.
For added stability, you can also use stakes or spikes to secure the edging to the ground at regular intervals. This will help prevent movement or shifting of the edging over time.
As you install the edging, periodically check for evenness and alignment. Use a level or a straight board to ensure that the edging is straight and level along the entire path.
- Tips:
– Consider using natural or decorative elements as edging, such as rocks, pebbles, or low-growing plants. These can add a unique and organic touch to your walking path.
– If you’re using wooden edging, treat it with a protective sealant or paint to extend its lifespan and protect it from weathering.
– To make your edging blend in seamlessly with your overall garden design, consider staining or painting it to match the color scheme of your backyard.
– If you prefer a more informal and natural look, you can opt for an unedged path. In this case, ensure that the path material is still contained within the marked boundaries and periodically groom the edges to prevent spreading.
With the edging or border installed, you’re now ready to move on to the next step: adding a weed barrier to prevent unwanted growth.
Step 7: Adding a Weed Barrier
Adding a weed barrier is an essential step in maintaining a pristine and low-maintenance walking path. A weed barrier helps prevent unwanted weeds and vegetation from growing through the path material, ensuring that your pathway remains clean and well-maintained.
Start by thoroughly cleaning the path area and removing any visible weeds or plant growth. Rake the surface to remove debris and create a smooth, even surface.
Next, lay down a layer of landscape fabric or weed barrier fabric over the excavated path area. This fabric will act as a barrier, preventing weed seeds from germinating and growing through the path material.
Cut the fabric to fit the size and shape of your walking path, ensuring that it covers the entire surface. Overlap the seams of the fabric by a few inches to provide a continuous barrier against weed growth.
Secure the fabric in place by using landscape staples or anchoring pins. Place the anchors along the edges and throughout the path area, ensuring that the fabric is taut and properly anchored to the ground.
If you have a curved or irregularly shaped path, make small slits or cuts in the fabric to accommodate the shape while still providing sufficient coverage.
Once the weed barrier is in place, you can proceed to the next step: laying the path material of your choice.
- Tips:
– Choose a high-quality weed barrier fabric that is specifically designed for landscape use. This will ensure its durability and effectiveness in preventing weed growth.
– If you’re using a permeable path material like gravel or mulch, use a weed barrier fabric that allows for proper water drainage while still preventing weed growth.
– Trim any excess fabric or tuck it under the edging to create a neat and finished look.
– Regularly inspect the weed barrier for any signs of weed growth or damage. If weeds manage to penetrate the fabric, promptly remove them to prevent them from spreading.
With the weed barrier in place, you’re ready to move on to the next step: laying the path material of your choice.
Step 8: Laying the Path Material
Laying the path material is an exciting step that brings your walking path to life. The choice of material will depend on your personal preferences, the overall aesthetic of your backyard, and the level of maintenance you desire. Whether it’s gravel, mulch, pavers, or flagstones, properly laying the path material is crucial for creating a durable and visually appealing walking surface.
If you’re using gravel or mulch, start by pouring the material onto the prepared path area. Use a rake or a shovel to evenly spread and distribute the material within the boundaries of the edging. Aim for a consistent thickness of about 2 to 3 inches, ensuring that the path remains level as you lay the material.
If you’re using pavers or flagstone, carefully arrange the pieces according to your desired pattern. Ensure each piece is level and securely in place. Use a rubber mallet or a tamper to gently tap the materials into position, ensuring a stable and even surface.
As you lay the path material, periodically step back and assess the overall appearance and alignment. Make any necessary adjustments to ensure a visually appealing and well-laid path.
- Tips:
– If using gravel or mulch, consider using a border or edging to keep the material contained within the path boundaries and prevent spreading into surrounding areas.
– To maintain a clean and well-defined edge, use a broom or a rake to sweep the material away from the edging or border and ensure a crisp line between the path and surrounding garden beds.
– For pavers or flagstone, use a level or a straight board to ensure that the materials are at the same height and aligned properly. Adjust with additional sand, gravel, or repositioning of the stones as needed.
– Consider adding a layer of fine sand or gravel between the pavers or flagstones to create stability and prevent shifting over time.
With the path material laid down, you’re now ready to progress to the next step: leveling and compacting the path to ensure a solid and well-supported walking surface.
Step 9: Leveling and Compacting the Path
Leveling and compacting the path is a crucial step to ensure a solid and stable walking surface that withstands regular use and the elements. This step helps to eliminate any unevenness or gaps in the path material, providing a smooth and safe pathway for walking.
Begin by using a rake or a shovel to evenly distribute the path material, whether it’s gravel, mulch, pavers, or flagstones. Make sure the material is spread evenly throughout the entire pathway, filling in any gaps or depressions.
Next, use a straight board, a level, or a screed to ensure uniformity and levelness of the path surface. Run the tool across the surface, adjusting the path material as needed to achieve an even height and smoothness.
If you’re using loose materials like gravel or mulch, lightly rake the surface to ensure an even distribution and proper coverage. This will help prevent any inconsistencies or irregularities that may cause tripping hazards or an unsightly appearance.
For paver or flagstone paths, use a rubber mallet or a hand tamper to gently tap the individual pieces into place, ensuring they are level with each other and the surrounding area. Adjust with additional sand, gravel, or repositioning of the stones as needed.
Once the path material is leveled, it’s time to compact it to create a more stable and durable walking surface. Use a hand tamper or a plate compactor to firmly compact the path material, ensuring it is well-settled.
With a plate compactor, a machine specifically designed for compacting surfaces, follow the manufacturer’s instructions for proper operation. Move the compactor slowly over the pathway, applying even pressure to compress the material and create a solid foundation.
- Tips:
– If you’re using loose materials like gravel or mulch, periodically walk on the path and test its firmness. Add additional material and compact as needed to eliminate any shifting or sinking.
– For paver or flagstone paths, periodically check the levelness and alignment of the materials as you compact. Adjust and tap as necessary to ensure a seamless and uniform surface.
– Consider using a weed-resistant jointing sand for paver or flagstone paths, as it helps to stabilize the materials and inhibit weed growth between the joints. Sweep the sand into the gaps and lightly moisten it to aid the compacting process.
– Take breaks during the compacting process to assess the levelness and overall appearance of the path. This allows you to make adjustments and corrections as needed before moving on to the final steps.
With the path leveled and compacted, you’re now ready to move on to the next step: jointing and sealing the path material, if applicable to the chosen material.
Step 10: Jointing and Sealing the Path Material
Jointing and sealing the path material is an optional step, depending on the type of material you’ve chosen for your walking path. This step is most common for paver paths and flagstone paths to enhance the stability and longevity of the path, as well as to provide additional protection against weed growth and moisture penetration.
If you’re working with pavers or flagstones, jointing refers to filling the gaps between each piece with a jointing material such as fine sand or polymeric sand. The jointing material helps to lock the individual pieces in place, prevent shifting, inhibit weed growth, and enhance the overall aesthetics of the path.
To joint your paver or flagstone path, start by thoroughly cleaning the surface, ensuring all debris and loose material are removed from the gaps. Use a broom or brush to sweep in the jointing material, filling the gaps completely. Use a tamper or a hand compactor to gently vibrate the path to allow the jointing material to settle evenly.
If you’re using polymeric sand, follow the manufacturer’s instructions for activating the sand. Typically, this involves misting the path surface with water to activate the binding agents in the sand, which will help solidify and stabilize the joints.
Once the gaps are filled and the jointing material is properly distributed, use a broom to sweep off any excess material from the surface of the path. This will prevent the material from hardening on the pavers or flagstones, leaving a clean and polished appearance.
Sealing the path material is another optional step that can help protect and enhance the color and longevity of certain materials like pavers or flagstones. A sealer creates a protective barrier on the surface, making it more resistant to stains, moisture, and UV damage.
If you choose to seal your path, carefully follow the manufacturer’s instructions for the specific sealer you’re using. Apply the sealer evenly over the entire surface of the path using a sprayer or a brush, making sure to cover all areas. Allow the sealer to dry completely before allowing foot traffic on the path.
- Tips:
– Before applying a sealer, make sure the path is completely clean and dry. Remove any dirt, stains, or debris that may interfere with the sealing process.
– Consider using a sealer with a non-slip additive if you have concerns about the path becoming slippery when wet.
– If you have a gravel or mulch path, avoid jointing or sealing, as these materials are meant to have a more natural, free-flowing appearance.
– If you have any questions or concerns about jointing or sealing, consult with a professional or seek guidance from the manufacturer of the path material.
With the jointing and sealing process complete (if relevant to your chosen material), you’re ready for the final step: adding the finishing touches to your walking path.
Step 11: Adding Finishing Touches
The final step in creating your walking path is adding the finishing touches. These small details will elevate the overall look and functionality of your path, making it a truly personalized and enjoyable addition to your backyard.
Here are a few ideas to consider when adding the finishing touches:
1. Landscaping: Incorporate landscaping features along the path to enhance its beauty. You can add flower beds, native plants, or ornamental grasses on either side of the path to create a visually appealing border.
2. Lighting: Install outdoor lighting along the path to ensure safe navigation, especially during the evening hours. Options include solar-powered lights, low-voltage pathway lights, or even string lights for a cozy ambiance.
3. Seating areas: If you have enough space, consider adding a seating area along the path. This will provide a cozy spot for relaxation and reflection. You can use benches, outdoor chairs, or even a small patio set.
4. Decorative elements: Sprinkle decorative elements along the path to add personal flair and charm. You can use decorative stones, garden sculptures, decorative stakes, or even wind chimes.
5. Signage: Have fun with signage by adding personalized signs, plaques, or garden markers along the path. These can have inspirational quotes, garden names, or even directional arrows to guide guests.
6. Pathway edging: Consider adding a contrasting or complementary edging material alongside the pathway, such as bricks, decorative stones, or pavers. This will further define the path and add visual interest.
7. Maintenance and grooming: Regularly maintain and groom your walking path to keep it looking its best. This includes removing any fallen leaves, sweeping debris, pulling out weeds, and replenishing materials like gravel or mulch when necessary.
- Tips:
– Match the style and design of the finishing touches to the overall theme of your backyard. This will create a cohesive and unified look.
– Periodically refresh or update the finishing touches to keep your walking path feeling fresh and inviting.
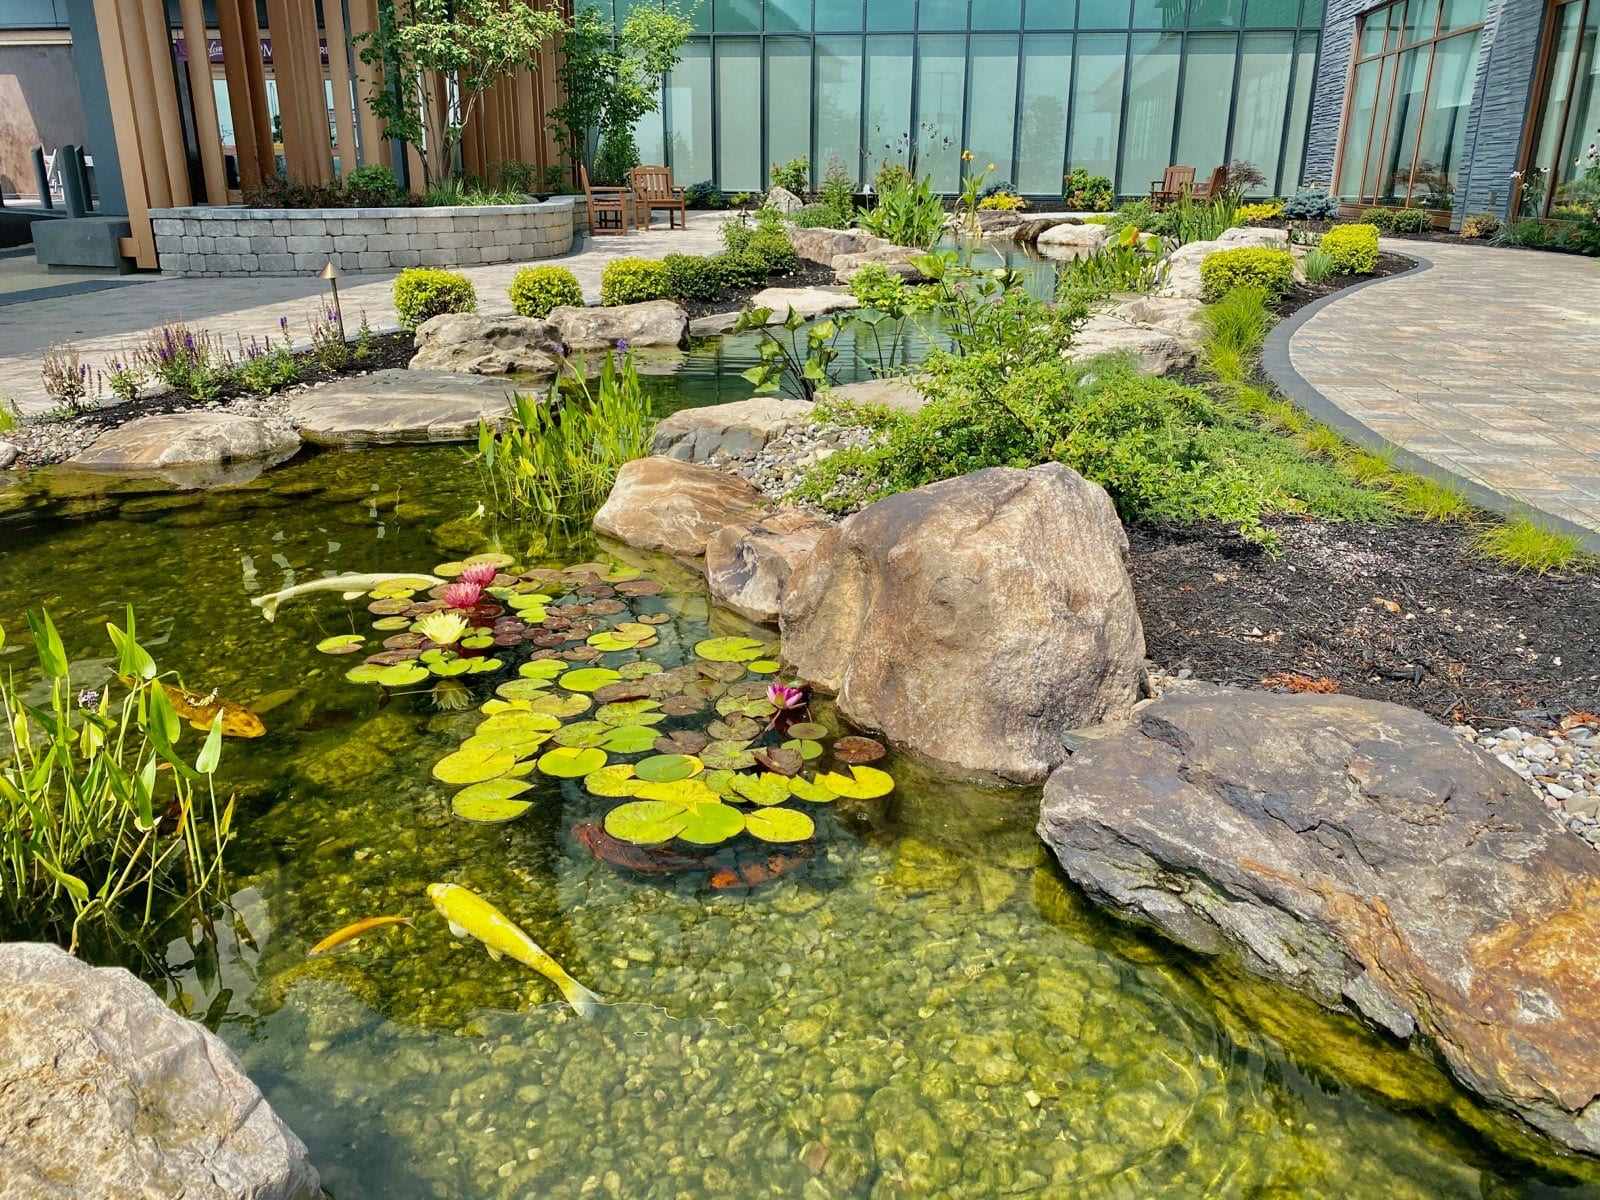
– Consider incorporating a focal point along the path, such as a decorative statue, a fountain, or a unique plant arrangement. This will create a sense of visual interest and draw the eye along the pathway.
– Don’t forget to assess the functionality of the pathway. Ensure that it’s wide enough for comfortable navigation, wheelchair accessibility if needed, and provide proper lighting for safety.
With the finishing touches complete, admire and enjoy your beautiful walking path in your backyard. It’s now a wonderful feature that enhances the overall aesthetics, navigation, and enjoyment of your outdoor space.
Conclusion
Congratulations! You have successfully completed the steps to create a beautiful and functional walking path in your backyard. By following the planning process, clearing the area, choosing the right path material, and meticulously executing each step, you have transformed your outdoor space into a welcoming and serene environment.
Not only does a walking path provide a designated route for leisurely strolls, but it also adds structure and organization to your backyard. It enhances the overall aesthetic and creates a sense of cohesiveness within your landscaping design.
Remember to regularly maintain and groom your walking path to keep it in pristine condition. Sweep away debris, pull out any weeds, and add fresh material as needed. With proper care, your walking path will continue to be a source of joy and relaxation for years to come.
Whether you chose to use gravel, mulch, pavers, or flagstones, your walking path is a testament to your hard work and creativity. Enjoy the beauty of nature as you meander through your backyard oasis, appreciating the sights and sounds of your carefully crafted outdoor space.
So, grab a cup of coffee or tea, put on your walking shoes, and take a leisurely stroll along your new walking path. Breathe in the fresh air, listen to the birds chirping, and let the tranquility of your backyard oasis envelop you.
Now it’s your turn to inspire others with your DIY skills and guide them on their own journey to creating a stunning walking path in their backyard. Share your knowledge and experiences as you help others beautify their outdoor spaces and enjoy the benefits of a dedicated pathway.
Remember, the key to a successful walking path project is careful planning, attention to detail, and creativity. So go ahead and enjoy the process of transforming your backyard into a haven of relaxation and beauty with your very own walking path.