Home>Garden Design>How To Build A Firepit In Your Backyard

Garden Design
How To Build A Firepit In Your Backyard
Modified: January 22, 2024
Learn how to incorporate landscape design into your backyard by building a firepit. Enhance your outdoor living space with this step-by-step guide.
(Many of the links in this article redirect to a specific reviewed product. Your purchase of these products through affiliate links helps to generate commission for Chicagolandgardening.com, at no extra cost. Learn more)
Table of Contents
Introduction
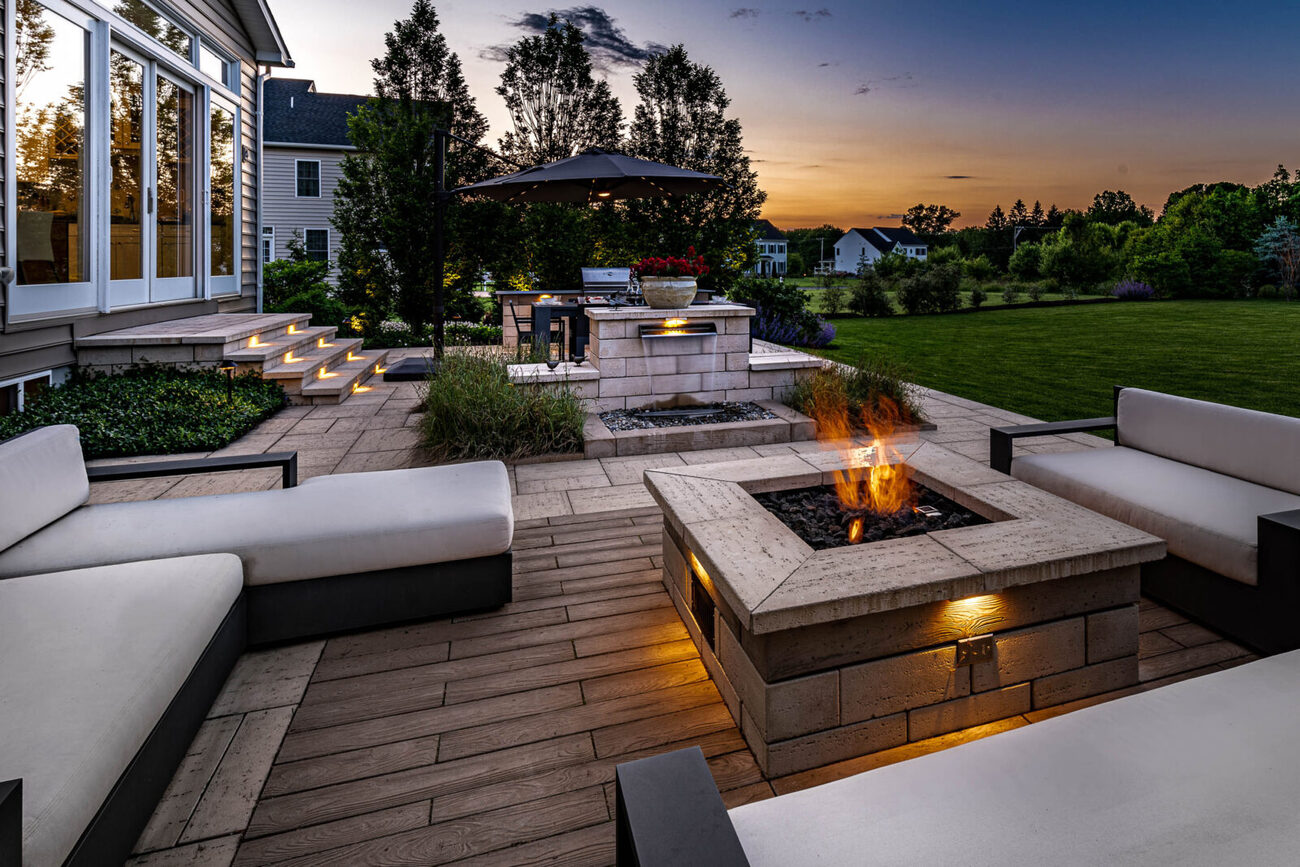
Imagine spending warm summer evenings gathered around a cozy firepit in your backyard, where the crackling flames create a mesmerizing ambiance and the flickering light dances across your face. Building a firepit not only provides a practical space for outdoor enjoyment but also adds a touch of natural beauty to your landscape design. Whether you want to roast marshmallows, entertain guests, or simply relax in the warmth of the fire, a firepit can be a wonderful addition to your outdoor living space.
In this article, we will guide you through the process of building a firepit in your backyard. We’ll provide you with step-by-step instructions, tips, and recommendations to ensure that your firepit is not only functional but also aesthetically pleasing. From choosing the perfect location to adding the finishing touches, we’ll cover everything you need to know to create a stunning firepit that you’ll love.
Before we dive into the steps, it’s important to note that safety should be your utmost priority when building and using a firepit. Always check with your local authorities for any regulations or permits required, and follow proper fire safety precautions.
Now, let’s get started on this exciting DIY project to transform your backyard into a cozy oasis!
Step 1: Choose a Location
The first step in building a firepit in your backyard is to select the perfect location. Consider a few important factors when choosing the right spot:
- Safety: Ensure that the location is a safe distance away from any flammable structures, such as your house, trees, or sheds. It should have ample space around it to prevent any accidental fires and allow for easy movement.
- Accessibility: Select a location that is easily accessible for you and your guests. It should be conveniently located near a seating area or gathering space in your backyard.
- Wind Direction: Take note of the prevailing wind direction in your area. Position the firepit in a way that the wind does not blow smoke directly towards you or your house.
- Utility Connections: Before finalizing the location, check for any underground utility lines, such as gas or electrical lines, that may interfere with the construction process. Call the appropriate authorities to mark the location of these lines.
- Privacy: Consider the privacy of your backyard and choose a location that provides a tranquil and intimate setting for your firepit.
- Aesthetics: Think about the visual impact of the firepit in your backyard. Choose a spot that complements the overall design and style of your landscape.
Once you have carefully considered these factors, mark the chosen location using stakes or spray paint. This will help you visualize the size and shape of the firepit when moving onto the next steps.
Choosing the right location sets the foundation for a successful firepit project. Now that you have determined where your firepit will be placed, let’s move on to gathering the materials and tools you’ll need.
Step 2: Gather Materials and Tools
Now that you have chosen the perfect location for your firepit, it’s time to gather the necessary materials and tools. Here’s a list of what you’ll need:
- Firepit Kit or Materials: You can choose to purchase a firepit kit, which usually includes a metal ring and wall blocks, or gather your own materials. If you opt for the latter, consider using heat-resistant materials such as concrete blocks or natural stone.
- Shovel: A sturdy shovel will be essential for digging the firepit area and moving soil.
- Level: To ensure a stable foundation, you’ll need a level to check that the ground is even during the construction process.
- Tape Measure: Accuracy is key when building a firepit, so a tape measure will help you determine the dimensions and spacing.
- Masonry Adhesive: If you are using individual bricks or stones to build your firepit, a masonry adhesive will be needed to secure the materials together.
- Rubber Mallet: A rubber mallet comes in handy for gently tapping and adjusting the position of the wall blocks.
- Gravel and Sand: These materials are used as a base for the firepit and help with proper drainage.
- Safety Gear: Don’t forget to prioritize your safety! Wear gloves, safety glasses, and appropriate footwear during the construction process.
Before you start building, ensure that you have all the necessary materials and tools readily available. This will make the process smoother and prevent any unnecessary delays. It’s also a good idea to double-check the instructions provided with your firepit kit or refer to a reliable DIY resource for specific recommendations based on the materials you are using.
Now that you’re well-prepared with the materials and tools, let’s move on to the next step: preparing the area for the firepit.
Step 3: Prepare the Area
Before you start digging and building the firepit, it’s important to properly prepare the area to ensure a stable and long-lasting structure. Follow these steps to prepare the area:
- Clear the Area: Remove any vegetation, grass, or debris from the designated firepit location. This will ensure a clean and even surface for construction and prevent any potential fire hazards.
- Mark the Outer Edge: Use a tape measure to mark the outer edge of the firepit area. This will help you maintain accurate dimensions during the construction process.
- Excavate the Area: Start digging within the marked area to create a shallow excavation. Remove the top layer of soil and continue digging until you reach a depth of about 6-8 inches. This will provide enough space for the firepit base and walls.
- Level the Excavated Area: Use a level to ensure that the excavated area is even and flat. This will help with proper installation and stability of the firepit.
During the excavation process, it’s important to keep in mind any specific requirements or recommendations provided with your firepit kit or materials. Some kits may require varying depths or additional steps for proper installation, so refer to the manufacturer’s instructions or a reliable DIY resource if necessary.
Once you have prepared the area, you’re ready to move on to the next step: digging the firepit itself. It’s an exciting and crucial stage of the process, as it will determine the shape and size of your firepit. So let’s grab our shovels and get started!
Step 4: Dig the Firepit
Now that you have prepared the area, it’s time to dig the firepit itself. Follow these steps to dig the firepit:
- Decide on the Shape: Determine the shape you want for your firepit, whether it’s round, square, rectangular, or any other shape that suits your preference. Mark the outer edge of the firepit using stakes or spray paint.
- Start Digging: Begin digging within the marked area, removing the soil to create the depth of your firepit. The depth will depend on personal preference, but a typical firepit depth ranges from 12 to 18 inches.
- Smooth the Bottom: Use a shovel or a rake to smooth the bottom of the firepit. This will create a level surface for the firewood or other materials you will use when lighting the fire.
- Check the Dimensions: Use a tape measure to ensure that the dimensions of your firepit match your desired size. Adjust the shape and depth as needed.
Keep in mind that the dimensions and shape of your firepit may influence the amount of soil you need to remove. It’s a good idea to reserve the extra soil for later use, such as filling gaps or adjusting the ground level.
As you dig the firepit, it’s important to periodically check the dimensions, shape, and levelness. This will ensure that you are on track and that the final result matches your expectations. Take your time, and don’t rush the digging process.
Once you are satisfied with the shape and depth of your firepit, it’s time to move on to the next step: leveling the ground. This will provide a stable base for the firepit walls and ensure proper functionality of your firepit.
Step 5: Level the Ground
After digging the firepit, it’s important to level the ground to provide a stable base for the firepit walls. Follow these steps to level the ground:
- Remove Excess Soil: If there is any excess soil or uneven areas within the firepit, remove it to create a smooth and level surface. Use a shovel or a rake to distribute the soil evenly.
- Use a Level: Place a level across the bottom of the firepit to determine any areas that are uneven. Adjust the soil as needed to achieve a level surface.
- Tamp the Soil: Use a tamper or the back of a shovel to compact the soil in the firepit area. This will help create a solid and stable base for the firepit walls.
- Check for Levelness: Use the level again to double-check the levelness of the ground. Adjust and tamper the soil as necessary to ensure that the ground is uniformly level.
Leveling the ground is crucial to maintain the structural integrity of your firepit. An uneven base can lead to unstable walls and potential hazards while using the firepit. Take your time to properly level the ground before proceeding to the next step.
Now that you have leveled the ground, it’s time to move on to the next step: installing the border. This will provide a defined edge for your firepit and add a touch of aesthetic appeal.
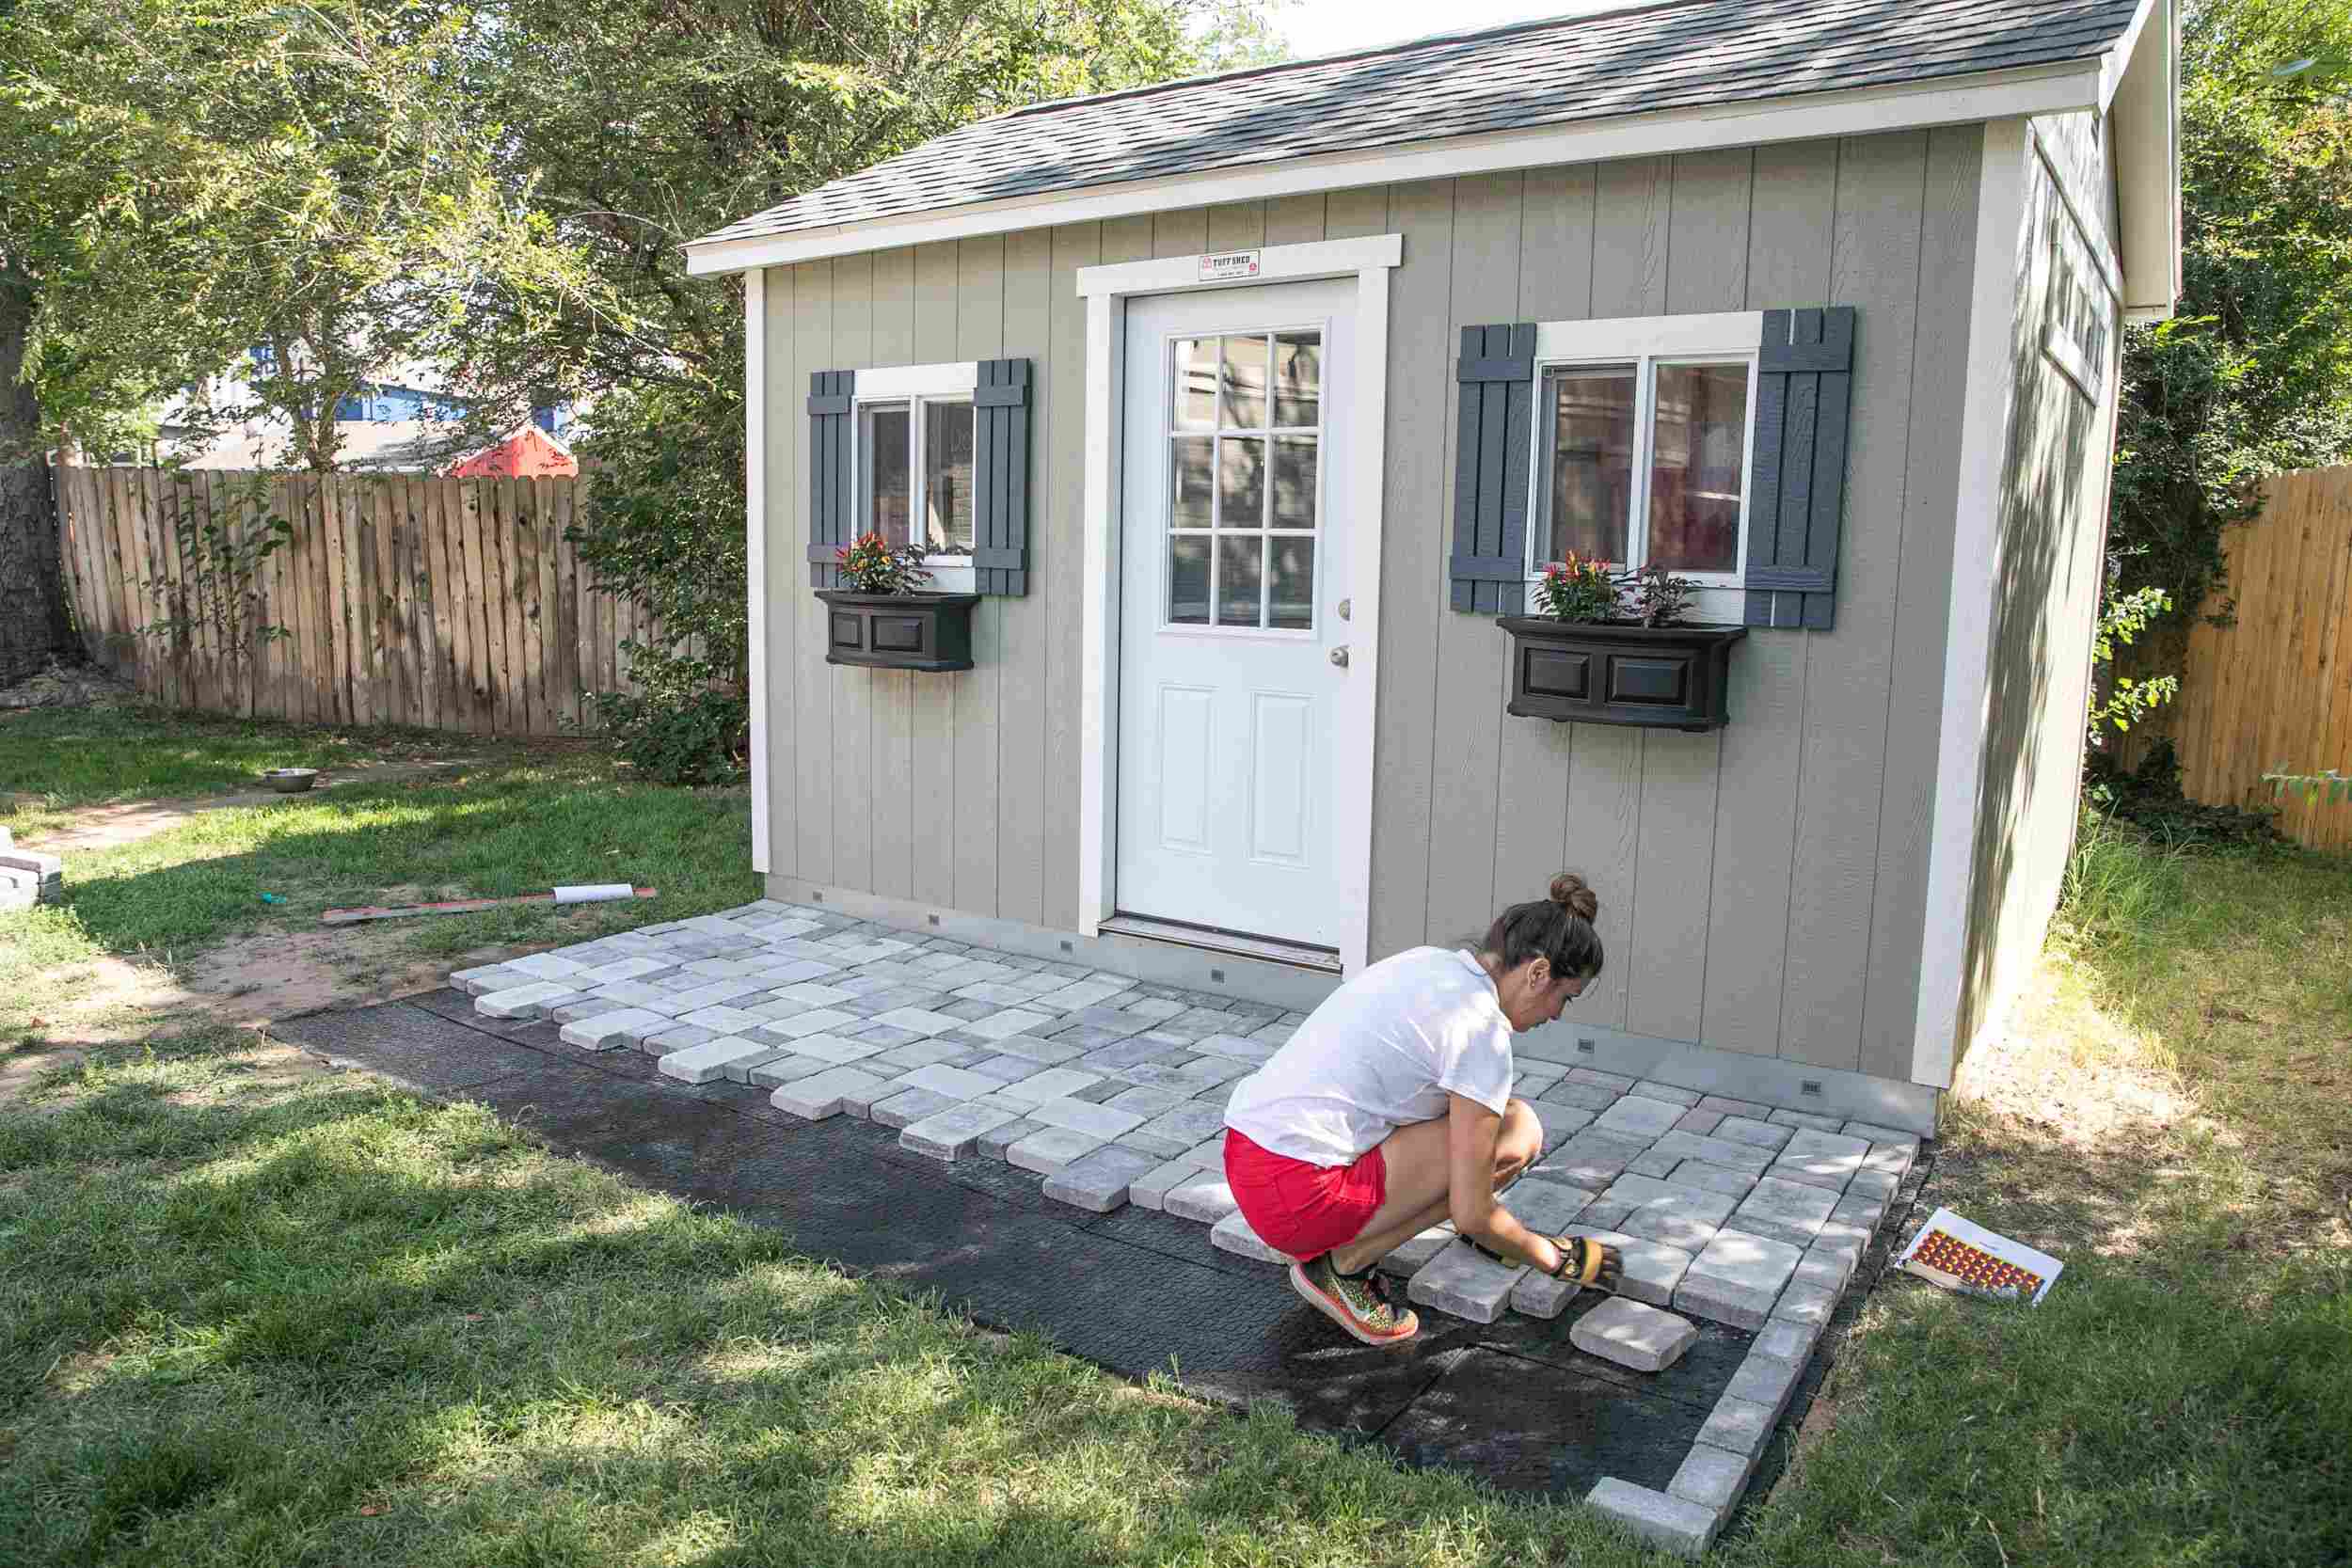
Step 6: Install the Border
Installing the border for your firepit adds a finishing touch and gives it a defined look. Here’s how you can install the border:
- Select the Border Material: Choose the material for your firepit’s border, such as bricks, pavers, or stone. Consider the style and functionality you desire for your firepit.
- Measure and Mark the Border: Use a tape measure and stakes to mark the location and size of the border around the firepit. Ensure it is evenly spaced and the measurements are accurate.
- Prepare the Border Area: Use a shovel to dig a shallow trench along the marked border area. The depth should accommodate the height of your chosen border material.
- Add a Bedding Layer: Fill the trench with a layer of sand or gravel to create a stable base for the border. Level the bedding material so that it is even and compacted.
- Place the Border Material: Carefully place the border material along the trench, ensuring a snug fit and alignment. Use a rubber mallet or a block of wood to tap the border material into place.
- Check for Levelness: Use a level to check the horizontal and vertical levelness of the border. Adjust as needed to achieve a uniform and visually appealing border.
Keep in mind that the installation process may vary depending on the type of border material you choose. Some materials may require mortar or adhesive for added stability. Refer to the manufacturer’s instructions or consult a DIY resource for specific recommendations based on your chosen border material.
Once the border is installed, take a step back and admire the visual impact it adds to your firepit. The border not only enhances the aesthetics but also provides a functional edge for the final construction of your firepit.
Now that the border is in place, it’s time to move on to the next step: adding a gravel base to ensure proper drainage for your firepit.
Step 7: Add a Gravel Base
Adding a gravel base to your firepit is an essential step to ensure proper drainage and stability. Here’s how you can add a gravel base:
- Clear the Area: Remove any debris or excess soil from the firepit area to create a clean surface for the gravel base.
- Calculate the Amount of Gravel: Determine the amount of gravel needed by measuring the length, width, and depth of the firepit. Multiply these dimensions together to get the volume, and then convert it to cubic feet or yards based on the unit used for purchasing gravel.
- Spread the Gravel: Pour the gravel evenly into the firepit area, starting from the center and working your way towards the edges. Use a rake or a shovel to spread the gravel and create a uniform layer.
- Compact the Gravel: Use a tamper or a handheld compactor to compact the gravel layer. This will help create a solid and stable base for the firepit.
- Check for Levelness: Use a level to ensure that the gravel base is level. Adjust and compact the gravel as necessary to achieve a smooth and even surface.
- Double-Check Dimensions: Measure the depth of the gravel to ensure it matches your desired thickness. Adjust and add more gravel if needed.
Adding a gravel base not only improves drainage but also helps prevent the firepit from sinking into the ground over time. The compacted gravel provides a solid foundation for the final construction of your firepit.
Now that you have added the gravel base, you’re one step closer to enjoying cozy evenings around your backyard firepit. The next step involves building the walls of the firepit, which will give it structure and define its shape. Let’s move on to step 8!
Step 8: Build the Firepit Walls
Building the walls of your firepit is where your project starts to take shape. Follow these steps to construct the firepit walls:
- Choose the Wall Material: Decide on the material you will use for the firepit walls, such as stone, brick, or concrete blocks. Consider the style, durability, and heat resistance of the material.
- Start at the Bottom: Begin laying the first row of wall blocks or stones on the gravel base. Align them tightly and use a level to check for evenness. You can use a masonry adhesive to secure the blocks together if necessary.
- Add Subsequent Layers: Continue adding additional rows of blocks or stones, alternating the placement to create stability and strength. Use a level to ensure the walls are straight and level as you build upwards.
- Secure the Walls: Apply a layer of masonry adhesive or mortar between each layer of blocks or stones. This will enhance the stability and durability of the firepit walls, especially for higher structures.
- Leave an Opening: Depending on your preference, leave an opening or gap in the wall to serve as the entrance or vent for the firepit. This will allow for proper air circulation and efficient burning.
- Double-Check Levelness: Use a level both horizontally and vertically to ensure the walls are level and plumb. Make any necessary adjustments before the adhesive or mortar sets.
- Consider Decorative Touches: If desired, add decorative elements to the firepit walls like capstones, mosaic tiles, or natural stone accents. These touches can elevate the aesthetic appeal of your firepit.
As you build the firepit walls, take your time to ensure proper alignment and levelness. This will contribute to the overall stability and longevity of your firepit. Remember to refer to the manufacturer’s instructions or consult a reliable DIY resource for specific guidance based on the materials you are using.
Now that the firepit walls are in place, you’re getting closer to enjoying cozy nights around the fire. The next step will involve testing the firepit to ensure everything is in working order. Let’s move on to step 9!
Step 9: Test the Firepit
Before fully enjoying your newly constructed firepit, it’s important to test it to ensure everything is in working order and safe to use. Follow these steps to test your firepit:
- Clear the Area: Remove any flammable materials, debris, or vegetation from around the firepit area. Ensure a safe environment with ample clearance for the flames and smoke.
- Prepare the Firepit: Place a layer of sand or a fire-resistant pad at the bottom of the firepit to further protect the base from excessive heat. This additional layer provides an extra safety measure.
- Start a Small Fire: Use dry firewood or fire starters to ignite a small fire in the firepit. Start with a small amount of fuel and gradually add more as the fire grows. Observe how the firepit handles the flames and smoke.
- Monitor Smoke and Ventilation: Pay attention to the direction and amount of smoke produced by the firepit. Ensure that the smoke properly vents out of the firepit without causing discomfort or hazards. If needed, adjust the opening or ventilation of the firepit.
- Observe Stability: Watch for any signs of instability or movement in the firepit walls. Ensure that the structure remains secure even with the heat and flames. Reinforce any weak spots or areas that require additional support.
- Check Heat Distribution: Feel the heat distribution around the firepit to ensure it is evenly dispersed and not concentrated in one area. Adjust the placement of the firewood or add fire bricks to control and direct the heat as desired.
Testing the firepit allows you to identify any potential issues or adjustments needed before using it regularly. This step ensures the safety and functionality of your firepit so that you can fully enjoy the experience.
If any concerns or problems arise during the testing phase, address them accordingly. Make any necessary modifications, seek professional advice if needed, or consult further resources to troubleshoot and resolve the issues.
Now that you have successfully tested the firepit, it’s time to add the finishing touches to complete your backyard oasis. Let’s move on to step 10!
Step 10: Add Finishing Touches
Now that your firepit is fully functional and safe to use, it’s time to add the final touches to enhance its aesthetic appeal and create a cozy ambiance. Follow these steps to add finishing touches to your firepit:
- Seating: Arrange comfortable seating around the firepit to create a cozy and inviting atmosphere. Consider using outdoor chairs, benches, or even built-in seating options like stone or wood ledges.
- Firewood Storage: Install or designate a nearby area to store firewood conveniently and keep it within easy reach when needed. This ensures that you always have a sufficient supply of firewood for your gatherings.
- Lighting: Install outdoor lighting around the firepit area to provide adequate visibility during evening gatherings. Choose soft and subtle lighting options that complement the fire’s warm glow.
- Decorative Elements: Add personal touches to the firepit area with decorative elements like potted plants, hanging lanterns, or decorative stones. These elements can enhance the overall ambiance and reflect your unique style.
- Outdoor Cooking: If you enjoy outdoor cooking, consider adding a grill grate or a cooking platform to your firepit. This allows you to prepare delicious meals while enjoying the warmth of the flames.
- Safety Precautions: Place a fire extinguisher and a bucket of water nearby to ensure quick access in case of emergencies. Additionally, educate yourself and your guests on fire safety practices, such as properly extinguishing the fire when done.
The finishing touches not only add visual appeal but also contribute to the functionality and enjoyment of your firepit. Personalize the space to reflect your style and create a welcoming environment for gatherings with friends and family.
Remember to regularly inspect and maintain your firepit to ensure its continued safety and performance. Clean out debris, remove ashes when cooled, and periodically check for any signs of wear or damage that may require repairs.
With the finishing touches complete, it’s time to gather your loved ones and indulge in memorable moments around the warm glow of your backyard firepit. Enjoy the crackling fire and the cozy ambiance it brings to your outdoor living space.
Conclusion
Congratulations! You have successfully built a firepit in your backyard. By following the step-by-step instructions outlined in this article, you have created a beautiful and functional space for relaxation and enjoyment. Your firepit will provide you with countless evenings of warmth, ambiance, and memorable moments with loved ones.
Remember, safety should always be a top priority when using your firepit. Follow local regulations and fire safety guidelines to ensure a safe and enjoyable experience. Regularly inspect and maintain your firepit to keep it in optimal condition for years to come.
Additionally, don’t forget to personalize and enhance the area around your firepit with comfortable seating, outdoor lighting, and decorative elements. These finishing touches will further elevate the ambiance and create a welcoming atmosphere in your backyard.
We hope that this guide has been helpful in your firepit construction journey. Whether you’re roasting marshmallows, sharing stories, or simply enjoying the warmth of the fire, your backyard firepit will undoubtedly become the centerpiece of your outdoor living space. Sit back, relax, and enjoy all the cozy nights and wonderful memories that your firepit will bring.