Home>Gardening Techniques>DIY Projects>How To Build A Backyard Fence
DIY Projects
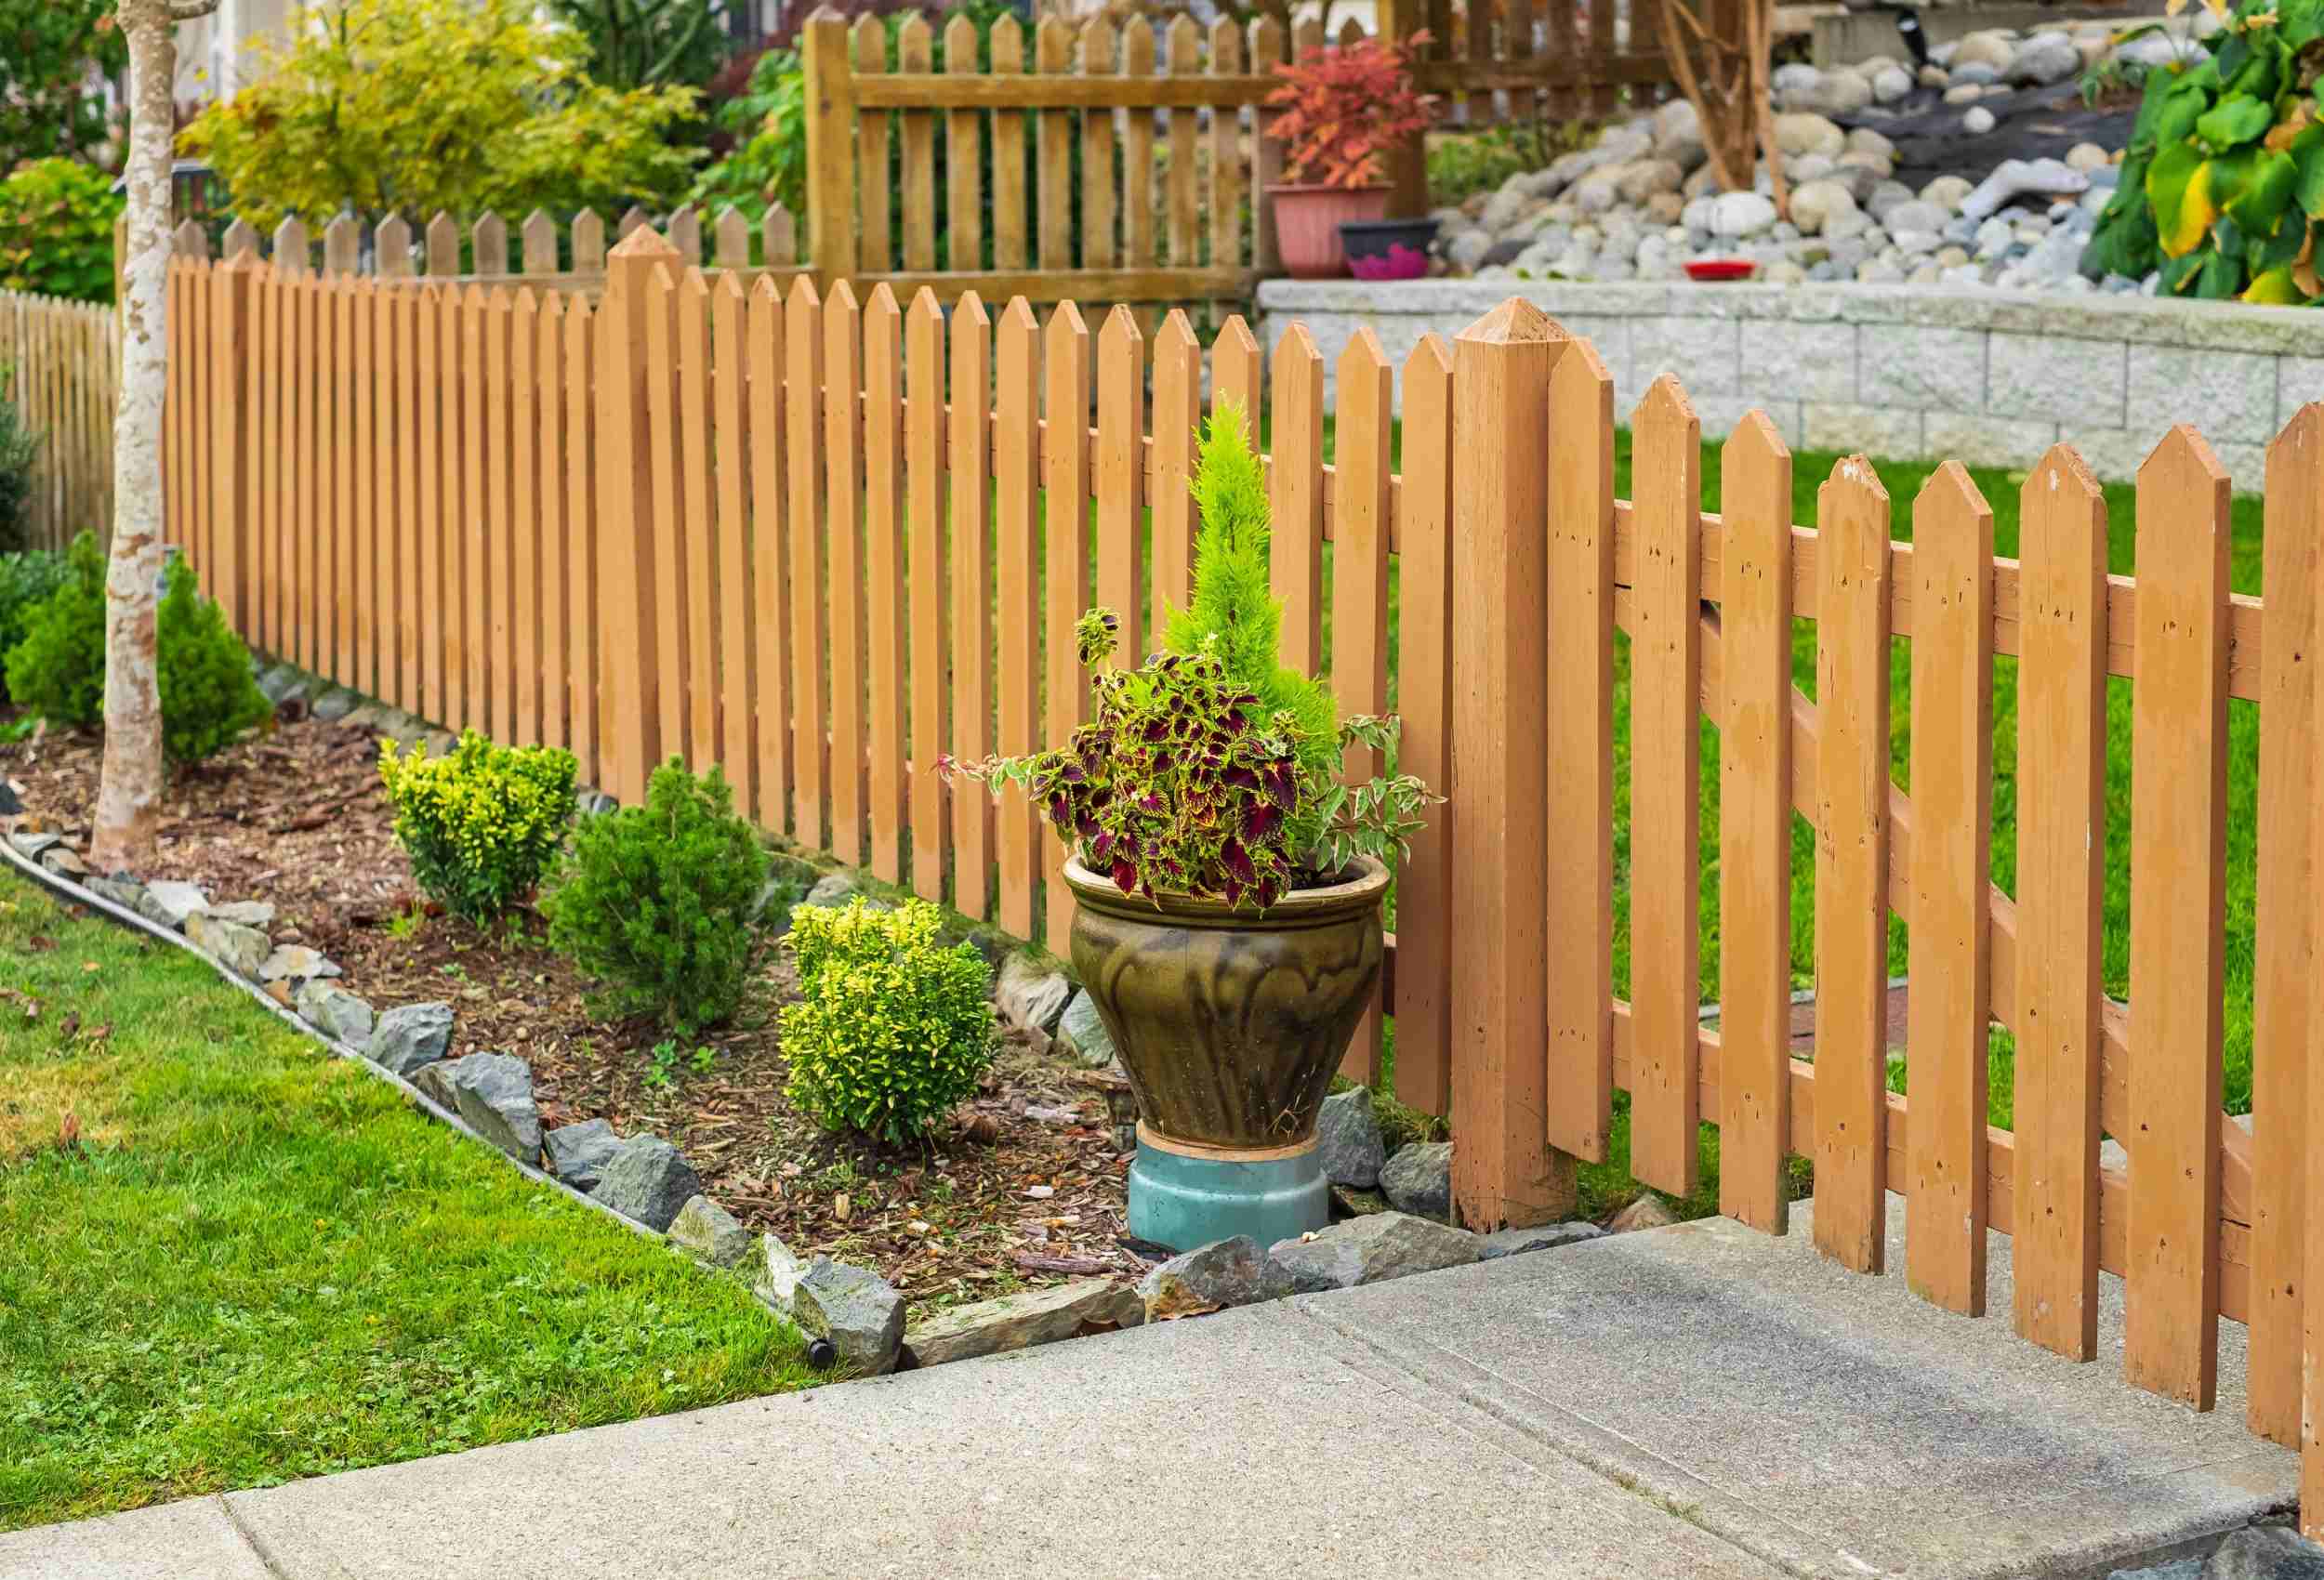
How To Build A Backyard Fence
Modified: January 22, 2024
Learn how to build a backyard fence with easy DIY projects. Improve your outdoor space and enhance privacy with step-by-step instructions.
(Many of the links in this article redirect to a specific reviewed product. Your purchase of these products through affiliate links helps to generate commission for Chicagolandgardening.com, at no extra cost. Learn more)
Table of Contents
Introduction
Welcome to the world of DIY projects! Building a backyard fence is a great way to enhance the privacy and security of your outdoor space while adding a touch of visual appeal. Whether you’re looking to keep your pets contained, create a safe play area for your children, or simply want to establish boundaries, constructing a fence can be a rewarding and satisfying experience.
By taking on this DIY project, you not only save money on hiring professional contractors, but you also have the freedom to customize and design the fence to perfectly suit your needs and personal style. Don’t worry if you’re new to DIY – building a backyard fence is a manageable project that can be accomplished with the right tools, materials, and a little bit of patience.
In this comprehensive guide, we’ll take you through the step-by-step process of building a backyard fence. From planning and gathering materials to setting posts and installing panels, we’ve got you covered. So grab your toolbox and let’s get started on creating a beautiful and functional fence that will transform your outdoor space!
Before we dive into the practical steps, it’s important to note that each region may have specific regulations and codes regarding fences. It’s crucial to contact your local authorities or homeowners’ association to ensure compliance and obtain any necessary permits before proceeding with your project.
Step 1: Planning the Fence
The first and most crucial step in building a backyard fence is careful planning. Taking the time to plan out your fence will ensure that you create a structure that meets your specific needs and complements the style of your home and landscape. Here are a few key considerations to keep in mind during the planning phase:
- Identify the Purpose: Determine the primary purpose of your fence. Is it for privacy, security, or aesthetic purposes? This will influence the height, design, and materials you choose.
- Check Local Regulations: Research any local regulations or building codes that govern fence construction. These may dictate height restrictions, setback requirements, and the materials allowed.
- Measure the Area: Measure the perimeter of your backyard fence to determine the amount of materials you will need. Consider any slopes or uneven terrain that may affect the installation process.
- Choose Fence Style and Materials: Explore different fence styles and materials to find the one that matches your vision. Options include wood, vinyl, metal, or composite materials.
- Set a Budget: Determine your budget for the project. This will help you make decisions regarding materials and any additional features you may want to include.
- Consider Maintenance: Think about the amount of time and effort you are willing to invest in maintaining your fence. Some materials require regular upkeep, while others are low-maintenance.
- Talk to Neighbors: If your fence will border neighboring properties, it’s essential to have open communication with your neighbors. Discuss your plans and ensure that they are comfortable with the project.
By carefully considering these factors during the planning phase, you can ensure that your backyard fence meets your needs and fits within the guidelines of your local regulations. Take your time to make informed decisions, and don’t hesitate to consult professionals or experts if you have any doubts or questions.
Step 2: Gathering Materials and Tools
After planning the design and style of your backyard fence, it’s time to gather all the necessary materials and tools. Having everything prepared beforehand will make the construction process smoother and more efficient. Here’s a list of materials and tools you’ll likely need:
- Fencing Materials: Depending on your chosen fence style, you’ll need materials such as wooden boards, vinyl panels, or metal pickets. Calculate the required quantity based on your measurements and add a little extra for any waste or mistakes.
- Fence Posts: These vertical supports provide stability and anchorage for your fence. Common options include treated wood, metal, or composite materials. Consider the number of fence posts needed based on the length and height of your fence.
- Fasteners: Different types of fasteners, such as screws, nails, or brackets, are required to secure the fence panels to the posts and create a sturdy structure. Choose the appropriate fasteners suitable for your chosen materials.
- Concrete or Gravel: For fence post installation, you’ll need concrete mix or gravel to secure the posts in the ground and provide stability.
- Tools: Here are some essential tools you’ll likely need: post hole digger or auger, shovel, level, measuring tape, circular saw, hammer, screwdriver, drill, and a miter saw for cutting angled pieces.
- Safety Equipment: It’s always important to prioritize safety. Make sure you have safety glasses, work gloves, ear protection, and a first aid kit on hand.
Before purchasing materials, double-check your measurements and quantities to ensure accuracy. Also, take note of any specific requirements or recommendations from the manufacturer or local regulations regarding the materials and tools to be used. This will help you avoid any unnecessary complications during the construction process.
Once you have all the necessary materials and tools gathered, you’re ready to move on to the next steps of marking the fence perimeter and digging the post holes.
Step 3: Marking the Fence Perimeter
Now that you have your materials and tools ready, it’s time to mark the perimeter where your fence will be installed. Properly marking the fence line ensures that your fence will be straight, level, and positioned correctly. Here’s how you can do it:
- Gather Supplies: Before you start, gather supplies like stakes, twine or string, a measuring tape, and spray paint or marking flags.
- Measure and Calculate: Using your measuring tape, measure the desired distance from the starting point of your fence. Use markers or stakes to mark these points along the proposed fence line. For a straight fence, ensure that the distance between each stake is consistent.
- Use Twine or String: Once the stakes are in place, run a line of twine or string tightly between the stakes, ensuring it aligns with the desired height of the fence. This line acts as a guide to keep your fence straight.
- Verify with a Measuring Tape: Double-check the measurements and distances using a measuring tape along the fence line. This step is crucial to ensure accuracy and avoid any discrepancies.
- Mark the Ground: Use spray paint or marking flags to mark the ground along the fence line. This will provide a clear visual outline to follow during the digging and installation process.
When marking the fence perimeter, it’s important to consider any slope or uneven terrain. Adjust the height of the string or twine accordingly, ensuring that your fence follows the natural contour of the land.
Take your time during this step to ensure precision and accuracy. A well-marked fence perimeter will make the installation process much smoother and help avoid any potential mistakes or rework. Once the perimeter is marked, you’re ready to move on to the next step of digging the fence post holes.
Step 4: Digging Fence Post Holes
With the fence perimeter marked, it’s time to dig the fence post holes. The holes provide a stable foundation for the fence posts and ensure the overall durability and stability of your fence. Here’s a step-by-step guide on how to dig fence post holes effectively:
- Mark the Post Hole Locations: Referencing the marked fence line, use a can of spray paint or flags to mark the exact locations where the fence posts will be installed. These markings will serve as a guide during the digging process.
- Choose the Right Digging Technique: There are multiple techniques for digging fence post holes, including using a post hole digger, an auger attachment for a power drill, or even hiring a professional digging service if the ground is particularly tough or rocky.
- Measure and Dig: Measure the distance between each post hole along the fence line and start digging. The hole should be deep enough to accommodate at least one-third of the post’s length and wide enough to allow for proper concrete or gravel placement.
- Consider Frost Line and Post Spacing: If you live in an area with freezing winters, ensure that the fence post holes extend below the frost line to prevent heaving. Additionally, follow the recommended spacing between posts based on your chosen fence style and local regulations.
- Remove Debris: As you dig the post holes, periodically remove dirt, rocks, or any other debris that may obstruct the installation of the fence posts.
- Check Hole Depth and Levelness: Use a measuring tape or a level to ensure that the post holes are of consistent depth and aligned properly. This step is crucial for achieving a fence that stands upright and level.
Keep in mind that the specific measurements and techniques may vary depending on the type of fence posts and the local climate. Refer to the manufacturer’s instructions and local building codes for any specific guidelines regarding post hole depth and spacing.
Remember to work safely during this step by using proper protective gear, such as gloves and safety goggles. Once all the fence post holes are dug, you’re ready to move on to the next step of setting the fence posts in place.
Step 5: Setting Fence Posts
Now that you have the fence post holes dug, it’s time to set the fence posts in place. Properly setting the posts ensures the stability and strength of your fence. Here’s a step-by-step guide on how to set fence posts:
- Prepare the Posts: Before placing the posts in the holes, check and trim them if necessary to achieve the desired height. If using wooden posts, consider applying a wood preservative or waterproof sealant to protect them from moisture and rot.
- Add Gravel or Concrete: To provide stability and support, add a layer of gravel or concrete at the bottom of each post hole. This will help prevent the posts from shifting or sinking over time.
- Place the Posts: Carefully lower each post into its respective hole, ensuring it is aligned with the fence line and level. Enlist the help of a friend or use temporary bracing to hold the posts in place during the installation process.
- Check for Plumb and Level: Use a level to ensure each post is standing plumb (vertically straight) and level (horizontally aligned). Make any necessary adjustments by adding or removing soil or gravel until the post is properly aligned.
- Add Concrete: If using concrete, mix it according to the manufacturer’s instructions and pour it into the post holes around the base of the posts. Alternatively, you can backfill the holes with soil and compact it firmly to provide stability.
- Secure the Posts: Use temporary braces to hold the posts in place until the concrete sets or the soil compacts around them. This will ensure that the posts remain upright and stable during the installation process.
Properly setting the fence posts is essential to ensure the overall stability and longevity of your fence. Take your time during this step to make the necessary adjustments and double-check the alignment and levelness of each post.
Allow ample time for the concrete to fully cure or the soil to settle before proceeding to the next step of installing the fence panels. This will ensure a solid foundation for your fence and minimize the risk of post movement or shifting over time.
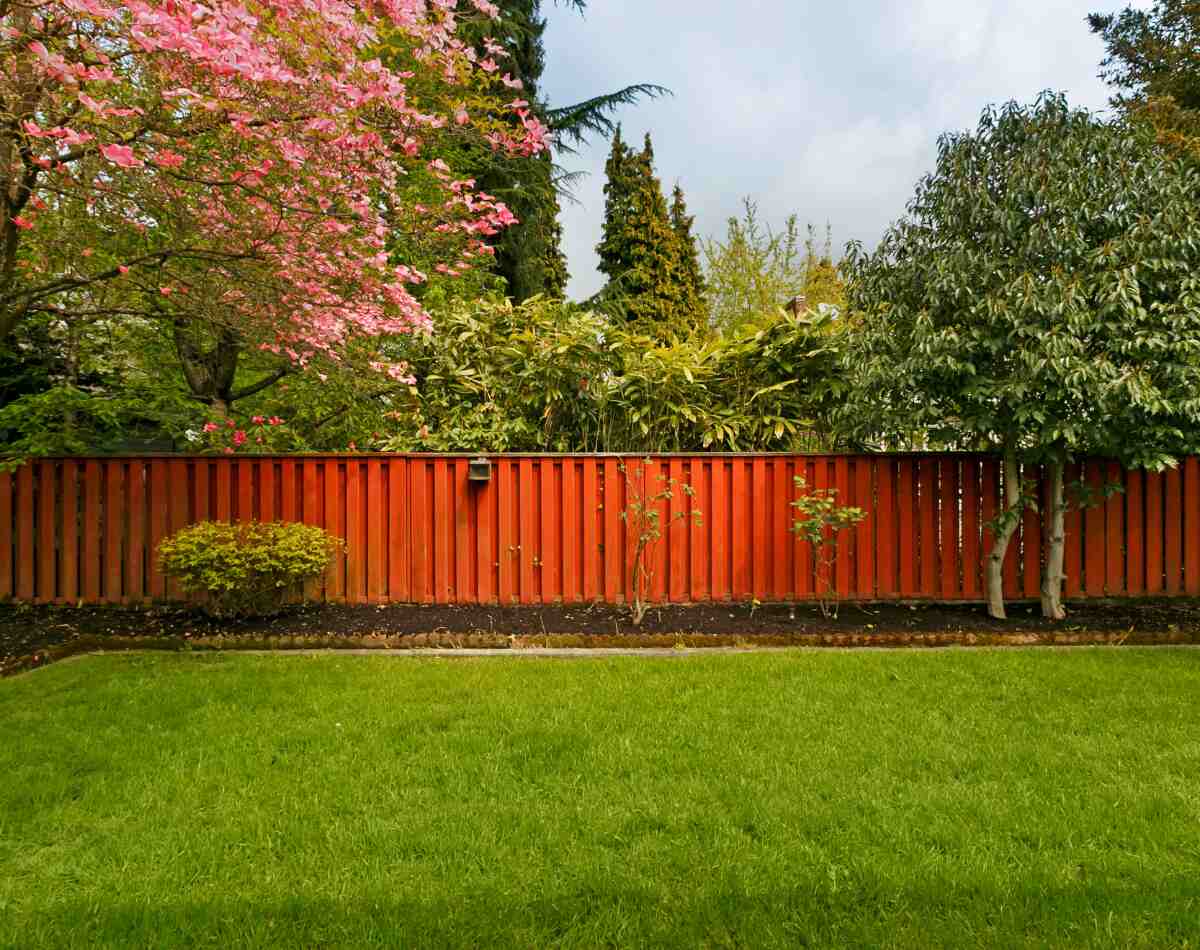
Step 6: Installing Fence Panels
With the fence posts securely set in place, it’s time to install the fence panels. This step will bring your backyard fence to life and provide the privacy and visual appeal you desire. Follow the steps below to install the fence panels:
- Start at a Corner: Begin at a corner of your fence line and insert the first panel between the installed fence posts. Ensure that the panel is level and aligned with the height and style of your fence.
- Secure the Panel: Use appropriate fasteners, such as screws or nails, to attach the panel to the posts. If using pre-made panels, follow the manufacturer’s instructions for installation. Make sure the panel is secure and properly aligned before proceeding.
- Continue Installing Panels: Install additional fence panels by aligning them with the previously installed panel and fastening them to the posts. Use spacers or blocks to maintain consistent spacing between panels and ensure a professional-looking result.
- Trimming Panels: If necessary, trim the end panels to fit the designated space. Measure and mark the desired length, then use a saw or appropriate cutting tool to carefully trim the panel.
- Gate Installation: If your fence includes a gate, carefully measure the opening and follow the manufacturer’s instructions for gate installation. Ensure the gate is aligned and swings smoothly.
- Double-Check Alignment and Levelness: As you install each panel, periodically check the alignment, levelness, and overall appearance of the fence. Making adjustments along the way will help achieve a uniform and visually pleasing result.
- Finishing Touches: Depending on your chosen fence style, add any finishing touches, such as post caps, decorative elements, or paint/stain, to enhance the aesthetics and longevity of your fence.
Take your time during this step to ensure that each panel is properly installed and aligned. Accurate measurement and careful fastening will contribute to a sturdy and visually appealing fence. As you progress, step back and admire your work to ensure that the overall appearance meets your expectations.
With the fence panels installed, you’re one step away from completing your backyard fence. The final step involves adding finishing touches to enhance its overall look and functionality.
Step 7: Adding Finishing Touches
Congratulations on reaching the final step of building your backyard fence! Adding finishing touches will not only enhance the overall look of your fence but also contribute to its longevity and functionality. Here are some important finishing touches to consider:
- Post Caps: Install post caps on top of each fence post. Post caps not only add a decorative element to your fence but also help protect the posts from moisture and extend their lifespan.
- Sealing or Staining: If you’ve chosen a natural wood fence, consider sealing or staining the wood to protect it from weathering, rot, and insects while maintaining its color and beauty. Follow the manufacturer’s instructions for the appropriate sealing or staining product.
- Gate Latches and Hinges: If you installed a gate, ensure that it is properly equipped with sturdy latches and hinges for secure functionality. Test the gate to ensure it opens and closes smoothly.
- Clear Vegetation: Trim any vegetation, bushes, or trees that may obstruct the fence or cause damage over time. Clearing the area around your fence will help maintain its cleanliness and prevent potential issues.
- Regular Maintenance: To keep your fence in optimal condition, implement a regular maintenance routine. This may include periodic cleaning, inspections for any damage or loose components, and repairs as needed.
By paying attention to these finishing touches, you’ll not only enhance the aesthetic appeal of your fence but also increase its durability and functionality. Regular maintenance and upkeep will ensure that your backyard fence continues to provide privacy and security for years to come.
Now that your backyard fence is complete, take a step back and admire your hard work. Enjoy the enhanced privacy and visual appeal that your new fence brings to your outdoor space. Sit back, relax, and take pride in the DIY project you’ve accomplished!
Conclusion
Congratulations on successfully completing the construction of your backyard fence! You’ve taken on a rewarding DIY project that not only enhances the privacy and security of your outdoor space but also adds visual appeal and value to your property. By following the step-by-step process outlined in this guide, you’ve created a beautiful and functional fence that will serve you well for years to come.
Remember, planning is key when it comes to building a fence. Taking the time to carefully plan the design, materials, and measurements ensures a successful outcome. Always check your local regulations and obtain any necessary permits before starting the project.
Gathering the right materials and tools is essential for a smooth construction process. With everything in place, you can work efficiently and confidently. Make sure to take safety precautions and wear the appropriate protective gear throughout the project.
From marking the fence perimeter to digging post holes, setting the posts, installing the panels, and adding finishing touches, each step plays a crucial role in creating a sturdy and visually appealing fence. Taking your time and double-checking your work at each stage will ultimately lead to a high-quality result.
Remember to regularly maintain your fence by inspecting for any damage, trimming vegetation, and cleaning as needed. This will help ensure its longevity and keep it looking its best for years to come.
Building a backyard fence not only saves you money but also provides the satisfaction of accomplishing a hands-on project. Embrace the creativity and personalization of this DIY endeavor, as it allows you to customize your fence to suit your needs and reflect your personal style.
Enjoy the benefits of your new backyard fence – the privacy, security, and aesthetic appeal it brings to your outdoor space. Sit back, relax, and take pride in the work you’ve done. Now it’s time to make the most of your transformed backyard and create unforgettable memories in your newly enclosed oasis.