Home>Gardening Techniques>DIY Projects>How To Build A Zipline In Your Backyard

DIY Projects
How To Build A Zipline In Your Backyard
Modified: January 22, 2024
Learn how to build a thrilling zipline in your backyard with our DIY project guide. Transform your outdoor space into an adventure zone with ease!
(Many of the links in this article redirect to a specific reviewed product. Your purchase of these products through affiliate links helps to generate commission for Chicagolandgardening.com, at no extra cost. Learn more)
Table of Contents
- Introduction
- Step 1: Assessing Your Backyard
- Step 2: Gathering Materials and Tools
- Step 3: Choosing a Design
- Step 4: Preparing the Zipline Path
- Step 5: Installing the Starting Platform
- Step 6: Setting Up the Zipline Cable
- Step 7: Installing the End Point and Braking System
- Step 8: Testing and Safety Measures
- Conclusion
Introduction
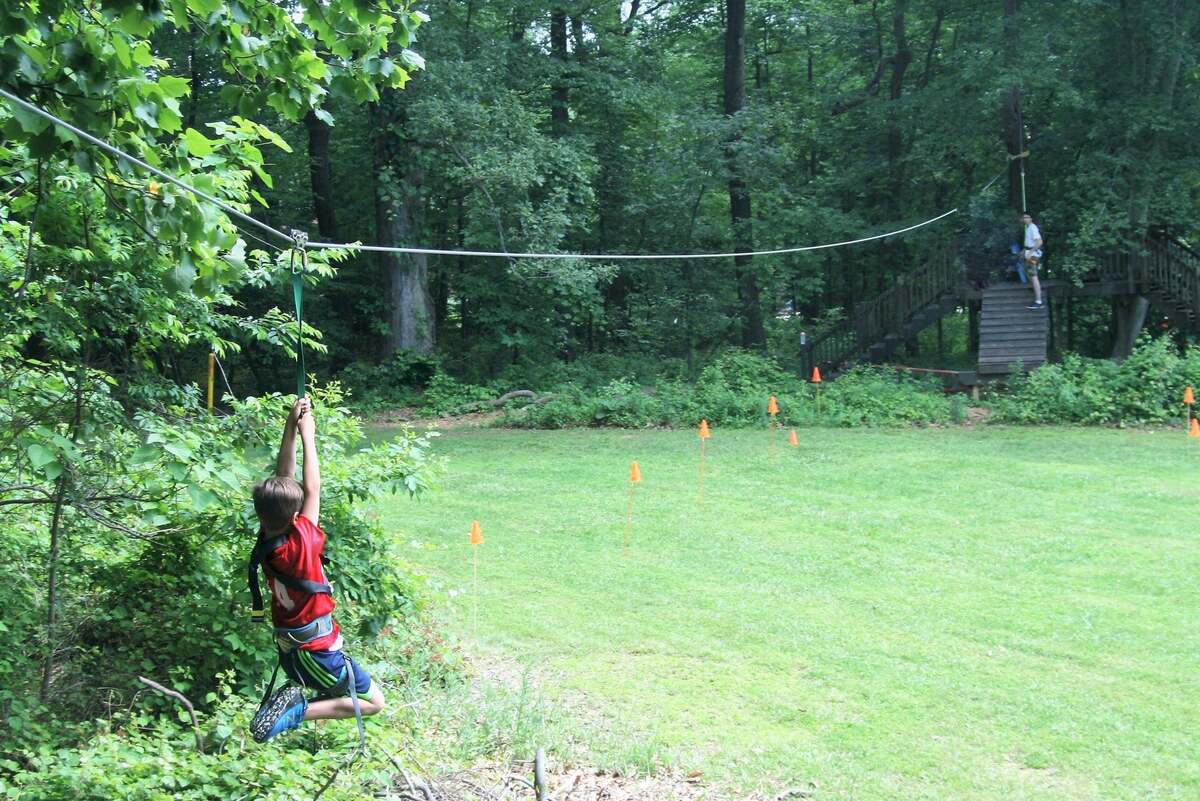
Imagine the thrill of soaring through the air in your own backyard, feeling the rush of adrenaline as you glide along a zipline. Building a zipline in your backyard is not only a fun DIY project, but it also provides endless entertainment for both children and adults. Whether you’re looking to create a new adventure for your family or add an exciting feature to your outdoor space, a zipline is an excellent choice.
Not only does a zipline offer excitement, but it also promotes outdoor play and physical activity. It allows children to engage in active play while developing important skills such as balance, coordination, and problem-solving. Additionally, a zipline can be a unique and memorable addition to your backyard, making it the envy of the neighborhood.
In this comprehensive guide, we will take you through the step-by-step process of building a zipline in your backyard. From assessing your space to installing the necessary components, we’ll cover everything you need to know to successfully create your own zipline adventure. But before we dive into the details, let’s first discuss how to assess your backyard and gather the necessary materials and tools.
Step 1: Assessing Your Backyard
Before you start building a zipline in your backyard, you’ll need to assess the space and ensure it is suitable for installation. Here are the key factors to consider:
- Available Space: Determine the amount of space you have available for the zipline. You’ll need a clear path between two sturdy anchor points, such as trees or posts, that are a suitable distance apart.
- Ground Surface: Take a look at the ground surface along the zipline path. Ensure it is level and free from any obstructions such as rocks, roots, or sharp objects that could pose a safety hazard.
- Safety Zone: Identify a safe landing area at the end of the zipline to allow for a smooth and controlled stop. Make sure there is ample space for the rider to come to a stop without colliding with any structures or obstacles.
- Clearance: Consider the overhead clearance along the zipline path. Ensure there are no branches or power lines that could interfere with the zipline cable or the rider’s safety.
- Weight Limit: Determine the weight limit that your chosen anchor points can safely support. This is important to ensure the zipline can safely accommodate riders of all ages and sizes.
It is crucial to carefully assess your backyard to ensure it meets these criteria before proceeding with the installation. Taking the time to assess your space will help you choose the right design and ensure the safety of those who will be using the zipline.
Now that you’ve assessed your backyard, it’s time to move on to the next step: gathering the necessary materials and tools to build your zipline.
Step 2: Gathering Materials and Tools
Once you’ve assessed your backyard and confirmed it’s suitable for a zipline, it’s time to gather the materials and tools you’ll need for the project. Here’s a list of items you’ll commonly need:
- Zipline Kit: Purchase a zipline kit that includes a cable, trolley, and braking system. These kits are designed specifically for zipline installations and come with all the necessary components for a safe and enjoyable ride.
- Anchor Points: Identify the anchor points where the zipline cable will be attached. This could be sturdy trees, posts, or other structures that can support the weight and tension of the zipline.
- Tools: Gather various tools such as a drill, wrench, level, measuring tape, and screwdrivers. These will be needed for tasks like attaching hardware, assembling the zipline kit, and securing the components in place.
- Safety Gear: Ensure you have the proper safety gear, including helmets and harnesses, especially if children will be using the zipline. Safety should always be a top priority when building and using a zipline.
- Additional Materials: Depending on your specific design and backyard setup, you may need additional materials such as lumber for platforms, concrete for strong anchor points, or hardware for securing the zipline components.
It’s important to carefully read the instructions and recommendations provided with the zipline kit to ensure you have all the necessary materials and tools specific to that kit. This will help ensure a smooth and successful installation process.
With the required materials and tools in hand, you’re now ready to choose a design for your backyard zipline. This will be covered in the next step.
Step 3: Choosing a Design
When it comes to designing your backyard zipline, there are a few key factors to consider. This step is crucial as it determines the layout and features of your zipline. Here are some design considerations:
- Zipline Length: Decide on the desired length of your zipline. This will depend on the available space in your backyard and how adventurous you want the ride to be. Longer ziplines generally provide a more exhilarating experience.
- Height and Incline: Consider the desired height and incline of your zipline. A gentle slope can create a smooth and enjoyable ride, while a steeper incline adds more excitement. However, keep in mind the safety implications and the skill level of the riders.
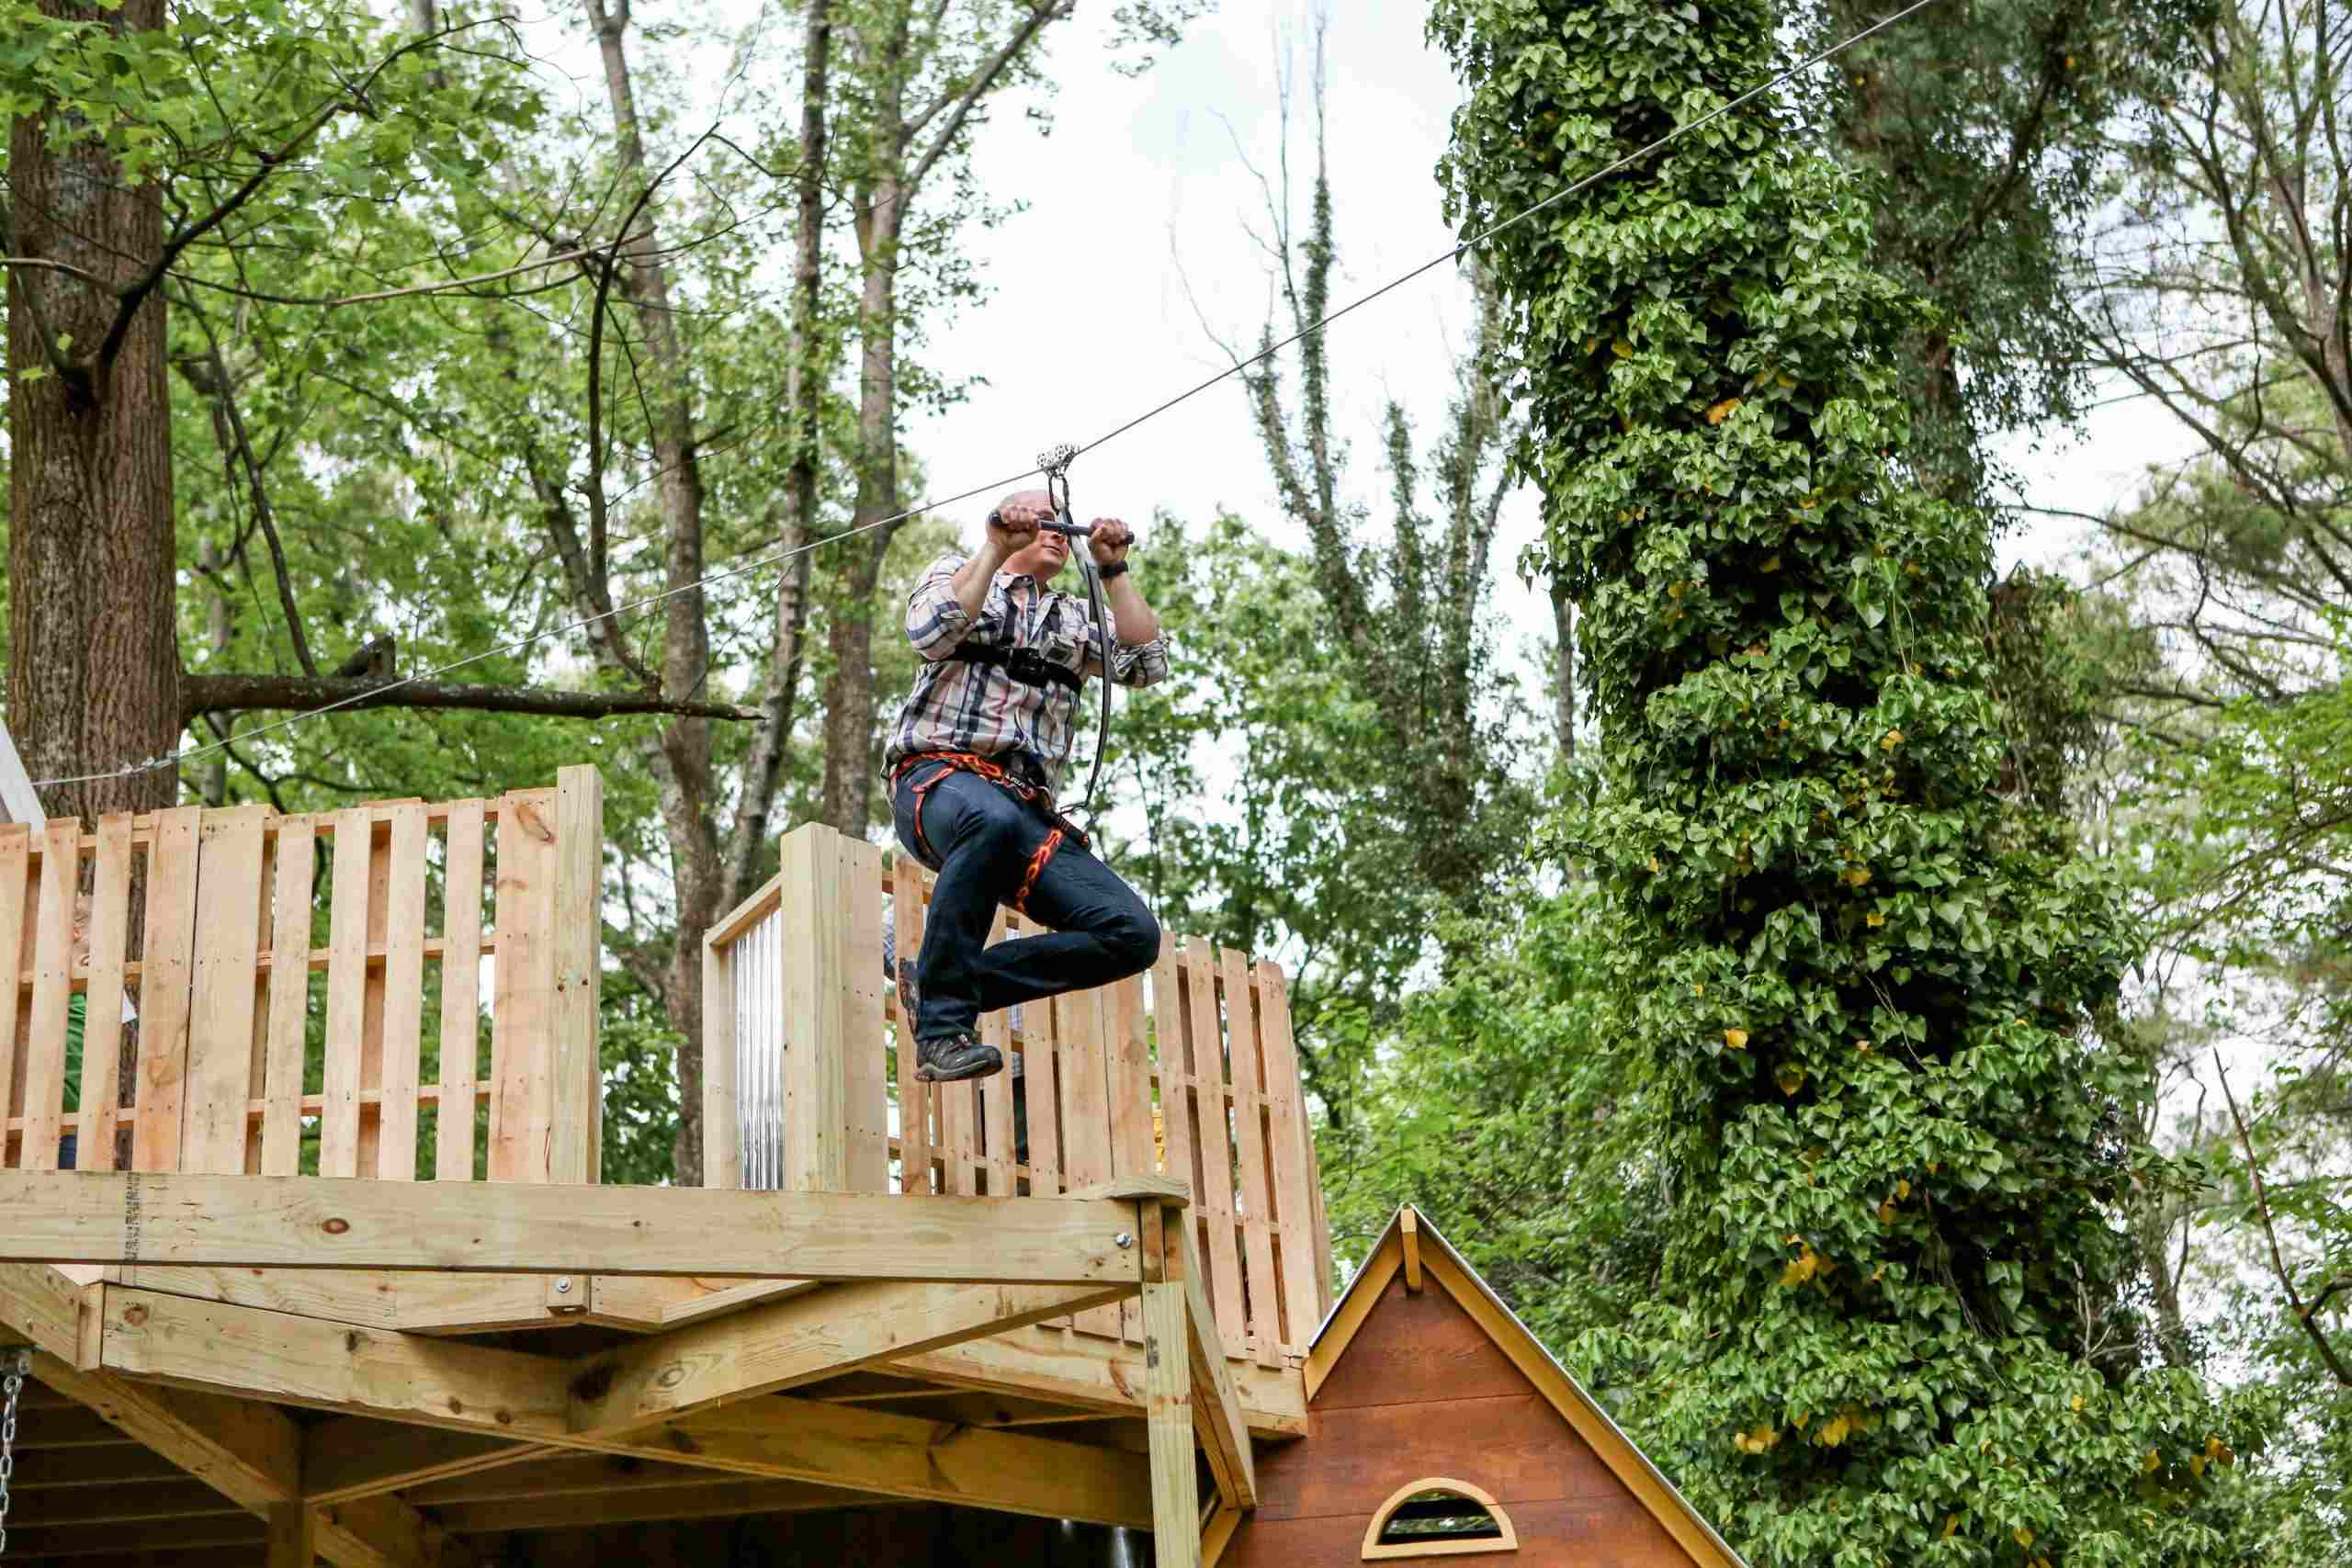
- Starting and Ending Platforms: Determine the location and design of the starting and ending platforms. These platforms provide a stable surface for riders to safely get on and off the zipline. They can be built from wood or other materials to suit your design preferences.
- Additional Features: Think about any additional features you may want to incorporate into your zipline design, such as a landing cushion, decorative elements, or lighting for nighttime use. These features can enhance the overall experience and aesthetics of your backyard zipline.
Keep in mind that the chosen design should align with the space available in your backyard and the skill level of the riders. It’s always a good idea to research and gather inspiration from existing backyard ziplines to help you make decisions about your own design.
Once you have a clear vision of your zipline design, you can proceed to the next step: preparing the zipline path in your backyard.
Step 4: Preparing the Zipline Path
With your zipline design in mind, it’s time to prepare the zipline path in your backyard. This step involves clearing the area, ensuring a smooth and safe path for the zipline. Here’s what you need to do:
- Clear the Area: Remove any debris, rocks, or obstacles along the zipline path. Clearing the area will ensure a smooth ride and reduce the risk of accidents or damage to the zipline components.
- Level the Ground: Use a shovel or rake to level the ground along the zipline path. It’s important to have a flat surface to ensure the cable remains taut and the rider has a stable ride.
- Check for Hazards: Inspect the area for any potential hazards such as low-hanging branches, power lines, or sharp objects. Remove or avoid these hazards to ensure the safety of the zipline riders.
- Mark the Starting and Ending Points: Mark the starting and ending points of the zipline path. This will help guide the installation process and ensure the cable is correctly positioned.
By preparing the zipline path properly, you’ll create a safer and more enjoyable experience for anyone using the zipline. This step sets the foundation for the installation of the zipline components, which we will cover in the next few steps.
Now that the zipline path is prepared, it’s time to move on to the installation of the starting platform, which will be covered in step 5.
Step 5: Installing the Starting Platform
With the zipline path prepared, the next step is to install the starting platform. This platform serves as a stable surface where riders can safely start their zipline journey. Follow these steps to install the starting platform:
- Measure and Mark: Measure the distance from the starting point of the zipline path and mark the location where the starting platform will be installed. Ensure it is level and aligned with the path.
- Construct the Platform: Build the starting platform using sturdy materials such as wood. You can create a simple rectangular platform or get creative with different shapes or designs to match your backyard aesthetic. Make sure to securely attach the platform to the ground or anchor points.
- Add Safety Features: Install safety features on the starting platform, such as a railing or handholds, to provide stability and support for riders as they get ready to take off on the zipline.
- Double-Check Stability: Ensure that the starting platform is stable and can bear the weight of riders. Test its stability by applying pressure to different areas and making any necessary adjustments or reinforcements.
It’s important to prioritize safety during the installation of the starting platform. By building a sturdy and secure platform, you’ll create a solid foundation for the zipline experience and provide a safe and enjoyable start for riders.
With the starting platform installed, the next step is to set up the zipline cable, which we will cover in step 6.
Step 6: Setting Up the Zipline Cable
Once the starting platform is in place, it’s time to set up the zipline cable. This step involves attaching the cable securely between the anchor points and ensuring proper tension. Follow these steps to set up the zipline cable:
- Attach the Cable: Begin by attaching one end of the zipline cable to the starting platform. Use the appropriate hardware provided in your zipline kit to securely fasten the cable to the platform.
- Thread the Cable: Thread the zipline cable through any pulleys or trolleys that come with your kit. These components ensure a smooth ride along the zipline.
- Secure the Anchor Points: With the cable threaded through the pulleys/trolleys, attach the other end of the cable to the anchor point on the other side of the zipline path. Ensure it is tightly secured to handle the tension and weight of the zipline riders.
- Tension the Cable: Carefully tension the zipline cable, making sure it is taut without being overly tight. Use a tensioning device included in your zipline kit to adjust the tension appropriately. Consult the instructions provided to determine the recommended tension for your specific zipline kit.
It’s crucial to follow the manufacturer’s instructions and recommendations when setting up the zipline cable. Proper installation and tensioning of the cable are essential for a safe and enjoyable zipline experience.
Now that the zipline cable is securely set up, it’s time to move on to step 7, which involves installing the end point and braking system.
Step 7: Installing the End Point and Braking System
With the zipline cable set up, it’s important to install the end point and braking system to ensure a safe and controlled stopping point for zipline riders. Follow these steps to install the end point and braking system:
- Identify the Landing Area: Determine the location where riders will safely come to a stop at the end of the zipline. This area should be clear of any obstructions and provide enough space for a controlled landing.
- Build the Landing Platform: Construct the landing platform using sturdy materials, similar to the starting platform. Ensure it is securely anchored to the ground or anchor points.
- Add a Braking System: Install a braking system to control the speed and ensure a safe stop for zipline riders. There are various types of braking systems available, including belay systems, gravity brakes, or spring brakes. Choose a system that matches your zipline design and meets safety standards.
- Test the Braking System: Before allowing anyone to ride the zipline, thoroughly test the braking system to ensure it is functioning correctly. Adjust the tension or settings as necessary to provide a smooth and safe stop.
Installing the end point and braking system is crucial to maintain the safety of zipline riders and prevent any accidents or injuries. It’s important to choose and install a reliable braking system that matches the specifications of your zipline and provides effective stopping power.
With the installation of the end point and braking system complete, you’re almost ready to enjoy your backyard zipline. But before you do, there are a few more steps to ensure safety and test the zipline, which we will cover in step 8.
Step 8: Testing and Safety Measures
Before launching into your zipline adventure, it’s crucial to conduct thorough testing and implement safety measures to ensure a safe and enjoyable experience. Follow these steps:
- Inspect the Zipline: Conduct a visual inspection of all the zipline components, including the cable, pulleys/trolleys, starting and ending platforms, and braking system. Look for any signs of wear, damage, or loose connections. Address any issues before proceeding.
- Double-Check Safety Gear: Make sure everyone who will be using the zipline has the appropriate safety gear, such as helmets and harnesses. Ensure the gear fits properly and is in good condition.
- Communicate Safety Rules: Establish and communicate clear safety rules to all riders. This includes guidelines for mounting and dismounting the zipline, hand placement, and proper use of safety gear.
- Practice Safe Riding: Before allowing riders to use the zipline, have them practice safe riding techniques. Emphasize the importance of keeping hands on the trolley, maintaining a proper seated or standing position, and not engaging in any dangerous behaviors.
- Gradually Increase Ride Lengths: Start with shorter rides to gradually increase confidence and skill level. As riders gain experience, longer rides can be introduced, carefully monitoring their ability to handle higher speeds and longer distances.
- Ongoing Maintenance: Regularly inspect and maintain the zipline components to ensure their continued safety and functionality. Address any wear, damage, or mechanical issues immediately.
Remember, safety should always be the top priority when it comes to zipline activities. By following these testing and safety measures, you can help prevent accidents and provide a secure and enjoyable experience for all riders.
Congratulations! You have successfully completed all the steps to build your very own backyard zipline. Now, it’s time to gather your family and friends, put on your safety gear, and embark on thrilling zipline adventures right in your own backyard. Enjoy your newfound source of fun and excitement!
Conclusion
Building a zipline in your backyard is a rewarding and exciting DIY project that provides endless fun for all ages. By following each step of the process – from assessing your backyard to installing the starting platform, setting up the zipline cable, and implementing safety measures – you can create a thrilling and safe zipline experience right at home.
Throughout this guide, we have emphasized the importance of safety. It is crucial to assess your backyard, choose a suitable design, gather the necessary materials, and follow the manufacturer’s instructions for installation. Additionally, implementing safety measures, such as wearing appropriate safety gear, communicating safety rules, and conducting thorough testing, ensures the well-being of those using the zipline.
Remember to regularly inspect and maintain your zipline, addressing any signs of wear or damage promptly. By prioritizing safety and proper maintenance, you can enjoy your backyard zipline for many years to come.
So, whether you’re looking to add some adventure to your outdoor space, create exciting memories with your family, or simply unleash your inner thrill-seeker, building a zipline in your backyard is a fantastic choice. Get ready for an unforgettable experience filled with laughter, adrenaline, and countless hours of outdoor fun!

