Home>Gardening Techniques>DIY Projects>How To Make A Koi Pond In Your Backyard
DIY Projects
How To Make A Koi Pond In Your Backyard
Modified: January 22, 2024
Learn how to create a stunning koi pond in your backyard with our step-by-step DIY project guide. Enjoy the beauty of nature right at home!
(Many of the links in this article redirect to a specific reviewed product. Your purchase of these products through affiliate links helps to generate commission for Chicagolandgardening.com, at no extra cost. Learn more)
Table of Contents
- Introduction
- Step 1: Choosing the Right Location
- Step 2: Designing the Layout
- Step 3: Excavating the Pond Area
- Step 4: Installing the Pond Liner
- Step 5: Adding the Water and Filling the Pond
- Step 6: Setting up the Filtration System
- Step 7: Introducing the Koi Fish
- Step 8: Adding Plants and Decorations
- Step 9: Maintaining the Koi Pond
- Conclusion
Introduction
Welcome to the world of DIY projects! If you’re looking to add a touch of tranquility and beauty to your backyard, creating a koi pond is a wonderful option. A koi pond can be a captivating focal point, providing a serene sanctuary right in your own outdoor space. Whether you’re a seasoned DIY enthusiast or just starting out, building a koi pond is a project that you can take on with a little planning, creativity, and some elbow grease.
As you embark on the journey of creating your very own koi pond, this comprehensive guide will walk you through each step of the process. From choosing the right location to adding the finishing touches, you’ll learn everything you need to know to bring your koi pond dreams to life. So roll up your sleeves and let’s get started!
In this guide, we’ll cover the essential steps for building a koi pond, including choosing the right location, designing the layout, excavating the pond area, and installing the pond liner. We’ll also delve into setting up the filtration system, introducing the koi fish, adding plants and decorations, and ongoing maintenance. By the end of this guide, you’ll have the knowledge and confidence to create a stunning koi pond that will be the envy of your neighbors.
Whether you’re seeking a peaceful oasis for relaxation or a captivating feature to enhance your backyard aesthetics, a koi pond is the perfect addition. So let’s dive into the world of koi ponds and turn your backyard into a haven of serenity and beauty!
Step 1: Choosing the Right Location
The first step in creating your dream koi pond is finding the perfect location in your backyard. This is a crucial decision as it will determine the overall success and enjoyment of your pond. When selecting the location, keep the following factors in mind:
- Sunlight: Koi fish thrive in sunlight, so choose a spot that receives at least 4-6 hours of direct sunlight each day. This will help promote healthy fish and plant growth in your pond.
- Accessibility: Consider how easily accessible the pond will be for maintenance and enjoyment. You’ll want to be able to reach the pond easily for cleaning, feeding the fish, and enjoying the peaceful atmosphere.
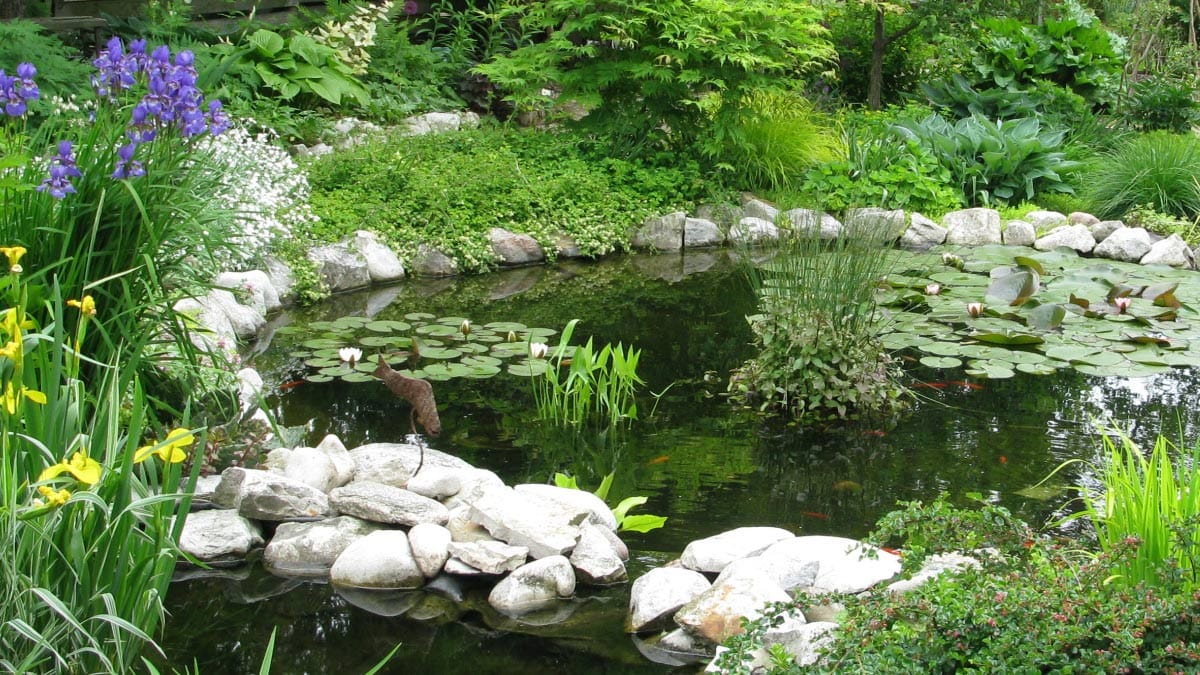
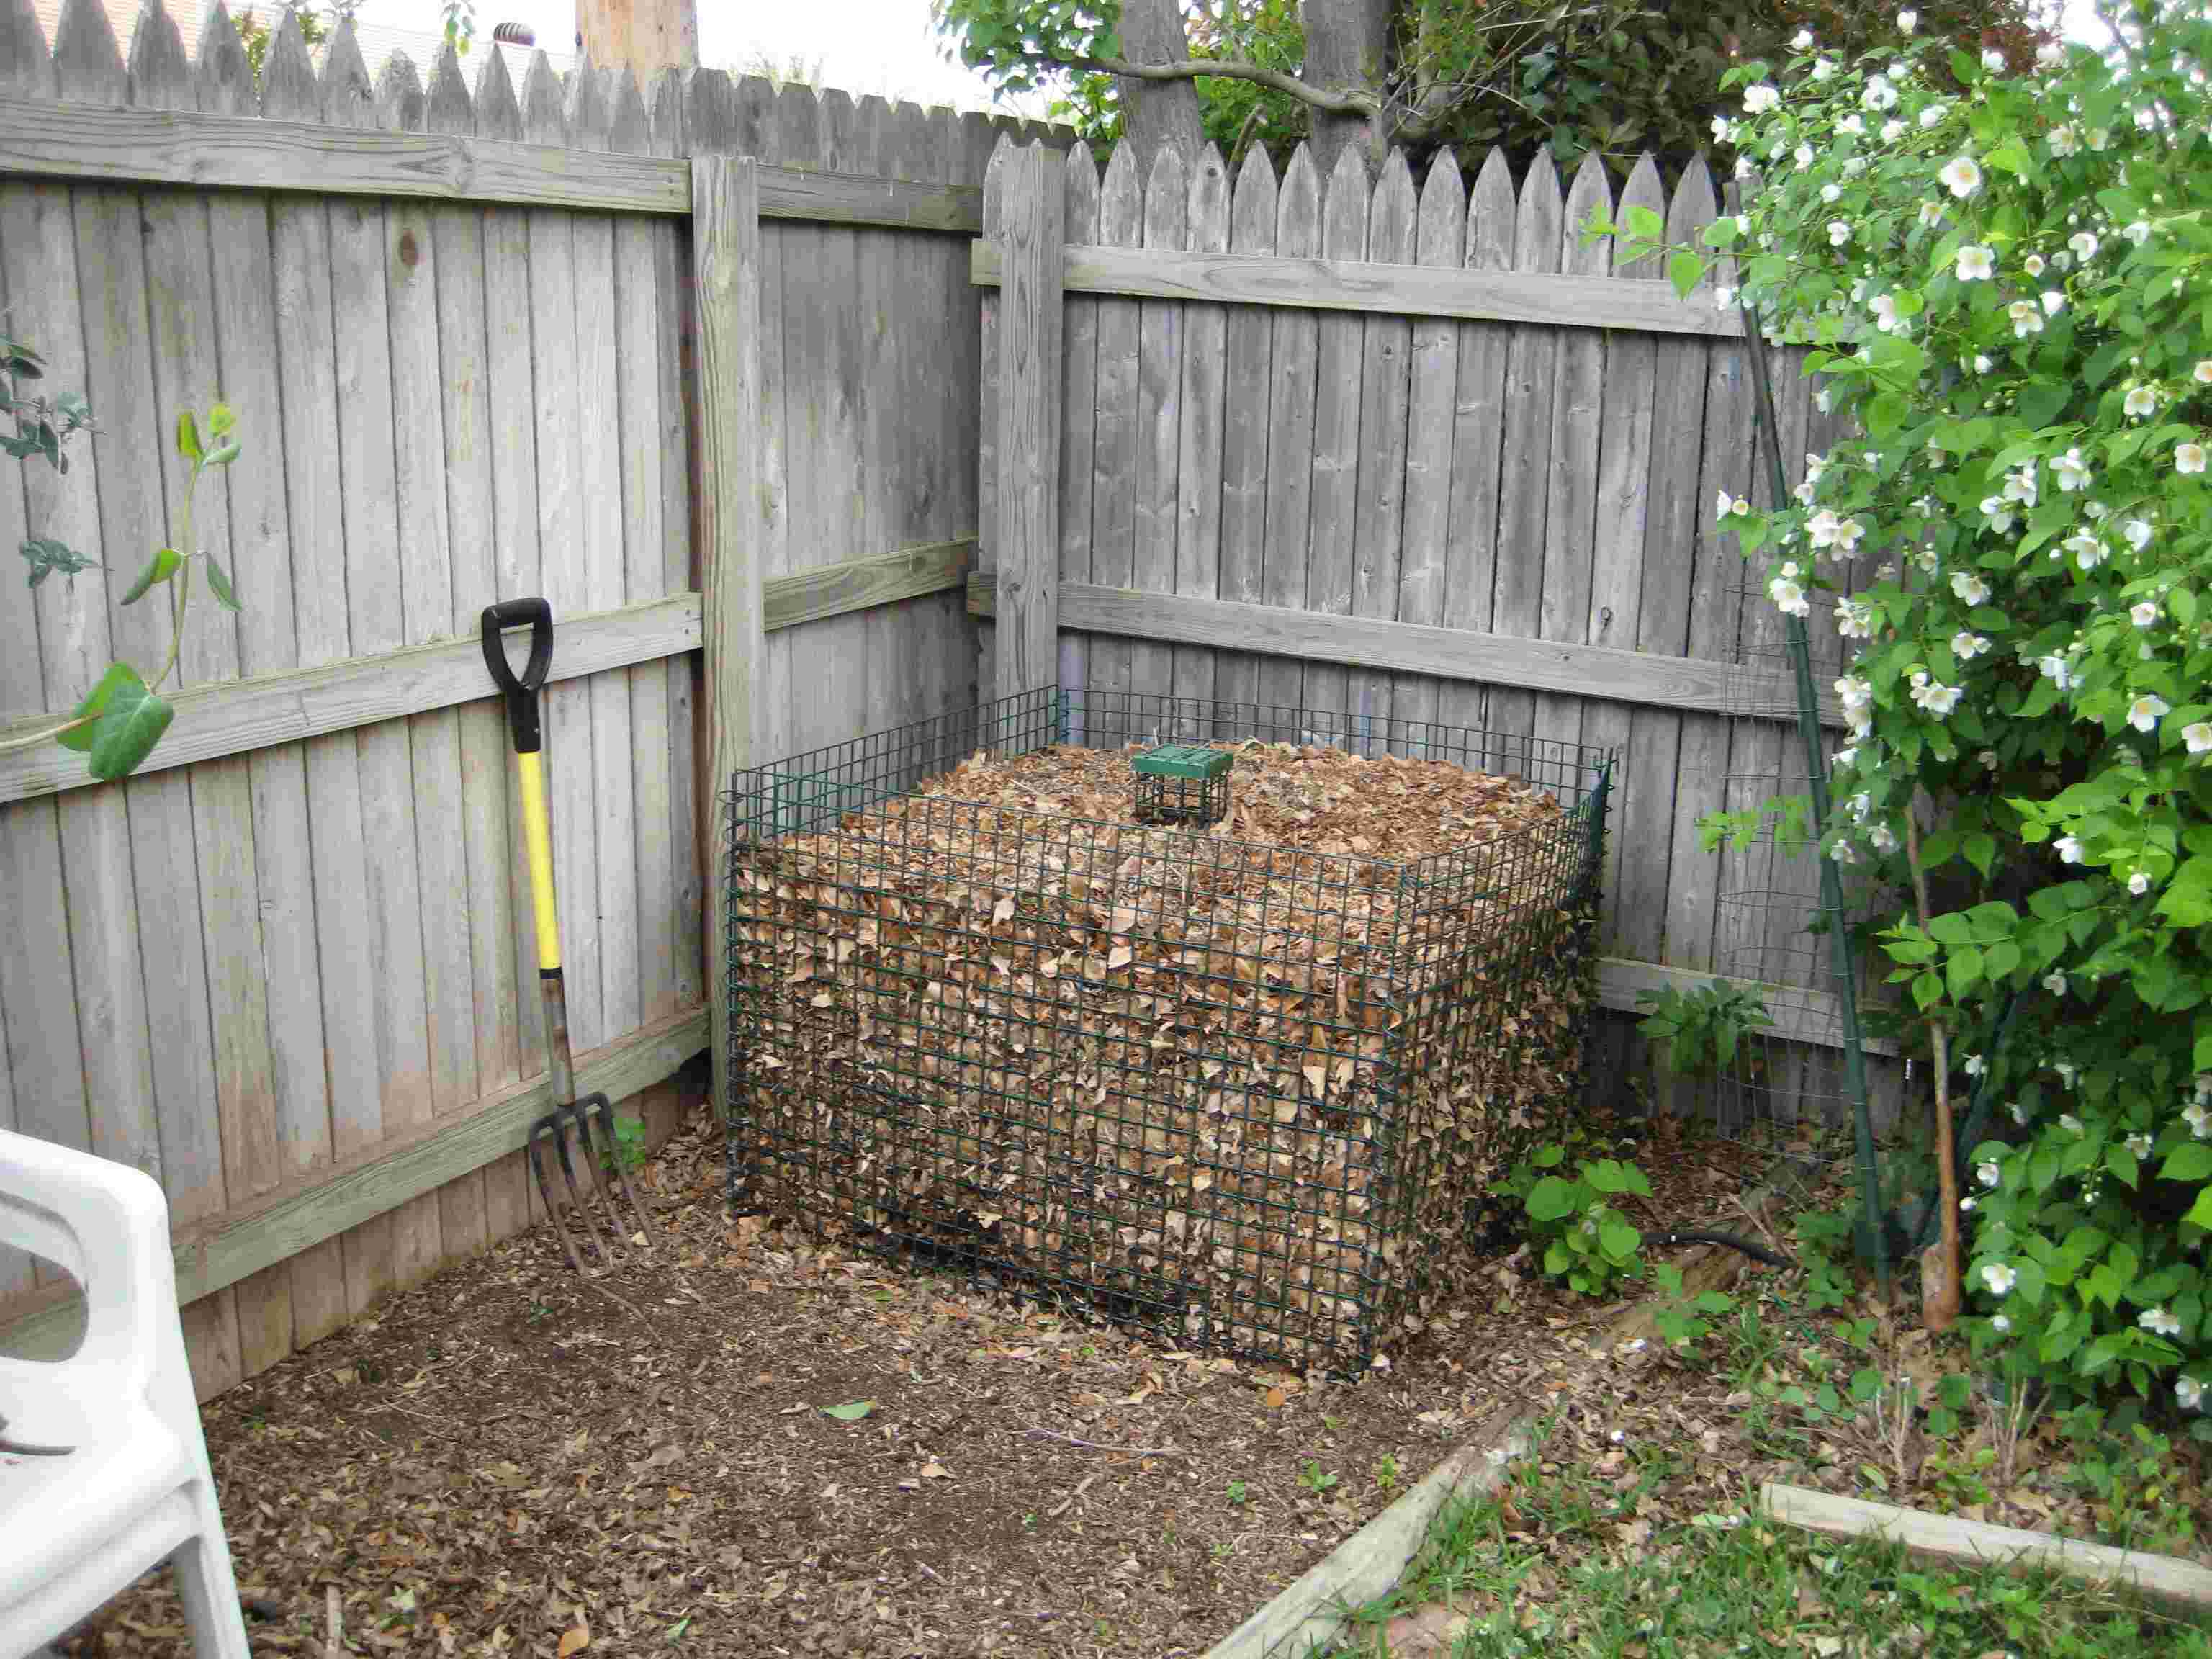
- Proximity to Trees: Be cautious of positioning your pond too close to large trees. Falling leaves and debris can cause issues with water quality and filtration. Additionally, tree roots may pose a problem during excavation.
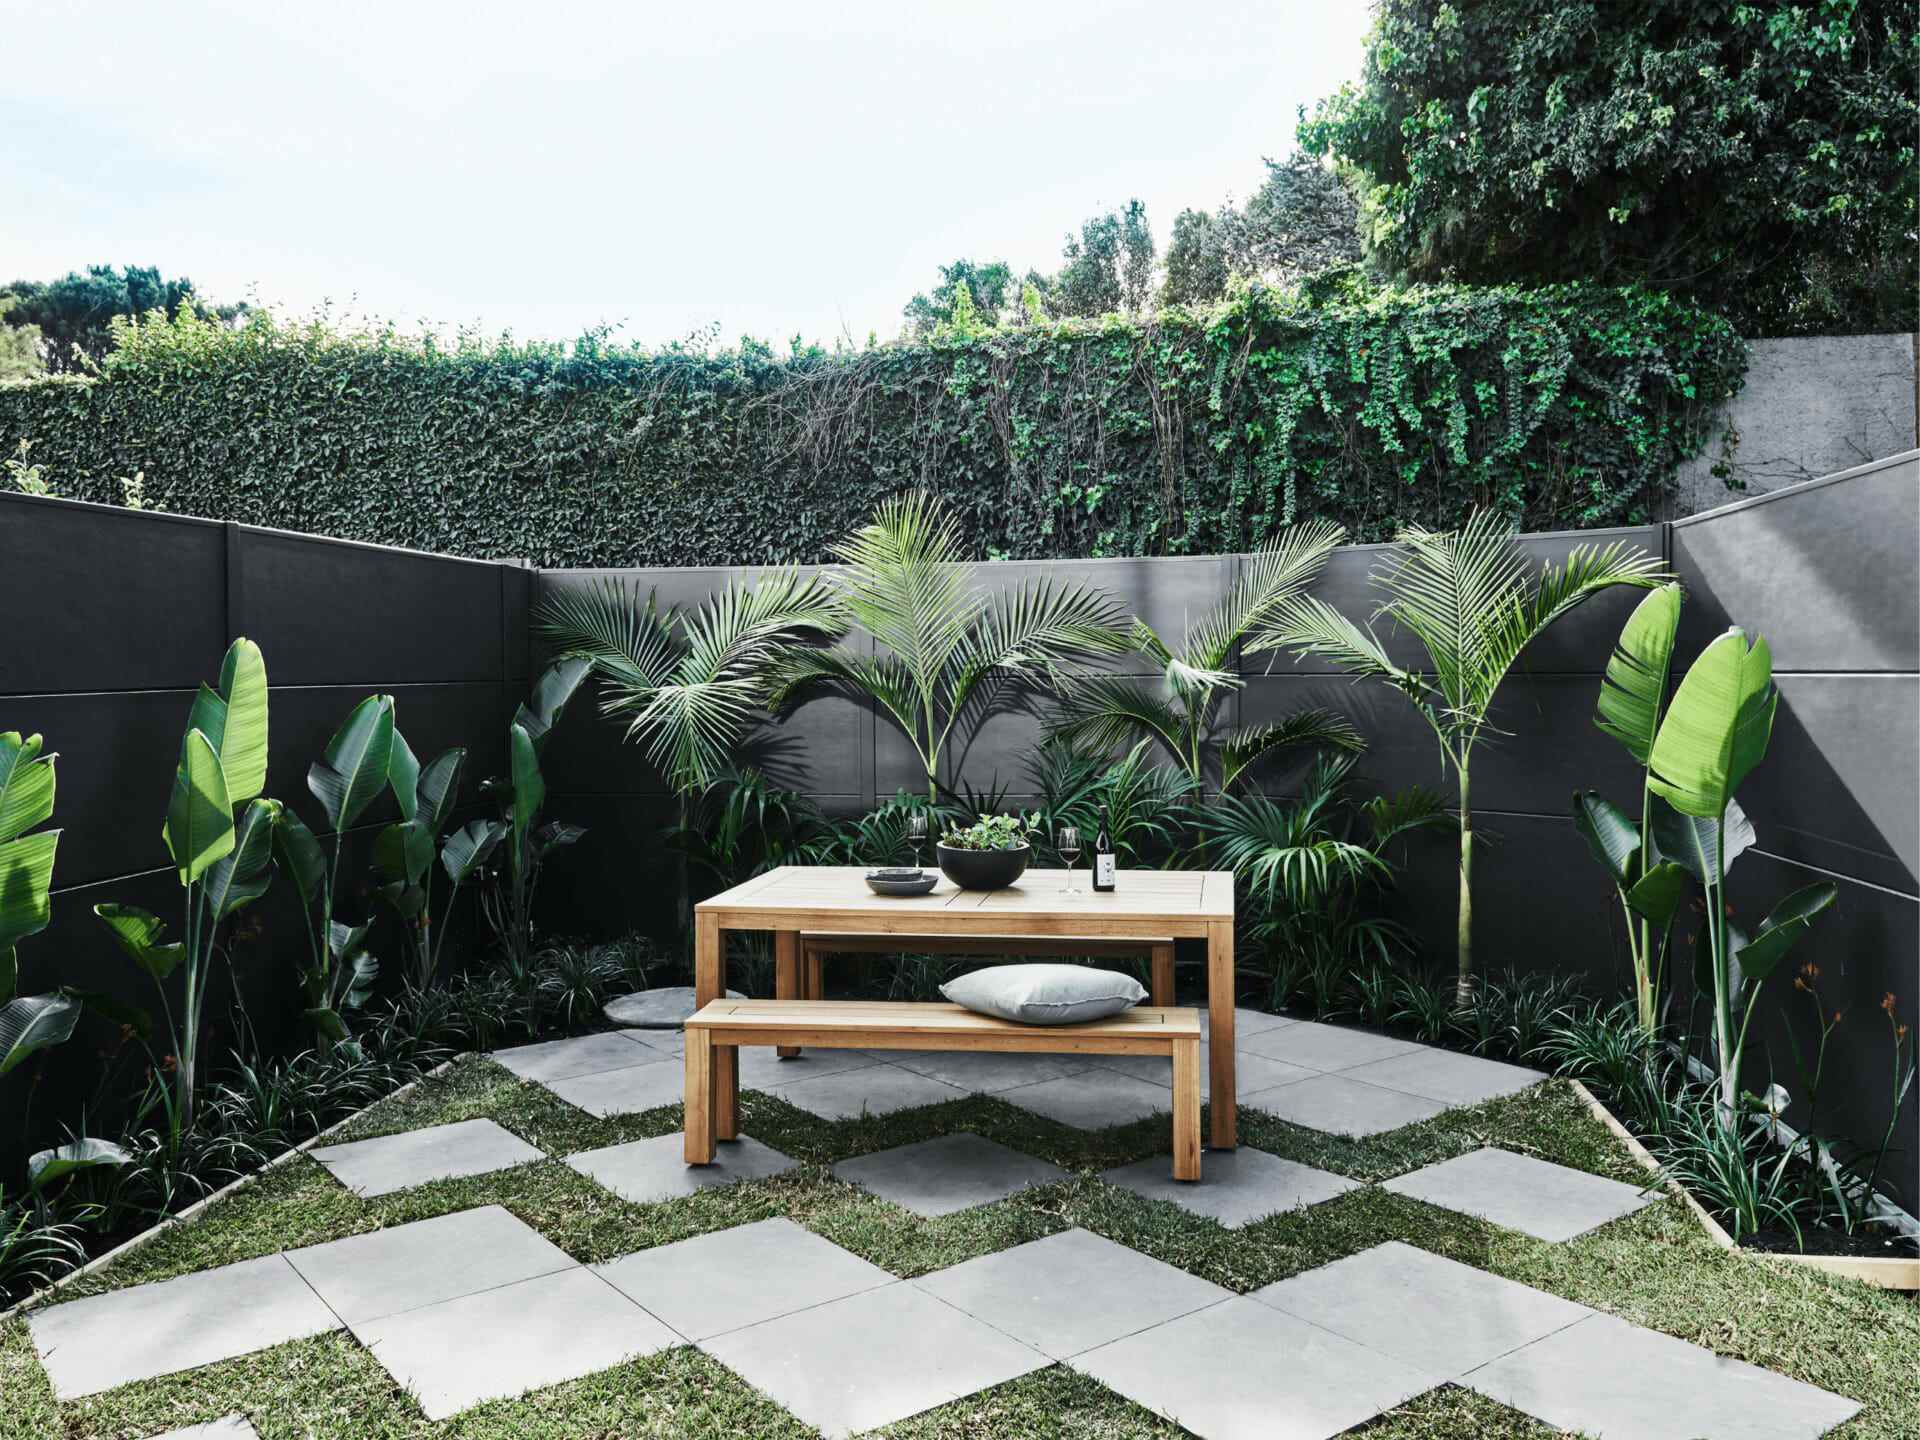
- Landscaping: Take into account the existing landscaping and layout of your backyard. A koi pond can be a beautiful centerpiece and should complement the overall aesthetic of your outdoor space.
Once you’ve considered these factors, walk around your backyard and envision where the koi pond would fit best. Think about the sightlines from your home, patio, or deck, as well as how it will fit within your garden or lawn. You may also want to consult with a professional landscaper or pond builder, as they can offer valuable insights and suggestions based on your specific backyard layout.
Remember, choosing the right location is essential for the health and enjoyment of your koi pond. Take your time and select a spot that will provide optimal sunlight, be easily accessible, and enhance the overall beauty of your backyard.
Step 2: Designing the Layout
Once you have chosen the perfect location for your koi pond, it’s time to design the layout. The design of your pond will not only impact its visual appeal but also play a crucial role in its functionality and maintenance. Follow these steps to create a well-planned and aesthetically pleasing koi pond:
- Measure the Area: Start by measuring the area where you plan to build your pond. Consider the desired size and shape of your pond, keeping in mind the available space and any zoning or permit restrictions in your area.
- Outline the Shape: Use stakes and string to outline the shape of your pond on the ground. This will give you a visual representation of how the pond will fit into your backyard.
- Consider Depth: Determine the desired depth of your pond. A depth of at least 3 feet is recommended for koi ponds to provide ample space for the fish and help regulate water temperature.
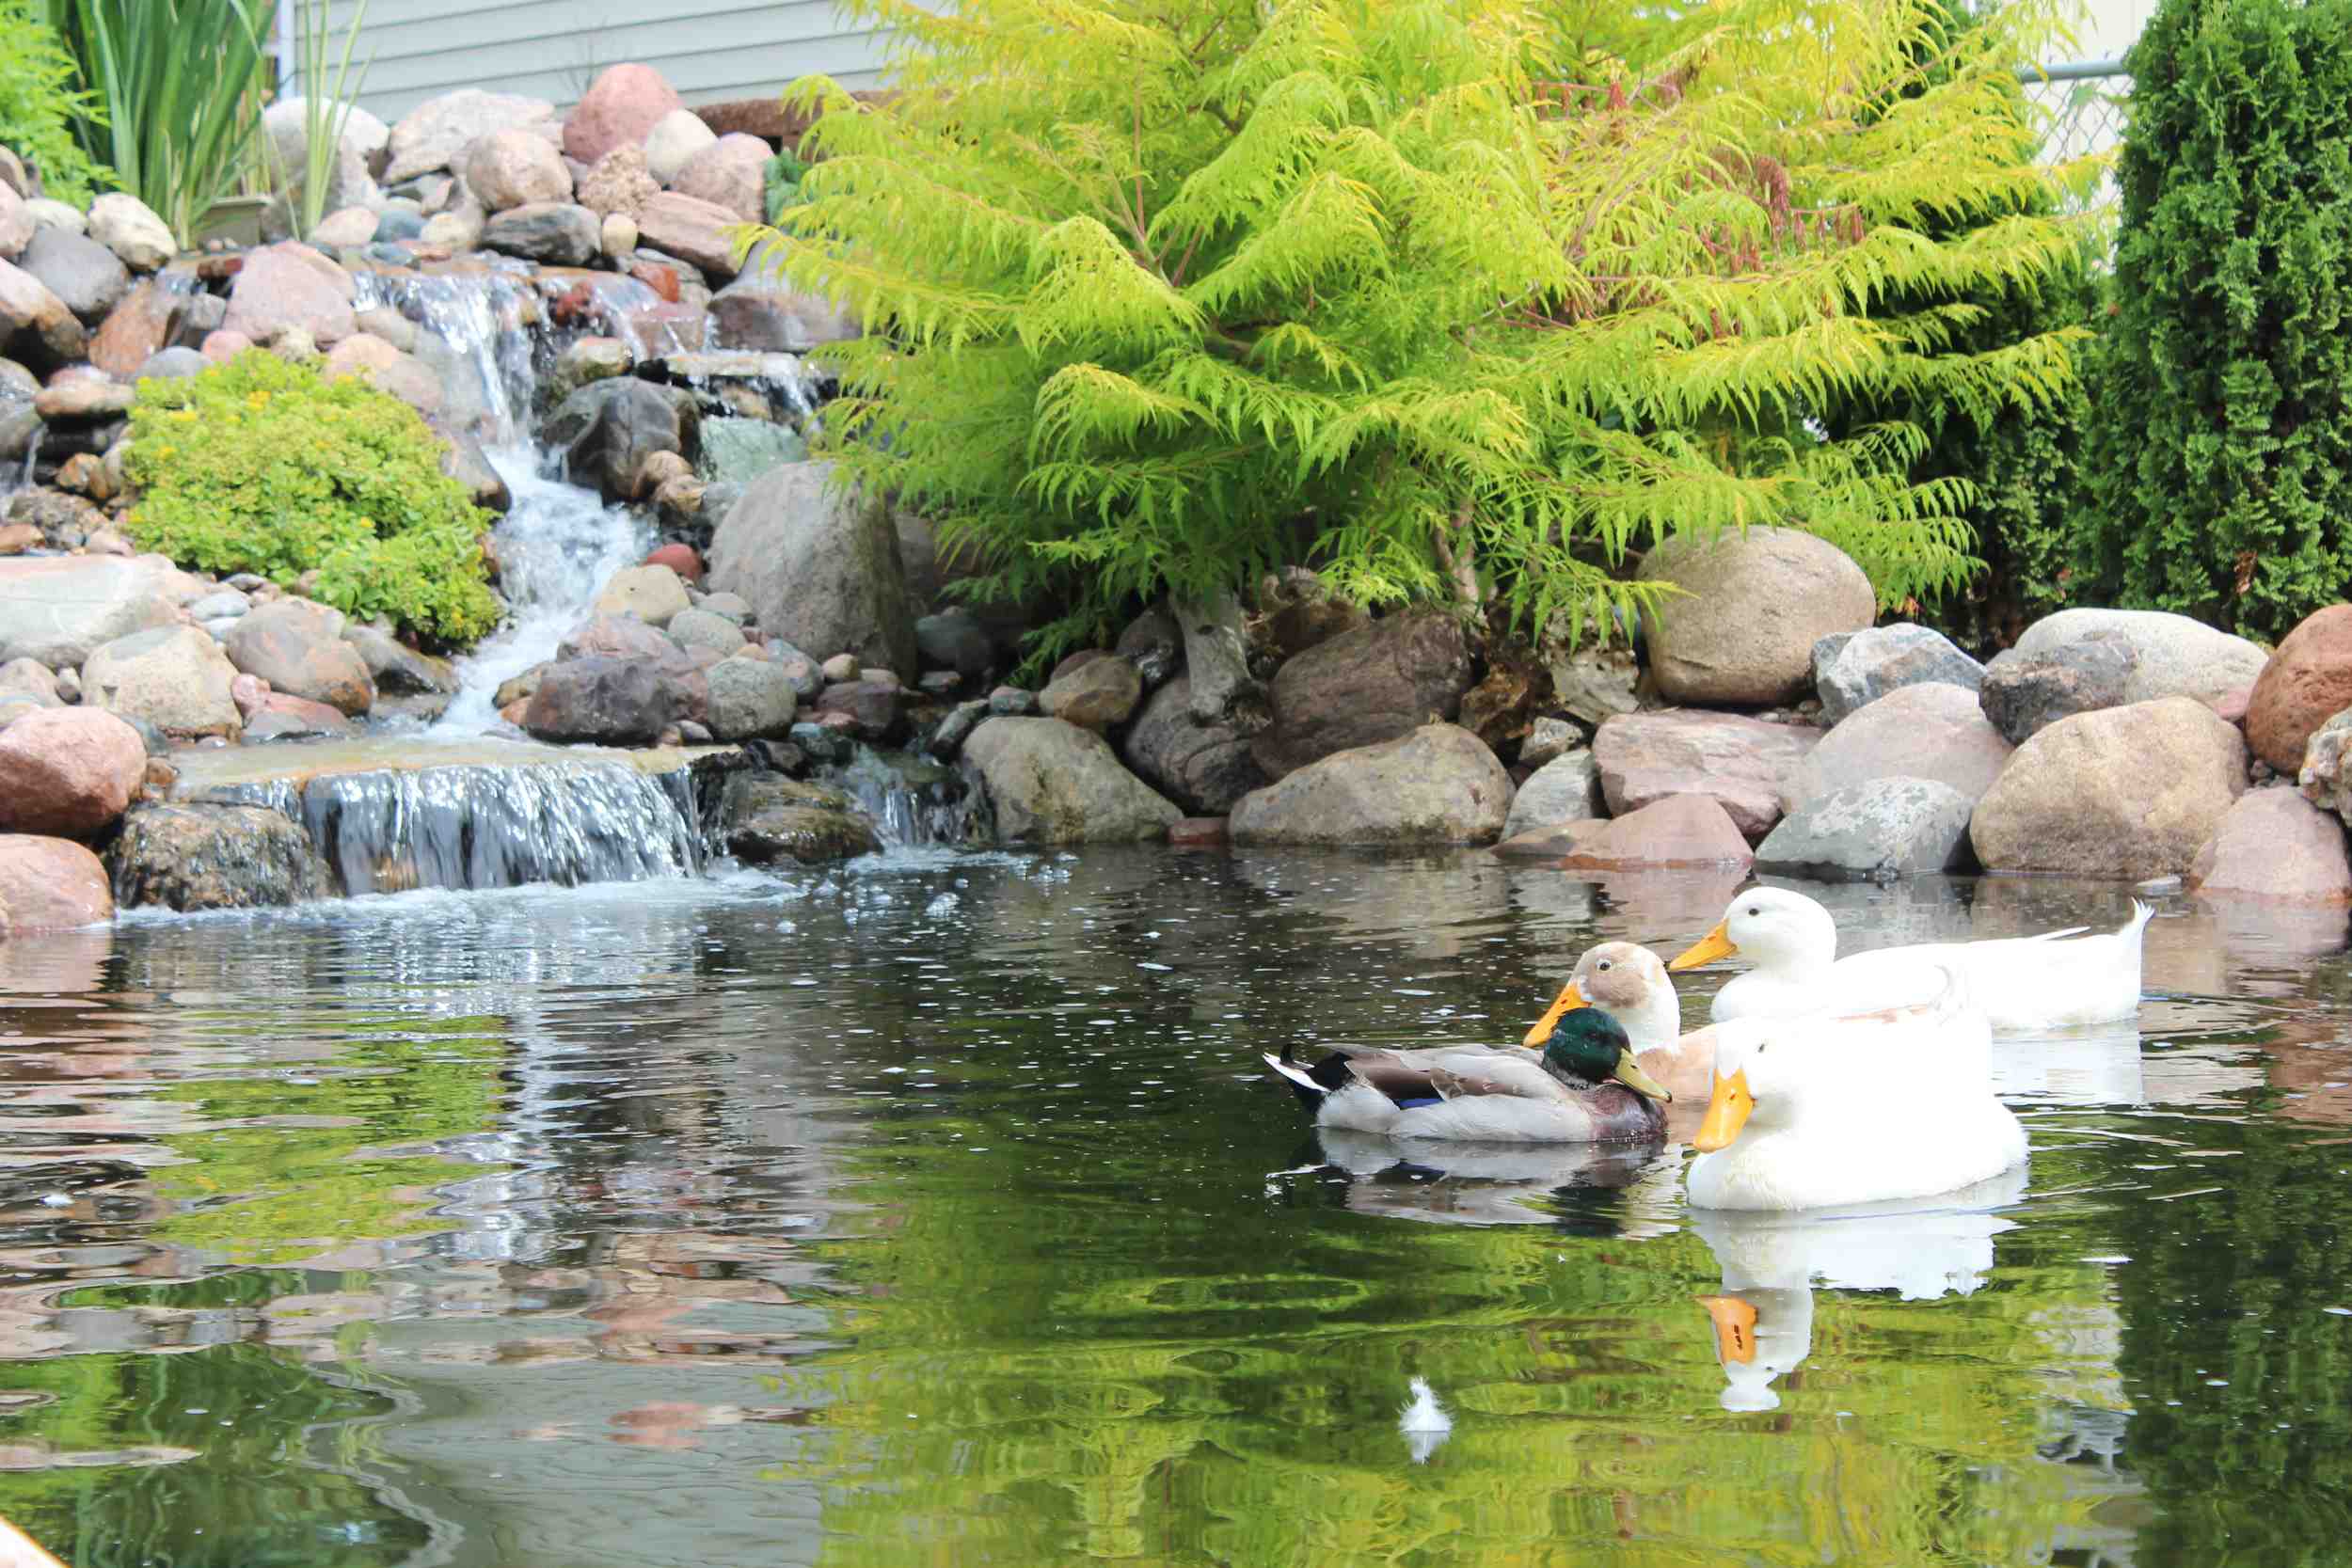
- Add Features: Think about incorporating additional features such as waterfalls, rocks, or plants to enhance the overall look of your pond. These features not only add visual interest but also provide a natural habitat for your koi fish.
- Plan for Filtration: Allocate space for your filtration system. This may include a pump, filter box, and UV light. Ensuring that these components are easily accessible and properly integrated into your pond design is essential for maintaining water clarity and fish health.
When designing the layout, it’s important to strike a balance between aesthetics and functionality. Consider how the pond will fit into your backyard’s overall landscape and create a design that reflects your personal style and preferences. You may find it helpful to sketch out your ideas or use online design tools to visualize the final result.
Remember, a well-designed koi pond will not only provide a beautiful focal point in your backyard but also create a healthy and thriving environment for your fish. Take the time to carefully plan the layout, ensuring that it meets your vision and the needs of your koi fish.
Step 3: Excavating the Pond Area
Now that you have designed the layout for your koi pond, it’s time to bring your vision to life by excavating the pond area. Excavation is a critical step in the construction process, as it will determine the size, depth, and overall shape of your pond. Follow these steps to ensure a successful excavation:
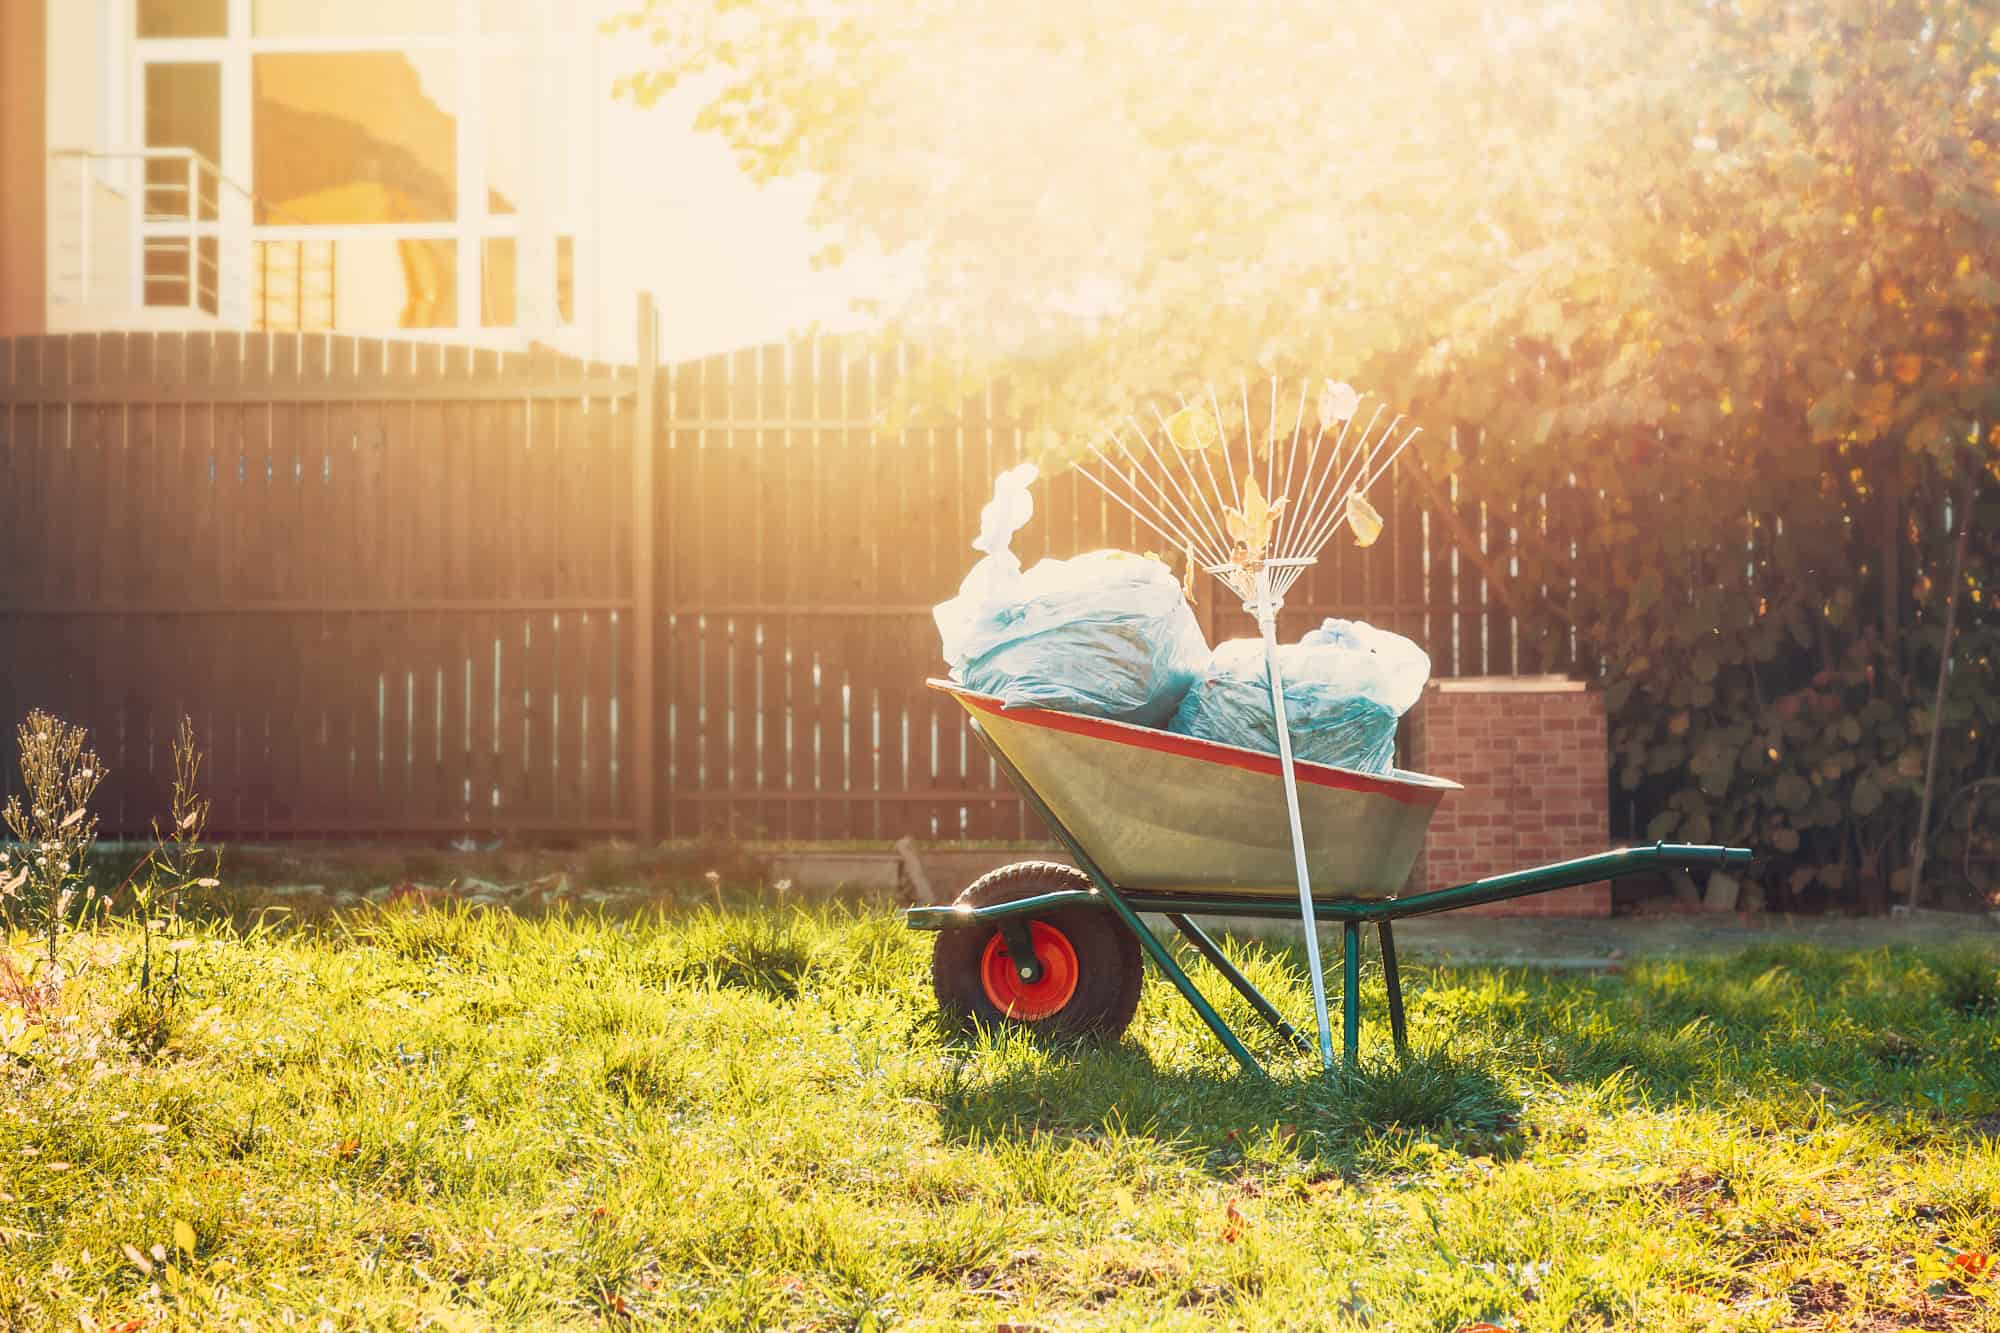
- Gather the Necessary Tools: Before you begin excavation, gather the tools you’ll need, such as a shovel, pickaxe, wheelbarrow, and measuring tape. It’s important to have the right tools on hand to make the process more efficient.
- Mark the Outline: Using the stake and string outline you created during the design phase, mark the outline of the pond area on the ground. This will serve as a guide for excavation.
- Start Digging: Begin digging within the marked outline, starting from the center and working your way outwards. Pile the soil on a tarp or in a wheelbarrow for easy removal.
- Check the Depth: As you dig, periodically check the depth to ensure you’re achieving the desired depth for your pond. Use a measuring tape to measure from the bottom of the excavation to the ground level.
- Smooth the Bottom: Once you’ve reached the desired depth, use the back of a shovel or a rake to smooth out the bottom of the excavation. This will help create a level surface for the pond liner.
- Remove Debris: Remove any rocks, roots, or debris from the excavation area. It’s important to create a clean and clear space for the pond liner to be installed.
Excavating the pond area can be a physically demanding task, so take breaks as needed and pace yourself. It’s important to maintain a steady and even excavation to ensure the stability and integrity of your koi pond. If you encounter any challenges or obstacles during the excavation process, consult with a professional to ensure the proper steps are taken.
Remember, careful and precise excavation is key to creating a well-built and visually appealing koi pond. Take your time, follow the steps outlined above, and enjoy the process of bringing your pond to life.
Step 4: Installing the Pond Liner
With the excavation complete, it’s time to move on to the next step: installing the pond liner. The pond liner is a crucial component of your koi pond, as it acts as a barrier to prevent water from seeping into the surrounding soil. Follow these steps to ensure a proper installation:
- Measure and Cut: Start by measuring the dimensions of your pond excavation. Add an extra foot to each side to ensure ample coverage. Use these measurements to determine the size of your pond liner. When cutting the liner, ensure a proper fit and allow for any additional features such as shelves or slopes.
- Prepare the Area: Clean and smooth out the excavation area to remove any rocks, debris, or sharp objects that could potentially puncture the pond liner.
- Place the Liner: Carefully place the pond liner into the excavation, making sure it covers the entire area and extends up the sides. Smooth out any wrinkles or folds in the liner as you go. It may be helpful to have an extra pair of hands to assist with this step.
- Secure the Liner: Once the liner is in place, begin securing it to the edges of the excavation using heavy-duty pond liner clips or stones. This will prevent shifting or movement of the liner over time.
- Create Folds or Overlaps: If necessary, create folds or overlaps in the liner to accommodate any irregularities or features in the pond design. Ensure that these folds or overlaps are water-tight to prevent leaks.
- Trim Excess Liner: Trim any excess liner from the edges of the pond, leaving a small overhang of about 6 inches. This will allow for proper attachment of the pond coping or edging material.
Installing the pond liner requires careful attention to detail, as any flaws or gaps can lead to water leakage. Take your time during this step to ensure a proper and secure fit. A high-quality pond liner will help protect your pond and ensure its longevity.
Remember, the pond liner is an essential component of your koi pond. A proper installation will help maintain water integrity and prevent any potential issues down the line. By following these steps, you’ll be one step closer to having a fully functional and beautiful koi pond in your backyard.
Step 5: Adding the Water and Filling the Pond
With the pond liner securely in place, it’s time to add water and fill your koi pond. This step is an exciting one, as you’ll finally begin to see your pond taking shape. Follow these guidelines to ensure a successful water filling process:
- Clean the Pond: Before adding water, clean the pond liner using a mild detergent and a soft brush. This will remove any dirt or debris that may have accumulated during the construction process.
- Check for Leaks: Before adding a significant amount of water, check for any leaks in the pond liner. Fill the pond partially and let it sit for at least 24 hours. If there are no signs of leakage, you can proceed with filling the pond.
- Use a Dechlorinator: If your tap water contains chlorine or other harmful chemicals, use a dechlorinator to neutralize them before adding it to the pond. Chlorine can be harmful to your koi fish and other aquatic life.
- Slow and Steady Filling: Start filling the pond slowly to avoid displacing the pond liner or damaging any plants or decorations. You can use a garden hose or buckets to add water gradually. Monitor the water level as you fill to ensure it is evenly distributed.
- Balance pH and Temperature: As you fill the pond, monitor and adjust the pH and temperature of the water. The pH level should ideally be between 7 and 8 to provide a healthy environment for your koi fish.
- Monitor Water Clarity: As the pond fills, keep an eye on the water clarity. If the water appears cloudy, this may indicate the presence of excess debris or inadequate filtration. Address any issues promptly to maintain a clean and clear pond.
Adding water to your koi pond is an exciting milestone, but it’s important to exercise patience and diligence throughout the process. Taking the time to properly fill the pond and ensure the water quality will contribute to the overall health and well-being of your koi fish.
Remember, the filling process is just one step in creating a thriving koi pond. In the next steps, we will explore how to set up the filtration system, introduce koi fish, and add plants and decorations to complete your backyard oasis.
Step 6: Setting up the Filtration System
One of the most important aspects of maintaining a healthy koi pond is having an efficient filtration system in place. The filtration system helps to remove debris, control water quality, and promote a balanced ecosystem for your koi fish. Follow these steps to set up your filtration system:
- Choose the Right Filtration Components: Research and select the appropriate filtration components for your pond size and needs. This may include a pump, mechanical filter, biological filter, UV light, and skimmer.
- Install the Pump: Place the pump in the deepest part of the pond, ensuring that it is securely anchored and positioned correctly. Connect the pump to the electrical source and any necessary tubing or hoses.
- Set Up the Mechanical and Biological Filters: Follow the manufacturer’s instructions to install the mechanical and biological filters. These filters will help to trap and remove physical debris and promote beneficial bacteria growth for water clarification.
- Add the UV Light: Install the UV light, if applicable, according to the manufacturer’s instructions. The UV light helps to control harmful bacteria and algae growth in the pond water.
- Include a Skimmer: If you have a skimmer as part of your filtration system, install it to remove floating debris from the water’s surface.
- Test the Filtration System: Once the filtration components are installed, test the system to ensure everything is functioning properly. Check for any leaks, verify the water flow, and monitor the effectiveness of the filtration system in maintaining water clarity.
It is crucial to regularly maintain and clean your filtration system to ensure optimal performance. This includes periodically cleaning or replacing filter media, checking pump functionality, and monitoring water quality parameters. Make sure to familiarize yourself with the specific maintenance requirements of your filtration system.
A properly functioning filtration system is essential for the overall health and longevity of your koi fish and the quality of your pond. By investing in a reliable filtration system and diligently maintaining it, you can enjoy a clean and thriving koi pond for years to come.
Step 7: Introducing the Koi Fish
Now that you have set up the filtration system and the water in your pond is clear and balanced, it’s time to introduce the stars of your koi pond – the koi fish! Adding koi fish to your pond is an exciting and rewarding step, but it’s important to do it properly to ensure their health and well-being.
- Choose Healthy Koi: When selecting your koi fish, choose healthy specimens from a reputable supplier. Look for koi that have clear eyes, vibrant colors, smooth skin, and active behavior. Avoid fish with visible signs of disease or injury.
- Quarantine New Fish: Before introducing new koi fish to your main pond, it’s advisable to quarantine them in a separate tank or pond for a period of time. This will allow you to monitor their health and prevent the potential transfer of diseases to your existing fish.
- Acclimate the Fish: Properly acclimate the koi fish to the water in your pond to prevent shock. Float the fish in a bag or container on the pond’s surface for about 15-20 minutes to allow them to adjust to the water temperature. Then, gently release them into the pond.
- Monitor Water Parameters: After introducing the fish, closely monitor the water parameters, including temperature, pH, ammonia, and nitrate levels. Regularly test the water to ensure it remains within the appropriate range for healthy fish.
- Feed the Fish: Start feeding your koi fish a high-quality koi food once they are settled in the pond. Offer small amounts of food multiple times a day, being careful not to overfeed. Keep an eye on their feeding habits and adjust the quantity as needed.
- Ensure Adequate Space: Koi fish require ample space to swim and grow. Avoid overcrowding the pond by considering the mature size of your koi and the recommended stocking density. This will help maintain good water quality and reduce stress on the fish.
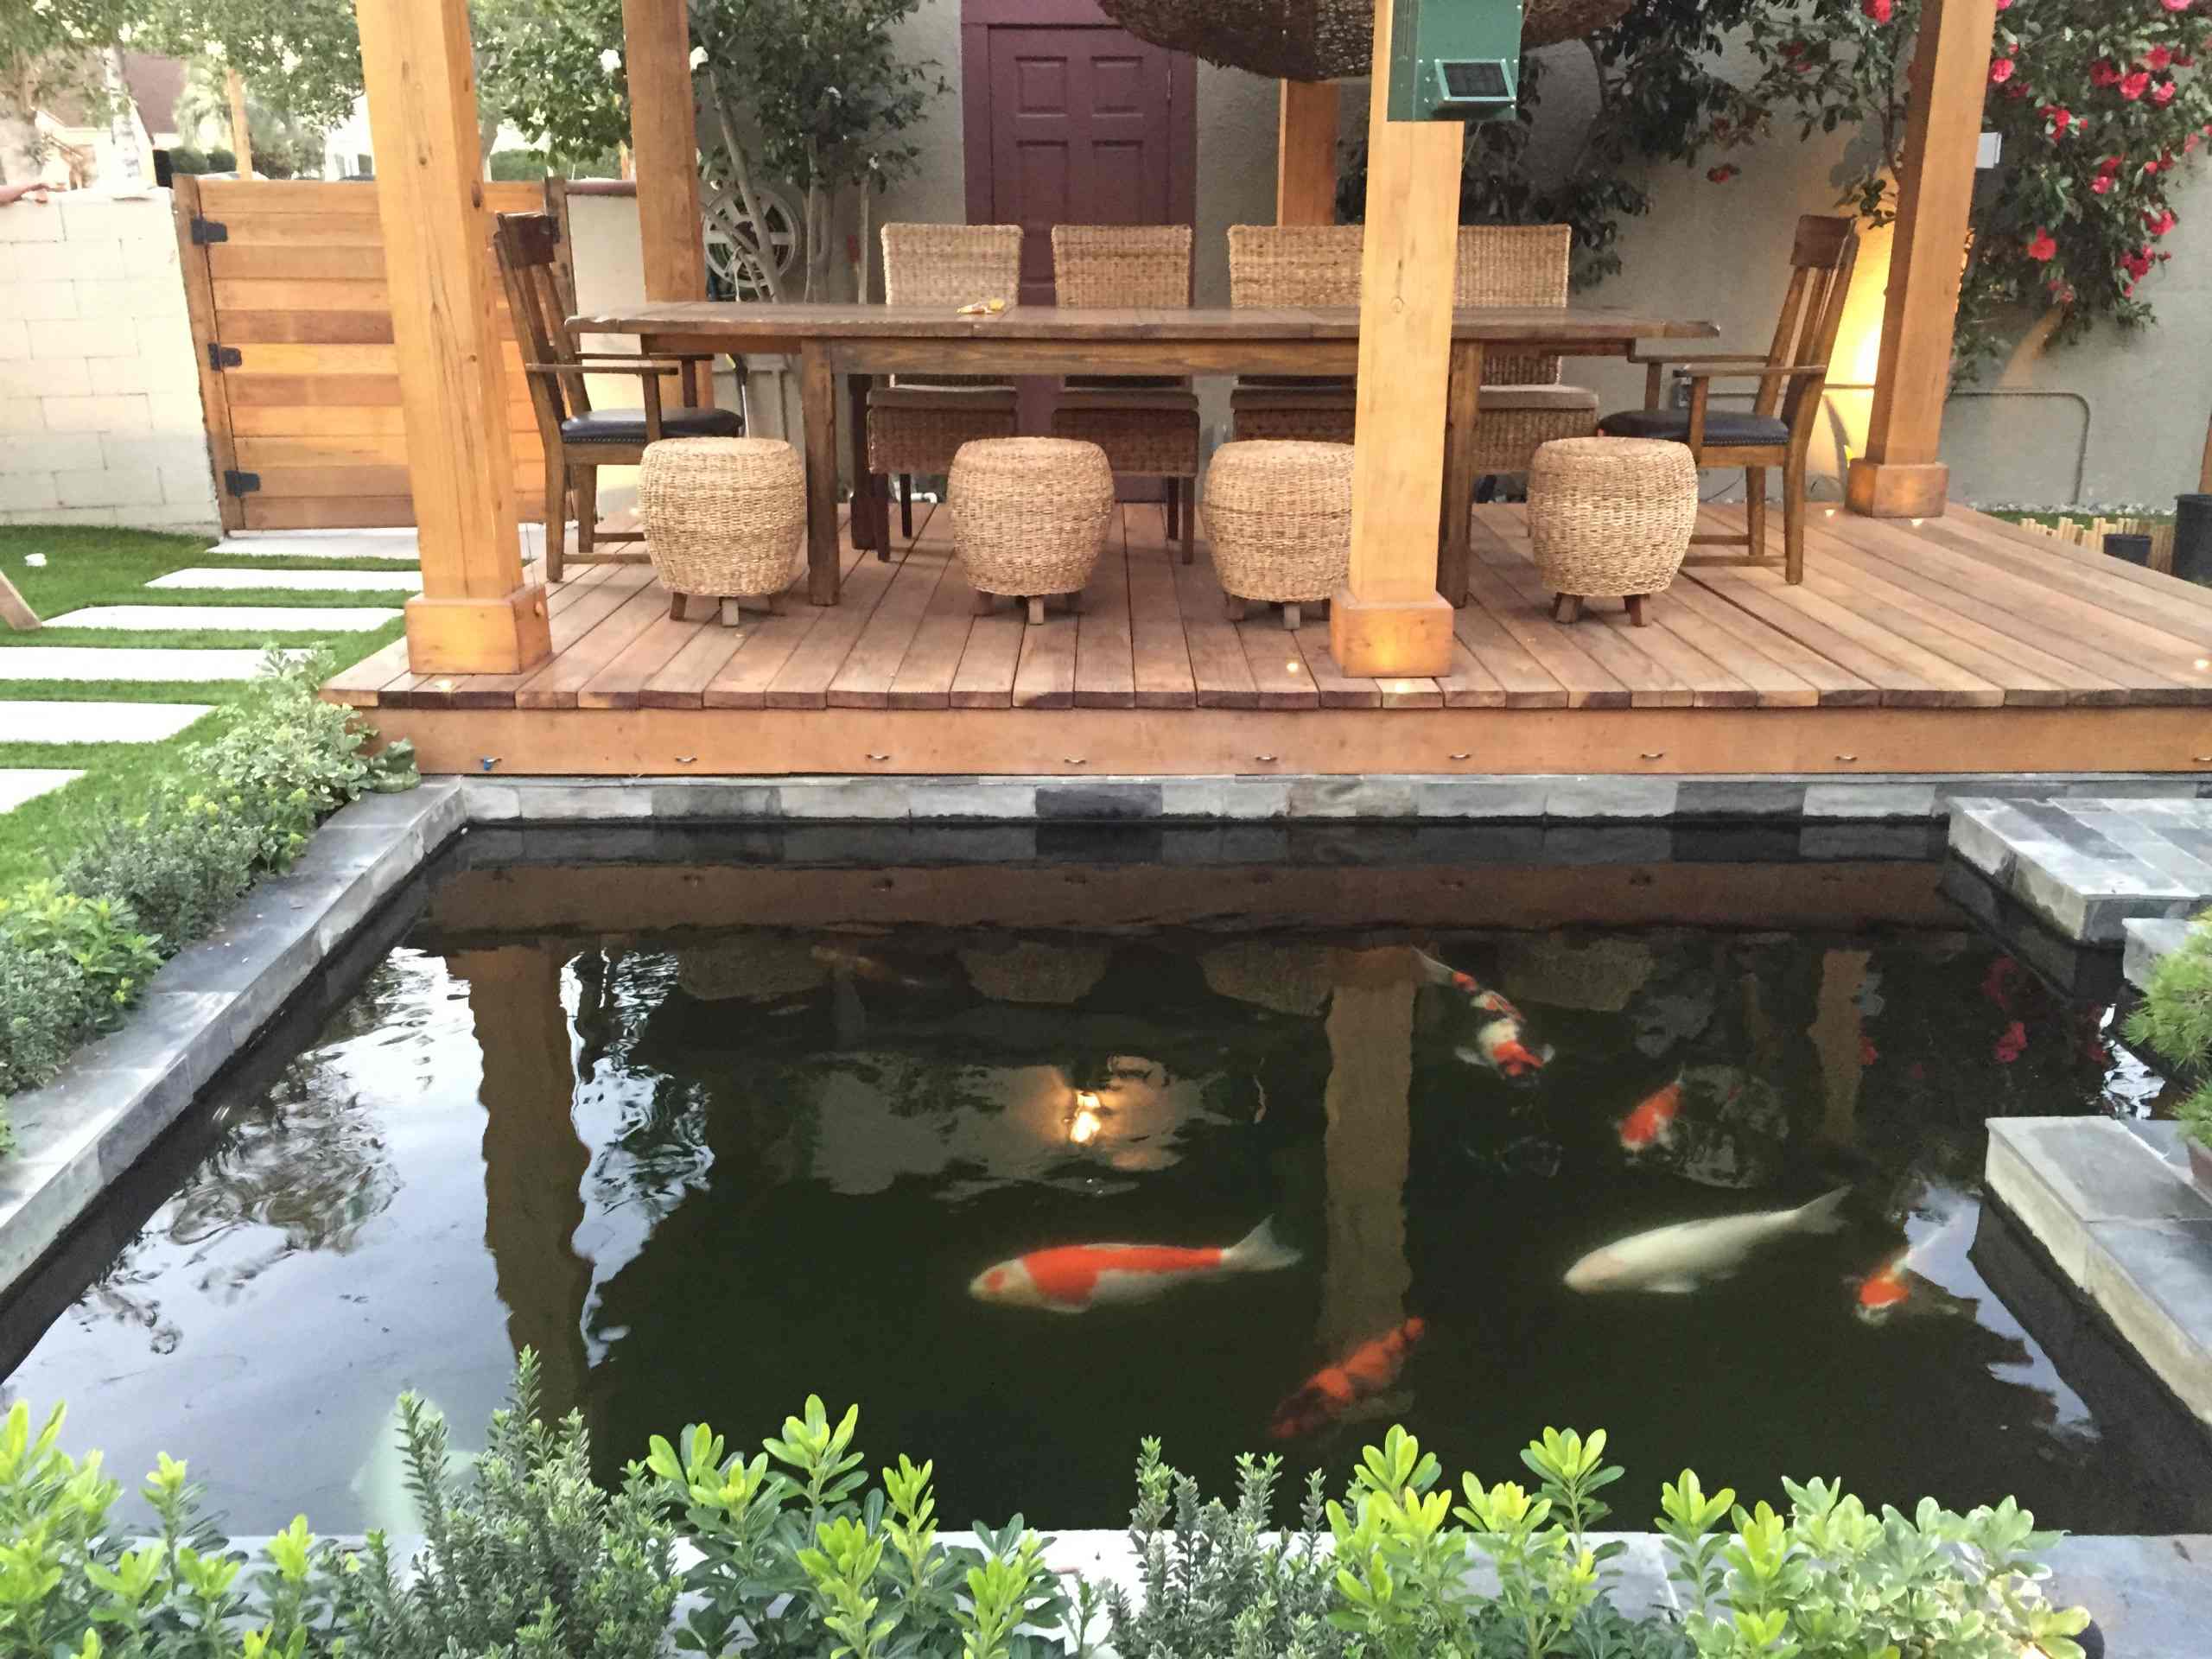
- Observe and Enjoy: Take the time to observe and enjoy your koi fish as they explore their new home. Provide hiding spots and ample vegetation for them to feel secure. Enjoy their graceful movements and vibrant colors as they bring life and beauty to your pond.
Remember, koi fish are living creatures that require proper care and attention. Regular monitoring of their health, water parameters, and feeding habits is essential. By following these steps, you can create a safe and nurturing environment for your koi fish to thrive and bring joy to your koi pond.
Step 8: Adding Plants and Decorations
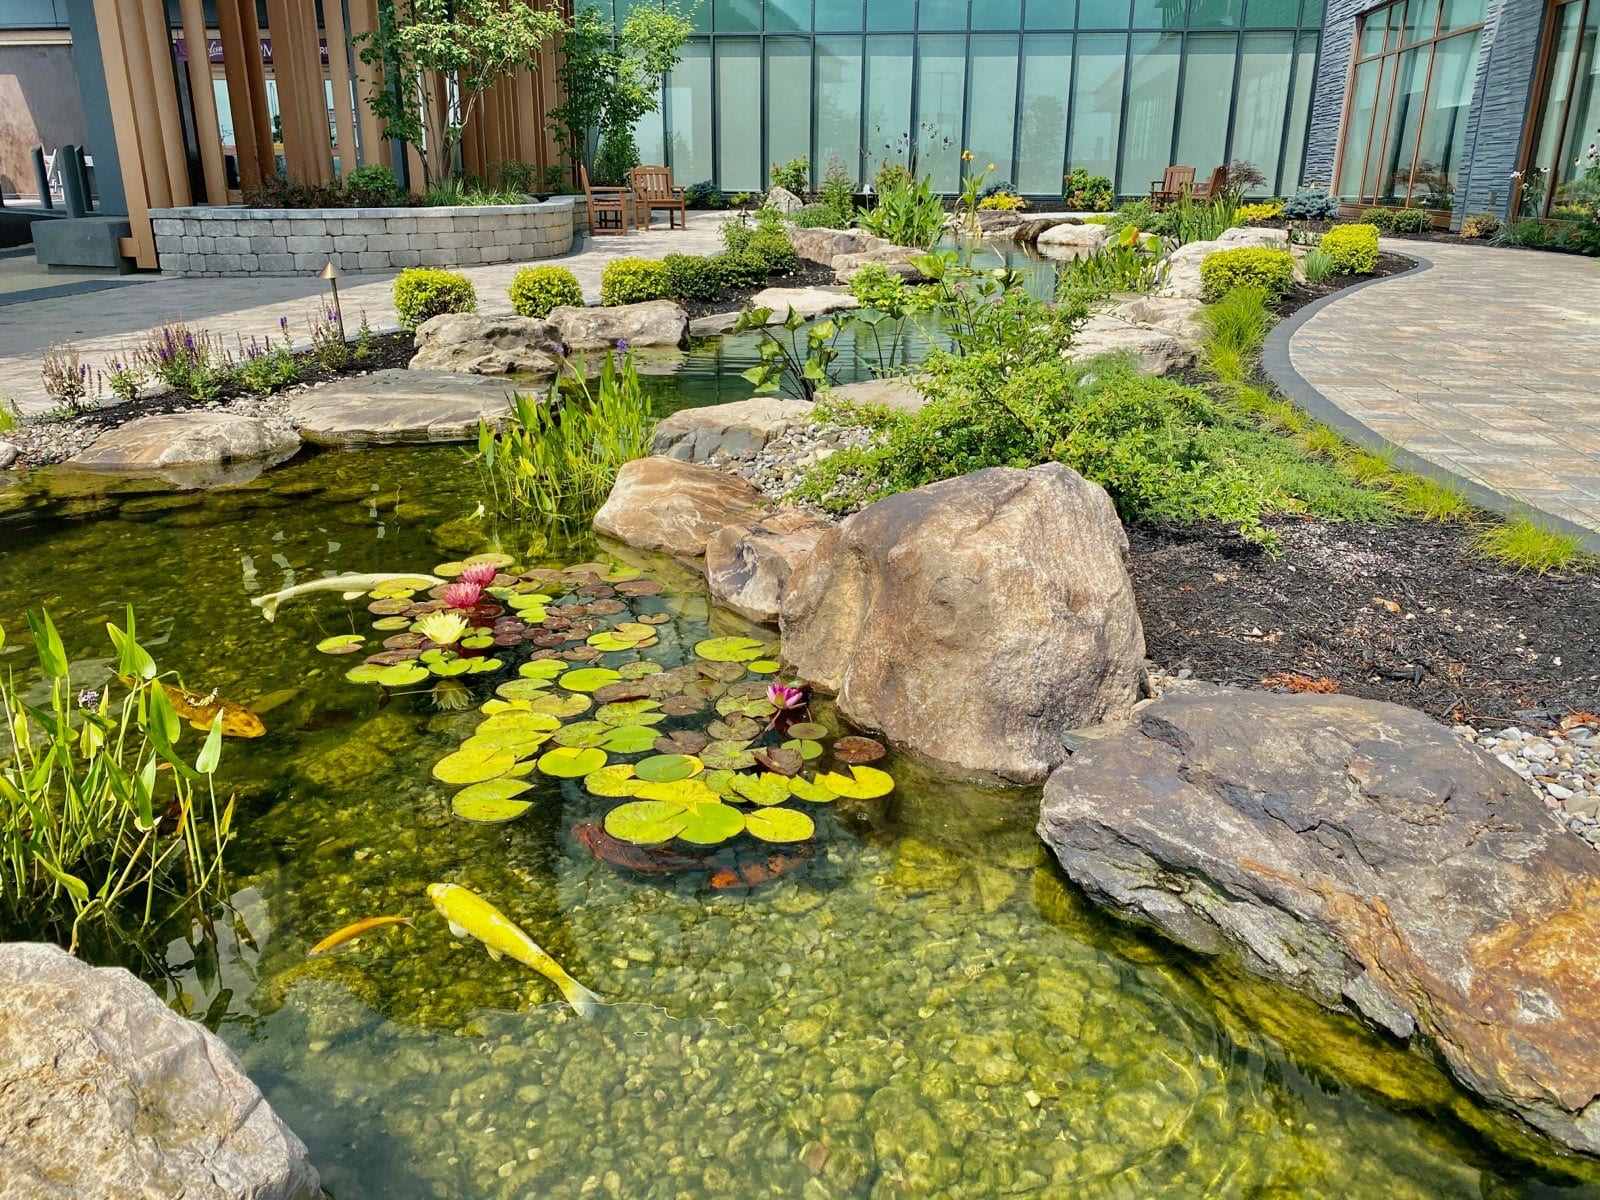
Now that your koi fish are settled in their new home, it’s time to add the finishing touches to your koi pond by incorporating plants and decorations. Adding plants and decorations not only enhances the visual appeal of your pond but also provides additional benefits to the ecosystem. Follow these steps to create a picturesque and functional koi pond:
- Select Aquatic Plants: Choose a variety of aquatic plants that are suitable for koi ponds. Floating plants like water lilies provide shade and help to oxygenate the water. Submerged plants like anacharis and waterweed act as natural filters and provide hiding spots for your fish.
- Plant Placement: Determine the optimal locations to plant your aquatic plants. Consider the sunlight requirements, depth limitations, and growth habits of each plant. Place taller plants towards the back of the pond and shorter ones towards the front to create depth and visual interest.
- Add Marginal Plants: Marginal plants, such as cattails or iris, can be planted along the edges of your pond to soften the transition between the water and the surrounding landscape. These plants also offer additional shade and decorative accents.
- Introduce Decorations: Enhance the aesthetic appeal of your koi pond by adding decorations such as rocks, driftwood, or statues. These elements can be strategically placed to create natural-looking landscapes or focal points within the pond.
- Create Hiding Spots: Incorporate rocks, caves, or plant shelves to give your koi fish hiding spots and protection from predators. These features provide a sense of security for the fish and add an extra dimension to your pond’s design.
- Maintain a Balance: Regularly monitor and maintain the plants in your pond. Trim and prune them as needed to prevent overgrowth and maintain a harmonious balance. Remove any dead or decaying plant materials to prevent water quality issues.
Adding plants and decorations to your koi pond not only enhances its beauty but also improves the overall ecosystem. Aquatic plants provide oxygen, shade, and natural filtration, while decorations add character and enrichment. With a well-planned selection and placement, you can create a serene and captivating environment for both your koi fish and yourself.
Remember to consider the specific requirements of the plants you choose and regularly maintain them to ensure their health and vitality. With a careful balance of plants, decorations, and the natural beauty of your koi fish, your pond will become a breathtaking oasis in your backyard.
Step 9: Maintaining the Koi Pond
Once your koi pond is up and running, it’s important to establish a regular maintenance routine to ensure the health and longevity of your pond and its inhabitants. Regular maintenance will help keep the water clean, maintain optimal water quality, and prevent potential issues. Here are some essential maintenance tasks for your koi pond:
- Monitor Water Parameters: Regularly test the water for pH, ammonia, nitrite, and nitrate levels. Maintain proper water parameters to provide a healthy environment for your koi fish. Take corrective actions as necessary to address imbalances.
- Clean Filters and Skimmer: Regularly clean and maintain your filtration system, including mechanical filters, biological filters, and skimmers. Follow the manufacturer’s instructions for cleaning and replacing filter media and ensure optimal flow through the system.
- Remove Debris: Regularly remove leaves, twigs, and other debris from the surface of the pond using a skimmer or net. This will prevent debris from sinking to the bottom and negatively impacting water quality.
- Trim and Prune Plants: Regularly trim and prune the aquatic plants in your pond to control their growth and prevent overgrowth. Remove any dead or decaying plant material to maintain water quality and prevent excess nutrient buildup.
- Control Algae: Algae growth is a common challenge in koi ponds. Use appropriate measures to control algae, such as adding beneficial bacteria or using algae treatments. Ensure that the use of treatments is safe for your koi fish.
- Perform Regular Water Changes: Regularly perform partial water changes to help maintain water quality. This dilutes accumulated waste and replenishes essential minerals and oxygen in the water.
- Monitor Koi Health: Observe your koi fish regularly for any signs of illness or unusual behavior. Promptly address any issues by consulting with a veterinarian or knowledgeable koi expert to ensure the health and well-being of your fish.
- Secure Pond from Predators: Take steps to protect your koi fish from potential predators such as birds or other wildlife. Install a net, use scare devices, or create barriers to prevent access to the pond.
Maintaining your koi pond requires consistent effort and attention, but the rewards are well worth it. By staying proactive and following a regular maintenance routine, you can ensure a thriving and beautiful koi pond that brings you joy and serenity for years to come.
Remember, each pond is unique, and its maintenance needs may vary. Regular observation, research, and adaptation to your specific circumstances will help you maintain a healthy and vibrant koi pond ecosystem.
Conclusion
Congratulations! You’ve reached the end of this comprehensive guide on creating and maintaining a koi pond in your backyard. By following the steps outlined in this guide, you are well on your way to enjoying the tranquil beauty and mesmerizing presence of your own koi pond.
Throughout this guide, we covered the essential steps, from choosing the right location and designing the layout to excavating the pond area, installing the pond liner, and setting up the filtration system. We also explored introducing the koi fish, adding plants and decorations, and ongoing maintenance to ensure the health and vitality of your koi pond.
Building and maintaining a koi pond requires careful planning, attention to detail, and ongoing dedication. However, the rewards of creating a serene and captivating outdoor oasis are immeasurable. Your koi pond will provide a space for relaxation, a haven for beautiful koi fish, and a natural sanctuary that enhances the overall aesthetics of your backyard.
Remember to stay proactive in the maintenance of your koi pond. Regularly test the water parameters, clean and maintain the filtration system, and monitor the health of your koi fish. By doing so, you will enjoy the benefits of a well-balanced ecosystem and ensure the long-term success of your koi pond venture.
We hope that this guide has provided you with the knowledge, inspiration, and confidence to embark on your own DIY koi pond project. As with any endeavor, don’t hesitate to seek additional advice from professionals or fellow koi pond enthusiasts as you progress on your journey. And most importantly, have fun and enjoy the process!