Home>Gardening Techniques>DIY Projects>How To Make Homemade Fertilizer For Plants
DIY Projects
How To Make Homemade Fertilizer For Plants
Modified: January 22, 2024
Learn how to make homemade fertilizer for your plants with easy and affordable DIY projects. Create nutrient-rich solutions to nourish your garden and promote healthy growth.
(Many of the links in this article redirect to a specific reviewed product. Your purchase of these products through affiliate links helps to generate commission for Chicagolandgardening.com, at no extra cost. Learn more)
Table of Contents
- Introduction
- Benefits of Homemade Fertilizer
- Understanding Nutrient Requirements
- Common Ingredients for Homemade Fertilizer
- Making Your Own Compost
- Brewing Compost Tea
- Creating Manure Fertilizer
- Utilizing Organic Kitchen Waste
- Using Seaweed and Fish Emulsion
- Applying Homemade Fertilizer to Plants
- Precautions and Additional Tips
- Conclusion
Introduction
Welcome to the world of DIY projects! If you’re a gardening enthusiast looking for ways to nurture your plants naturally and economically, you’re in the right place. In this article, we’ll explore the fascinating world of homemade fertilizers and how you can create them right in the comfort of your own home.
Using homemade fertilizer for your plants not only helps you save money, but it also gives you control over what goes into your soil. By using natural ingredients, you can avoid harmful chemicals and promote a healthier environment for your plants and the ecosystem as a whole.
But before we dive into the exciting process of making your own fertilizers, let’s take a moment to understand the benefits of homemade fertilizers and why they are a great alternative to store-bought options.
First and foremost, homemade fertilizers are cost-effective. You can save a significant amount of money by utilizing readily available ingredients from your kitchen, garden, or local surroundings. Plus, by making your own fertilizers, you can customize the nutrient composition to meet the specific needs of your plants.
Secondly, homemade fertilizers are environmentally friendly. By using organic and natural ingredients, you’re reducing the impact of harmful chemicals on the soil and groundwater. Additionally, making your own fertilizers reduces packaging waste, as you can reuse containers and compost organic materials.
Lastly, using homemade fertilizers allows you to gain a deeper understanding of your plants’ nutrient requirements. As a DIY gardener, you have the opportunity to experiment and fine-tune your fertilizer recipes based on your observations and the specific needs of your plants. This hands-on approach enhances your gardening skills and creates a deeper connection between you and your plants.
Now that you’re aware of the benefits of homemade fertilizers, it’s time to explore the world of DIY fertilizer making. In the following sections, we’ll discuss the different ingredients and methods you can use to create your own homemade fertilizers.
Benefits of Homemade Fertilizer
Homemade fertilizers offer several advantages over store-bought options. Let’s take a closer look at the benefits:
- Cost-effective: One of the primary advantages of using homemade fertilizers is the significant cost savings. Commercial fertilizers can be expensive, especially if you have a large garden or numerous potted plants. By utilizing common household items and organic materials, you can create cost-effective fertilizers without compromising on the quality of nutrients.
- Customizable nutrient composition: Homemade fertilizers give you the flexibility to tailor the nutrient composition to match the specific needs of your plants. Different plants require varying amounts of nutrients, and commercial fertilizers may not cater to these specific requirements. With homemade fertilizers, you have the freedom to experiment and fine-tune the nutrient levels based on your plants’ needs.
- Environmentally friendly: Store-bought fertilizers often contain synthetic chemicals that can be harmful to the environment. Homemade fertilizers, on the other hand, utilize organic and natural ingredients, reducing the risk of harmful chemical runoff into soil and water sources. By promoting a healthier ecosystem, you’re contributing to the overall well-being of the environment and supporting biodiversity.
- Improved soil quality: Homemade fertilizers not only provide essential nutrients to plants but also improve the overall quality of the soil. Organic materials used in homemade fertilizers, such as compost and manure, increase the soil’s organic matter content and improve its structure. This, in turn, enhances the soil’s ability to retain moisture, encourages beneficial microbial activity, and promotes healthier root development.
- Reduced dependency on synthetic fertilizers: By making and using homemade fertilizers, you can reduce your reliance on synthetic fertilizers. Synthetic fertilizers often provide a quick boost of nutrients to plants but can have detrimental long-term effects on soil health. Homemade fertilizers, on the other hand, nourish plants in a balanced and sustainable manner, resulting in healthier and more resilient plants.
These are just a few of the many benefits of using homemade fertilizers in your garden. Not only do they offer financial savings and environmental advantages, but they also allow you to have more control over the well-being of your plants and the long-term health of your garden soil. So, why not give homemade fertilizers a try and witness the positive impact they can have on your gardening journey?
Understanding Nutrient Requirements
Before you start creating your own homemade fertilizer, it’s important to have a basic understanding of the nutrient requirements of your plants. Different plants have varying needs when it comes to essential nutrients such as nitrogen (N), phosphorus (P), and potassium (K), commonly known as NPK.
Nitrogen is crucial for healthy leaf and stem development, phosphorus promotes root growth and flower production, while potassium helps with overall plant vigor and disease resistance. Alongside these primary macronutrients, plants also require secondary nutrients like calcium, magnesium, and sulfur, as well as micronutrients like iron, zinc, and manganese. These nutrients are responsible for various vital functions within the plant’s growth and development.
Understanding the nutrient requirements of your plants will allow you to create a fertilizer that addresses their specific needs. For example, leafy greens like lettuce and spinach require higher nitrogen levels for lush foliage, while fruiting plants like tomatoes and peppers require more phosphorus and potassium to support flower and fruit production.
To determine the nutrient requirements of your plants, you can refer to gardening books, online resources, or consult with experienced gardeners. Additionally, observing your plants for signs of nutrient deficiency or excess, such as yellowing leaves or stunted growth, can provide valuable insights into their nutrient needs.
Remember that each plant has its own unique set of nutrient requirements. Some plants may thrive in slightly acidic soil, while others may prefer a more alkaline environment. Understanding the pH preferences of your plants will also help you create a fertilizer that meets their specific needs.
Once you have a good grasp of the nutrient requirements and pH preferences of your plants, you can move on to selecting the appropriate ingredients for your homemade fertilizer. In the next section, we will explore some common ingredients that you can use to create your own nutrient-rich fertilizers.
Common Ingredients for Homemade Fertilizer
When it comes to making homemade fertilizer, there is a wide range of ingredients you can use, many of which are readily available in your kitchen, garden, or local surroundings. Let’s take a look at some common ingredients you can use to create nutrient-rich homemade fertilizers:
- Compost: Compost is often referred to as “black gold” in the gardening world. It is a rich source of organic matter and essential nutrients. By composting your kitchen scraps, yard waste, and other organic materials, you can create nutrient-dense compost to use as a natural fertilizer.
- Manure: Manure from animals such as cows, horses, chickens, and rabbits is an excellent source of nutrients for your plants. It provides an abundance of nitrogen, phosphorus, and potassium, as well as other beneficial microorganisms that help break down organic matter in the soil.
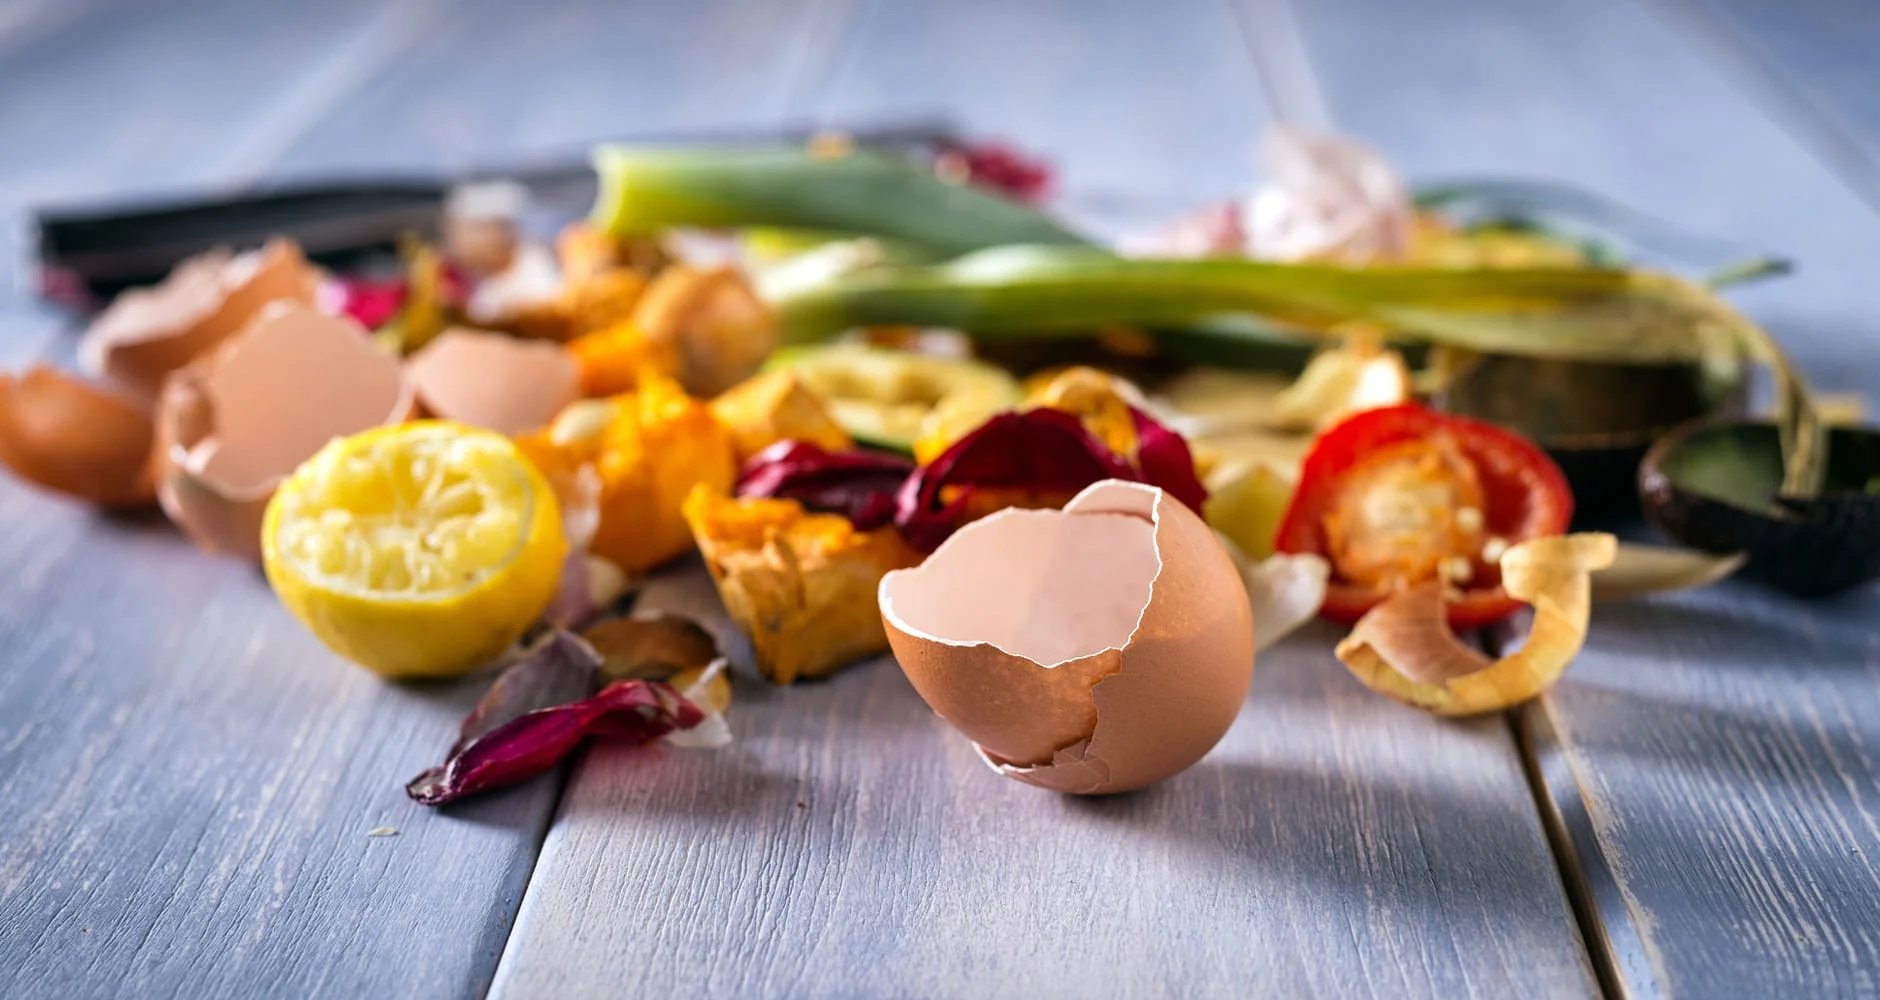
- Kitchen waste: Organic kitchen waste, such as vegetable peels, coffee grounds, and eggshells, can be recycled into homemade fertilizer. These materials are rich in nutrients and can be easily composted or used as a top dressing around plants.
- Seaweed: Seaweed is a natural fertilizer that is rich in trace minerals and growth-promoting hormones. It can be collected from beaches or purchased in dried or liquid form. Seaweed can be applied directly to the soil or used to make a nutrient-rich liquid fertilizer.
- Fish emulsion: Fish emulsion is a byproduct of the fish processing industry and is a valuable source of nutrients for plants. It is readily available in garden centers and can be used as a liquid fertilizer or as an ingredient in homemade fertilizers.
- Epsom salt: Epsom salt, also known as magnesium sulfate, is a mineral salt that provides magnesium and sulfur to plants. It can help improve nutrient uptake and promote healthy growth. Dissolve Epsom salt in water and use it as a foliar spray or incorporate it into your homemade fertilizer recipes.
These are just a few examples of the many ingredients you can use to create your own homemade fertilizers. Remember to choose ingredients that align with the nutrient requirements of your plants and the specific goals you have for your garden. It’s also important to keep in mind that different plants and soil conditions may require different fertilizer formulations.
As you continue on your DIY fertilizer journey, feel free to experiment with different ingredients and ratios to find what works best for your plants. In the next sections, we will dive into the various methods of creating homemade fertilizers using these ingredients.
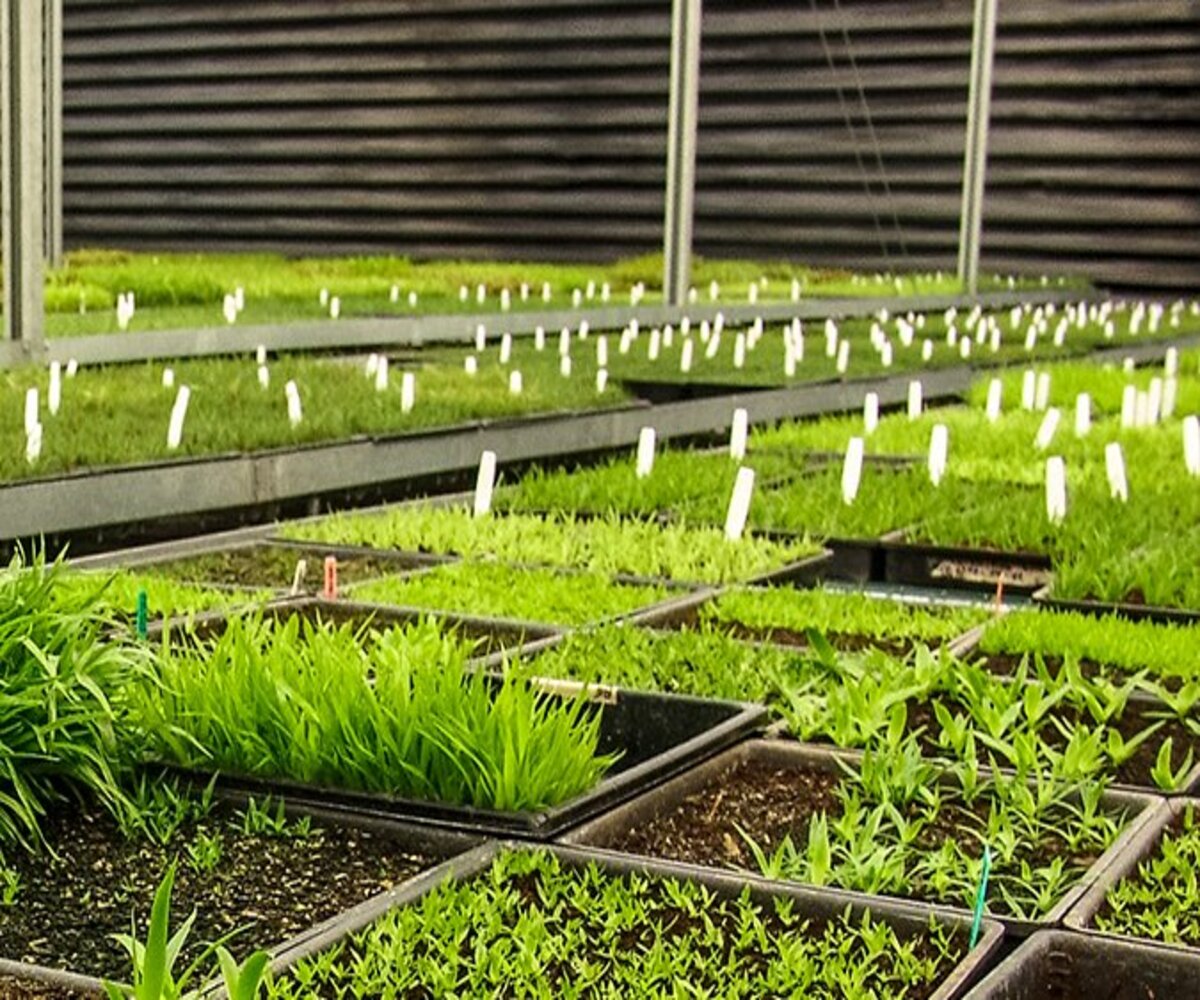
Making Your Own Compost
Compost is often considered the king of homemade fertilizers. It is a nutrient-rich, crumbly substance that is created through the decomposition of organic materials. Making your own compost not only helps reduce waste but also provides a sustainable source of fertilizer for your garden. Here’s how you can start making your own compost:
- Select a composting method: There are several methods you can choose from, including traditional composting, vermicomposting (using worms), or using a compost tumbler. Select a method that suits your space, time availability, and gardening needs.
- Collect organic materials: Gather a variety of organic materials such as vegetable and fruit scraps, coffee grounds, tea leaves, yard waste (leaves, grass clippings), and small amounts of shredded paper or cardboard. Avoid adding meat, dairy, or oily products as they can attract pests.
- Build the compost pile: Start by layering your organic materials, alternating between green (nitrogen-rich) and brown (carbon-rich) materials. Green materials include fresh kitchen scraps and grass clippings, while brown materials include dry leaves and shredded paper. Maintain a balance between the two to ensure proper decomposition.
- Moisten the pile: Your compost pile should be approximately as moist as a wrung-out sponge. If it feels too dry, sprinkle some water. If it feels too wet, add more dry materials. Proper moisture levels are essential for the composting process.
- Turn the pile: Every few weeks, use a garden fork or compost turner to aerate the pile. This helps speed up the decomposition process by providing oxygen to beneficial microorganisms. Turning the pile also helps distribute moisture and the breakdown of materials.
- Patience and time: Composting is a natural process that takes time. Depending on the composting method and conditions, it can take several months to a year for the organic materials to fully decompose into rich, dark compost.
Once your compost is ready, it can be used as a top dressing around plants, mixed into potting soil, or brewed into compost tea. The nutrient-rich compost adds organic matter to the soil, improving its structure, moisture-holding capacity, and nutrient content.
Remember to continue adding new organic materials to your compost pile as you generate them, and maintain the balance between green and brown materials. With time and patience, you’ll have a steady supply of homemade compost to nourish your plants and create a healthy, thriving garden.
Brewing Compost Tea
Compost tea is a concentrated liquid fertilizer that is created by steeping compost in water. It is a great way to extract the nutrients from compost and apply them directly to your plants. Here’s how you can brew your own compost tea:
- Select a brewing vessel: Choose a container that can hold the desired amount of water and compost. Options include a large bucket, a garbage bin with a lid, or specialized compost tea brewing equipment.
- Add compost: Fill a mesh bag or an old pillowcase with compost, leaving enough room for the compost to expand once it is submerged in water. Place the bag in the brewing vessel.
- Add water: Fill the brewing vessel with water, ensuring that the compost is fully submerged. Use non-chlorinated water if possible, as chlorine can be harmful to beneficial microorganisms.
- Aerate the mixture: Introduce air into the brewing vessel by stirring the water or using an aquarium aerator. This helps promote the growth of beneficial microbes and enhances the fermentation process.
- Brewing time: Allow the compost tea to brew for 24 to 48 hours, stirring or aerating occasionally. This allows enough time for the nutrients and beneficial microorganisms to be extracted from the compost.
- Strain and dilute: After the brewing period, remove the compost bag from the tea. Strain the liquid to remove any remaining solids. Dilute the compost tea with water at a ratio of around 1:10 or as recommended for your plants.
- Application: Use a watering can, sprayer, or irrigation system to apply the compost tea to your plants. Apply the diluted mixture directly to the soil around the base of the plants, ensuring thorough coverage.
Compost tea provides plants with a concentrated boost of nutrients and beneficial microorganisms. It improves soil fertility, enhances plant growth, and increases resistance to diseases and pests. Compost tea can be applied to both indoor and outdoor plants, including vegetables, flowers, and shrubs.
Remember to use the compost tea within a few days after brewing to ensure maximum potency. Any leftover tea can be poured back onto the compost pile or used on garden beds as a soil conditioner.
Brewing your own compost tea allows you to take full advantage of the benefits of compost, making it an excellent addition to your organic gardening practices. Experiment with different brewing times and ratios to find what works best for your plants, and watch as they thrive with the nutrient-rich goodness of homemade compost tea.
Creating Manure Fertilizer
Manure is a valuable source of nutrients that can be used to create homemade fertilizer for your plants. Whether you have access to livestock or can obtain manure from local farms or stables, here’s how you can turn manure into nutrient-rich fertilizer:
- Select the type of manure: Different types of manure, such as cow, horse, chicken, or rabbit, have varying nutrient compositions. Choose the type of manure that aligns with the nutrient needs of your plants and the availability in your area.
- Age and compost the manure: Fresh manure can be too strong for direct application to plants, as it may contain pathogens and high levels of nitrogen that can burn plants. Allow the manure to age and compost for several months to a year. This process helps break down the manure, eliminate pathogens, and create a stable, nutrient-rich fertilizer.
- Prepare the composting area: Designate an area in your garden or yard for composting the manure. Create a compost pile or use a compost bin to contain the manure. Ensure proper airflow, moisture, and a balance between green (manure) and brown (straw, leaves) materials.
- Add carbon-rich materials: To balance the high nitrogen content of manure, add carbon-rich materials such as straw, dried leaves, or shredded paper. This helps create a carbon-to-nitrogen ratio that promotes proper decomposition and prevents the formation of odors.
- Turn the compost pile: Periodically turn the compost pile using a garden fork or compost turner. This helps aerate the pile, distribute moisture, and enhance the decomposition process. Turning the pile also helps break down the manure into a fine-textured, nutrient-rich material.
- Compost maturity: The manure compost is ready to use when it resembles dark, crumbly soil, and has a pleasant, earthy smell. This indicates that the composting process is complete, and the manure is transformed into a stable, nutrient-rich fertilizer.
- Application: Apply the manure fertilizer to your plants by spreading it evenly on the soil surface or incorporating it into the soil during planting. Take care not to directly contact the foliage to avoid potential burning or contamination.
Manure fertilizer provides a wide range of nutrients such as nitrogen, phosphorus, potassium, and micronutrients necessary for healthy plant growth. It enhances soil structure, increases water-holding capacity, and improves overall soil fertility.
It’s important to note that not all manure is suitable for direct use on plants. Avoid using manure from animals that have been fed with herbicides, pesticides, or have been treated with medications. Additionally, ensure that the manure is fully composted to eliminate the risk of pathogens and to allow for the breakdown of any potentially harmful residues.
By utilizing manure as a homemade fertilizer, you can harness the power of natural nutrients and promote sustainable, organic gardening practices in your own backyard.
Utilizing Organic Kitchen Waste
Organic kitchen waste is an excellent resource for creating homemade fertilizer. Instead of throwing away your kitchen scraps, you can recycle them into valuable nutrients for your plants. Here are some ways to effectively utilize organic kitchen waste:
- Composting: Composting is an ideal method to transform kitchen waste into nutrient-rich compost. Collect food scraps such as vegetable peels, fruit cores, coffee grounds, tea leaves, and crushed eggshells. Avoid adding meat, dairy, and oily products as they can attract pests. Incorporate the kitchen waste into your compost bin or pile, layering it with other organic materials like leaves or shredded paper. Over time, the kitchen waste will decompose and contribute to the creation of nutrient-dense compost.
- Vermicomposting: Vermicomposting, or worm composting, is another method to use kitchen waste. Redworms or composting worms, such as red wigglers, can consume and break down the organic matter rapidly. Set up a vermicomposting system using a worm bin or a specialized container. Add kitchen waste to the bin along with bedding material like shredded newspaper or coconut coir. The worms will digest the kitchen waste, producing worm castings, or “black gold,” which makes an excellent fertilizer.
- Direct application: Some kitchen waste can be directly applied to the garden soil as a form of “green manure.” For example, coffee grounds are high in nitrogen and can be sprinkled around nitrogen-loving plants like roses or tomatoes. Crushed eggshells can be scattered around plants to provide a calcium boost. Banana peels can be buried near potassium-hungry plants. By strategically placing organic kitchen waste, you can provide targeted nutrition to your plants.
By utilizing organic kitchen waste, you not only reduce the amount of waste going to the landfill but also create a sustainable source of homemade fertilizer. The resulting compost or vermicompost adds valuable nutrients, organic matter, and beneficial microorganisms to the soil. This improves soil structure, moisture retention, and overall plant health.
Remember to maintain a proper balance of green (nitrogen-rich) and brown (carbon-rich) materials when composting kitchen waste to ensure successful decomposition. It’s also important to monitor the moisture levels of your compost pile or vermicomposting system to provide an optimal environment for the organisms involved in the breakdown process.
Utilizing organic kitchen waste as a homemade fertilizer not only nourishes your plants but also contributes to a more sustainable and environmentally friendly gardening approach. So, start saving those kitchen scraps and watch your plants thrive with the power of homemade organic nutrition!
Using Seaweed and Fish Emulsion
Seaweed and fish emulsion are natural fertilizers that offer a wide range of benefits to your plants. These organic sources provide essential nutrients, trace minerals, and growth-promoting hormones. Here’s how you can utilize seaweed and fish emulsion in your homemade fertilizer:
- Seaweed: Seaweed is a nutrient-rich material that can be collected from beaches or purchased in dried or liquid form. It contains a wide array of trace minerals, as well as plant growth regulators such as auxins, cytokinins, and gibberellins. Incorporate dried seaweed directly into your compost pile or grind it into a fine powder to use as a soil amendment. You can also make seaweed extract by soaking dried seaweed in water and using the resulting liquid as a foliar spray or soil drench. Seaweed extract provides a quick nutrient boost and helps improve plant growth, root development, and overall plant health.
- Fish Emulsion: Fish emulsion is a byproduct of the fish processing industry and is a valuable source of nutrients for plants. It is available in liquid form and can be easily applied to plants. Fish emulsion contains high levels of nitrogen, phosphorus, and trace minerals, making it an excellent all-purpose fertilizer. Dilute the fish emulsion according to the instructions on the packaging and apply it to the soil around your plants or as a foliar spray. This natural fertilizer promotes healthy growth, improves flowering and fruiting, and enhances overall plant vitality.
Both seaweed and fish emulsion offer numerous advantages as natural fertilizers. They improve soil fertility, enhance nutrient uptake, and increase plant tolerance to environmental stress. These organic fertilizers are safe to use and do not pose harm to beneficial soil microorganisms or the environment.
When using seaweed or fish emulsion as a homemade fertilizer, it’s important to follow the application instructions provided by the manufacturer. Avoid over-application, as excessive nitrogen levels can lead to nutrient imbalances or burning of the plants. Additionally, store any unused seaweed or fish emulsion according to the product’s guidelines to maintain its effectiveness.
By incorporating seaweed and fish emulsion into your homemade fertilizer routine, you can harness the power of these natural resources to promote vigorous plant growth, improve nutrient availability, and achieve a thriving and fruitful garden.
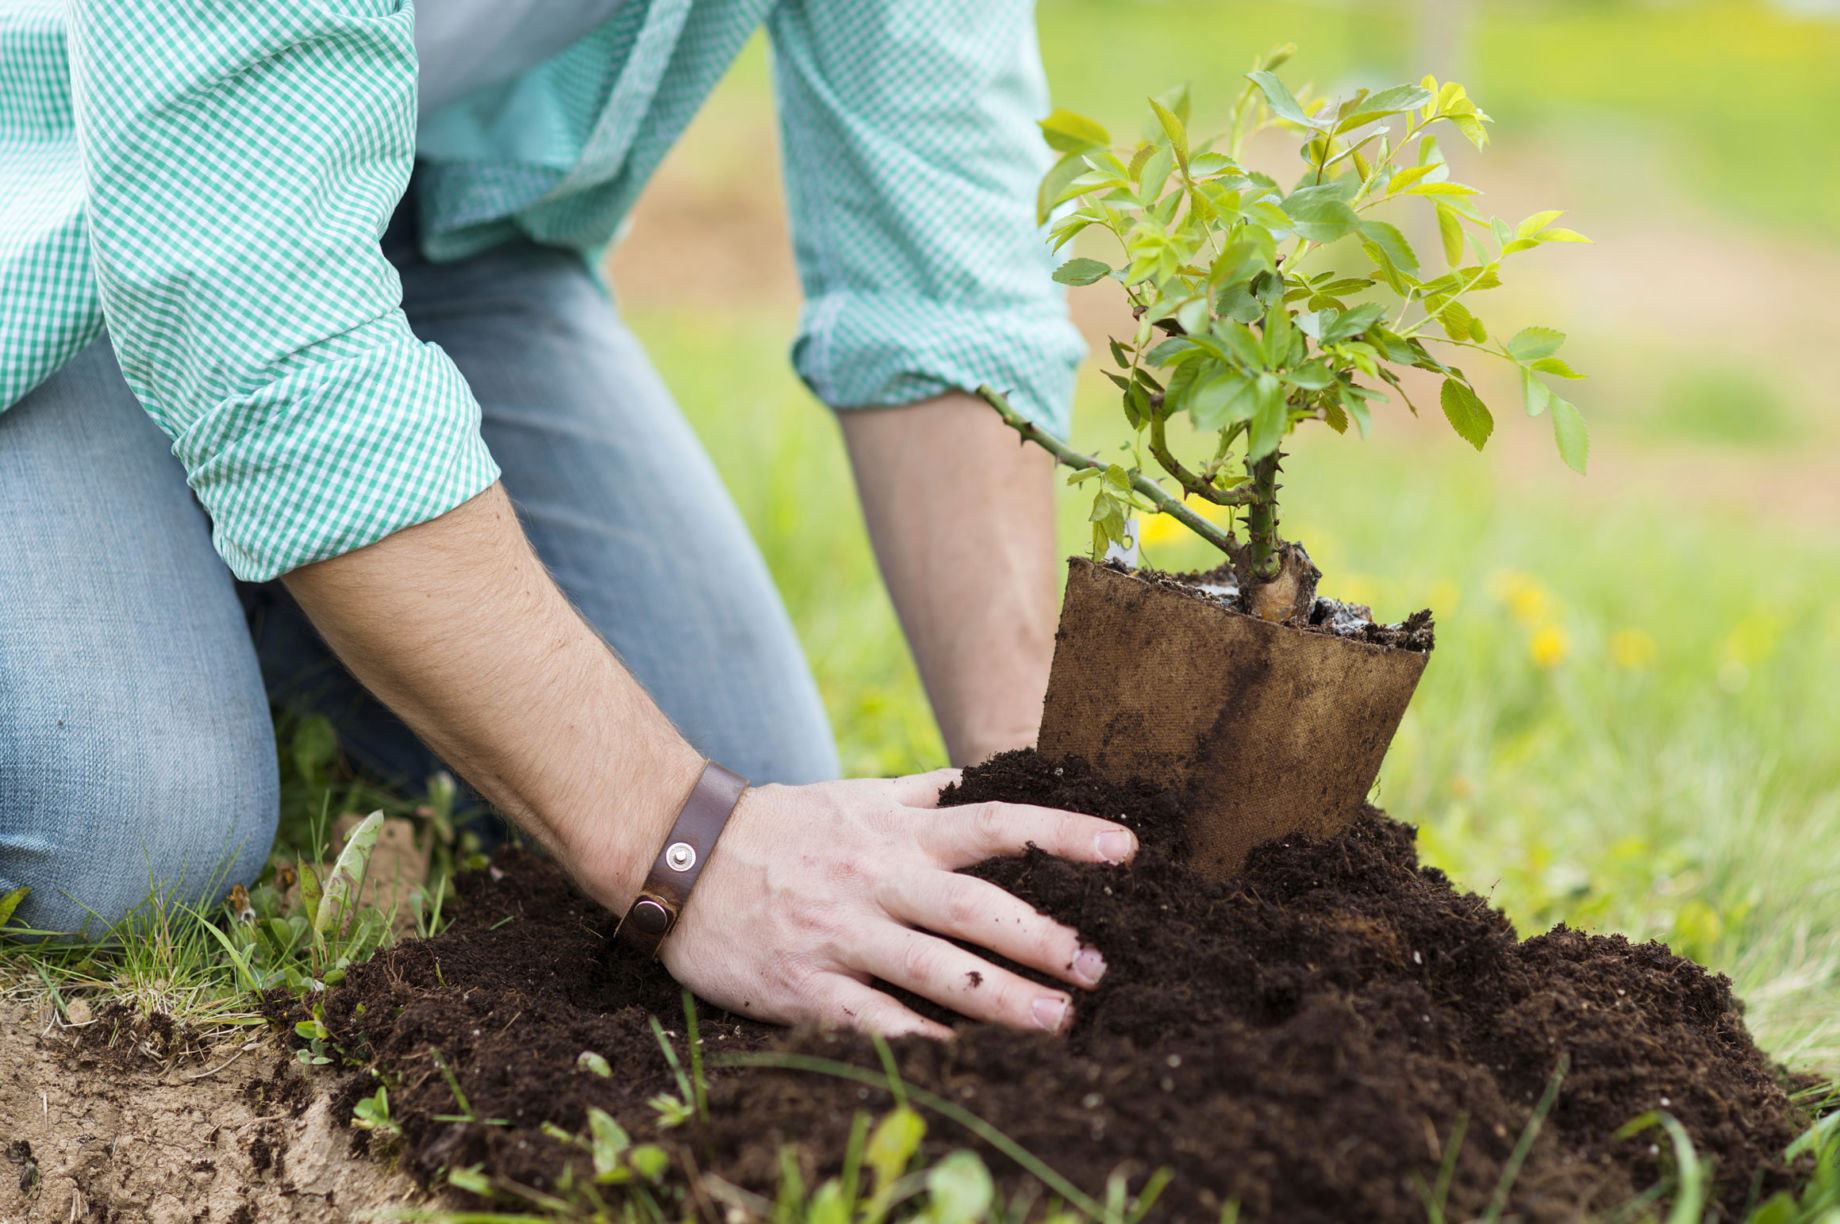
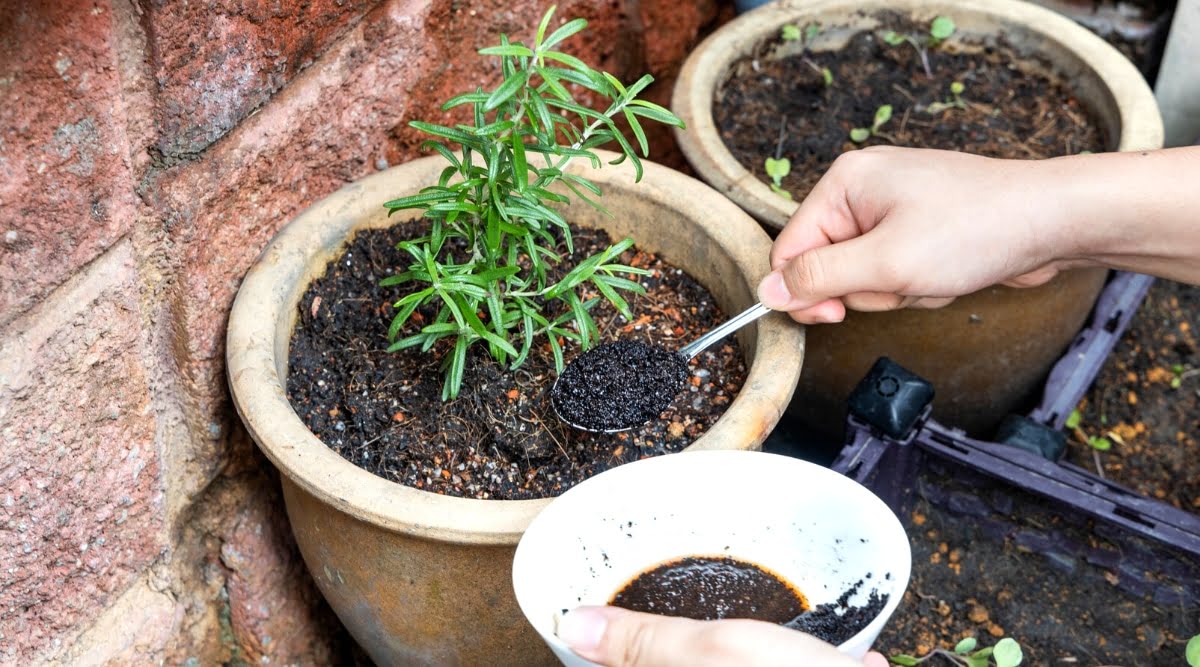
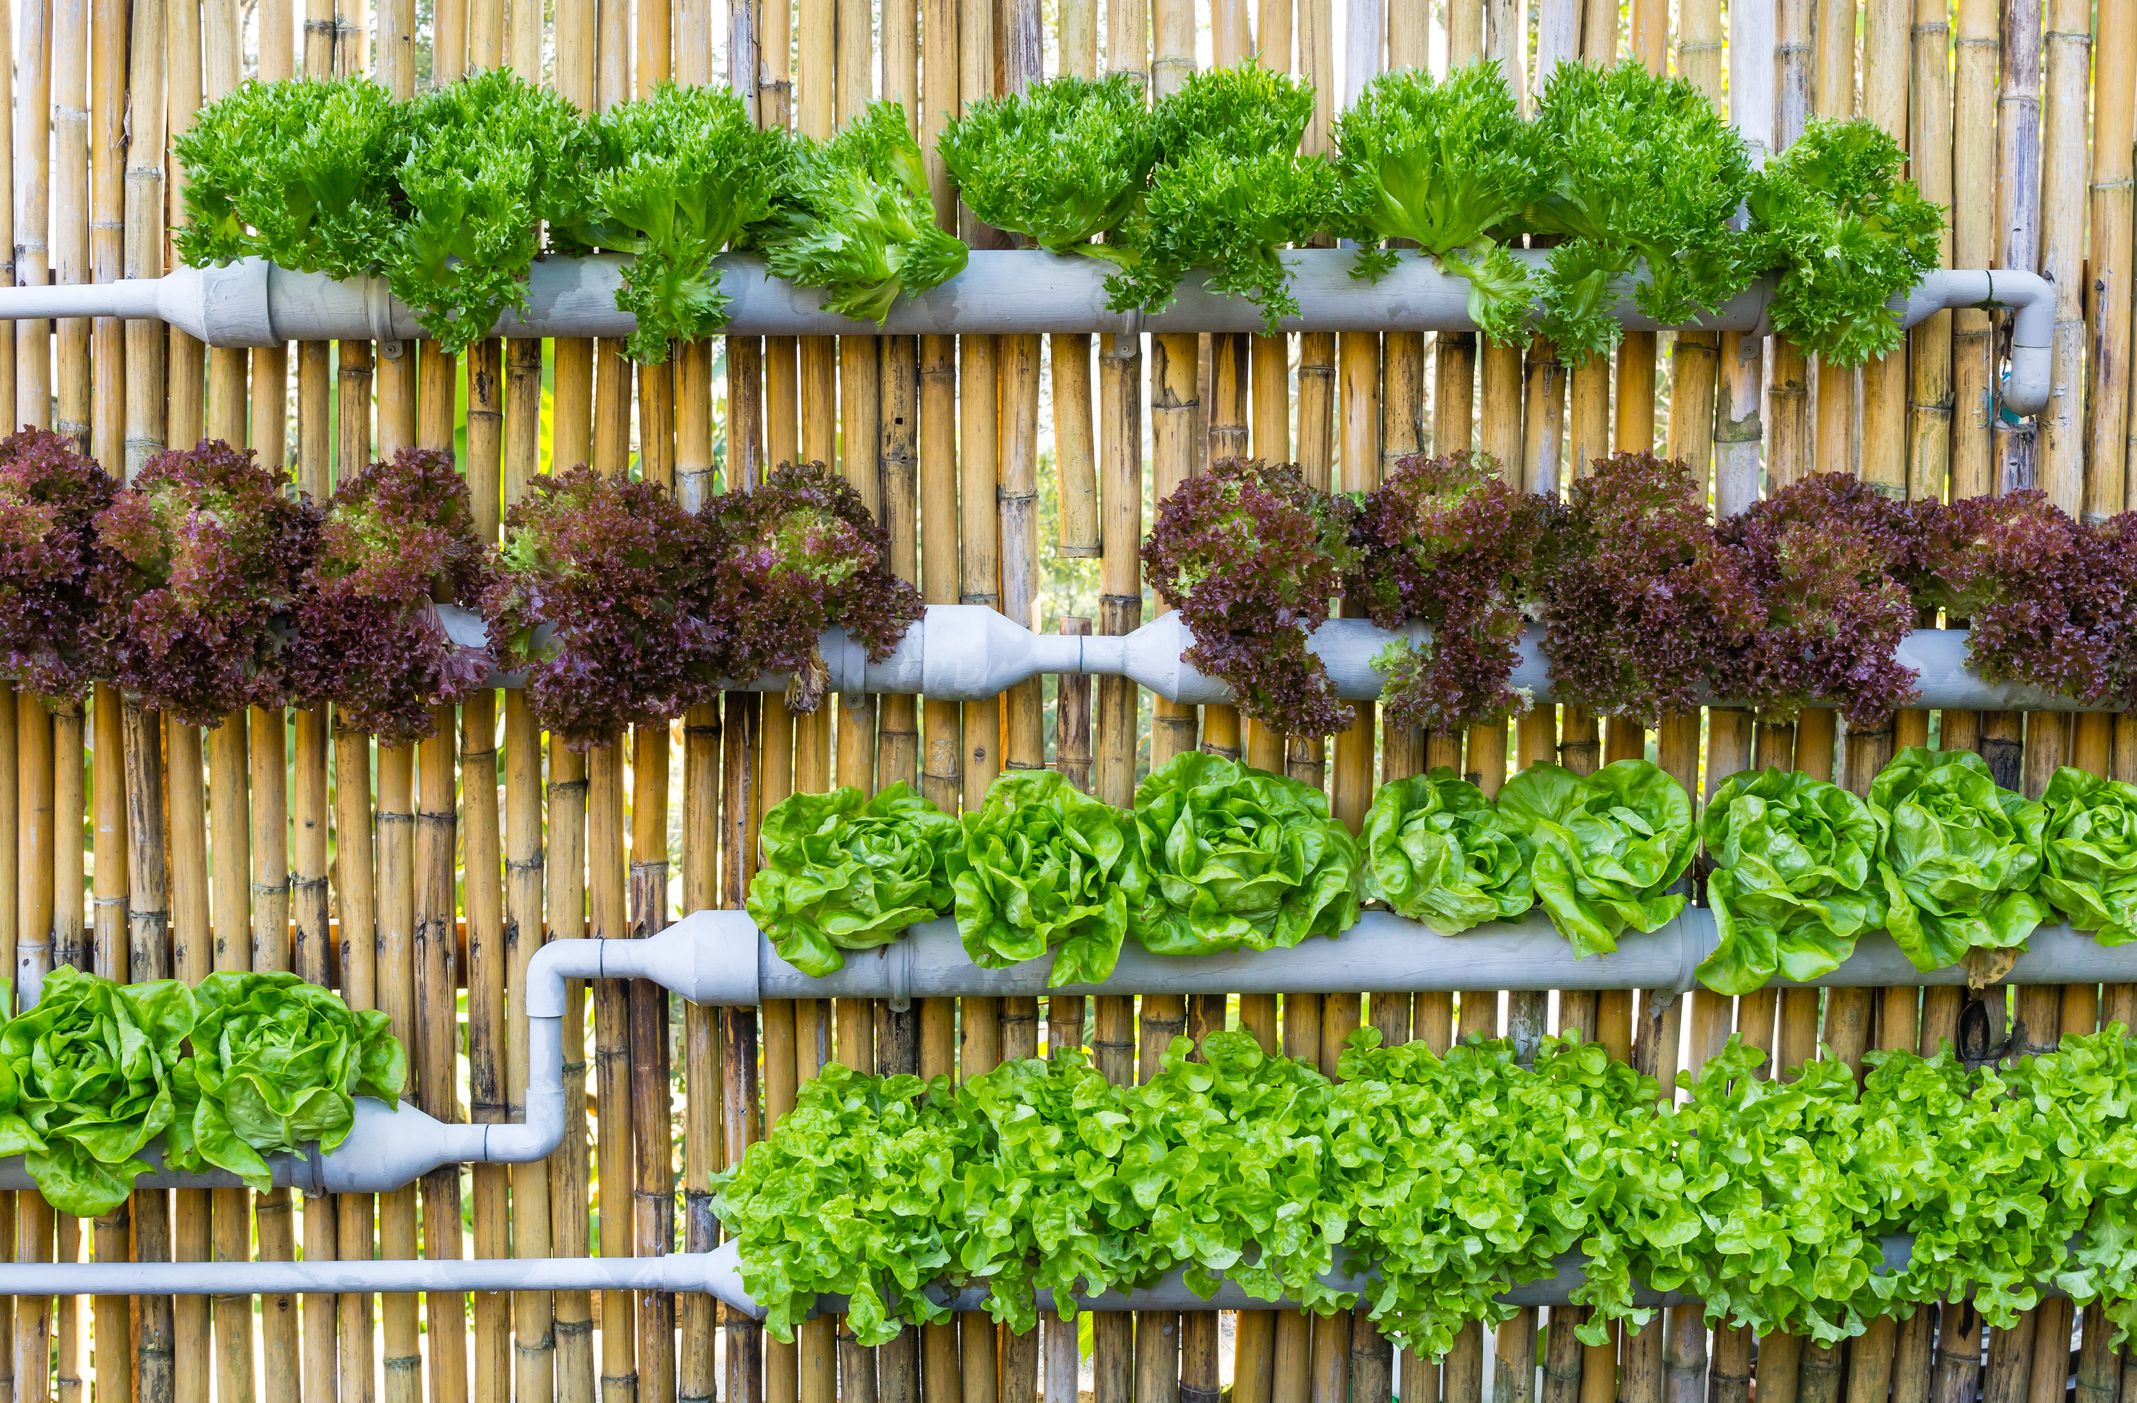
Applying Homemade Fertilizer to Plants
Once you have created your homemade fertilizer, it’s time to apply it to your plants. Applying fertilizer properly ensures that your plants receive the necessary nutrients for healthy growth and development. Here are some guidelines for applying homemade fertilizer:
- Timing: Apply fertilizer at the appropriate time based on the needs of your plants. Some plants benefit from fertilization during their active growing season, while others may require fertilization before or after flowering. Refer to plant-specific guidelines or consult gardening resources to determine the best timing for fertilizer application.
- Method: There are several methods you can use to apply homemade fertilizer. One common method is top-dressing, where you sprinkle the fertilizer around the base of the plant, avoiding direct contact with the stems or leaves. Another method is incorporating the fertilizer into the soil during planting or by lightly cultivating the soil around established plants.
- Quantity: Use the appropriate amount of fertilizer based on the specific needs of your plants and the nutrient content of your homemade fertilizer. Too much fertilizer can lead to nutrient imbalances or burning of the plants, while too little may not provide adequate nutrition. Follow the recommended application rates or start with smaller quantities and observe how your plants respond.
- Watering: After applying homemade fertilizer, water the plants thoroughly. This helps to distribute the nutrients evenly and ensures that the fertilizer reaches the plant roots. Watering also aids in preventing potential fertilizer burn and helps the nutrients to be absorbed more effectively by the plants.
- Frequency: Determine the frequency of fertilizer application based on the specific needs of your plants and the nutrient requirements of your homemade fertilizer. Some plants may benefit from more frequent applications, while others may only require periodic fertilization. Regular observation of your plants’ growth and health can help guide you in maintaining an appropriate fertilization schedule.
- Monitor plant response: Keep an eye on how your plants respond to the homemade fertilizer. Observe changes in growth, overall plant health, flower production, and fruit development. If you notice any signs of nutrient deficiency or excess, adjust your fertilizer application accordingly. It’s important to maintain a balanced approach and avoid over-fertilization, as it can be detrimental to plant growth and the environment.
Remember to tailor your fertilizer application to the specific requirements of each plant. Different plants have varying nutrient needs, and it’s essential to consider factors such as plant type, growth stage, and soil conditions when applying fertilizer.
Applying homemade fertilizer to your plants not only provides essential nutrients but also creates a closer connection between you and your garden. By observing and responding to your plants’ needs, you can foster healthier growth and achieve the beautiful and productive garden you desire.
Precautions and Additional Tips
While homemade fertilizers have many benefits, it’s important to take certain precautions and follow best practices to ensure their safe and effective use. Here are some precautions and additional tips to keep in mind:
- Labeling: Always label your homemade fertilizers with the ingredients used and the date of creation. This helps you keep track of the composition and age of the fertilizer, allowing you to make informed decisions about its use.
- Test on a small scale: Before applying homemade fertilizer to your entire garden or all your plants, it’s wise to test it on a small area or a few select plants. This allows you to observe how your plants respond to the fertilizer and make any necessary adjustments before widespread application.
- Avoid over-fertilization: Over-fertilizing can be harmful to plants as it can lead to nutrient imbalances, stunted growth, or even death. Follow recommended application rates and guidelines for your specific plants, and avoid applying fertilizer more frequently or in higher quantities than necessary.
- Consider soil testing: Periodically test your soil to assess its nutrient levels and pH. This provides valuable insights into the specific nutrient needs of your plants and allows you to adjust your homemade fertilizer recipes accordingly.
- Store fertilizers properly: If you have any leftover homemade fertilizer, store it in a cool, dry place away from direct sunlight. Proper storage helps maintain the effectiveness of the fertilizer and prevents moisture or degradation.
- Observe environmental regulations: Ensure that any ingredients used in your homemade fertilizer comply with local regulations and restrictions. Some regions have guidelines regarding the use of certain materials or may prohibit the use of specific types of manure or compost.
- Practice good hygiene: When handling organic materials, manure, or compost, be sure to wash your hands thoroughly afterward. This helps prevent the spread of bacteria and reduces the risk of contamination.
- Rotate fertilizer sources: To ensure a balanced nutrient profile and minimize the risk of nutrient imbalances or deficiencies, periodically rotate the types of homemade fertilizers you use. This helps provide a diverse range of nutrients and prevents the overaccumulation or depletion of specific elements in the soil.
- Monitor plant health: Regularly observe your plants for any signs of nutrient deficiencies or excesses. Adjust your fertilizer application or composition accordingly to maintain optimal plant health and productivity.
- Combine with other soil-building practices: Homemade fertilizers work best when used in conjunction with other soil-building practices, such as organic mulching, crop rotation, and cover cropping. These practices help improve soil structure, increase organic matter content, and enhance the overall health of your garden.
By following these precautions and incorporating these additional tips, you can ensure the safe, effective, and sustainable use of homemade fertilizers in your gardening endeavors. Enjoy the satisfaction of nurturing your plants with natural, nutrient-rich fertilizers while promoting a thriving and eco-friendly garden environment.
Conclusion
Creating homemade fertilizer for your plants is not only a cost-effective approach but also an environmentally friendly and rewarding endeavor. By utilizing common household ingredients, organic materials, and natural resources, you can provide your plants with the essential nutrients they need while avoiding the use of harmful chemicals found in many commercial fertilizers.
Throughout this article, we have explored the benefits of homemade fertilizer, understanding nutrient requirements, common ingredients for homemade fertilizer, and various methods of creating and applying them. We have learned how to make compost from kitchen and garden waste, brew nutrient-rich compost tea, utilize manure, and make use of seaweed and fish emulsion. Additionally, we have discussed the proper application techniques, precautions, and additional tips to ensure safe and effective fertilization.
Homemade fertilizers not only enhance soil fertility but also contribute to the overall health and productivity of your garden. They provide a sustainable and customizable solution to meet the specific nutrient needs of different plants while reducing waste and environmental impact.
Remember to always consider the specific nutrient requirements of your plants, monitor their response to the homemade fertilizers, and adjust your approach accordingly. Keep in mind the precautions mentioned to ensure the safe use of these homemade fertilizers.
Whether you are an experienced gardener or just starting on your gardening journey, making your own fertilizers adds a personal touch to your plant care routine. Experiment, observe, and fine-tune your homemade fertilizer recipes to provide the best nourishment for your precious plants.
So why not embark on this DIY fertilizer adventure, nourishing your plants with homemade goodness, and enjoy the satisfaction of a thriving and vibrant garden that you have nurtured with your own hands?