Home>Gardening Techniques>DIY Projects>How To Make Fertilizer At Home
DIY Projects
How To Make Fertilizer At Home
Modified: February 9, 2024
Learn how to make fertilizer at home with these easy DIY projects. Save money and create a healthy garden with homemade organic fertilizers.
(Many of the links in this article redirect to a specific reviewed product. Your purchase of these products through affiliate links helps to generate commission for Chicagolandgardening.com, at no extra cost. Learn more)
Table of Contents
- Introduction
- Benefits of making fertilizer at home
- Common ingredients for homemade fertilizer
- Recipe 1: Compost fertilizer
- Recipe 2: Banana peel fertilizer
- Recipe 3: Eggshell fertilizer
- Recipe 4: Coffee grounds fertilizer
- Recipe 5: Epsom salt fertilizer
- Tips for using homemade fertilizer effectively
- Precautions and Considerations when Making Homemade Fertilizer
- Conclusion
Introduction
Welcome to the world of DIY projects! If you’re someone who loves getting your hands dirty and creating things from scratch, then making your own fertilizer at home is a perfect project for you. Not only is it a great way to save money, but it also allows you to have full control over the ingredients and the quality of the fertilizer you use.
Why spend money on store-bought fertilizers that may contain harmful chemicals or additives when you can make your own organic and nutrient-rich fertilizer right at home? Whether you’re an avid gardener wanting to boost your plant’s growth or a sustainability enthusiast looking for ways to reduce waste, homemade fertilizer is a fantastic solution.
In this article, we will explore the benefits of making fertilizer at home, as well as provide you with some common ingredients and recipes to get started. With a little bit of time and effort, you can create your own all-natural fertilizers that will help your plants thrive.
Not only are homemade fertilizers economical and environmentally friendly, but they also provide numerous benefits to your plants. When you make your own fertilizer, you have the flexibility to customize the nutrient content based on the specific needs of your plants. This ensures that they receive the essential nutrients required for optimal growth and development.
Additionally, homemade fertilizers are often rich in organic matter, which improves soil fertility and structure. They help to retain moisture, enhance nutrient absorption, and promote beneficial microbial activity in the soil. By using homemade fertilizers, you can improve the overall health and productivity of your garden while reducing the need for chemical-based alternatives.
To get started with making your own fertilizer, you’ll need some common ingredients that can be easily found around your home or garden. These ingredients are not only cost-effective but also packed with essential nutrients that your plants crave. The next section will discuss some of the most commonly used ingredients in homemade fertilizers.
Benefits of making fertilizer at home
Making your own fertilizer at home offers a multitude of benefits, making it an attractive option for gardeners and plant enthusiasts alike.
1. Cost-effective: One of the biggest advantages of homemade fertilizer is cost savings. Store-bought fertilizers can be expensive, especially if you have a large garden or numerous plants to feed. By making your own fertilizer, you can significantly reduce your gardening expenses, as many of the ingredients can be sourced from your kitchen or garden.
2. Customizable nutrient content: Different plants have varying nutrient requirements. When you make your own fertilizer, you have the freedom to tailor the nutrient content based on the specific needs of your plants. This ensures that they receive the ideal balance of nutrients, leading to healthier and more productive plants.
3. Environmentally friendly: Store-bought fertilizers often contain synthetic chemicals that can be harmful to the environment. By using homemade fertilizers, you can minimize your environmental impact and promote sustainable gardening practices. Homemade fertilizers are typically organic and free from harmful additives, reducing the risk of water pollution and soil degradation.
4. Organic and nutrient-rich: Homemade fertilizers are an excellent choice for organic gardeners who prioritize using natural and sustainable methods. Many homemade fertilizers are made from organic materials such as kitchen scraps, compost, or plant matter. These ingredients are rich in essential nutrients and organic matter that contribute to soil health and plant growth.
5. Improve soil fertility and structure: Homemade fertilizers are not only beneficial for plant growth but also for improving the overall fertility and structure of the soil. Organic materials used in homemade fertilizers help retain moisture, enhance nutrient absorption, and promote the growth of beneficial microbial life in the soil.
6. Reduce waste: Making your own fertilizer is a smart way to repurpose kitchen scraps and other organic waste that would otherwise end up in the trash. By turning these materials into nutrient-rich fertilizer, you’re minimizing waste and contributing to a more sustainable lifestyle.
7. Rewarding and educational: By making your own fertilizer, you’ll gain a deeper understanding of the nutrients required by your plants and the importance of soil health. It can be a rewarding and educational experience, allowing you to connect more intimately with your garden and appreciate the natural processes of plant growth.
Now that you understand the benefits of homemade fertilizer, let’s explore some of the common ingredients used in DIY fertilizers in the next section.
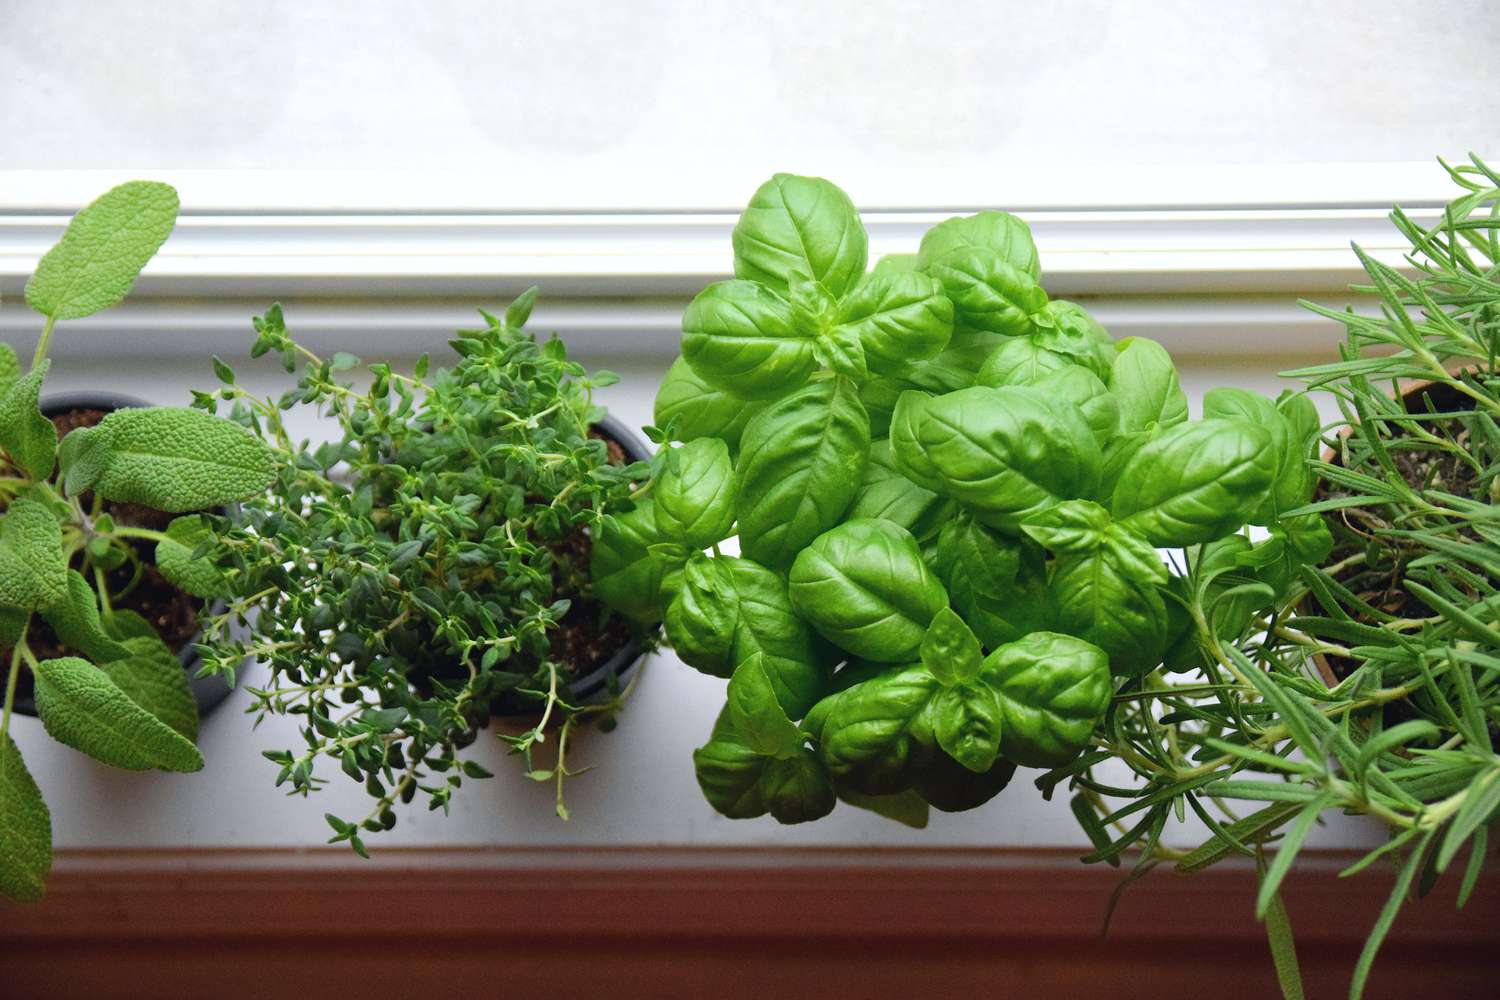
Common ingredients for homemade fertilizer
When it comes to making your own homemade fertilizer, there are several common ingredients that you can easily find around your home or garden. These ingredients are not only readily available but also packed with essential nutrients that can nourish your plants. Here are some of the most commonly used ingredients in DIY fertilizers:
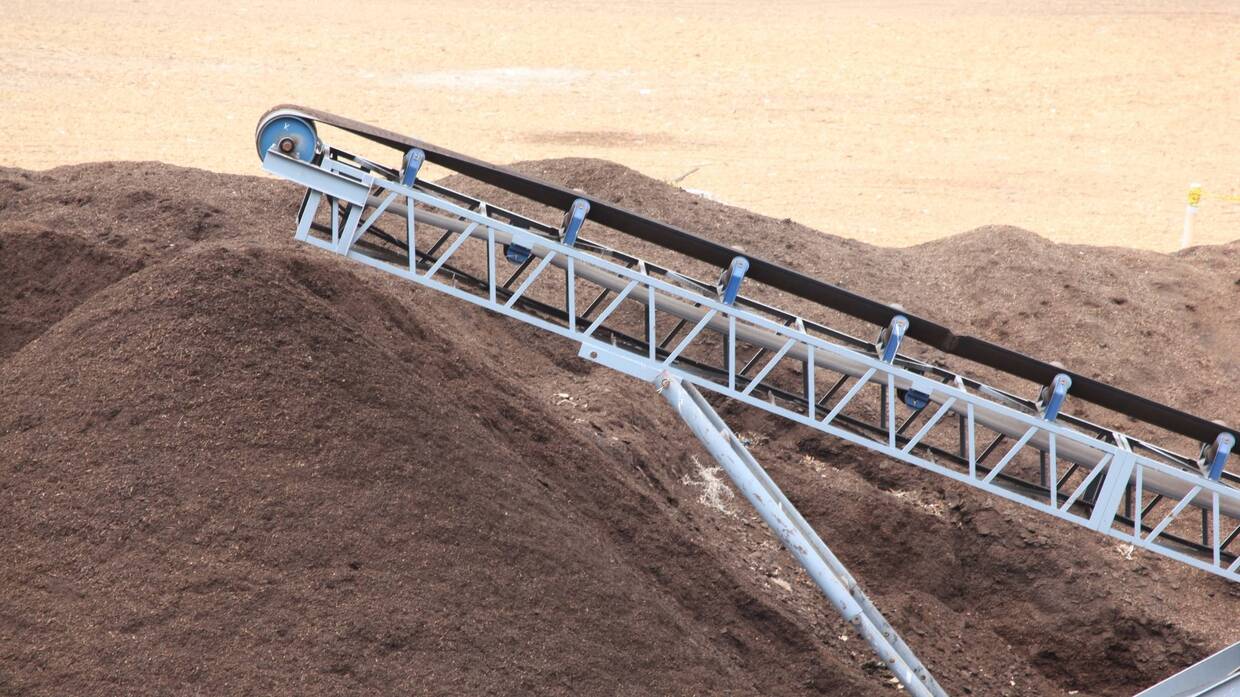
- Compost: Compost is often referred to as “black gold” for gardeners. It is created by decomposing organic matter such as kitchen scraps, yard waste, and leaves. Compost is rich in essential nutrients such as nitrogen, phosphorus, and potassium, along with beneficial microorganisms that improve soil health and fertility.
- Manure: Animal manure, such as cow, horse, or chicken manure, is an excellent source of organic matter and nutrients. It contains high levels of nitrogen, phosphorus, and potassium, making it a valuable addition to homemade fertilizers. However, it’s important to properly compost or age manure before using it as fertilizer to avoid the risk of burning your plants.
- Kitchen scraps: Vegetable peels, coffee grounds, tea leaves, and eggshells are all valuable ingredients that can be used in homemade fertilizers. Vegetable scraps and coffee grounds add nitrogen to the soil, while tea leaves and eggshells provide calcium and other trace minerals.
- Seaweed: If you live near the coast or have access to seaweed, it can be a fantastic addition to homemade fertilizer. Seaweed is rich in trace minerals, growth hormones, and beneficial enzymes that promote plant growth and improve overall soil health.
- Banana peels: Banana peels contain potassium, phosphorus, and calcium, which are essential for plant growth and development. You can either chop up banana peels and bury them in the soil or create a banana peel tea by steeping them in water for a few days.
- Eggshells: Eggshells are a rich source of calcium, which is crucial for strong cell walls in plants. Crushed eggshells can be added directly to the soil or infused in water to create a calcium-rich fertilizer.
- Coffee grounds: Used coffee grounds are an excellent source of nitrogen, potassium, and other trace minerals. Simply sprinkle them around your plants or incorporate them into your soil to provide a nutrient boost.
- Epsom salt: Epsom salt, or magnesium sulfate, can provide magnesium and sulfur to your plants. It is particularly beneficial for plants that require these nutrients, such as tomatoes, peppers, and roses.
These ingredients can be used individually or combined to create customized homemade fertilizers that meet the specific needs of your plants. Now that we’ve covered the common ingredients, let’s dive into some popular recipes in the next section.
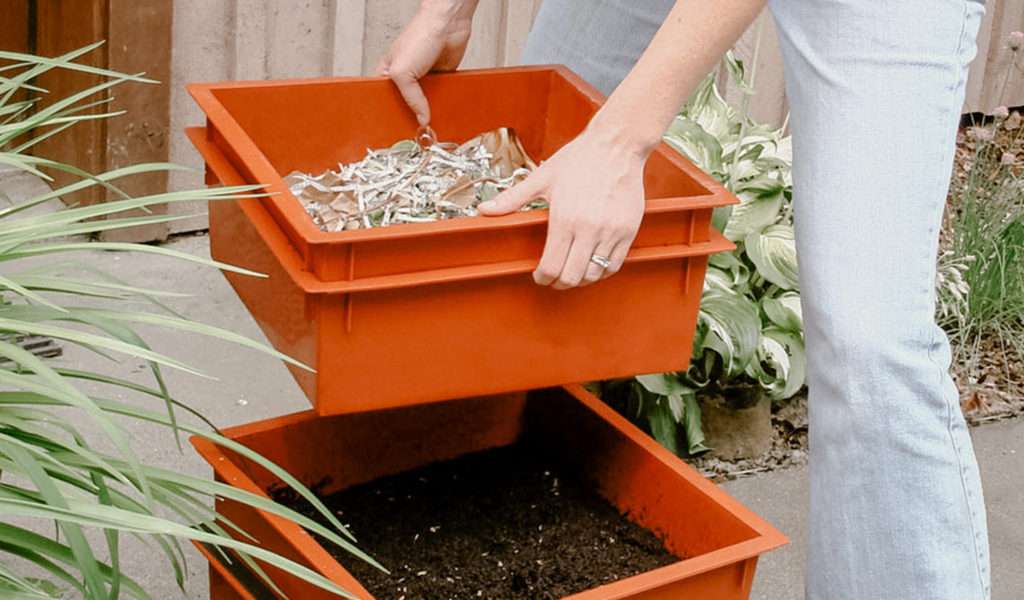
Recipe 1: Compost fertilizer
Compost fertilizer is a staple in organic gardening and is an excellent way to utilize kitchen scraps and garden waste. It provides a rich source of nutrients and beneficial microorganisms that nourish the soil and promote plant growth. Here’s a simple recipe to make your own compost fertilizer:
Ingredients:
- Green and brown organic matter (kitchen scraps, fruit and vegetable peels, coffee grounds, shredded leaves, etc.)
- A compost bin or pile
- A pitchfork or shovel for turning the compost
- Water
Instructions:
- Find a suitable location for your compost pile or bin. It should be in a well-drained area and easily accessible.
- Start by layering your green and brown organic matter. The green matter provides nitrogen, while the brown matter adds carbon to the compost. Aim for a balance of approximately 2:1 (brown to green).
- Add water to moisten the pile. It should be damp, but not soaking wet.
- Continue layering the organic matter, alternating between greens and browns. You can include kitchen scraps, yard waste, leaves, and shredded paper.
- Turn the compost every few weeks using a pitchfork or shovel. This helps aerate the pile and speeds up the decomposition process. If you notice the pile is dry, add more water.
- Over time, the organic matter will break down into nutrient-rich compost. Depending on the conditions, it can take anywhere from a few months to a year.
- Once the compost has a dark, crumbly texture and earthy smell, it is ready to use as fertilizer.
To use your homemade compost fertilizer, simply spread a thin layer around the base of your plants or mix it into the soil during planting. The nutrients and beneficial microorganisms in the compost will gradually release into the soil, nourishing your plants and improving soil fertility.
Remember to continue adding compostable materials to your pile to maintain a steady supply of homemade fertilizer. With time and patience, you’ll have an abundant source of nutrient-rich compost that will support the health and vitality of your garden.
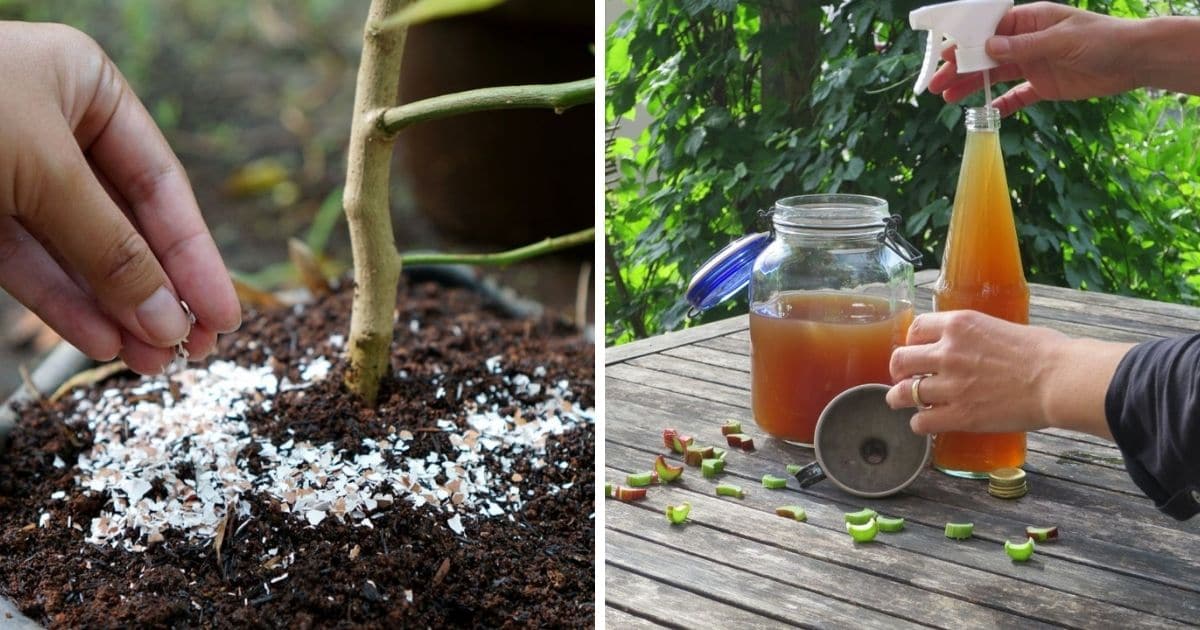
Recipe 2: Banana peel fertilizer
Don’t throw away those banana peels! They can be transformed into a nutrient-packed fertilizer that benefits your plants. Banana peel fertilizer is rich in potassium, phosphorus, and calcium, making it ideal for promoting flowering and fruiting. Here’s a simple recipe to make your own banana peel fertilizer:
Ingredients:
- 4-5 ripe banana peels
- A glass jar or container with a lid
- Water
Instructions:
- Collect 4-5 banana peels. The peels should be ripe as they contain more nutrients.
- Cut the banana peels into small pieces to accelerate the decomposition process.
- Place the banana peels in a glass jar or container.
- Add enough water to completely cover the peels.
- Tightly seal the jar or container with a lid.
- Allow the mixture to sit for at least one week. This allows the nutrients from the peels to leach into the water.
- After one week, strain the liquid from the jar, and discard the banana peels. The resulting liquid is your homemade banana peel fertilizer.
To use the banana peel fertilizer, dilute it by combining one part fertilizer with three parts water. Mix it well and then apply it to your plants either by pouring it at the base of the plant or spraying it onto the leaves. It’s best to use the diluted fertilizer every 2-3 weeks to provide a steady supply of nutrients to your plants.
You can also use the leftover banana peel residue as compost by adding it to your compost pile or burying it directly in the soil around your plants. The peels will continue to break down and release nutrients slowly, nourishing the plants.
Banana peel fertilizer is particularly beneficial for plants that require potassium, such as tomatoes, peppers, and roses. It promotes strong root development, flowering, and fruit production. Plus, it’s an eco-friendly way to repurpose kitchen waste.
Now you can give your plants a boost with homemade banana peel fertilizer and watch them thrive with the natural nutrients they provide.
Recipe 3: Eggshell fertilizer
Don’t toss those eggshells into the trash! They can be transformed into a valuable fertilizer rich in calcium and other essential minerals. Eggshell fertilizer strengthens plant cell walls, improves nutrient uptake, and enhances overall plant health. Here’s a simple recipe to make your own eggshell fertilizer:
Ingredients:
- Crushed eggshells
- A baking sheet or tray
- A coffee grinder or mortar and pestle
Instructions:
- Start by collecting empty eggshells. Rinse them thoroughly to remove any residue or membrane.
- Allow the eggshells to air dry completely.
- Preheat your oven to a low temperature, around 200°F (93°C).
- Place the dry eggshells on a baking sheet or tray, spreading them out to ensure even heating.
- Place the baking sheet in the oven and bake the eggshells for about 15-20 minutes. This helps to sterilize the shells and makes them easier to crush.
- Once the eggshells are cool, use a coffee grinder or mortar and pestle to grind them into a fine powder. You can also put them in a sealed plastic bag and crush them with a rolling pin or a heavy object.
- The resulting powder is your homemade eggshell fertilizer.
To use the eggshell fertilizer, you have a few options:
Option 1: Sprinkle around plants: Sprinkle a small amount of the crushed eggshell fertilizer around the base of your plants. Gently work the powder into the topsoil, taking care not to disturb the plant’s roots. This provides a slow-release source of calcium and other essential minerals.
Option 2: Infuse in water: Place a handful of crushed eggshells in a container with water and let it sit for a few days. The water will absorb the nutrients from the shells, creating a mineral-rich solution. Use this solution to water your plants or spray it onto the leaves.
Option 3: Add to compost: Incorporate the crushed eggshells into your compost pile or bin. The calcium and minerals from the shells will contribute to the overall nutrient content of the compost, enriching the final product.
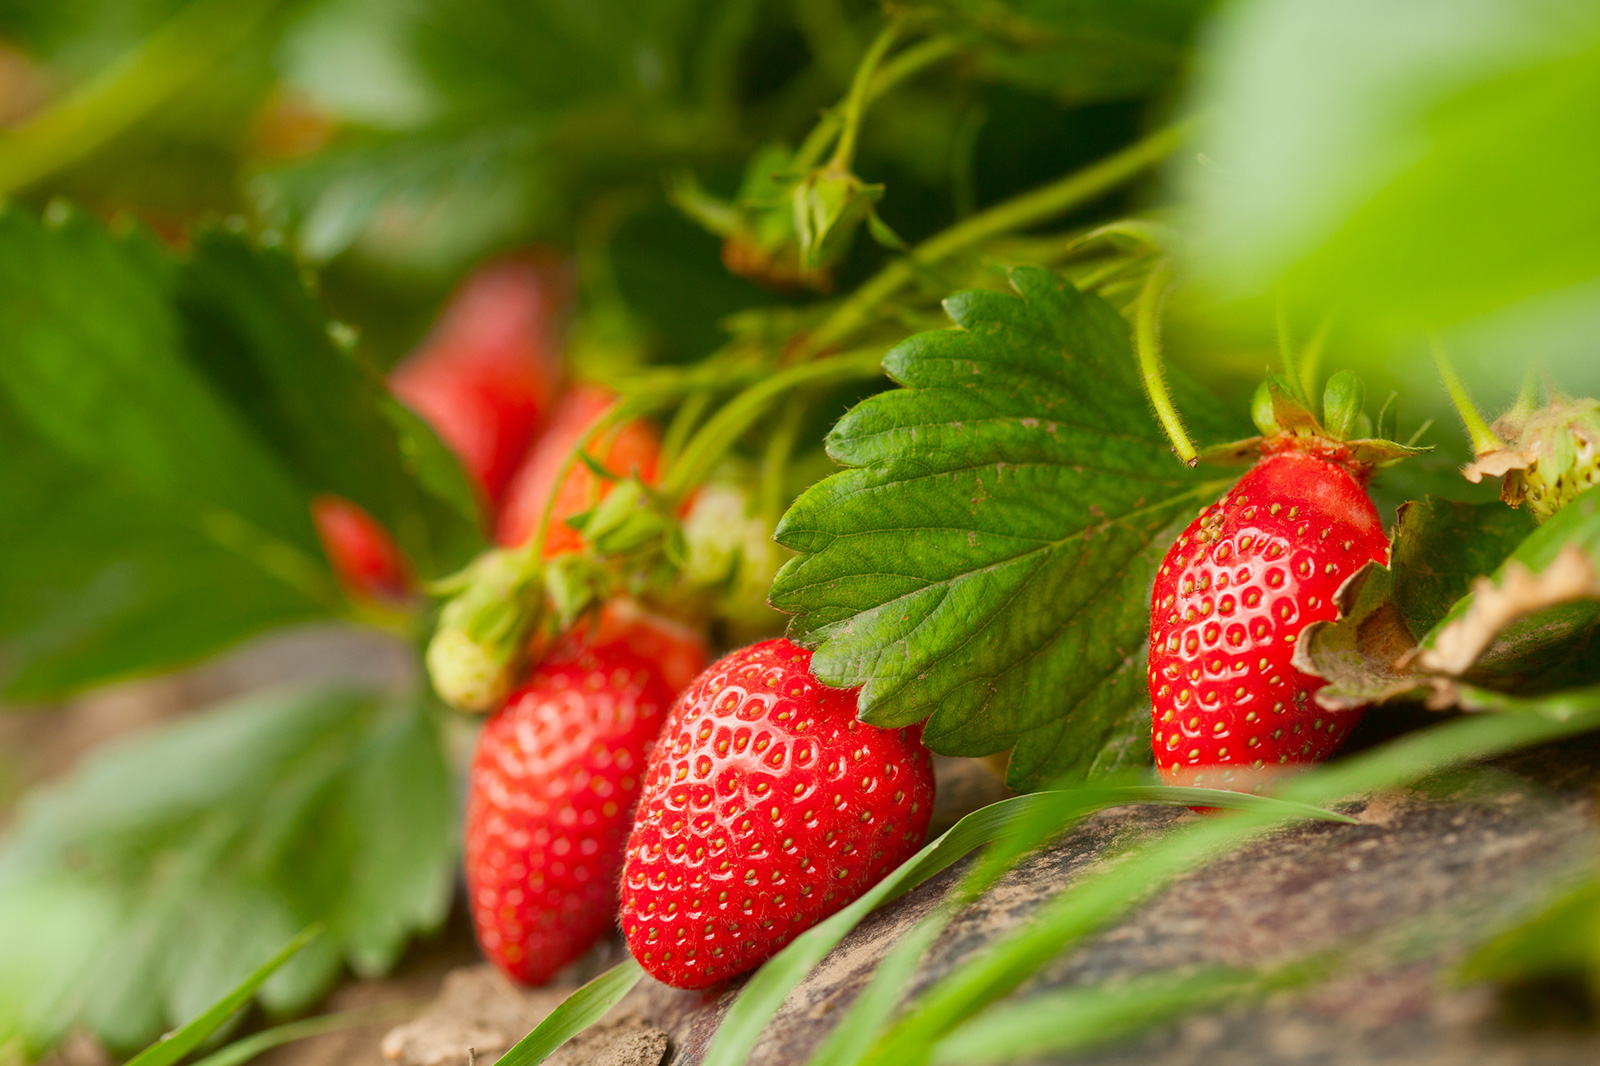
Eggshell fertilizer is particularly beneficial for plants that require calcium, such as tomatoes, peppers, and cruciferous vegetables. It helps prevent blossom end rot and promotes sturdy, disease-resistant plants.
Now you can put those eggshells to good use and give your plants a natural nutrient boost with homemade eggshell fertilizer.
Recipe 4: Coffee grounds fertilizer
Do you love your morning cup of coffee? Don’t throw away those used coffee grounds! They can be transformed into a nutrient-rich fertilizer that benefits your plants. Coffee grounds are a great source of nitrogen, potassium, and other beneficial minerals that promote healthy plant growth. Here’s a simple recipe to make your own coffee grounds fertilizer:
Ingredients:
- Used coffee grounds
- A compost bin or pile
Instructions:
- Start by collecting the used coffee grounds. You can either save them from your daily brewing or ask coffee shops or cafes for their grounds.
- Add the coffee grounds to your compost bin or pile. Make sure to mix them with other organic materials like leaves, grass clippings, or kitchen scraps.
- Continue to layer the coffee grounds with the other compost materials, aiming for a balance of both green and brown matter.
- If you don’t have a compost bin, you can directly add coffee grounds to your garden soil. Spread a thin layer (about half an inch) of coffee grounds around the base of your plants, taking care not to pile them up against the stems.
- Water the compost pile or garden bed as needed to keep it moist, but not waterlogged.
- Over time, the coffee grounds will break down and contribute their nutrients to the soil. If you’re using a compost pile, the resulting compost can be added to your garden beds or potted plants as a nutrient-rich soil amendment.
Coffee grounds fertilizer can be especially beneficial for plants that prefer acidic soil conditions, such as azaleas, blueberries, and roses. The slight acidity of the coffee grounds helps to lower the soil pH and create a favorable environment for these plants.
It’s important to note that coffee grounds should be used in moderation. Excessive amounts can alter the pH of the soil too drastically. Additionally, avoid using coffee with additives like milk, sugar, or artificial flavorings, as these can attract pests or disrupt the soil ecosystem.
Next time you brew your cup of coffee, save those grounds and turn them into a natural fertilizer for your plants. They’ll thank you with lush growth and vibrant blooms!
Recipe 5: Epsom salt fertilizer
Epsom salt, also known as magnesium sulfate, is a popular supplement in gardening due to its ability to provide plants with essential nutrients. Epsom salt fertilizer can promote vigorous growth, improve nutrient uptake, and enhance overall plant health. Here’s a simple recipe to make your own Epsom salt fertilizer:
Ingredients:
- Epsom salt
- Water
- A watering can or sprayer
Instructions:
- Determine the dosage of Epsom salt needed for your plants. A general guideline is 1 tablespoon of Epsom salt per 1 gallon of water.
- In a watering can or sprayer, dissolve the Epsom salt in water. Stir or shake the mixture until the salt is completely dissolved.
- To apply to the soil, pour the Epsom salt solution around the base of the plants. Make sure to saturate the soil around the root zone.
- To apply as a foliar spray, fill a sprayer with the Epsom salt solution and spray it directly on the leaves, avoiding direct sunlight or hot temperatures.
- Repeat the application every 2-4 weeks during the growing season or as needed, depending on the plants’ nutrient requirements.
Epsom salt fertilizer is particularly beneficial for plants that require magnesium, such as tomatoes, peppers, and roses. It can prevent or alleviate magnesium deficiency, which is often indicated by yellowing leaves.
Keep in mind that while Epsom salt can be beneficial in small quantities, excessive use can lead to salt buildup in the soil, which can be detrimental to plants. It’s important to follow the recommended dosage and not overuse the fertilizer.
As with any fertilizer, it’s always a good idea to conduct a soil test to determine the nutrient levels and specific needs of your plants before applying Epsom salt or any other fertilizers.
Epsom salt fertilizer is a simple and cost-effective way to provide your plants with a magnesium boost and improve their overall health. Give it a try and watch your plants thrive!
Tips for using homemade fertilizer effectively
Using homemade fertilizer in your garden can be a rewarding and sustainable way to nourish your plants. To ensure you get the most out of your homemade fertilizer, consider the following tips:
- Test your soil: Before applying any fertilizer, it’s important to know the nutrient levels and pH of your soil. You can perform a soil test using a DIY kit or send a sample to a local agricultural extension office for analysis. This will help you understand the specific nutrient needs of your plants and avoid over-fertilizing.
- Follow recommended dosage: Homemade fertilizers, like store-bought ones, should be applied in the appropriate dosage to avoid nutrient imbalances or damage to plants. Always follow the recommended guidelines for each type of homemade fertilizer you use. If in doubt, start with a smaller amount and gradually increase based on your plants’ response.
- Apply at the right time: Timing is crucial when applying fertilizers. Most homemade fertilizers are best applied during the active growing season when plants have a higher demand for nutrients. Be sure to familiarize yourself with the specific growth stages and needs of your plants to determine the optimal time for fertilizing.
- Properly store your homemade fertilizer: Homemade fertilizers can lose their potency over time if not stored properly. Keep them in a cool, dry place, away from direct sunlight and moisture. Store your fertilizers in airtight containers to prevent them from absorbing moisture or clumping together.
- Mix and distribute evenly: When using liquid homemade fertilizers, such as compost tea, ensure you mix them well before application. This helps distribute the nutrients evenly and prevents over-concentration. For solid fertilizers, like compost or crushed eggshells, disperse them around the root zone of plants using a gentle hand to avoid damaging the roots.
- Monitor plant response: Keep a close eye on your plants after applying homemade fertilizer. Observe any changes in growth, leaf color, or overall health. If you notice signs of nutrient deficiencies or excesses, adjust the amount or frequency of fertilization accordingly.
- Combine different homemade fertilizers: Experiment with combining different homemade fertilizers to create a nutrient-rich blend for your plants. This can provide a balanced range of nutrients and trace elements that support optimal plant growth.
- Continuously improve your composting: If you’re using compost as homemade fertilizer, focus on improving the quality of your compost. Maintain the proper balance of green and brown materials, turn the pile regularly, and ensure adequate moisture and aeration. High-quality compost will result in nutrient-rich fertilizer that benefits your plants.
- Observe plant-specific needs: Different plants have different nutrient requirements. Some may require more nitrogen, while others might need a boost of potassium or phosphorus. Research the specific needs of your plants and adjust your homemade fertilizer recipes accordingly.
By following these tips, you can effectively use homemade fertilizer to promote healthy plant growth, reduce waste, and create a thriving and sustainable garden.
Precautions and Considerations when Making Homemade Fertilizer
While homemade fertilizers can be a great alternative to commercial products, it’s important to take certain precautions and considerations into account to ensure their safe and effective use. Here are some factors to keep in mind when making homemade fertilizer:
- Avoid using diseased or pest-infested plant materials: When collecting organic materials for your homemade fertilizer, make sure to avoid using any plant material that is infected with diseases or infested with pests. This can prevent the spread of pathogens or pests to your garden.
- Use organic, chemical-free ingredients: Be mindful of the ingredients you use in your homemade fertilizer. It’s recommended to use organic materials without any chemical additives or residues. This ensures the fertilizer remains safe for both your plants and the environment.
- Don’t over-fertilize: It’s crucial to avoid over-fertilizing your plants, as this can lead to nutrient imbalances or even harm the plants. Always follow the recommended dosage for each type of homemade fertilizer and monitor your plants’ response. If you notice signs of nutrient deficiency or excess, adjust the application accordingly.
- Consider plant-specific needs: Different plants have different nutrient requirements. Research the specific nutritional needs of the plants in your garden to ensure you’re providing them with the appropriate homemade fertilizer. Some plants may require specific nutrients or pH levels for optimal growth, so tailor your fertilizers accordingly.
- Be cautious with homemade liquid fertilizers: Liquid fertilizers, such as compost tea or homemade plant extracts, should be used with caution. If not properly prepared or diluted, they can become a breeding ground for harmful bacteria. Use sterile equipment and follow proper brewing techniques to minimize the risks.
- Store fertilizers properly: Homemade fertilizers, especially those in concentrated form, should be stored in airtight containers in a cool, dry place. This helps prevent moisture absorption and maintains the potency of the fertilizer. Keep them out of reach of children or pets.
- Monitor soil pH: Homemade fertilizers, depending on their ingredients, can influence the pH of the soil. It’s important to regularly monitor your soil’s pH and adjust it as needed to ensure the optimal growing conditions for your plants.
- Consider environmental factors: Factors such as climate, soil type, and water quality can impact the effectiveness of homemade fertilizers. Take these factors into consideration and make necessary adjustments to the formulations or application methods to maximize the benefits for your plants.
- Use fertilizers as supplements: Homemade fertilizers should be used as supplements to a well-balanced soil fertility management plan. They should not replace the fundamental practices of maintaining healthy soil structure, proper watering, and regular crop rotation.
By keeping these precautions and considerations in mind, you can ensure the safe and effective use of homemade fertilizers in your garden. Enjoy the benefits of sustainable and customized plant nutrition while promoting a healthy and thriving garden ecosystem.
Conclusion
Congratulations! You have now learned the art of making homemade fertilizer to nourish your plants and promote a thriving garden. By harnessing the power of common household ingredients, you can create organic and nutrient-rich fertilizers that are not only cost-effective but also environmentally friendly.
Throughout this article, we discussed the benefits of making fertilizer at home, including cost savings, customization of nutrient content, environmental sustainability, and improvement of soil health. We explored various recipes, such as compost fertilizer, banana peel fertilizer, eggshell fertilizer, coffee grounds fertilizer, and Epsom salt fertilizer, each with its own unique advantages and benefits for plants.
It’s important to follow proper guidelines when making and using homemade fertilizers. Consider factors like soil testing, dosage, timing, storage, and plant-specific needs. By using these fertilizers effectively and responsibly, you can optimize plant growth, reduce waste, and promote a healthier and more sustainable gardening approach.
Remember, creating homemade fertilizer is a journey of experimentation and learning. Don’t be afraid to modify recipes or combine ingredients to tailor them to your specific gardening needs. As you gain experience, you’ll develop a deeper understanding of your plants’ requirements and the art of creating the perfect nourishment for them.
So, roll up your sleeves, get creative, and start making your own homemade fertilizer. Your plants will thank you with vibrant growth, abundant blooms, and bountiful harvests. Happy gardening!