Home>Gardening Techniques>Seasonal Gardening>When Do You Start Planting Pumpkins

Seasonal Gardening
When Do You Start Planting Pumpkins
Modified: February 10, 2024
Find out the ideal time for planting pumpkins and other seasonal gardening tips to ensure a successful harvest.
(Many of the links in this article redirect to a specific reviewed product. Your purchase of these products through affiliate links helps to generate commission for Chicagolandgardening.com, at no extra cost. Learn more)
Table of Contents
- Introduction
- Factors to Consider Before Planting Pumpkins
- Best Time to Plant Pumpkins
- Climate and Temperature Requirements
- Soil Preparation for Pumpkins
- Choosing the Right Pumpkin Variety
- Seed Selection and Planting
- Proper Watering Techniques
- Fertilizing and Mulching Tips
- Pest and Disease Management
- Harvesting and Storing Pumpkins
- Conclusion
Introduction
Welcome to the wonderful world of seasonal gardening! If you’re a gardening enthusiast looking to add some autumn charm to your green space, planting pumpkins is a fantastic choice. Pumpkins not only add a pop of color to your garden but also provide the opportunity to indulge in the joys of pumpkin carving, delicious homemade pies, and festive decorations.
Before you dive into the world of pumpkin planting, it’s important to understand the factors that contribute to a successful harvest. From timing and climate considerations to soil preparation and ongoing care, this comprehensive guide will provide all the information you need to start growing your own pumpkins.
Pumpkins are warm-season crops, which means they require specific conditions to thrive. Proper planning and preparation are key to ensuring a bountiful harvest. By understanding the best time to plant, the ideal climate and temperature requirements, and the necessary steps for soil preparation, you can set yourself up for gardening success.
Choosing the right pumpkin variety is also crucial. With a wide range of sizes, colors, and flavors available, you can select the perfect variety based on your preferences and growing conditions. Don’t forget about the importance of seed selection and planting techniques to get your seeds off to a strong start.
Once your pumpkin plants are in the ground, it’s essential to provide proper care and maintenance. This includes watering techniques, fertilizing tips, and using mulch to conserve moisture and suppress weeds. Additionally, managing pests and diseases is a critical aspect of pumpkin cultivation.
Finally, the time will come to harvest your pumpkins, and proper storing techniques will ensure their longevity. From decorative purposes to culinary delights, your homegrown pumpkins will bring joy and cheer to your autumn season.
So, let’s dive into the fascinating world of pumpkin growing and learn all there is to know about planting, caring for, and harvesting these iconic gourds.
Factors to Consider Before Planting Pumpkins
Before you grab your gardening gloves and start planting pumpkins, there are several important factors to consider. These factors will help ensure that your pumpkin plants thrive and produce a bountiful harvest. Let’s explore them in detail:
Space: Pumpkins require ample space to spread their vines and grow vigorously. Each pumpkin plant can take up to 50 square feet of space. Ensure that you have enough room in your garden or allotment to accommodate the sprawling vines and give them room to thrive.
Sunlight: Like most plants, pumpkins also require plenty of sunlight to grow and produce healthy fruits. They need a minimum of 6-8 hours of direct sunlight daily. Choose a location in your garden with unobstructed sunlight exposure throughout the day.
Watering and Drainage: Pumpkins have a high water requirement, especially during the fruiting stage. Ensure that your garden has a reliable water source and that the soil has proper drainage to prevent waterlogging. Consistent watering is essential, particularly during dry spells.
Soil Quality: Pumpkins prefer well-draining soil with a pH level between 6.0 and 7.5. Conduct a soil test to determine the pH level and nutrient composition of your soil. If needed, amend the soil with organic matter, such as compost or well-rotted manure, to improve its structure, fertility, and moisture-holding capacity.
Growing Season: Pumpkins are warm-season crops and require a sufficiently long growing season to mature. Before planting pumpkins, check the average frost dates in your region. Ideally, you should start planting a few weeks after the last frost date in spring, giving your pumpkins ample time to grow and ripen before the first fall frost.
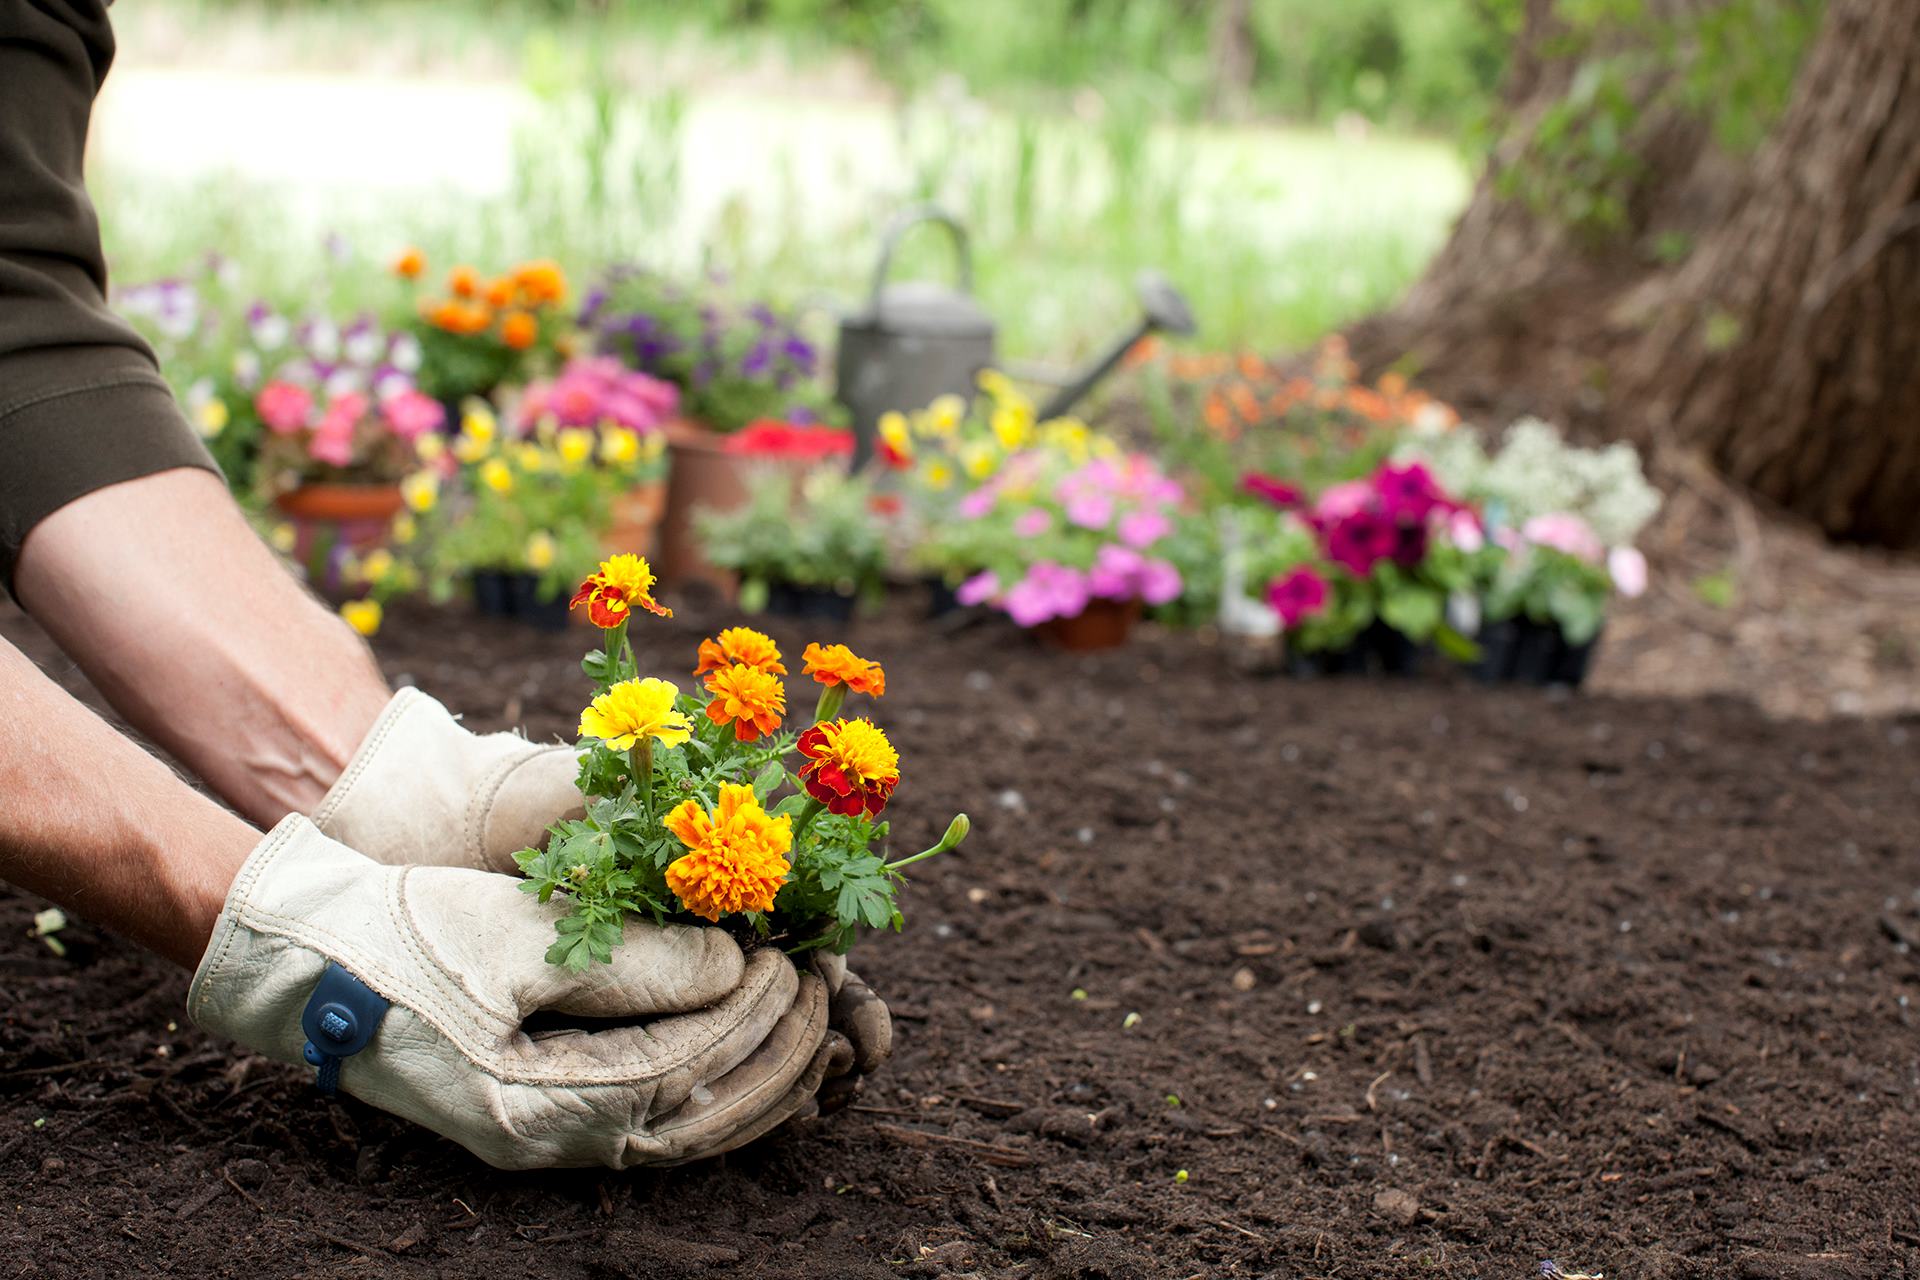
Companion Planting: Consider companion planting to optimize the growing conditions and discourage pests. Plants like marigolds, nasturtiums, and herbs like mint and oregano can help repel common pumpkin pests and attract beneficial insects.
Time and Effort: Growing pumpkins requires dedication and regular maintenance. Be prepared to invest time and effort in tasks such as watering, fertilizing, pest management, and regular weeding. Additionally, proper pruning and training of pumpkin vines may be necessary to control their growth and ensure optimal fruit production.
Support Structures: Depending on the variety, some pumpkins may require support structures such as trellises or cages to keep the fruits off the ground and prevent rotting or pest damage. Research the specific needs of the pumpkin variety you plan to grow and provide the necessary support if needed.
Considering these factors before planting pumpkins will help lay the foundation for a successful and rewarding gardening experience. By taking the time to assess your available space, sunlight exposure, soil quality, and the necessary effort, you can set yourself up for a thriving pumpkin harvest.
Best Time to Plant Pumpkins
The timing of planting pumpkins plays a crucial role in their growth and development. To ensure a successful harvest, it’s important to understand the best time to plant them in your specific region. While the exact timing may differ depending on your local climate and frost dates, here are some general guidelines to help you determine the best time to plant pumpkins:
Last Frost Date: Before you start planting, determine the average date of the last frost in your region. Pumpkins are sensitive to frost and require warm soil temperatures to germinate and grow. Wait until the risk of frost has passed before planting your pumpkin seeds or seedlings.
Soil Temperature: Pumpkin seeds require a soil temperature of at least 60°F (15°C) for proper germination. A warm soil temperature stimulates faster and more uniform seed germination. Use a soil thermometer to check the temperature of the soil where you plan to plant your pumpkins. If the soil is too cold, wait until it warms up to ensure better seedling establishment.
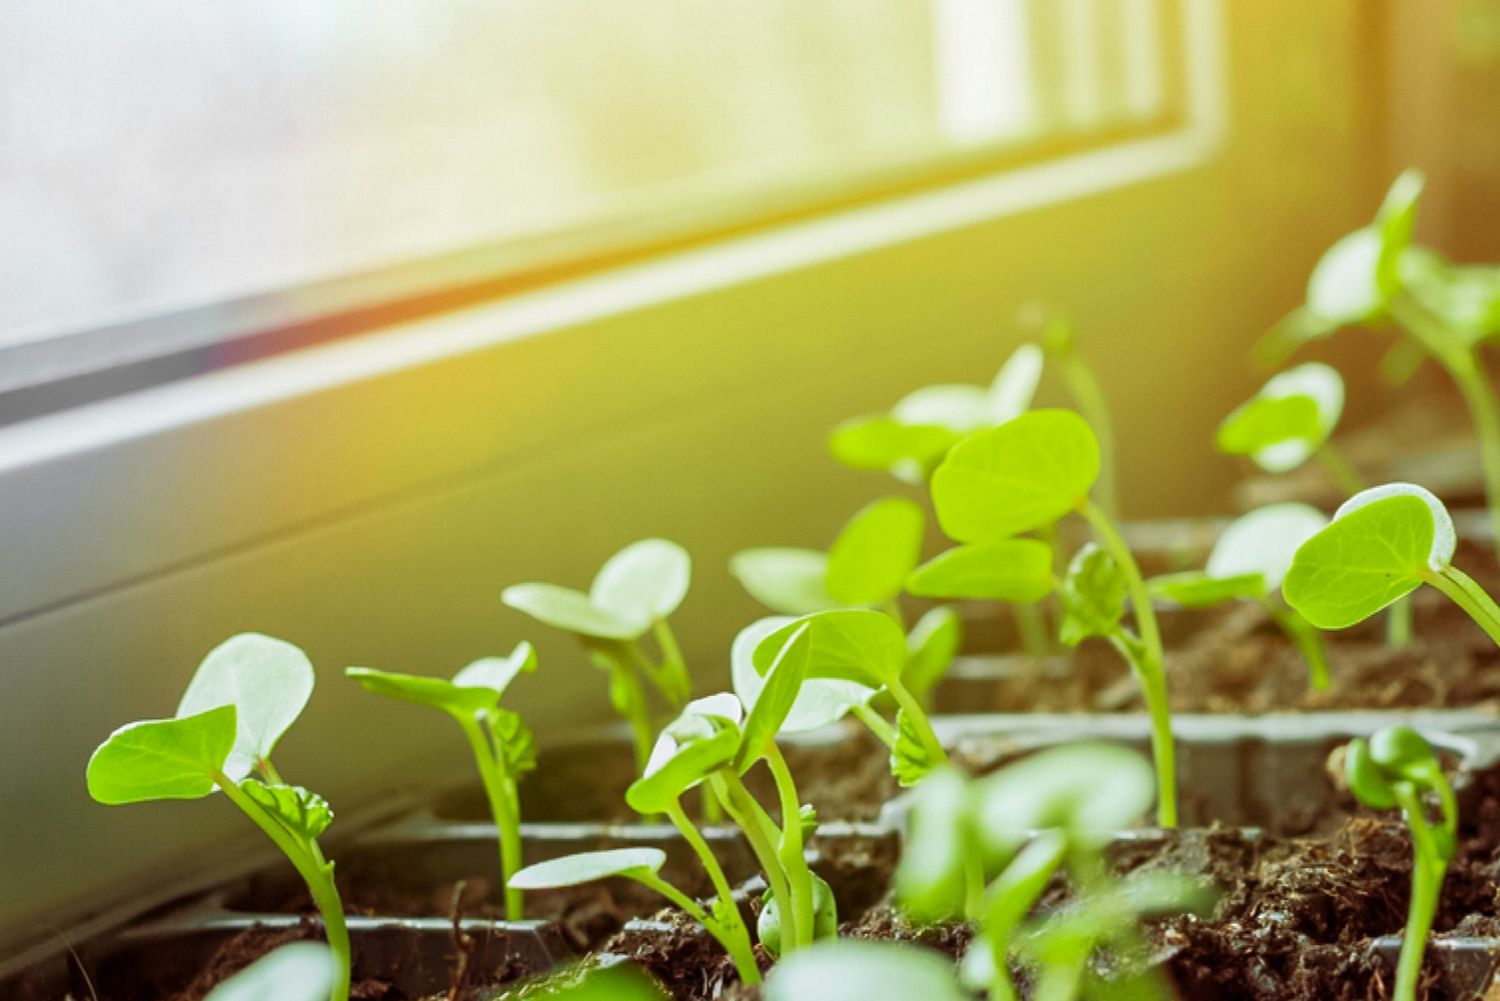
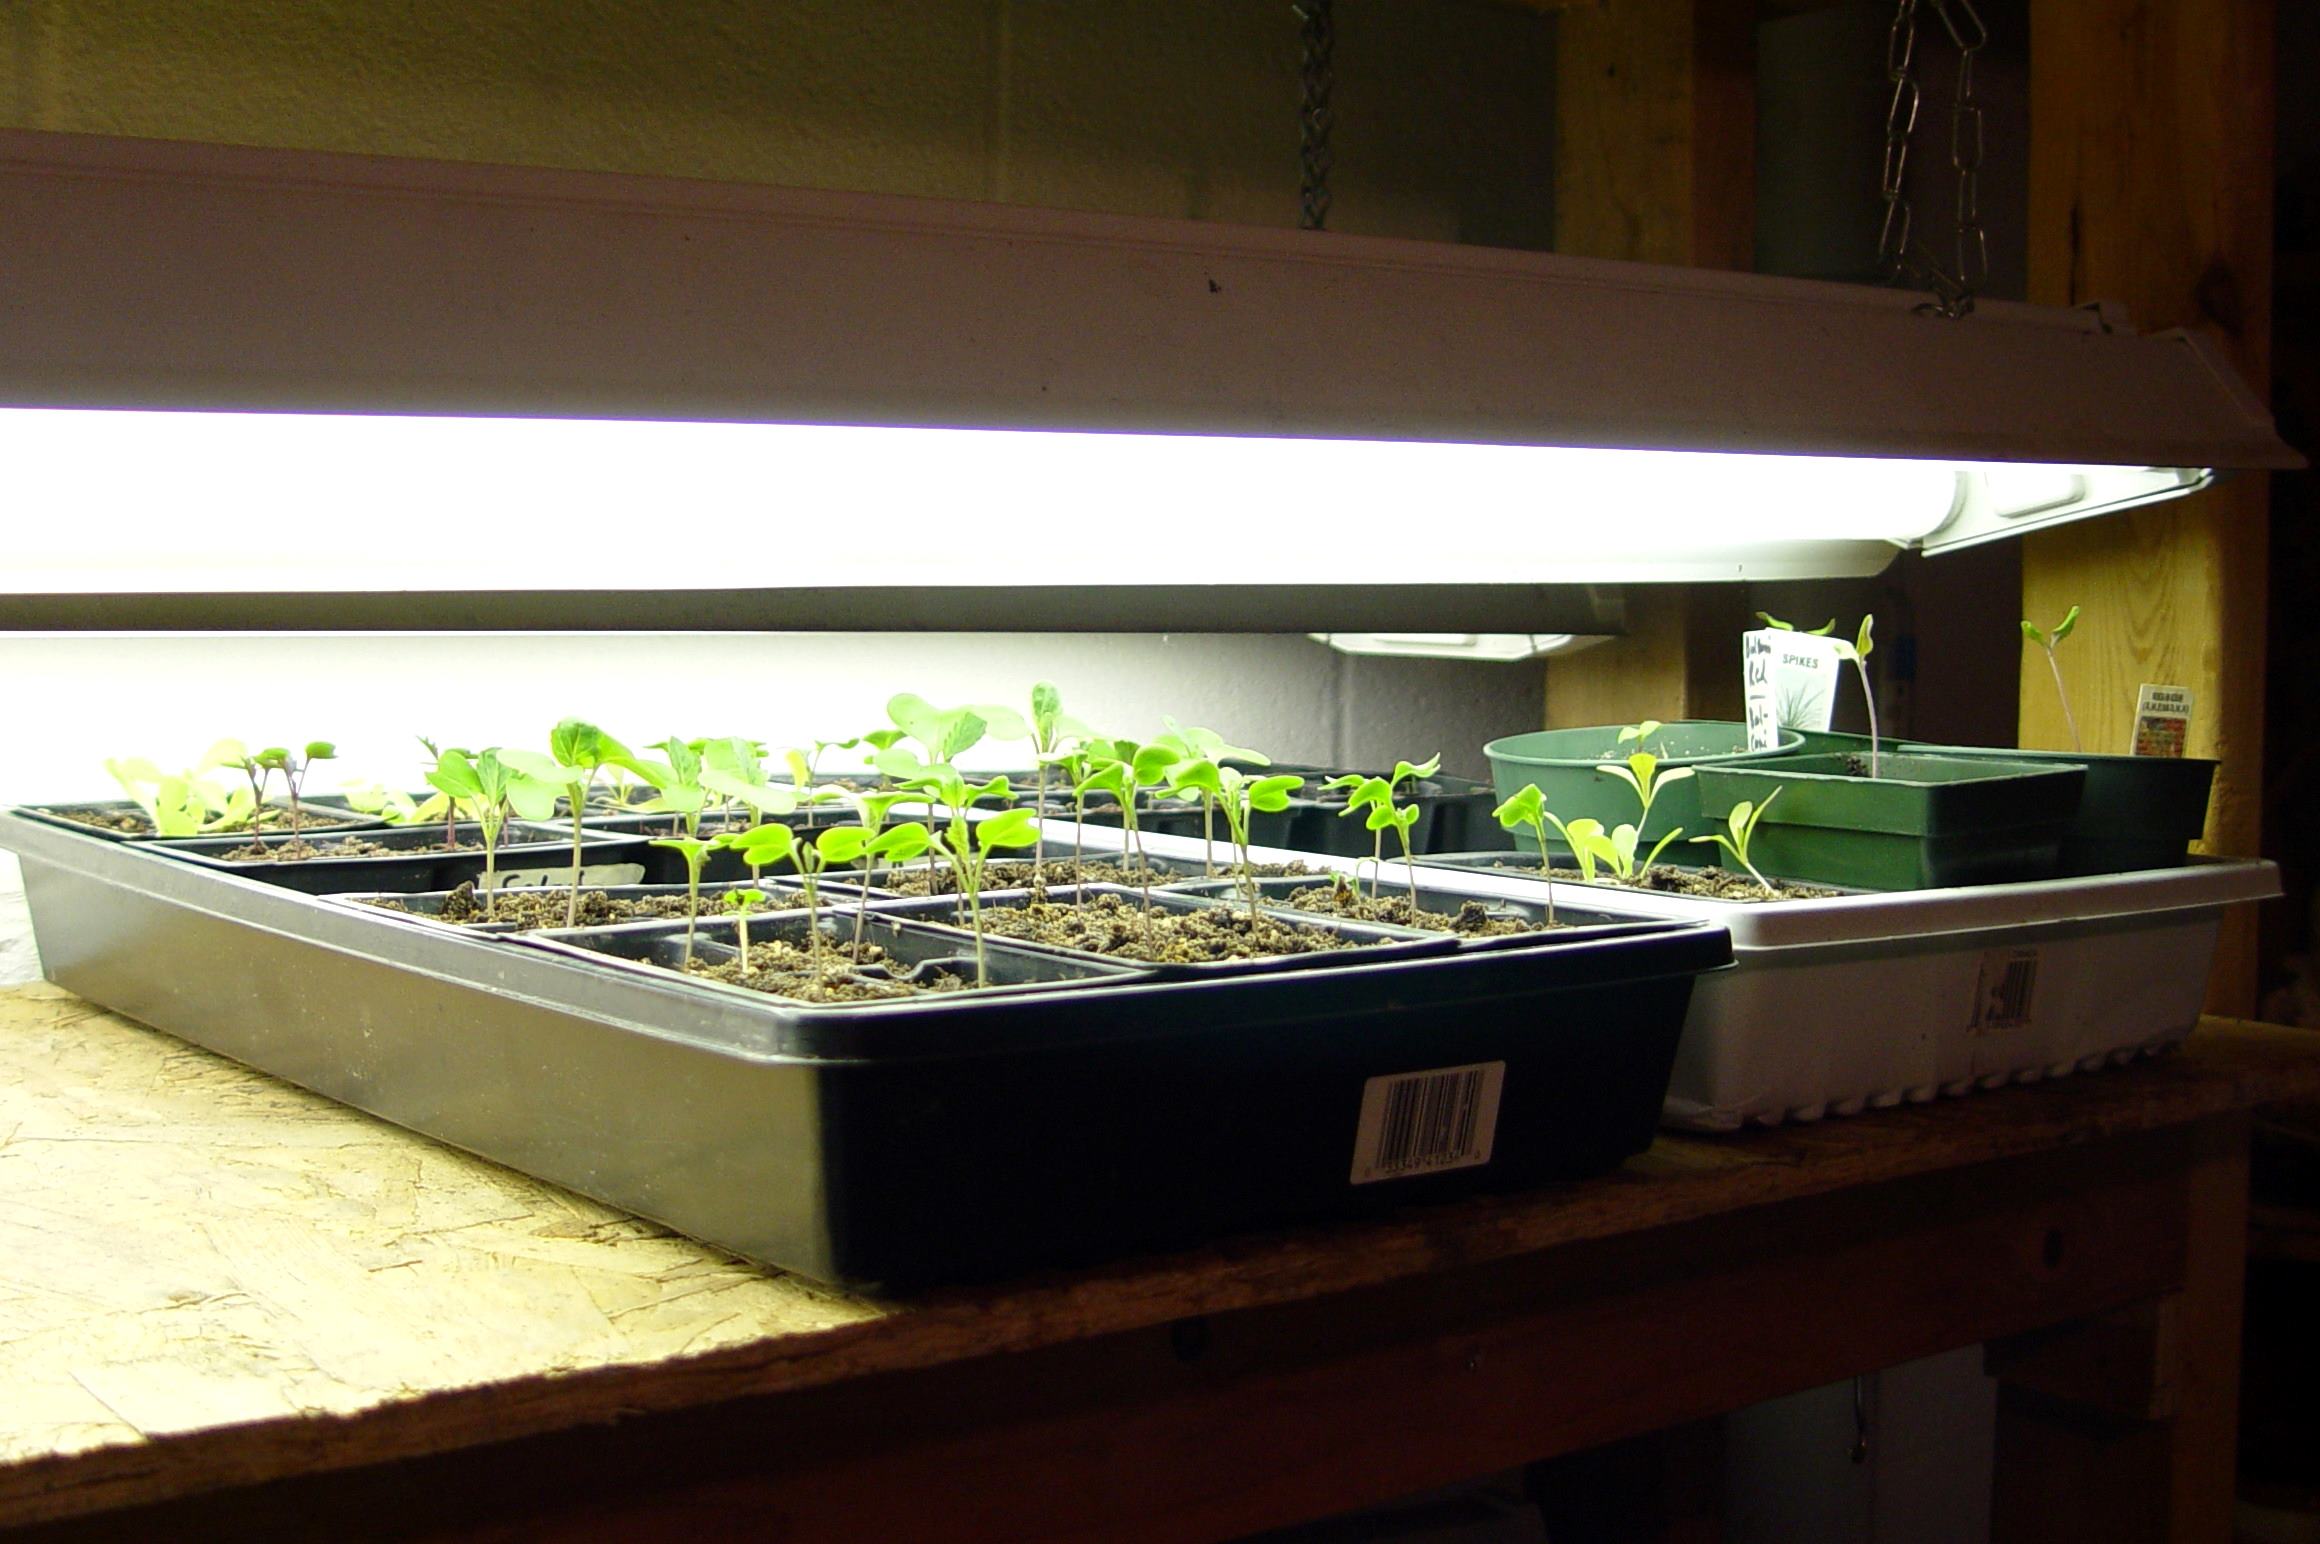
Timing for Your Region: Depending on your location, the optimal time to plant pumpkins may vary. In most regions, it is recommended to start planting pumpkins after the last frost date in spring or early summer. This allows the plants to grow and ripen in time for a fall harvest. If you live in a region with a short growing season, consider starting your pumpkin seeds indoors a few weeks before the last frost date to give them a head start.
Consider Your Specific Variety: Different pumpkin varieties have varying maturity dates, ranging from 80 to 150 days from sowing to harvest. When selecting your pumpkin variety, take into account the length of your growing season. Choose varieties that can mature within your region’s growing season to ensure you have enough time to harvest ripe pumpkins before the first fall frost.
Succession Planting: For a prolonged harvest, you can practice succession planting. This involves sowing or transplanting pumpkin seeds or seedlings in intervals, a few weeks apart. This way, you can have a continuous supply of pumpkins throughout the season, rather than a single harvest.
Fall Planting for Halloween: If you plan to grow pumpkins for Halloween, consider planting a second batch of pumpkins around midsummer. This ensures that you have fresh, vibrant pumpkins ready for carving or decorating in time for the spooky season.
Taking into account the last frost date, soil temperature, and the specific growing season in your region, you can determine the best time to plant pumpkins. By planting at the right time, you maximize the chances of a successful harvest and enjoy the fruits of your labor during the autumn season.
Climate and Temperature Requirements
Pumpkins are warm-season crops that thrive in specific climate and temperature conditions. Understanding these requirements is crucial for successful pumpkin cultivation. Here are the key factors to consider when it comes to the climate and temperature needs of pumpkins:
Temperature Range: Pumpkins prefer a temperature range between 70°F and 90°F (21°C and 32°C) during the day. While they can tolerate slightly higher temperatures, prolonged exposure to extreme heat can negatively impact their growth and fruit production. Nighttime temperatures should ideally be around 50°F to 70°F (10°C to 21°C) for optimal development.
Frost-Free Period: Pumpkins are frost-sensitive plants, meaning they cannot tolerate freezing temperatures. It is crucial to ensure that the danger of frost has passed before planting pumpkins in your region. The average frost-free period should be at least 120 days to allow pumpkins to grow and mature before the arrival of fall frosts.
Humidity: While pumpkins can tolerate a range of humidity levels, they generally prefer moderate humidity. Excessive humidity, especially in the later stages of fruit development, can increase the risk of diseases such as powdery mildew. Adequate air circulation and spacing between plants can help mitigate this issue.
Microclimates: Microclimates play a significant role in pumpkin cultivation, especially in regions with diverse topography. Certain areas of your garden or landscape might have slightly different temperature and moisture conditions. Identify the microclimates in your garden and choose suitable planting spots accordingly.
Seasonal Changes: Pumpkins thrive in the transition from warm summer days to cool fall nights. The variation in temperatures during this time stimulates fruit set and enhances color development. Therefore, planting pumpkins with enough time to take advantage of these seasonal changes is beneficial.
Regional Considerations: It’s important to take into account the climate and temperature norms of your specific region when planning your pumpkin planting. Different pumpkin varieties have varying heat and cold tolerance levels, so select a variety that suits your climate. Additionally, consider local weather patterns, such as heatwaves or cold snaps, that can affect the growth and development of your pumpkins.
By understanding the climate and temperature requirements of pumpkins, you can create an environment that promotes optimal growth and ensures a bountiful harvest. Monitoring local weather conditions, selecting suitable pumpkin varieties, and providing proper care will help you navigate the challenges posed by your specific climate and temperature conditions.
Soil Preparation for Pumpkins
Proper soil preparation is essential for the successful growth of pumpkins. Creating an ideal growing environment for your pumpkin plants will ensure optimal nutrient uptake, root development, and overall plant health. Here are the key steps to prepare your soil for planting pumpkins:
Soil Testing: Before you begin, it’s recommended to conduct a soil test. This will give you valuable insights into the pH level and nutrient content of your soil. Ideally, pumpkins thrive in slightly acidic to neutral soil, with a pH range of 6.0 to 7.5. Soil tests can be done through a local university extension office or with a home soil testing kit.
Clearing and Weeding: Start by clearing the area of any existing vegetation and removing weeds. Weeds can compete with pumpkin plants for nutrients, water, and sunlight, so it’s important to eliminate them before planting. Use a garden hoe or a hand tool to remove weeds and create a clean planting space.
Amending the Soil: Pumpkins prefer well-draining soil with ample organic matter. If your soil is heavy or compacted, amend it by incorporating organic matter like compost, well-rotted manure, or leaf mold. This will improve soil structure, enhance moisture retention, and promote healthy root development.
Tilling and Loosening: Use a garden tiller or a hand tool to loosen the soil in the planting area. This will break up any clumps and create a loose, friable soil texture that allows root penetration and adequate drainage. Avoid tilling when the soil is too wet, as it can lead to compaction.
Applying Fertilizer: Pumpkins are heavy feeders and benefit from a balanced fertilizer application. Incorporate a slow-release fertilizer or well-balanced organic fertilizer into the soil during the initial soil preparation. This will provide a steady supply of nutrients as the plants grow. Follow the manufacturer’s instructions for proper application rates.
Adding Organic Matter: In addition to compost, consider adding other organic matter such as well-rotted manure or aged leaf mold to the soil. These amendments not only enrich the nutrient content of the soil but also improve its texture, water-holding capacity, and overall fertility.
Creating Mound or Raised Beds: Pumpkins benefit from well-drained soil. To improve drainage, consider creating mounds or raised beds for planting. This elevates the planting area and allows excess water to drain away more efficiently, preventing waterlogging and root rot.
Leveling and Smoothing: Once you have incorporated organic matter and amendments, level and smooth the planting area. This ensures an even surface for planting and makes it easier to monitor water distribution and growth. Remove any large stones or debris to avoid interference with root development.
By following these soil preparation steps, you can create an optimal environment for your pumpkin plants to thrive. Well-draining soil, enriched with organic matter and balanced fertility, sets the stage for robust growth and a successful pumpkin harvest.
Choosing the Right Pumpkin Variety
When it comes to choosing the right pumpkin variety, you have a wide range of options to suit your preferences, growing conditions, and intended use. From small decorative pumpkins to large carving ones, each variety offers unique characteristics and flavors. Here are some factors to consider when selecting the perfect pumpkin variety:
Size: Pumpkin varieties come in a range of sizes, from small miniatures to massive giants. Consider how you plan to use your pumpkins – for decoration, carving, or culinary purposes – and choose a size that fits your requirements. Smaller pumpkins are great for crafts and table displays, while larger ones are ideal for carving impressive jack-o’-lanterns or making delicious pies.
Color: Pumpkins can be found in various colors, including orange, white, yellow, green, and even multi-colored varieties. Consider the desired color scheme for your autumn decor or culinary creations. Traditional orange pumpkins are classic and vibrant, while white or pale-colored pumpkins can add an elegant touch to your displays.
Shape and Texture: Pumpkins come in a range of shapes and textures, from round and squat to tall and elongated. The choice depends on personal preference and intended use. Round pumpkins are popular for decorating and carving, while elongated varieties like the Cinderella or Fairytale pumpkins are great for culinary purposes due to their creamy texture.
Flavor and Culinary Use: Some pumpkin varieties are bred specifically for culinary purposes, offering rich flavor and smooth texture. If you’re looking to make homemade pumpkin pies, soups, or other delicious dishes, consider varieties like Sugar Pie, Cinderella, or Baby Pam. These pumpkins have a sweeter taste and smoother flesh texture that lends itself well to cooking.
Days to Maturity: Each pumpkin variety has a specific maturity period, ranging from 80 to 150 days from sowing to harvest. Consider the length of your growing season and select a variety that can mature within that time frame. This ensures that you can harvest fully ripened pumpkins before the first fall frosts.
Growing Conditions: Take into account the growing conditions in your region, such as temperature, humidity, and disease resistance. Certain pumpkin varieties are more tolerant of specific conditions, making them better suited to different climates. Research varieties that are known to thrive in your particular region.
Availability: When choosing a pumpkin variety, consider its availability in your area. Some uncommon or specialty varieties may be more challenging to find, while more common varieties are usually widely available at local nurseries, farmers’ markets, or online seed catalogs.
By taking these factors into consideration, you can select the perfect pumpkin variety to suit your needs and preferences. Whether you’re looking for decorative pumpkins, carving varieties for Halloween, or pumpkins with delicious flavor for cooking, the right choice will enhance your seasonal gardening experience.
Seed Selection and Planting
Choosing the right pumpkin seeds and properly planting them is essential for a successful pumpkin harvest. Here are some key factors to consider when it comes to seed selection and planting:
Seed Quality: Start by selecting high-quality pumpkin seeds from reputable seed suppliers. Look for seeds that are labeled as fresh and viable. Check the seed packaging for the germination rate to ensure you are getting seeds with a high chance of successful sprouting.
Variety and Traits: Consider the specific variety and traits you desire in your pumpkin plants. Refer back to your research on pumpkin varieties and select seeds that meet your preferences, such as size, color, texture, and flavor. Ensure the variety you choose is suitable for your growing conditions and climate.
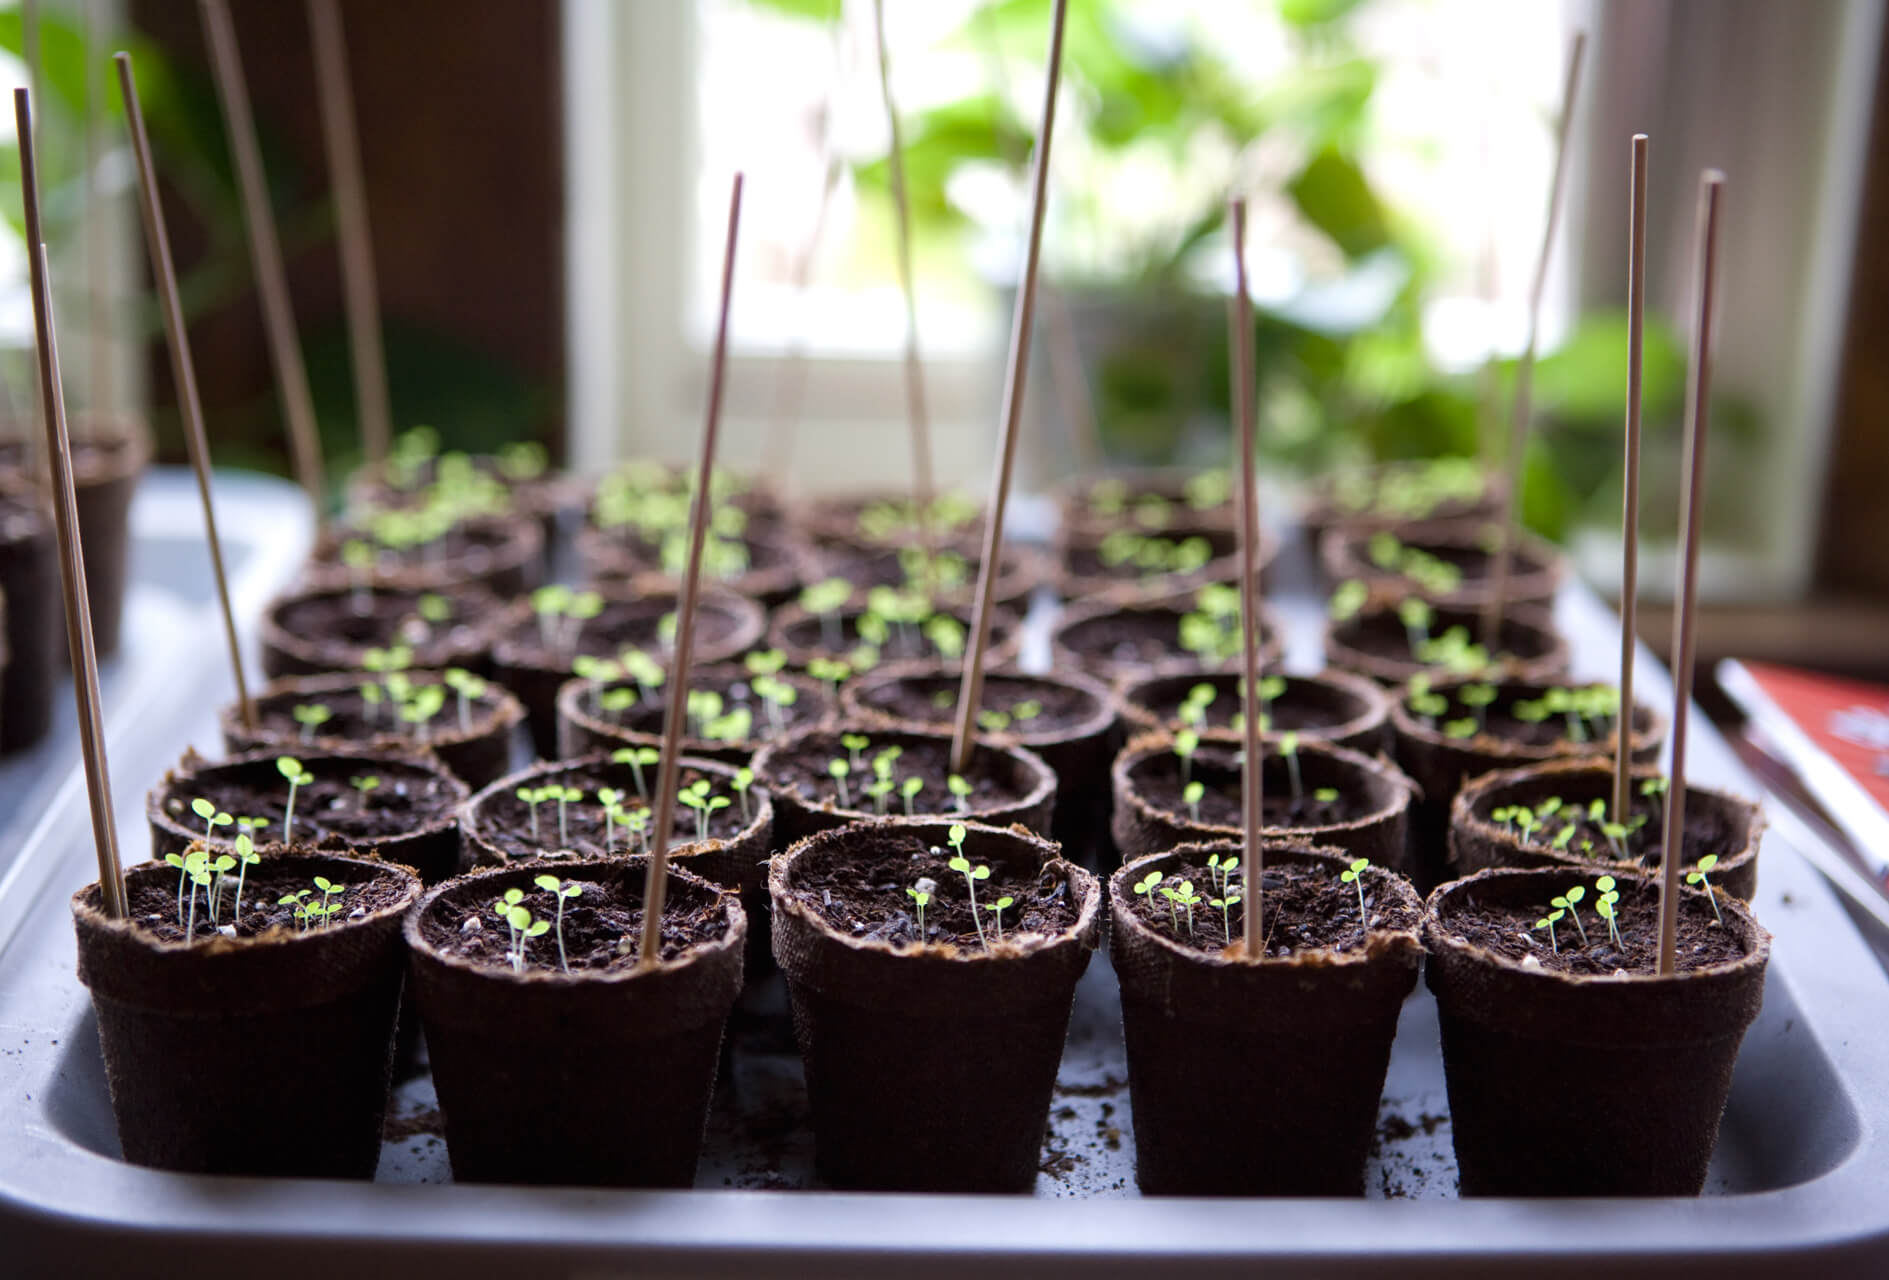
Direct Sowing vs. Transplants: Pumpkins can be directly sown from seeds or started indoors as transplants. Direct sowing involves planting the seeds directly into the garden soil once all risks of frost have passed. Transplants are started indoors a few weeks before the last frost date and then transplanted into the garden when seedlings are strong and established. Choose the method that works best for you and your growing season.
Soil Preparation: Before planting pumpkin seeds, prepare the soil as outlined in the previous section. Ensure the soil is well-drained, fertile, and amended with organic matter. The optimal soil temperature for pumpkin seed germination is around 60°F (15°C), so make sure the soil has warmed up adequately before planting.
Planting Depth: Plant pumpkin seeds at a depth of around 1 inch (2.5 cm). Make a small hole in the soil, drop the seed into it, and cover it with soil. Plant multiple seeds, about 2-3 inches (5-7.5 cm) apart, in case some seeds do not germinate. This allows for thinning later on, ensuring the strongest plants remain.
Spacing: Transplant seedlings or thin direct-sown seedlings so that there is about 2-3 feet (60-90 cm) of space between each plant. Pumpkins have sprawling vines that require room to grow and spread. Adequate spacing ensures proper air circulation, sunlight exposure, and reduces the risk of disease spread.
Watering: After planting the seeds or transplanting the seedlings, water the newly planted area thoroughly. Keep the soil consistently moist but avoid overwatering, as this can lead to disease issues. As the plants grow, maintain a regular watering schedule, keeping the soil evenly moist but not waterlogged.
Protecting Seedlings: Young pumpkin seedlings can be vulnerable to pests and adverse weather conditions. Protect them from strong winds, heavy rains, and extreme temperatures by using row covers or mini greenhouses. This will provide a safe and protected environment for the seedlings to establish themselves.
Support Structures: Some pumpkin varieties may benefit from support structures, particularly larger and heavier fruiting types. Consider using trellises, cages, or fences to provide support for the vines and lift the developing pumpkins off the ground. This helps prevent rotting and improves airflow around the plants.
By selecting high-quality seeds, planting them at the appropriate depth and spacing, and providing suitable care, you can set your pumpkin plants on a path to success. Enjoy the journey of watching your pumpkin seedlings grow into beautiful, fruitful plants.
Proper Watering Techniques
Proper watering is vital for the healthy growth and development of pumpkin plants. Providing the right amount of water at the right time ensures that the plants remain hydrated, promotes nutrient uptake, and supports optimal fruit production. Here are some key techniques for proper watering of your pumpkin plants:
Consistent Moisture: Pumpkins require consistently moist soil throughout their growing season. Aim to keep the soil evenly moist but not waterlogged. Avoid allowing the soil to dry out completely between waterings, as this can have negative effects on plant health and fruit development.
Deep Watering: When watering your pumpkin plants, it’s important to focus on deep watering instead of shallow, frequent watering. Deep watering encourages the development of deep and strong root systems. This helps the plants access water and nutrients from lower soil levels, making them more resilient to periods of drought.
Water at the Base: To prevent foliage diseases and minimize water wastage, water the base of the plants rather than spraying water overhead. Directing the water at the plant’s root zone ensures that it reaches the desired areas and minimizes moisture on the leaves, reducing the risk of fungal diseases.
Morning Watering: It’s best to water your pumpkin plants in the early morning. This allows sufficient time for the foliage to dry before evening, reducing the chances of fungal diseases. Morning watering also ensures that the plants have access to water during the warm daylight hours when they are most actively growing.
Drip Irrigation or Soaker Hoses: Consider using drip irrigation or soaker hoses for watering pumpkins. These systems deliver water directly to the base of the plants, reducing water loss through evaporation and ensuring more efficient water distribution. Drip irrigation also helps minimize the risk of foliar diseases caused by wetting the leaves.
Monitor Soil Moisture: Regularly monitor the soil moisture levels around your pumpkin plants. Use your finger or a moisture meter to check the soil’s moisture content. If the top inch (2.5 cm) of soil feels dry, it’s time to water. Be cautious not to overwater, as soggy soil can lead to root rot and other issues.
Watering During Dry Spells: Pay extra attention to watering during dry spells or extended periods of hot weather. These conditions can quickly dry out the soil, stressing the pumpkin plants. Increase the frequency and duration of watering to ensure that the plants receive adequate moisture.
Watering Newly Planted Seedlings: Newly planted pumpkin seedlings require consistent moisture to establish their root system. Water them gently and regularly to help the roots establish themselves in the soil. As the plants mature, adjust the watering schedule to meet their increasing water demands.
Mulching: Applying a layer of organic mulch, such as straw or shredded leaves, around the base of your pumpkin plants can help retain soil moisture, suppress weeds, and regulate soil temperature. The mulch acts as a protective barrier, preventing water evaporation from the soil surface and reducing the need for frequent watering.
Proper watering techniques are essential for maintaining healthy and productive pumpkin plants. Consistency, deep watering, and paying attention to soil moisture levels will help your pumpkins thrive and produce robust fruits that are ready for harvest.
Fertilizing and Mulching Tips
Fertilizing and mulching are essential practices for the successful growth and development of pumpkin plants. These techniques provide the necessary nutrients, regulate soil temperature, retain moisture, and suppress weeds. Here are some tips for fertilizing and mulching your pumpkins:
Soil Testing: Before applying any fertilizer, it’s recommended to conduct a soil test to determine the nutrient needs of your soil. Soil tests help identify any deficiencies or imbalances, allowing you to adjust your fertilization approach accordingly. Contact your local extension office or use a home testing kit to assess your soil’s nutrient levels.
Choosing the Right Fertilizer: Use a balanced, slow-release fertilizer specifically formulated for vegetable or fruit plants. Look for fertilizers with an NPK ratio (nitrogen, phosphorus, and potassium) that meets the nutrient requirements of pumpkins. Alternatively, opt for organic fertilizers like compost, well-rotted manure, or worm castings to naturally enrich the soil.
Timing of Fertilization: Start fertilizing your pumpkin plants when they have developed a few true leaves. Apply the fertilizer according to the manufacturer’s instructions, taking care not to over-fertilize, as this can lead to excessive foliage growth and fewer fruits. A general rule of thumb is to fertilize every three to four weeks throughout the growing season.
Side-Dressing Technique: To provide a continuous supply of nutrients, practice side-dressing. Apply a small amount of fertilizer (about a tablespoon or as recommended) in a shallow trench or furrow, a few inches away from the plant’s base. Cover the fertilizer with soil and water thoroughly. This ensures that the nutrients reach the root zone where they are needed.
Mulching Benefits: Applying a layer of organic mulch around the base of your pumpkin plants brings numerous benefits. Mulch helps regulate soil temperature, keeping it cooler during hot summer days and warmer during chilly nights. It conserves soil moisture by reducing evaporation and competing weeds, while also providing a protective barrier against soil-borne diseases.
Choosing Mulch Materials: Organic materials like straw, shredded leaves, or grass clippings make excellent mulch for pumpkins. Apply a layer of mulch about 2 to 4 inches (5 to 10 cm) deep around the base of the plants, taking care not to pile it directly against the stems. This helps suppress weeds and adds organic matter to the soil as the mulch breaks down over time.
Mulching Techniques: Apply mulch after the soil has warmed up and the seedlings are well-established. Ensure that the soil is evenly moist before spreading the mulch. Avoid using thick layers of mulch, as excessively deep mulch can create a moist environment that promotes rotting or disease development. Maintain a gap of a few inches around the stem base to prevent moisture buildup.
Periodic Mulch Maintenance: Throughout the growing season, check and replenish the mulch layer as needed. Mulch may naturally decompose over time or be displaced by heavy rains or strong winds. Keep the mulch layer intact to ensure its effectiveness in conserving moisture and suppressing weeds.
By incorporating fertilizing and mulching into your pumpkin care routine, you provide your plants with the necessary nutrients, moisture, and protection they need to thrive. This sets the stage for healthy, vigorous growth and maximizes your chances of a fruitful pumpkin harvest.
Pest and Disease Management
Pest and disease management is crucial to protect your pumpkin plants and ensure a healthy and productive harvest. Various pests and diseases can pose a threat to your pumpkins, but with proper monitoring and early intervention, you can minimize the damage. Here are some tips for effective pest and disease management:
Pest Identification: Familiarize yourself with common pumpkin pests in your region, such as aphids, squash bugs, cucumber beetles, and vine borers. Regularly inspect your plants for signs of pest activity, including holes in leaves, wilting, yellowing, or stunted growth. Prompt identification allows for quicker intervention.
Cultural Control: Implement cultural practices that discourage pests and reduce disease risk. Proper spacing between plants promotes good air circulation, reducing the chances of disease spread. Regularly remove weeds, which can harbor pests and provide cover for diseases. Rotate pumpkin crops each season to lessen the build-up of soil-borne pests and pathogens.
Natural Predators and Beneficial Insects: Encourage beneficial insects and natural predators in your garden to keep pest populations in check. Plants like marigolds, zinnias, and alyssum attract beneficial insects that feed on pests. Avoid using broad-spectrum insecticides that can harm beneficial insects.
Physical Barriers: Protect your pumpkin plants from pests like vine borers by using physical barriers. Wrap the base of the stem with aluminum foil or pantyhose to prevent the insects from laying eggs on the plant. Additionally, use row covers or netting to create a barrier that keeps pests away while allowing airflow and sunlight.
Pest Control Methods: If pest populations become too high, various control methods can be used. These include handpicking and squishing pests, using insecticidal soaps or horticultural oils, or applying targeted insecticides as a last resort. Always follow the instructions and precautions on the product labels.
Disease Prevention: Preventing diseases is key to maintaining healthy pumpkin plants. Avoid overwatering, as prolonged wet conditions can encourage disease development. Water in the morning, allowing foliage to dry during the day. Practice crop rotation to reduce the risk of soil-borne diseases. Remove and destroy any infected plant material promptly to minimize the spread of diseases.
Fungal Disease Management: Fungal diseases like powdery mildew and downy mildew are common pumpkin ailments. Preventative measures include applying fungicides at the first sign of disease, selecting disease-resistant varieties, and improving air circulation by proper spacing and pruning to reduce humidity around the plants.
Integrated Pest Management (IPM): Adopt an integrated pest management approach, which combines various strategies to control pests and diseases. IPM involves employing preventive measures, monitoring pest populations, using cultural practices, and applying insecticides or fungicides only when necessary and according to label instructions.
By practicing good pest and disease management techniques, you can protect your pumpkin plants from potential threats and ensure the health and productivity of your garden. Regular monitoring, early intervention, and implementing preventative measures will help you have a successful pumpkin growing season.
Harvesting and Storing Pumpkins
The moment has finally arrived to harvest your hard-earned pumpkins! Knowing when and how to harvest your pumpkins is key to enjoying fully matured fruits with great flavor and longevity. Here are some tips on harvesting and storing pumpkins:
Harvest Timing: Pumpkins are ready for harvest when they have reached full maturity. This timing varies depending on the variety, but in general, pumpkins are ready to be harvested when the rinds are hard and cannot be easily punctured by a fingernail. The color of the pumpkin may also change, and the stem attached to the pumpkin should be dry and starting to wither.
Cutting Method: Use a sharp knife or pruners to cut the pumpkin from the vine, leaving about 2-3 inches (5-7.5 cm) of stem attached. Avoid using excessive force or twisting the pumpkin as this can cause damage or breakage.
Handling: Handle harvested pumpkins with care to avoid any bruising or scratching of the skin. Even minor damage can lead to early spoilage. Gently place the pumpkins in a container or basket, being mindful not to stack them and cause pressure points.
Curing: To prolong the shelf life of pumpkins, allow them to cure in a warm and dry area for about 10 days. This process helps toughen the skin, reducing the risk of spoilage. Choose a well-ventilated space, such as a sunny porch or a garage with good airflow, and ensure the pumpkins are not exposed to frost or extreme temperatures during this period.
Storage Conditions: Pumpkins should be stored in a cool, dry, and well-ventilated area. Ideally, the temperature should be around 50-55°F (10-13°C) with a humidity level of 50-70%. Avoid storing pumpkins in direct sunlight or damp areas as this can accelerate decay.
Storage Containers: Use crates, cardboard boxes, or wooden shelves to store pumpkins. Avoid storing them directly on concrete floors, as this can draw moisture and promote rot. Place a layer of straw or cardboard beneath the pumpkins to provide cushioning and additional airflow.
Checking for Spoilage: Regularly inspect stored pumpkins for any signs of spoilage. Look for soft spots, mold growth, or foul odors, as these are indicators of decay. Remove any spoiled pumpkins immediately to prevent the spread of rot to other pumpkins.
Longevity: Properly cured and stored pumpkins can last anywhere from 2 to 6 months, depending on the variety. Regularly check on your stored pumpkins and consume or use any that show signs of deterioration first.
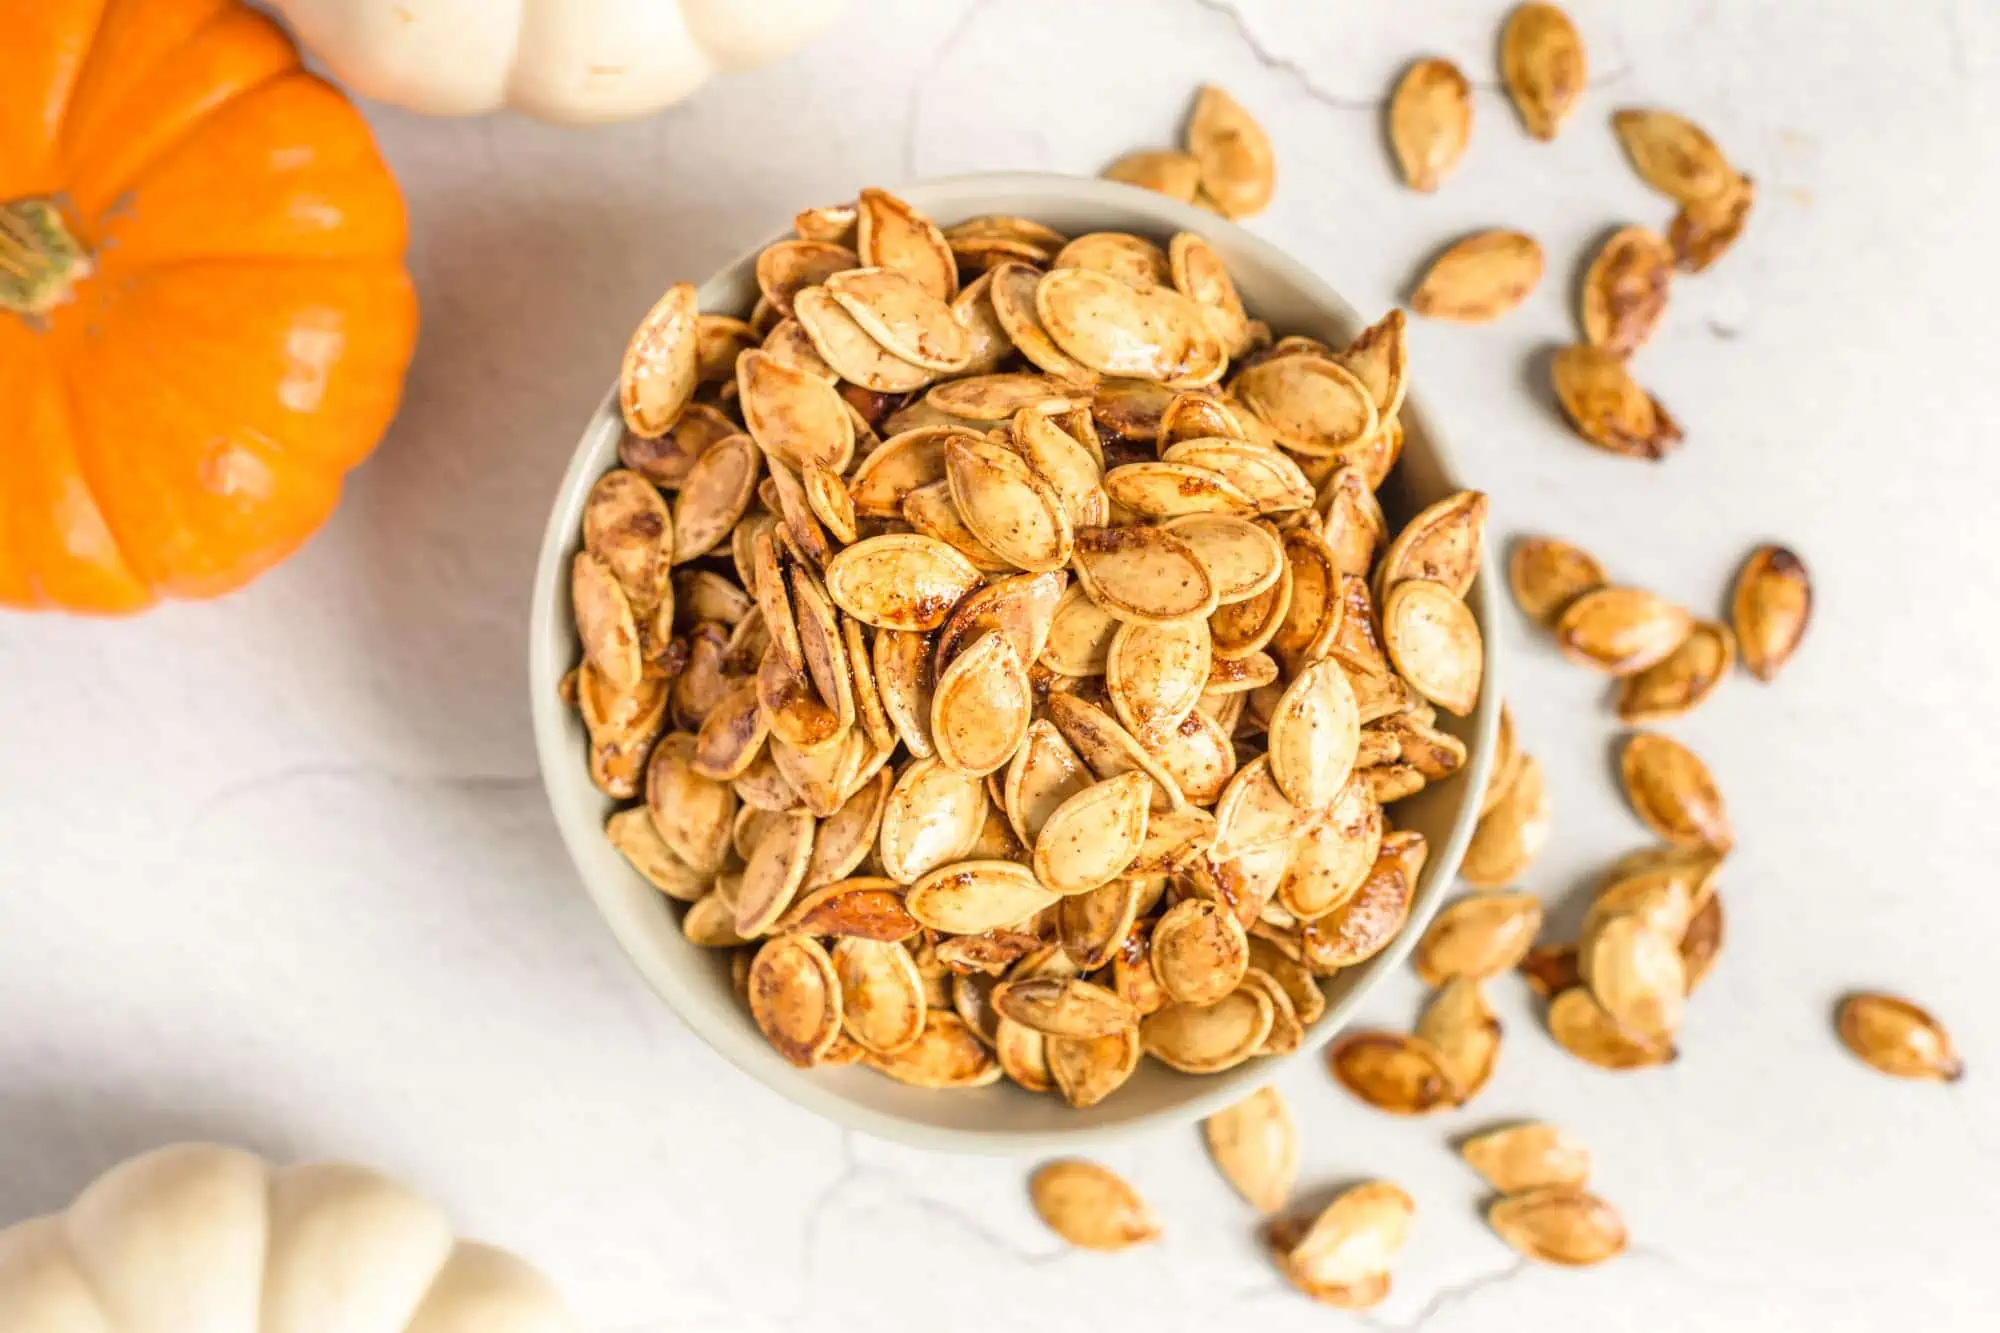
Utilizing Harvested Pumpkins: Once you’re ready to use your pumpkins, they can be transformed into a variety of delicious dishes. From classic pumpkin pies and cakes to soups, stews, and roasted pumpkin seeds, the possibilities are endless. Enjoy the fruits of your labor and embrace the flavors of the season!
By following these guidelines for harvesting and storing pumpkins, you can extend the lifespan of your harvest, ensuring that you have a steady supply of pumpkins to enjoy throughout the autumn season.
Conclusion
Congratulations on becoming a seasonal gardening expert in the realm of pumpkin cultivation! By understanding the factors that contribute to successful pumpkin growth, from planting the right variety to providing proper care and managing potential challenges, you are well-equipped to embark on a rewarding gardening journey.
Remember, before planting pumpkins, consider the space available, sunlight exposure, soil quality, and other factors to create an optimum environment for growth. Choose the right pumpkin variety based on your preferences, climate, and growing conditions. Select high-quality seeds and ensure proper planting techniques, whether via direct sowing or transplanting.
Throughout the growing season, pay attention to watering practices, ensuring consistent moisture without overwatering. Implement fertilization techniques and provide essential nutrients to support healthy plant development. Utilize mulching and manage pest and disease risks to protect your pumpkin plants.
When the time comes, harvest your pumpkins at the right maturity stage, taking care to handle them gently. Curing the pumpkins and storing them properly in cool and dry conditions will allow for extended shelf life. Regularly inspect your stored pumpkins for any signs of spoilage.
Ultimately, the culmination of your efforts will be the enjoyment of freshly harvested pumpkins. Whether you use them for carving, decorating, or creating delicious culinary delights, the satisfaction of growing your own pumpkins is unmatched.
So, embrace the joy of seasonal gardening and immerse yourself in the world of pumpkin cultivation. Experiment with different varieties, techniques, and recipes to fully appreciate the beauty and versatility of these beloved autumn symbols. Happy growing!
