Home>Gardening Techniques>Seasonal Gardening>When To Start Planting A Vegetable Garden In Ontario
Seasonal Gardening
When To Start Planting A Vegetable Garden In Ontario
Modified: February 10, 2024
Discover the perfect time for planting a vegetable garden in Ontario with our comprehensive guide to seasonal gardening. Start growing your own fresh produce today!
(Many of the links in this article redirect to a specific reviewed product. Your purchase of these products through affiliate links helps to generate commission for Chicagolandgardening.com, at no extra cost. Learn more)
Table of Contents
Introduction
Welcome to the exciting world of seasonal gardening in Ontario! If you’re eager to start your own vegetable garden and enjoy the bountiful produce that comes with it, you’re in the right place. Gardening not only offers the satisfaction of growing your own food, but it also allows you to connect with nature and enjoy the therapeutic benefits of working in the soil.
Ontario’s diverse climate and fertile soil make it an ideal region for vegetable gardening. However, to ensure a successful harvest, it’s crucial to understand the specific planting times and techniques that work best in this area.
In this comprehensive guide, we will explore the various aspects of seasonal gardening in Ontario. From understanding the climate and choosing the right vegetables to soil preparation, seed starting, and garden maintenance, we’ll cover it all. Whether you’re a beginner or an experienced gardener looking to expand your knowledge, this article will provide you with the insights and tips you need to have a thriving vegetable garden.
As you navigate through this guide, keep in mind that gardening is not an exact science. It requires observation, experimentation, and adaptation to the unique conditions in your area. What works for one gardener may not work for another, so don’t be afraid to try different approaches and find what works best for you and your garden.
So let’s roll up our sleeves, grab our gardening tools, and get ready to embark on this exciting journey of seasonal gardening in Ontario.
Understanding Ontario’s Climate
Before delving into the specifics of planting a vegetable garden in Ontario, it’s essential to have a basic understanding of the region’s climate. Ontario experiences a humid continental climate, characterized by hot summers and cold winters.
The province is divided into several hardiness zones, ranging from Zone 2a in the north to Zone 6a in the southern parts. These zones define the average minimum winter temperatures and help determine which plants are most likely to thrive in a specific area.
Ontario’s growing season typically lasts from May to September, but this can vary depending on the location within the province. Southern Ontario enjoys a longer growing season, while northern regions have a shorter one due to colder temperatures.
Understanding the frost dates is crucial for successful vegetable gardening. The average last spring frost date falls around mid to late May, while the first fall frost date occurs around late September to early October. These dates can vary, so it’s advisable to consult a local gardening resource or extension office for accurate information on frost dates specific to your area.
Another important aspect of Ontario’s climate is its rainfall patterns. The province experiences moderate rainfall throughout the growing season, with higher precipitation levels in the spring and early summer. However, it’s important to monitor and supplement rainfall when necessary to ensure your vegetable plants receive adequate moisture.
Lastly, Ontario’s climate can also be influenced by microclimates, which are localized areas with slightly different weather conditions. Factors such as proximity to water bodies, elevation, and urban heat can create microclimates that affect the temperature and length of the growing season.
By understanding Ontario’s climate and its variations, you’ll be better equipped to make informed decisions about which vegetables to plant, when to start planting, and how to protect your garden from potential weather challenges.
Choosing the Right Vegetables for Ontario
When it comes to selecting vegetables for your Ontario garden, it’s important to consider the specific climate and growing conditions in the region. Not all vegetables thrive in Ontario’s hot summers and cold winters, so choose varieties that are well-suited to the local climate. Here are some popular vegetables that have proven to be successful in Ontario gardens:
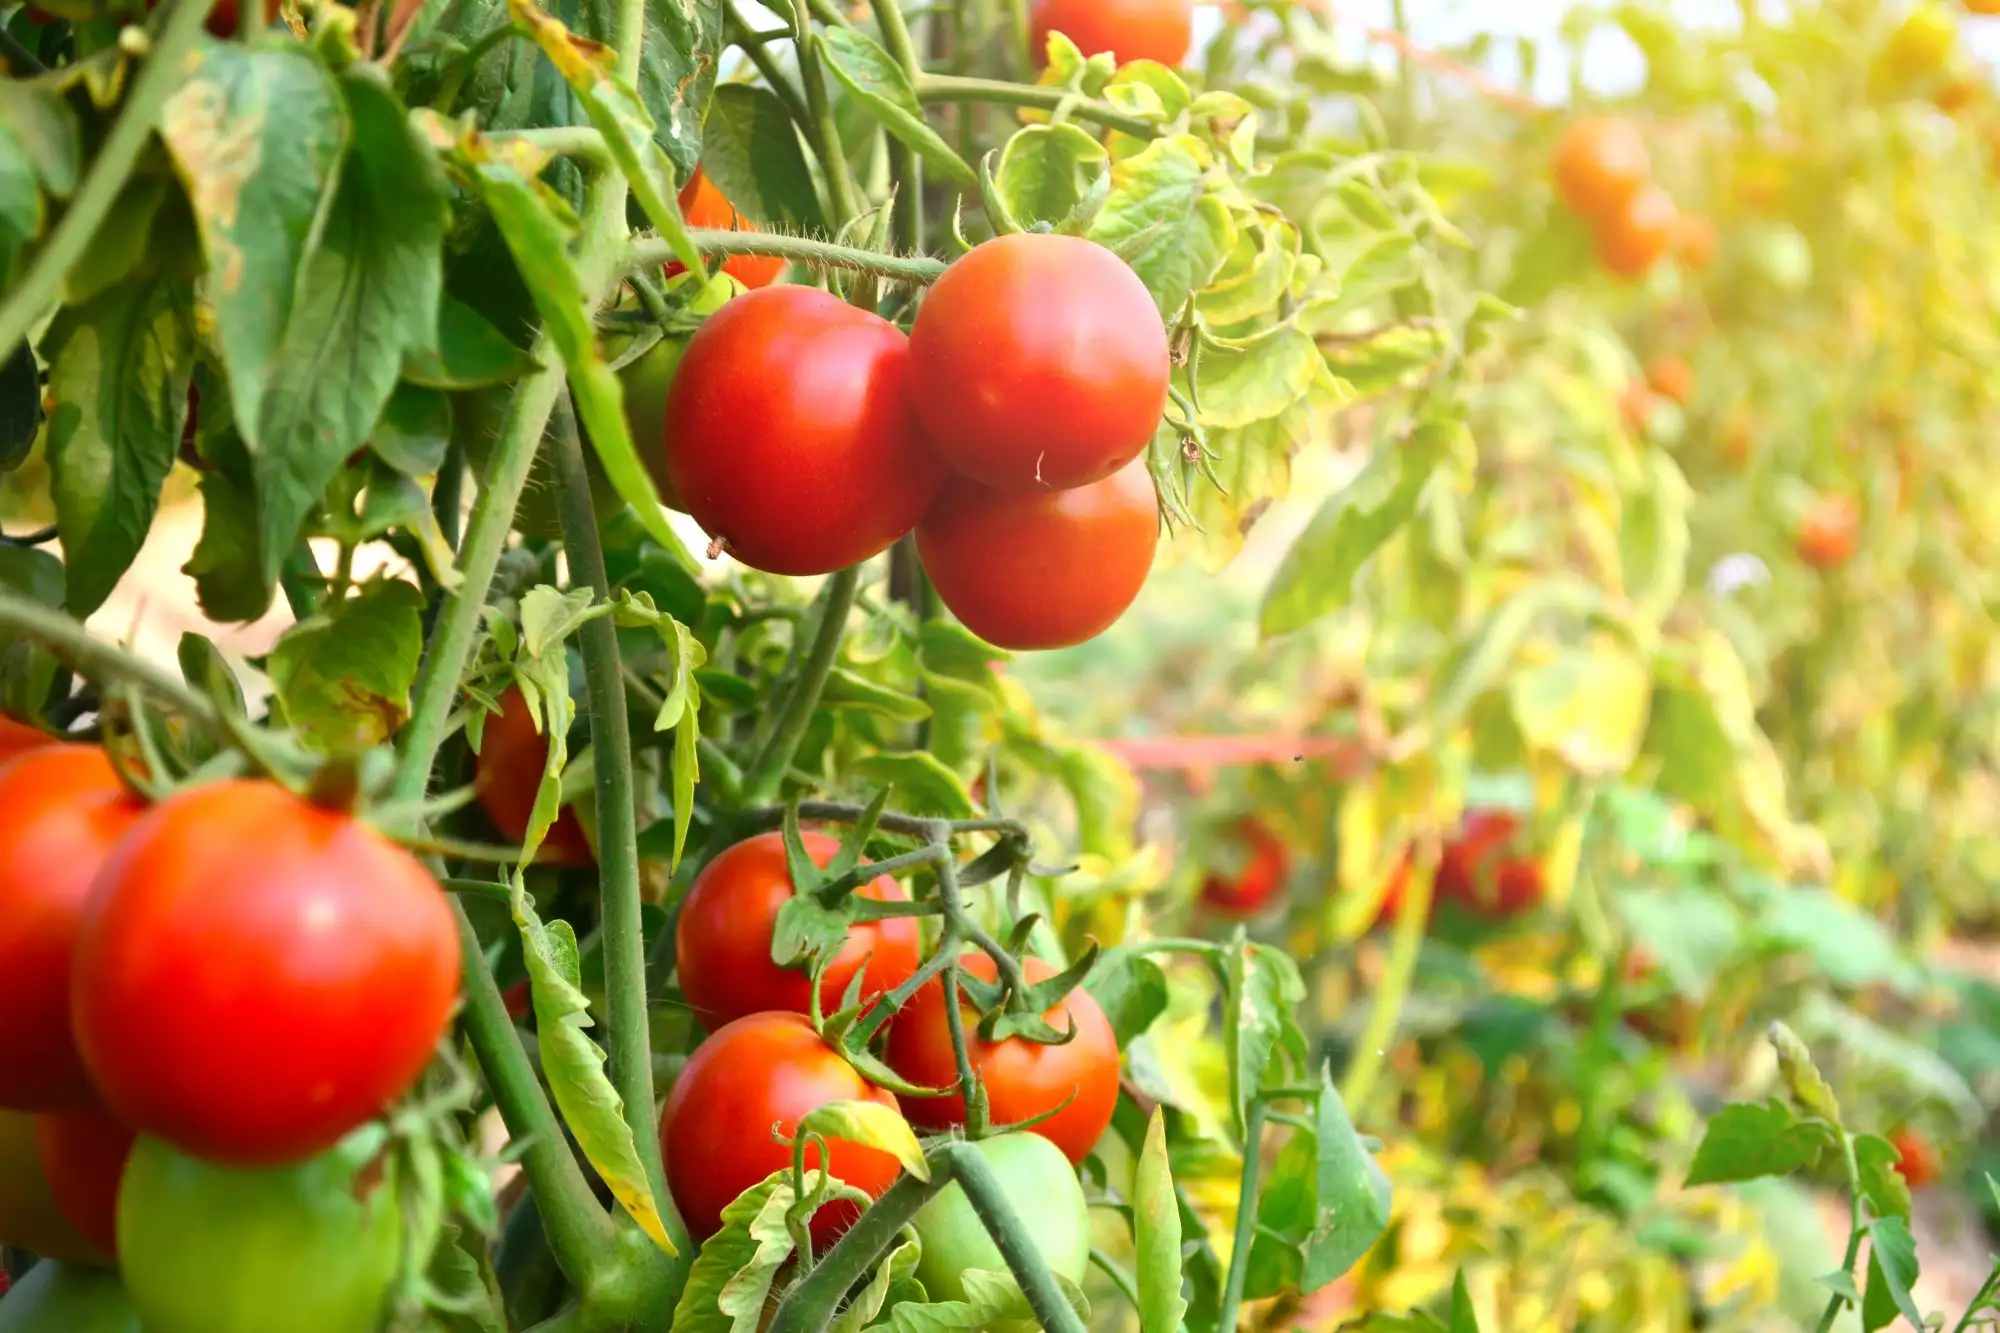
- Tomatoes: Ontario’s warm summers make it an excellent region for growing tomatoes. Choose varieties like ‘Celebrity,’ ‘Roma,’ or ‘Beefsteak’ for delicious and juicy tomatoes.
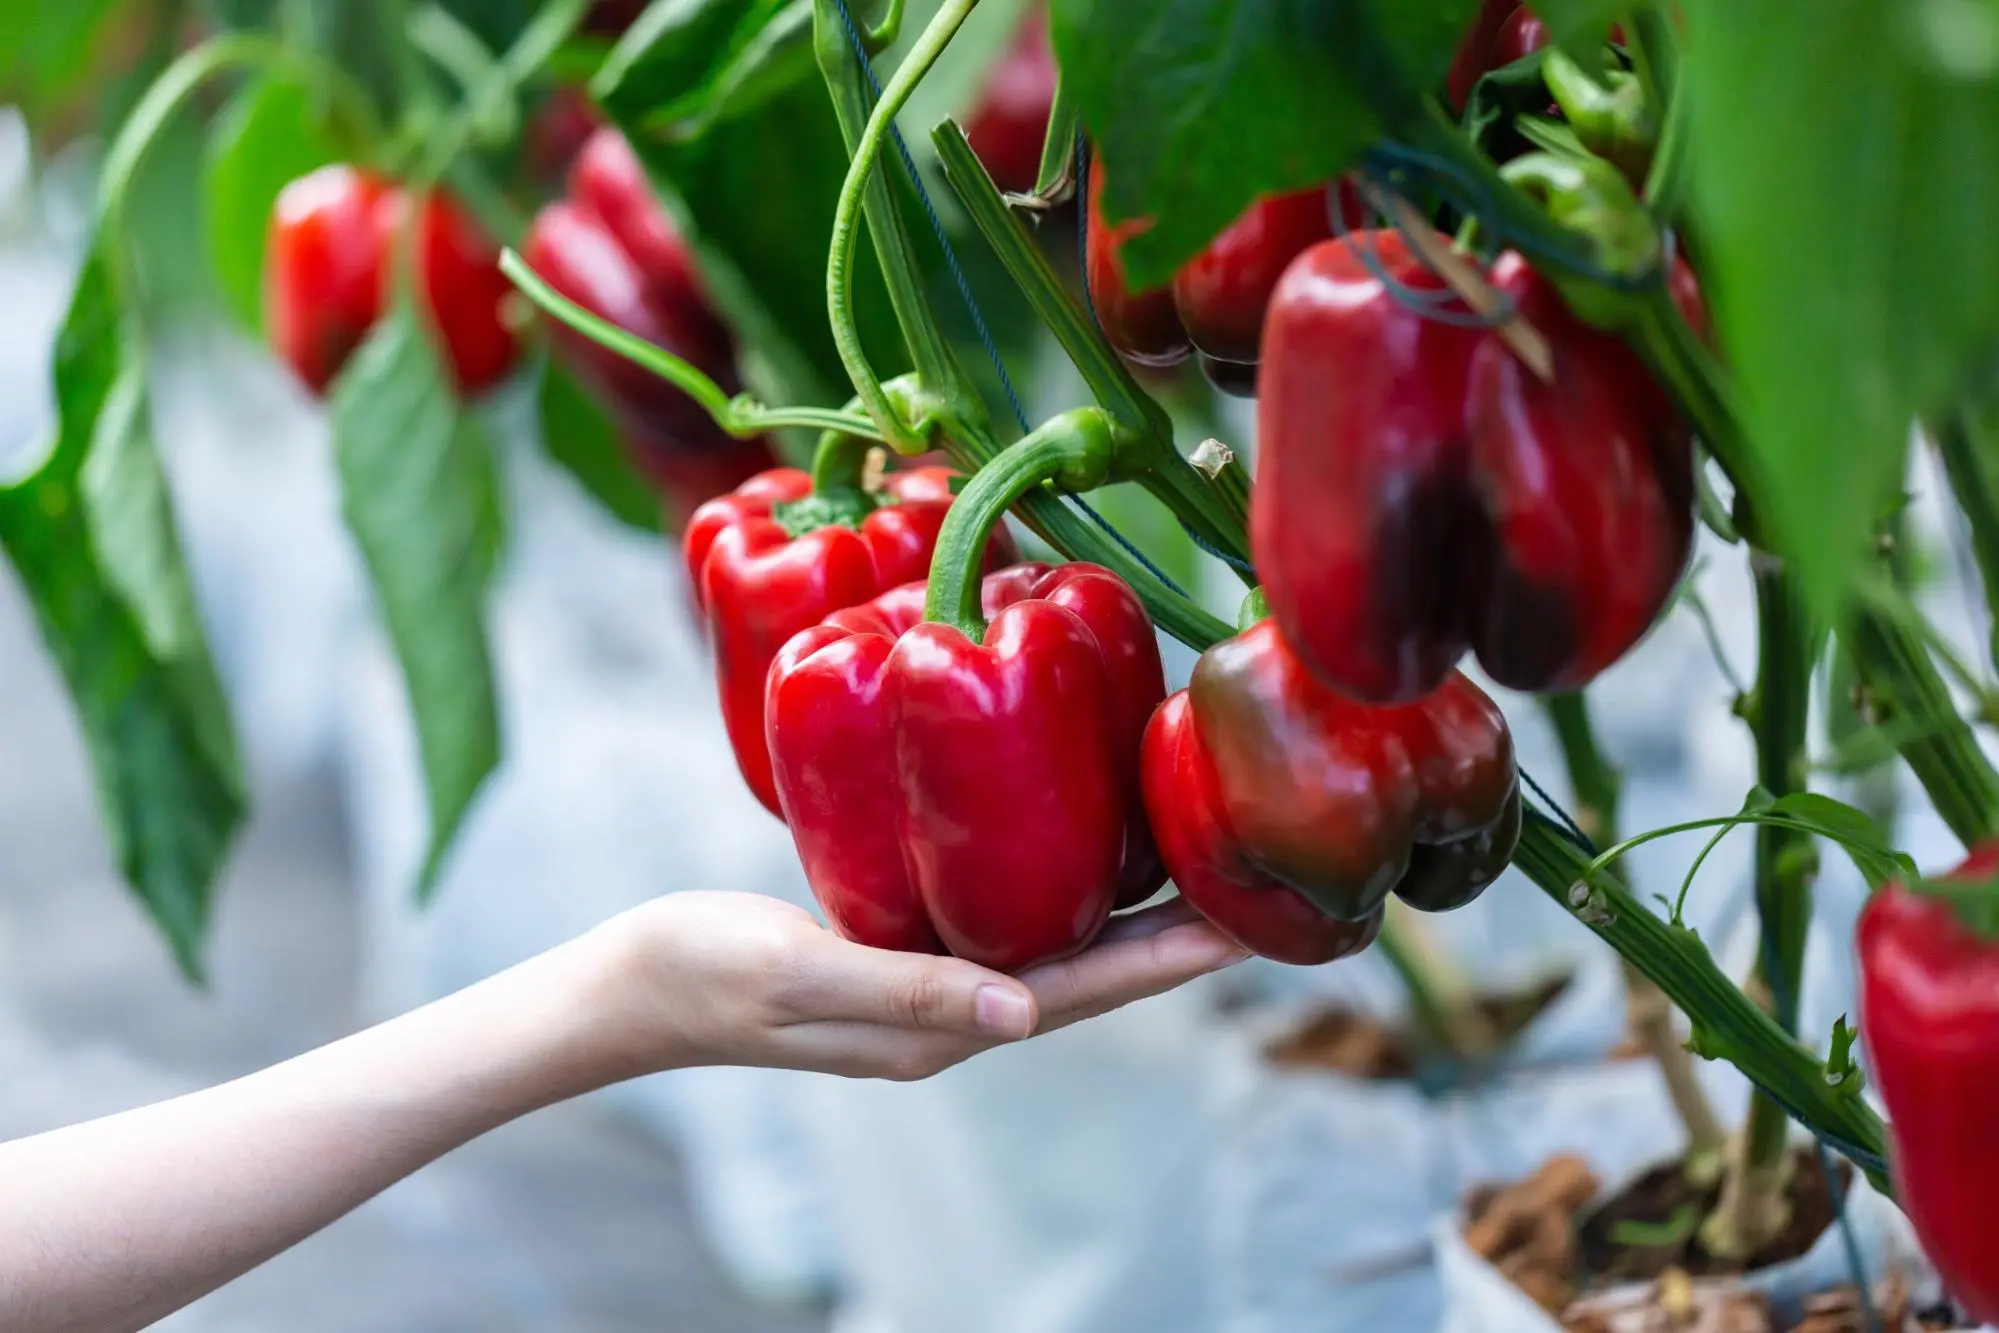
- Peppers: Both sweet and hot peppers can thrive in Ontario’s heat. Consider planting ‘Bell Peppers’, ‘Cayenne’, or ‘Jalapeno’ peppers for a burst of flavor.
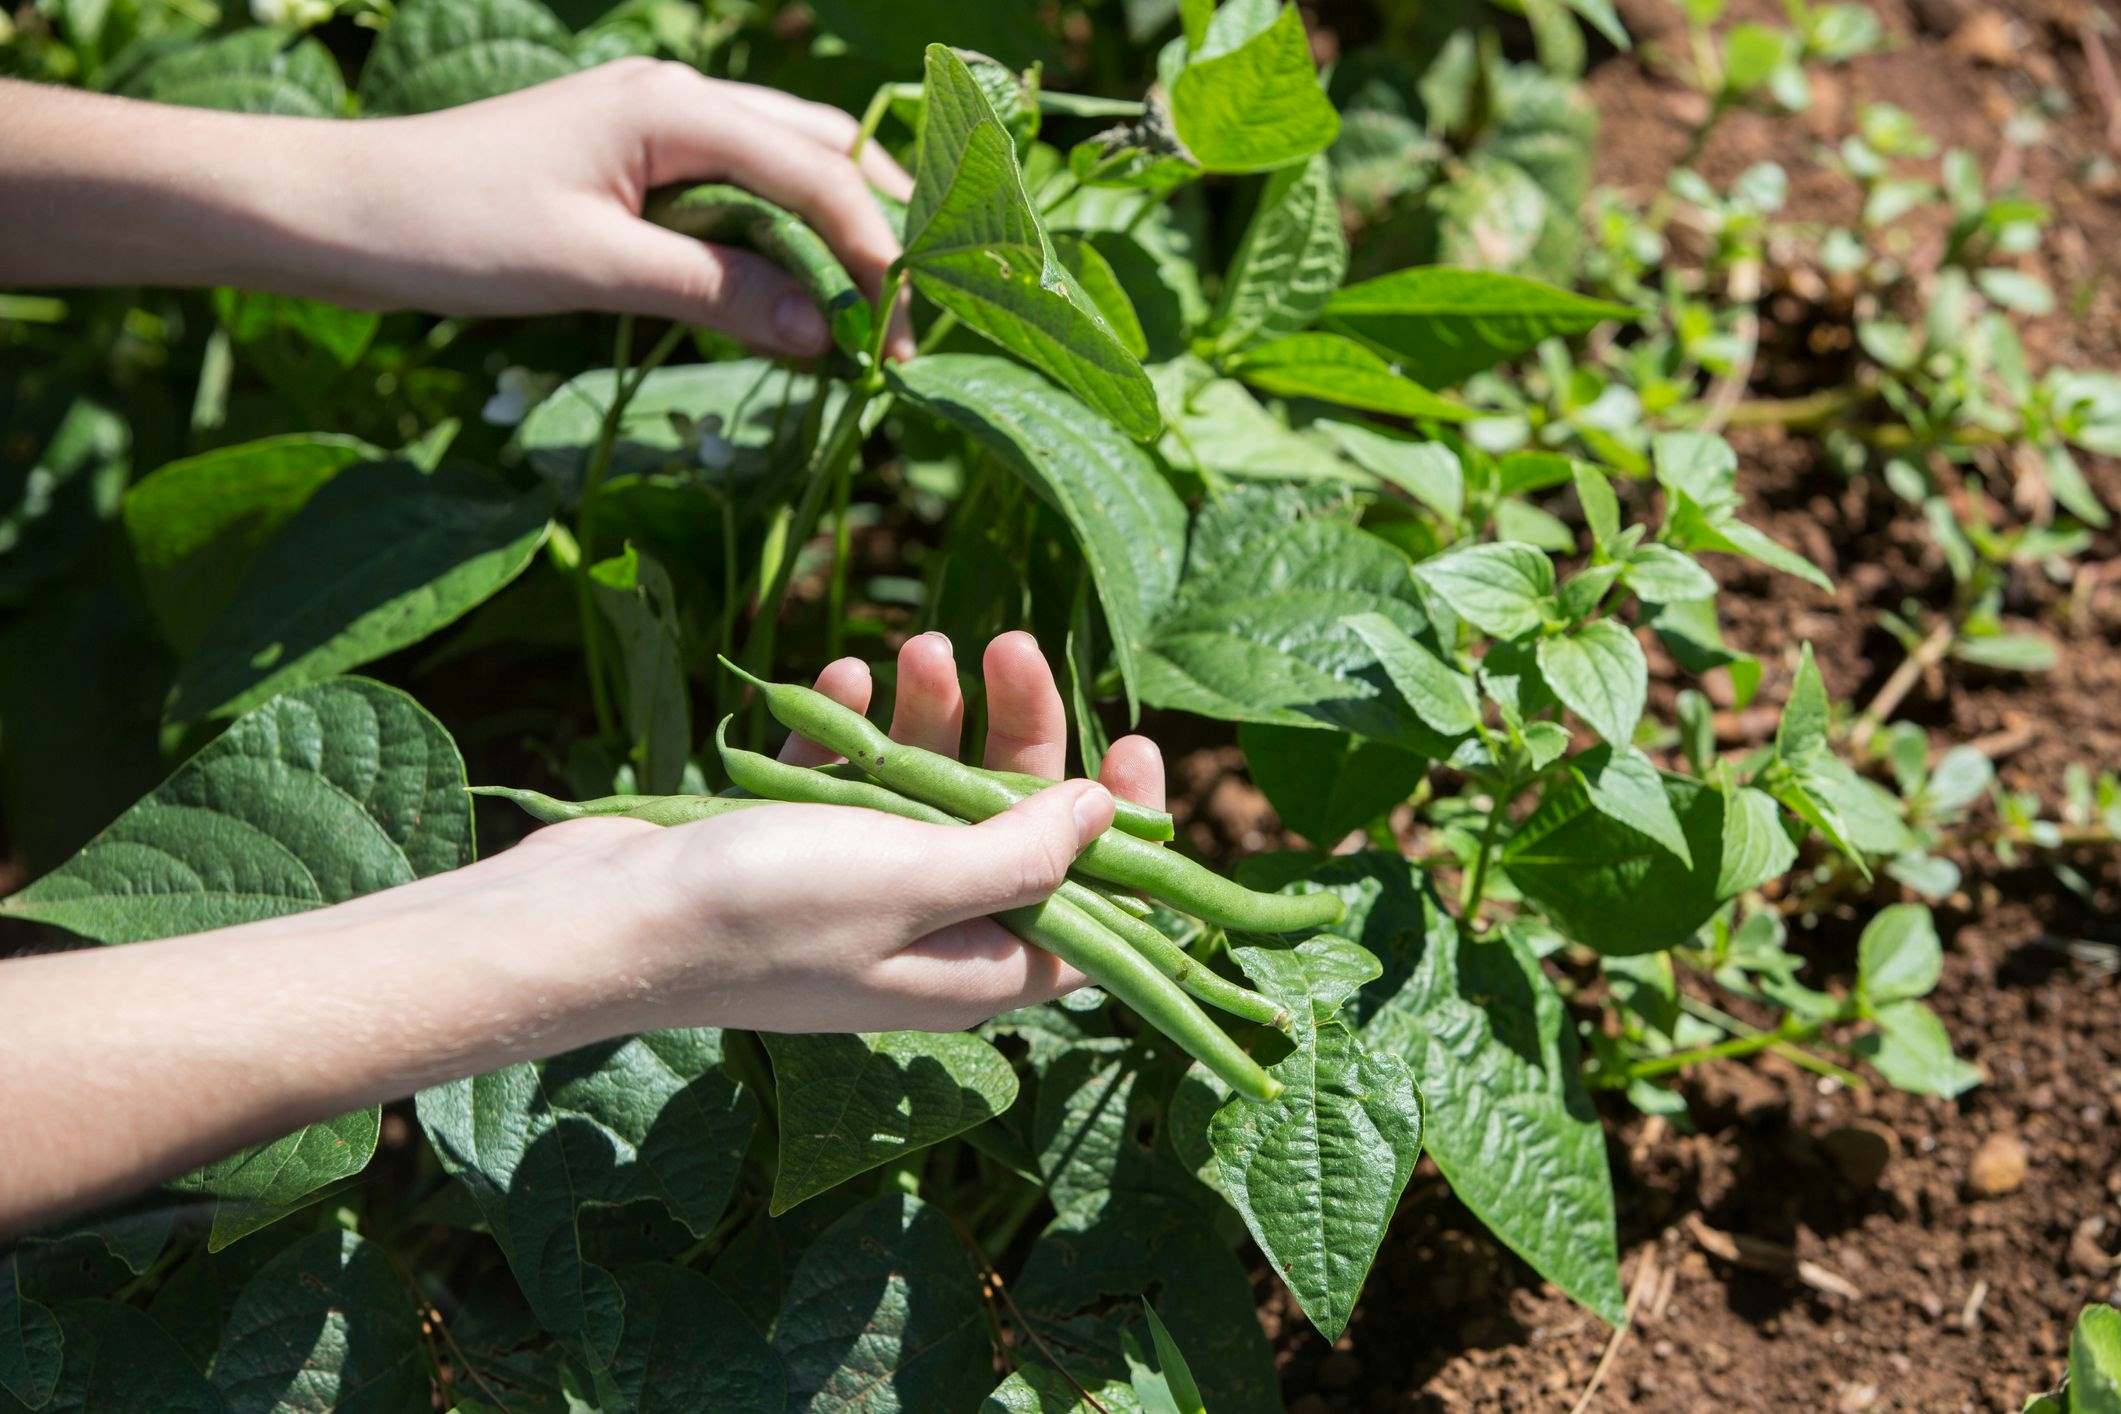
- Beans: Beans are a versatile and easy-to-grow vegetable. Bush beans, such as ‘Blue Lake’ or ‘Provider,’ are great choices for Ontario gardens.
- Lettuce and Leafy Greens: Ontario’s cooler spring and fall seasons are perfect for growing lettuce and leafy greens like spinach, kale, and Swiss chard. Opt for varieties that are cold-tolerant, such as ‘Buttercrunch Lettuce’ or ‘Red Russian Kale’.
- Carrots: Carrots are a root vegetable that thrives in Ontario’s well-drained soil. Choose varieties like ‘Nantes’, ‘Danvers’, or ‘Scarlet Nantes’ for a sweet and crispy harvest.
- Zucchini and Squash: Ontario’s warm summers provide the ideal conditions for growing zucchini and other summer squash varieties. ‘Black Beauty’ or ‘Yellow Crookneck’ are popular choices for Ontario gardens.
- Cucumbers: Cucumbers are heat-loving vegetables that do well in Ontario’s climate. Consider planting ‘Burpless’, ‘Marketmore’, or ‘Lemon’ cucumbers for a refreshing addition to your garden.
These are just a few examples of vegetables that thrive in Ontario’s climate, but there are many other options available. It’s important to choose vegetables that align with your taste preferences, gardening experience, and available space. Consider factors such as the size of your garden, sunlight exposure, and soil quality when making your vegetable selections.
Additionally, try to diversify your vegetable choices to ensure a continuous harvest throughout the growing season. Planting a mix of cool-season and warm-season crops allows you to enjoy fresh produce from early spring to late fall.
By selecting the right vegetables for Ontario’s climate, you’re setting yourself up for a successful and rewarding gardening experience.
Soil Preparation
Before starting your vegetable garden in Ontario, it’s crucial to prepare the soil properly. Good soil structure and fertility are essential for healthy plant growth and a bountiful harvest. Follow these steps to prepare your soil:
- Clear the area: Begin by clearing the chosen garden area of any weeds, rocks, or debris. This ensures a clean slate for your vegetable plants and prevents competition for nutrients and sunlight.
- Test the soil: Conduct a soil test to determine its pH level and nutrient content. Ontario’s soil tends to be slightly acidic, so aim for a pH level of around 6.0 to 7.0. Soil testing kits are readily available at garden centers, or you can send a soil sample to a local agricultural extension office for more accurate results.
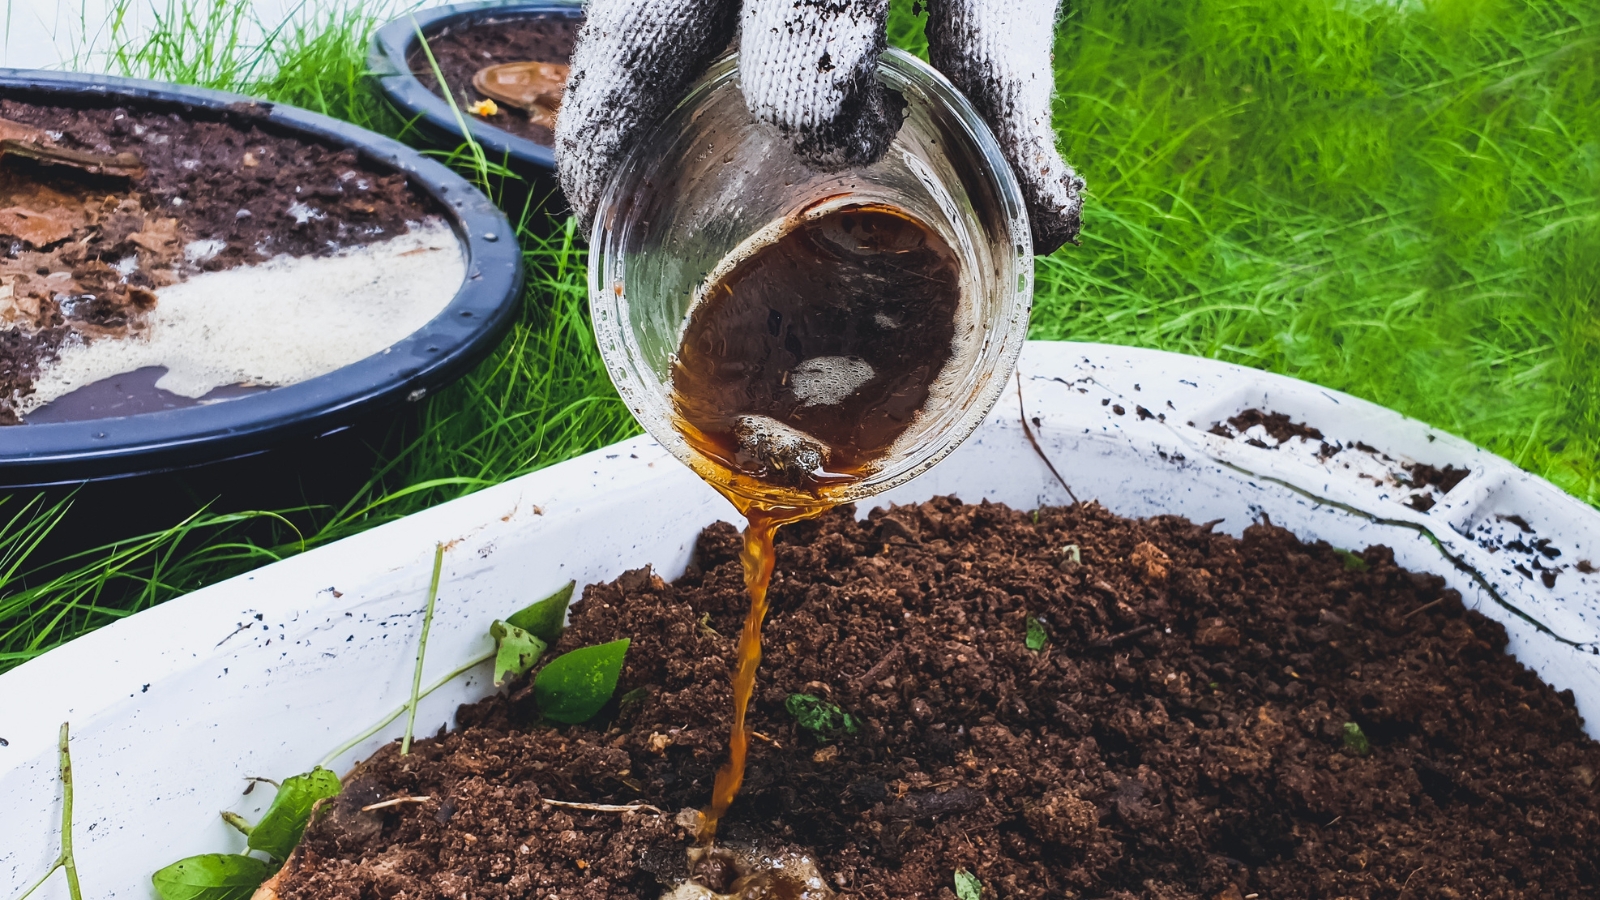
- Improve soil fertility: Based on the soil test results, add organic matter such as compost, well-rotted manure, or leaf mulch to improve the soil’s nutrient content. Organic matter not only adds essential nutrients but also enhances soil structure, water retention, and drainage.
- Loosen the soil: Use a garden fork or a tiller to loosen the soil to a depth of 12 to 18 inches. This promotes root growth and allows plants to access nutrients and water more easily.
- Remove any perennial weeds: Take the time to remove any perennial weeds, such as dandelions or bindweed, from the area. These weeds can quickly spread and compete with your vegetable plants for resources.
- Add organic fertilizers: If the soil test indicates nutrient deficiencies, you can supplement with organic fertilizers specific to the missing nutrients. Follow the recommended application rates and mix the fertilizer into the top few inches of soil.
- Level the soil: Rake the soil surface to create a smooth and level area for planting. This helps with water distribution and prevents pooling in certain areas.
Remember to avoid working the soil when it is overly wet, as this can lead to compaction and poor drainage. Wait until the soil is crumbly and can be easily worked without sticking to your tools.
Proper soil preparation ensures a fertile growing environment for your vegetable plants and sets the foundation for a successful garden season.
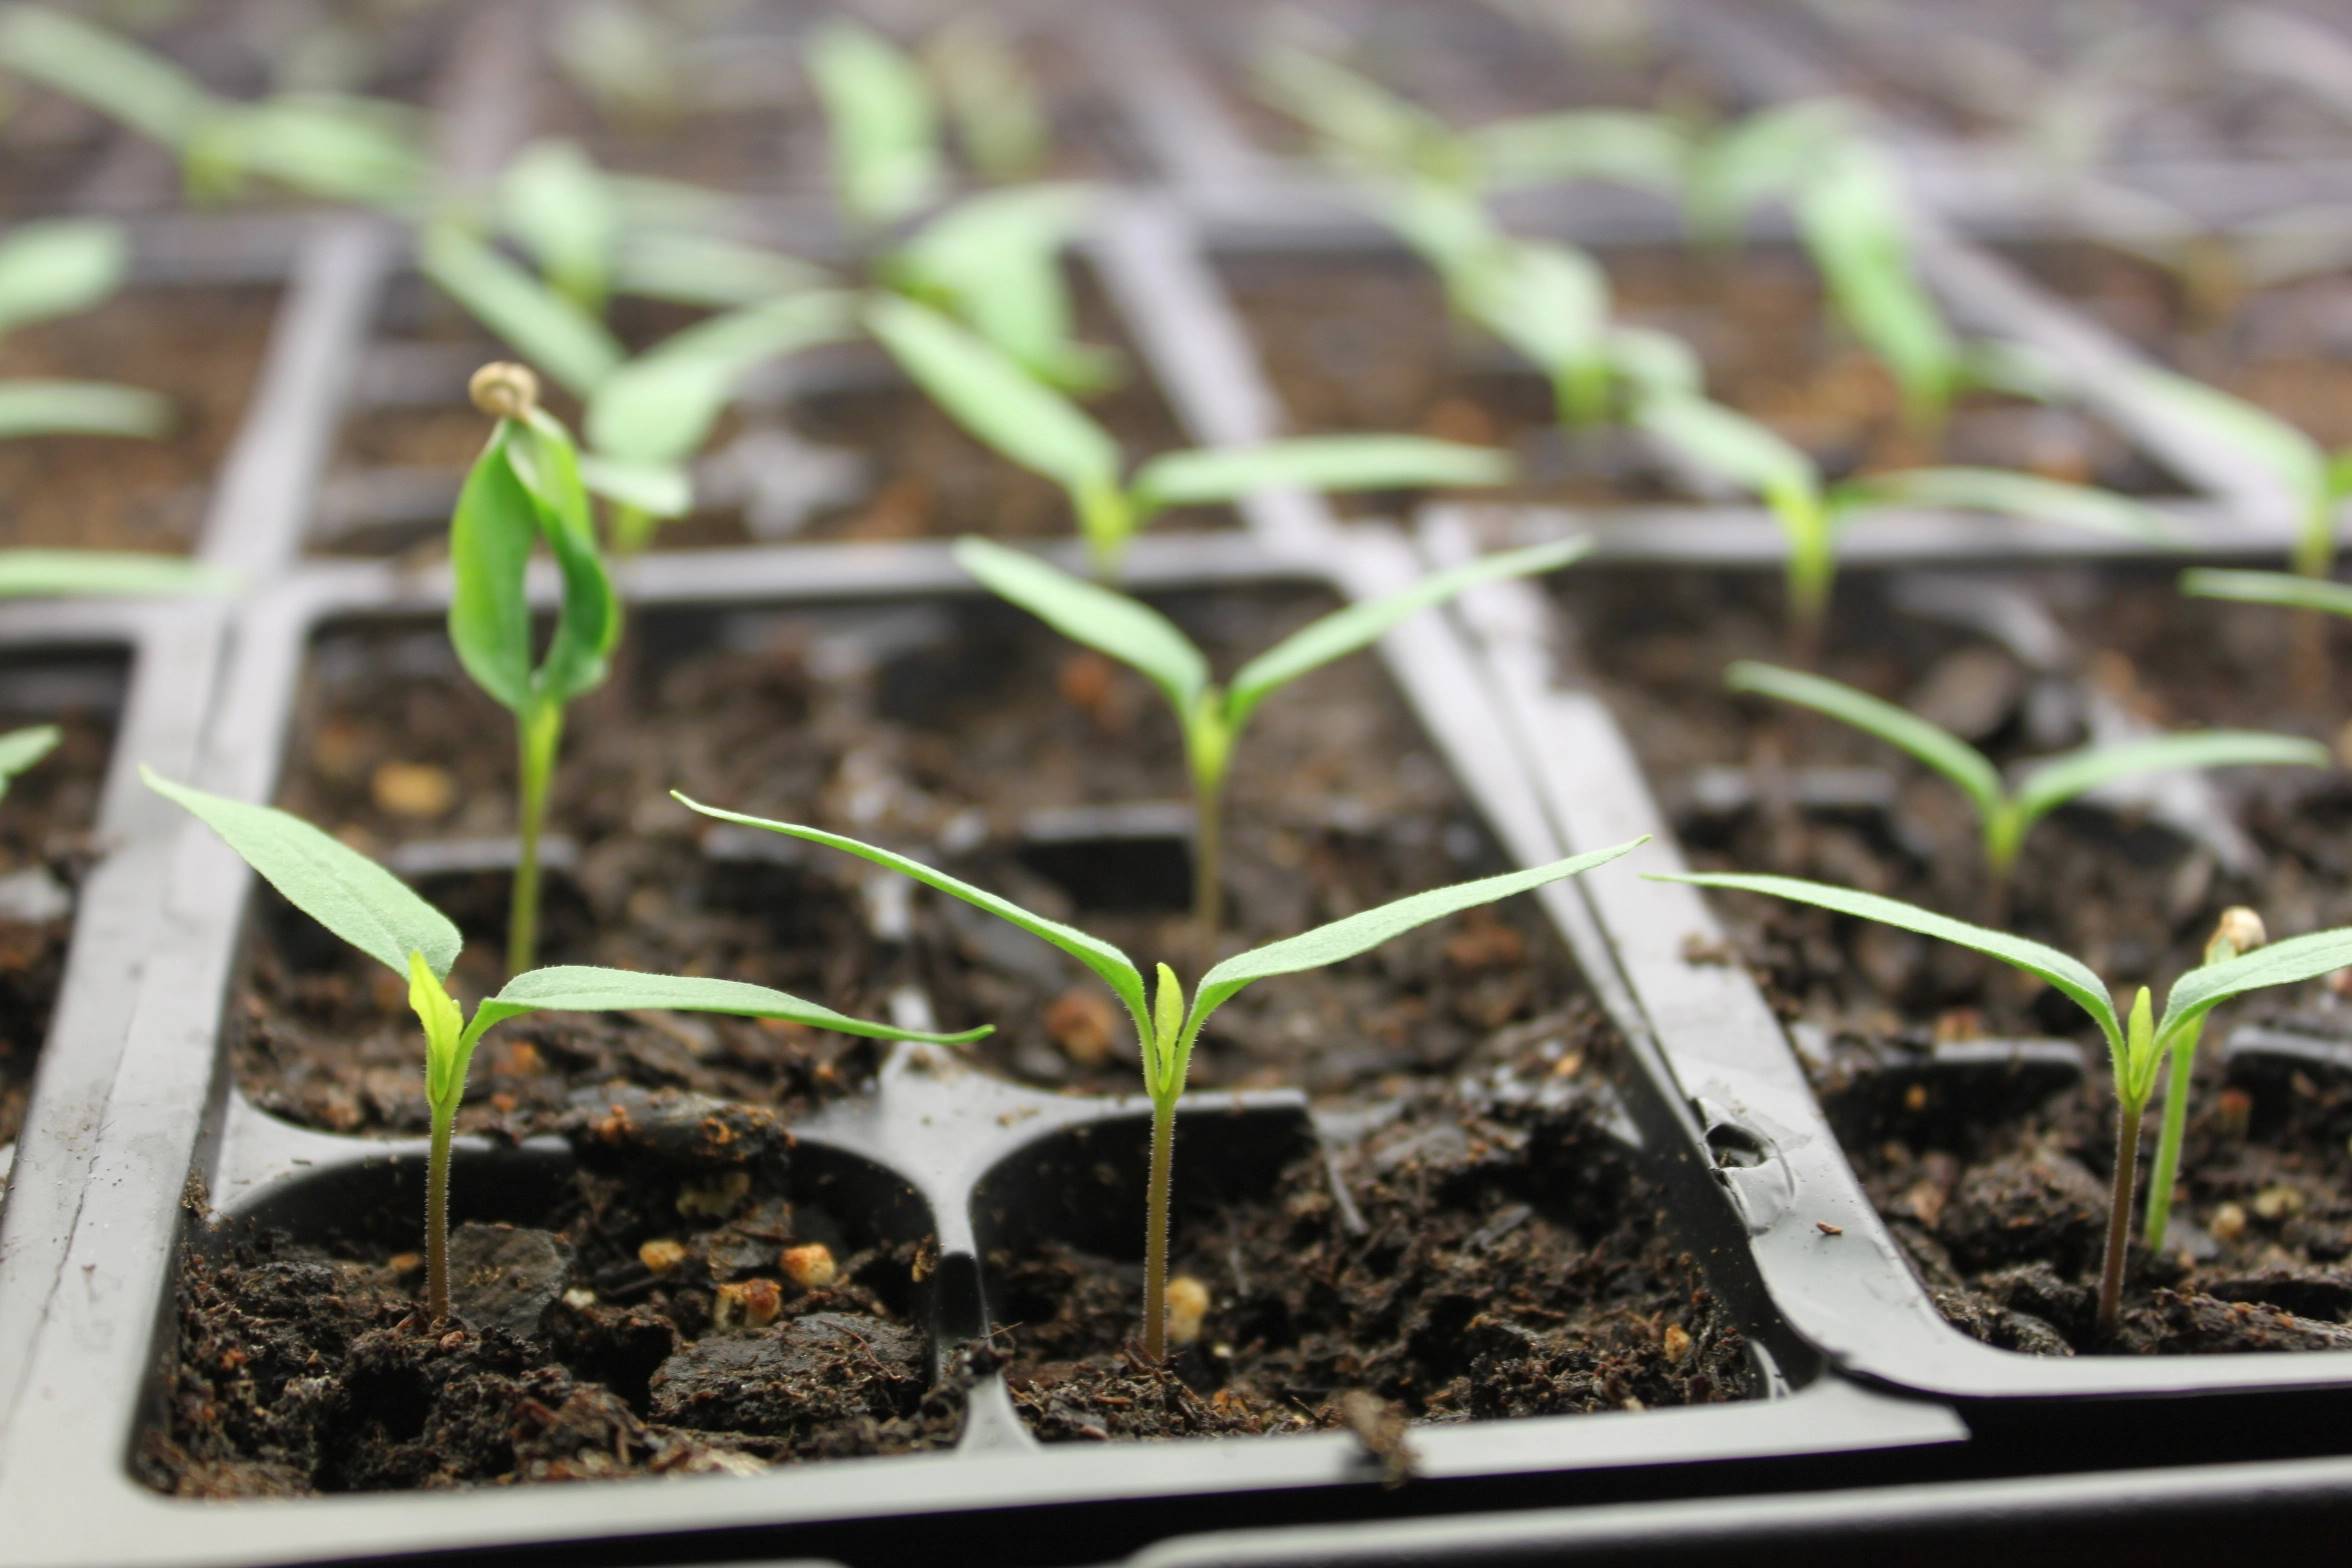
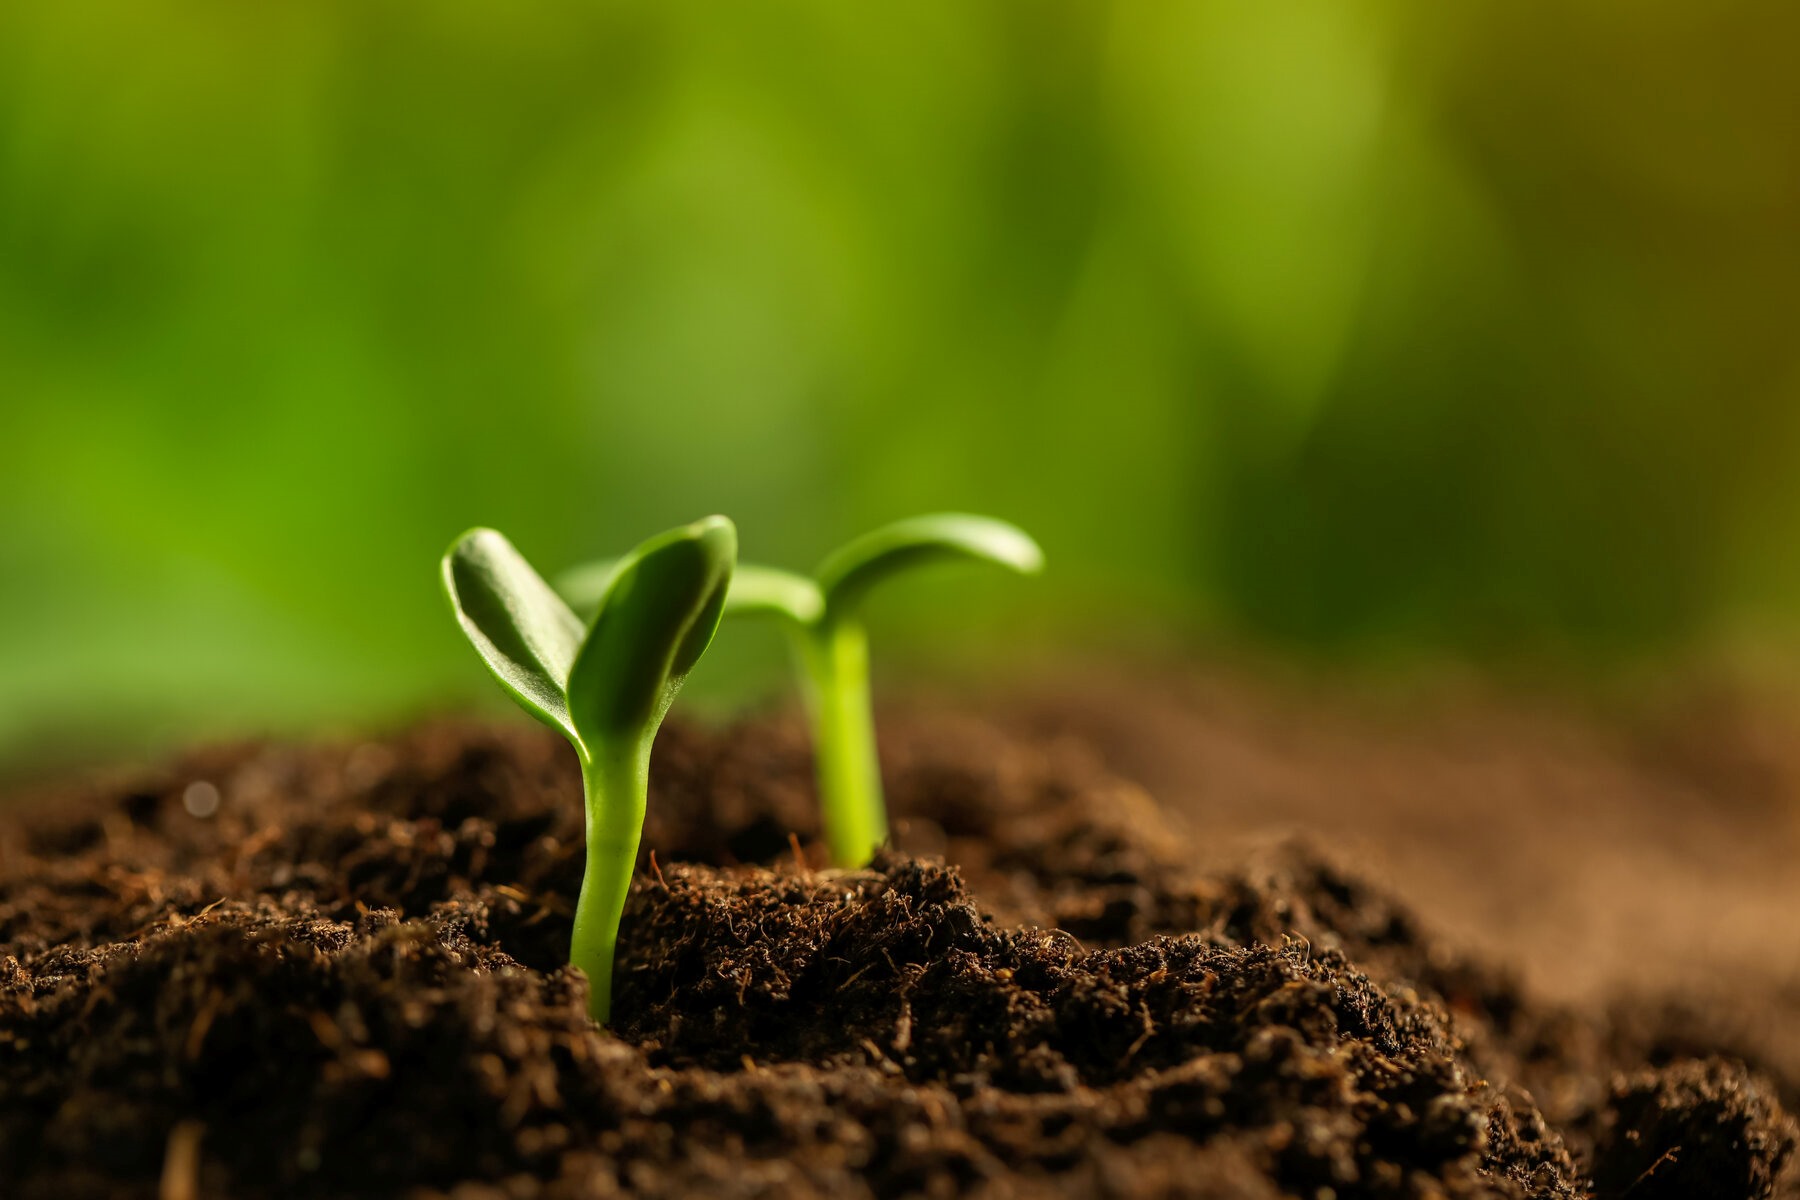
Starting Seeds Indoors
Starting seeds indoors is a great way to get a head start on the growing season and ensure strong and healthy seedlings for your vegetable garden. Here are the steps to successfully start seeds indoors:
- Choose the right containers: Use seed trays, peat pots, or biodegradable seed starting cells to sow your seeds. These containers provide adequate drainage and space for the growing seedlings.
- Select a suitable seed starting mix: Use a sterile seed starting mix or a combination of peat moss, vermiculite, and perlite. Avoid using regular garden soil, as it can be too dense and may introduce diseases or pests to your seedlings.
- Sow the seeds: Follow the recommended sowing depth for each plant variety, as indicated on the seed packet. Gently press the seeds into the moistened seed starting mix, ensuring good seed-to-soil contact.
- Label and cover the containers: Label each container with the plant variety and date of sowing. Cover the containers with clear plastic or a humidity dome to create a greenhouse-like environment that helps retain moisture and warmth.
- Provide adequate light and warmth: Place the containers in a warm and well-lit area, such as a south-facing window or under grow lights. Most vegetable seeds require temperatures between 65°F and 75°F (18°C and 24°C) for optimal germination.
- Water the seedlings: Keep the seed starting mix consistently moist but not soggy. Water gently from the bottom by placing the containers in a tray of water and allowing the mix to soak up the moisture.
- Thin out seedlings: Once the seedlings have emerged and developed their first true leaves, thin them out to provide enough space for growth. Choose the healthiest and strongest seedlings, and snip off the extras at soil level.
- Harden off the seedlings: As the seedlings grow, gradually expose them to outdoor conditions to acclimate them. Start by placing them outdoors in a sheltered and shaded area for a few hours a day, gradually increasing the time and intensity of exposure over the course of a week or two.
Starting seeds indoors allows you to extend your growing season and gives your plants a healthy head start. Remember to maintain proper moisture levels, provide adequate light, and gradually transition your seedlings to the outdoor environment. By following these steps, you’ll have robust and ready-to-transplant seedlings for your garden.
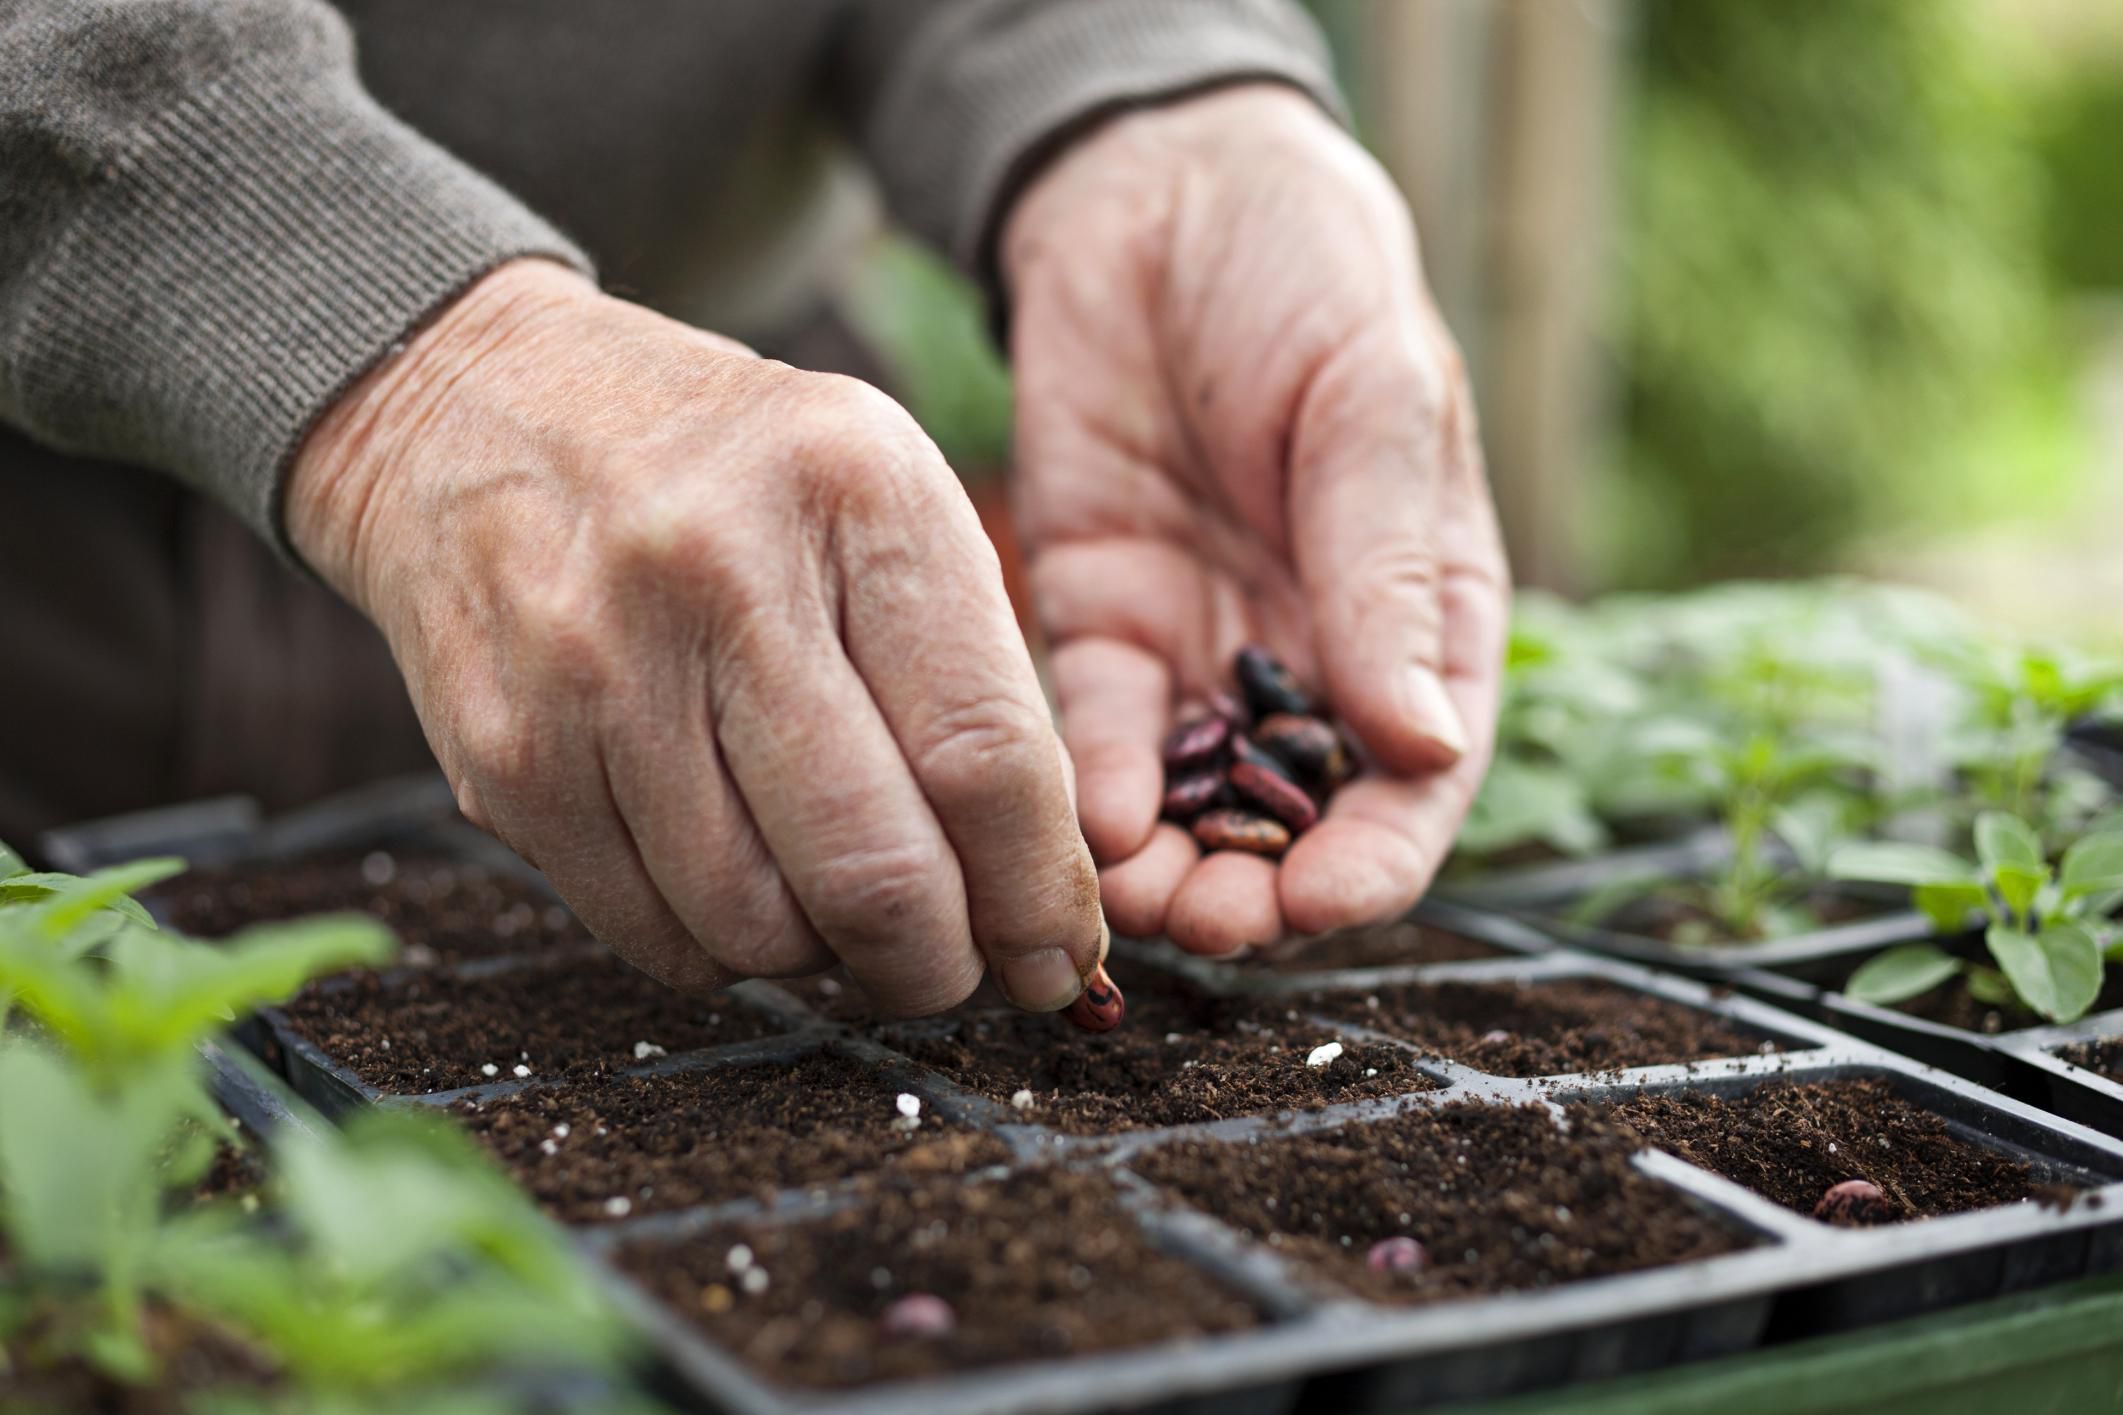
Direct Seeding Outdoors
Direct seeding outdoors is the process of sowing seeds directly into the garden soil, bypassing the need for indoor seed starting. This method is suitable for certain vegetables that prefer to be directly planted in the ground. Here are the steps to successfully direct seed your vegetables outdoors:
- Choose the right time: Before direct seeding, it’s important to wait until the soil has warmed up and all chances of frost have passed. Refer to the recommended planting dates for each vegetable variety to ensure optimal conditions.
- Prepare the soil: Ensure that the soil is well-prepared by removing any weeds, rocks, or debris. Loosen the soil and break up any large clumps to create a fine and crumbly seedbed.
- Read the seed packet: Each seed packet contains valuable information about the specific requirements of the vegetable variety. Pay attention to the recommended planting depth, spacing, and any special considerations.
- Sow the seeds: Dig shallow trenches or individual holes in the prepared soil, following the recommended spacing for each vegetable. Place the seeds in the trenches or holes, cover them with soil, and gently firm the area to ensure good seed-to-soil contact.
- Water the seeds: After sowing the seeds, water the area thoroughly to help settle the soil and initiate germination. Use a gentle spray or a watering can with a fine rose attachment to avoid displacing the seeds.
- Provide ongoing care: Monitor the soil moisture regularly and water as needed to keep the seeds and emerging seedlings hydrated. Be cautious not to overwater, as excessive moisture can lead to rot or disease.
- Thin out the seedlings: As the seedlings emerge and grow, thin them out to ensure proper spacing. Follow the recommended spacing guidelines on the seed packet to allow each plant enough room to develop fully.
- Protect from pests and diseases: Keep an eye out for common pests and diseases that may affect your vegetable plants. Implement organic pest control methods, such as companion planting or the use of natural repellents, to protect your crops.
Direct seeding is an efficient method for certain vegetables that have a shorter growing season or are sensitive to transplanting. It allows the seeds to establish roots directly in the desired location and can save time and effort compared to indoor seed starting.
Remember to provide consistent moisture, protect your seeds from pests and diseases, and follow proper spacing guidelines for successful direct seeding outdoors.
Transplanting Seedlings
Transplanting seedlings is an important step in the process of growing vegetables, as it allows you to move young plants from their initial indoor or outdoor sowing location to their final garden positions. This gives the seedlings more space to grow, access to more nutrients, and better chances of survival. Follow these steps for successful transplanting of your seedlings:
- Timing is key: Wait until the seedlings have developed their first set of true leaves and have grown to a suitable size for transplanting. This typically takes 4-6 weeks from the time of sowing.
- Choose the right location: Select a planting location that aligns with the specific light, soil, and spacing requirements of the vegetable variety. Consider factors such as sunlight exposure, soil moisture, and proximity to other plants.
- Prepare the soil: Clear the planting area of any weeds or debris and prepare the soil by loosening it with a garden fork or a tiller. Incorporate compost or aged manure to improve soil fertility and structure.
- Water the seedlings: Before transplanting, water the seedlings thoroughly to ensure they are well-hydrated. This minimizes stress on the roots during the transplanting process.
- Dig holes or trenches: Dig holes or trenches in the prepared soil, spacing them according to the recommended spacing guidelines for the specific vegetable variety. The depth and width of the hole should accommodate the root ball of the seedling.
- Carefully remove seedlings: Gently remove each seedling from its container, being careful not to damage the fragile roots. If the seedlings are tightly packed, carefully separate them to avoid any tangles or entanglements.
- Plant seedlings: Place each seedling in the prepared hole or trench, ensuring that the soil level around the stem matches the level it was previously growing in. Press the soil gently around the roots to secure the seedling in place.
- Water and mulch: After transplanting, water the seedlings deeply to settle the soil and provide moisture to the roots. Apply a layer of organic mulch, such as straw or wood chips, around the base of the plants to help retain moisture and suppress weeds.
- Monitor and care for transplants: Regularly monitor the transplanted seedlings for signs of stress, such as wilting or yellowing leaves. Keep the soil evenly moist and protect the plants from extreme weather conditions, such as strong winds or heatwaves.
Transplanting seedlings can be a delicate process, so take your time and handle the plants with care. Providing proper aftercare, including watering, mulching, and monitoring, is crucial for the healthy establishment of your transplants in the garden.
Protecting Your Vegetable Garden from Frost
Frost can be a significant threat to your vegetable garden, especially in regions with cooler climates like Ontario. Late spring frosts or early fall frosts can damage or even kill tender plants. Protecting your garden from frost is essential to preserve your hard work and ensure a successful harvest. Here are some methods to safeguard your vegetable garden from frost:
- Monitor weather forecasts: Stay informed about upcoming frost events by regularly checking weather forecasts specific to your area. This will allow you to take necessary preventive measures in a timely manner.
- Use row covers: Floating row covers, made of lightweight fabric, act as a barrier between your plants and the cold air. Secure the covers over your garden beds, providing a protective shield against frost while still allowing light and moisture to penetrate.
- Invest in cloches: Cloches are individual protective covers that can be placed over individual plants or small groupings. They act as mini greenhouses, trapping heat and sheltering the plants from frost.
- Utilize cold frames: Cold frames are enclosed structures with transparent tops that capture and retain heat. Place potted or transplanted seedlings inside the cold frame for added protection from frost.
- Apply mulch: A layer of organic mulch, such as straw or wood chips, can insulate the soil and protect the plant roots from frost. Apply a thick layer around the base of the plants, extending a few inches out from the stem.
- Water the plants: Wet soil retains heat better than dry soil. Water your plants thoroughly a day or two before an expected frost to help the soil retain warmth and provide some insulation to the roots.
- Consider heat sources: In extreme cases, you can use heat sources like incandescent bulbs, Christmas lights, or even small heaters to provide extra warmth within protective structures like cold frames or row covers. However, exercise caution to prevent any fire hazards.
- Plant frost-resistant varieties: When choosing vegetable varieties, look for those that are labeled as frost-resistant or cold-hardy. These varieties are more likely to withstand frost and continue to thrive even in cooler temperatures.
Remember that protection from frost is not guaranteed, but employing these preventive measures can greatly increase the chances of your vegetable garden surviving and thriving through frosty conditions. Always be prepared and adjust your protective strategies based on the severity of the forecasted frost.
Harvesting and Maintaining Your Vegetable Garden
After weeks of nurturing your vegetable garden, it’s time to reap the rewards of your hard work. Harvesting your crops at the right time ensures the best flavor and nutritional value. Additionally, consistent garden maintenance throughout the growing season ensures healthy plant growth and minimizes the risk of pests and diseases. Here are some essential tips for harvesting and maintaining your vegetable garden:
- Harvesting: Harvest your vegetables when they are at their peak ripeness. This varies depending on the vegetable, so consult seed packets or gardening resources for specific harvest times. Use sharp scissors or pruners to avoid damaging the plants and handle the harvested produce with care.
- Deadheading and pruning: Regularly remove spent flowers and prune back any diseased or damaged plant parts. This encourages healthy growth and directs the plant’s energy toward producing more fruits or vegetables.
- Weeding: Stay on top of weed control by regularly removing any unwanted plants that compete with your vegetables for nutrients, water, and sunlight. Use hand tools or cultivate shallowly around your plants to avoid damaging the roots.
- Watering: Consistent watering is crucial for a healthy garden. Water deeply and thoroughly, aiming for the base of the plants to promote deep root growth. Mulching around your plants helps retain moisture and reduces weed competition.
- Fertilizing: Keep your plants well-nourished by providing them with regular feedings. Choose organic or slow-release fertilizers to avoid overloading the soil with excessive nutrients. Follow the recommended application rates and timing as indicated on the product packaging.
- Pest and disease management: Monitor your plants for signs of pests or diseases, such as holes in leaves or unusual discoloration. Employ organic pest control methods, such as handpicking insects, using insecticidal soaps or sprays, or introducing beneficial insects to control pests naturally.
- Succession planting: Extend your harvest season by practicing succession planting. After harvesting a crop, replant the area with a new batch of seeds or seedlings to ensure a continuous supply of fresh vegetables.
- Record keeping: Maintain a garden journal or record your observations and experiences throughout the gardening season. Note which varieties performed well, any challenges faced, and new techniques or ideas to try in future seasons. This will help you learn from your experiences and improve your gardening skills.
Maintaining your vegetable garden requires regular attention and care. By staying vigilant, addressing issues promptly, and implementing proper maintenance, you can enjoy a flourishing garden with an abundant and delicious harvest.
Conclusion
Congratulations! You’ve now gained valuable insights into the world of seasonal gardening in Ontario. Armed with knowledge about the region’s climate, choosing the right vegetables, soil preparation, seed starting, and garden maintenance, you are well-equipped to embark on a successful gardening journey.
By understanding Ontario’s climate and its unique challenges, you can make informed decisions about when and what to plant. Consider the frost dates, rainfall patterns, and microclimates in your area to maximize your garden’s potential.
Choosing the right vegetables suitable for Ontario’s climate ensures that you grow healthy and productive plants. Remember to diversify your selection to enjoy a variety of fresh produce throughout the growing season.
Proper soil preparation is the foundation of a successful garden. Take the time to clear the area, test and improve the soil’s fertility, and create a suitable environment for your plants to thrive.
Whether you choose to start seeds indoors or directly sow them in the garden, following the appropriate techniques will result in strong and healthy seedlings. Transplanting seedlings with care and protecting your garden from frost are essential steps in ensuring their survival and growth.
To maintain a thriving garden, practice regular harvesting, maintenance, and pest control. Keep an eye on your plants, provide adequate water and fertilizer, and address any challenges that arise promptly.
Remember, gardening is a continuous learning process. Each season brings new experiences and opportunities to refine your skills. Enjoy the journey, stay curious, and adapt your techniques to the unique needs of your garden.
Now it’s time to put your newfound knowledge into practice and start growing your own vegetable garden in Ontario. Get your hands dirty, relish the joy of watching your plants grow, and savor the delicious harvest that your hard work will yield. Happy gardening!