Home>Gardening Tips and Tricks>How To Fix A Wet Backyard
Gardening Tips and Tricks
How To Fix A Wet Backyard
Modified: February 8, 2024
Learn effective problem-solving techniques to fix a wet backyard and enjoy a dry outdoor space. Resolve water drainage issues with expert tips and DIY solutions.
(Many of the links in this article redirect to a specific reviewed product. Your purchase of these products through affiliate links helps to generate commission for Chicagolandgardening.com, at no extra cost. Learn more)
Table of Contents
Introduction
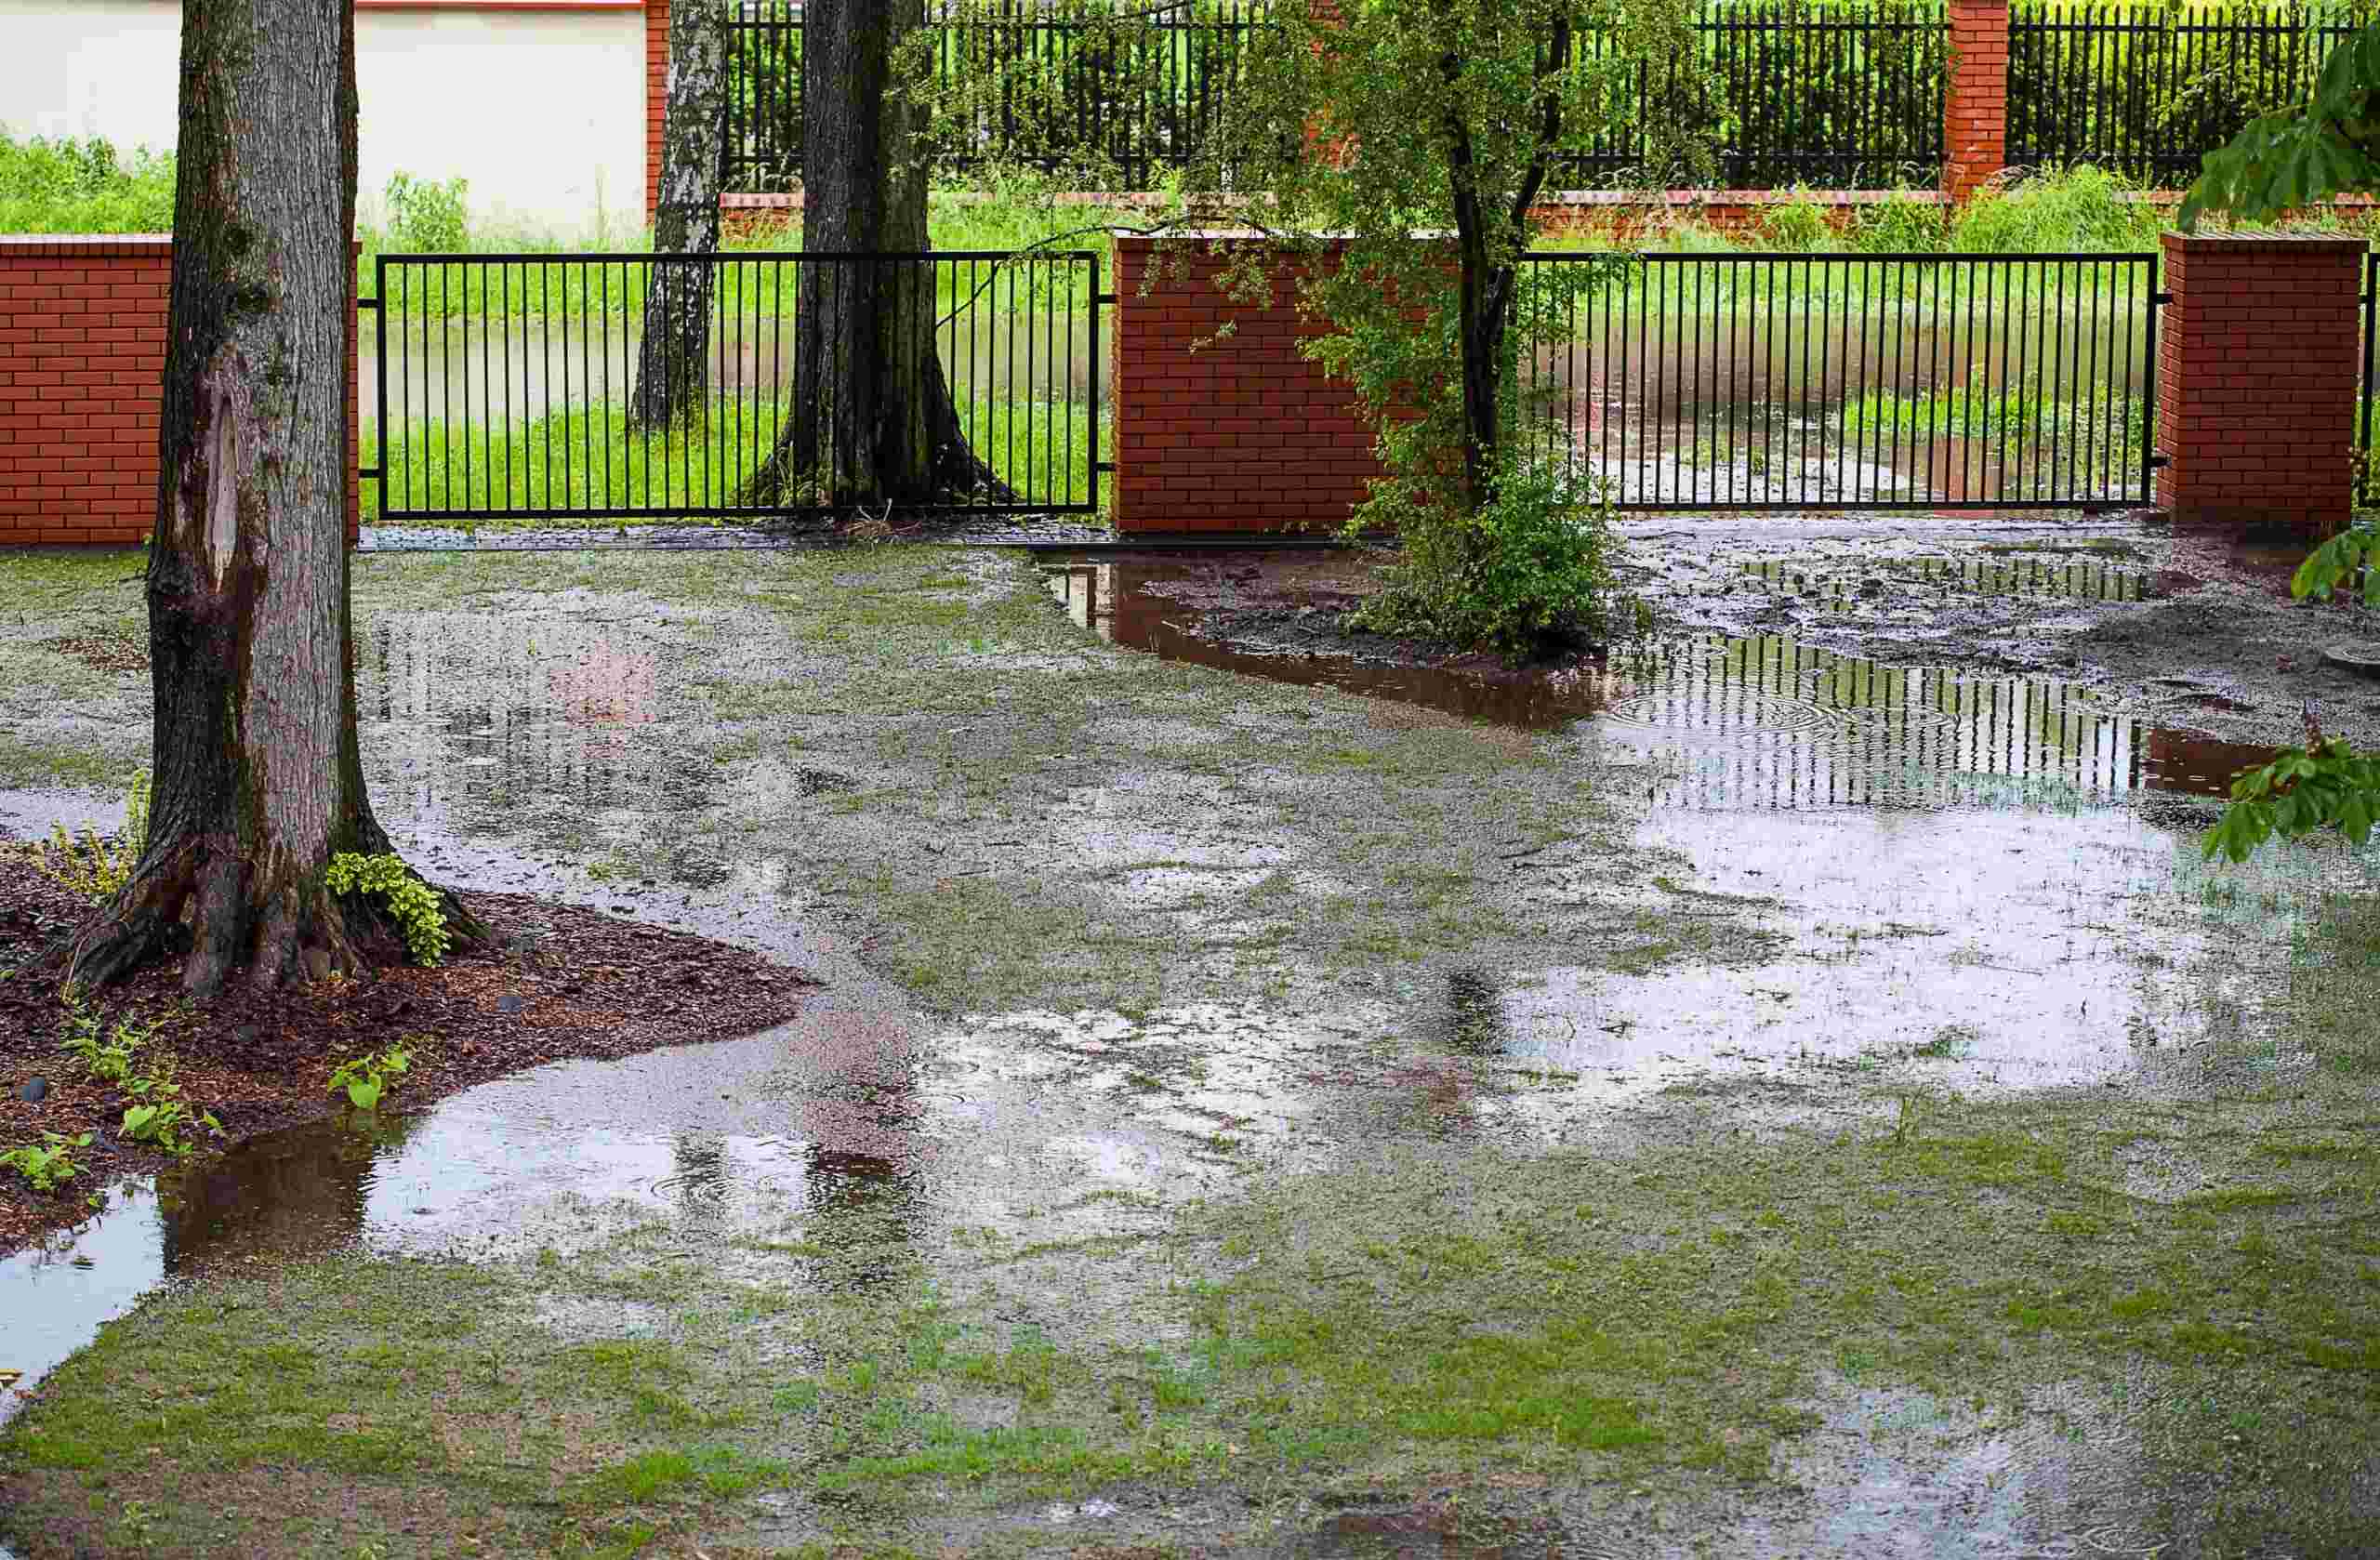
Welcome to our comprehensive guide on how to fix a wet backyard. If you’ve been experiencing persistent puddles, soggy soil, or waterlogged grass in your backyard, you know how frustrating and inconvenient it can be. Not only can excess water damage your landscaping and outdoor structures, but it can also create a breeding ground for mosquitos and other pests.
Fortunately, there are several steps you can take to improve drainage and alleviate the wetness. In this article, we will walk you through a series of solutions designed to tackle the root causes of a wet backyard. By following these steps, you can transform your waterlogged outdoor space into a beautiful and functional area that you can enjoy all year round.
Whether your backyard is situated in an area prone to heavy rainfall, or you’ve noticed a sudden increase in water accumulation, addressing the problem promptly is crucial. Neglecting the issue can lead to long-term damage and expensive repairs.
Before we dive into the specific methods to fix a wet backyard, it’s essential to assess the water source and identify the underlying cause of the excessive moisture. This initial analysis will help you determine the most effective solutions and prevent potential future issues.
So, without further ado, let’s get started on diagnosing and resolving your wet backyard woes!
Step 1: Assess the Water Source
Before you can effectively fix a wet backyard, it’s important to assess the source of the excess water. By identifying the main water source, you can better understand the underlying problem and implement the appropriate solutions.
Here are a few common sources to consider:
- Rainfall: Determine if your backyard is receiving an excessive amount of rainfall. If you live in an area with heavy precipitation, it’s possible that the wetness is simply due to natural factors.
- Groundwater: Groundwater can cause wetness in your backyard, especially if you live in an area with a high water table. Check if there are any signs of water bubbling up from the ground or seeping in from nearby areas.
- Irrigation System: If you have an irrigation system, ensure that it’s functioning properly and not overwatering your yard. Leaks or improper sprinkler positioning can lead to excessive water accumulation.
- Neighboring Properties: Consider if water from neighboring properties is flowing onto your yard. This can occur if your yard is situated at a lower elevation or if your neighbors have poor drainage systems.
Once you have identified the main water source, you can move forward with implementing targeted solutions to address the problem. For example, if excessive rainfall is the cause, you may need to focus on improving drainage and incorporating features that effectively redirect water away from your yard.
Keep in mind that multiple factors can contribute to a wet backyard, so it’s important to consider all possible sources. By assessing the water source, you will have a solid foundation for tackling the issue and finding the most appropriate solutions.
Step 2: Determine the Cause of the Wetness
After assessing the water source, the next step in fixing a wet backyard is to determine the specific cause of the excess moisture. Understanding the root cause will allow you to implement targeted solutions that address the underlying issue.
Here are a few common causes of a wet backyard:
- Poor drainage: Inadequate drainage is one of the most common culprits for a wet backyard. It can be caused by factors such as compacted soil, improper grading, or the absence of effective drainage systems.
- Low-lying yard: If your yard is in a low-lying area, it may naturally accumulate water. Water tends to flow towards the lowest point, so a depressed or sunken yard can easily become waterlogged.
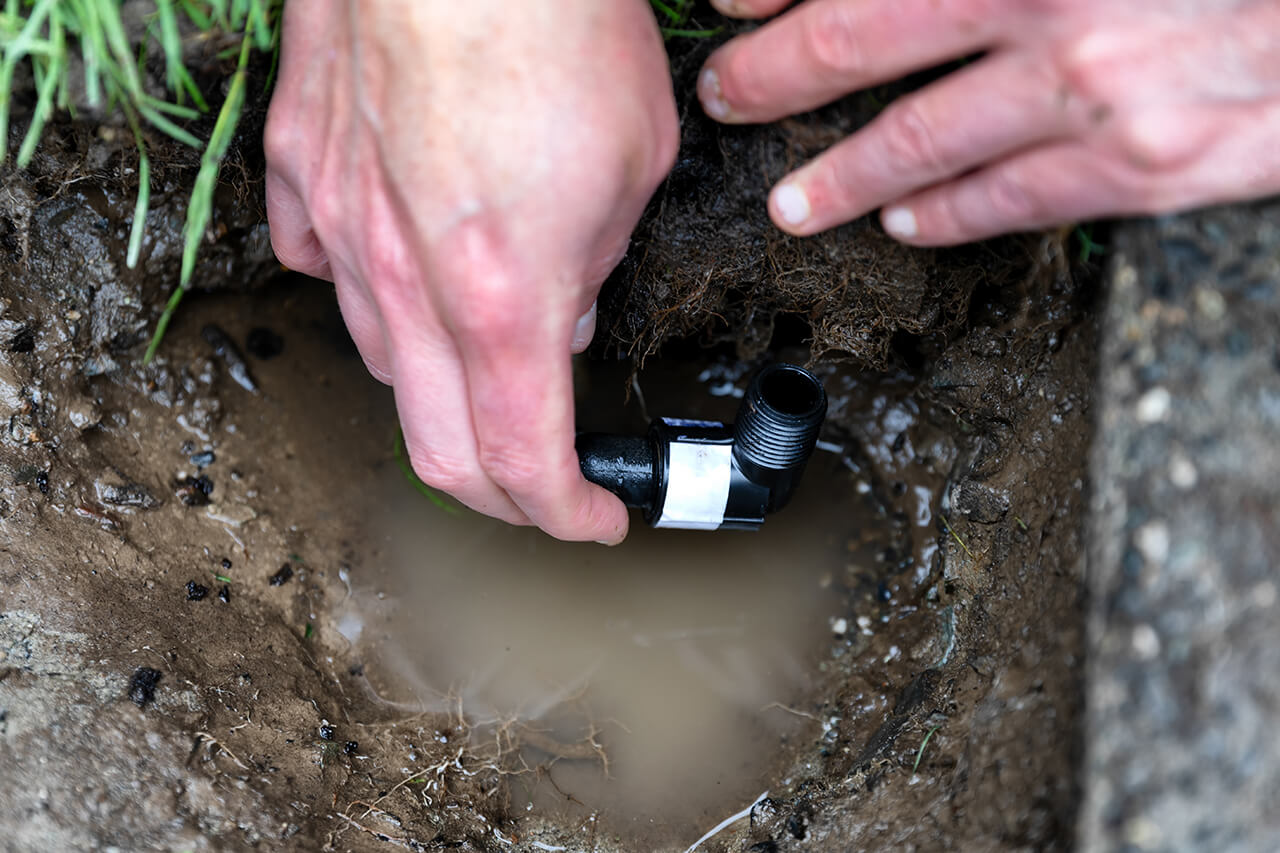
- Leaking pipes or sewer lines: Faulty plumbing or damaged sewer lines can cause water to accumulate in your yard. If you suspect a leak, it’s important to have it repaired promptly by a professional.
- Natural springs or underground water: Some areas have natural springs or high water tables, which can result in persistent wetness. Identifying these natural factors will help determine the best course of action.
To determine the cause of the wetness, observe your yard after rainfall or irrigation and look for any patterns. Examine the terrain, check for signs of standing water or soggy soil, and inspect your property’s infrastructure for any leaks or damage.
In some cases, it may be necessary to consult with a landscaping professional or a plumber to identify the exact cause of the wetness. They can provide expertise and assistance in pinpointing the underlying issue and recommending appropriate solutions.
Remember, accurately determining the cause of the wetness is essential for effective problem-solving. It ensures that you address the root problem rather than merely treating the symptoms.
Step 3: Improve Drainage
Once you have assessed the water source and determined the cause of the wetness in your backyard, the next step is to improve drainage. Good drainage is essential for redirecting excess water away from your yard, preventing water accumulation, and maintaining a dry and healthy outdoor space.
Here are a few effective methods to improve drainage:
- Grade your yard: Properly grading your yard can significantly improve drainage. Ensure that the ground slopes away from your home and towards areas where water can safely flow, such as swales or drainage ditches.
- Install a trench drain: A trench drain, also known as a channel drain, is a practical solution for collecting and redirecting water. It consists of a shallow trench with a long, narrow grate on top, allowing water to flow into an underground pipe or a designated drainage area.
- Create a dry creek bed: A dry creek bed is not only aesthetically pleasing but also serves as a functional drainage solution. It mimics the appearance of a natural creek with rocks and gravel, providing a path for water to flow through your yard.
- Use catch basins or rain barrels: Installing catch basins or rain barrels can help capture excess water and prevent it from pooling in your yard. These devices collect run-off and allow you to redirect the water for various uses, such as watering plants or draining it away from your property.
- Consider subsurface drainage: In some cases, subsurface drainage systems may be necessary to effectively manage excess water. French drains, for instance, are underground trenches filled with gravel and a perforated pipe that divert water away from your yard.
Implementing these drainage solutions will help ensure that water flows away from your yard, reducing the wetness and preventing potential damage. It’s important to choose the most suitable methods based on your specific yard conditions, budget, and the severity of the drainage issue.
Remember, improving drainage is an ongoing process, and regular maintenance is necessary to ensure its effectiveness. Clearing any debris or obstructions from drainage channels and inspecting your systems periodically will help keep your yard dry and problem-free.
Step 4: Install a French Drain
If you’re dealing with persistent water accumulation in your backyard, installing a French drain can be an effective solution. A French drain is a trench filled with gravel or rock and a perforated pipe that redirects water away from your property.
Here are the steps to install a French drain:
- Plan the drainage path: Determine the route where you want the drain to direct the water. It should slope away from your yard and towards a suitable drainage area or an existing stormwater system.
- Excavate the trench: Dig a trench along the planned path, ensuring it has a slight downward slope to facilitate water flow. The size of the trench will depend on the volume of water you need to handle.
- Add landscape fabric: Line the trench with landscape fabric to prevent soil and debris from clogging the drain over time. This will help maintain the effectiveness of the drainage system.
- Add gravel and the perforated pipe: Fill the trench with a layer of gravel or rock, and place the perforated pipe on top. The pipe should have holes facing downward to allow water to enter.
- Add more gravel: Cover the pipe with more gravel, ensuring it is evenly distributed and that there are no gaps or spaces between the rocks.
- Cover the trench: Once the pipe and gravel are in place, cover the trench with the excavated soil or sod, ensuring that the surface is level and blends seamlessly with the surrounding area.
- Maintain the drain: Inspect and clean the French drain regularly to prevent any clogs or blockages. Clear any debris or sediment that may accumulate over time.
A French drain is an effective way to channel excess water away from your yard, preventing waterlogging and potential damage to your property. It can be a particularly beneficial solution for areas with high groundwater levels or heavy rainfall.
Remember, if you’re unsure about installing a French drain or want to ensure its proper functionality, consult with a professional landscaper or drainage expert. They can provide valuable guidance and ensure that the French drain is installed correctly to effectively address your wet backyard issue.
Step 5: Build a Rain Garden
If you’re looking for a natural and visually appealing solution to address a wet backyard, building a rain garden can be a great option. A rain garden is a strategically designed and planted area that collects and absorbs excess rainwater, allowing it to naturally infiltrate into the ground.
Here are the steps to build a rain garden:
- Select the location: Choose an area in your yard that receives the most water accumulation or is near a downspout. Ideally, the rain garden should be located away from your home’s foundation.
- Determine the size and shape: Decide on the dimensions and shape of your rain garden based on the available space and the amount of water you need to manage. A shallow bowl-shaped depression is commonly used for rain gardens.
- Excavate the area: Dig out the determined area to create the depression for your rain garden. The depth should vary, with the deepest part in the center and gradually sloping towards the edges.
- Amend the soil: Mix in compost or other organic materials to improve the soil’s drainage and water retention capabilities. This will help create the ideal growing conditions for the plants in your rain garden.
- Select and plant appropriate plants: Choose native plants that are well-adapted to your local climate and can withstand both wet and dry conditions. Opt for plants with deep root systems that can effectively absorb water, stabilize the soil, and enhance biodiversity.
- Mulch and maintain: Apply a layer of mulch around the planted area to help retain moisture and reduce weed growth. Regularly maintain the rain garden by watering as needed, removing invasive plants, and ensuring that it remains free of debris.
A rain garden not only helps manage excess water but also provides habitat for beneficial insects, birds, and other wildlife. It adds visual interest to your yard and contributes to the overall ecological balance of your outdoor space.
When designing and building a rain garden, it’s helpful to consult with a landscaping professional or local extension service to ensure the best outcomes. They can provide guidance on plant selection, garden design, and the specific needs of your region.
By incorporating a rain garden into your backyard, you can effectively manage water runoff, reduce erosion, and contribute to a more sustainable and beautiful outdoor environment.
Step 6: Use Gravel or Permeable Paving
If you’re looking for a practical and visually appealing solution to combat a wet backyard, using gravel or permeable paving can help improve drainage and reduce water accumulation.
Here’s how you can incorporate gravel or permeable paving:
- Prepare the area: Determine the specific area in your backyard where you want to address the wetness. This could be a pathway, patio, or a section of the yard that collects excess water.
- Remove existing materials: Clear the area by removing existing materials such as concrete, asphalt, or conventional paving stones.
- Level the surface: Ensure the surface is level and properly graded to facilitate water flow.
- Add a base layer: Install a base layer of crushed stone or gravel to provide stability and enhance drainage. This layer should be compacted to create a solid foundation.
- Choose your material: Decide whether to use gravel or permeable paving stones for the top layer. Gravel is a cost-effective and low-maintenance option, while permeable pavers allow water to infiltrate through the gaps between the stones.
- Lay the materials: Install the chosen material evenly across the prepared area, ensuring a consistent thickness and a smooth finish.
- Maintain the surface: Regularly inspect and maintain the gravel or permeable paving by removing debris and preventing the buildup of sediment or weeds. This will ensure optimal water permeability and a clean appearance.
Gravel and permeable paving allow water to drain through the surface, preventing runoff and reducing the risk of water pooling in your yard. These options are especially beneficial for walkways, driveways, and patio areas, as they offer a permeable surface that is both functional and visually appealing.
When choosing materials, consider factors such as durability, aesthetics, and the specific needs of your yard. Consulting with a landscaping professional can provide valuable insights and recommendations for the best gravel or permeable paving options for your wet backyard.
By incorporating gravel or permeable paving, you can transform your outdoor space into a stylish and well-drained area that minimizes the effects of excess water.
Step 7: Install a Dry Well
If you’re dealing with a consistently wet backyard, installing a dry well can be an effective solution to manage excess water. A dry well is an underground chamber that collects and temporarily stores water, allowing it to slowly infiltrate into the surrounding soil.
Here’s how to install a dry well:
- Choose the location: Select a suitable location in your yard for the dry well. It should be positioned in a low-lying area where water tends to collect.
- Excavate the hole: Dig a hole at the chosen location that is large enough to accommodate the size of the dry well. Ensure that the hole is deep enough to allow for proper water storage.
- Place a layer of gravel: Add a layer of gravel at the bottom of the hole to facilitate drainage and prevent clogging.
- Install the dry well: Place the dry well, which is typically a pre-made plastic or concrete container, in the hole. Ensure that it is level and stable.
- Connect the inlet and outlet: Connect the inlet pipe from the surface to the dry well, allowing water to flow into the well. The outlet pipe should be connected to direct the excess water away from your yard.
- Backfill the hole: Fill the remaining space around the dry well with gravel or a mixture of gravel and soil. This will provide proper support and allow for water to easily enter the well.
- Maintain the dry well: Regularly inspect and maintain the dry well by clearing any debris or sediment that may accumulate. This will ensure its effectiveness in managing excess water.
A dry well serves as a temporary storage system for excess water, allowing it to slowly percolate into the ground over time. It helps alleviate water accumulation and prevents waterlogging in your yard.
Before installing a dry well, it’s important to check local regulations and obtain any necessary permits. Additionally, consulting with a professional landscaper can provide guidance on the appropriate size and design of the dry well for your specific needs.
By installing a dry well, you can effectively manage excess water, reduce the risk of water damage, and maintain a dry and functional backyard.
Step 8: Consider Landscaping Options
When it comes to fixing a wet backyard, considering landscaping options can be an effective way to not only address the issue but also enhance the overall aesthetics of your outdoor space. Strategic landscaping techniques can help improve drainage, promote better water infiltration, and create a visually pleasing environment.
Here are some landscaping options to consider:
- Choose appropriate plants: Select plants that are well-suited to wet conditions or have water-tolerant qualities. Native plants, wetland plants, and ornamental grasses are ideal choices as they thrive in moist environments.
- Create swales and berms: Swales are shallow channels that redirect and slow down the flow of water. By strategically placing swales and berms, you can guide excess water away from your yard or towards designated drainage areas.
- Build retaining walls: Retaining walls can help prevent soil erosion and control water flow. They are particularly useful in sloped areas where water tends to gather and run-off is a concern.
- Install rain barrels: Rain barrels are a sustainable solution that collects rainwater from your downspouts. You can use this water for irrigation purposes, reducing water runoff and alleviating pressure on drainage systems.
- Add mulch: Applying mulch around plants and in garden beds helps retain moisture and prevent excessive evaporation. It also reduces soil erosion and regulates soil temperature, promoting healthy plant growth.
- Create a bioswale: A bioswale is a landscaped ditch or depression designed to manage and filter stormwater runoff. It typically contains a variety of plants and materials that assist in water absorption and filtration.
- Consider a green roof or living wall: If you have a structure with a flat roof or vertical space, integrating a green roof or living wall can help absorb and retain rainwater, minimizing the impact of runoff.
When incorporating landscaping options, it’s important to consider the specific needs and conditions of your yard. Consulting with a professional landscaper or landscape designer can provide valuable expertise and help you create a tailored landscaping plan for your wet backyard.
By implementing various landscaping techniques, you can not only address the wetness in your yard but also transform it into a beautiful and functional outdoor space that supports water management and enhances the overall appeal of your property.
Conclusion
Fixing a wet backyard can seem like a daunting task, but with the right approach and solutions, you can transform your waterlogged outdoor space into a dry and functional area that you can enjoy all year round.
By following the steps outlined in this comprehensive guide, you can effectively address the root causes of the wetness and implement targeted solutions to improve drainage. Assessing the water source and determining the cause of the wetness are crucial initial steps in understanding the scope of the problem and finding appropriate remedies.
From there, you can take action by improving drainage through proper grading, installing a French drain, or building a rain garden. Additionally, incorporating gravel or permeable paving and installing a dry well are effective methods to redirect excess water away from your yard.
Finally, considering landscaping options can not only help manage water accumulation but also enhance the visual appeal of your outdoor space. From selecting water-tolerant plants to creating swales and berms, the right landscaping techniques can play a vital role in resolving a wet backyard issue.
Remember, it’s important to tailor the solutions to your specific needs and consult with professionals if necessary. Expert guidance can ensure that you choose the most appropriate remedies and implement them correctly, leading to a successful transformation of your wet backyard.
So, don’t let a wet backyard dampen your outdoor enjoyment. With determination, planning, and the right solutions, you can create a dry, beautiful, and functional space that you can truly appreciate.