Home>Types of Gardening>Edible Gardening>How To Plant Basil Seedlings
Edible Gardening
How To Plant Basil Seedlings
Published: January 5, 2024
Learn how to plant basil seedlings and grow your own edible garden with our step-by-step guide. Discover the benefits of edible gardening today!
(Many of the links in this article redirect to a specific reviewed product. Your purchase of these products through affiliate links helps to generate commission for Chicagolandgardening.com, at no extra cost. Learn more)
Table of Contents
- Introduction
- Step 1: Gathering the necessary materials
- Step 2: Preparing the growing containers
- Step 3: Planting the basil seeds
- Step 4: Providing the right environment
- Step 5: Watering the seedlings
- Step 6: Transplanting the basil seedlings
- Step 7: Caring for the transplanted seedlings
- Step 8: Harvesting and using the basil leaves
- Conclusion
Introduction
Are you a gardening enthusiast looking to add some delicious flavor to your dishes? If so, you’ve come to the right place! Edible gardening is a fantastic way to bring nature’s bounty right to your doorstep, and one plant that should definitely be on your list is basil. Known for its enticing aroma and versatile use in various culinary creations, basil is a must-have herb for any kitchen.
Whether you’re a seasoned gardener or a beginner with a green thumb, this comprehensive guide will walk you through the process of planting basil seedlings. From gathering the necessary materials to caring for the transplanted seedlings, you’ll learn all the essential steps to ensure a successful basil harvest.
As you embark on this gardening adventure, remember that basil requires the right environment and care to thrive. By providing the optimal growing conditions and following our step-by-step instructions, you’ll soon be enjoying a fresh and abundant supply of aromatic basil leaves.
So, get ready to dig in and discover the secrets to growing your very own basil plants. Let’s dive into the world of edible gardening and learn how to plant basil seedlings!
Step 1: Gathering the necessary materials
Before you begin planting basil seedlings, it’s essential to gather all the necessary materials to ensure a smooth and successful gardening experience. Here’s a list of what you’ll need:
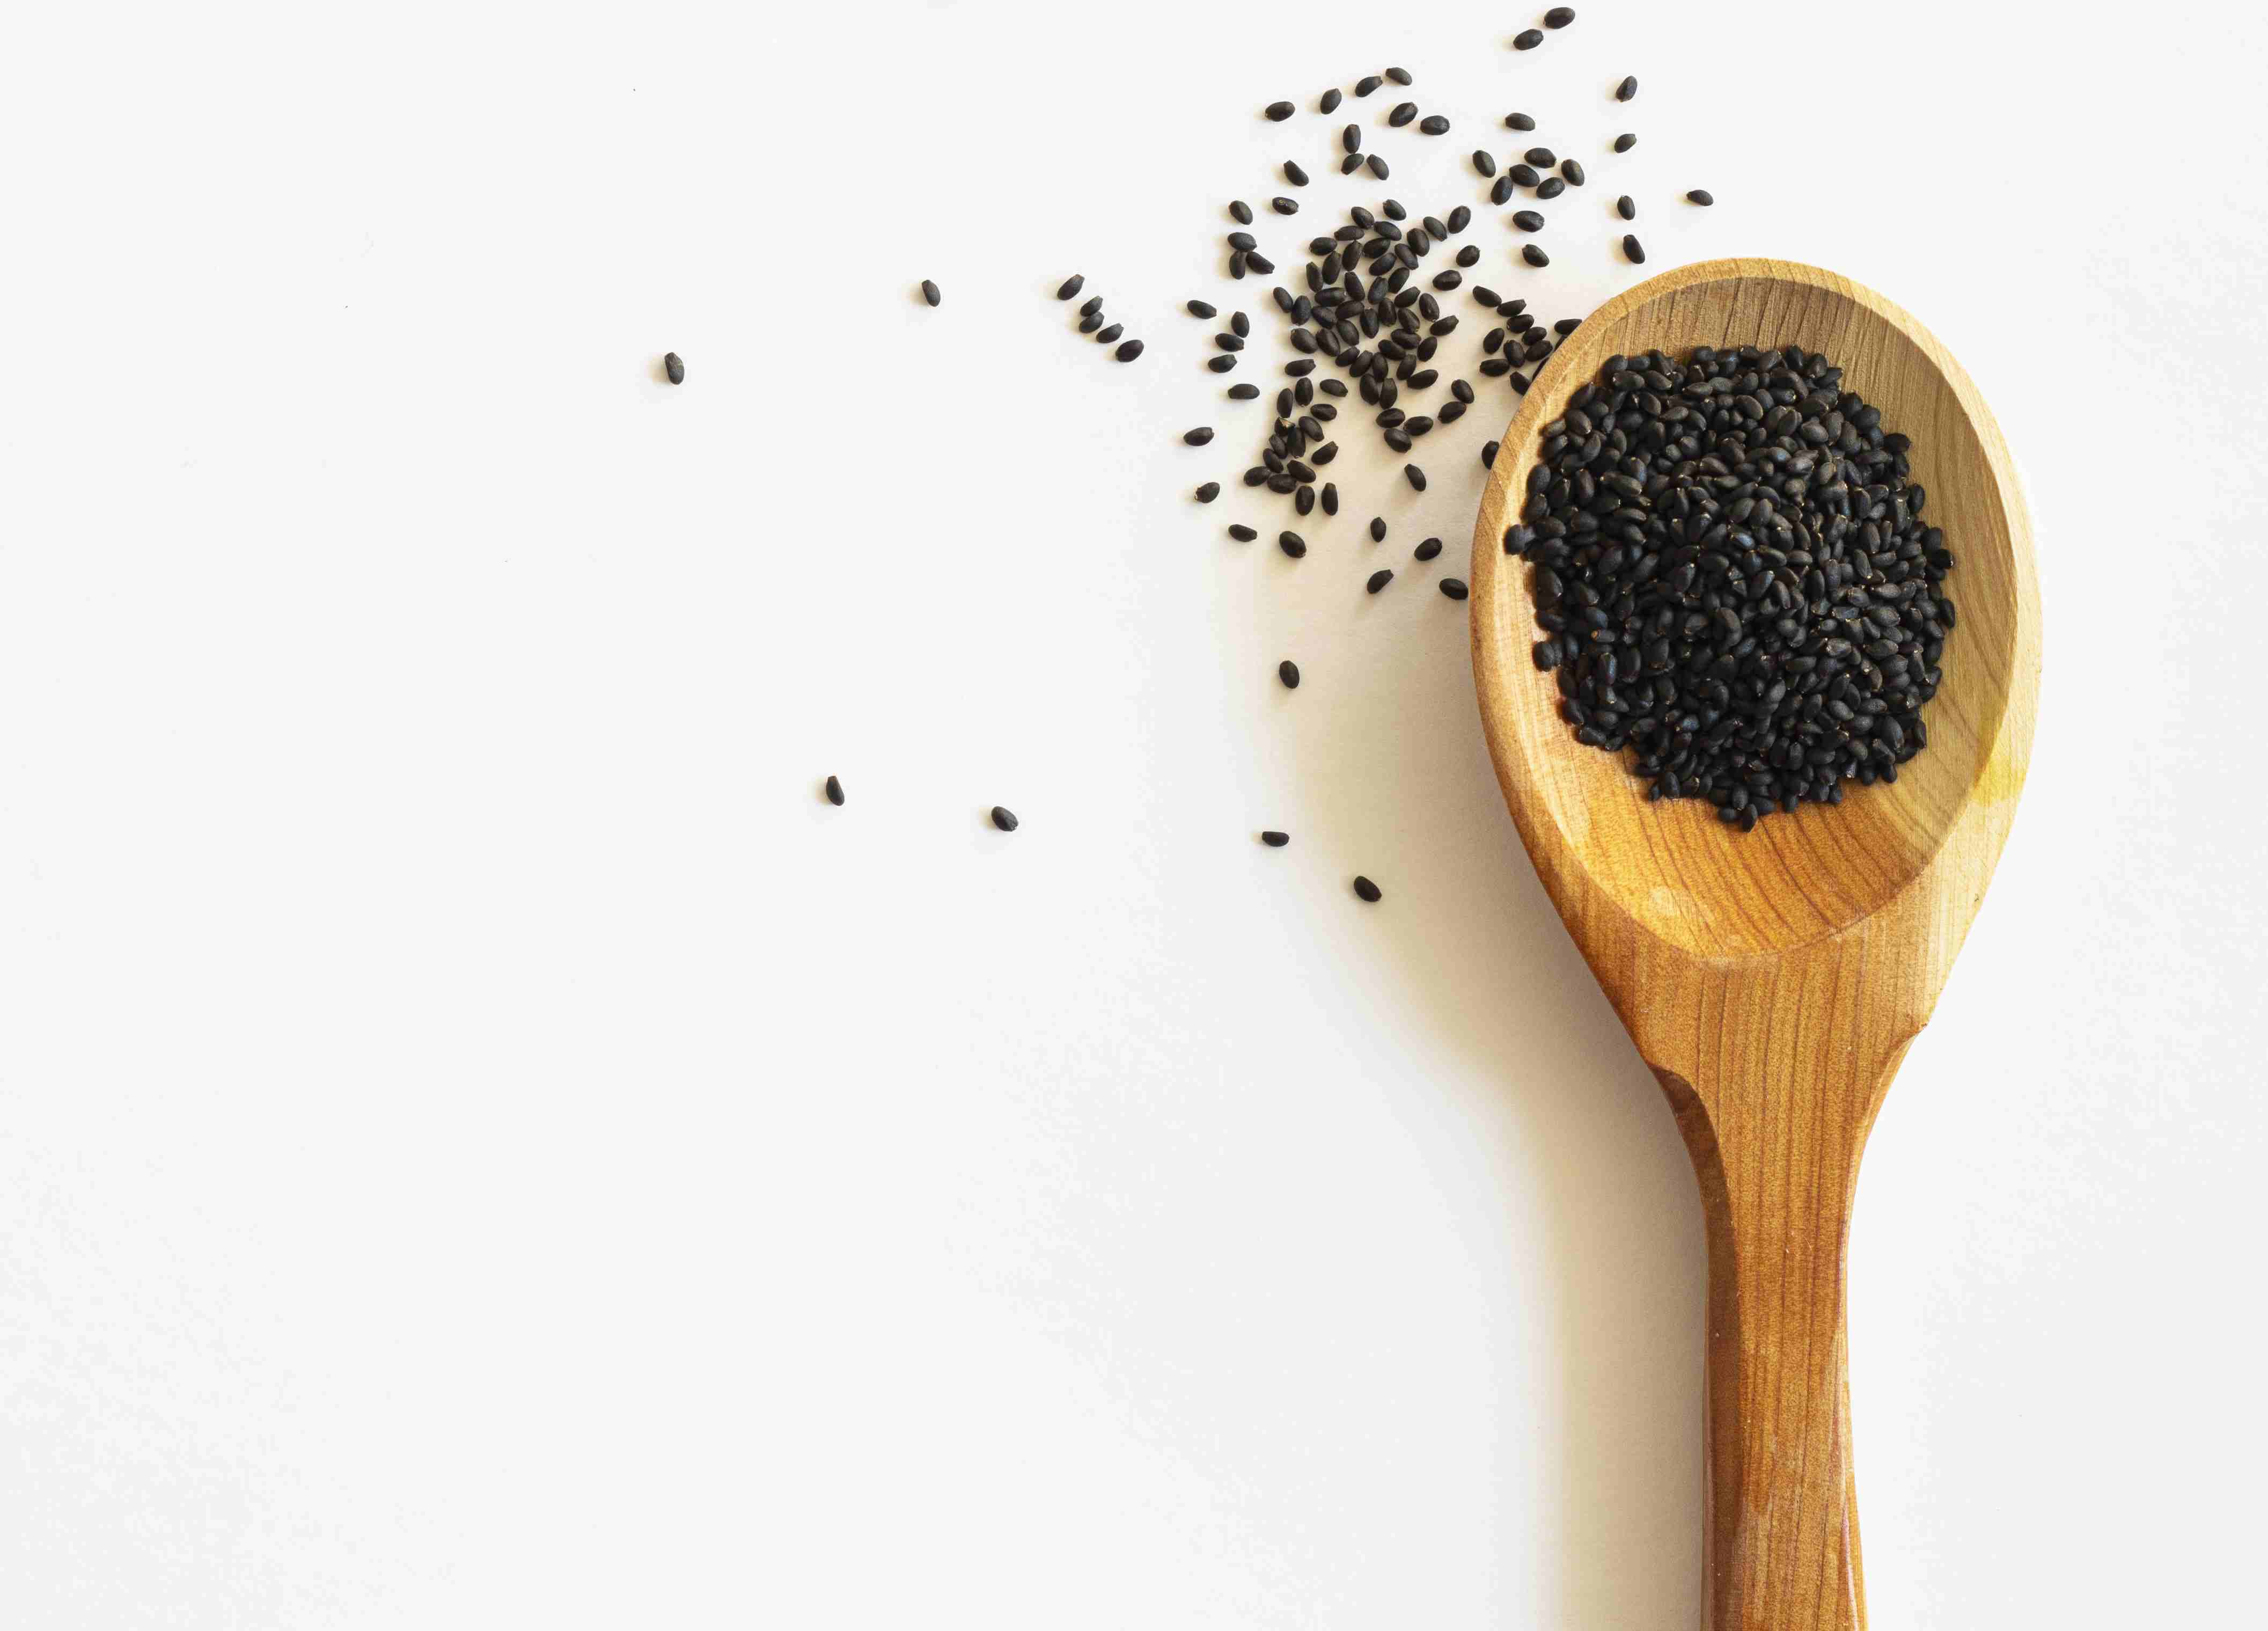
- Basil seeds: Start by acquiring high-quality basil seeds from a reputable source. Choose a variety that suits your taste and culinary preferences, such as sweet basil, Thai basil, or lemon basil.
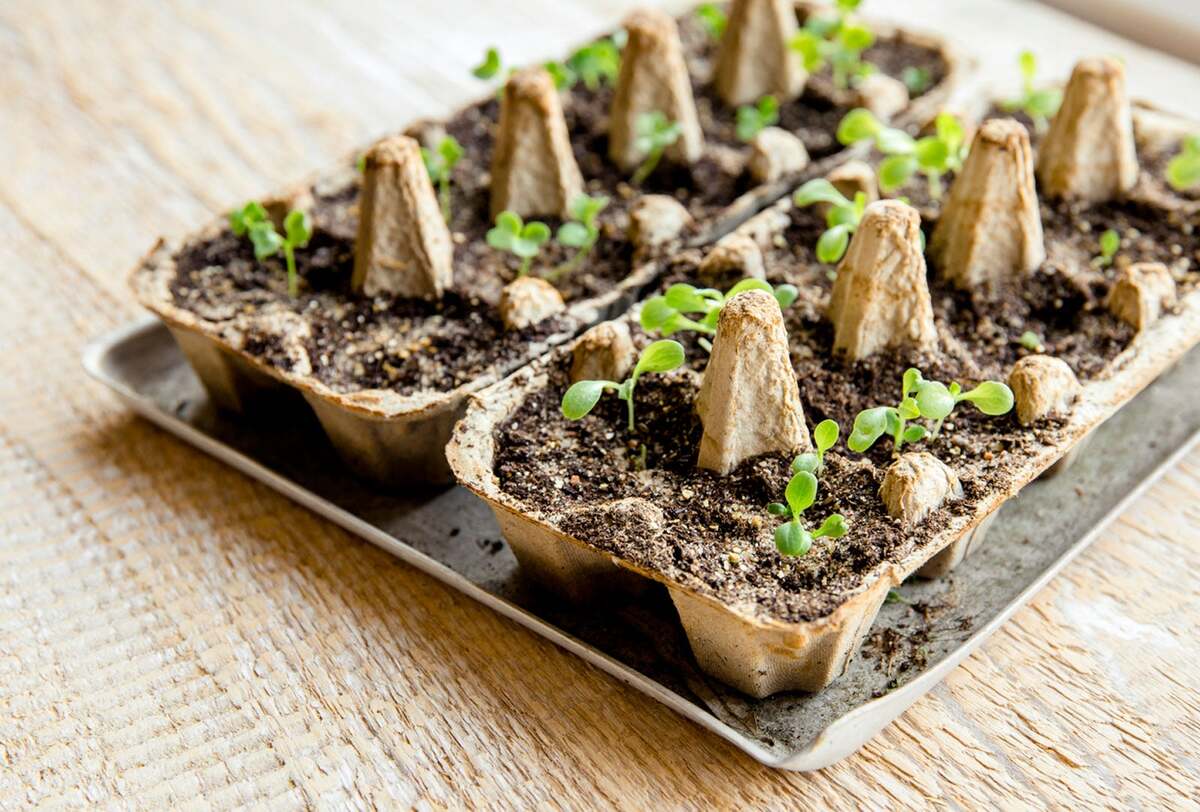
- Growing containers: Select suitable containers for starting your basil seedlings. You can use seed trays, small pots, or even recycled containers like egg cartons or yogurt cups. Ensure they have proper drainage holes to prevent waterlogging.
- Seed starting mix: Use a well-draining seed starting mix to provide optimal conditions for germination. Avoid using regular garden soil, as it may contain pathogens or be too heavy for delicate seedlings.
- Watering can or spray bottle: A watering can with a fine rose attachment or a spray bottle will help you gently moisten the soil without disturbing the seeds.
- Grow lights or sunny location: Basil seedlings require ample sunlight to thrive. If you don’t have access to a sunny location, invest in grow lights to provide the necessary artificial light for healthy growth.
- Water source: Ensure you have a reliable water source nearby to keep the seedlings hydrated throughout their growth.
- Fertilizer: While not obligatory, you may want to have a balanced organic fertilizer on hand to provide extra nutrients once the seedlings start to grow their true leaves.
- Garden tools: Keep essential garden tools like a small hand shovel, gardening gloves, and plant labels to make the planting process smooth and organized.
By gathering these essential materials, you are setting yourself up for success in successfully planting your basil seedlings. Now that you’re equipped with everything you need, let’s move on to the next step: preparing the growing containers.
Step 2: Preparing the growing containers
Now that you have gathered all the necessary materials, it’s time to prepare the growing containers for your basil seedlings. Follow these steps to create an optimal environment for their growth:
- Clean the containers: Start by ensuring that your chosen containers are clean and free from any dirt or debris. If you are reusing containers, wash them thoroughly with warm soapy water to remove any potential pathogens.
- Add drainage holes: If your containers do not have pre-drilled drainage holes, carefully take a small drill or a hot nail and create a few holes in the bottom. Proper drainage is crucial to prevent waterlogging, which can lead to root rot.
- Fill the containers: Fill the containers with a well-draining seed starting mix, leaving about an inch of space at the top. Avoid compacting the soil too tightly, as this can hinder water penetration and root development.
- Moisten the soil: Before sowing the basil seeds, lightly moisten the soil with water. It should be damp but not soggy. Use a spray bottle or a watering can with a fine rose attachment to achieve the right level of moisture.
These simple steps will ensure that your growing containers provide the ideal conditions for your basil seedlings. With the containers ready, it’s time to move on to the exciting part- planting the basil seeds!
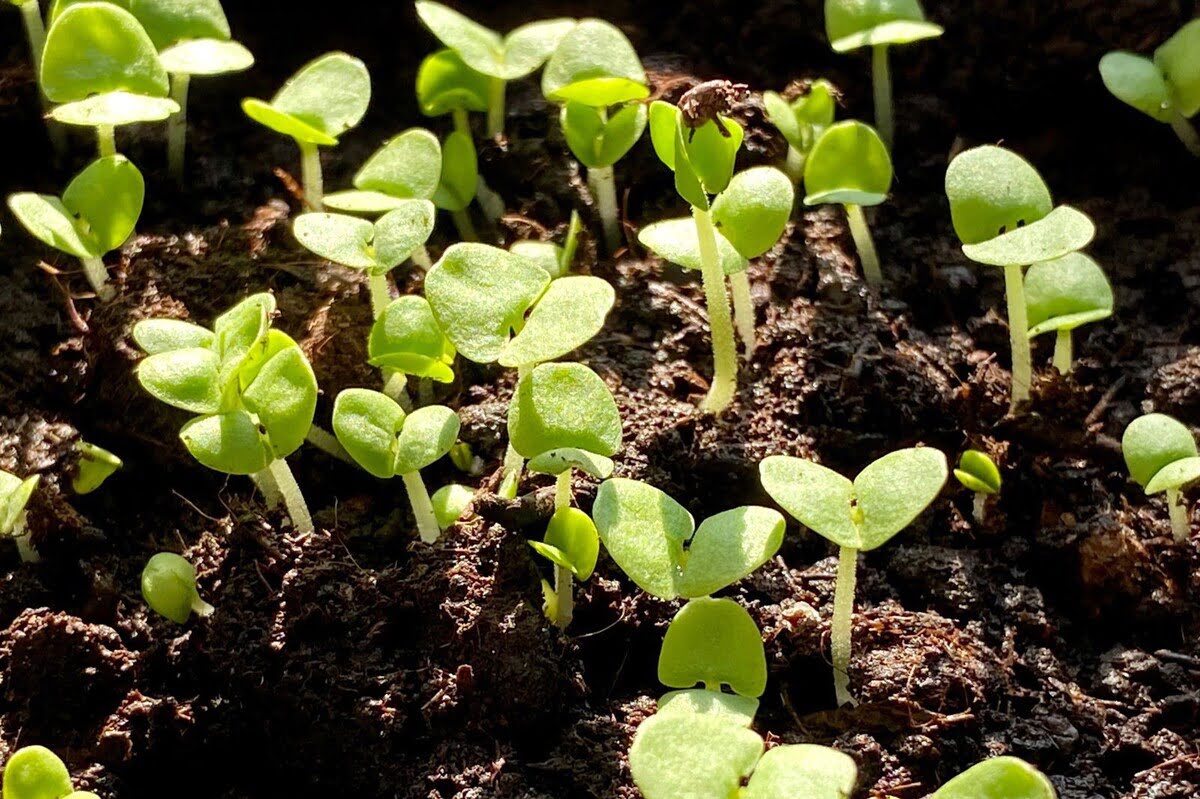
Step 3: Planting the basil seeds
Now that your containers are prepared, it’s time to plant the basil seeds. Follow these steps to ensure successful germination:
- Sowing the seeds: Use your thumb or a small tool to create shallow indentations in the soil, about 1/4 inch deep. Space the indentations about 2-3 inches apart to allow room for the seedlings to grow.
- Planting the seeds: Place 2-3 basil seeds in each indentation. Cover the seeds with a thin layer of soil, gently pressing down to ensure good contact between the seeds and the soil.
- Watering the seeds: Use a gentle spray of water to moisten the soil after planting the basil seeds. Be careful not to dislodge the seeds or create pools of water on the soil’s surface.
- Label the containers: To keep track of the different basil varieties or planting dates, label each container with the name or a marker specifying the type of basil seeds you planted.
- Provide warmth: Basil seeds require warmth for germination. Keep the containers in a warm location, ideally around 70-75°F (21-24°C). You can use a heating mat or place the containers near a heat source to achieve the desired temperature.
- Ensure adequate lighting: Place the containers in a bright location where the seeds can receive plenty of indirect sunlight or under grow lights. It’s crucial for the basil seedlings to receive 10-12 hours of light per day for healthy growth.
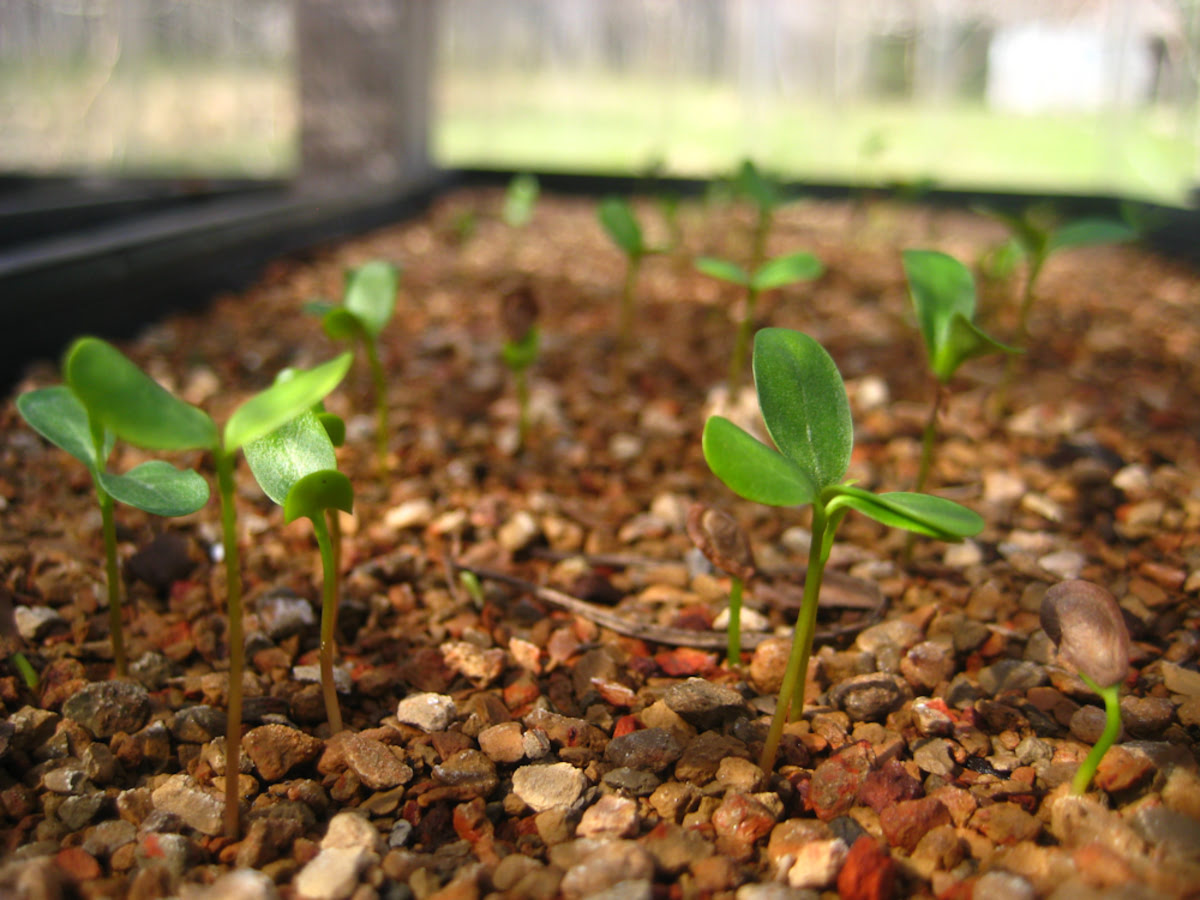
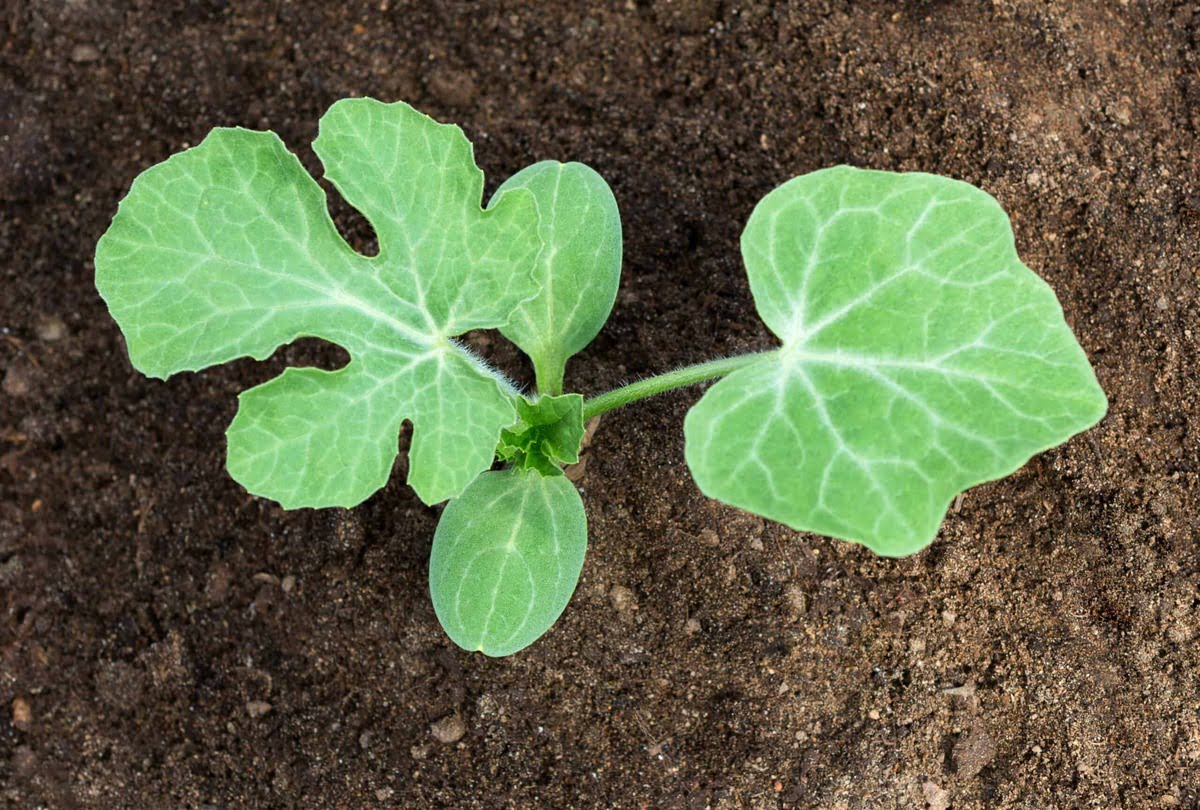
With the basil seeds planted and provided with the right conditions, all you have to do now is wait for them to sprout. Be patient, as germination may take anywhere from 5 to 14 days, depending on the variety and environmental factors. Once the seedlings have emerged, it’s time to move on to the next step of providing the right environment for their growth.
Step 4: Providing the right environment
Creating the optimal environment for your basil seedlings is essential for their healthy growth and development. Follow these steps to ensure they thrive:
- Temperature: Basil seedlings prefer warm temperatures between 65-85°F (18-29°C). Maintain a consistent temperature within this range to promote proper growth. Avoid exposing the seedlings to extreme temperature fluctuations or drafts.
- Lighting: Place the containers in a sunny location where the seedlings can receive at least 6-8 hours of direct or indirect sunlight each day. If natural light is limited, provide supplemental grow lights to ensure the seedlings get enough light for strong and sturdy growth.
- Air circulation: Good airflow around the seedlings is crucial to prevent pests and diseases. Place a small fan nearby or gently brush your hand over the seedlings occasionally to simulate a natural breeze.
- Humidity: Basil seedlings prefer moderately humid conditions. If the air in your home is too dry, you can increase humidity by placing a tray of water near the plants or using a humidifier.
- Rotate the containers: To ensure even growth, rotate the containers every few days. This will prevent the seedlings from leaning and encourage them to develop straight and sturdy stems.
By providing the right environment, you’ll give your basil seedlings the best chance of thriving. With proper temperature, lighting, air circulation, and humidity, you’ll soon see your seedlings flourish into healthy plants ready for transplantation.
Step 5: Watering the seedlings
Proper watering is crucial for the healthy growth of your basil seedlings. Follow these guidelines to ensure they receive the right amount of water:
- Monitor the soil moisture: Check the moisture level of the soil regularly by inserting your finger about an inch deep. If it feels dry, it’s time to water the seedlings. Avoid overwatering, as it can lead to root rot and other diseases.
- Water gently: Use a watering can or a spray bottle with a fine mist attachment to water the seedlings. Apply water at the base of the plants, avoiding the leaves. This helps prevent fungal diseases and keeps the foliage dry.
- Water when needed: Seedlings generally need watering once or twice a week, but this can vary depending on environmental conditions. Adjust your watering frequency based on the moisture level of the soil and the needs of the seedlings.
- Provide even moisture: Ensure that the soil is evenly moist but not soaked. Uneven watering can lead to inconsistent growth and stress the seedlings.
- Drain excess water: After watering, allow any excess water to drain out from the bottom of the containers. Avoid letting the seedlings sit in standing water, as this can lead to root rot.
Remember, striking the right balance with watering is key. Too much or too little water can negatively impact the growth of your basil seedlings. By following these watering guidelines, you’ll provide them with the hydration they need for healthy and vigorous development.
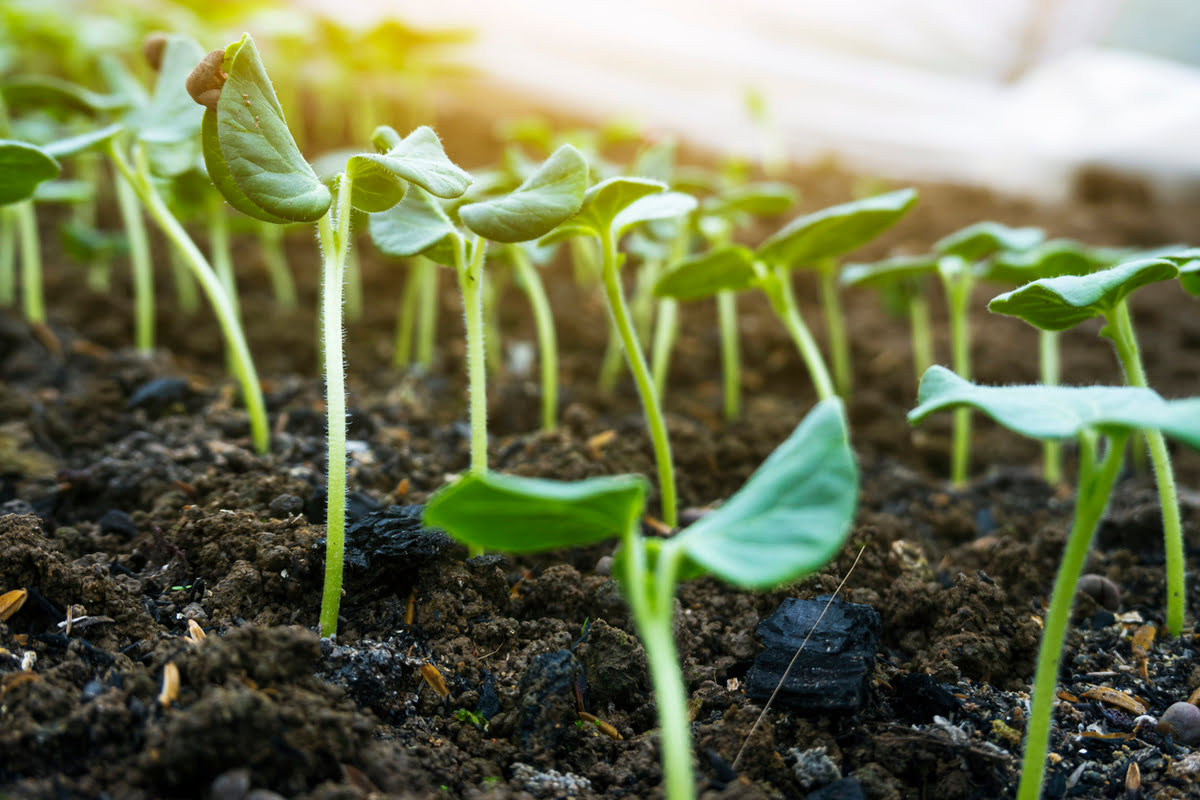
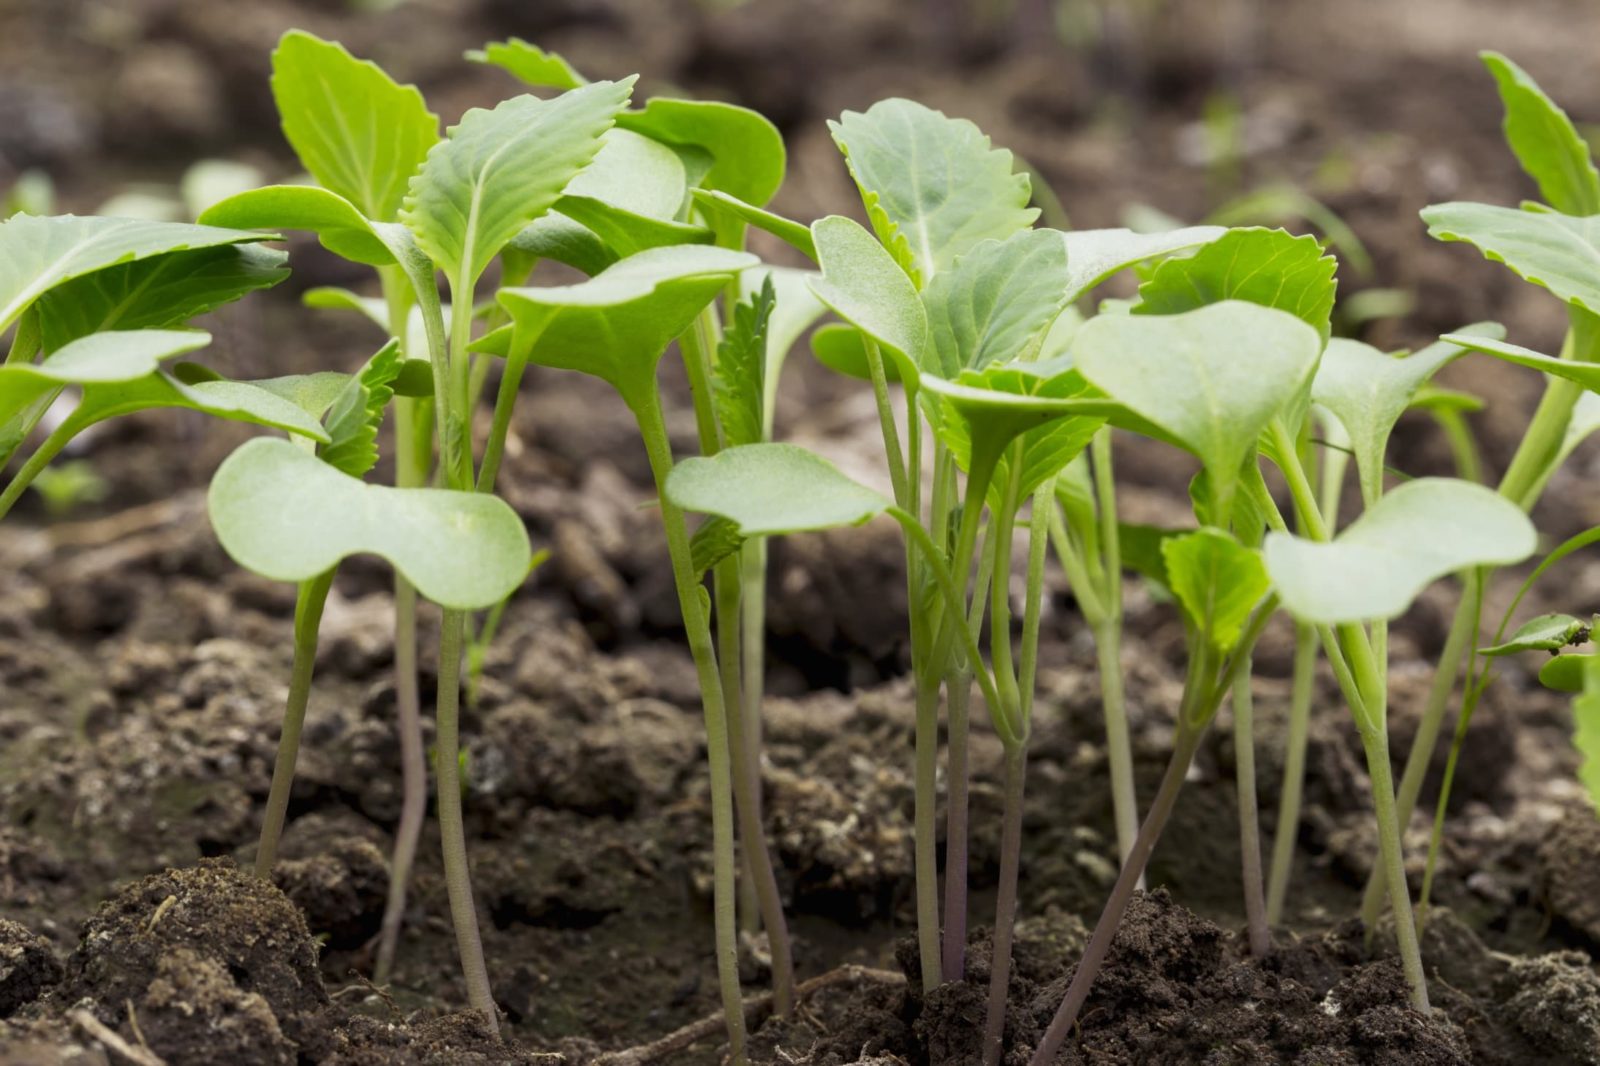
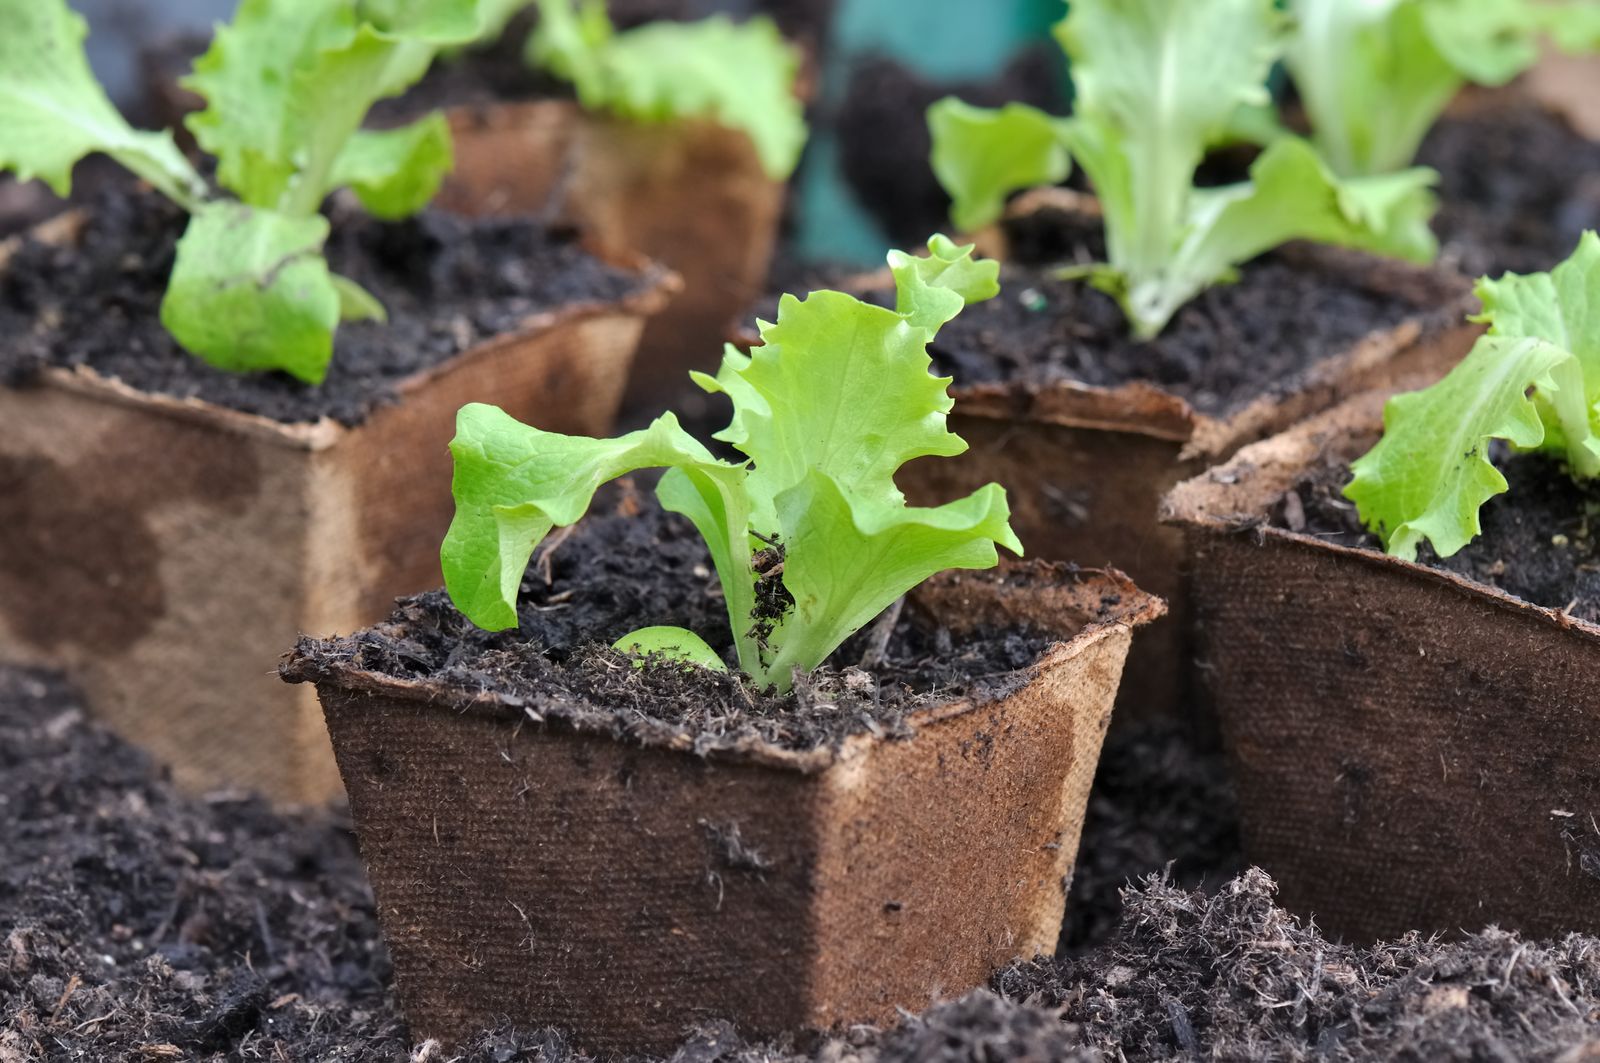
Step 6: Transplanting the basil seedlings
Once your basil seedlings have grown a few sets of true leaves and the weather is warm and stable, it’s time to transplant them into their final growing location. Follow these steps to ensure successful transplantation:
- Choose the right timing: Wait until the seedlings have developed 4-6 sets of true leaves, which usually takes around 4-6 weeks from planting the seeds. Transplant on a mild, overcast day or in the evening to minimize stress on the seedlings.
- Select a suitable location: Choose a sunny spot in your garden or an area with at least 6-8 hours of direct sunlight each day. Ensure the soil is well-draining and enriched with organic matter.
- Prepare the planting holes: Dig holes in the garden soil that are slightly larger than the root ball of each seedling. Space the holes about 12-18 inches apart to allow adequate airflow and growth.
- Transplant the seedlings: Gently remove the seedlings from their containers, taking care not to damage the delicate roots. Place each seedling in a planting hole, ensuring it sits at the same depth as it was in the container.
- Backfill and water: Carefully backfill the holes with soil, gently pressing it around the roots to eliminate air pockets. Water the transplanted seedlings thoroughly to promote root establishment and settle the soil around the roots.
- Protect the seedlings: If there is a chance of frost or cooler temperatures, protect your basil seedlings by covering them with a fabric row cover or using a cloche until the weather improves.
Transplanting can be a delicate process, so handle the seedlings with care to minimize any potential damage. Once transplanted, continue to provide the seedlings with the proper care and maintenance they need to thrive in their new location.
Step 7: Caring for the transplanted seedlings
After transplanting your basil seedlings, it’s important to provide them with proper care to promote their growth and ensure their health. Follow these steps to care for your transplanted seedlings:
- Water: Water the transplanted seedlings regularly, especially during dry spells. Aim to keep the soil evenly moist but not waterlogged. Water deeply at the base of the plants, avoiding wetting the foliage.
- Mulch: Apply a layer of organic mulch, such as straw or wood chips, around the base of the basil plants. Mulching helps retain moisture, suppresses weeds, and regulates soil temperature.
- Support: If you are growing taller basil varieties or notice that the seedlings are leaning, consider providing support with stakes or small cages to prevent them from bending or breaking as they grow.
- Fertilize: Feed your basil plants with a balanced organic fertilizer once they are established. Follow the manufacturer’s instructions for application rates and frequency to avoid overfertilization.
- Pinch and prune: Regularly pinch off the tips of the basil plants to encourage bushier growth and prevent them from flowering too early. This will ensure you have an abundant supply of flavorful leaves throughout the growing season.
- Monitor pests and diseases: Keep an eye out for common basil pests like aphids, whiteflies, and snails. Monitor for signs of diseases such as downy mildew or fungal infections. Take immediate action if you notice any issues, using appropriate organic pest control methods or treatments.
- Harvest regularly: Begin harvesting the basil leaves once the plants have grown to a reasonable size. Regularly harvest the upper leaves, using scissors or your fingers to prevent damage to the plant. This will stimulate growth and ensure a continuous supply of fresh basil throughout the season.
By providing proper care to your transplanted basil seedlings, you will encourage healthy growth, prevent pest and disease issues, and enjoy a bountiful harvest of flavorful leaves for all your culinary creations.
Step 8: Harvesting and using the basil leaves
The time has come to enjoy the fruits of your labor! Harvesting and using the basil leaves is a rewarding experience, and here’s how you can do it:
- Timing: Begin harvesting basil leaves once the plant has reached a height of about 6-8 inches. This usually occurs about 6-8 weeks after planting.
- Harvesting method: Use sharp scissors or your fingers to snip or pinch off individual leaves or entire stems just above a pair of leaves. This pruning method encourages bushier growth and continuous production of fresh leaves.
- Leaf selection: Choose healthy, mature leaves that are vibrant green in color and free of any damage or discoloration. Avoid harvesting too many leaves from a single stem to ensure the plant continues to grow and thrive.
- Using the basil leaves: Fresh basil leaves can be used in a variety of dishes, including salads, pasta sauces, pesto, soups, and more. Add them towards the end of the cooking process to preserve their flavor and aroma. You can also dry or freeze the leaves for later use.
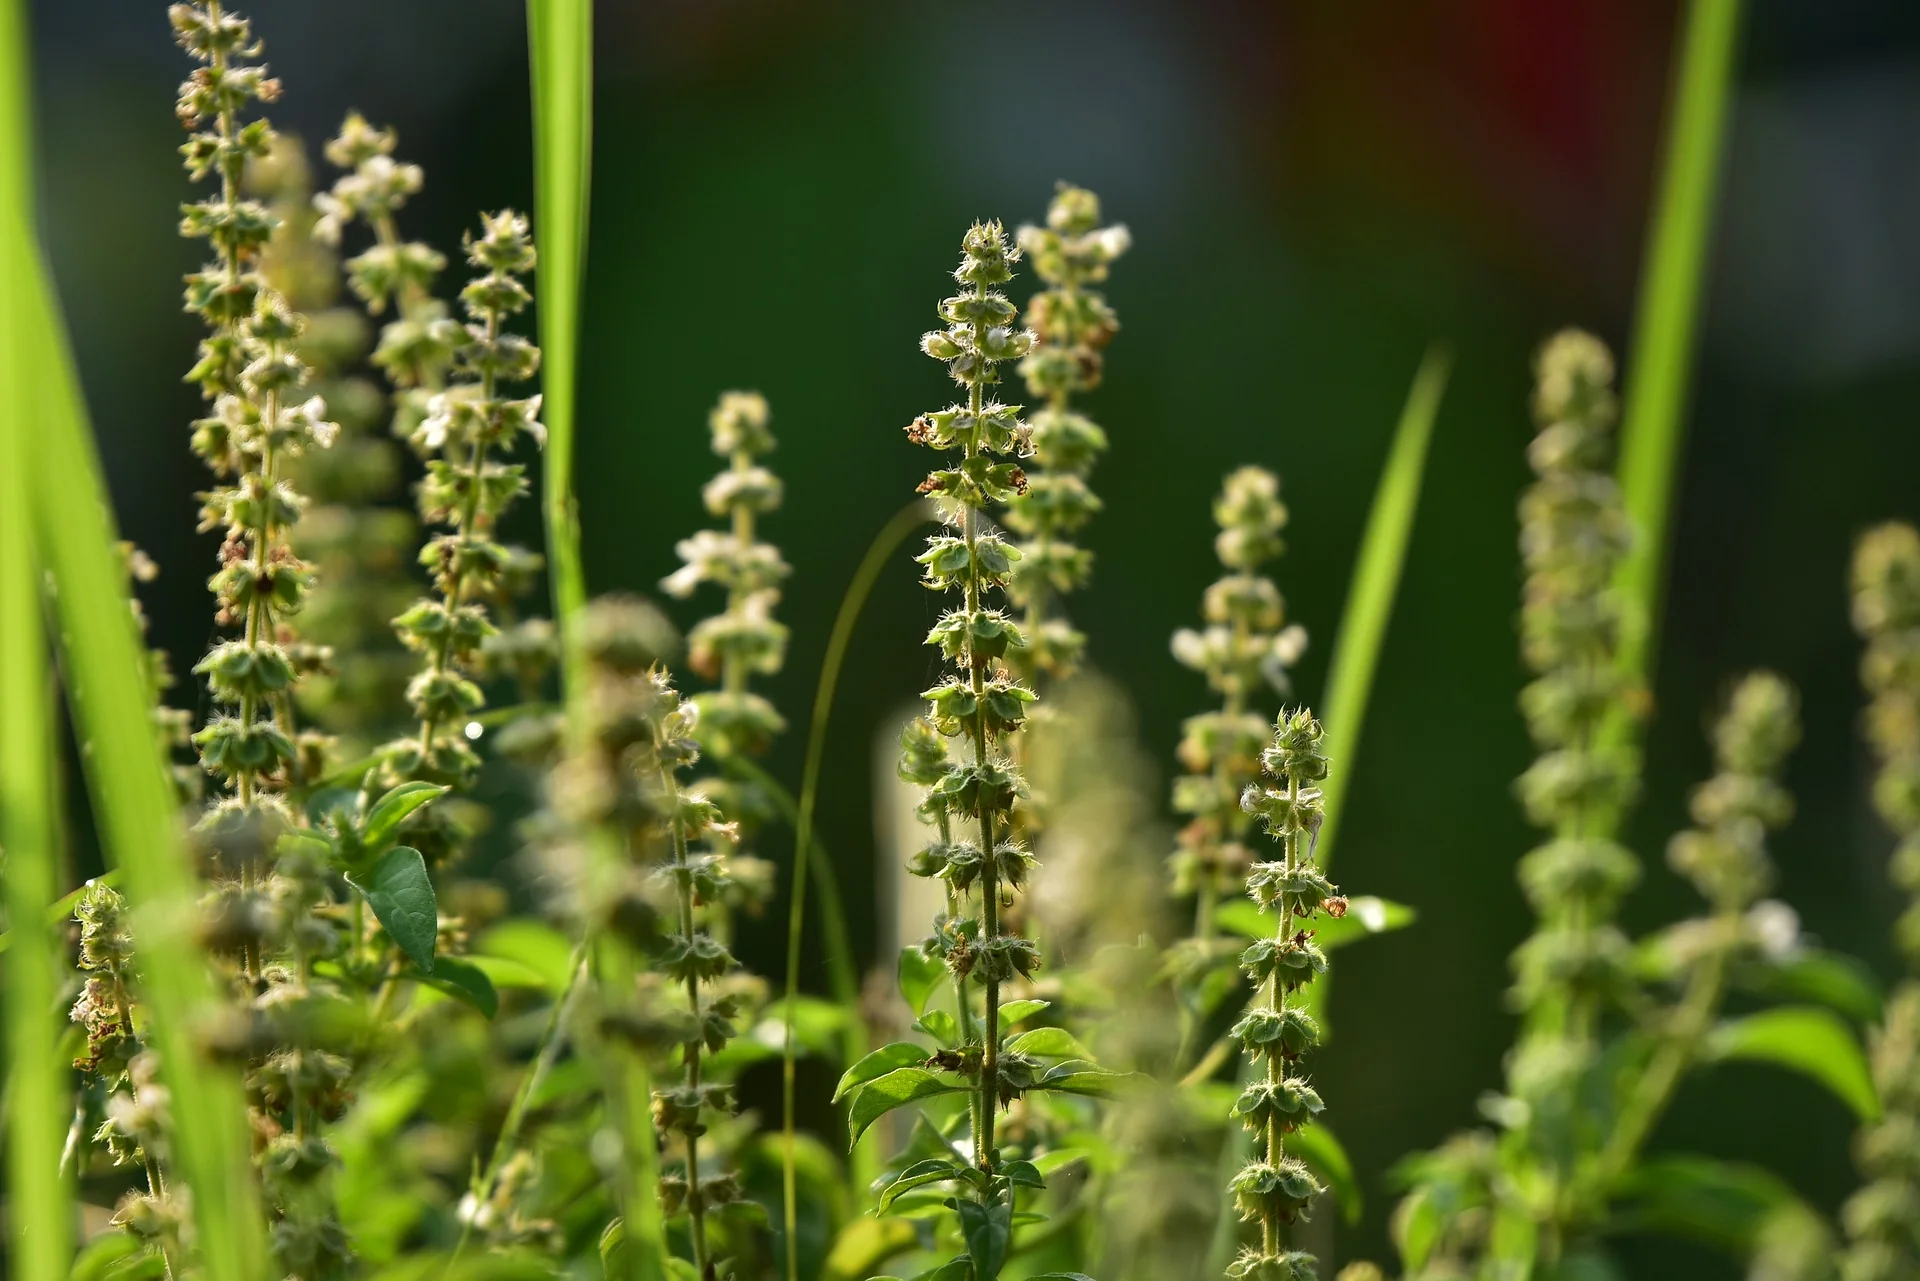
- Pruning flowers: Basil plants will develop flowers as they mature. Pinch off these flower buds as soon as you see them. Allowing the plant to flower can cause the leaves to become bitter and negatively impact overall flavor.
- Preservation: Preserve the flavor of basil by drying or freezing the leaves. To dry, hang small bunches of the leaves upside down in a well-ventilated area until they are crisp. Alternatively, freeze the leaves in ice cube trays with a little water or olive oil for convenient use in cooking.
By harvesting basil leaves properly and using them in your favorite culinary creations, you can experience the full flavor and aroma of this versatile herb. Remember to harvest regularly to encourage continuous leaf production and maintain the health of your basil plants throughout the growing season.
Conclusion
Congratulations! You’ve now learned how to plant, care for, and harvest basil seedlings like a pro. By following these step-by-step instructions, you can cultivate your own thriving basil plants and enjoy a bountiful supply of fresh, aromatic leaves.
Starting with gathering the necessary materials, preparing the growing containers, and planting basil seeds, you’ve set a solid foundation for successful growth. Providing the right environment, proper watering, and caring for the transplanted seedlings are vital in ensuring strong and healthy plants.
Remember to harvest the basil leaves at the right time and use them in various delicious dishes, bringing out their incredible flavor. The joy of cooking with freshly harvested basil will enhance your culinary creations and elevate your dining experience.
With each step, you’ve gained knowledge and skills to become an expert in edible gardening, specifically with basil. As you continue your gardening journey, don’t hesitate to experiment with different basil varieties, growing techniques, and recipes.
Now that you’re equipped with all the essential information, it’s time to put your newfound skills into action. Get your hands dirty, nurture your basil seedlings, and delight in the satisfaction of growing your own edible garden.
So, go ahead and embark on this flavorful adventure. Enjoy the rewarding process of planting and caring for basil seedlings, and savor the rich taste and aroma of fresh basil in your favorite dishes.