Home>Types of Gardening>Edible Gardening>How To Plant Cauliflower Seedlings
Edible Gardening
How To Plant Cauliflower Seedlings
Modified: January 22, 2024
Learn the steps for planting cauliflower seedlings in your edible gardening. Get expert tips and advice on growing healthy and delicious cauliflower plants for your garden.
(Many of the links in this article redirect to a specific reviewed product. Your purchase of these products through affiliate links helps to generate commission for Chicagolandgardening.com, at no extra cost. Learn more)
Table of Contents
Introduction
Welcome to the world of edible gardening! Growing your own vegetables is a rewarding and sustainable way to provide fresh produce for you and your family. One vegetable that deserves a spot in your garden is cauliflower. With its versatile uses in various dishes and its nutritional benefits, cauliflower is an excellent choice for any edible garden.
In this article, we will guide you through the process of planting cauliflower seedlings and share valuable tips on how to ensure a successful harvest. Whether you are a beginner or an experienced gardener, this step-by-step guide will help you cultivate healthy cauliflower plants.
Before we dive into the planting process, it’s important to understand some key aspects of growing cauliflower. Cauliflower belongs to the Brassicaceae family, which includes other cruciferous vegetables like broccoli and cabbage. It prefers cool weather and performs best in temperatures ranging from 60 to 70 degrees Fahrenheit (15 to 21 degrees Celsius). While it can be grown in different climates, planting cauliflower in the right season is crucial for optimal growth.
Now that we have a basic understanding of cauliflower and its ideal growing conditions, let’s proceed to the next step: selecting the seedlings.
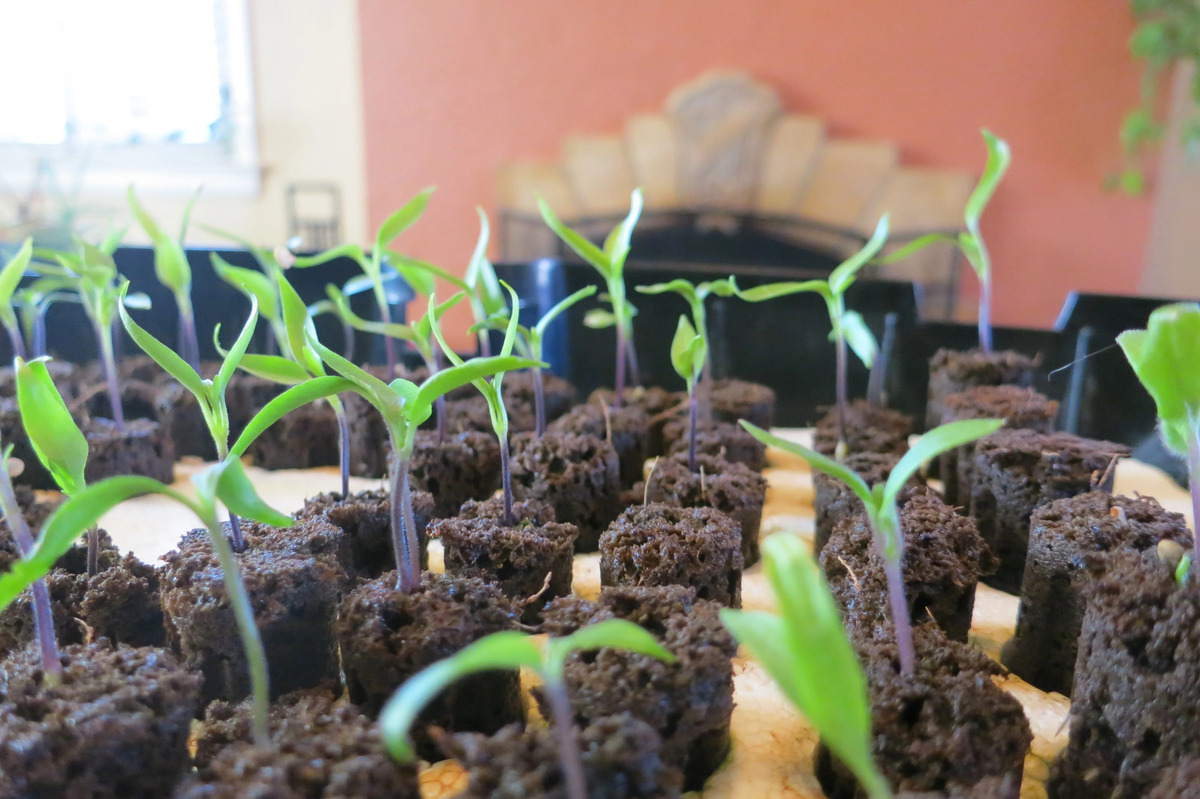
Step 1: Selecting the Seedlings
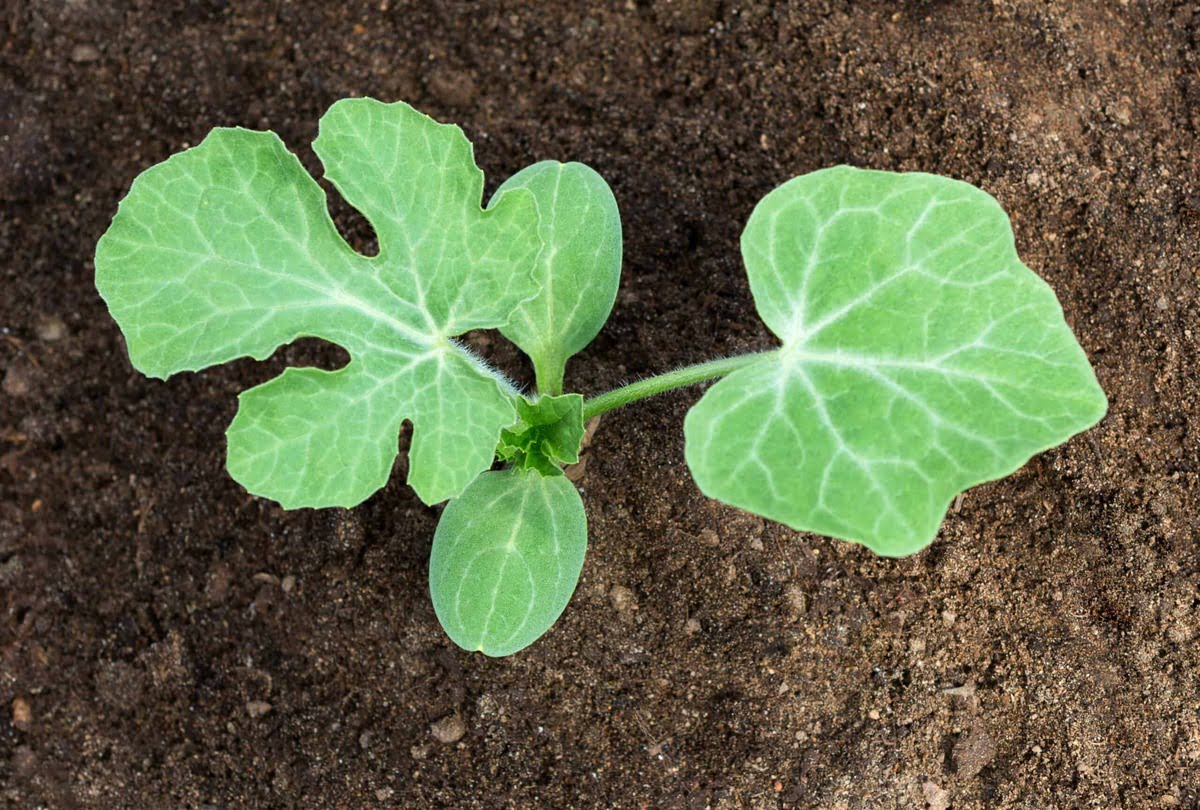
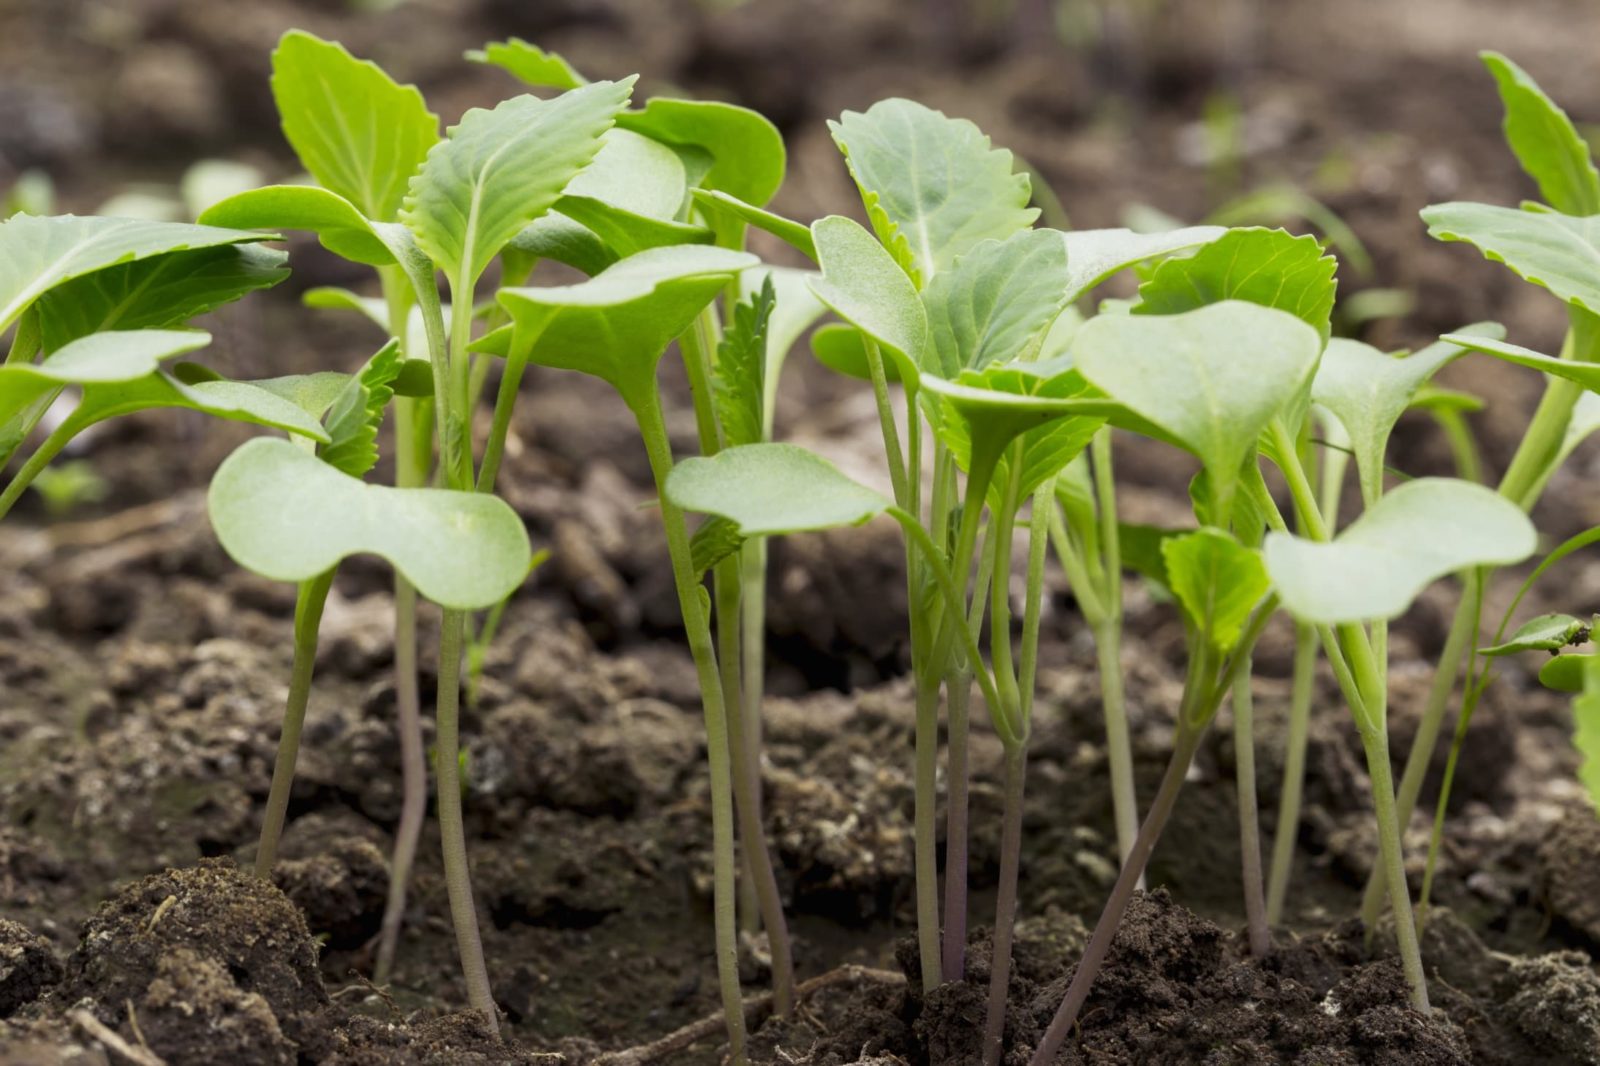
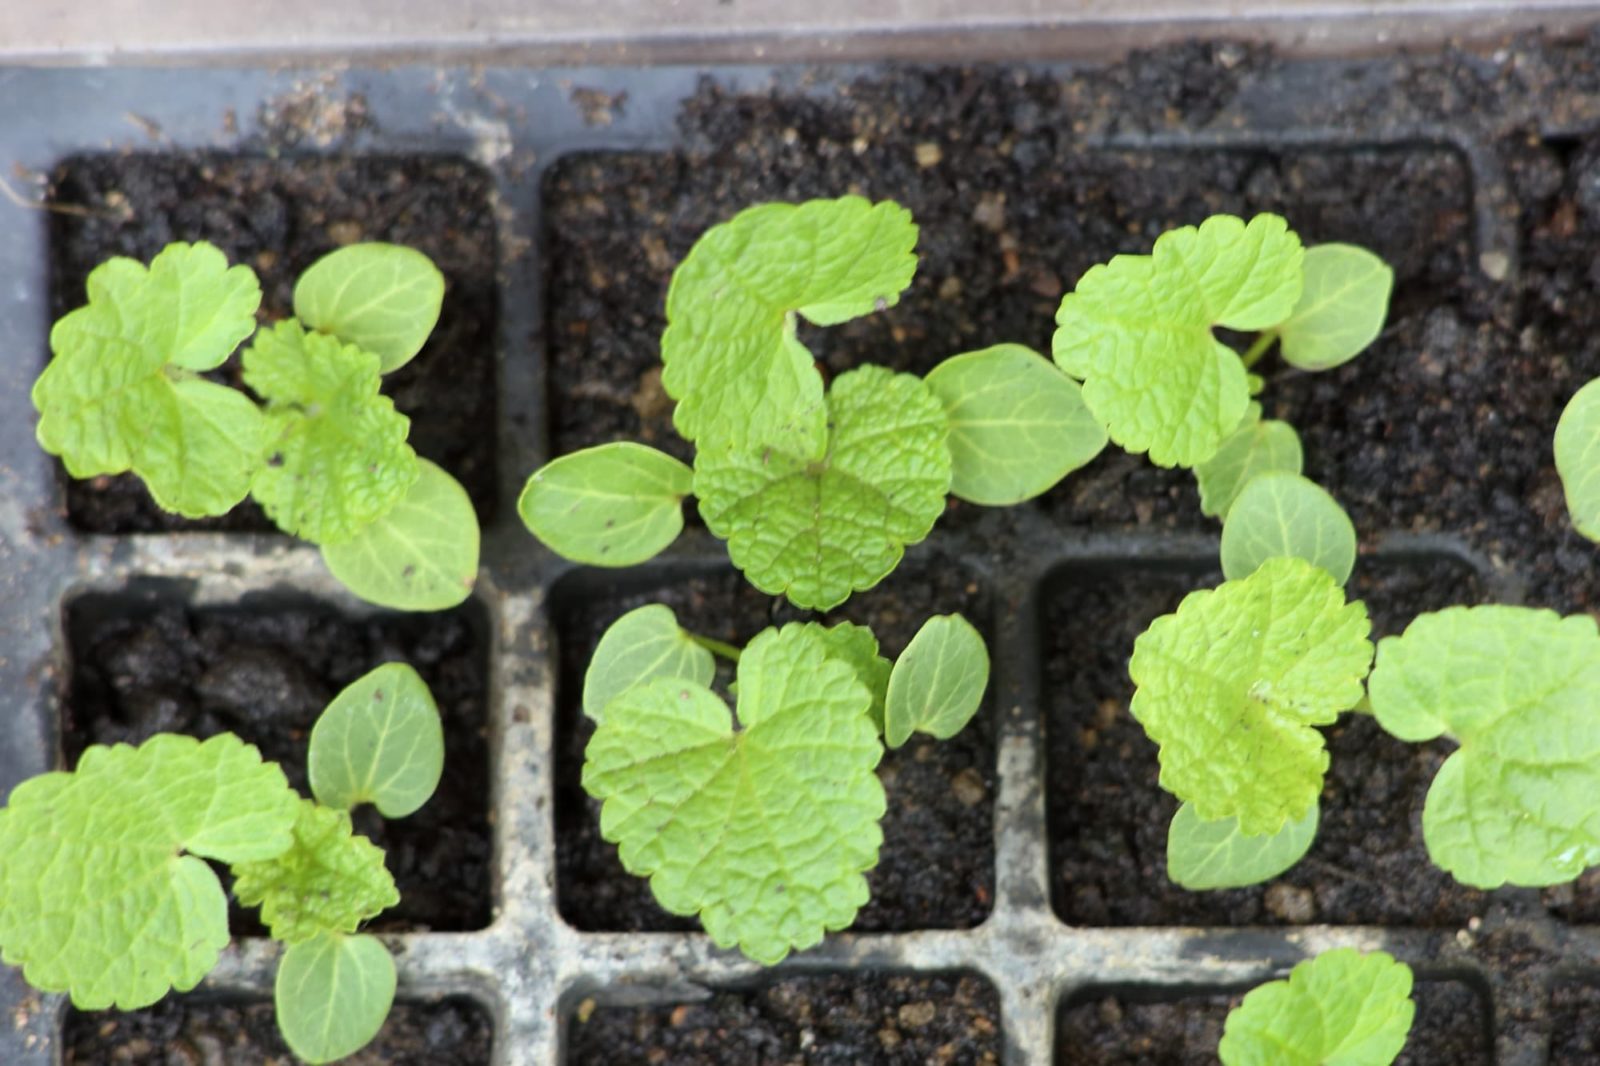
The first step in planting cauliflower is selecting healthy seedlings. When purchasing seedlings, look for vigorous and disease-free plants. Opt for seedlings that have dark green, sturdy leaves and a well-developed root system. Avoid seedlings that are leggy or have yellowing leaves, as these may indicate poor growth or nutrient deficiencies.
It is also important to choose the right variety of cauliflower for your garden. There are several types of cauliflower, including white, purple, and orange varieties. Consider your personal preferences and the specific culinary uses of each variety. For example, white cauliflower is the most common and versatile variety, while purple and orange cauliflower add a vibrant touch to salads and dishes.
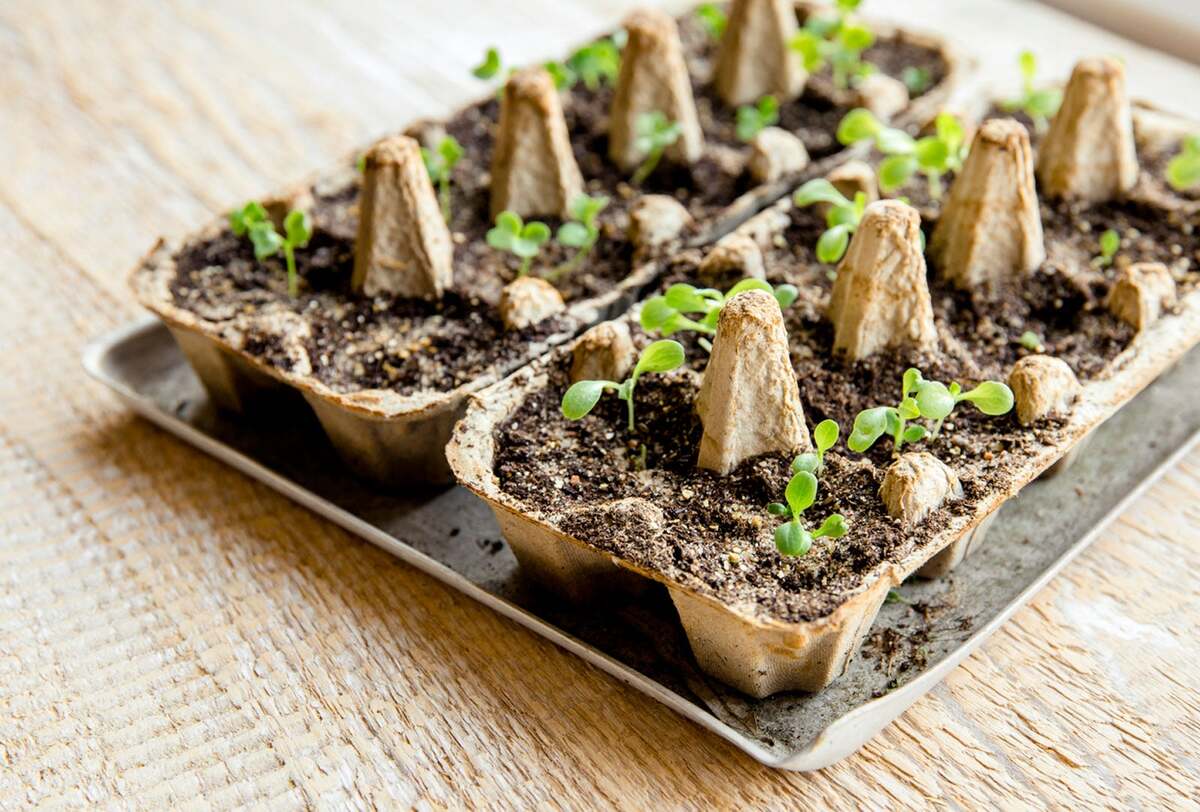
If you prefer to start cauliflower from seeds, you can sow them indoors about 6 to 8 weeks before the last frost date. This will give the seedlings ample time to grow before transplanting them into the garden. Follow the instructions on the seed packet for proper sowing depth and spacing.
When selecting seedlings, it’s important to consider the season and climate. Cauliflower prefers cool temperatures and can tolerate light frost. If you live in a region with mild winters, you can start planting cauliflower in late summer or early fall for a late fall or winter harvest. In areas with harsh winters, it’s best to plant cauliflower in late spring or early summer for a summer or fall harvest.
Remember, healthy seedlings are the foundation for a successful cauliflower harvest. Take your time to choose robust and well-developed plants, and you’ll be off to a great start!
Step 2: Preparing the Soil
Preparing the soil is a crucial step in ensuring the optimal growth of cauliflower plants. Start by selecting a sunny location in your garden that receives at least 6 hours of direct sunlight per day. Cauliflower prefers well-draining soil with a pH level between 6.0 and 7.0. Conduct a soil test to determine the pH level and make necessary amendments.
Begin by clearing the area of any weeds or debris. Use a garden fork or tiller to loosen the soil to a depth of about 8 to 10 inches (20 to 25 cm). Remove any large rocks, roots, or clumps of dirt to ensure a smooth and even planting surface.
Next, enrich the soil with organic matter such as compost or well-rotted manure. This will improve soil fertility and drainage while providing essential nutrients for the cauliflower plants. Spread a layer of organic matter about 2 to 3 inches (5 to 8 cm) thick over the soil surface and use a garden fork or tiller to incorporate it into the soil.
After adding organic matter, it’s important to ensure that the soil is well-limed and has balanced nutrition. If the soil pH is below 6.0, add lime according to the recommended dosage to raise the pH level. Additionally, apply a balanced organic fertilizer or a slow-release granular fertilizer following the manufacturer’s instructions to provide the necessary nutrients for the cauliflower plants.
Once the soil preparation is complete, rake the area to create a smooth and level surface. This will make it easier to transplant the seedlings and provide a uniform environment for their growth.
Remember, investing time and effort into preparing the soil will lay the foundation for healthy and thriving cauliflower plants!
Step 3: Transplanting the Seedlings
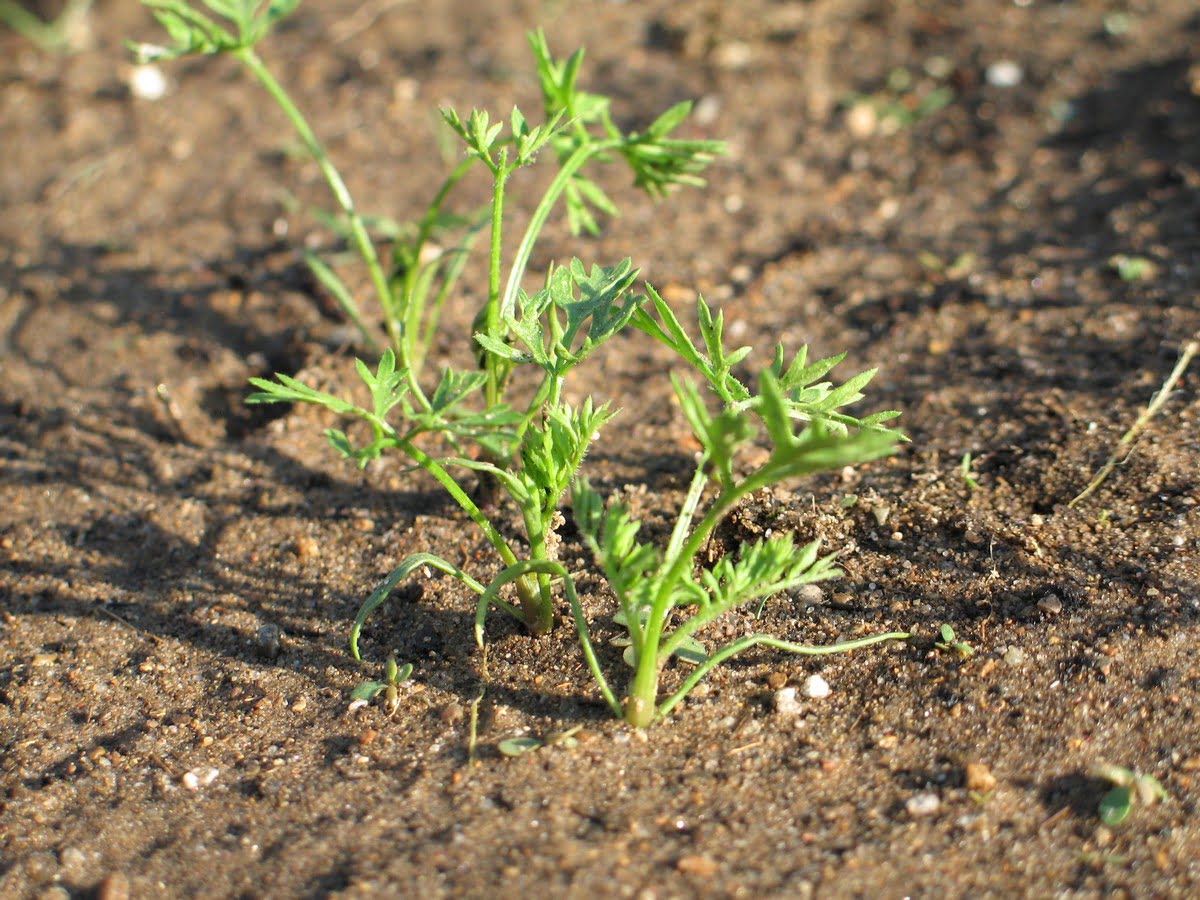
Once you have selected the healthy seedlings and prepared the soil, it’s time to transplant them into the garden. Transplanting cauliflower seedlings is a delicate process that requires careful handling to minimize stress on the plants.
Begin by digging holes in the prepared soil that are slightly larger than the root ball of the seedlings. Space the holes about 18 to 24 inches (45 to 60 cm) apart to allow enough room for the cauliflower heads to develop.
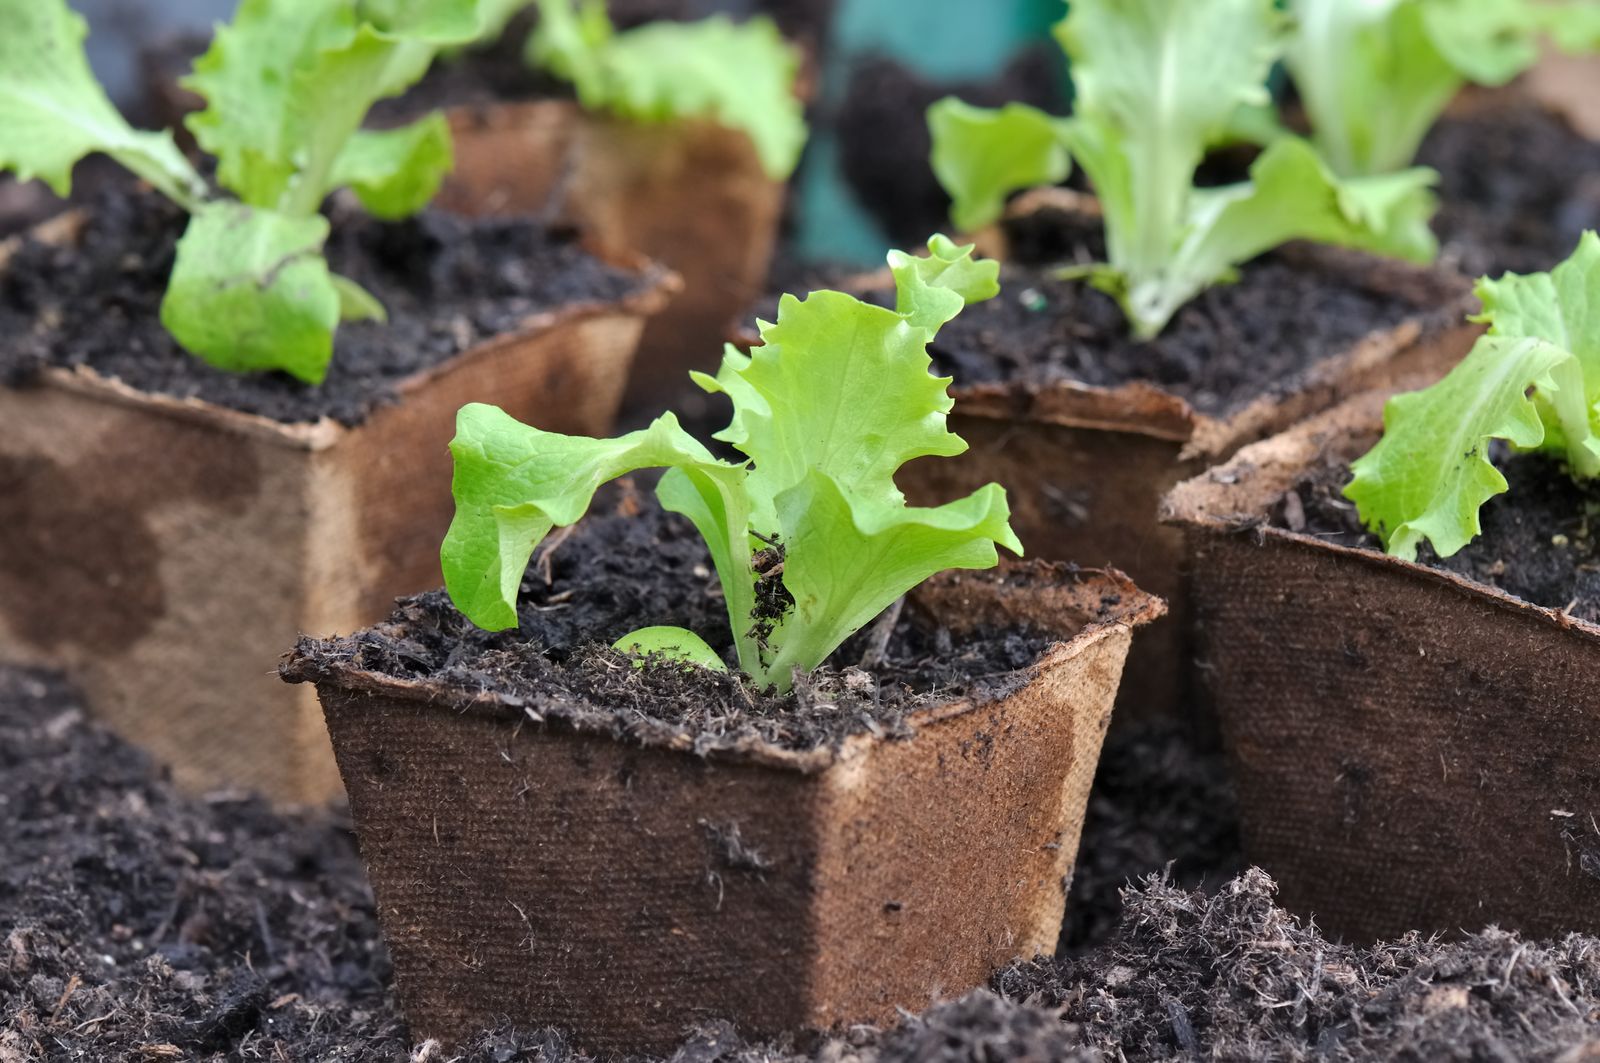
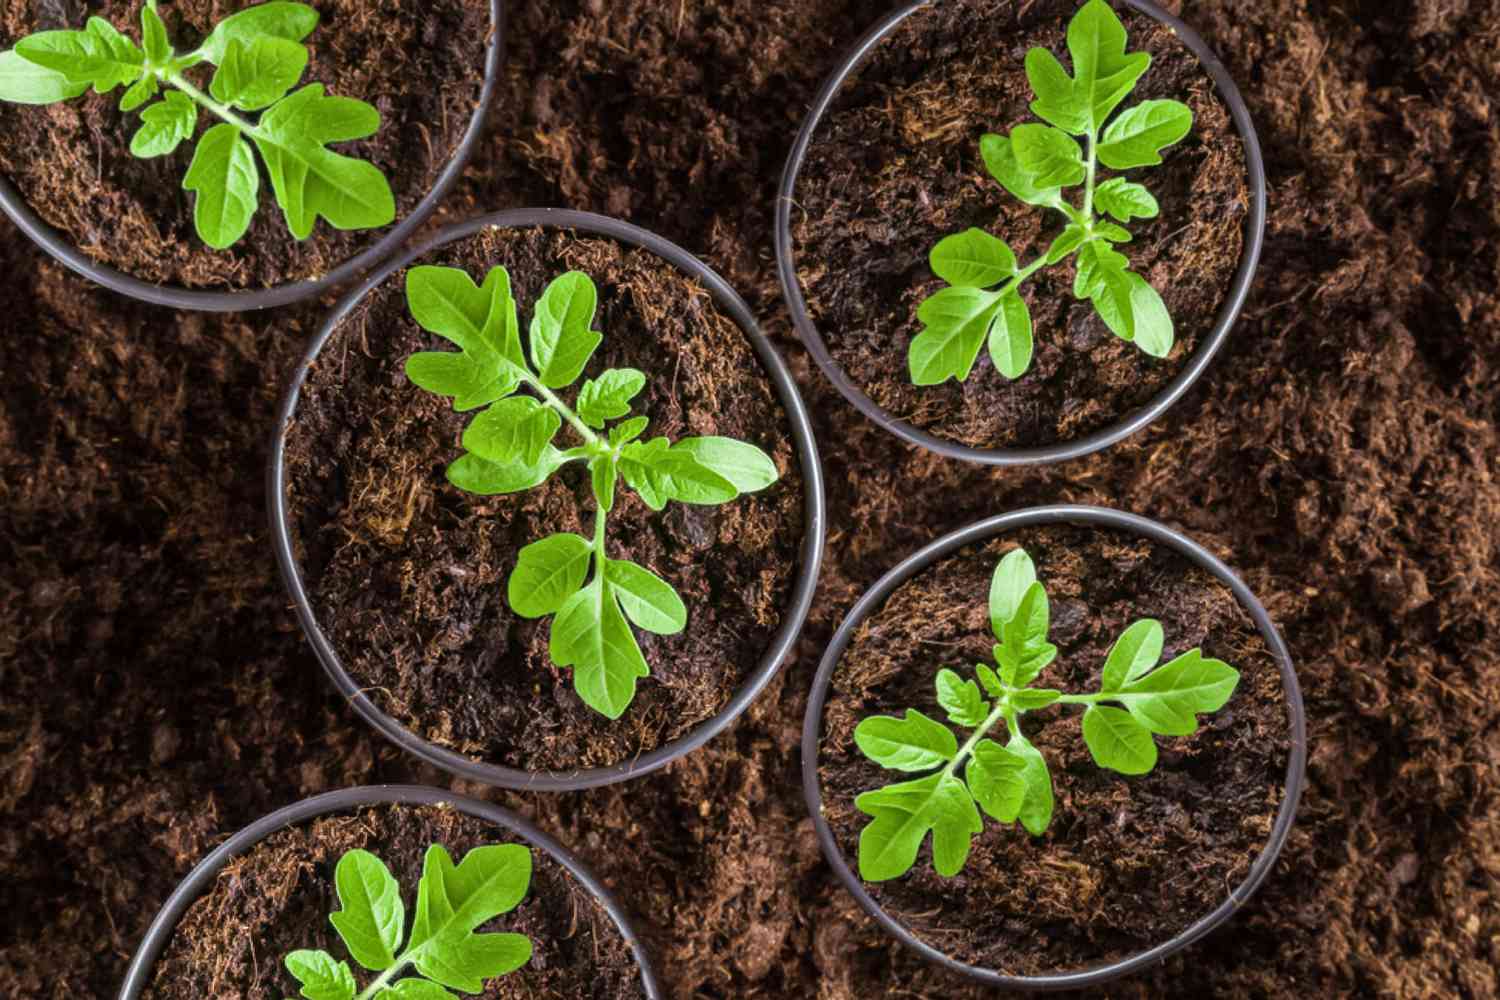
Gently remove the seedlings from their containers, being careful not to damage the delicate roots. If the seedlings are in peat pots, you can plant them directly into the garden, as the pots will eventually decompose. For seedlings in plastic trays, gently squeeze the bottom of the tray to loosen the root ball and slide the seedling out.
Place each seedling in a hole, ensuring that the top of the root ball is level with the soil surface. Backfill the hole with soil, lightly firming it around the base of the seedling. Avoid applying too much pressure, as compacted soil can hinder root development.
After transplanting, water the seedlings thoroughly to settle the soil around the roots and provide hydration. Mulching around the plants with a layer of organic mulch, such as straw or wood chips, will help retain moisture, suppress weeds, and regulate soil temperature.
It’s important to note that cauliflower seedlings are sensitive to temperature fluctuations and may require protection from extreme heat or cold. Consider using row covers or providing shade during hot summer days, or covering the plants with a frost cloth during chilly nights.
By transplanting cauliflower seedlings with care and providing them with optimal conditions, you are setting the stage for their healthy growth and development.
Step 4: Watering and Fertilizing
Watering and fertilizing play a vital role in the successful cultivation of cauliflower plants. Proper hydration and nutrient supply will ensure their healthy growth and development.
After transplanting the seedlings, it’s important to establish a regular watering routine. Cauliflower plants prefer evenly moist soil, so aim to provide them with about 1 to 1.5 inches (2.5 to 3.8 cm) of water per week. However, be cautious not to overwater, as this can lead to root rot and other fungal diseases. Monitor the soil moisture level by inserting your finger about an inch (2.5 cm) into the soil. If it feels dry at that depth, it’s time to water.
When watering, it’s best to use a soaker hose or drip irrigation system to deliver water directly to the roots. This minimizes water waste and helps prevent foliage diseases. Water in the morning to allow the leaves to dry before evening, reducing the risk of fungal infections.
In addition to regular watering, cauliflower plants require proper fertilization to ensure their nutrient needs are met. Before planting, incorporate a balanced organic fertilizer into the soil according to the package instructions. This will provide a good foundation of nutrients for the plants.
As the cauliflower plants grow, apply a side-dressing of fertilizer around the base of the plants about 4 to 6 weeks after transplanting. Use a high-quality, balanced organic fertilizer or a slow-release granular fertilizer. Follow the manufacturer’s instructions for application rates and frequency.
While nitrogen is essential for foliage development, cauliflower also requires an adequate supply of phosphorus and potassium for strong root development and flower/fruit formation. Look for fertilizers with a balanced N-P-K ratio, such as 10-10-10 or 5-10-10, to ensure balanced nutrition for your cauliflower plants.
Remember to monitor your plants’ growth and adjust the watering and fertilization practices accordingly. Providing consistent care will promote healthy growth and maximize your cauliflower harvest!
Step 5: Proper Care and Maintenance
Proper care and maintenance are essential for the overall health and productivity of your cauliflower plants. By following these guidelines, you can ensure that your plants thrive and produce a bountiful harvest.
One important aspect of care is weed control. Weeds compete with cauliflower plants for nutrients, moisture, and sunlight. Regularly remove weeds by hand or use organic mulch, such as straw or wood chips, to suppress weed growth. Be careful not to damage the shallow root system of the cauliflower plants while weeding.
Additionally, keep an eye out for common pests that can affect cauliflower, such as aphids, cabbage worms, and flea beetles. These pests can cause damage to the foliage and compromise the overall health of the plants. Monitor your plants regularly and take necessary measures, such as using organic insecticides or introducing beneficial insects, to control pest populations.
Protecting your cauliflower plants from extreme temperatures is also crucial. During hot summer days, provide shade to prevent the plants from wilting or developing bitter-tasting heads. Shade cloth or strategically placed tall plants can help provide relief from excessive heat. Similarly, if frost or freezing temperatures are expected, cover the plants with a frost cloth or old sheets to protect them.
Cauliflower plants require consistent moisture, so continue to monitor and adjust your watering schedule as necessary. Aim for even moisture in the soil but avoid overwatering, as it can lead to root diseases. Remember that cauliflower heads can become loose and prone to rot if exposed to excess moisture.
Throughout the growing season, inspect your plants for any signs of disease or nutrient deficiencies. Common cauliflower diseases include clubroot, powdery mildew, and black rot. Address any issues promptly to prevent them from spreading and impacting the overall health of the plants. If necessary, consult with a local extension office or a gardening expert for guidance on disease management.
Lastly, practice crop rotation in your garden to prevent the buildup of pests and diseases. Avoid planting cauliflower or other cruciferous vegetables in the same spot for consecutive years. Instead, rotate them with non-related crops to maintain a healthy growing environment.
By providing proper care, managing pests and diseases, and maintaining optimal growing conditions, you will ensure the success of your cauliflower plants and enjoy a bountiful harvest!
Step 6: Harvesting Cauliflower
Harvesting cauliflower is an exciting moment in your gardening journey. When the heads have reached their desired size and are compact and firm, it’s time to harvest!
The timing of the harvest depends on the variety you are growing and your personal preference. Most cauliflower varieties take around 55 to 80 days from transplanting to reach maturity. Monitor the development of the heads – they should be dense, with tight curds, and a vibrant color. Check the seed packet or consult the variety’s specific guidelines for approximate harvest times.
To harvest cauliflower, use a sharp knife or garden shears to cut the head about 1 inch (2.5 cm) below the base. Take care not to damage the surrounding foliage or the developing side shoots. Harvesting the main head at the right time will encourage the growth of side shoots that can lead to additional small cauliflower heads.
If you notice any heads starting to loosen or separate, harvest them immediately, as this indicates overmaturity and can result in a bitter taste. Cauliflower heads can deteriorate quickly if left on the plant for too long, so it’s best to harvest them promptly.
After harvesting the main head, you can continue to care for the plants and harvest the smaller side shoots as they develop. These shoots are also edible and can be enjoyed in various dishes.
Once harvested, store cauliflower heads in the refrigerator. Wrap them loosely in a plastic bag or place them in a perforated plastic bag to maintain moisture and freshness. Cauliflower can be stored for about one week, but it’s best to consume it as soon as possible for optimal flavor and nutritional value.
Remember, harvesting cauliflower at the right time ensures the best taste and quality. Enjoy the fruits of your gardening labor as you savor the delicious flavors and versatility of freshly harvested cauliflower!
Conclusion
Congratulations! You have reached the end of our comprehensive guide on how to plant cauliflower seedlings. By following these step-by-step instructions, you are well-equipped to embark on your edible gardening journey and cultivate healthy and productive cauliflower plants.
We began by selecting the seedlings, emphasizing the importance of choosing healthy and disease-free plants. Next, we explored the crucial step of preparing the soil, ensuring optimal conditions for cauliflower growth. Transplanting the seedlings into the garden was the next step, where we highlighted the importance of gentle handling and proper spacing.
Watering and fertilizing were discussed as essential practices to provide adequate hydration and nutrients for the cauliflower plants. Additionally, we delved into the topic of proper care and maintenance, addressing weed control, pest management, and protection from extreme temperatures.
Finally, we reached the exciting moment of harvesting the cauliflower heads, emphasizing the significance of timing and proper harvesting techniques. By enjoying the fruits of your labor and storing the harvested heads properly, you can savor the rewards of your edible gardening efforts.
Remember, edible gardening is a continuous learning experience. As you gain more experience and knowledge, you’ll be able to further refine your techniques and experiment with different varieties and growing methods. Don’t be afraid to try new things and adapt based on the unique conditions of your own garden.
So, gather your gardening tools and get ready to enjoy the satisfaction of growing your own cauliflower. Whether you use it in stir-fries, soups, salads, or as a tasty side dish, you’ll appreciate the fresh and nutritious produce that you cultivated with your own hands. Happy gardening and happy harvesting!