Home>Types of Gardening>Edible Gardening>How To Plant Herbs In Planter Box
Edible Gardening
How To Plant Herbs In Planter Box
Modified: February 9, 2024
Learn how to plant herbs in a planter box and enhance your edible gardening skills. Find step-by-step instructions and tips to grow fresh herbs at home.
(Many of the links in this article redirect to a specific reviewed product. Your purchase of these products through affiliate links helps to generate commission for Chicagolandgardening.com, at no extra cost. Learn more)
Table of Contents
Introduction
Edible gardening has become increasingly popular in recent years, as more and more people are looking to grow their own fresh herbs, vegetables, and fruits. One of the most convenient ways to embark on this journey is by planting herbs in a planter box. Whether you have limited outdoor space or simply want to have easy access to fresh herbs right outside your kitchen door, a planter box is an excellent solution.
Planting herbs in a planter box offers several advantages. It allows you to control the growing environment, ensuring optimal conditions for your herbs to thrive. It also enables you to place the planter box anywhere you like, whether it’s on a sunny windowsill, a balcony, or a small patio.
The process of planting herbs in a planter box is relatively simple and requires minimal equipment. All you need is a suitable planter box, high-quality soil, and a selection of herb seeds or seedlings. With a bit of care and attention, you can enjoy a bountiful harvest of fresh herbs that will elevate your culinary creations to new heights.
In this article, we will guide you through the steps of planting herbs in a planter box. We will help you choose the right planter box, select the ideal herbs for your needs, and provide essential tips for caring for your herb plants. By the end, you will have the confidence and knowledge to embark on your own edible gardening adventure.
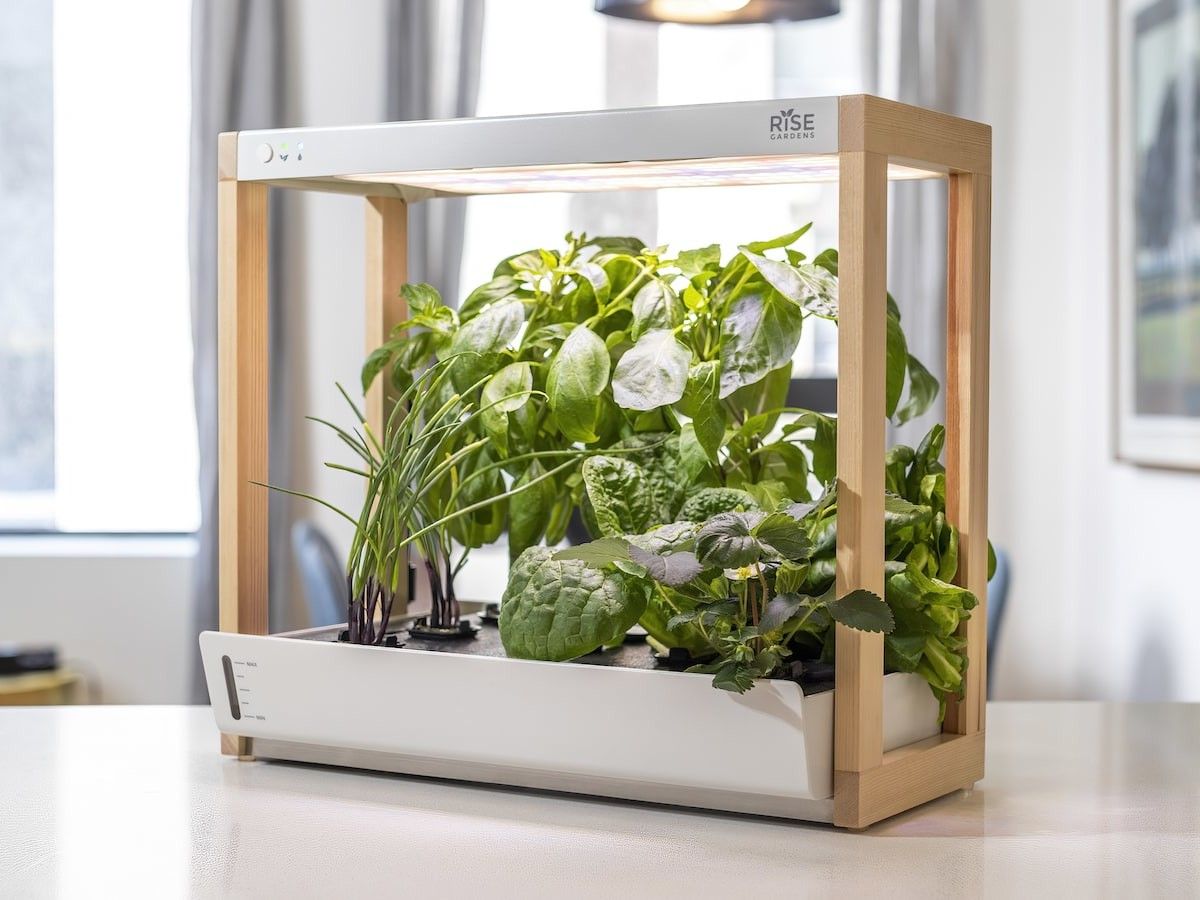
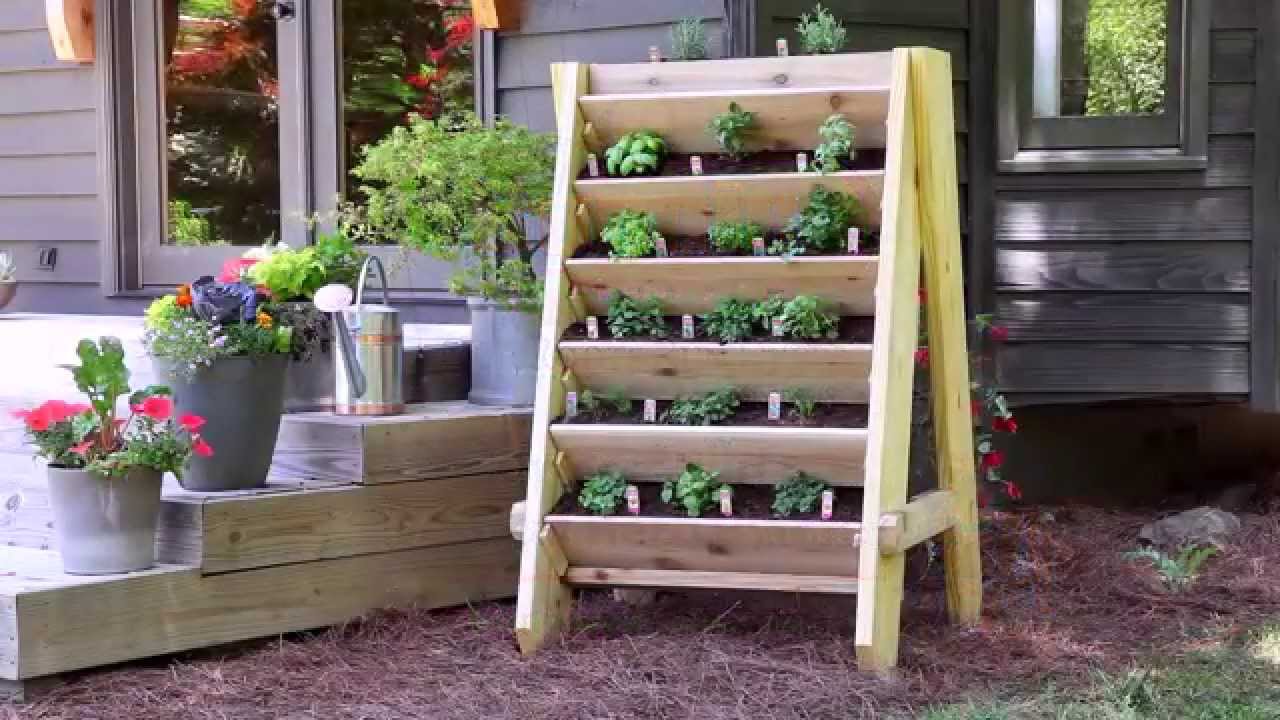
Choosing the Right Planter Box
When it comes to choosing a planter box for your herb garden, there are a few factors to consider. The right planter box will provide adequate space for your herbs to grow, proper drainage to prevent waterlogging, and suit the style and space constraints of your gardening area.
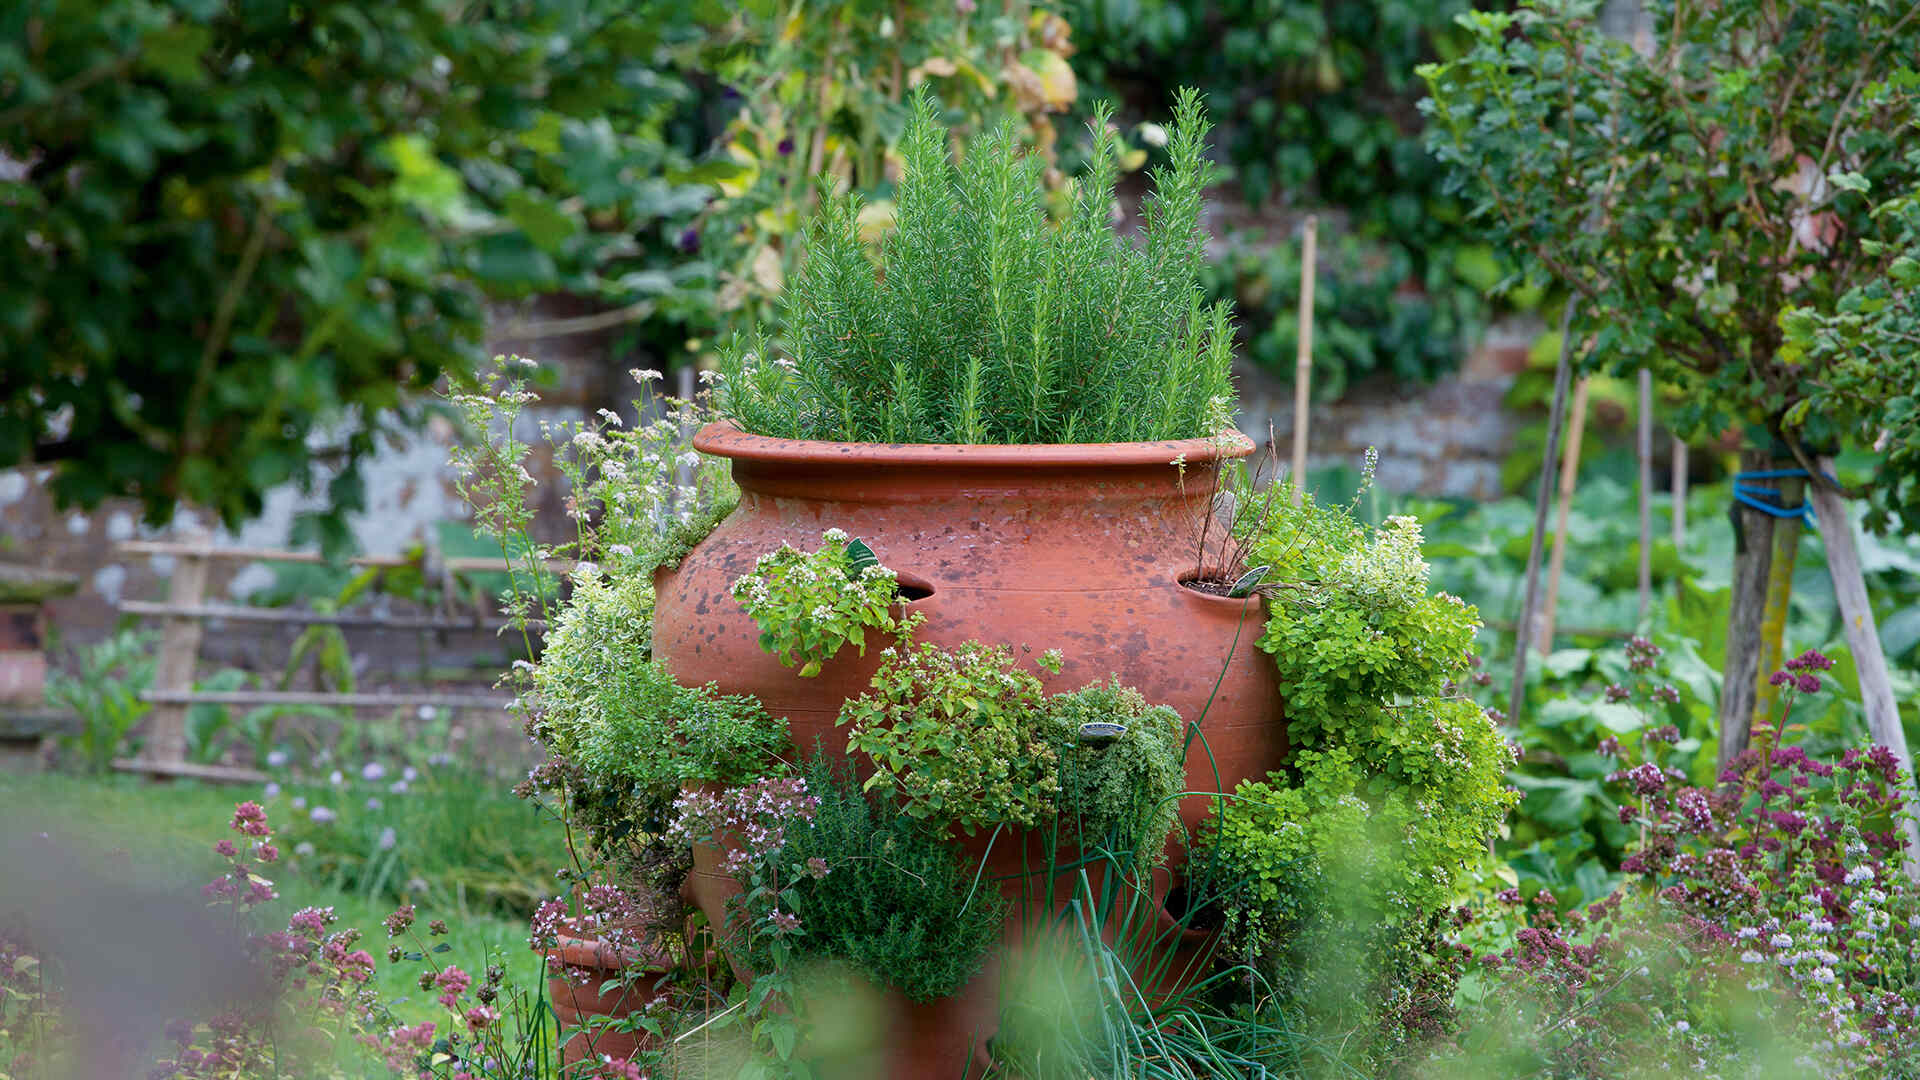
Firstly, consider the size of the planter box. It should be large enough to accommodate the root systems of the herbs you intend to grow. Most herbs have shallow root systems, so a planter box that is at least 6-8 inches deep should suffice. However, if you plan to grow herbs with deep roots like rosemary or lavender, opt for a deeper planter box.
Secondly, drainage is crucial. Ensure that the planter box you choose has drainage holes or the ability to add them. Adequate drainage prevents water from stagnating and causing root rot. If the planter box doesn’t have drainage holes, you can add them yourself by drilling or punching holes in the bottom.
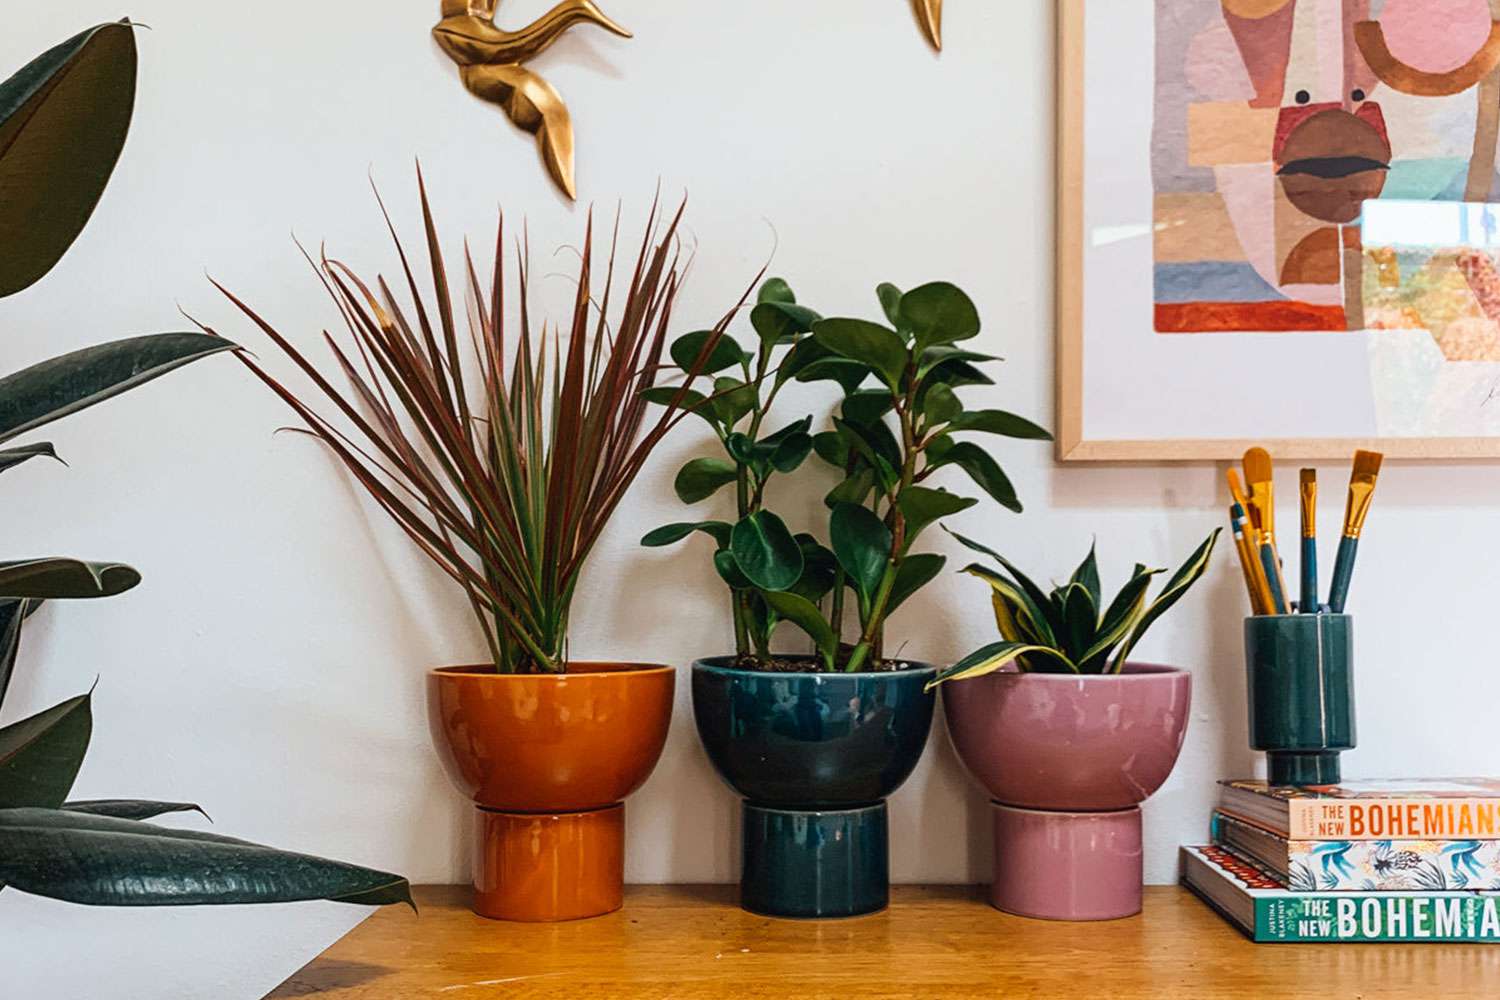
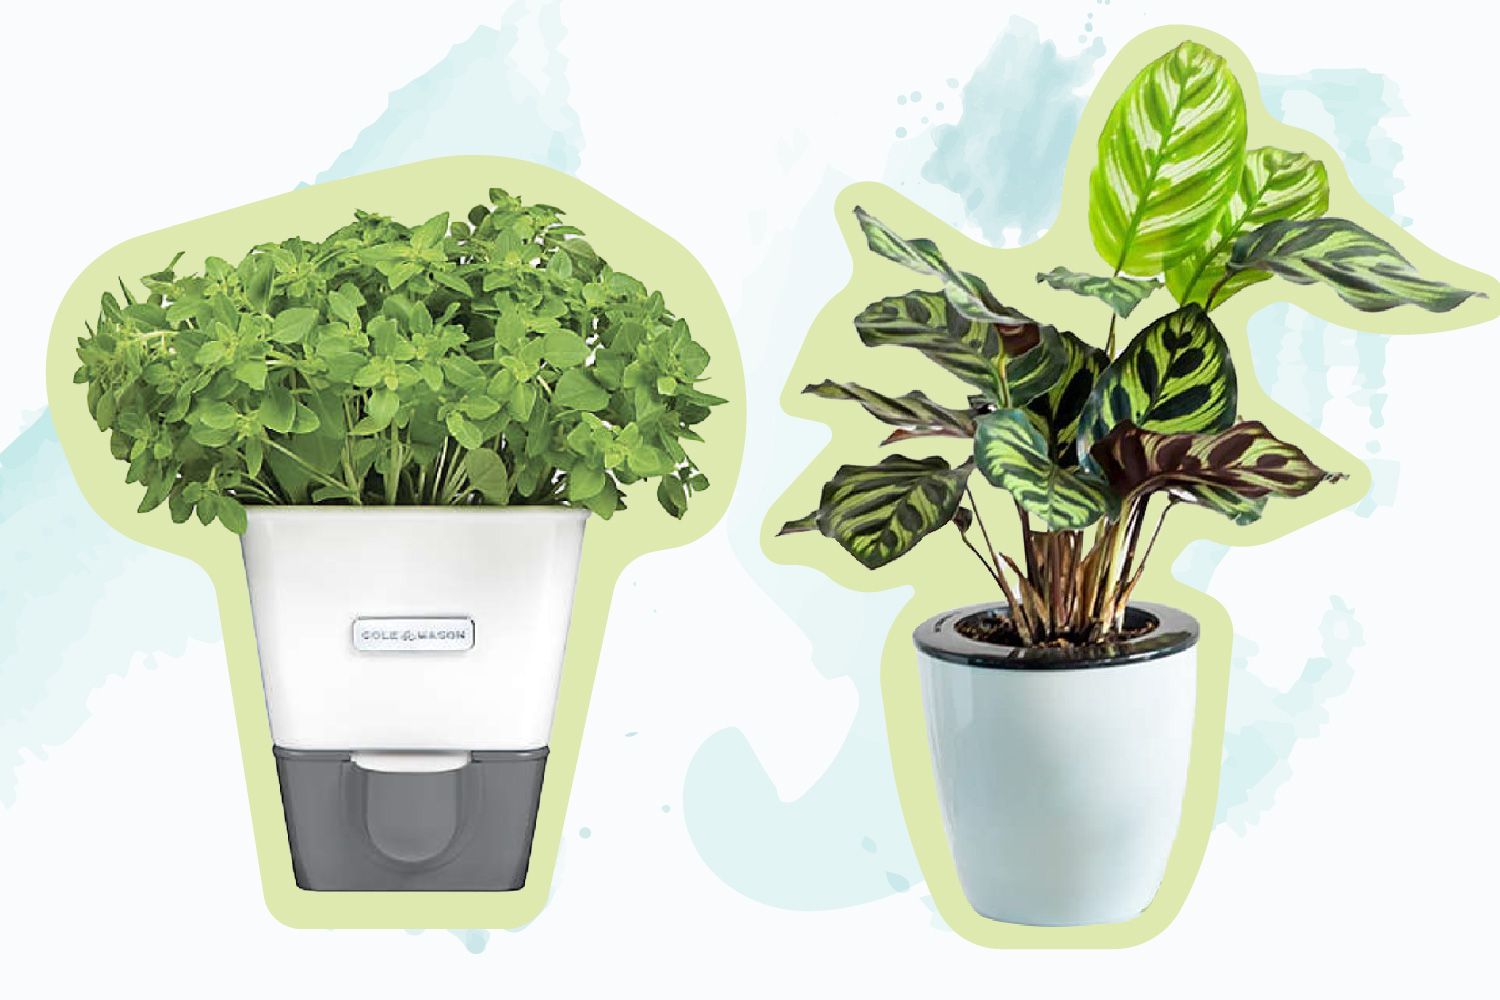
Next, consider the material of the planter box. The most common materials are wood, plastic, and ceramic. Wood provides natural insulation and breathability, but it may deteriorate over time. Plastic is lightweight and durable, but it may retain moisture. Ceramic is elegant and offers good insulation, but it can be heavy and prone to cracking in extreme temperatures. Choose a material that suits your aesthetic preferences and meets the specific needs of your herb garden.
Additionally, consider the location where you plan to place the planter box. If it will be outdoors in a sunny area, choose a planter box made of a material that can withstand the elements. If you plan to keep it indoors, select a planter box that complements your interior decor.
Lastly, consider the style and design of the planter box. It should align with your personal taste and blend well with your existing garden or living space. Whether you prefer a traditional wooden planter box or a modern, minimalist design, there are plenty of options available to suit your preferences.
By carefully considering the size, drainage, material, location, and style of your planter box, you will be well on your way to creating a suitable and aesthetically pleasing home for your herb garden.
Selecting the Ideal Herbs
When it comes to selecting the herbs for your planter box, there are a plethora of options to choose from. The key is to select herbs that suit your taste preferences, cooking needs, and growing conditions.
Firstly, consider the herbs that you frequently use in your cooking. Think about the flavors and aromas that you enjoy and the dishes that you commonly prepare. This will help you prioritize the herbs that you will get the most use out of.
Popular culinary herbs to consider include basil, rosemary, thyme, parsley, cilantro, mint, and chives. These herbs are versatile and can be used in a variety of dishes, from soups and salads to pasta and meat dishes. However, don’t limit yourself to just these options. Explore and experiment with different herbs to discover your own favorites.
Next, consider the growing conditions in your area. Some herbs prefer full sun, while others can tolerate partial shade. Take note of the amount of sunlight your planter box will receive throughout the day and choose herbs accordingly. For example, if your planter box will be in a shaded area, herbs like mint and parsley are more suitable. On the other hand, if it will receive ample sunlight, herbs like basil and rosemary will thrive.
Additionally, consider the growth habits of the herbs. Some herbs, like mint and oregano, have a tendency to spread and can quickly take over a planter box. If you have limited space or prefer to keep your herbs more contained, opt for herbs like thyme and chives that have a more compact and upright growth habit.
Another factor to consider is how easily the herbs can be grown from seeds or whether you prefer to start with seedlings. Some herbs, like basil and cilantro, are relatively easy to grow from seed, while others, like rosemary and lavender, can be more challenging. If you’re a beginner or prefer a quicker start, choose herbs that are readily available as seedlings from a nursery or garden center.
Lastly, consider the overall variety and diversity of your herb selection. Having a mix of different herbs allows you to experiment with flavors and create more dynamic culinary experiences. Blend herbs with different tastes and aromas, such as pairing the earthiness of rosemary with the freshness of mint.
By considering your cooking preferences, growing conditions, growth habits, and variety, you can select the ideal herbs that will thrive in your planter box and bring a burst of flavor to your kitchen.
Preparing the Planter Box
Before you start planting your herbs in the planter box, it is important to properly prepare the box to create a healthy growing environment for your plants. Here are the essential steps to follow:
1. Clean the planter box: If you are using a new planter box, it is important to clean it thoroughly before planting. Remove any debris or dirt that may be present. If you are reusing an old planter box, clean it out and remove any remnants of previous plants or pests.
2. Check for drainage: Ensure that the planter box has proper drainage holes. If it doesn’t, drill or punch holes in the bottom to allow excess water to escape. Good drainage is crucial for preventing waterlogging and root rot.
3. Line the planter box (optional): To further improve drainage and prevent soil from escaping through the drainage holes, you can line the bottom of the planter box with a layer of landscape fabric or a coffee filter. This will allow water to drain while keeping the soil in place.
4. Sterilize the soil (optional): If you are reusing soil from a previous planting or suspect it may contain pests or diseases, it is recommended to sterilize the soil. You can do this by baking it in the oven at 180°F (82°C) for 30 minutes or microwaving it on high for two minutes per gallon of soil. This step helps eliminate any potential pathogens that could harm your new herb plants.
5. Add drainage material (optional): If your planter box has a deep base, you can improve drainage by adding a layer of gravel, pebbles, or broken clay pots to the bottom. This will create an extra space for excess water to collect before draining out through the holes.
6. Elevate the planter box (optional): To further enhance drainage and prevent water from pooling around the base of the planter box, consider placing it on risers, such as bricks or pot feet. This will allow air to circulate underneath and encourage proper drying of the planter box.
By following these steps to prepare your planter box, you will create a conducive environment for your herb plants to thrive. Proper preparation sets a strong foundation for healthy growth and ensures your herbs have the best chance of success.
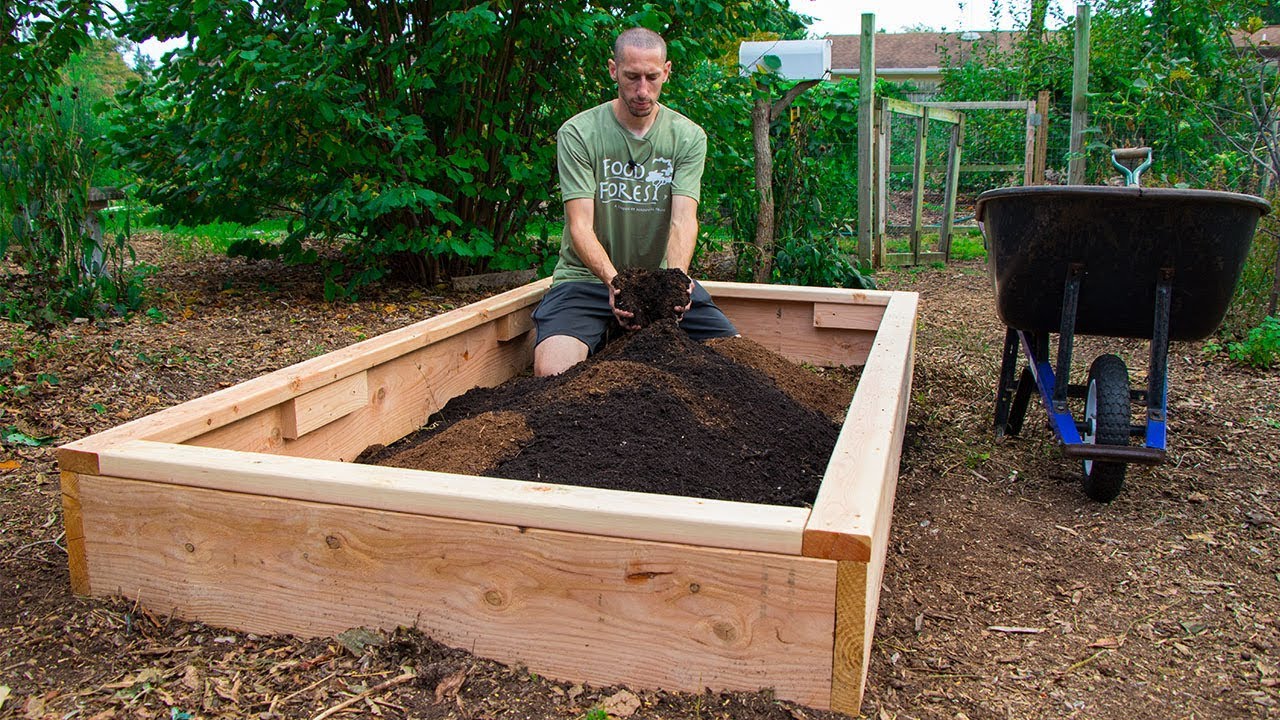
Filling the Planter Box with Soil
Once your planter box is properly prepared, the next step is to fill it with high-quality soil that will provide the necessary nutrients and support for your herb plants. Here are the steps to follow:
1. Choose the right soil: Select a well-draining potting mix specifically designed for container gardening. Avoid using garden soil, as it may be too heavy and compact, leading to poor drainage. The potting mix should be lightweight, loose, and rich in organic matter.
2. Fill the planter box partially: Start by filling the planter box about one-third to halfway with the potting mix. Distribute the soil evenly across the bottom of the box, ensuring it reaches the edges and corners. Avoid compacting or packing the soil too tightly.
3. Moisten the soil: Before proceeding further, moisten the soil slightly by watering it. This will help create a conducive environment for planting and will prevent dry pockets within the soil.
4. Add organic matter (optional): To further enrich the soil and promote healthy plant growth, you can mix in some organic matter, such as compost or well-rotted manure. This will provide additional nutrients and improve the soil structure.
5. Fill the remaining space: Once you have added any desired organic matter, continue filling the planter box with the potting mix until it reaches within an inch or so below the top of the box. Gently firm down the soil to eliminate any air pockets and ensure even distribution.
6. Level the soil: Use a gardening trowel or your hands to level the soil surface, making it smooth and even. This will provide a stable base for planting your herbs and allow for easier watering and maintenance.
It is important to note that different herbs have different soil requirements. Some prefer slightly acidic soil, while others thrive in neutral or alkaline soil. Be sure to research the specific soil preferences of the herbs you plan to grow and adjust the soil pH accordingly if needed.
By properly filling the planter box with high-quality soil, you provide your herb plants with the essential nutrients and growing medium they need to flourish. This step sets the stage for healthy herb growth and ensures a successful harvest down the line.
Planting the Herb Seeds or Seedlings
Now that your planter box is filled with nutrient-rich soil, it’s time to plant your herb seeds or seedlings. Here’s how to do it:
1. Read the seed packet or plant label: If you’re planting seeds, carefully read the instructions on the seed packet to determine the appropriate planting depth and spacing. This information will ensure that your herbs have enough space to grow and thrive.
2. Create furrows or indentations: Using your finger or a small gardening tool, create furrows or indentations in the soil based on the recommended planting depth. The depth will vary depending on the herb, so refer to the seed packet or label for guidance.
3. Sow the seeds or plant the seedlings: Gently place the herb seeds into the furrows, following the recommended spacing between plants. If you’re using seedlings, carefully remove them from their containers and gently loosen the roots if they are root-bound. Place each seedling in its designated spot in the planter box.
4. Cover the seeds or seedlings: Once the seeds or seedlings are in place, lightly cover them with soil, taking care not to bury them too deeply. Use a fine layer of soil or vermiculite to cover the seeds, allowing them to receive sufficient light and water for germination.
5. Water the newly planted herbs: After planting, give the herbs a thorough watering. Ensure that the water reaches the root zone without causing soil erosion or surface pooling. Moisture is essential for seed germination and for initiating root development in seedlings.
6. Provide appropriate care: Place the planter box in a location that receives the recommended amount of sunlight for the specific herbs you’re growing. Water the herbs regularly, allowing the soil to dry out slightly between waterings. Monitor the plants for signs of pests or diseases, and take appropriate action to address any issues that arise.
Remember to label your herbs to avoid confusion as they grow. This is especially crucial if you’ve planted multiple varieties. It’s also helpful to create a planting schedule or note down the date of planting so you can track the growth and maturity of your herb plants.
With patience and proper care, your herb seeds will sprout and your seedlings will establish strong roots. As they grow, you can continue to provide the necessary care and ensure they have the ideal growing conditions for a successful harvest.
Caring for Herb Plants in a Planter Box
Once your herb plants are planted in the planter box, it is essential to provide them with the proper care to ensure healthy growth and a bountiful harvest. Here are some key aspects to consider when caring for your herb plants:
1. Watering: Regular and consistent watering is crucial for the overall health of your herb plants. Most herbs prefer slightly moist soil, so check the soil moisture regularly and water when the top inch of soil feels dry. Be careful not to overwater, as it can lead to root rot. Water directly at the base of the plants, avoiding wetting the foliage to minimize the risk of fungal diseases.
2. Sunlight: Most herbs thrive in full sun, requiring at least 6-8 hours of direct sunlight each day. Ensure that your planter box is placed in a sunny spot, such as a south-facing window or a location with unobstructed sunlight. If you have limited sunlight, choose herbs that can tolerate partial shade, such as parsley or mint.
3. Fertilizing: Herbs grown in containers can benefit from regular fertilization to replenish the nutrients in the soil. Use a balanced, water-soluble fertilizer or an organic option, following the package instructions or label recommendations. Be cautious not to over-fertilize, as it can lead to excessive foliage growth at the expense of flavor and aroma.
4. Pruning and Harvesting: Regular pruning helps promote bushier growth and prevents herbs from becoming leggy. Pinch off the tips of the herbs to encourage branching and harvest frequently to enjoy fresh herbs in your kitchen. Harvesting from the top encourages new growth, but be mindful not to remove more than one-third of the plant at a time to ensure its continued vigor.
5. Pest and Disease Management: Keep a close eye on your herb plants for any signs of pests or diseases. Common herb pests include aphids, mites, and caterpillars. If you notice any infestation, consider natural pest control methods like using insecticidal soap or introducing beneficial insects like ladybugs. Proper spacing, good airflow, and avoiding overwatering can help prevent fungal diseases.
6. Seasonal Care: Remember that some herbs are annuals, while others are perennials. Annual herbs like basil or cilantro will typically complete their lifecycle within one growing season. Perennial herbs like rosemary or thyme will continue to grow year after year. Adjust your care routine accordingly, providing winter protection or replanting annuals as needed.
By consistently providing the right amount of water, sunlight, fertilizer, and attention to pest and disease management, you can ensure that your herb plants thrive and provide a continuous supply of fresh flavors for your culinary endeavors.
Harvesting and Using Herbs from the Planter Box
One of the most rewarding aspects of growing herbs in a planter box is the ability to harvest and enjoy the fresh flavors in your culinary creations. Here are some tips for harvesting and using herbs from your planter box:
1. Timing: Harvesting herbs at the right time is crucial for optimal flavor and aroma. As a general rule, harvest herbs in the morning after the dew has dried but before the heat of the day. This is when the essential oils responsible for the herbs’ flavors are at their peak.
2. Selective Harvesting: When harvesting herbs, it’s important to choose the right parts of the plant. For leafy herbs such as basil or mint, pinch or snip off individual leaves or harvest whole stems. For woody herbs like rosemary or thyme, trim the stems just above a leaf node. This selective harvesting encourages continued growth and ensures a healthy plant.
3. Use Fresh or Preserve: Fresh herbs are best used immediately after harvesting, as the flavors and aromas are at their peak. However, if you have more herbs than you can use at once, there are various methods to preserve them. You can dry herbs by hanging them in a cool, dry place, or you can freeze them by chopping or blending with a little oil or water and storing in ice cube trays.
4. Culinary Uses: Utilize your freshly harvested herbs in a multitude of culinary dishes. Add them to salads, soups, stews, sauces, marinades, or even cocktails. Experiment with different herb combinations to enhance the flavors of your favorite recipes. Pair basil with tomatoes, mint with fruits or cocktails, and rosemary with roasted potatoes or meat dishes.
5. Infuse Oils or Vinegars: Another great way to utilize herbs from your planter box is to infuse them into oils or vinegars. Simply bruise or lightly crush the herbs and place them in a bottle with olive oil or vinegar. Let it sit for a few weeks to infuse the flavors, and then strain out the herbs for a delicious homemade infused oil or vinegar.
6. Herbal Teas: Many herbs can be used to make refreshing and flavorful herbal teas. Harvest herb leaves such as mint, lemon balm, or chamomile, and steep them in hot water for a soothing beverage. Experiment with different combinations and add a touch of honey or lemon for added flavor.
Remember to always harvest herbs responsibly, taking care not to remove too much from the plant at once, which could negatively impact its growth. By following these tips, you can make the most of your freshly harvested herbs and elevate your culinary creations with their vibrant flavors and aromas.
Troubleshooting Common Issues
While growing herbs in a planter box can be a rewarding and relatively trouble-free experience, there may be some common issues that arise. Here are a few troubleshooting tips to help you overcome these challenges:
1. Overwatering or Underwatering: Proper watering is crucial for the health of your herb plants. Overwatering can lead to root rot and other fungal diseases, while underwatering can cause the plants to dry out and wither. To avoid these issues, check the moisture level of the soil regularly and adjust your watering accordingly. Ensure that the excess water can drain freely from the planter box.
2. Pests: Certain pests, such as aphids, mites, or caterpillars, can target herb plants. To combat these pests, regularly inspect your plants for any signs of infestation, such as distorted leaves, webs, or holes. Consider using natural pest control methods, like introducing beneficial insects or using insecticidal soap, to keep these pests in check.
3. Diseases: Fungal diseases, such as powdery mildew or gray mold, can affect herb plants, especially in humid or poorly ventilated conditions. To prevent these diseases, ensure that there is good airflow around the plants by providing adequate spacing in the planter box. Avoid wetting the foliage when watering and promptly remove any infected leaves or plants to prevent the spread.
4. Nutrient Deficiencies: Herb plants grown in containers may face nutrient deficiencies over time. This is because the nutrients in the soil can become depleted or leach out with watering. To address this, regularly fertilize your herb plants with a balanced fertilizer, following the package instructions. Alternatively, you can enrich the soil with organic matter or use slow-release fertilizers to provide a steady supply of nutrients.
5. Leggy Growth: Leggy growth occurs when herb plants become tall and spindly, with weak stems. This is often caused by insufficient sunlight or crowded growing conditions. To prevent leggy growth, ensure that your planter box is placed in a location that receives adequate sunlight and provide enough spacing between plants to allow for proper air circulation.
6. Yellowing Leaves or Poor Growth: Yellowing leaves or poor growth can be a sign of various issues, including nutrient deficiencies, overwatering, or pests. Assess the conditions of your herb plants and address any underlying issues accordingly. Adjust watering, fertilization, or pest control measures as needed to promote healthy growth and vibrant foliage.
By promptly identifying and addressing these common issues, you can ensure the long-term health and vitality of your herb plants. Regular monitoring and care will go a long way in preventing these problems and maintaining a thriving herb garden in your planter box.
Conclusion
Congratulations! You are now equipped with the knowledge and skills to successfully plant and care for herbs in a planter box. By choosing the right planter box, selecting the ideal herbs, preparing the planter box, filling it with nutritious soil, and providing proper care, you can enjoy a flourishing herb garden that adds fresh flavors and aromas to your culinary creations.
Remember to give your herb plants the attention they need, from regular watering and adequate sunlight to fertilizing and careful pruning. Harvest your herbs at the right time and explore various culinary uses, from adding them to your favorite dishes and infusing oils to brewing herbal teas.
Should any challenges arise, such as overwatering, pests, diseases, or nutrient deficiencies, use the troubleshooting tips provided to address them promptly and maintain the health of your herb plants.
Growing herbs in a planter box not only allows you to have a convenient and accessible source of fresh herbs but also connects you to the beauty of nature and the satisfaction of growing your own food. It’s a rewarding experience that can bring joy and fulfillment to your gardening journey.
So don’t wait any longer! Start your edible gardening adventure today by setting up your planter box, selecting your favorite herbs, and nurturing them with care. Enjoy the bountiful harvest and the delightful flavors that will enhance your culinary creations, all from the comfort of your own home.