Home>Types of Gardening>Ornamental Gardening>When To Plant 4 O’Clock Seeds
Ornamental Gardening
When To Plant 4 O’Clock Seeds
Modified: January 22, 2024
Discover the ideal time to sow 4 o'clock seeds for your ornamental gardening project. Ensure beautiful blooms with our planting guide.
(Many of the links in this article redirect to a specific reviewed product. Your purchase of these products through affiliate links helps to generate commission for Chicagolandgardening.com, at no extra cost. Learn more)
Table of Contents
Introduction
Welcome to the world of ornamental gardening! If you are looking to add beauty and flair to your outdoor space, planting 4 O’Clock seeds is a delightful way to achieve just that. These enchanting flowers, scientifically known as Mirabilis jalapa, are a popular choice among gardeners due to their vibrant colors and captivating fragrance.
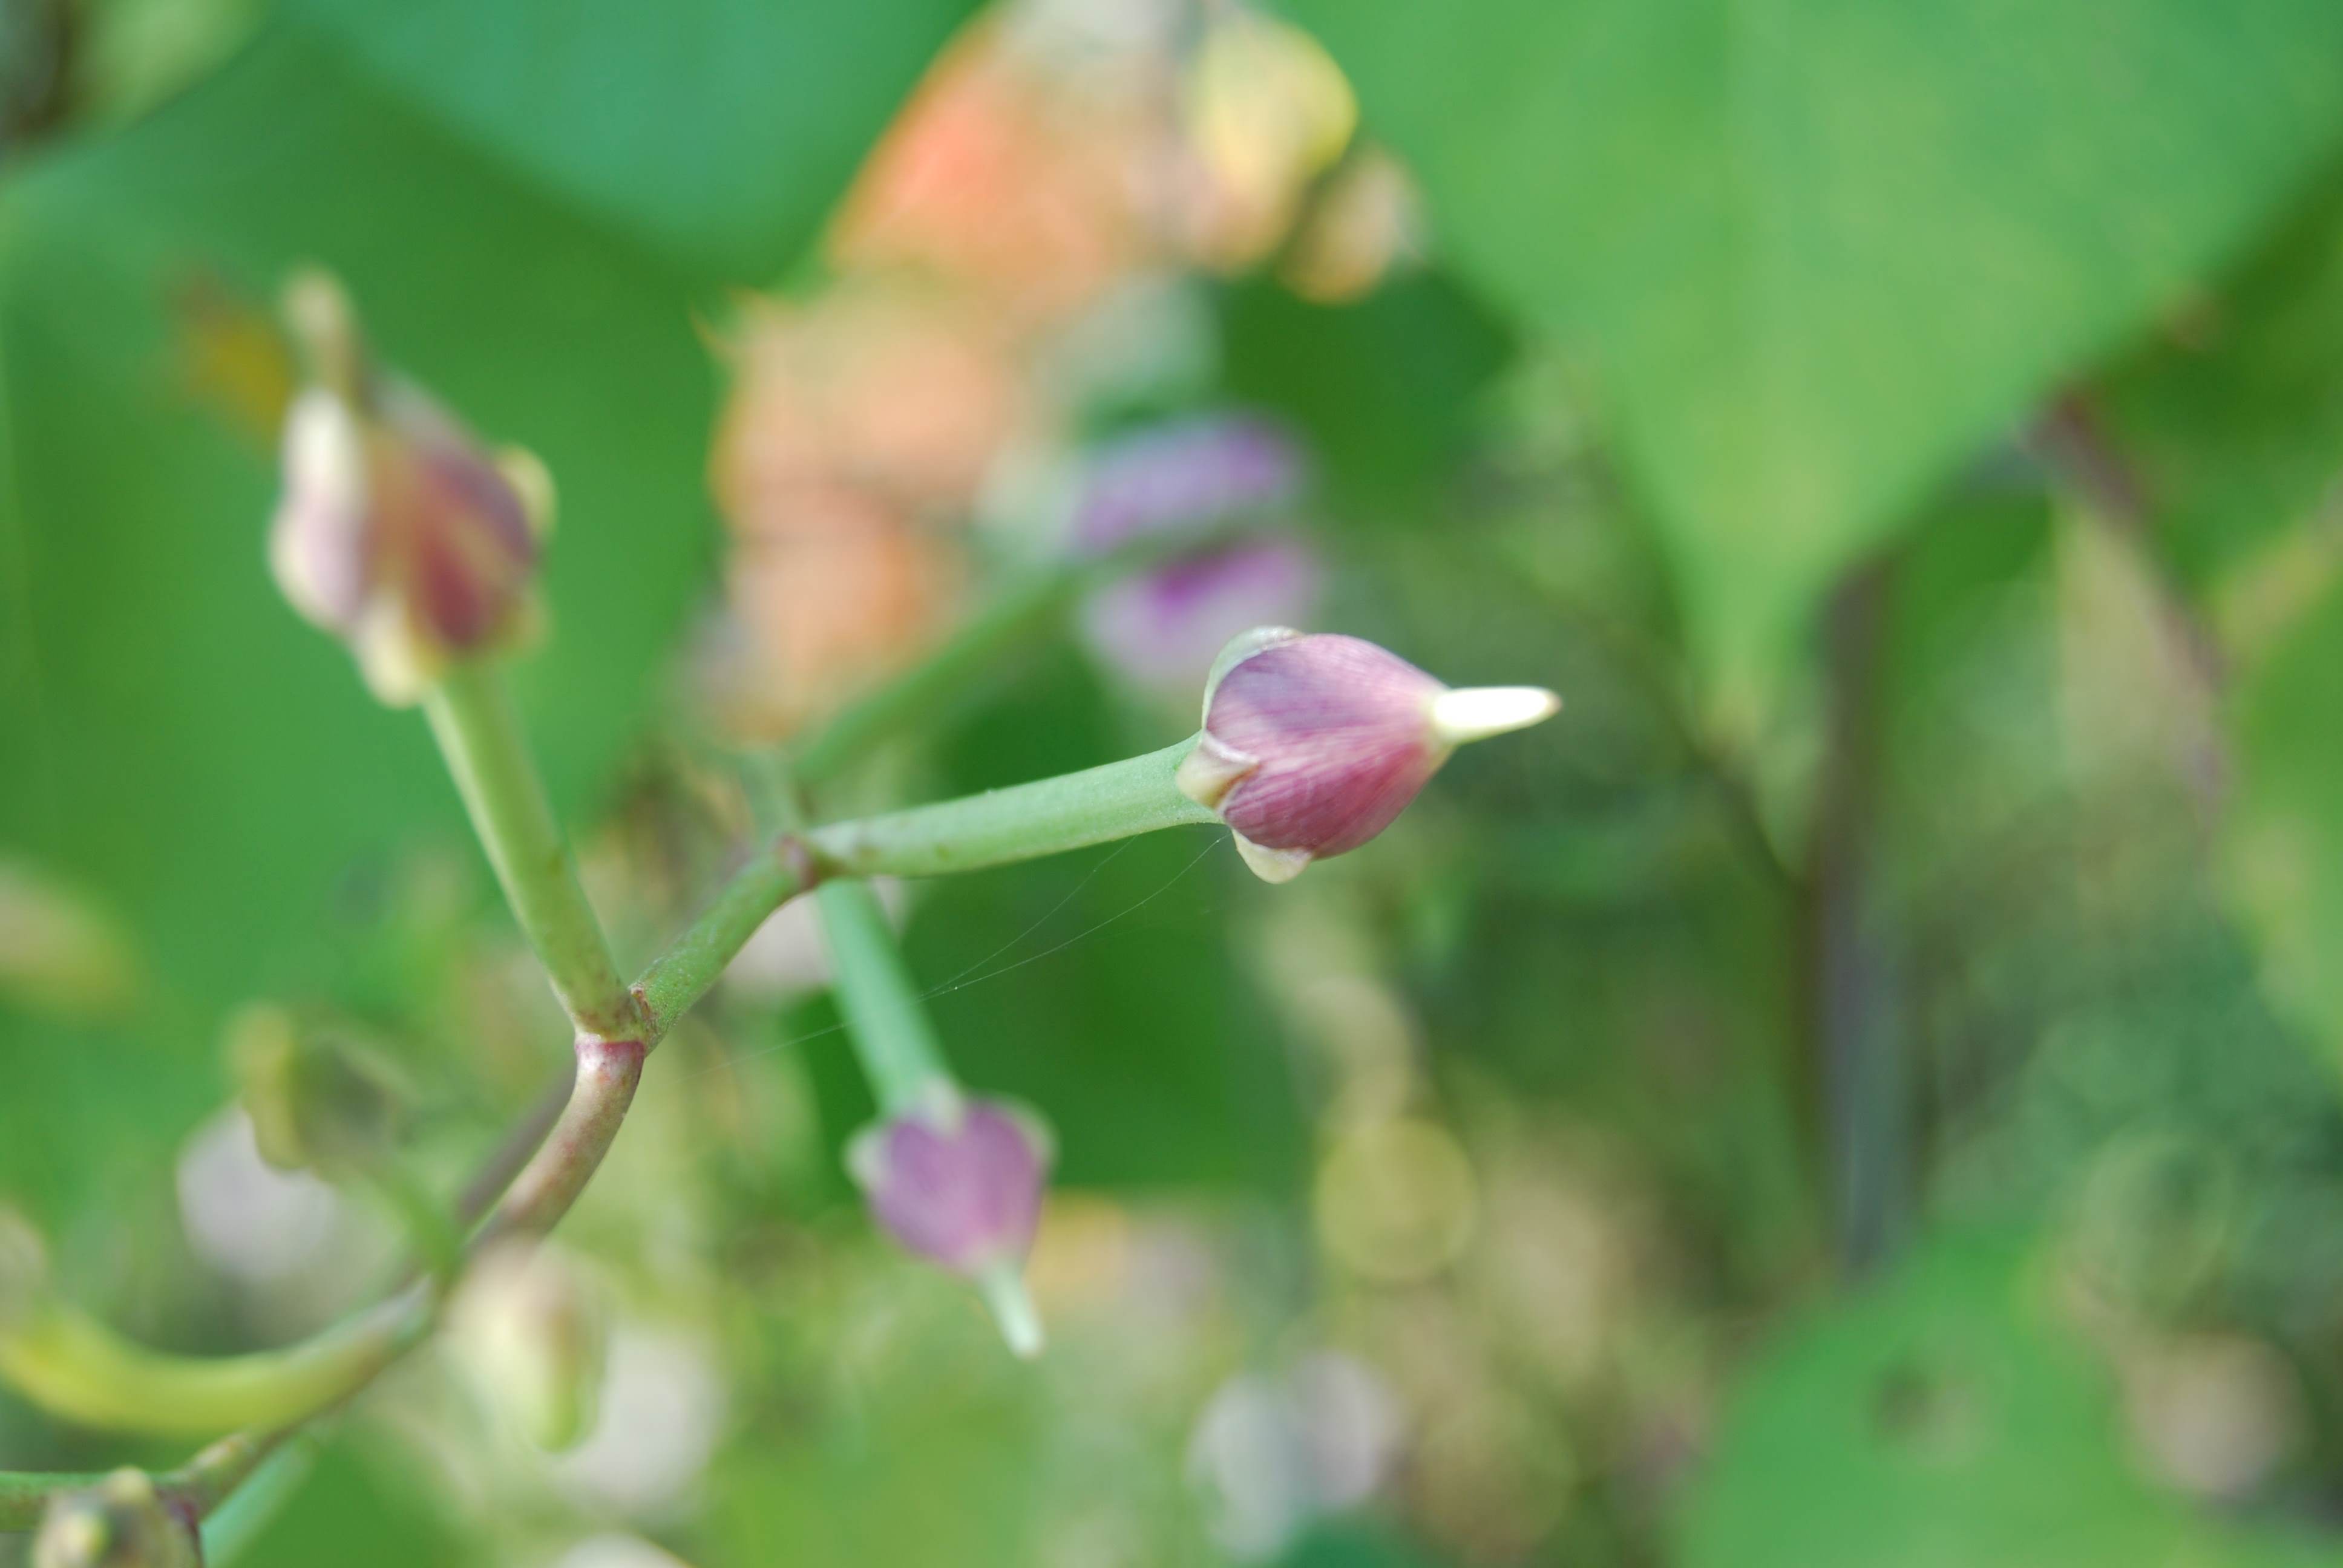
4 O’Clock seeds get their name from their fascinating blooming pattern: their flowers open in the late afternoon, around 4 o’clock, and close again in the morning. This unique characteristic adds a touch of intrigue to any garden, as their blossoms magically unfold during the late hours of the day.
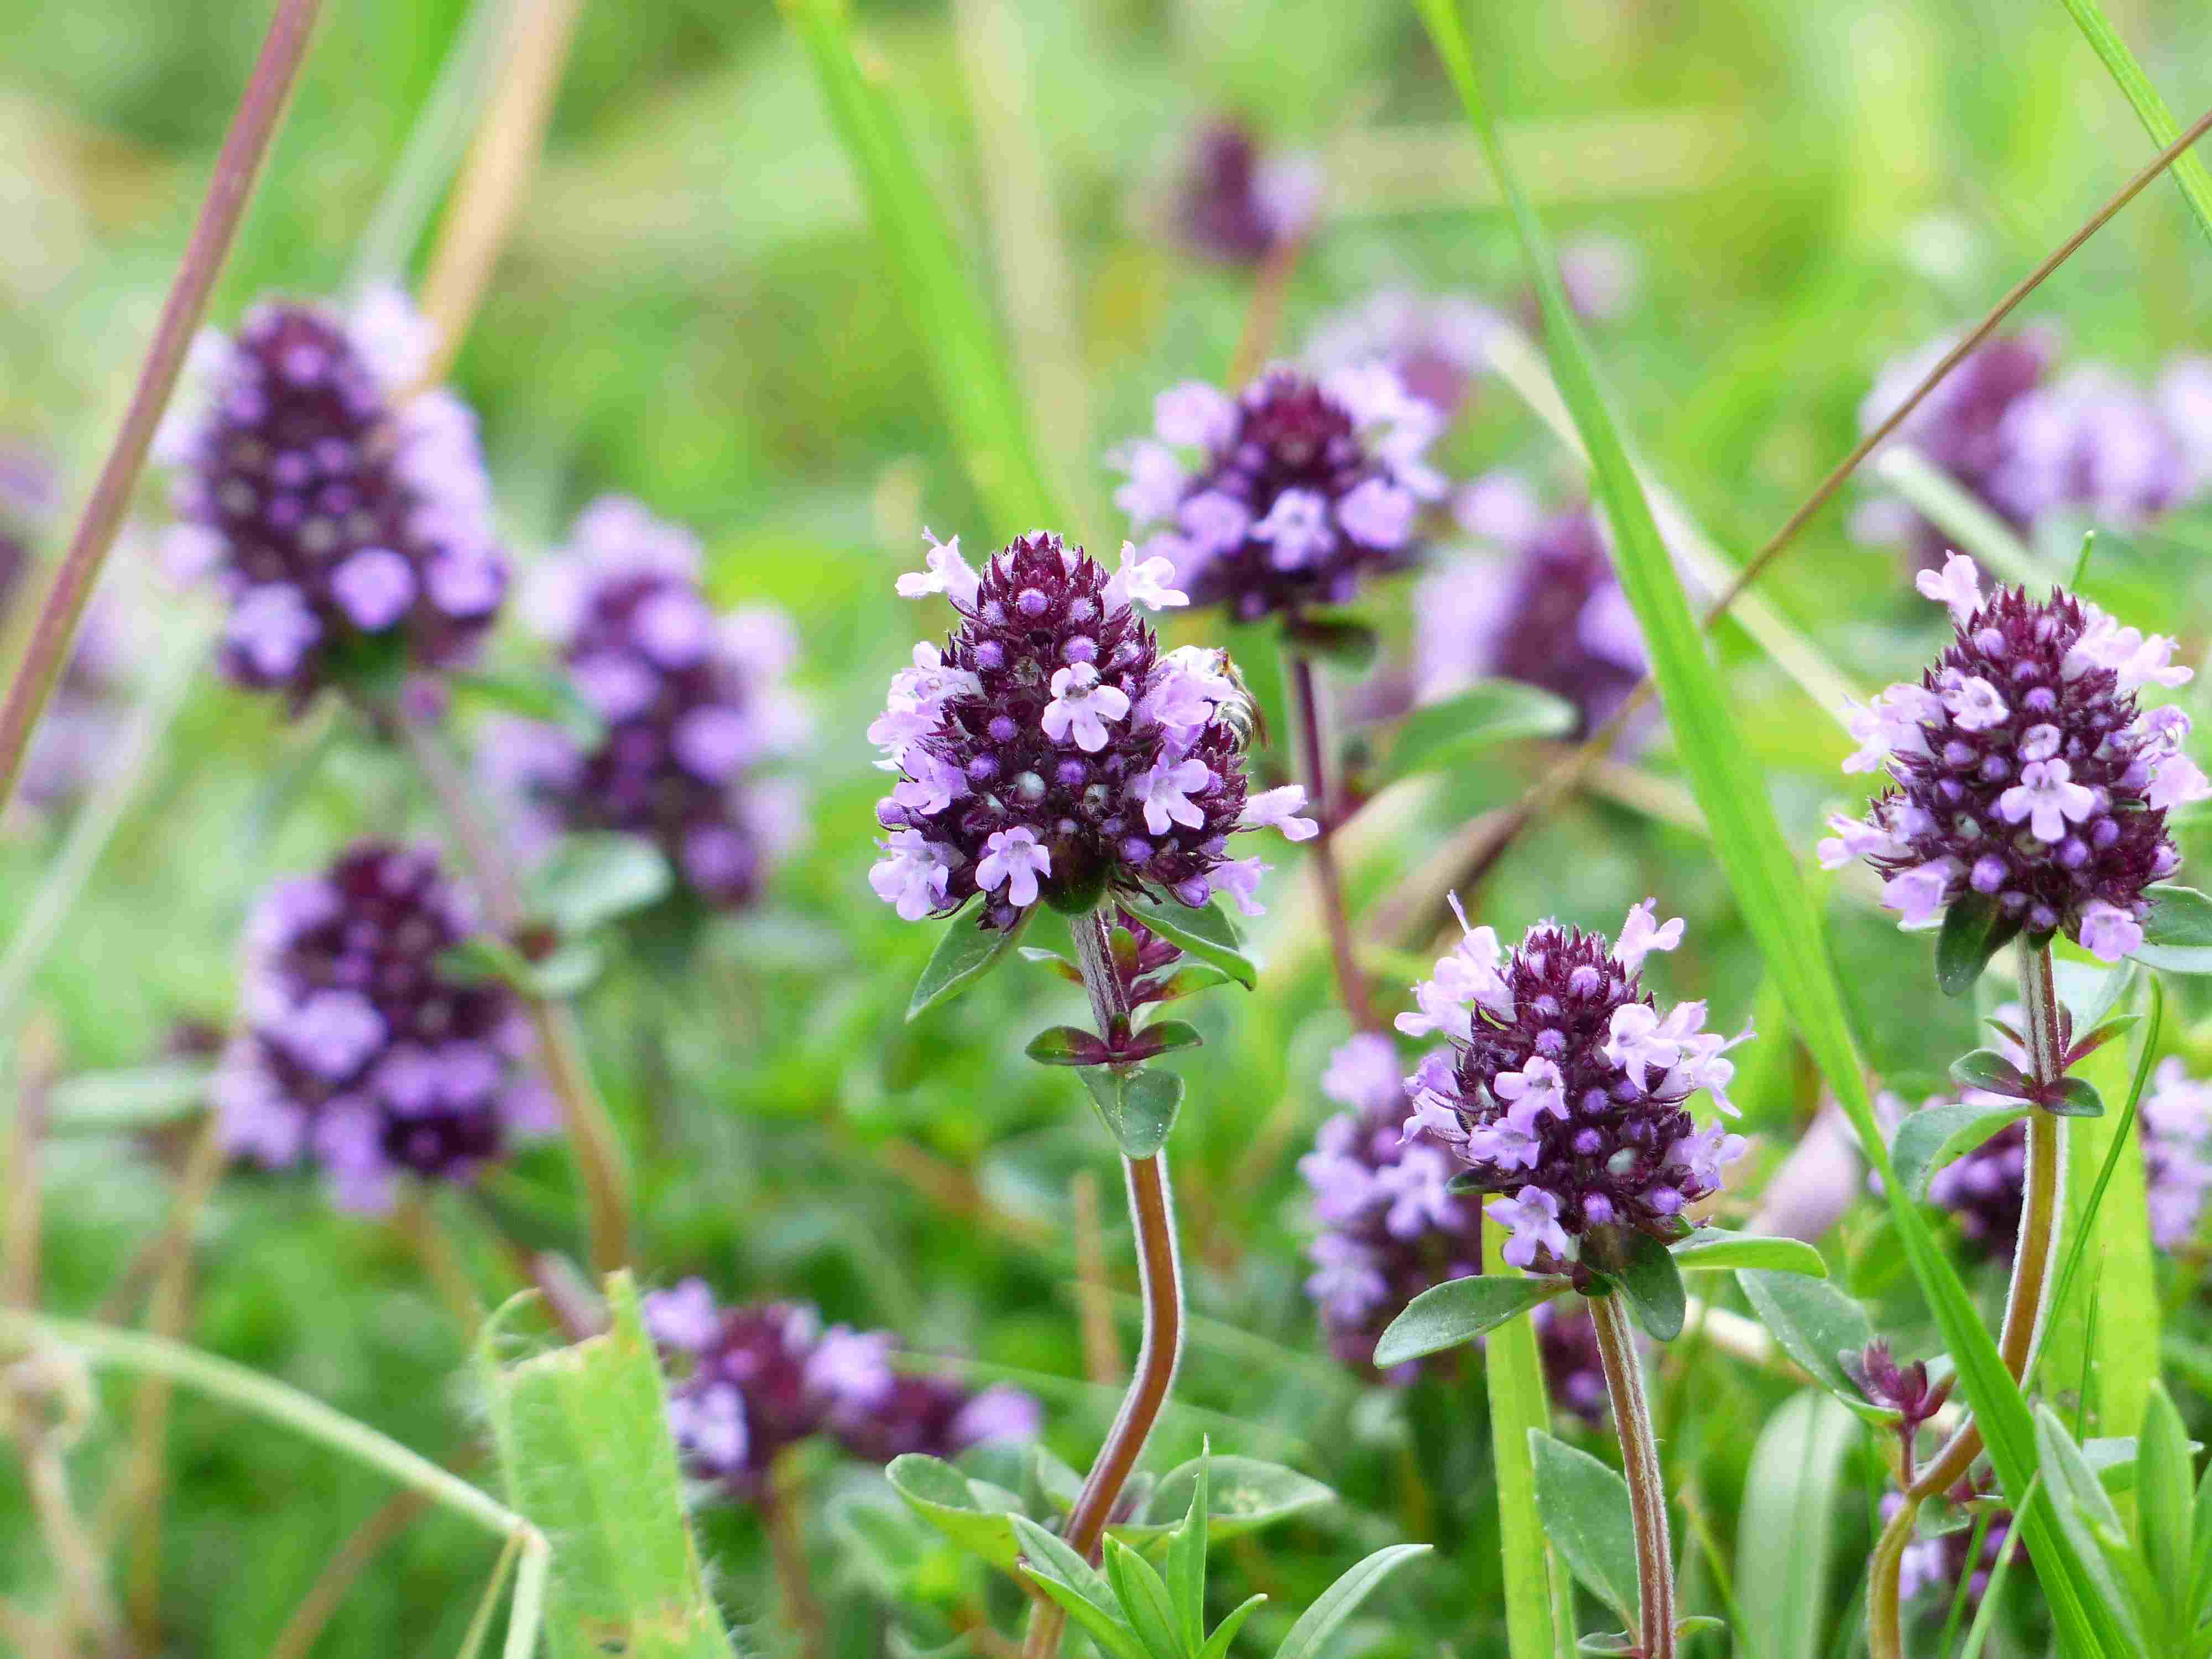
With their wide range of hues, from soft pastels to bold and vibrant shades, 4 O’Clocks can effortlessly liven up any garden. Their flowers come in various colors, including pink, yellow, white, red, and even bi-color combinations. This diversity allows you to create stunning displays and add visual interest to your landscape.
Before you embark on the journey of planting 4 O’Clock seeds, it is essential to understand the factors that contribute to their successful growth. From choosing the right time to plant to providing proper care, this comprehensive guide will walk you through all the necessary steps to cultivate a flourishing 4 O’Clock garden. So, grab your gardening tools and let’s dive into the world of 4 O’Clocks!
What are 4 O’Clock Seeds?
4 O’Clock seeds, botanically known as Mirabilis jalapa, are the seeds of a beautiful flowering plant that belongs to the Nyctaginaceae family. Native to South America, these seeds have gained popularity among gardeners worldwide for their stunning flowers and unique blooming pattern.
The plant gets its name from its fascinating blooming habit. As the name suggests, the 4 O’Clock plant’s flowers open in the late afternoon, around 4 o’clock, and remain open until the following morning. This unique characteristic makes it an enchanting addition to any garden, as the flowers magically unfold during the twilight hours.
The flowers of the 4 O’Clock plant come in a wide array of colors, including pink, yellow, red, white, and even bi-color combinations. The vibrant and eye-catching blooms, coupled with their delightful fragrance, make 4 O’Clock plants a favorite amongst gardeners.
Aside from their ornamental appeal, 4 O’Clock plants also have interesting foliage. The plant features lance-shaped leaves that grow in an alternating pattern along the stems. Their leaves range from medium to dark green and provide an attractive backdrop to the colorful blooms.
In addition to their beauty, 4 O’Clock seeds are relatively easy to plant and cultivate, making them a suitable choice for gardeners of all levels of experience. These seeds have a high germination rate, meaning they have a good chance of successfully sprouting when planted under the right conditions.
Whether you have a spacious garden or limited balcony space, 4 O’Clock seeds can be grown in various containers such as pots, hanging baskets, or flowerbeds. Their adaptability and low maintenance requirements make them a versatile and rewarding addition to any space.
Now that you have a better understanding of what 4 O’Clock seeds are and what makes them special, let’s explore the factors to consider before planting these delightful flowers.
Factors to Consider Before Planting
Before you start planting 4 O’Clock seeds, it’s essential to consider a few factors that will contribute to the success of your garden. By taking these factors into account, you can create an optimal environment for your 4 O’Clock plants to thrive. Let’s explore these factors:
- Climate: 4 O’Clock seeds are suitable for a wide range of climates, including both temperate and tropical regions. However, they tend to thrive in warm and sunny conditions. If you live in an area with hot summers and mild winters, these seeds are an excellent choice for your garden. If you live in a colder climate, you can still grow 4 O’Clock plants as annuals during the summer season.
- Soil type: The soil in which you plant your 4 O’Clock seeds should be well-draining and fertile. These plants prefer slightly acidic to neutral soil pH levels. You can improve the soil’s fertility by incorporating organic matter, such as compost, into it. This will provide essential nutrients and help the plants establish and grow vigorously.
- Sunlight: 4 O’Clock seeds require full sun to thrive. They should receive at least 6 hours of direct sunlight each day. Choose a sunny spot in your garden or balcony where the plants won’t be shaded by trees or structures. Maximizing their exposure to sunlight will ensure robust growth and abundant blooms.
- Watering: While 4 O’Clock plants are fairly drought-tolerant, they still require regular watering to support healthy growth and blooming. Water the plants deeply once a week, ensuring that the soil is moist but not waterlogged. Avoid overhead watering, as it can lead to foliar diseases. Watering in the morning will allow the leaves to dry out during the day, reducing the risk of fungal infections.
- Space: Consider the space available for your 4 O’Clock plants to grow. These plants have a bushy growth habit and can spread up to 2-3 feet in width. Provide adequate spacing between plants to allow for good air circulation and prevent overcrowding, which can lead to increased susceptibility to pests and diseases.
By taking these factors into consideration, you can create the ideal conditions for your 4 O’Clock plants to flourish. Now, let’s move on to selecting the right time for planting these delightful seeds.
Choosing the Right Time for Planting
Timing is crucial when it comes to planting 4 O’Clock seeds. By selecting the right time for planting, you can ensure optimal conditions for germination and establishment of your plants. Consider the following factors when determining the best time to sow 4 O’Clock seeds:
- Last Frost Date: One important aspect to consider is the average date of the last frost in your area. 4 O’Clock plants are sensitive to frost and will not survive if exposed to freezing temperatures. Wait until the threat of frost has passed before sowing the seeds outdoors. You can check with your local gardening resources or consult a gardening calendar to determine the approximate last frost date in your region.
- Soil Temperature: The soil should be warm enough for the seeds to germinate successfully. Aim for a soil temperature of around 70 to 75°F (21 to 24°C) for optimal germination. If the soil is too cold, the seeds may rot before sprouting. Use a soil thermometer to check the temperature, or observe the general warming trend in your area to gauge the right time for planting.
- Growing Season: Consider the length of the growing season in your region. 4 O’Clock plants require a sufficient period of warm weather to grow and bloom. If your growing season is short, you can start the seeds indoors a few weeks before the last frost date, and later transplant the seedlings to the garden when the weather warms up. This will give your 4 O’Clock plants a head start and ensure a longer blooming period.
Once you have determined the appropriate time for planting, prepare the soil by loosening it and removing any weeds or debris. If you are starting the seeds indoors, sow them in seed trays or pots filled with well-draining seed-starting mix. Keep the soil consistently moist until the seedlings emerge.
It’s worth noting that 4 O’Clock seeds are quite resilient and have a high germination rate. This means that even if you miss the ideal planting time, you can still sow the seeds later in the season and expect successful results. However, starting them at the right time will give you the best chance at achieving healthy and vigorous plants.
Now that you know when to plant 4 O’Clock seeds, let’s move on to the steps for sowing these delightful seeds and getting your garden started!
Steps for Planting 4 O’Clock Seeds
Planting 4 O’Clock seeds is a simple and enjoyable process that can be done by gardeners of all levels of experience. Follow these steps to ensure successful germination and healthy growth of your 4 O’Clock plants:
- Prepare the soil: Choose a sunny area in your garden or balcony and prepare the soil by removing any weeds or debris. Loosen the soil to a depth of about 6 inches and amend it with organic matter, such as compost, to improve its fertility and moisture-retaining capacity.
- Sow the seeds: If starting the seeds indoors, fill seed trays or pots with a well-draining seed-starting mix. Sow the seeds on the surface of the soil and cover them with a thin layer of the mix. Alternatively, if planting them directly outdoors, sow the seeds at a depth of about 1/4 inch in the prepared soil, spacing them about 12 inches apart.
- Water gently: After sowing the seeds, water the soil gently to ensure proper moisture. Avoid overwatering, as it can lead to rotting and fungal diseases. Keep the soil consistently moist but not waterlogged throughout the germination period.
- Provide warmth: 4 O’Clock seeds require warmth for germination. If starting the seeds indoors, place the trays or pots in a warm and well-lit location, such as near a south-facing window. If planting them outdoors, ensure that the soil temperature is around 70 to 75°F (21 to 24°C) for optimal germination.
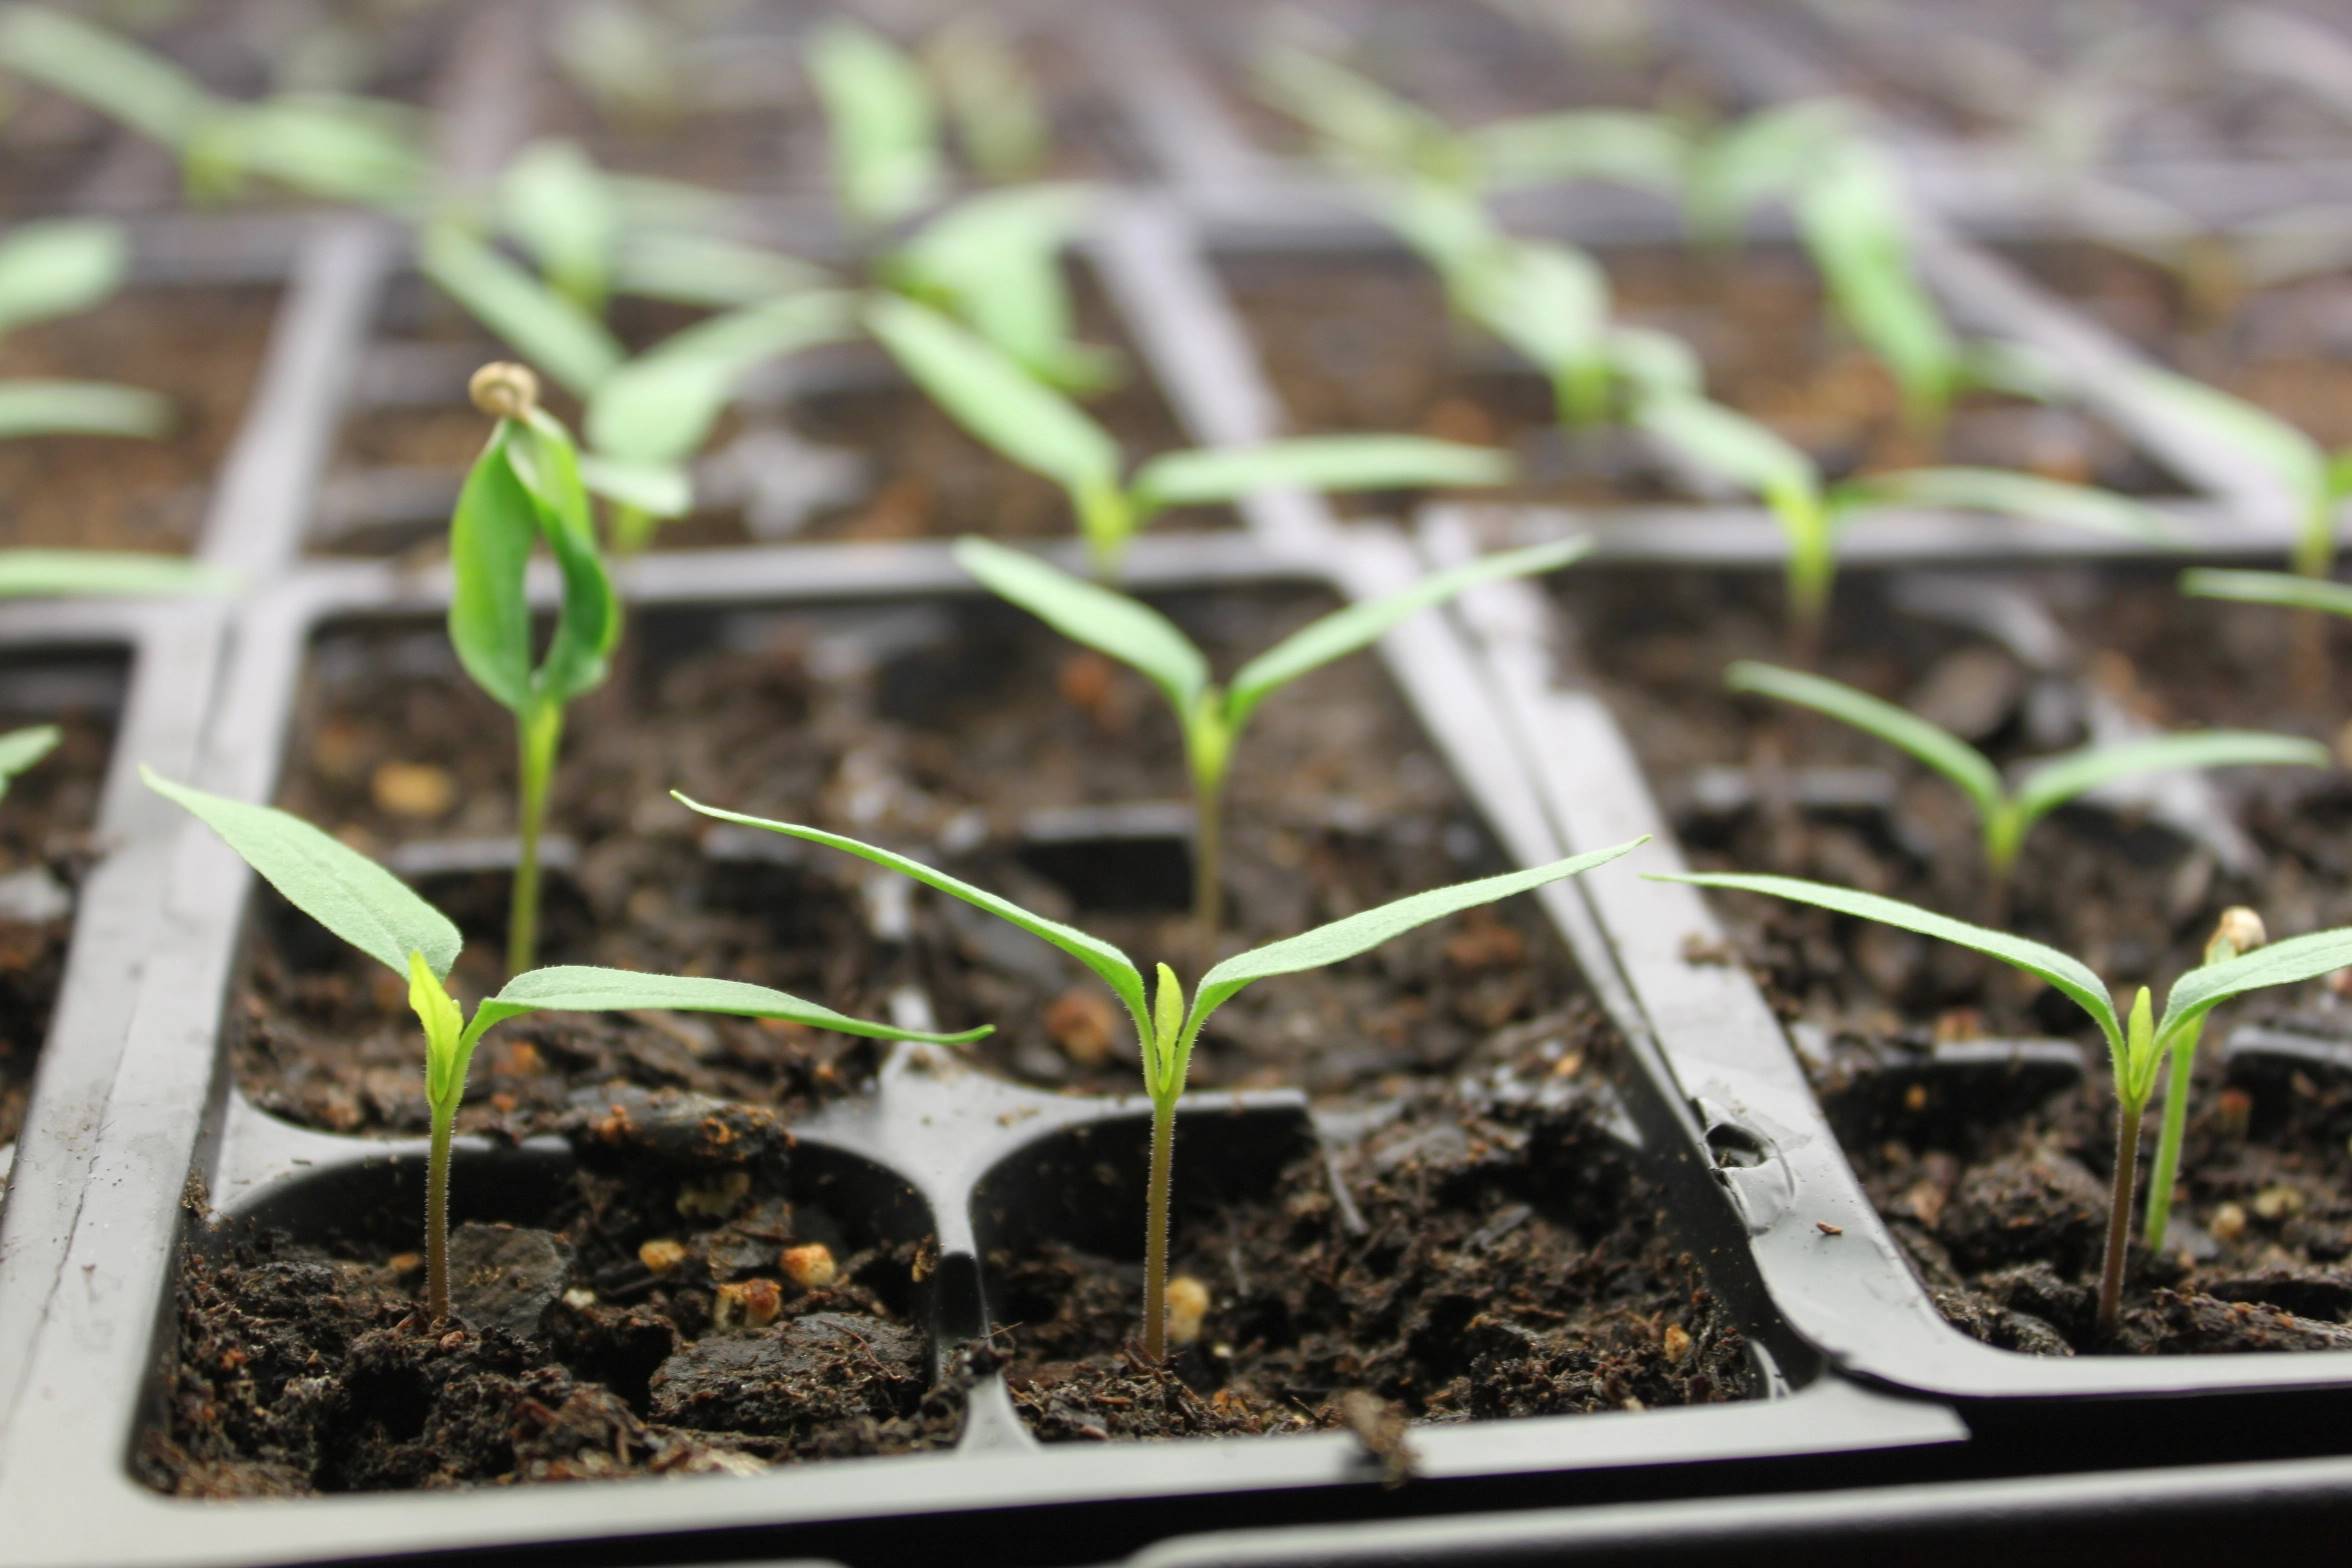
- Watch for sprouts: Within 1 to 2 weeks, you should start to see the sprouting of your 4 O’Clock plants. This is an exciting stage, indicating that your seeds have successfully germinated. Continue to provide adequate moisture and sunlight to support their growth.
- Thin or transplant seedlings: If you planted the seeds closely together, you will need to thin out the seedlings once they have a few sets of true leaves. Space them about 12 inches apart to allow for proper airflow and healthy development. If starting the seeds indoors, transplant the seedlings to larger pots or directly into the garden once they are about 3 to 4 inches tall.
- Provide care: Once the seedlings are established, continue to water them regularly, ensuring that the soil remains evenly moist. Fertilize the plants every 2 to 3 weeks with a balanced, water-soluble fertilizer to promote healthy growth and abundant blooms. Remove any weeds that may compete for nutrients and light.
- Enjoy the blooms: In a few weeks, your 4 O’Clock plants will start to produce their beautiful flowers. Watch as their blossoms open in the late afternoon, spreading their delightful fragrance. Sit back, relax, and enjoy the enchanting display that these lovely plants bring to your garden.
By following these steps, you can successfully plant 4 O’Clock seeds and create a stunning display of colorful and fragrant blooms. Now, let’s move on to learning how to care for your 4 O’Clock plants to ensure their continued health and vitality.
Caring for 4 O’Clock Plants
Once your 4 O’Clock plants are established, providing proper care will help them thrive and bloom abundantly. These low-maintenance plants require minimal attention, but a little care goes a long way in ensuring their health and vitality. Here are some essential care tips for 4 O’Clock plants:
- Watering: While 4 O’Clock plants are fairly drought-tolerant, regular watering is still necessary to promote healthy growth and blooming. Water deeply once a week, ensuring that the soil is evenly moist. Be careful not to overwater, as it can lead to root rot and other water-related issues. Adjust the watering frequency depending on the weather conditions and rainfall in your area.
- Fertilizing: Providing your 4 O’Clock plants with regular feeding will help them maintain vigorous growth and abundant blooms. Apply a balanced, water-soluble fertilizer every 2 to 3 weeks during the growing season. Follow the instructions on the fertilizer package for proper dilution and application rates. Avoid over-fertilizing, as it can lead to excessive foliage growth at the expense of flower production.
- Mulching: Mulching around your 4 O’Clock plants can help conserve moisture, suppress weed growth, and regulate soil temperature. Apply a layer of organic mulch, such as wood chips or straw, around the base of the plants. This will also add nutrients to the soil over time as the mulch decomposes.
- Deadheading: To encourage continuous blooming, regularly remove spent flowers by deadheading. Pinch or cut off the faded blooms, including the seed heads, to prevent the plant from putting energy into seed production. This will redirect the plant’s energy towards producing new buds and blossoms.
- Pruning: 4 O’Clock plants have a bushy growth habit and can benefit from occasional pruning to maintain their shape and size. Trim back any leggy or overly long stems to encourage branching and improve the overall appearance of the plant. Pruning can also help to rejuvenate older plants or control their spread in limited spaces.
- Pest and disease control: While relatively resistant to pests and diseases, 4 O’Clock plants can sometimes be vulnerable to common garden pests like aphids or spider mites. Keep an eye out for any signs of pest infestation, such as distorted leaves or sticky residue. Treat the affected plants with organic pest control measures or insecticidal soap, if necessary.
With these care techniques, your 4 O’Clock plants will continue to thrive and grace your garden with their vibrant blooms and delightful fragrance. Now, let’s move on to addressing some common issues that you may encounter while growing 4 O’Clock plants and how to troubleshoot them effectively.
Common Issues and Troubleshooting
While 4 O’Clock plants are generally resilient and easy to grow, they can occasionally face some problems. Understanding these common issues and knowing how to troubleshoot them will help you maintain the health and vitality of your plants. Here are some common issues you may encounter and how to address them:
- Poor or no blooming: If your 4 O’Clock plants are not blooming or producing fewer flowers than expected, it may be due to insufficient sunlight. Ensure that they are receiving at least 6 hours of direct sunlight each day. Additionally, overfertilization with a nitrogen-rich fertilizer can result in lush foliage but limited blooming. Adjust the fertilization routine and provide adequate phosphorus to promote flowering.
- Pests: 4 O’Clock plants are generally resistant to pests, but aphids, spider mites, and caterpillars can occasionally affect them. Inspect your plants regularly and handpick any visible pests. The use of organic insecticidal soap or neem oil can help control infestations. Encouraging a diverse ecosystem in your garden with beneficial insects can also help keep pest populations in check.
- Fungal diseases: 4 O’Clock plants can be susceptible to foliar diseases such as powdery mildew and leaf spot. These diseases thrive in humid conditions with poor airflow. To prevent fungal infections, water the plants at the base rather than overhead, and ensure proper spacing between plants for adequate air circulation. Fungicidal sprays may be necessary if the diseases persist.
- Stunted growth: If your 4 O’Clock plants are experiencing stunted growth, it could be due to inadequate nutrition or compacted soil. Ensure that the soil is well-draining and enriched with organic matter. Adjust the fertilization routine to provide balanced nutrition. Additionally, overcrowding and competition for resources can hinder growth, so thin out the plants if necessary.
- Yellowing leaves: Yellowing leaves can indicate various issues, including overwatering, underwatering, nutrient deficiencies, or pests. Check the soil moisture levels and adjust watering accordingly. Perform a soil test to determine any nutrient deficiencies and address them with appropriate fertilization. Inspect the leaves for signs of pests and take necessary measures for control.
By monitoring your 4 O’Clock plants regularly and addressing any issues promptly, you can ensure their continued health and vitality. Remember, prevention is key, so providing optimal growing conditions and practicing good garden hygiene can go a long way in preventing problems.
Now that you are equipped with troubleshooting knowledge, let’s move on to the exciting process of harvesting 4 O’Clock seeds and saving them for future planting!
Harvest Time and Seed Saving
As your 4 O’Clock plants continue to bloom and enchant your garden, you may be interested in saving the seeds for future planting. Harvesting the seeds allows you to preserve the unique characteristics of your favorite 4 O’Clock varieties and share them with other gardening enthusiasts. Here’s a simple guide on when and how to harvest 4 O’Clock seeds:
Harvest Time: The seeds of 4 O’Clock plants are ready for harvesting when the flower heads are dry and starting to brown. This usually occurs towards the end of the growing season, typically in late summer or early fall. Wait until the seed pods are fully mature and have dried on the plant.
Seed Harvesting Process:
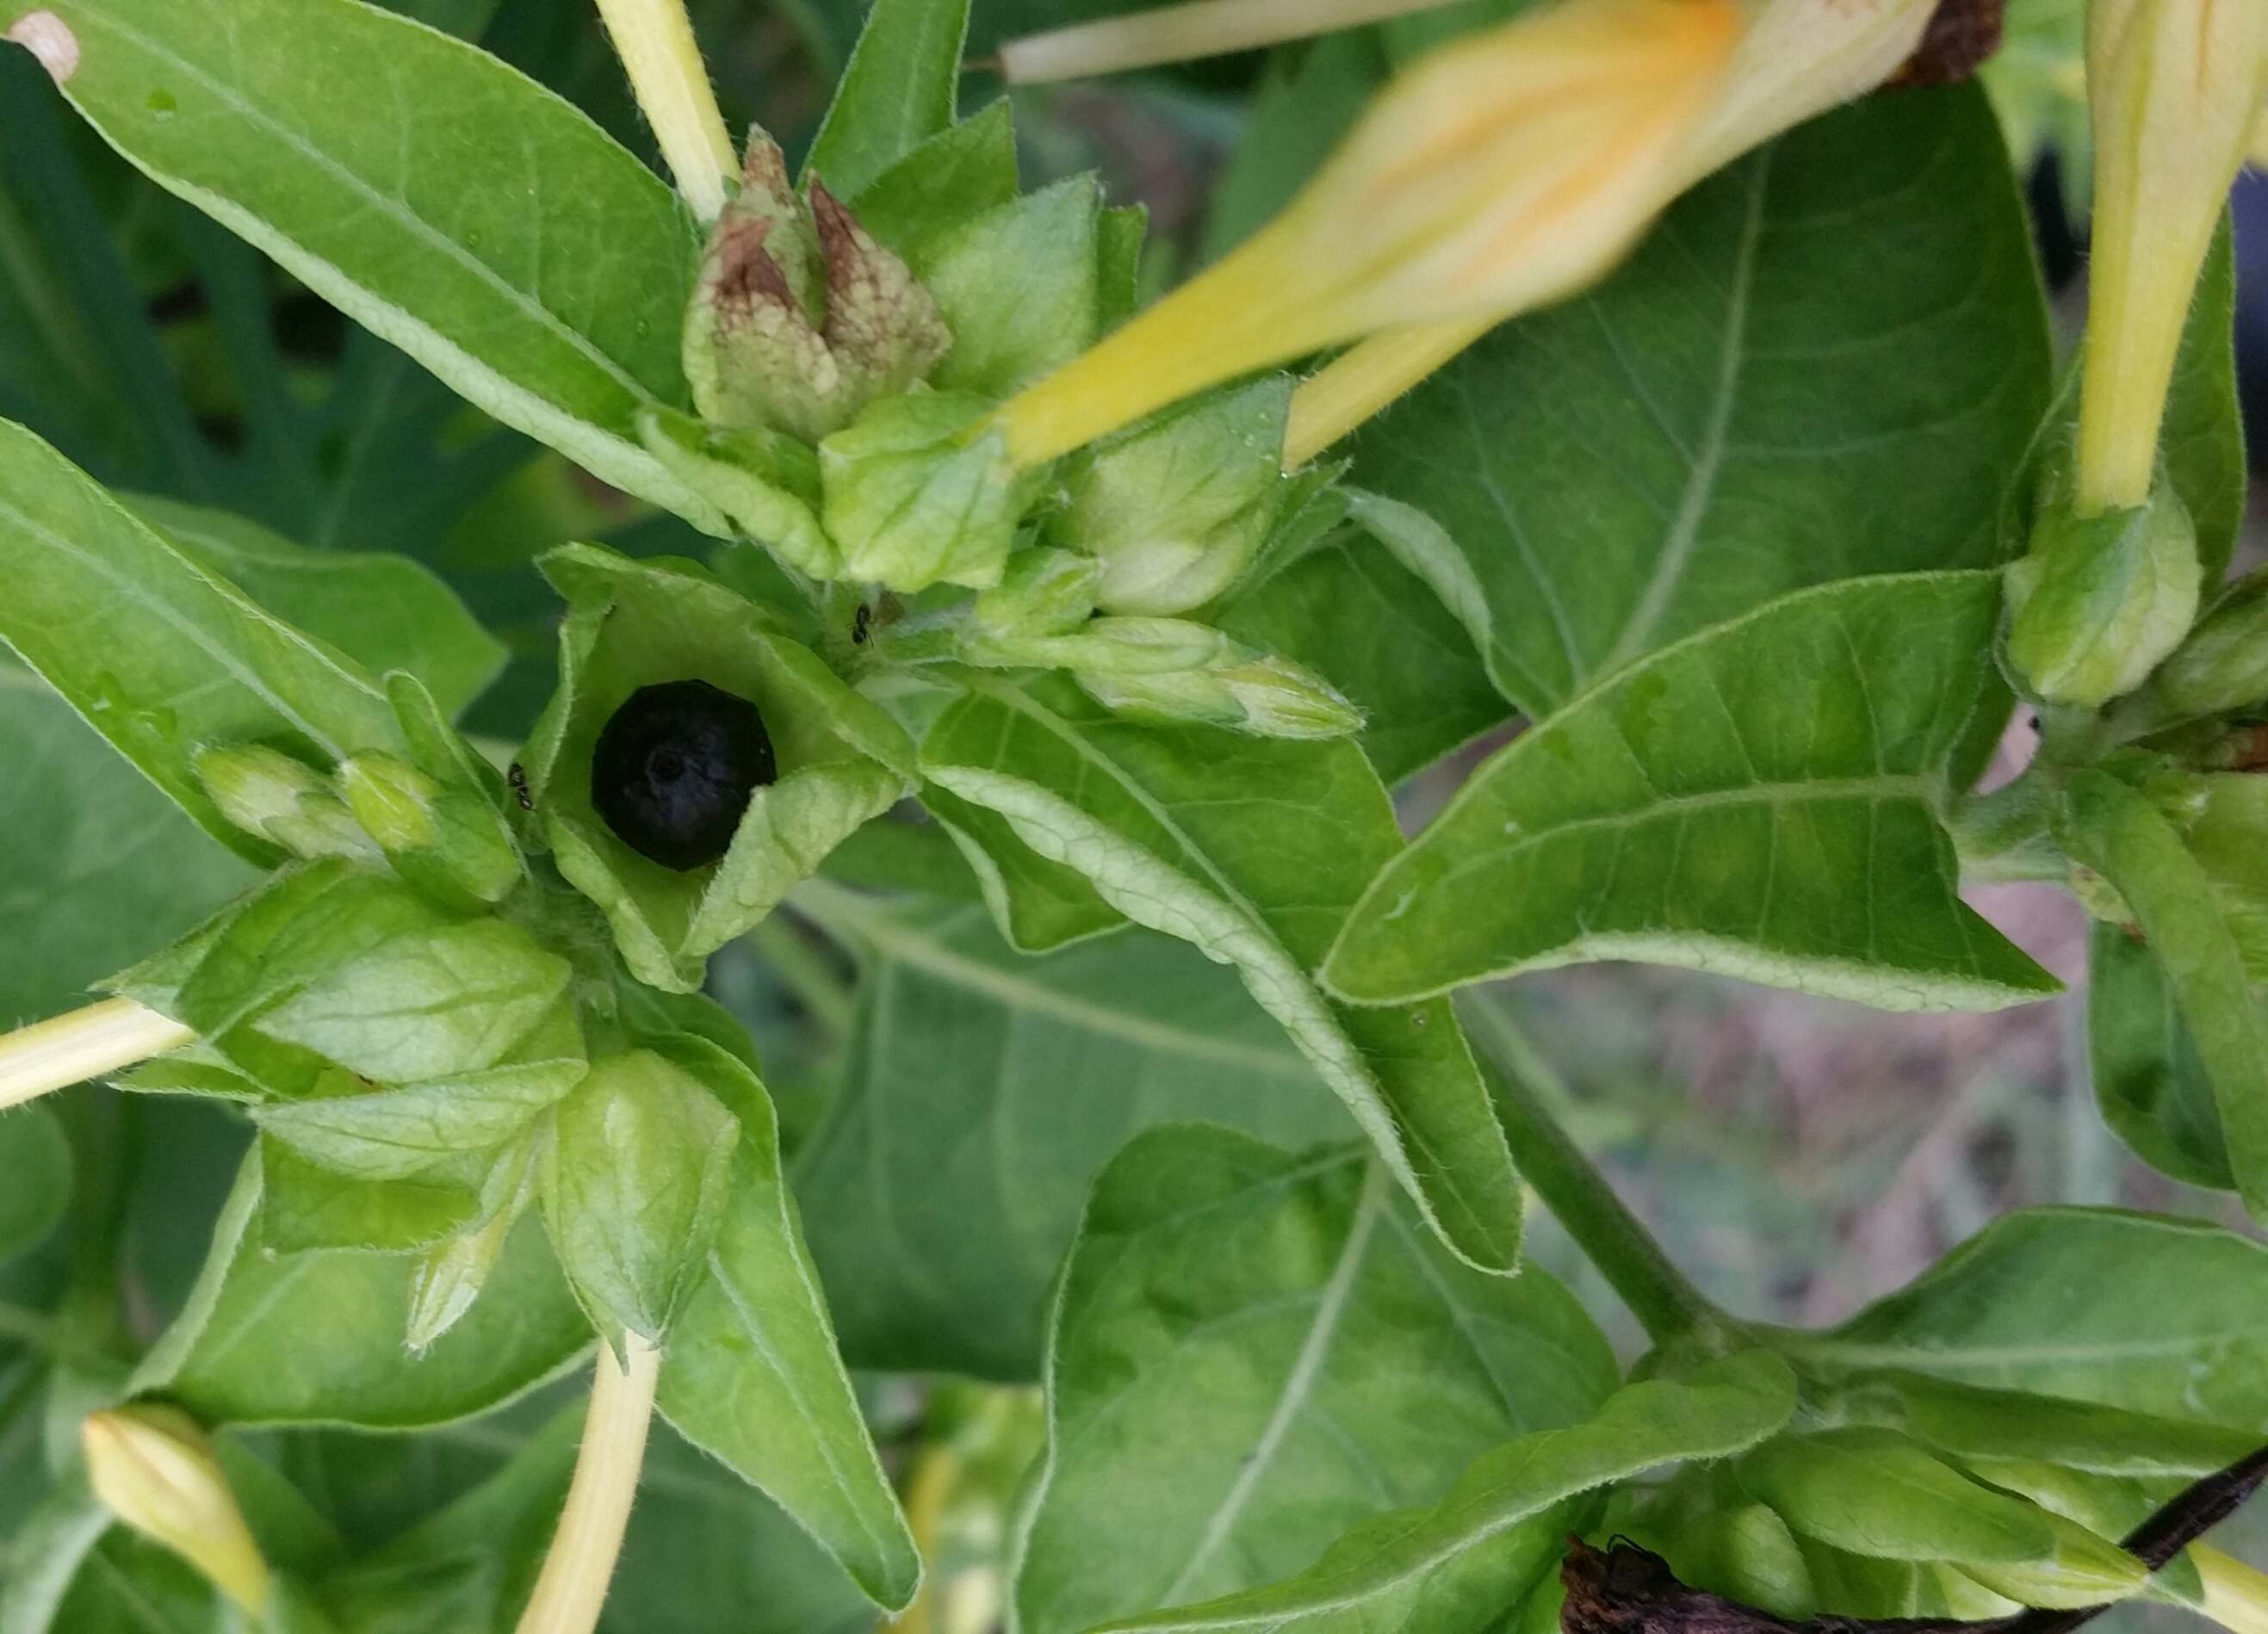
- Inspect the plants: Regularly check your 4 O’Clock plants to identify ripe seed pods. The seed pods are small, round, and typically green in color when they are first formed. As they mature, they will turn brown and start to dry out.
- Collect the seed pods: Once the seed pods are fully mature, carefully harvest them from the plant. You can simply pluck them off or use a pair of scissors or pruners to cut them from the stem.
- Prepare for seed extraction: Place the harvested seed pods in a paper bag or a clean container. Ensure that the container is labeled with the plant variety and the date of harvesting for future reference.
- Separate the seeds: Once you have gathered all the seed pods, gently crush or open them to release the small, black, bean-like seeds. Remove any debris or chaff from the seeds.
- Drying and storing the seeds: Lay the seeds in a single layer on a clean, dry surface such as a paper towel or a screen. Allow them to air dry in a cool, well-ventilated area for about a week. Once completely dry, store the seeds in a sealed container, such as a labeled envelope or a small glass jar. Place the container in a cool and dark location until you are ready to plant them.
Properly stored 4 O’Clock seeds can remain viable for several years, ensuring that you can enjoy these beautiful flowers for seasons to come. Remember to store the seeds in a cool and dry environment to maintain their quality.
With this knowledge of harvesting and seed-saving, you can continue to propagate your favorite 4 O’Clock plants and share them with others, adding beauty to gardens far and wide.
Now that we’ve covered the essential aspects of planting, caring for, troubleshooting, and seed-saving 4 O’Clock plants, it’s time to embark on your own ornamental gardening journey. Enjoy the process, be patient, and watch in awe as these remarkable flowers grace your outdoor space with their vibrant colors and alluring fragrance.
Conclusion
Congratulations! You have now become well-versed in the art of planting and caring for 4 O’Clock plants. From understanding what these enchanting flowers are to learning the essential factors for successful growth, you are armed with all the knowledge you need to create a beautiful garden filled with vibrant colors and delightful fragrances.
By considering important factors such as climate, soil type, sunlight, and watering requirements, you can provide the ideal conditions for your 4 O’Clock plants to thrive. Additionally, following the steps for planting, caring, and troubleshooting common issues will ensure your plants remain healthy and vigorous.
From the moment the flowers open in the late afternoon, spreading their beauty and fragrance, to the process of harvesting and saving the seeds for future plantings, your journey with 4 O’Clock plants will be filled with joy and rewards.
Remember to savor each step along the way and embrace the inherent creativity of ornamental gardening. Experiment with different color combinations, companion plantings, and garden designs to create a truly unique and captivating outdoor space.
So, gather your gardening tools, choose the perfect spot in your garden or balcony, and let the magic of 4 O’Clock plants unfold. Enjoy the process of nurturing these remarkable flowers and relish the tranquility and beauty they bring to your surroundings.
Happy gardening and may your 4 O’Clock garden flourish with vibrancy and charm!