Home>Types of Gardening>Edible Gardening>How To Sprout Plum Seeds
Edible Gardening
How To Sprout Plum Seeds
Modified: February 9, 2024
Learn how to sprout plum seeds and start your own edible gardening journey. Discover the step-by-step process to grow plums from seeds and enjoy homegrown fruits.
(Many of the links in this article redirect to a specific reviewed product. Your purchase of these products through affiliate links helps to generate commission for Chicagolandgardening.com, at no extra cost. Learn more)
Table of Contents
Introduction
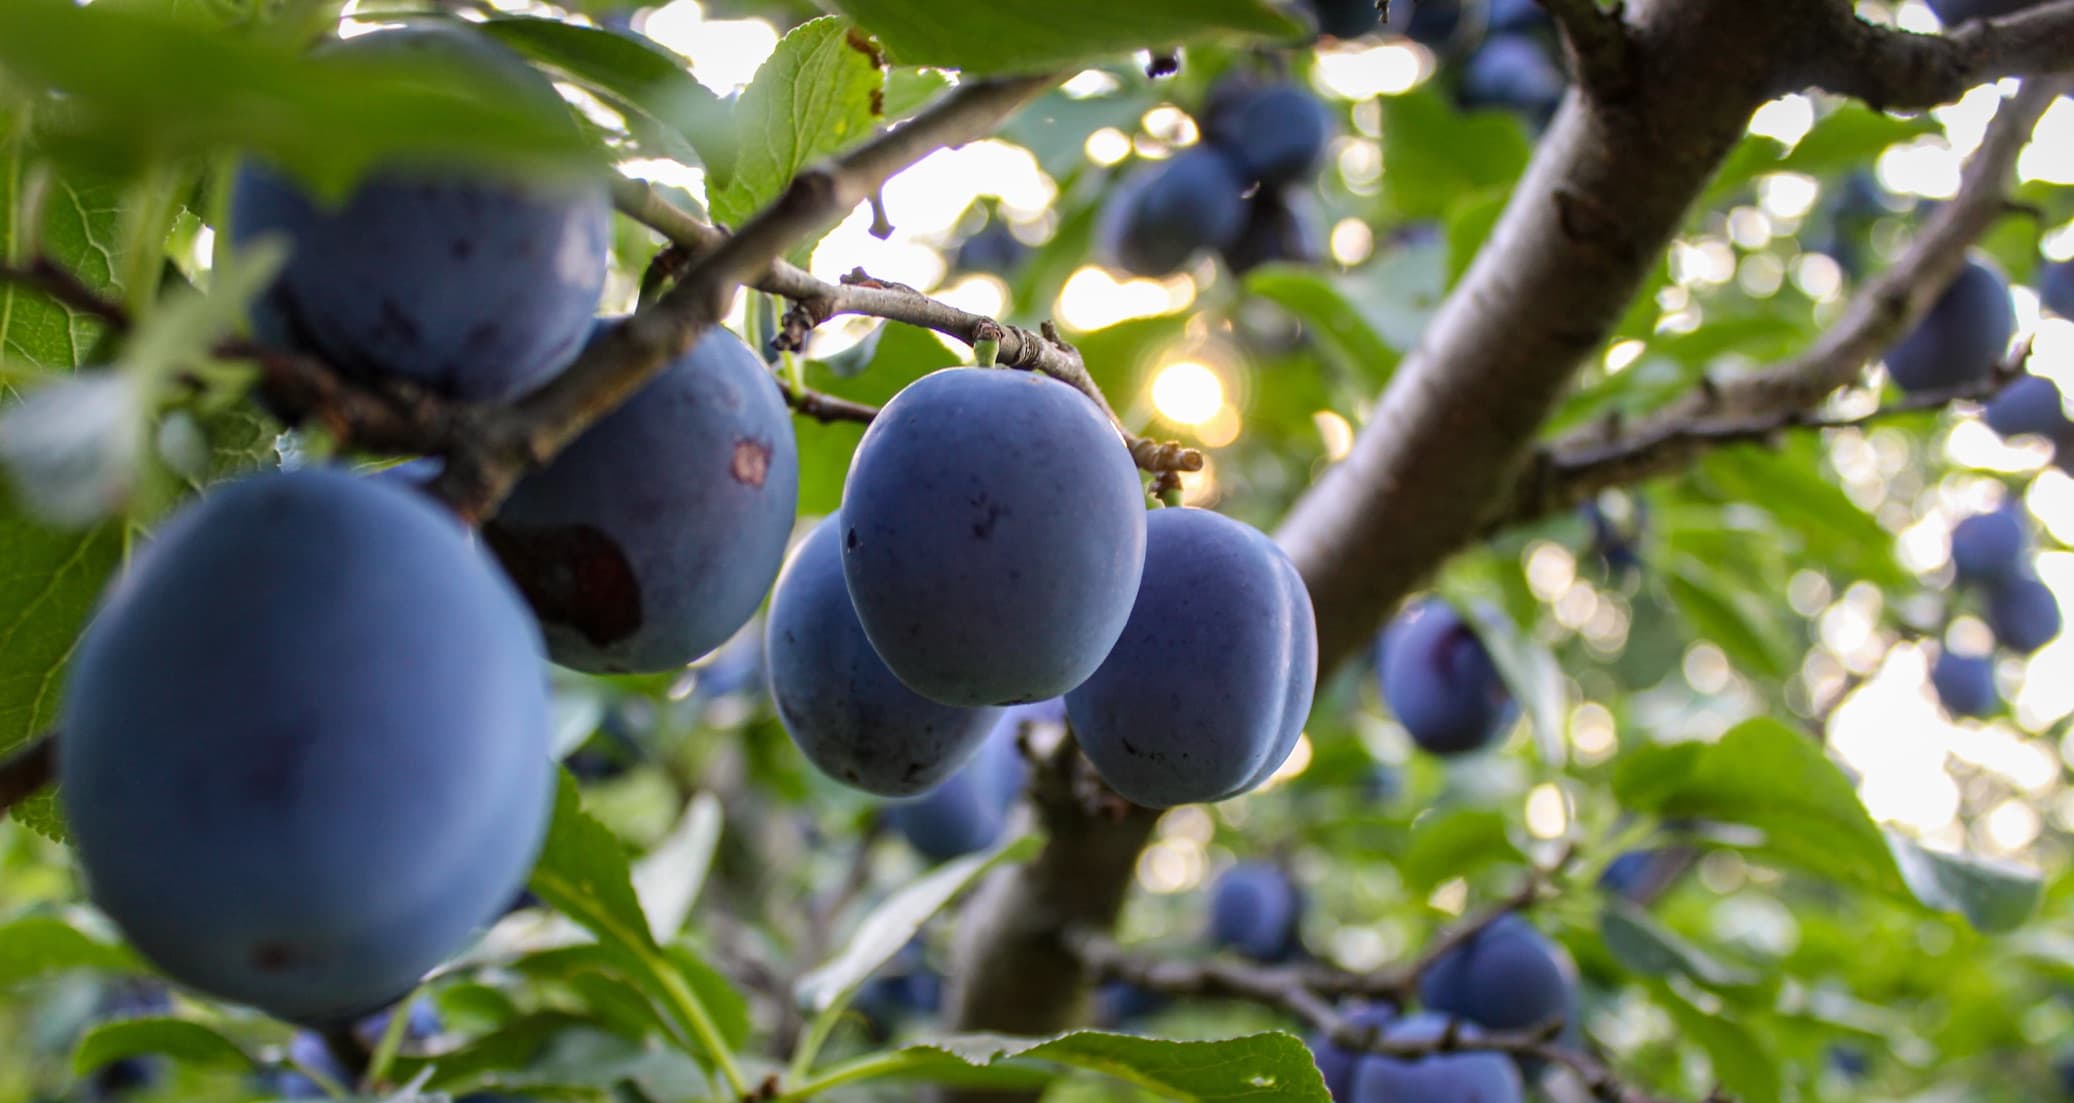
Welcome to the fascinating world of sprouting plum seeds! If you’re a fan of edible gardening and love the idea of growing your own fruit trees, sprouting plum seeds can be a rewarding and fulfilling experience. Not only does it offer a cost-effective way to propagate plum trees, but it also allows you to witness the miraculous process of life unfold right before your eyes.
Whether you’re a novice gardener or an experienced enthusiast, sprouting plum seeds can be a great project to undertake. All it takes is a little patience, attention, and the right techniques to successfully germinate and nurture your plum seedlings into healthy, thriving trees.
In this article, we will guide you through the step-by-step process of sprouting plum seeds. From preparing the seeds to transplanting the seedlings, we will cover all the crucial aspects involved in this exciting journey. So, put on your gardening gloves and let’s get started!
Materials Needed
Before embarking on your plum seed sprouting adventure, it’s important to gather all the necessary materials. Having these on hand will ensure you have a smooth and successful experience. Here’s a list of the materials you’ll need:
- Plum seeds: Obtain fresh plum seeds from ripe, healthy plums. Look for plums that are fully matured and free from any signs of rot or disease.
- Plastic bags or containers: You’ll need airtight plastic bags or containers to create the ideal environment for seed stratification.
- Paper towel or coffee filters: These will be used to keep the seeds moist during the stratification process.
- Potting soil: Choose a high-quality potting soil that is well-draining and rich in organic matter.
- Planting containers: Use small pots or seed trays to plant the seeds initially.
- Watering can or spray bottle: You’ll need a watering can or spray bottle to water the seeds and seedlings gently.
- Grow lights or sunny windowsill: Ensure your seedlings receive adequate light by either using grow lights or placing them on a sunny windowsill.
- Fertilizer: Consider using a balanced slow-release fertilizer to provide essential nutrients to your growing plum trees.
- Gardening tools: Have basic gardening tools such as a trowel and pruners ready for transplanting and maintenance tasks.
Having these materials prepared and organized before you start the sprouting process will make the entire journey more enjoyable and efficient. Now that you have everything you need, let’s move on to the first step: preparing the plum seeds!
Step 1: Preparing the Plum Seeds
Before you can begin sprouting plum seeds, it’s important to properly prepare them for the germination process. Follow these steps to ensure the seeds are ready to embark on their journey towards becoming thriving plum seedlings:
- Collect fresh plum seeds: Start by collecting ripe plums from a local orchard or your own backyard. Choose plums that are fully matured and show no signs of damage or disease.
- Remove the seeds: Cut open the plums and gently remove the seeds. Rinse them with water to remove any remaining fruit flesh and pat them dry with a paper towel.
- Inspect the seeds: Examine each seed carefully, discarding any damaged or discolored ones. Select only the healthy and plump seeds for sprouting.
- Scarify the seeds (optional): Some gardeners choose to scarify plum seeds to enhance germination. You can lightly file or sand one side of each seed to break the outer seed coat, allowing water to penetrate more easily.
- Soak the seeds (optional): While not necessary, soaking the seeds overnight can also aid germination. Place the seeds in a container filled with water and let them soak for 12 to 24 hours before proceeding.
By taking the time to properly prepare the plum seeds, you provide them with the best chance of germinating successfully. Once the seeds are ready, it’s time to move on to the next step: stratification.
Step 2: Stratification
Stratification is an essential step in the process of sprouting plum seeds. It mimics the natural conditions that plum seeds would experience during the winter season, breaking their dormancy and preparing them for germination. Follow these steps to properly stratify your plum seeds:
- Moisten the paper towel or coffee filter: Take a paper towel or coffee filter and dampen it with water. Make sure it is moist but not dripping wet.
- Place the seeds on the damp paper towel: Lay the plum seeds on one half of the moist paper towel or coffee filter. Keep them spaced apart to prevent them from sticking together.
- Fold the paper towel: Fold the other half of the paper towel or coffee filter over the seeds, creating a sandwich-like structure with the seeds in the middle.
- Transfer to a plastic bag or container: Place the folded paper towel with the seeds into an airtight plastic bag or container. This will create a humid environment for the seeds to undergo stratification.
- Label and store: Using a permanent marker, label the bag or container with the date and seed variety. Store it in the refrigerator, as it provides the cold temperatures necessary for stratification.
- Check regularly: Check the seeds periodically to ensure the paper towel remains moist. If it starts to dry out, lightly mist it with water to maintain the desired humidity.
- Duration of stratification: Most plum seeds require a stratification period of 60 to 90 days. However, some varieties may have different requirements, so it’s best to research the specific needs of your plum seeds.
During the stratification process, the plum seeds undergo a series of chemical and physical changes that loosen their hard seed coat and prepare them for germination. Once the stratification period is complete, it’s time to move on to the next step: planting the seeds.
Step 3: Planting the Seeds
After the stratification period, it’s time to plant the sprouted plum seeds. Follow these steps to ensure the successful planting and germination of your plum seeds:
- Prepare the planting containers: Fill small pots or seed trays with well-draining potting soil. Moisten the soil slightly to create the perfect environment for the seeds.
- Plant the seeds: Make a small, shallow hole in the soil, approximately 1 inch deep. Place a sprouted plum seed in each hole, with the root end facing downwards. Cover the seeds gently with soil, ensuring they are adequately covered but not buried too deeply.
- Provide water: Use a watering can or spray bottle to water the soil gently. Be careful not to drown the seeds, as excessive moisture can hinder germination. Keep the soil consistently moist but not waterlogged.
- Choose the right location: Place the planting containers in a warm and well-lit area. If possible, provide additional light using grow lights or place them near a sunny windowsill. Plum seeds require a minimum of 6 to 8 hours of sunlight daily.
- Be patient: Germination can take anywhere from a few weeks to a couple of months, depending on the variety of plum seeds. Be patient and continue to provide adequate water and light for the seedlings.
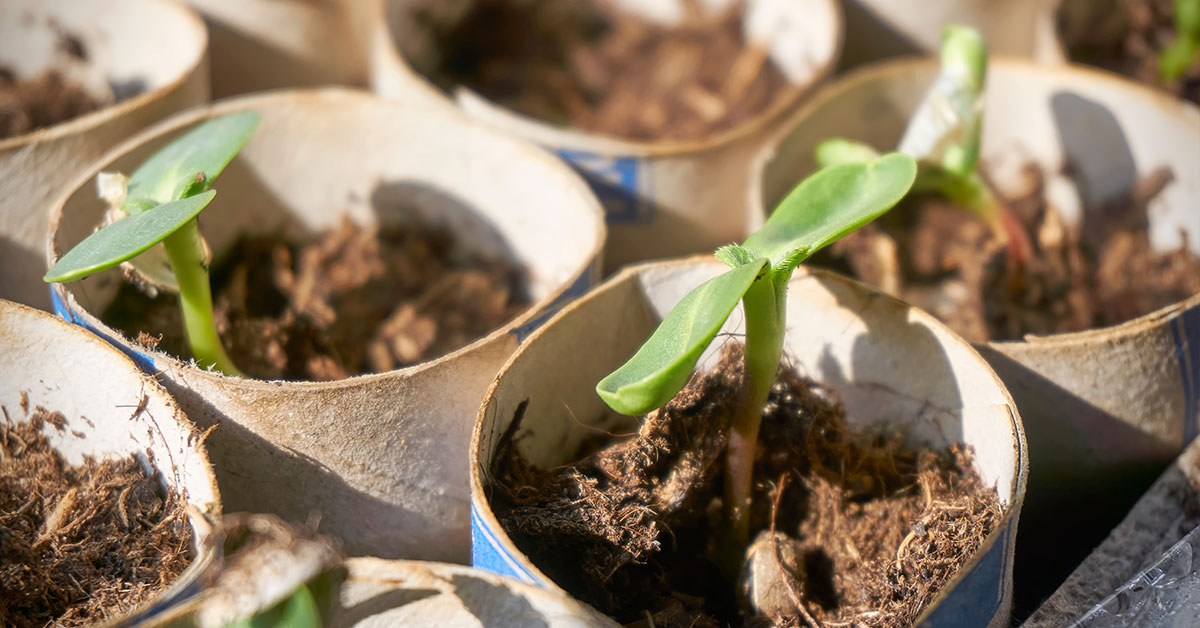
As the seedlings emerge, you’ll begin to see tiny plum trees taking shape. It’s important to monitor their growth and provide proper care to ensure their development into healthy and robust plants. In the next step, we’ll delve into the crucial care requirements for your growing plum seedlings.
Step 4: Providing Proper Care
Once the sprouted plum seeds have been successfully planted, it’s crucial to provide them with the proper care to ensure their healthy growth and development. Follow these guidelines to ensure your plum seedlings thrive:
- Watering: Keep the soil consistently moist but not soggy. Avoid overwatering, as it can lead to root rot. Water the seedlings gently, using a watering can or spray bottle, to prevent disturbing their delicate roots.
- Lighting: Provide your plum seedlings with plenty of light. If growing them indoors, place them near a sunny window or use grow lights for at least 6 to 8 hours of light per day. This will help promote strong and sturdy growth.
- Temperature: Maintain a moderate temperature range for your plum seedlings. They thrive in temperatures between 60-75°F (15-24°C). Avoid exposing them to extremely hot or cold conditions.
- Fertilization: After the seedlings have developed their first set of true leaves, you can start fertilizing them. Choose a balanced, slow-release fertilizer and follow the package instructions for application rates. Avoid over-fertilizing, as it can damage the tender roots.
- Pruning: As your plum seedlings grow, you may need to prune them to promote proper branching and shape. Wait until the seedlings have reached a height of 8-10 inches before pruning. Use clean and sharp pruning shears to make clean cuts just above a leaf node.
- Pest and disease control: Monitor your plum seedlings for any signs of pests or diseases. Common pests include aphids, mealybugs, and spider mites. If you notice any issues, treat them with organic pest control methods or consult a local garden center for suitable remedies.
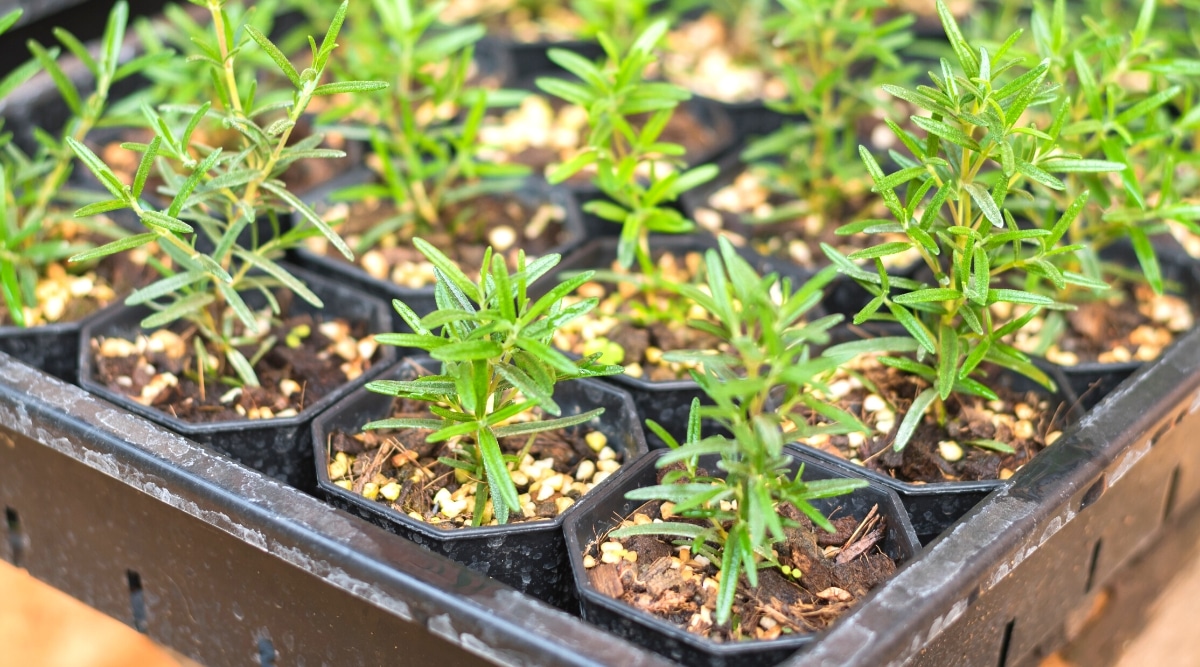
- Transplanting: As the plum seedlings grow and become established, they will outgrow their initial planting containers. Transplant them into larger pots or directly into the ground, giving them enough space to spread their roots. Take care not to damage the fragile root system during the transplanting process.
By providing proper care, you will ensure that your plum seedlings have the best chance of growing into strong and productive trees. Stay attentive to their needs and make adjustments as necessary. Now, let’s move on to the final step: transplanting the seedlings into their permanent location.
Step 5: Transplanting the Seedlings
Once your plum seedlings have grown and become established, it’s time to transplant them into their permanent location. Follow these steps to ensure a successful transplant:
- Choose the right time: Wait until the seedlings have developed a strong root system and are at least 12-18 inches tall before transplanting them. The ideal time to transplant is in early spring or fall when the weather is mild and the seedlings are dormant.
- Find a suitable location: Select a sunny spot in your garden with well-draining soil. Plum trees prefer fertile soil that is slightly acidic. Ensure there is enough space for the tree to grow and spread its branches.
- Prepare the planting hole: Dig a hole in the ground that is slightly larger and deeper than the root ball of the seedling. Loosen the soil around the hole and remove any weeds or grass that may compete with the young tree for nutrients.
- Remove the seedling from its container: Gently tap the sides of the planting container to loosen the root ball. Carefully remove the seedling, being mindful not to damage the roots.
- Plant the seedling: Place the seedling in the planting hole, making sure the root collar is level with or slightly above the soil surface. Backfill the hole with soil, gently firming it around the roots to eliminate any air pockets.
- Water thoroughly: Give the newly transplanted seedling a deep watering to ensure the roots are well-hydrated. Continue to water regularly, especially during dry periods, to promote healthy growth.
- Provide support if necessary: If your plum seedling is tall or has a weak trunk, it may require staking or a support system to keep it upright. Use soft ties or stakes to provide support without damaging the tree.
- Mulch and protect: Apply a layer of organic mulch around the base of the tree to help conserve moisture, suppress weeds, and regulate soil temperature. Be careful to keep the mulch away from the trunk to prevent rotting.
Transplanting the seedlings into their permanent location marks a significant milestone in their growth journey. With proper care, your plum trees will continue to flourish and eventually reward you with delicious juicy plums. Congratulations on successfully sprouting plum seeds and nurturing them into thriving plants!
Conclusion
Congratulations! You have now completed the journey of sprouting plum seeds and nurturing them into healthy seedlings ready for transplantation. This rewarding experience of growing your own plum trees allows you to witness the miracle of life and enjoy a bountiful harvest of delicious plums in the future.
By following the step-by-step process outlined in this article, you have learned how to properly prepare the plum seeds, stratify them, plant them, provide adequate care, and ultimately transplant them into their permanent location. Each step played a crucial role in ensuring the success of your plum seedlings.
Remember to continue providing proper care for your plum trees as they grow, including regular watering, adequate sunlight, and occasional fertilization. Prune them when necessary to maintain their shape and health, and keep an eye out for any signs of pests or diseases. with love and attention, your plum trees will thrive and reward you with sweet and juicy plums for years to come.
Edible gardening is a fulfilling and rewarding hobby that allows you to connect with nature and enjoy the fruits of your labor. So, grab your gardening tools, put on your gloves, and get ready to embark on more exciting gardening adventures. Whether you have a sprawling garden or a small balcony, growing your own food is a wonderful way to harness the power of nature and bring fresh, organic produce to your table.
So go ahead, start sprouting those plum seeds and witness the magic of growing your own plum trees. Happy gardening!