Home>Types of Gardening>Edible Gardening>How To Grow Orange Seeds


Edible Gardening
How To Grow Orange Seeds
Modified: February 9, 2024
Learn how to grow orange seeds with this comprehensive guide to edible gardening. Discover tips and techniques for successful cultivation and enjoy fresh, homegrown oranges from your own backyard.
(Many of the links in this article redirect to a specific reviewed product. Your purchase of these products through affiliate links helps to generate commission for Chicagolandgardening.com, at no extra cost. Learn more)
Table of Contents
Introduction
Welcome to the wonderful world of edible gardening! If you have a green thumb and a love for delicious and fresh produce, then growing your own fruits and vegetables is a rewarding and fulfilling endeavor. And one fruit that is always a delight to have in your backyard is oranges. Not only are they juicy and flavorful, but they are also packed with essential vitamins and minerals.
But before you can enjoy the sweet taste of your own homegrown oranges, you need to know how to grow them from seeds. Don’t worry if you’re new to gardening; this guide will take you through the step-by-step process of growing orange seeds successfully.
Growing orange trees from seeds is not only a cost-effective way to add beauty and flavor to your garden, but it also allows you to witness the fascinating journey of a tiny seed transforming into a flourishing tree bearing delicious fruits. Plus, it’s a wonderful activity to engage your family and teach children about the wonders of nature.
Throughout this guide, you will learn everything you need to know about growing orange seeds, from gathering supplies to caring for your growing orange trees and harvesting your own juicy oranges. So, put on your gardening gloves, grab your tools, and let’s embark on this exciting edible gardening journey together!
Step 1: Gathering Supplies
Before you get started with growing orange seeds, it’s important to gather all the necessary supplies. Having the right tools and materials will set you up for success and make the process much smoother. Here are the essential supplies you’ll need:
- Orange Seeds: Start by obtaining fresh and high-quality orange seeds. You can either collect them from store-bought oranges or source them from a reliable seed supplier.
- Potting Soil: Choose a well-draining potting soil mix that is rich in organic matter. This will provide the necessary nutrients for the seeds to germinate and the seedlings to grow.
- Pots or Containers: Select containers that are at least 4-6 inches deep with drainage holes. This will ensure proper water drainage and prevent waterlogged soil.
- Watering Can or Spray Bottle: You’ll need a watering can or spray bottle with a fine mist setting to carefully water the seeds and seedlings without disturbing them.
- Plastic Wrap or Dome: To create a humid environment for germination, have some plastic wrap or a dome to cover the pots. This will help retain moisture and promote seedling growth.
- Grow Lights or Sunny Spot: If you’re starting the seeds indoors, provide adequate light by using grow lights or placing the pots in a sunny spot. Orange trees require a minimum of 6-8 hours of direct sunlight daily.
- Fertilizer: Once the seedlings have sprouted and developed a few sets of leaves, you’ll need a balanced fertilizer specifically formulated for fruit trees. This will provide the necessary nutrients for healthy growth and fruit production.
- Pruning Shears: As the orange trees grow, you’ll eventually need pruning shears to trim and shape the branches for optimal growth and fruit development.
By gathering these supplies beforehand, you’ll be fully prepared to start the journey of growing orange seeds. Remember to choose high-quality seeds and provide the best possible growing conditions for successful germination and healthy orange trees.
Step 2: Preparing the Seeds
Now that you have all your supplies ready, it’s time to prepare the orange seeds for planting. Proper preparation will help improve the germination rate and give your seeds a head start. Follow these steps to prepare your orange seeds:
- Choose Mature Seeds: Look for fully ripe oranges and select the healthiest-looking seeds. Avoid seeds that are discolored or damaged as they may not germinate successfully.
- Remove Pulp: Start by gently removing any remaining pulp or flesh from the seed. Rinse the seeds under cool running water and pat them dry with a paper towel.
- Scarify the Seeds: Orange seeds have a hard protective outer shell, which can inhibit germination. To help water penetrate the seed coat and promote germination, you need to scarify the seeds. This can be done by using a fine-grade sandpaper or carefully nicking the seed coat with a sharp knife. Be gentle to avoid damaging the seed inside.
- Soak the Seeds: Once scarified, soak the seeds in a bowl of room temperature water for 24 hours. This will help soften the seed coat, allowing the seeds to absorb moisture more easily during germination.
- Optional Pre-Soaking: Some gardeners recommend pre-soaking the seeds in a solution of water and hydrogen peroxide or a weak chamomile tea before the water soak. This can help disinfect the seeds and prevent rot. However, this step is optional.
After preparing the seeds, you’re one step closer to growing your own orange trees. The scarification process and soaking will help break down the seed coat’s barrier and improve the chances of successful germination. Now, it’s time to move on to the exciting next step: the germination process.
Step 3: Germination Process
Once your orange seeds are prepared, it’s time to kickstart the germination process. This step is crucial as it determines the success of growing orange trees from seeds. Here’s what you need to do:
- Fill the Pots: Fill your pots or containers with the potting soil, leaving about an inch of space at the top. Moisten the soil slightly to create a moist and conducive environment for seed germination.
- Plant the Seeds: Make a small hole in the soil, about 1/2 inch deep. Place one seed in each hole and cover it with soil. Gently press the soil around the seed to secure it in place.
- Create Humidity: To create a humid environment for germination, cover the pots with plastic wrap or a dome. This will help retain moisture and provide the necessary humidity for the seeds to sprout.
- Provide Warmth: Place the pots in a warm location, ideally around 70-85°F (21-29°C). You can use a seedling heat mat to provide consistent warmth if necessary.
- Monitor Moisture: Check the pots regularly to ensure the soil remains moist but not waterlogged. Using a spray bottle, mist the soil when needed to keep it evenly moist. Avoid overwatering, as excess moisture can lead to root rot.
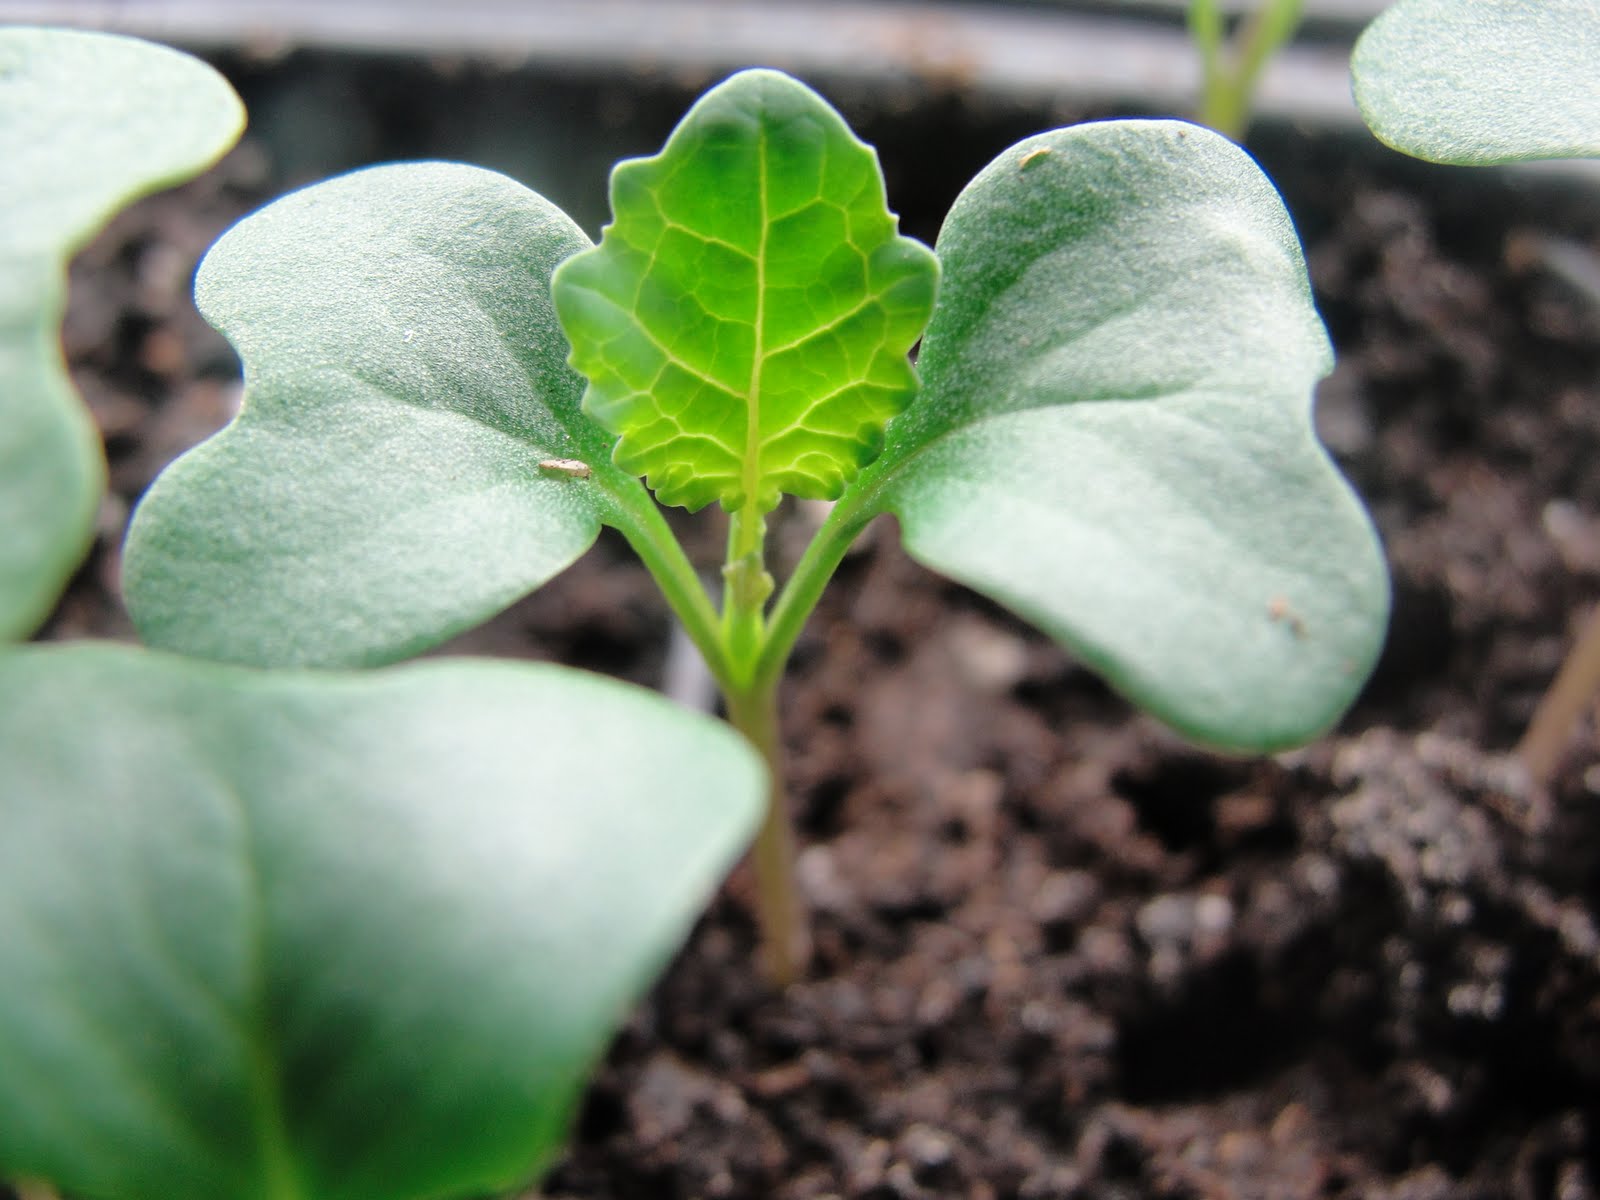
- Be Patient: Germination can take anywhere from 2-4 weeks or even longer, depending on the variety of orange and growing conditions. Be patient and resist the urge to disturb the pots or remove the cover during this time.
- Remove Cover: Once the seeds have sprouted and the seedlings have grown a few inches tall, it’s time to remove the plastic wrap or dome. This will allow for better air circulation and prevent mold or fungal growth.
During the germination process, it’s important to provide a warm and humid environment to encourage successful seed sprouting. Regularly check the pots, maintain proper moisture levels, and patiently wait for the magical moment when your orange seeds transform into seedlings.
Step 4: Transplanting Seedlings
Once your orange seedlings have grown a few inches tall and have developed a strong root system, it’s time to transplant them into larger containers or directly into the ground. Here’s how to go about it:
- Choose a Suitable Location: Select a sunny spot in your garden that receives at least 6-8 hours of direct sunlight. Orange trees thrive in warm climates and need ample sunshine to grow and produce fruit.
- Prepare the Soil: If you’re planting the seedlings in the ground, prepare the soil by loosening it and incorporating some organic matter like compost or well-rotted manure. This will improve drainage and provide essential nutrients for healthy growth.
- Transplant Carefully: Gently remove the seedlings from their pots, taking care not to damage the delicate roots. If the roots are tightly wound around the bottom of the pot, carefully loosen them with your fingers or make a few vertical cuts on the rootball to encourage outward growth.
- Dig the Hole: Dig a hole in the planting area that is slightly larger than the rootball of the seedling. Place the seedling into the hole, making sure that the top of the rootball is level with or slightly above the ground.
- Backfill and Tamp: Fill the hole with soil, firming it gently around the roots to eliminate air pockets. Avoid compacting the soil too forcefully, as it can hinder water and root penetration.
- Water Thoroughly: After transplanting, give the seedling a thorough watering to settle the soil around the roots and promote establishment. Keep the soil consistently moist but not waterlogged during the first few weeks of transplanting.
- Mulch the Base: To conserve moisture and suppress weed growth, apply a layer of organic mulch around the base of the seedling, leaving a small gap around the trunk. This will help maintain a more stable soil temperature and reduce water evaporation.
Transplanting seedlings is a critical step in ensuring their successful growth into mature orange trees. By providing a suitable location, proper soil preparation, and gentle handling during transplanting, you’ll set your seedlings up for healthy development as they continue their journey towards fruitful maturity.
Step 5: Caring for Growing Orange Trees
Now that your orange trees are in the ground or larger containers, it’s time to provide them with the care they need to thrive and produce abundant fruit. Here are some essential tips for caring for your growing orange trees:
- Watering: Proper watering is crucial for the health and growth of your orange trees. Water deeply and thoroughly, making sure the soil is evenly moist but not waterlogged. During hot and dry spells, increase the frequency of watering to prevent the tree from drying out.
- Fertilizing: Orange trees benefit from regular fertilization to provide them with essential nutrients. Use a balanced citrus fertilizer or a slow-release fertilizer formulated specifically for fruit trees. Follow the instructions on the packaging for proper application rates and timing.
- Pruning: Prune your orange trees to maintain their shape, remove dead or damaged branches, and improve airflow and sunlight penetration. Pruning should be done during the dormant season, typically in late winter or early spring, before the tree starts new growth.
- Protecting from Frost: If you live in a region with occasional frost, take necessary measures to protect your orange trees. Cover them with frost blankets or move potted trees indoors during cold nights to prevent frost damage.
- Pest and Disease Control: Monitor your orange trees regularly for any signs of pests or diseases. Common citrus pests include aphids, citrus leafminer, and scale insects. Treat promptly with organic insecticides or insecticidal soaps to prevent infestations from damaging the trees.
- Weed Control: Keep the area around your orange trees weed-free to eliminate competition for nutrients and water. Mulching can help suppress weed growth, but occasional hand-weeding may still be necessary.
- Provide Support: As your orange trees grow taller and develop branches, they may require support to prevent them from bending or breaking under the weight of fruit or during strong winds. Use stakes or trellises to provide the necessary support.
By giving your growing orange trees the proper care they deserve, you’ll encourage healthy growth, maximize fruit production, and enjoy the sweet rewards of your edible gardening efforts.
Step 6: Troubleshooting Common Issues
While growing orange trees can be a rewarding experience, it’s not uncommon to encounter some challenges along the way. Here are some common issues that you may come across and how to troubleshoot them:
- Poor Fruit Set: If your orange tree is not producing many fruits or the fruits are dropping prematurely, it could be due to inadequate pollination. Encourage pollinators like bees and butterflies to visit your garden by planting nectar-rich flowers nearby. Additionally, ensure proper fertilization and adequate water and sunlight for optimal fruit set.
- Leaf Yellowing: Yellowing leaves can indicate nutrient deficiencies or overwatering. Test the soil to determine if any nutrient deficiencies are present and adjust your fertilizer application accordingly. If overwatering is the issue, allow the soil to dry out slightly between waterings.
- Pest Infestation: Common pests that can affect orange trees include aphids, scale insects, and citrus leafminer. Monitor your trees regularly and take prompt action if you notice any signs of infestation. Treat with organic insecticides or insecticidal soaps to control the pests effectively.
- Leaf Drop: Excessive leaf drop can be caused by overwatering, underwatering, temperature stress, or nutrient deficiencies. Assess the growing conditions and make adjustments accordingly. Ensure the soil is well-draining and that the tree is receiving adequate water, sunlight, and proper fertilizer.
- Disease Susceptibility: Orange trees are vulnerable to diseases such as citrus canker, citrus greening, and powdery mildew. Practice good sanitation by removing any fallen leaves or fruits promptly. Use disease-resistant cultivars and proper cultural practices to minimize the risk of disease.
- Root Rot: Overwatering and poorly drained soil can lead to root rot, which can be detrimental to the health of your orange tree. Ensure proper drainage and avoid waterlogged conditions. If root rot is suspected, trim and remove affected roots and consider replanting in well-draining soil.
- Sunburn: Excessive exposure to intense sunlight can cause sunburn on the leaves and fruits of orange trees. Provide shade during the hottest parts of the day, especially for young and newly transplanted trees. You can use shade cloth or strategically position taller plants to provide some protection.
Remember that troubleshooting issues with your orange trees may require some experimentation and adjustments to find the right solution. Observing your trees closely and taking appropriate actions will help ensure their overall health and productivity.
Step 7: Harvesting Oranges
After months of care and patience, the time has finally come to harvest your delicious homegrown oranges. Here’s how to determine when and how to harvest them:
- Timing: Oranges are ready for harvest when they reach their full color and ripeness. Depending on the variety and climate, this can vary, but generally, oranges are ready to harvest in the fall or winter months. Consult the specific variety’s maturity timeline to determine the best time for harvesting.
- Color: Look for oranges that have developed their characteristic bright orange color. Some varieties may have a slight green or yellow tinge even when ripe, so rely on the overall color of the fruit as a guide.
- Texture: Gently squeeze the oranges to check their firmness. Ripe oranges should have a slight give when squeezed, but they should not be too soft or mushy.
- Twist or Cut: To harvest the oranges, twist them gently upwards or use a pair of pruning shears to cut the stem about half an inch above the fruit. Avoid pulling or tugging on the fruit, as this can damage the tree and affect future fruit production.
- Storing: Once harvested, store your oranges in a cool, dry place, such as a cellar or refrigerator. They can also be stored at room temperature for a few days if you plan to consume them soon. Avoid stacking or cramming the oranges, as this can cause bruising or spoilage.
- Enjoying: The best part of growing your own oranges is savoring their juicy and flavorful goodness. Peel the oranges and enjoy them fresh, or use them in various culinary creations like salads, juices, smoothies, desserts, and marmalades.
Harvesting your own oranges is a gratifying experience that rewards you with the freshest and most flavorful fruits. By following these steps, you’ll be enjoying the sweet taste of your homegrown oranges in no time.
Conclusion
Congratulations! You’ve now learned the step-by-step process of growing orange trees from seeds and nurturing them into fruitful maturity. Edible gardening can be a fulfilling and rewarding experience, and growing your own oranges allows you to enjoy the sweet taste of success.
From gathering supplies to preparing the seeds, germinating them, transplanting the seedlings, and caring for the growing orange trees, each step plays a crucial role in the journey. Remember to provide the right growing conditions, including proper watering, fertilizing, pruning, and pest control, to ensure healthy growth and bountiful fruit production.
While obstacles may arise along the way, such as poor fruit set, leaf yellowing, or pest infestations, don’t be discouraged. With a little patience, observation, and troubleshooting, you can overcome these challenges and help your orange trees thrive.
Finally, the moment you’ve been waiting for arrives: harvest time! Pick your ripe and delicious oranges, savor their juicy flavor, and indulge in the satisfaction of knowing that you grew these delectable fruits with your own hands.
Growing orange trees from seeds is a journey that offers not only the joy of gardening but also the pleasure of reaping the fruits of your labor. So, get started, embrace the process, and watch as your orange seeds transform into beautiful, fruitful trees that bring joy and zest to your garden and your plate.
