Home>Types of Gardening>Edible Gardening>How To Grow Melon Seeds

Edible Gardening
How To Grow Melon Seeds
Modified: January 22, 2024
Learn how to successfully grow melon seeds in your own edible gardening space. Discover tips and techniques for a bountiful harvest.
(Many of the links in this article redirect to a specific reviewed product. Your purchase of these products through affiliate links helps to generate commission for Chicagolandgardening.com, at no extra cost. Learn more)
Table of Contents
Introduction
Welcome to the exciting world of edible gardening! Growing your own fruits and vegetables is not only a rewarding experience but also a great way to ensure that you have fresh and healthy produce right at your fingertips. One such delightful fruit to grow in your garden is melon.
Melons are not only delicious and refreshing, but they are also packed with essential vitamins and minerals. From juicy watermelons to sweet cantaloupes, there is a wide variety of melon seeds available for you to choose from. Whether you have a spacious backyard or a small balcony, you can easily grow melon plants with a little bit of effort and the right techniques.
In this guide, we will walk you through the step-by-step process of growing melon seeds successfully. From selecting the right seeds to harvesting the ripe fruits, we will cover all the essential aspects of melon gardening. So, let’s dig in and discover how you can start growing your own melons!
Step 1: Selecting Melon Seeds
When it comes to selecting melon seeds for your garden, there are a few key factors to consider. Firstly, it’s important to choose a melon variety that is well-suited to your climate and growing conditions. Some melon varieties thrive in warmer climates, while others are more tolerant of cooler temperatures. Research the optimal growing conditions for different melon varieties and select seeds that align with the climate in your area.
In addition to climate considerations, you should also take into account your personal preferences when choosing melon seeds. Are you a fan of sweet and juicy watermelons or do you prefer the delicate flavor of cantaloupes? Are you looking for a compact variety that can thrive in containers or do you have ample space in your garden for sprawling vines? Consider both the taste and growing habits of different melon varieties to find the perfect match for your garden.
When purchasing melon seeds, opt for high-quality seeds from reputable suppliers. Look for organic or heirloom seeds if you prefer to grow your melons without the use of synthetic pesticides or fertilizers. These seeds are often more resilient and will provide you with a bountiful harvest of flavorful melons.
Another important factor to consider is the seed viability. Check the expiration date on the seed packet to ensure that you’re buying fresh seeds. Older seeds may have lower germination rates, reducing your chances of successful growth. Additionally, choosing seeds from local or regional suppliers can increase the likelihood of successful adaptation to your specific climate and soil conditions.
Lastly, it’s always a good idea to read reviews or seek recommendations from fellow gardeners who have grown the specific melon variety you’re interested in. Their experiences and insights can give you valuable information about taste, yield, and overall performance.
By carefully selecting the right melon seeds for your garden, you’ll set the foundation for a successful and satisfying growing season. With the next step, we’ll move on to preparing the soil for planting the melon seeds.
Step 2: Preparing the Soil
Preparing the soil is a crucial step in growing healthy and productive melon plants. Melons thrive in well-draining soil that is rich in organic matter. Here’s how you can prepare your soil for planting melon seeds:
- Choose the right location: Melons love warm and sunny spots, so select a location in your garden that receives at least 6-8 hours of direct sunlight daily. Ensure that the soil is not prone to waterlogging to prevent root rot.
- Remove weeds: Before you start preparing the soil, remove any existing weeds or grass from the area. This will minimize competition for nutrients and water once the melon plants are growing.
- Loosen the soil: Use a garden fork or tiller to loosen the soil to a depth of about 12-15 inches. This will improve aeration and drainage, allowing the melon roots to grow freely.
- Add organic matter: Enrich the soil by incorporating organic matter such as compost, well-rotted manure, or aged leaf mold. Organic matter improves soil fertility, drainage, and moisture retention, creating the perfect environment for melon plants to thrive.
- Test soil pH: Melons prefer slightly acidic to neutral soil with a pH range of 6.0-7.0. Test your soil using a pH testing kit and make any necessary amendments to adjust the pH level accordingly.
- Apply balanced fertilizer: Prior to planting, apply a balanced organic fertilizer to provide essential nutrients to the soil. Look for a fertilizer with a higher phosphorus content, as this promotes root and fruit development.
- Mulch the soil: Adding a layer of organic mulch, such as straw or wood chips, around the melon plants will help suppress weed growth, retain soil moisture, and regulate soil temperature.
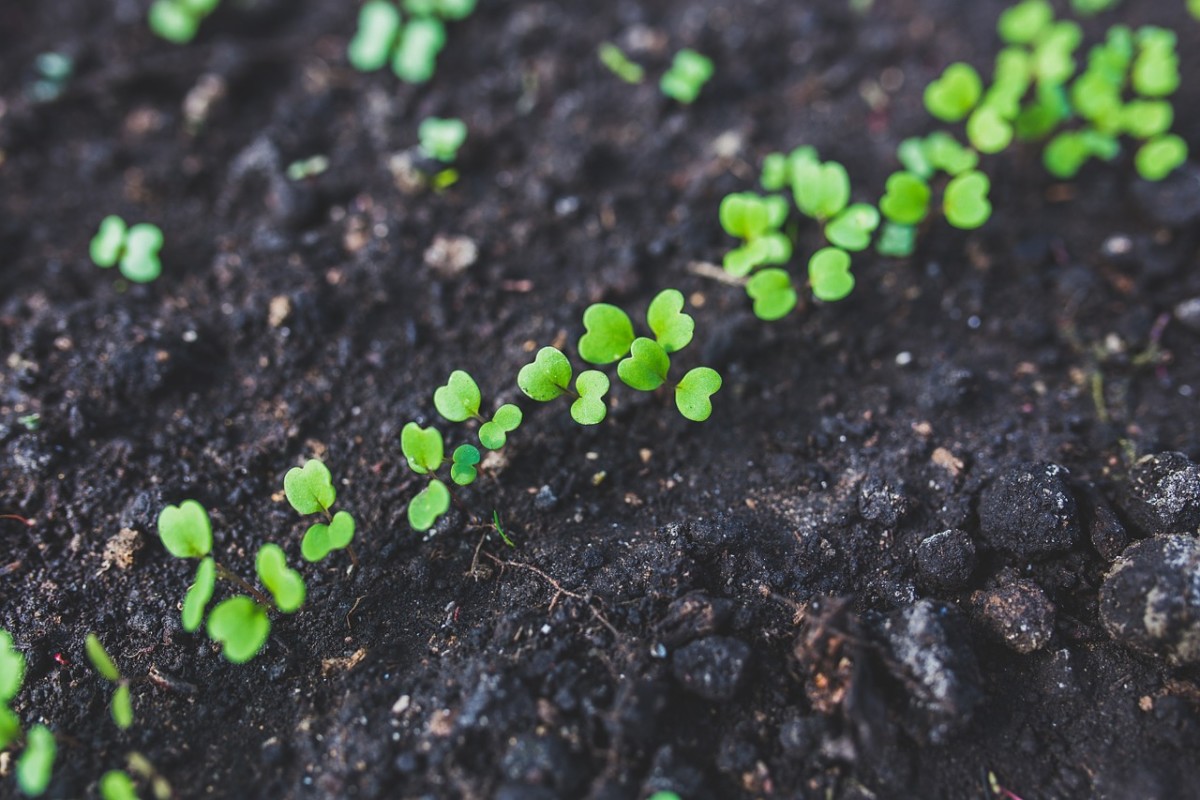
By adequately preparing the soil, you create a nutrient-rich and well-drained environment that sets the stage for healthy melon growth. The next step in our journey is to plant the melon seeds and watch them sprout into vibrant seedlings.
Step 3: Planting the Seeds
Now that you have prepared the soil, it’s time to plant your melon seeds and watch them grow into thriving plants. Follow these steps to ensure successful planting:
- Timing: Melons are warm-season crops, so it’s important to plant the seeds after the danger of frost has passed and the soil has warmed up to at least 60°F (15.5°C). Check your local climate and refer to the seed packet for specific planting recommendations.
- Spacing: Melon plants require adequate space to spread their vines and grow fruit. Plant the seeds or seedlings about 36-48 inches apart in rows that are spaced 5-6 feet apart. Providing enough room between plants ensures good air circulation and minimizes the risk of disease.
- Planting depth: Plant the seeds at a depth of about 1 inch into the soil. If you’re using seedlings instead of seeds, dig a hole deep enough to cover the root ball and ensure the top of the soil is level with the surrounding ground.
- Water the soil: After planting the seeds, gently water the soil to ensure good hydration. Avoid over-watering, as it can cause the seeds to rot or the young seedlings to dampen off. Water consistently but make sure the soil is well-drained.
- Protect from pests: Melon seeds and young seedlings can be attractive to pests like birds and rodents. Consider using protective measures such as netting or row covers to prevent damage.
- Support for vining varieties: If you are growing vining melon varieties, provide support for the plants by setting up trellises, cages, or stakes. This will help keep the vines off the ground, promote airflow, and make harvesting easier.
- Monitor growth: Regularly check on your melon plants as they begin to grow. Monitor soil moisture levels and adjust watering as needed. Also, remove any weeds that may compete for nutrients or crowd the melon plants.
Remember to label your rows or use location markers to identify the different melon varieties you have planted, especially if you are growing multiple types. This will help you keep track of their growth habits and ensure proper care and maintenance throughout the growing season.
With the seeds planted and the next growth phase underway, it’s important to provide the right care and attention to help your melon plants thrive. We will explore watering, fertilizing, and providing support in the next steps of our guide.
Step 4: Watering and Fertilizing
Proper watering and fertilizing are essential for the healthy growth and development of your melon plants. Here’s what you need to know:
Watering: Melons require consistent moisture, especially during the flowering and fruiting stages. Water deeply, providing approximately 1-2 inches of water per week, keeping the soil consistently moist but not waterlogged. Adequate moisture is crucial for preventing blossom end rot, a common problem in melons. Avoid overhead watering, as it can encourage fungal diseases. Instead, use soaker hoses or drip irrigation to deliver water directly to the soil, minimizing moisture on the leaves and fruit.
Fertilizing: Melons are heavy feeders and benefit from regular fertilization throughout the growing season. Before planting, incorporate a balanced organic fertilizer into the soil to provide essential nutrients. As the plants start to grow, side-dress them with additional compost or well-rotted manure every few weeks. This will provide a steady supply of nutrients to support healthy foliage growth, flowering, and fruit development.
Using organic fertilizers helps improve soil fertility and promotes long-term plant health. Look for fertilizers with a higher potassium content, as this encourages fruit development and enhances the quality and sweetness of the melons.
Remember, it’s important not to over-fertilize, as this can lead to excessive foliage growth at the expense of fruit production. Follow the recommended application rates on the fertilizer package or consult with a local gardening expert for specific advice tailored to your soil and melon variety.
Regularly monitor the soil moisture levels to determine when to water and fertilize. During hot and dry periods, you may need to increase watering frequency. Additionally, pay attention to any signs of nutrient deficiencies, such as yellowing leaves or stunted growth, and adjust your fertilization approach accordingly.
With proper watering and fertilizing, you provide your melon plants with the essential resources they need to thrive and produce a bountiful crop. In the next step, we’ll discuss the importance of providing support to your melon vines.
Step 5: Providing Support
Many varieties of melon plants are heavy and vining in nature, which can make them prone to sprawling on the ground. To maximize space, promote airflow, and prevent fruit rot, it’s important to provide support to your melon vines. Here’s what you need to know:
Trellising: Trellising is a popular method for supporting melon vines. Set up a sturdy trellis or arbor before planting the melon seeds. As the vines start to grow, gently train them to climb the trellis using soft ties or twine. This vertical support helps keep the plants off the ground, allowing for better air circulation and reducing the risk of disease. Additionally, trellising makes it easier to manage and harvest the melons.
Cages and stakes: For smaller melon varieties or limited space gardens, using cages or stakes can provide the necessary support. Place cages or stakes around the melon plants as they grow, gently guiding the vines to grow upwards. This helps prevent the fruit from resting on the ground and provides support for the heavy melons.
Pruning: Pruning can also be beneficial for melon plants to control their growth and direct energy towards fruit production. Remove any excessive side shoots or suckers that are competing for nutrients and space. This will help concentrate the plant’s energy on developing larger and more flavorful melons. However, be cautious not to remove too many leaves, as they play a crucial role in photosynthesis and energy production.
Providing support to your melon plants not only keeps them organized and manageable but also promotes better air circulation and reduces the risk of diseases. It also improves fruit quality and makes harvesting more convenient. Remember to regularly check your support structures for stability and make any necessary adjustments as the plants continue to grow.
Now that your melon plants are supported and growing well, it’s important to be aware of potential pests and diseases that may affect them. We will explore pest and disease management in the next step of our guide.
Step 6: Managing Pests and Diseases
Melon plants, like any other garden plants, can be susceptible to various pests and diseases. Being proactive in managing these issues is crucial to ensure the health and productivity of your melon plants. Here are some effective strategies for pest and disease management:
1. Identify and monitor: Regularly inspect your melon plants for any signs of pests or diseases. Be on the lookout for common melon pests such as aphids, cucumber beetles, and squash bugs. In addition, keep an eye out for symptoms of common melon diseases like powdery mildew, bacterial wilt, and fusarium wilt. Early detection allows for prompt action and helps prevent the spread of pests and diseases.
2. Natural pest control methods: Consider using natural pest control methods before resorting to chemical pesticides. Encourage beneficial insects such as ladybugs, lacewings, and spiders that feed on harmful pests. You can also use organic pest control products like neem oil or insecticidal soap, which are less harmful to beneficial insects and the environment.
3. Companion planting: Planting companion plants that naturally repel pests can help keep your melon plants safe. For example, planting marigolds or nasturtiums near your melons can deter aphids and other pests. You can also try interplanting with herbs like basil or dill, which can attract beneficial insects.
4. Crop rotation: Practice crop rotation by planting melons in different areas of your garden each year. This helps disrupt the life cycle of pests and reduces the chances of disease buildup in the soil.
5. Good sanitation practices: Remove any diseased or infested plant materials and dispose of them properly to prevent the spread of diseases. Keep your garden clean by removing weeds and debris that can harbor pests and provide a breeding ground for diseases.
6. Proper watering: Avoid overwatering your melon plants, as excessive moisture can promote the growth of fungal diseases. Water at the base of the plants and try to keep the foliage as dry as possible.
7. Organic disease control: If certain diseases become a recurring issue, you can use organic disease control methods such as copper fungicides or biocontrol agents that target specific pathogens. Consult with local gardening experts or extension services for recommendations on effective organic disease control options.
By being vigilant, employing preventive measures, and taking appropriate action when needed, you can effectively manage pests and diseases in your melon garden. With pests and diseases under control, it’s time to look forward to the rewarding step of harvesting your delicious melons.
Step 7: Harvesting the Melons
Harvesting your melons at the right time ensures that you enjoy the best flavor and quality. Here’s what you need to know about harvesting melons:
Observation: Watch your melons closely as they approach maturity. Different melon varieties have specific signs to indicate that they are ready for harvest. Pay attention to changes in color, texture, and aroma.
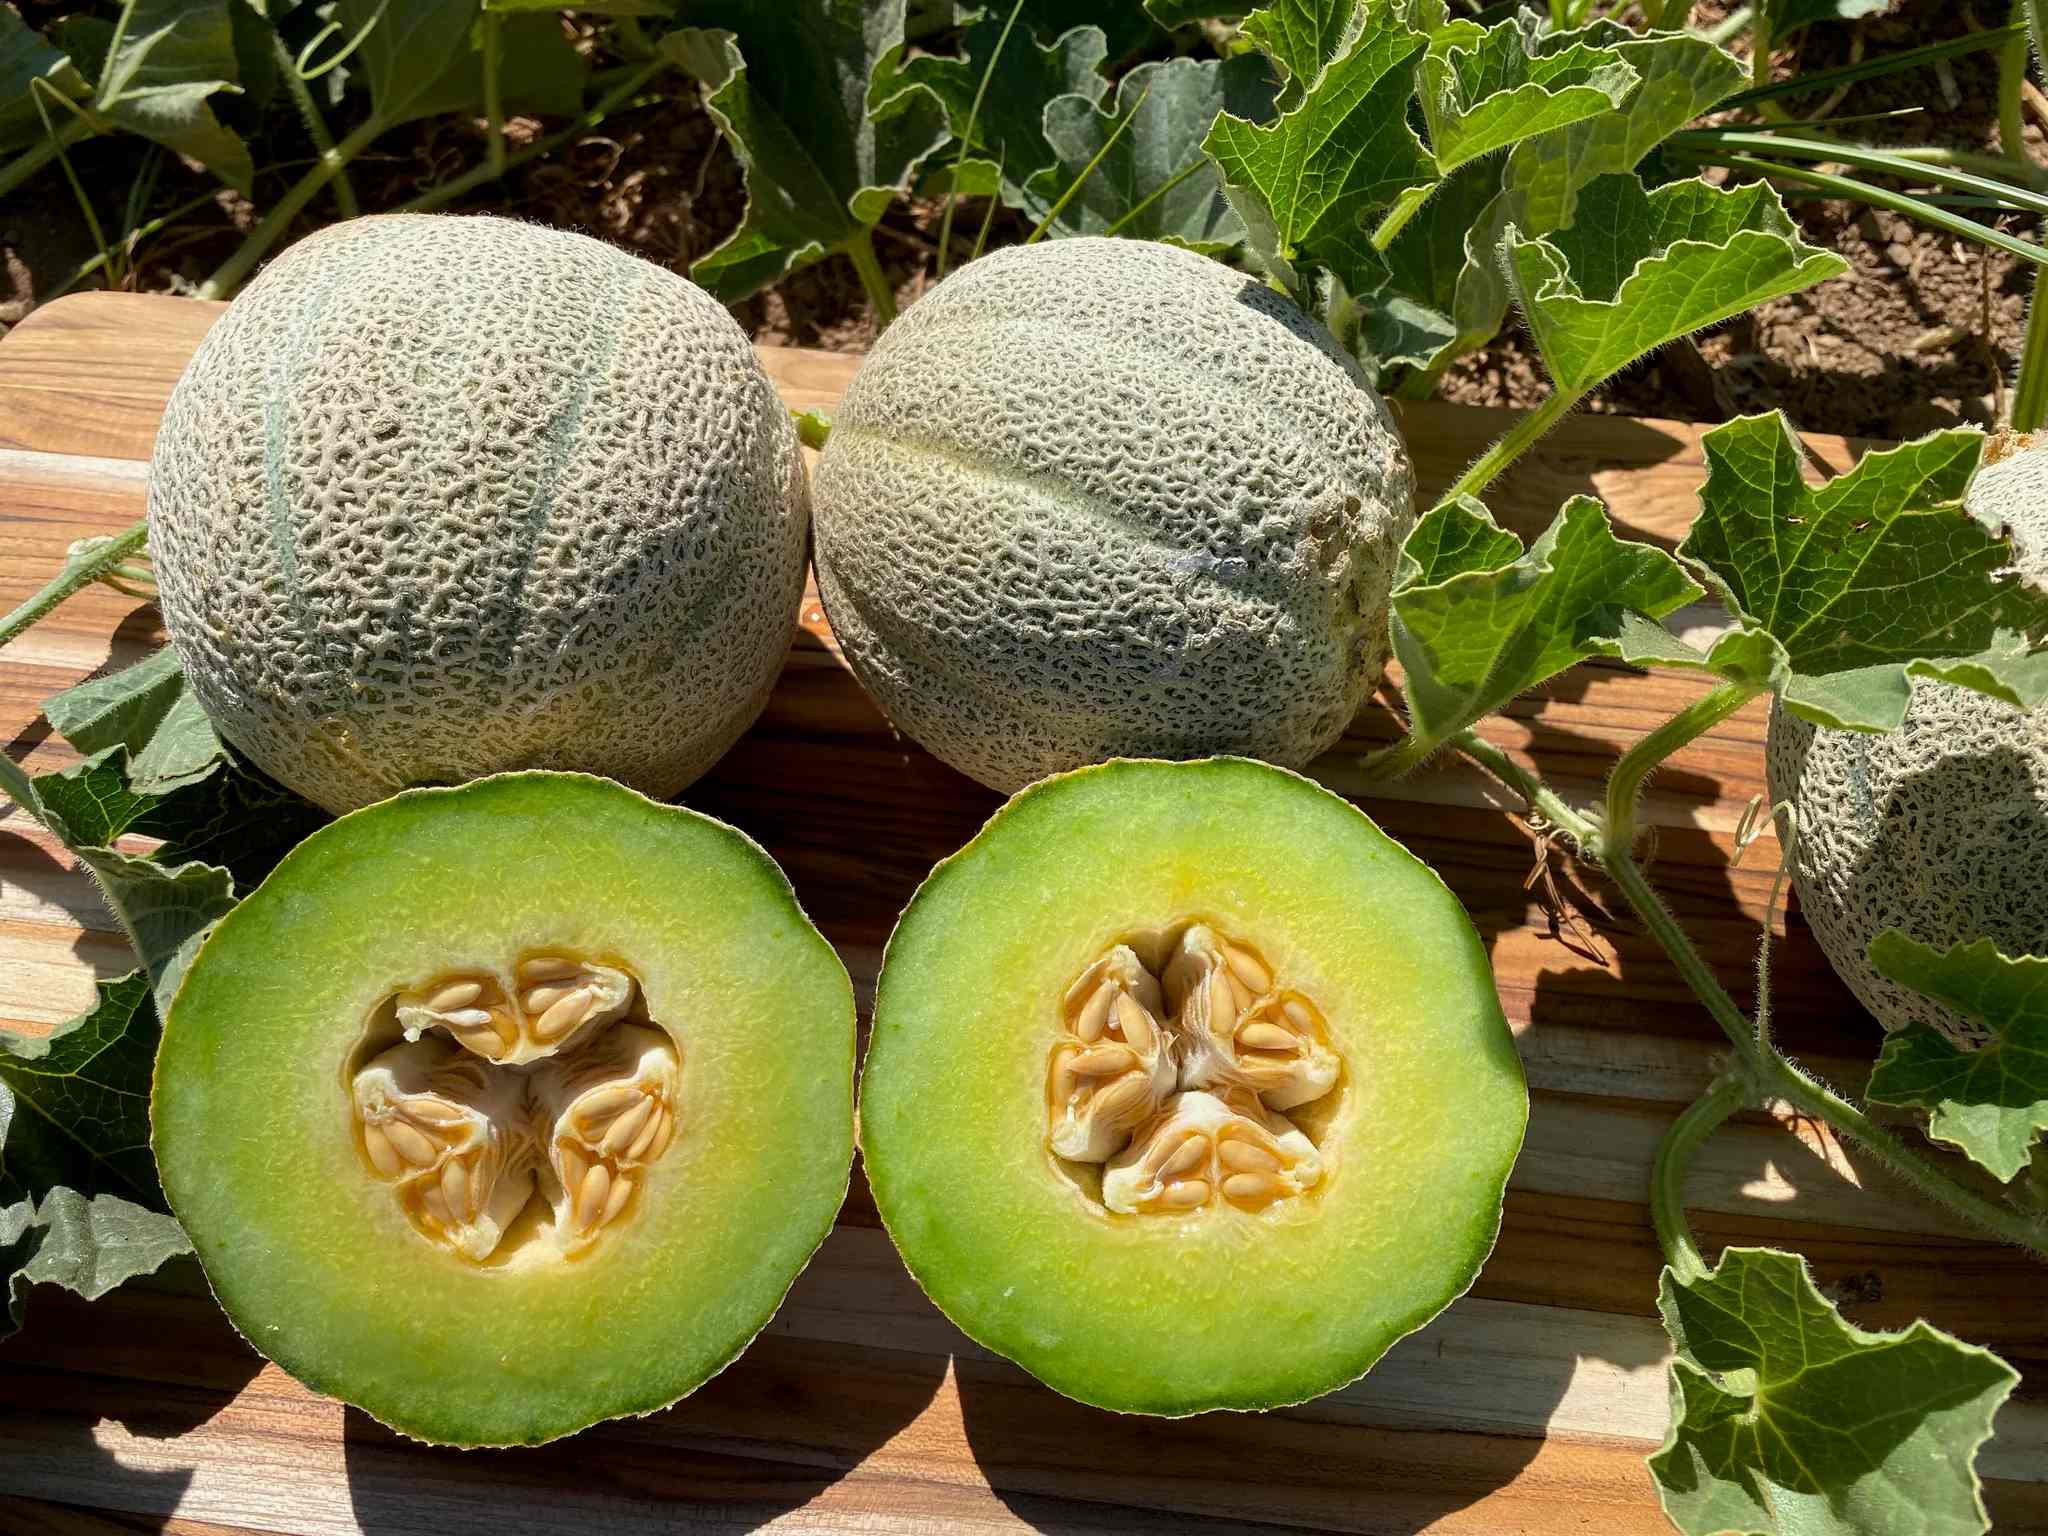
Fruit slip: For most melon varieties, a common indicator of ripeness is known as “fruit slip.” This is when the stem easily detaches from the fruit with a gentle twist or tug. Check the stem connections regularly and gently try to separate the melon from the vine. If it comes off easily, it’s usually a good sign that the melon is ripe.
Color and texture: The color of the melon should be vibrant, even, and fully developed. For example, watermelons should have a deep green rind with a dull rather than shiny surface. The texture of the outer skin should feel firm and slightly rough, indicating that the fruit is mature.
Smell: Many melons emit a sweet, fruity aroma when they are ripe. Give the melon a gentle sniff near the stem end and see if you can detect a pleasant fragrance. This is particularly useful for cantaloupes and other aromatic melon varieties.
Tap test: Some melon types, like honeydew melons, can be checked for ripeness by giving them a light tap. If they produce a deep, resonant sound, it’s an indication that they are ready to be harvested.
Timing: Harvest times can vary depending on the melon variety and local growing conditions. Watermelons are generally ready to harvest when the tendril closest to the fruit turns brown and dries up. Cantaloupes and other muskmelons should have a strong aroma and a slight softening of the blossom end.
When it’s time to harvest, use a sharp knife or garden shears to cut the melon from the vine, leaving a short stub of stem attached to the fruit. Avoid pulling or twisting the melon off the vine, as this can damage the plant. Place the harvested melons in a shady area or refrigerate them immediately to retain their freshness.
It’s important to note that not all melons will ripen off the plant. Most melon varieties ripen best when left on the vine until they are fully mature. However, some varieties, like cantaloupes, may continue to ripen after harvest if kept at room temperature for a few days.
By harvesting your melons at their peak of ripeness, you can savor their juicy sweetness and enjoy the fruits of your labor. Whether you enjoy them fresh, in salads, or transformed into delicious desserts, your homegrown melons are sure to delight your taste buds.
Conclusion
Congratulations on successfully growing your own melons! Through the careful selection of seeds, the preparation of your soil, and the implementation of proper care and maintenance techniques, you have embarked on a fulfilling journey of edible gardening. By following the steps outlined in this guide, you have gained the knowledge and confidence to cultivate healthy melon plants and enjoy the fruits of your labor.
From the initial process of selecting the right melon seeds to the final step of harvesting ripe and delicious melons, each stage of the journey plays a vital role in the success of your garden. Preparing the soil, providing adequate water and nutrients, and protecting your melon plants from pests and diseases are all critical factors in ensuring a productive and thriving crop.
As a gardener, it is important to stay curious, continue learning, and adapt your techniques to the unique characteristics of your garden and growing conditions. Each growing season presents new opportunities and challenges, allowing you to further refine your skills and expand your edible gardening repertoire.
By growing your own melons, you not only benefit from the satisfaction of harvesting and enjoying fresh and flavorful fruits but also gain a deeper connection to nature and a greater appreciation for the food that sustains us. Plus, you have the added advantage of knowing exactly how your melons were grown, without any synthetic pesticides or fertilizers.
So, as you savor the taste and sweetness of your homegrown melons, take a moment to reflect on the journey you have embarked upon. Celebrate your achievements and the joy of connecting with nature through the art of edible gardening. Remember, the journey doesn’t end here. It’s time to start planning for your next gardening adventure and explore the possibilities of new and exciting crops to cultivate.
Happy gardening and enjoy your delicious melons!
