Home>Types of Gardening>Edible Gardening>How To Plant Onion Seedlings
Edible Gardening
How To Plant Onion Seedlings
Published: January 5, 2024
Learn how to plant onion seedlings in your edible garden with our step-by-step guide. Discover the best practices for growing healthy and flavorful onions. Start your edible gardening journey today!
(Many of the links in this article redirect to a specific reviewed product. Your purchase of these products through affiliate links helps to generate commission for Chicagolandgardening.com, at no extra cost. Learn more)
Table of Contents
**
Introduction
**
Welcome to the wonderful world of edible gardening! If you're looking to add a flavorful and versatile ingredient to your garden, planting onion seedlings is an excellent choice. Onions are not only a staple in various culinary dishes but also a relatively low-maintenance addition to your garden. Whether you're a seasoned gardener or just starting your gardening journey, growing onion seedlings can be a rewarding and straightforward experience.
Onions, part of the Allium family, are known for their distinct flavor profiles, which can range from sweet to pungent, depending on the variety. These versatile vegetables can be used in a wide array of dishes, adding depth and complexity to soups, stews, stir-fries, and salads. Additionally, homegrown onions often boast superior flavor and freshness compared to store-bought counterparts, making them a valuable addition to any kitchen.
In this comprehensive guide, we will walk you through the process of planting, caring for, and harvesting onion seedlings. From selecting the right onion varieties to preparing the soil and nurturing your crop, each step is crucial to ensuring a successful harvest. By the end of this journey, you'll be equipped with the knowledge and confidence to cultivate robust and flavorful onions in your own backyard.
So, roll up your sleeves, grab your gardening tools, and let's dive into the enriching world of planting and nurturing onion seedlings. Whether you have a spacious garden or a few pots on a balcony, the satisfaction of cultivating your own onions awaits you. Let's get started on this flavorful and fulfilling gardening adventure!
**
Selecting the Right Onion Varieties
**
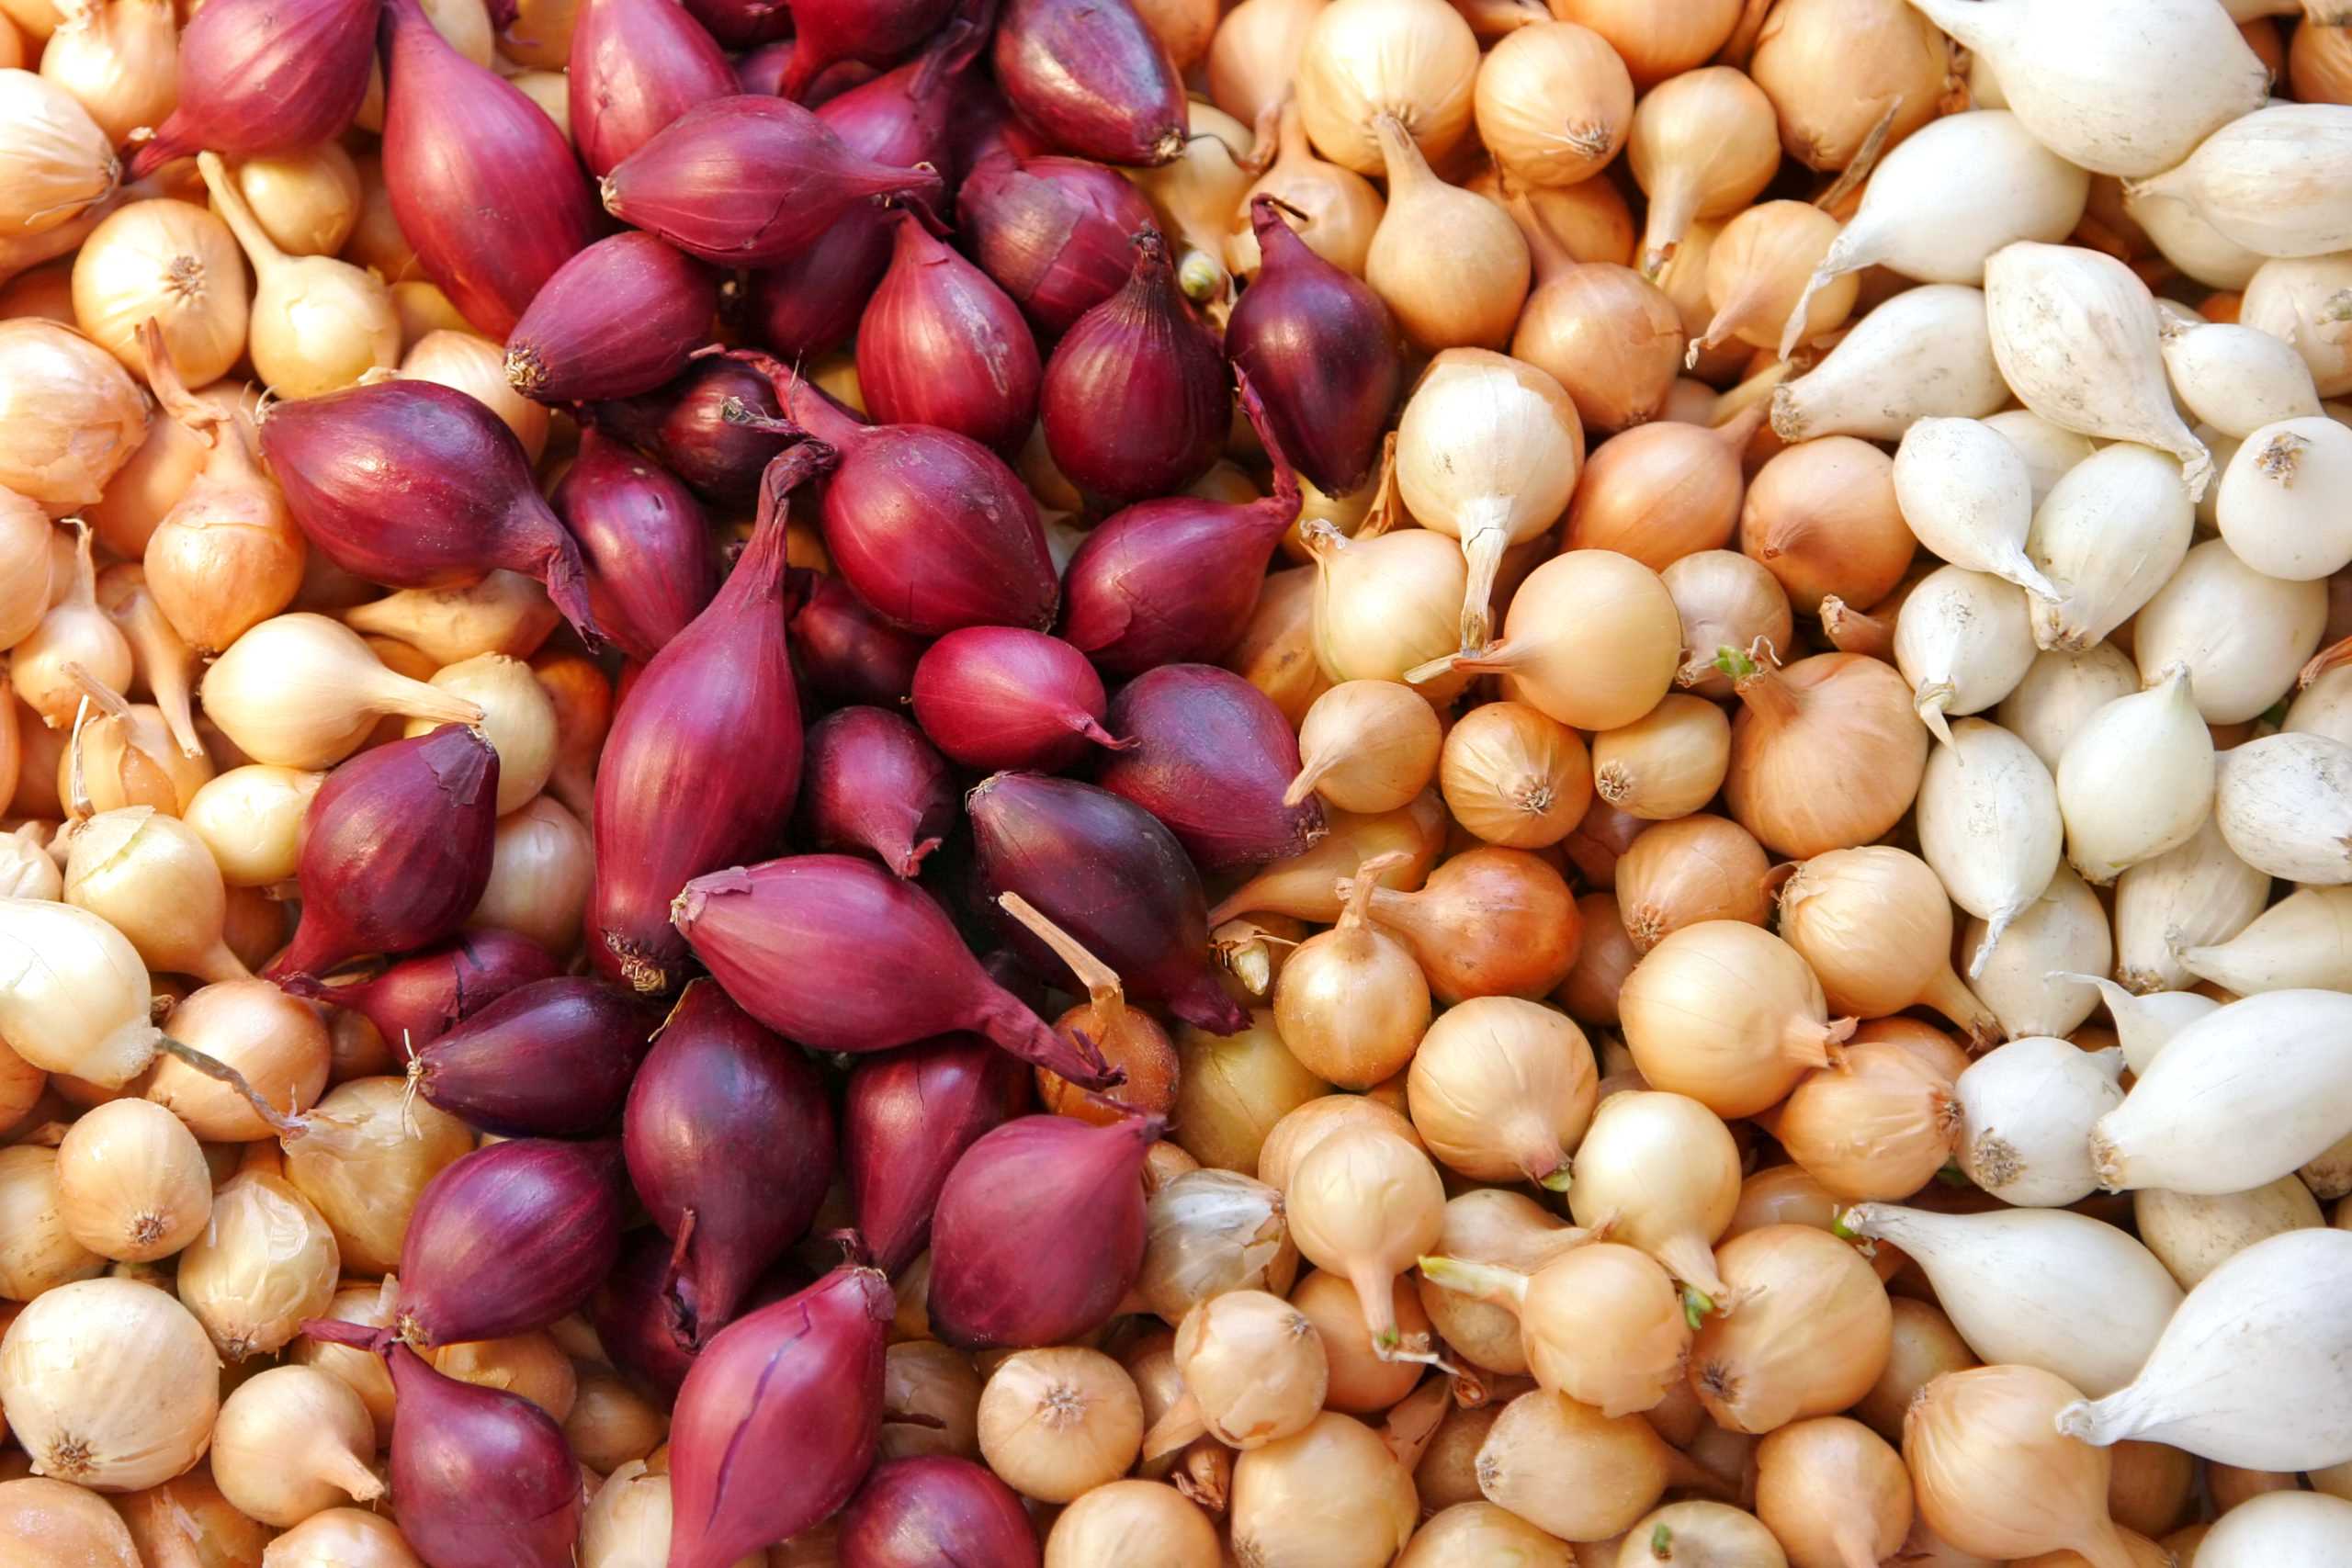
When it comes to selecting the right onion varieties for your garden, several factors come into play, including your local climate, preferred flavor profiles, and intended use. Onions are generally categorized into three main types: short-day, long-day, and day-neutral varieties. Understanding these distinctions is crucial for a successful onion harvest.
Short-day onions, as the name suggests, require a shorter day length to form bulbs, making them well-suited for southern regions with milder winters and shorter daylight hours. These varieties are typically sweeter and milder in flavor, making them ideal for fresh consumption in salads and salsas.
Conversely, long-day onions thrive in northern regions with longer daylight hours and cooler temperatures. These varieties tend to have a more pungent flavor profile and are well-suited for cooking and storage due to their higher sulfur content. If you reside in a northern climate, long-day onions are likely the best choice for your garden.
For those in regions with more moderate day lengths, day-neutral onions offer a versatile option. These varieties are known for their ability to form bulbs regardless of day length, providing greater flexibility in planting and harvesting. Day-neutral onions often exhibit a balanced flavor profile, making them suitable for various culinary applications.
Additionally, consider the specific cultivars within each onion type. Popular choices include 'Red Burgundy,' 'Walla Walla Sweet,' 'Yellow Sweet Spanish,' and 'Texas Early Grano.' Each cultivar offers distinct characteristics in terms of flavor, storage potential, and adaptability to different growing conditions.
Before making your selection, research the recommended onion varieties for your geographical region or consult with local gardening experts. By choosing the right onion varieties tailored to your climate and culinary preferences, you set the stage for a successful and bountiful onion harvest.
Preparing the Soil
Before planting onion seedlings, it’s essential to prepare the soil to provide an optimal growing environment for these flavorful bulbs. Onions thrive in well-draining, fertile soil with a slightly acidic to neutral pH level. Here’s how to prepare your soil for a successful onion crop:
Assess Soil Drainage: Start by assessing the drainage of your garden soil. Onions are susceptible to rot in waterlogged conditions, so it's crucial to ensure that the soil drains well. If your soil tends to retain water, consider amending it with organic matter such as compost or well-rotted manure to improve drainage.
Soil pH Testing: Test the pH of your soil using a reliable soil testing kit. Onions prefer a pH level ranging from 6.0 to 7.0. If the soil pH is too low (acidic) or too high (alkaline), you can adjust it by incorporating the appropriate amendments. Adding agricultural lime can raise the pH of acidic soil, while elemental sulfur can lower the pH of alkaline soil.
Incorporating Organic Matter: Enrich the soil with organic matter to enhance its fertility and structure. Work well-rotted compost or aged manure into the soil to provide essential nutrients and improve its texture. Organic matter also helps the soil retain moisture, which is beneficial for onion growth.
Weed Control: Clear the planting area of any existing weeds or unwanted vegetation. Weeds compete with onions for nutrients and water, so it's crucial to eliminate them before planting. You can manually remove weeds or use organic mulch to suppress their growth.
Soil Loosening: Use a garden fork or tiller to loosen the soil to a depth of about 6-8 inches. This process improves aeration and root penetration, creating an ideal environment for onion seedling establishment and bulb development.
By diligently preparing the soil, you create the foundation for healthy onion growth and development. The effort invested in soil preparation sets the stage for robust and flavorful onion harvests, making it a vital step in the journey of cultivating these versatile and aromatic vegetables.
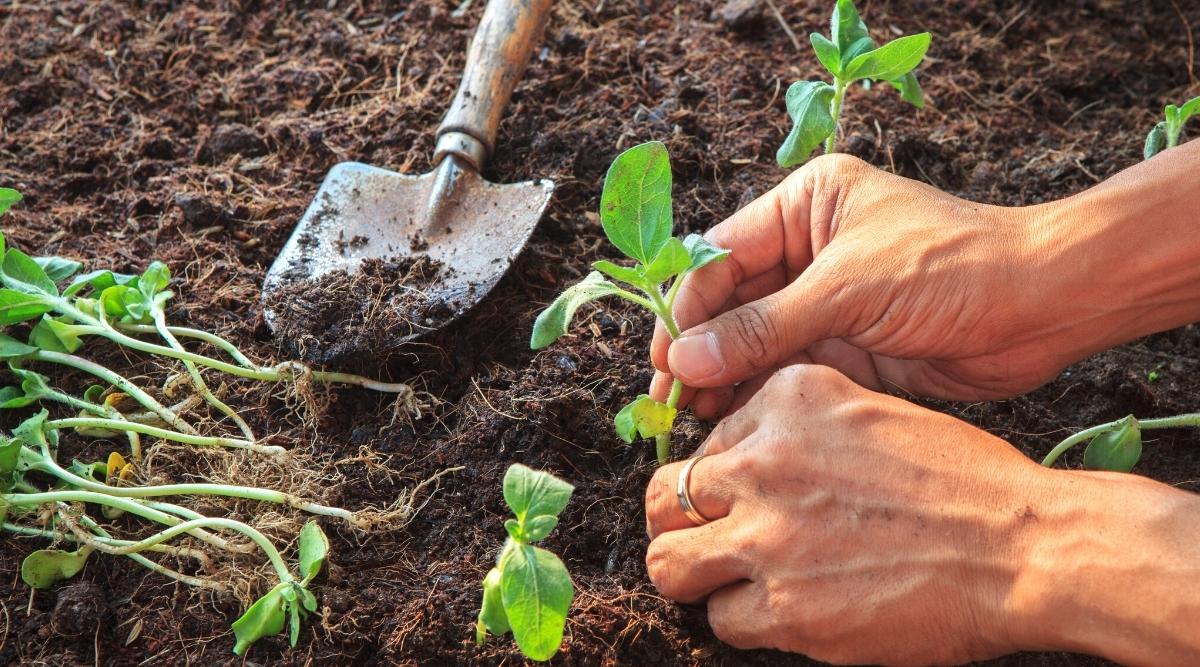
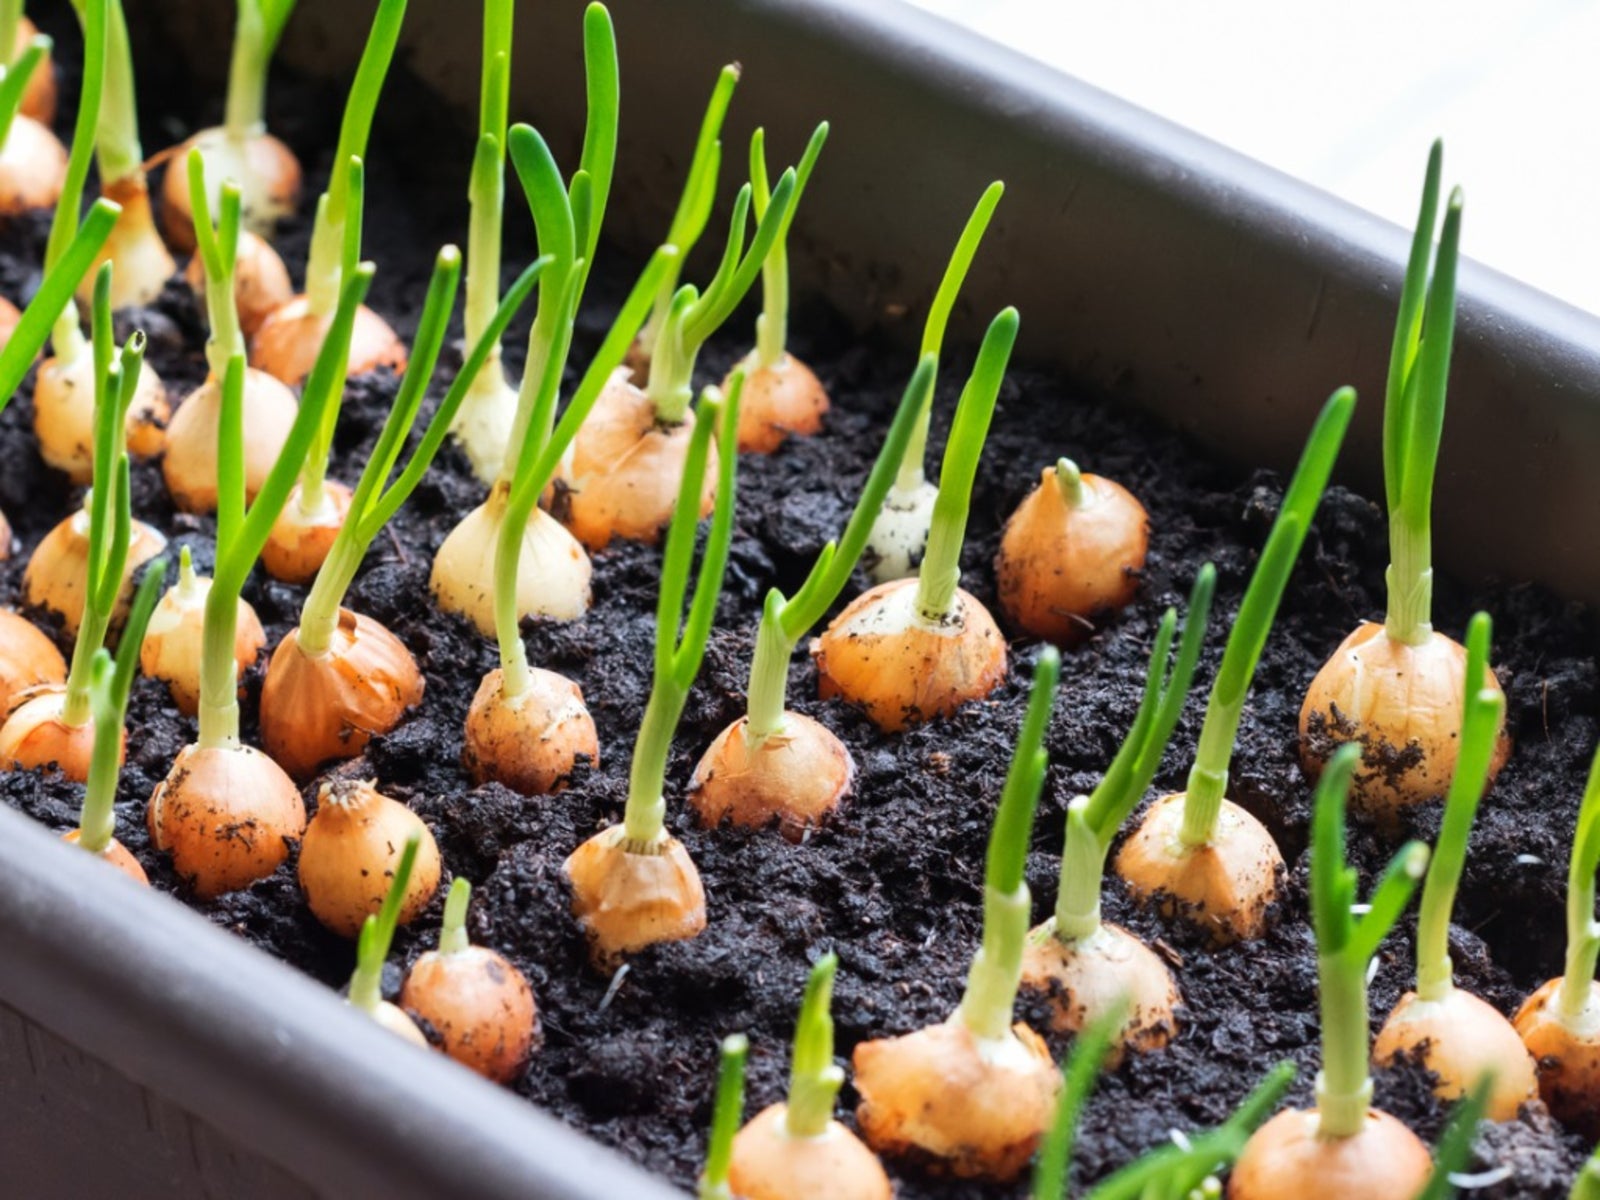
Planting Onion Seedlings
Now that the soil is primed for planting, it’s time to embark on the exciting process of setting your onion seedlings into their new home. Follow these steps to ensure a successful and rewarding planting experience:
Timing: Plant onion seedlings in early spring, as soon as the soil is workable. Onions thrive in cool weather, so early planting allows them to establish strong root systems before the onset of warmer temperatures.
Spacing: When planting onion seedlings, ensure proper spacing to accommodate their growth and bulb development. Space the seedlings approximately 4-6 inches apart in rows that are 12-18 inches apart. This spacing provides ample room for the bulbs to expand and minimizes competition among the plants.
Planting Depth: Gently press the seedlings into the soil, ensuring that the bulb base is level with the soil surface. Avoid planting the seedlings too deeply, as this can hinder bulb formation. The tip of the green foliage should be just above the soil level.
Root Placement: When setting the seedlings into the soil, spread out the roots carefully to encourage optimal establishment. Ensure that the roots are well-distributed and not cramped, allowing them to access moisture and nutrients effectively.
Watering: After planting, water the seedlings thoroughly to settle the soil around the roots and provide essential moisture. Maintain consistent soil moisture throughout the growing season, ensuring that the onion plants receive approximately 1 inch of water per week, either from rainfall or irrigation.
Mulching: Consider applying a layer of organic mulch, such as straw or compost, around the onion seedlings to conserve moisture, suppress weed growth, and maintain a stable soil temperature. Mulching also protects the bulbs from direct contact with the soil, reducing the risk of rot and disease.
By following these planting guidelines, you establish a strong foundation for your onion seedlings to thrive and flourish. Proper planting techniques contribute to the overall health and vigor of the plants, setting the stage for a successful onion-growing venture.
Caring for Onion Seedlings
As your onion seedlings take root and begin their journey toward bulb formation, providing attentive care is essential to ensure their optimal growth and development. Here are key practices to nurture your onion seedlings throughout the growing season:
Soil Moisture: Consistent soil moisture is crucial for the well-being of onion seedlings. Monitor the moisture levels regularly and ensure that the soil remains evenly moist but not waterlogged. Irrigate the plants during dry periods, aiming to provide approximately 1 inch of water per week, either through rainfall or supplemental watering.
Weed Management: Keep the area around the onion seedlings free of weeds to minimize competition for nutrients and water. Regularly remove any weeds that emerge near the plants, and consider applying a layer of organic mulch to suppress weed growth while retaining soil moisture.
Fertilization: Apply a balanced fertilizer when the seedlings have been in the ground for about three weeks. A fertilizer with a formulation such as 10-10-10 provides essential nutrients for robust growth. Follow the package instructions for application rates, and avoid over-fertilizing, as this can lead to excessive foliage growth at the expense of bulb development.
Thinning: If the onion seedlings appear crowded or compete for space, consider thinning them to ensure adequate room for bulb expansion. Thinning involves carefully removing excess seedlings, allowing the remaining plants to thrive and produce larger bulbs.
Pest and Disease Management: Keep an eye out for common onion pests, such as onion thrips and onion maggots, and promptly address any infestations. Additionally, monitor the plants for signs of diseases such as onion rot and downy mildew, and take preventive measures to minimize their impact, such as improving air circulation and avoiding overhead watering.
Harvesting: As the onion seedlings mature, monitor the foliage for signs of yellowing and wilting, indicating that the bulbs are reaching maturity. When a significant portion of the foliage has turned yellow and begins to topple over, it’s time to prepare for harvesting.
By tending to the needs of your onion seedlings with care and attention, you set the stage for a successful harvest of flavorful and robust onions. Consistent monitoring, timely interventions, and proactive management contribute to the overall health and vitality of your onion crop, ensuring a bountiful yield of these versatile and aromatic vegetables.
Harvesting and Storing Onions
As your onion plants reach maturity, it’s time to reap the rewards of your dedicated care and attention. Harvesting onions at the right time and employing proper storage techniques are crucial for preserving their flavor and quality. Here’s how to harvest and store your onions for long-term enjoyment:
Harvesting: When a significant portion of the onion foliage has turned yellow and begins to topple over, it’s a clear indication that the bulbs have reached maturity. Using a garden fork or trowel, carefully loosen the soil around the bulbs to avoid damaging them. Gently lift the onions from the soil, taking care not to bruise or injure the bulbs during the harvesting process.
Curing: After harvesting, lay the onions in a single layer in a well-ventilated, shaded area to cure. Curing allows the outer layers of the bulbs to dry and the necks to tighten, enhancing their storage potential. Ensure good air circulation during the curing process, which typically lasts for two to three weeks, depending on the prevailing humidity levels.
Storage Preparation: Once the onions have cured, trim the foliage to about an inch above the bulb and remove any loose soil. Inspect the bulbs for any signs of damage or disease, setting aside any compromised onions for immediate use rather than storage.
Storage Options: Onions can be stored in various ways to maintain their quality. For short-term storage, place cured onions in a cool, well-ventilated area with low humidity, such as a mesh bag or open crate. For longer-term storage, consider braiding the cured onion foliage together and hanging them in a cool, dry location. Additionally, storing onions in a well-ventilated pantry or cellar with consistent cool temperatures is ideal for prolonging their shelf life.
Monitoring: Regularly inspect stored onions for any signs of sprouting, softening, or decay. Remove any onions showing these symptoms to prevent spoilage from spreading to the entire batch.
By harvesting your onions at the right time and employing proper storage techniques, you can savor the fruits of your labor for an extended period. The flavorful and aromatic essence of homegrown onions can enhance a wide array of culinary creations, bringing a delightful touch of freshness and depth to your favorite dishes.