Home>Gardening Techniques>DIY Projects>How To Make Tinctures With Herbs


DIY Projects
How To Make Tinctures With Herbs
Modified: January 22, 2024
Learn how to make tinctures with herbs through easy DIY projects. Enhance your herbal medicine knowledge and create your own natural remedies.
(Many of the links in this article redirect to a specific reviewed product. Your purchase of these products through affiliate links helps to generate commission for Chicagolandgardening.com, at no extra cost. Learn more)
Table of Contents
- Introduction
- What Are Tinctures?
- Benefits of Making Tinctures with Herbs
- Choosing the Right Herbs for Tincture Making
- Supplies Needed for Making Tinctures
- Step-by-Step Guide to Making Tinctures with Herbs
- Storing and Using Your Herbal Tinctures
- Common Mistakes to Avoid When Making Tinctures
- Tips and Considerations for Tincture Making
- Conclusion
Introduction
Welcome to the world of DIY projects where creativity and self-sufficiency combine to create something truly special. There’s something deeply satisfying about making things with our own hands, and one popular DIY project that has gained traction in recent years is making tinctures with herbs. Whether you’re a seasoned herbalist or just starting out on your journey, making tinctures can be a rewarding and empowering experience.
So, what exactly are tinctures? In simple terms, a tincture is a concentrated herbal extract made by soaking herbs in a mixture of alcohol and water. This extraction process allows the active constituents of the herbs to be extracted and preserved, creating a potent and long-lasting herbal remedy.
The benefits of making tinctures with herbs are abundant. Firstly, tinctures offer a convenient and efficient way to consume herbs. They are easy to use, have a long shelf life, and can be easily carried around. Secondly, tinctures extract both the water-soluble and alcohol-soluble compounds from the herbs, resulting in a more comprehensive extraction compared to other methods. Lastly, making your own tinctures allows you to have full control over the quality and ingredients used, ensuring that you are getting the most potent and pure herbal extracts.
Now that we’ve covered the basics, let’s dive into the world of tincture making by exploring the different herbs you can use, the supplies you’ll need, and a step-by-step guide to help you through the process. So grab your mortar and pestle, put on your herbalist hat, and let’s get started!
What Are Tinctures?
If you’re new to the world of herbal remedies, you might be wondering what exactly tinctures are. In simple terms, tinctures are concentrated herbal extracts that are made by extracting the active constituents of herbs using a combination of alcohol and water.
The process of making tinctures involves soaking the desired herbs in a solvent mixture, typically consisting of alcohol and water. The alcohol acts as a powerful extracting agent, drawing out the medicinal properties of the herbs and preserving them for long-term use. The water in the solvent mixture helps to extract the water-soluble compounds from the herbs.
One of the key advantages of tinctures is their high potency. The alcohol used in tincture making acts as a natural preservative, allowing the herbal extracts to remain intact and potent for an extended period of time. Additionally, the alcohol helps to enhance the absorption of the herbal compounds by the body, making tinctures an efficient and effective way to take advantage of the health benefits of herbs.
Tinctures can be made from a wide variety of herbs, ranging from common culinary herbs like thyme and rosemary to medicinal plants such as echinacea and chamomile. Each herb possesses its own unique set of therapeutic properties, which can be harnessed through the tincture-making process.
When it comes to choosing the right herbs for making tinctures, it’s important to consider their medicinal properties and your specific health needs. Some herbs are known for their calming and relaxing effects, while others have immune-boosting or pain-relieving properties. By selecting the right combination of herbs, you can create tinctures tailored to your individual needs.
In the next section, we will explore the numerous benefits of making tinctures with herbs, including their convenience, long shelf life, and comprehensive extraction of active constituents.
Benefits of Making Tinctures with Herbs
Making tinctures with herbs offers a multitude of benefits that make it a popular choice for herbal enthusiasts. From convenience to potency, let’s explore some of the key advantages of creating your own herbal tinctures.
1. Convenience: One of the biggest benefits of tinctures is their convenience. Unlike other herbal preparations, tinctures are easy to use and require no additional processing. Simply measure out the desired dose and take it directly, without the need for brewing teas or creating elaborate recipes.
2. Long Shelf Life: Another advantage of tinctures is their excellent shelf life. The high alcohol content acts as a natural preservative, extending the longevity of the tinctures for several years. This means that you can always have a ready supply of your favorite herbal remedies on hand, without worrying about them spoiling or losing their potency.
3. Comprehensive Extraction: When making tinctures, both water-soluble and alcohol-soluble compounds are extracted from the herbs. This comprehensive extraction process ensures that a wide range of constituents, including potent phytochemicals and essential oils, are present in the final tincture. This allows you to fully benefit from the therapeutic properties of the herbs.
4. Customizable Formulations: Making your own tinctures provides you with the opportunity to create customized formulations tailored to your specific needs. You can blend different herbs together to address specific health concerns or to achieve desired effects. This flexibility allows you to experiment and personalize your herbal remedies.
5. Cost-Effective: While initially, the cost of purchasing the necessary supplies for making tinctures may seem daunting, in the long run, it can be a cost-effective option. By making your own tinctures, you have control over the ingredients and the quantities used, which can save money compared to purchasing pre-made tinctures from stores.
These are just a few of the many benefits of making tinctures with herbs. From the convenience of use to the customizable formulations and long shelf life, tincture making empowers you to harness the healing potential of herbs in a convenient and effective way. In the following sections, we will delve into choosing the right herbs and the supplies needed for making tinctures.
Choosing the Right Herbs for Tincture Making
Choosing the right herbs is a crucial step in making tinctures, as it determines the therapeutic properties and effectiveness of the final product. Here are some key factors to consider when selecting herbs for tincture making:
1. Health Concerns: Identify the specific health concerns or goals you have in mind. Are you looking to create a tincture for immune support, relaxation, digestion, or pain relief? Different herbs have different medicinal properties, so it’s important to choose herbs that align with your intended purpose. Research the therapeutic properties of various herbs to find the ones that best address your needs.
2. Safety: Ensure that the herbs you choose are safe for consumption and do not interact negatively with any existing medical conditions or medications you may be taking. If you have any concerns or uncertainties, consult with a healthcare professional or a qualified herbalist to make informed decisions. It’s always better to err on the side of caution when it comes to your health.
3. Quality: Select high-quality herbs for tincture making to ensure optimal potency and effectiveness. Look for organic or wildcrafted herbs that have been sourced responsibly and are free from pesticides or chemicals. Fresh or dried herbs can be used, depending on availability and preference, but be sure they are in good condition and free from mold or contamination.
4. Compatibility: Consider the compatibility of different herbs when creating blends. While single herb tinctures are common, combining complementary herbs can enhance their synergistic effects and create more robust formulas. Research herbal combinations or consult with experienced herbalists to ensure a harmonious blend of herbs.
5. Personal Preference: Lastly, trust your intuition and personal preferences when selecting herbs. If you have a strong affinity for a particular herb or resonate with its qualities, don’t hesitate to incorporate it into your tincture making. Creating herbal remedies is an art, and your intuition can guide you in making choices that align with your unique needs and desires.
By taking into account these factors, you can choose the right herbs that are safe, effective, and aligned with your health goals. In the next section, we’ll explore the supplies you’ll need to embark on your tincture making adventure.
Supplies Needed for Making Tinctures
Before you start making tinctures, it’s important to gather the necessary supplies to ensure a smooth and successful process. Here are the essential items you’ll need:
1. Herbs: Of course, the main ingredient for making tinctures is the herbs themselves. Choose high-quality dried or fresh herbs that align with your desired health benefits or therapeutic properties. You can either purchase herbs from reputable herbal suppliers or harvest them from your own garden.
2. Solvent Mixture: The solvent mixture consists of alcohol and water and is used to extract the medicinal properties from the herbs. You can use high-proof alcohol like vodka, rum, or brandy, which should have at least 40% alcohol content. Distilled water is typically used in combination with the alcohol to extract the water-soluble compounds from the herbs.
3. Glass Jars: Glass jars are the preferred containers for making tinctures, as they are non-reactive and do not leach any unwanted chemicals into the tincture. Choose dark-colored glass jars, such as amber or cobalt blue, to protect the tincture from light exposure, which can degrade the herbal constituents.
4. Labels: Proper labeling is essential for keeping track of your tinctures. Use waterproof labels or markers to clearly indicate the name of the herb, the date of preparation, and any other relevant information, such as the ratio of herbs to alcohol used or the intended use of the tincture.
5. Funnel: A funnel can be helpful for transferring the herb and solvent mixture from the measuring container to the glass jar, without any spills or waste.
6. Measuring Tools: Accurate measurements are important for consistent tincture-making. Use measuring cups, spoons, or a scale to ensure you add the correct amount of herbs and alcohol, following the recommended ratios for each herb.
7. Fine-Mesh Strainer or Cheesecloth: Once the tincture has finished steeping, you’ll need a strainer or cheesecloth to separate the herbal material from the liquid. This ensures a smooth and clear tincture, free from any plant debris.
8. Dropper Bottles: For convenient usage and storage, transfer the finished tinctures into small dropper bottles. These allow for easy, controlled dispensing of the tincture, making it convenient to measure and consume.
With these essential supplies in hand, you are ready to dive into the tincture-making process. In the next section, we’ll guide you through a step-by-step guide to making tinctures with herbs, ensuring that you achieve the best possible results.
Step-by-Step Guide to Making Tinctures with Herbs
Making tinctures with herbs is a straightforward process that requires a few simple steps. Follow this step-by-step guide to create your own herbal tinctures:
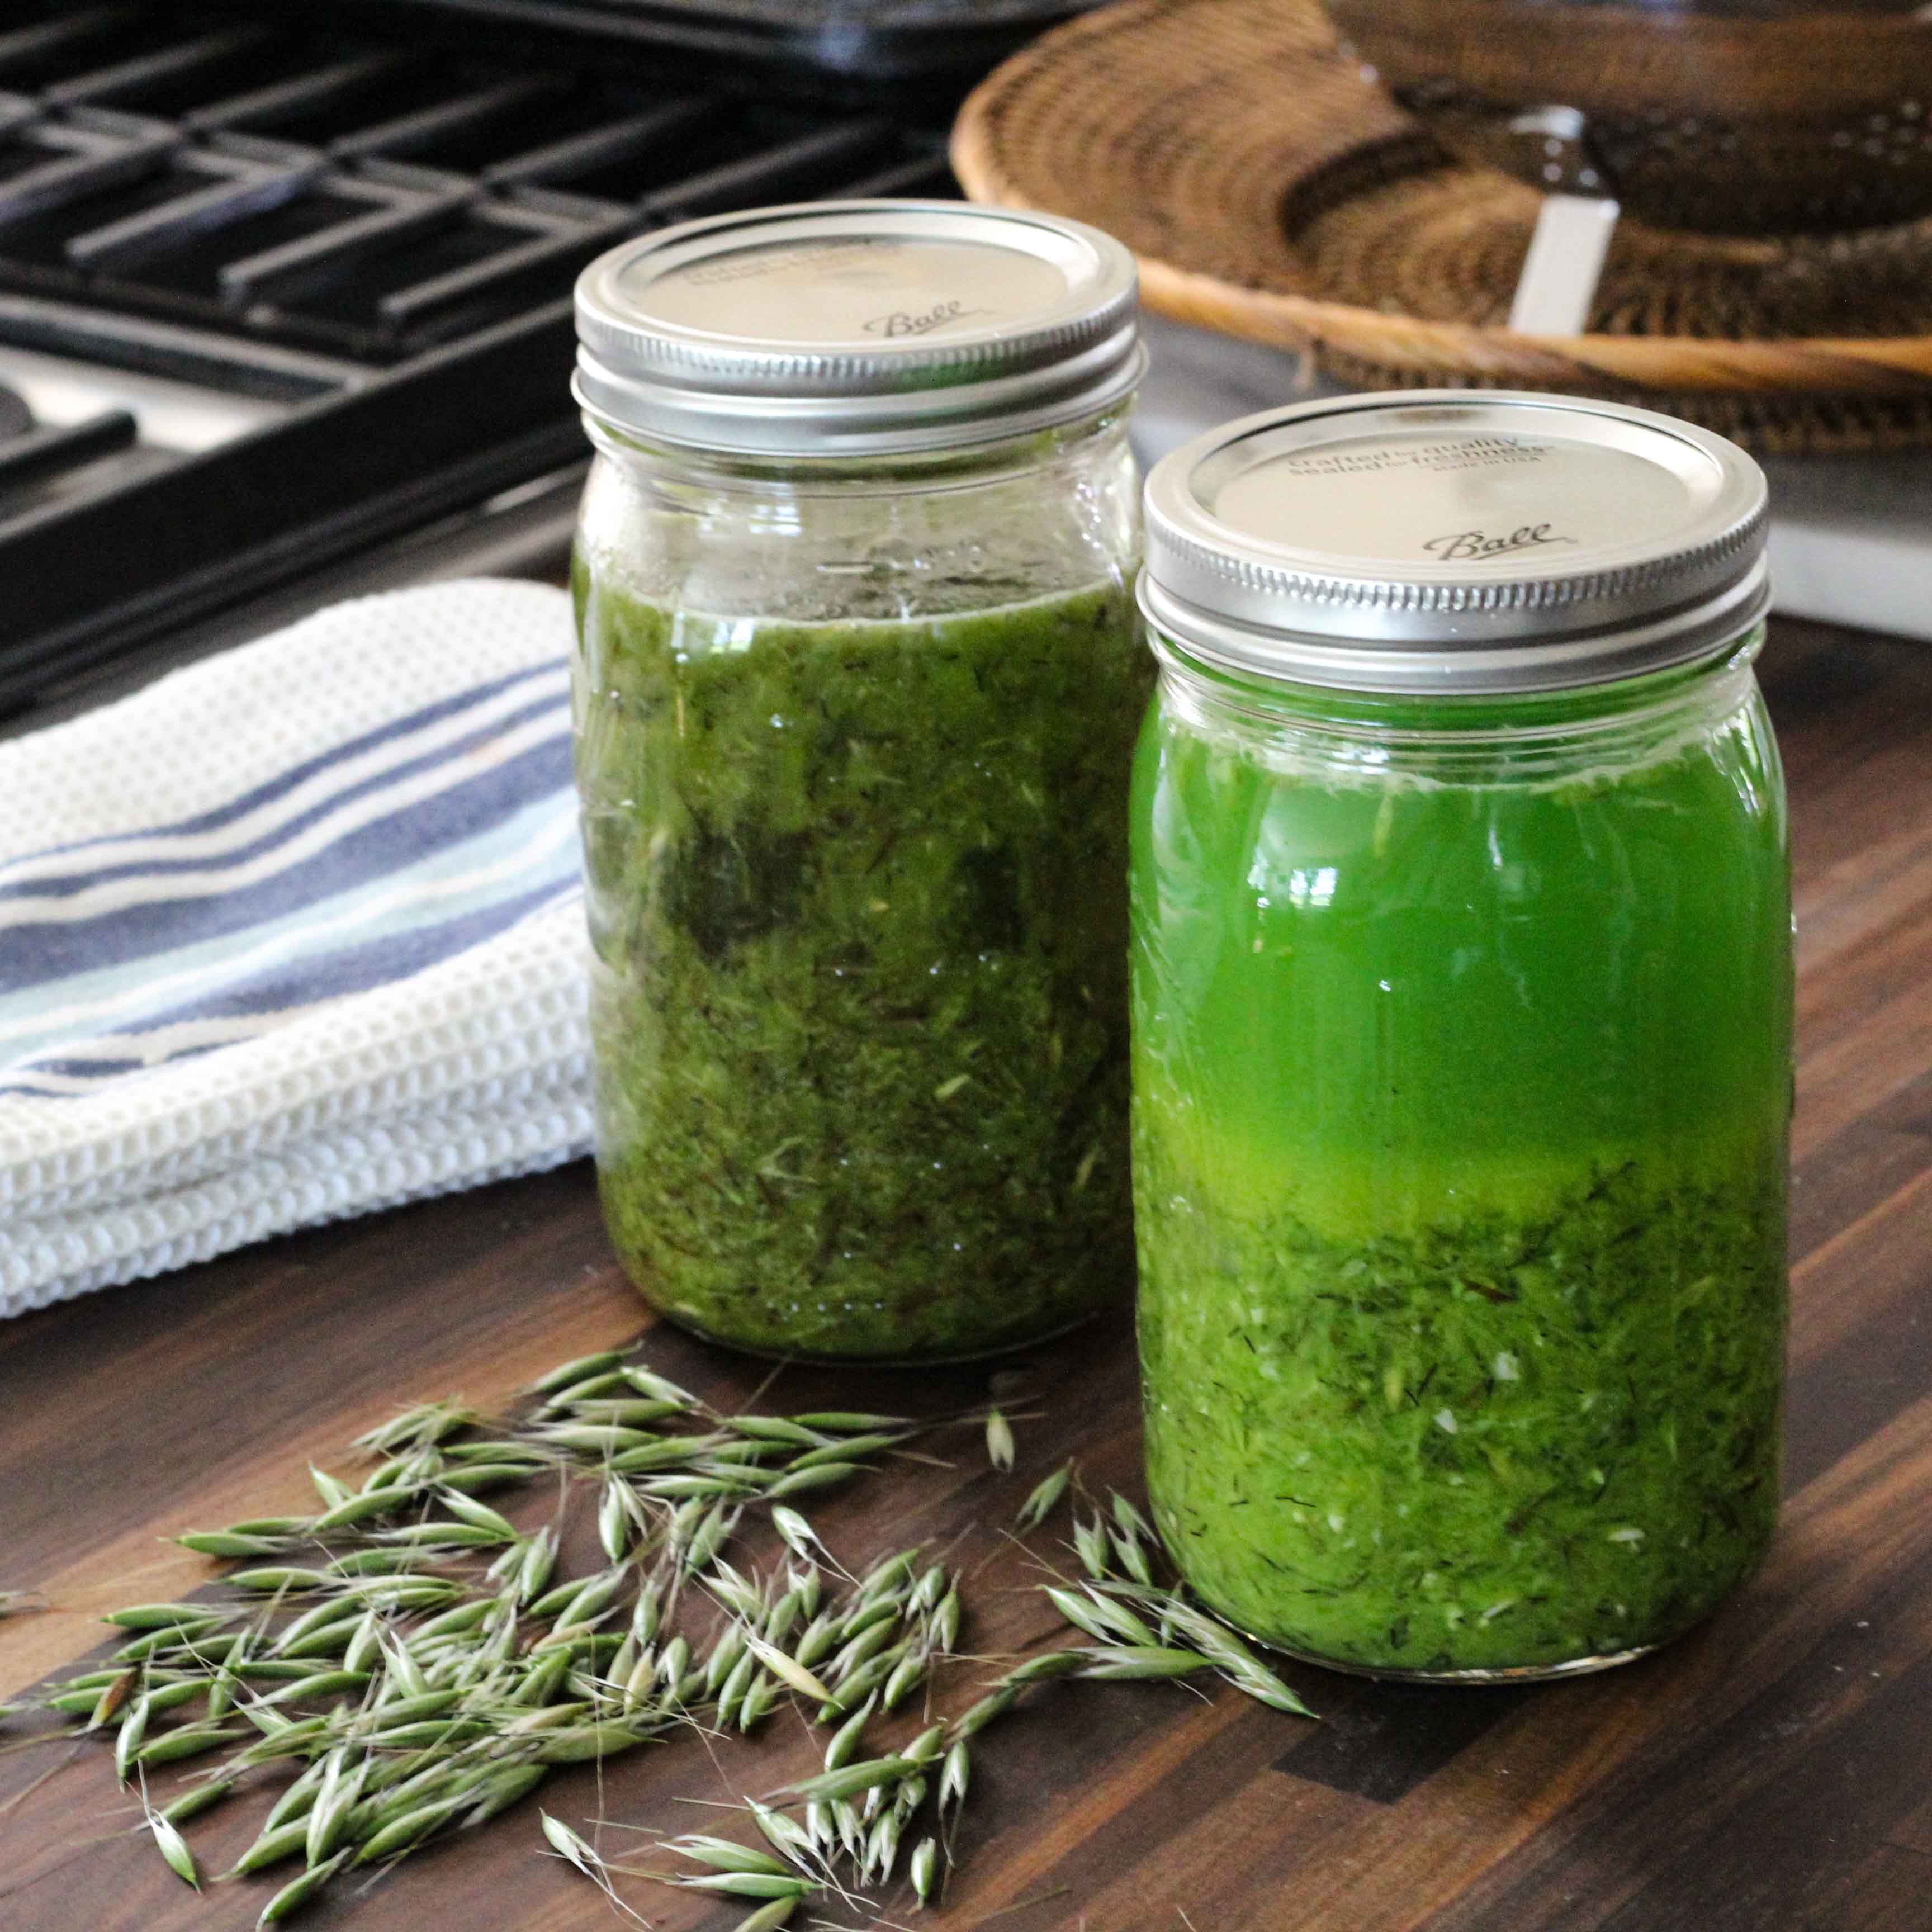
1. Prepare the herbs: Start by preparing the herbs you’ve selected for your tincture. If using fresh herbs, wash them thoroughly and pat them dry. If using dried herbs, crumble or crush them to increase the surface area for better extraction.
2. Measure and mix: Measure the desired amount of herbs and place them into a clean glass jar. Add the solvent mixture, maintaining the recommended ratio of herbs to alcohol. Ensure that the herbs are fully submerged in the solvent, leaving about an inch of headspace to allow for expansion.
3. Seal and store: Securely seal the glass jar with a tight-fitting lid. Place the jar in a cool and dark location, like a pantry or cupboard, away from direct sunlight or heat. Let the herbs steep in the alcohol and water mixture for at least four to six weeks, gently shaking the jar every few days to promote proper extraction.
4. Strain the tincture: After the steeping period, strain the tincture by pouring it through a fine mesh strainer or a double layer of cheesecloth. Squeeze the herbs gently to extract any remaining liquid. This will result in a clear liquid tincture, free from any herbal debris.
5. bottle and label: Transfer the strained tincture into small dropper bottles for convenient storage and usage. Label each bottle with the herb name, preparation date, and any other important information such as dosage instructions or intended uses.
6. Store and use: Store the labeled tincture bottles in a cool, dark place to maintain their potency. Tinctures can be consumed orally by placing the desired number of drops (as recommended) under the tongue or in a glass of water, juice, or tea. Always follow the dosage instructions and consult a healthcare professional if you have any concerns or questions.
With this step-by-step guide, you’ll be well-equipped to create your own herbal tinctures with confidence and ease. In the next section, we’ll explore how to store and use your herbal tinctures for maximum effectiveness.
Storing and Using Your Herbal Tinctures
Proper storage and usage of your herbal tinctures are essential to maintain their potency and effectiveness. Here are some guidelines to follow:
1. Storage: Store your herbal tinctures in a cool, dark place away from direct sunlight or heat. Sunlight and heat can degrade the herbal constituents and reduce the tincture’s potency. A pantry, cupboard, or a dedicated storage box works well for keeping your tinctures in optimal condition.
2. Bottle Integrity: Ensure that your tincture bottles are made of high-quality glass and have a tight-fitting lid. This will prevent air and moisture from entering the bottle, helping to maintain the integrity and shelf life of the tincture.
3. Labeling: Accurate labeling is crucial to keep track of your herbal tinctures. Clearly label each bottle with the herb name, preparation date, and any specific information such as dosages or intended uses. Proper labeling prevents confusion and ensures that you can easily identify and retrieve the tincture you need.
4. Shelf Life: Tinctures, when stored correctly, can have a long shelf life ranging from 3 to 5 years or even longer. However, it’s always a good idea to periodically check for any signs of spoilage, such as changes in smell, color, or taste. If your tincture shows any signs of spoilage, it’s best to discard it and make a fresh batch.
5. Usage: To use your tincture, follow the recommended dosage instructions. Typically, tinctures are taken orally by placing the desired number of drops under the tongue or diluting them in a small amount of water, juice, or tea. It’s important to consult with a healthcare professional or herbalist for personalized dosage recommendations based on your specific needs.
6. Storage Considerations: Some tinctures may benefit from refrigeration to extend their shelf life or maintain their freshness. Certain herb extracts, such as those containing volatile oils, may also benefit from refrigeration to preserve their aromatic qualities. Consult herbal reference materials or an experienced herbalist for specific storage considerations based on the herbs used.
By following these guidelines, you can ensure that your herbal tinctures remain potent and effective over an extended period. Now that you have a thorough understanding of storing and using tinctures, let’s explore some common mistakes to avoid when making tinctures in the next section.
Common Mistakes to Avoid When Making Tinctures
Making tinctures with herbs can be a rewarding process, but it’s important to be aware of some common pitfalls and mistakes that can affect the quality and potency of your tinctures. By avoiding these mistakes, you can ensure that your tinctures turn out successfully. Here are some common mistakes to avoid:
1. Using poor quality herbs: The quality of the herbs you use directly impacts the quality of the tincture. Avoid using herbs that are old, stale, or contaminated. Opt for fresh, organic, or wildcrafted herbs whenever possible to maximize the potency and therapeutic benefits of your tinctures.
2. Incorrect herb-to-solvent ratio: Maintaining the proper ratio of herbs to the solvent mixture is crucial for extracting the optimal amount of medicinal properties. Using too little herb may result in a weak tincture, while using too much herb can lead to an overly concentrated and potentially overpowering tincture. Follow recommended guidelines or consult reliable sources for accurate herb-to-solvent ratios.
3. Inadequate steeping time: Giving the herbs enough time to steep in the alcohol and water mixture is essential for proper extraction. Steeping for too short a time may result in a weak tincture, while steeping for too long can lead to an unpleasant taste or overpowering herbal compounds. Follow recommended steeping times for each herb and monitor the tincture during the process.
4. Inadequate shaking or agitation: Shaking the tincture regularly during the steeping process helps ensure proper extraction of the herbal constituents. Failing to shake the tincture jars regularly can result in uneven extraction and a less potent tincture. Make it a habit to gently shake the jars every few days to promote thorough extraction.
5. Using the wrong type of alcohol: Alcohol acts as the extracting agent in tincture making, and using the wrong type of alcohol can impact the efficacy and potency of the tincture. Ensure that the alcohol used has a high enough proof (around 40% or higher) and is suitable for consumption. Avoid using isopropyl alcohol or denatured alcohol, as these are not safe for internal use.
6. Insufficient labeling: Accurate and clear labeling is crucial for keeping track of your tinctures. Failing to label your tincture jars properly can lead to confusion and uncertainty about their contents or expiration dates. Make it a priority to label each tincture jar with the herb name, preparation date, and any other relevant information.
Avoiding these common mistakes will help you create high-quality, potent tinctures that provide the desired therapeutic benefits. In the next section, we’ll provide some helpful tips and considerations to enhance your tincture-making experience.
Tips and Considerations for Tincture Making
As you embark on your tincture making journey, there are several tips and considerations that can enhance the process and improve the quality of your herbal extracts. Here are some helpful pointers to keep in mind:
1. Research and experimentation: Take the time to research the herbs you plan to use and their recommended usage. Experiment with different herb combinations to create customized formulas that cater to your specific needs and preferences. Keep notes of your experiments and their outcomes for future reference.
2. Harvesting and drying herbs: If you choose to harvest herbs from your garden, do so at the peak of their potency. Harvest in the morning after the dew has dried, and before the heat of the day. Properly dry the herbs to preserve their medicinal properties; you can use a dehydrator, air drying, or low-temperature oven drying.
3. Label with additional details: In addition to labeling the herb name and preparation date, consider including additional details such as the specific plant part used (leaves, flowers, roots), the source of the herb (wildcrafted or cultivated), and any specific indications or precautions for use.
4. Patience and time: Tincture making is a time-consuming process that requires patience. Allow the herbs to steep for the recommended duration to ensure proper extraction. The longer steeping times generally yield more potent tinctures, so practice patience and resist the temptation to rush the process.
5. Use organic and sustainable herbs: Whenever possible, opt for organic or sustainably sourced herbs. This ensures that your tinctures are free from harmful pesticides and chemicals, and supports ethical harvesting practices that protect the environment and wild plant populations.
6. Storage and organization: Keep your tinctures organized for easy access. Consider using a spice rack or designated storage box to keep your tincture bottles in one place. Keep an inventory of your tinctures and regularly check their expiration dates to ensure you use them before they lose potency.
7. Seek guidance from experts: If you are new to tincture making or unfamiliar with certain herbs, don’t hesitate to seek guidance from experienced herbalists, reference books, or reputable online sources. They can provide valuable insights and recommendations for successful tincture making.
By implementing these tips and considerations, you can elevate your tincture-making skills and create high-quality herbal extracts that deliver the desired health benefits. In the final section of this article, we’ll summarize the key points discussed and reiterate the importance of embracing the rewarding DIY journey of making tinctures with herbs.
Conclusion
Embarking on the journey of making tinctures with herbs offers a rewarding and empowering experience. By understanding the basics, choosing the right herbs, and following a step-by-step process, you can create potent and effective herbal extracts that cater to your specific needs.
Tinctures provide a convenient and long-lasting way to consume herbs, allowing you to tap into their therapeutic properties and experience their benefits. From immune support to relaxation and beyond, the possibilities are endless as you explore the world of herbal remedies.
Remember to select high-quality herbs, maintain proper herb-to-solvent ratios, and be patient during the steeping process. Store your tinctures in a cool, dark place, and label them accurately to keep track of their properties and expiration dates. Seek guidance from experts, conduct your own research, and embrace the art of experimentation to create personalized formulas that work best for you.
As you delve into the realm of tincture making, you become part of a tradition steeped in ancient wisdom and natural healing. Enjoy the process, trust your intuition, and let the power of herbs guide you on your DIY journey. With knowledge, practice, and a touch of creativity, you’ll soon find yourself creating tinctures with confidence and reaping the incredible benefits they have to offer.
So, grab your herbs, gather your supplies, and embark on the enchanting journey of making tinctures with herbs. May your tincture-making endeavors be fruitful, and may you witness the transformative power of herbal remedies in your life.


