Home>Gardening Techniques>DIY Projects>How To Install Turf In Your Backyard
DIY Projects
How To Install Turf In Your Backyard
Modified: January 22, 2024
Learn how to install turf in your backyard with this easy DIY project. Transform your outdoor space with beautiful, low-maintenance artificial grass for a stunning and functional landscape.
(Many of the links in this article redirect to a specific reviewed product. Your purchase of these products through affiliate links helps to generate commission for Chicagolandgardening.com, at no extra cost. Learn more)
Table of Contents
- Introduction
- Step 1: Preparing the Area
- Step 2: Removing Existing Vegetation
- Step 3: Leveling the Ground
- Step 4: Installing Drainage System (If Needed)
- Step 5: Applying Weed Barrier
- Step 6: Preparing the Soil
- Step 7: Choosing the Right Turf
- Step 8: Measuring and Cutting Turf
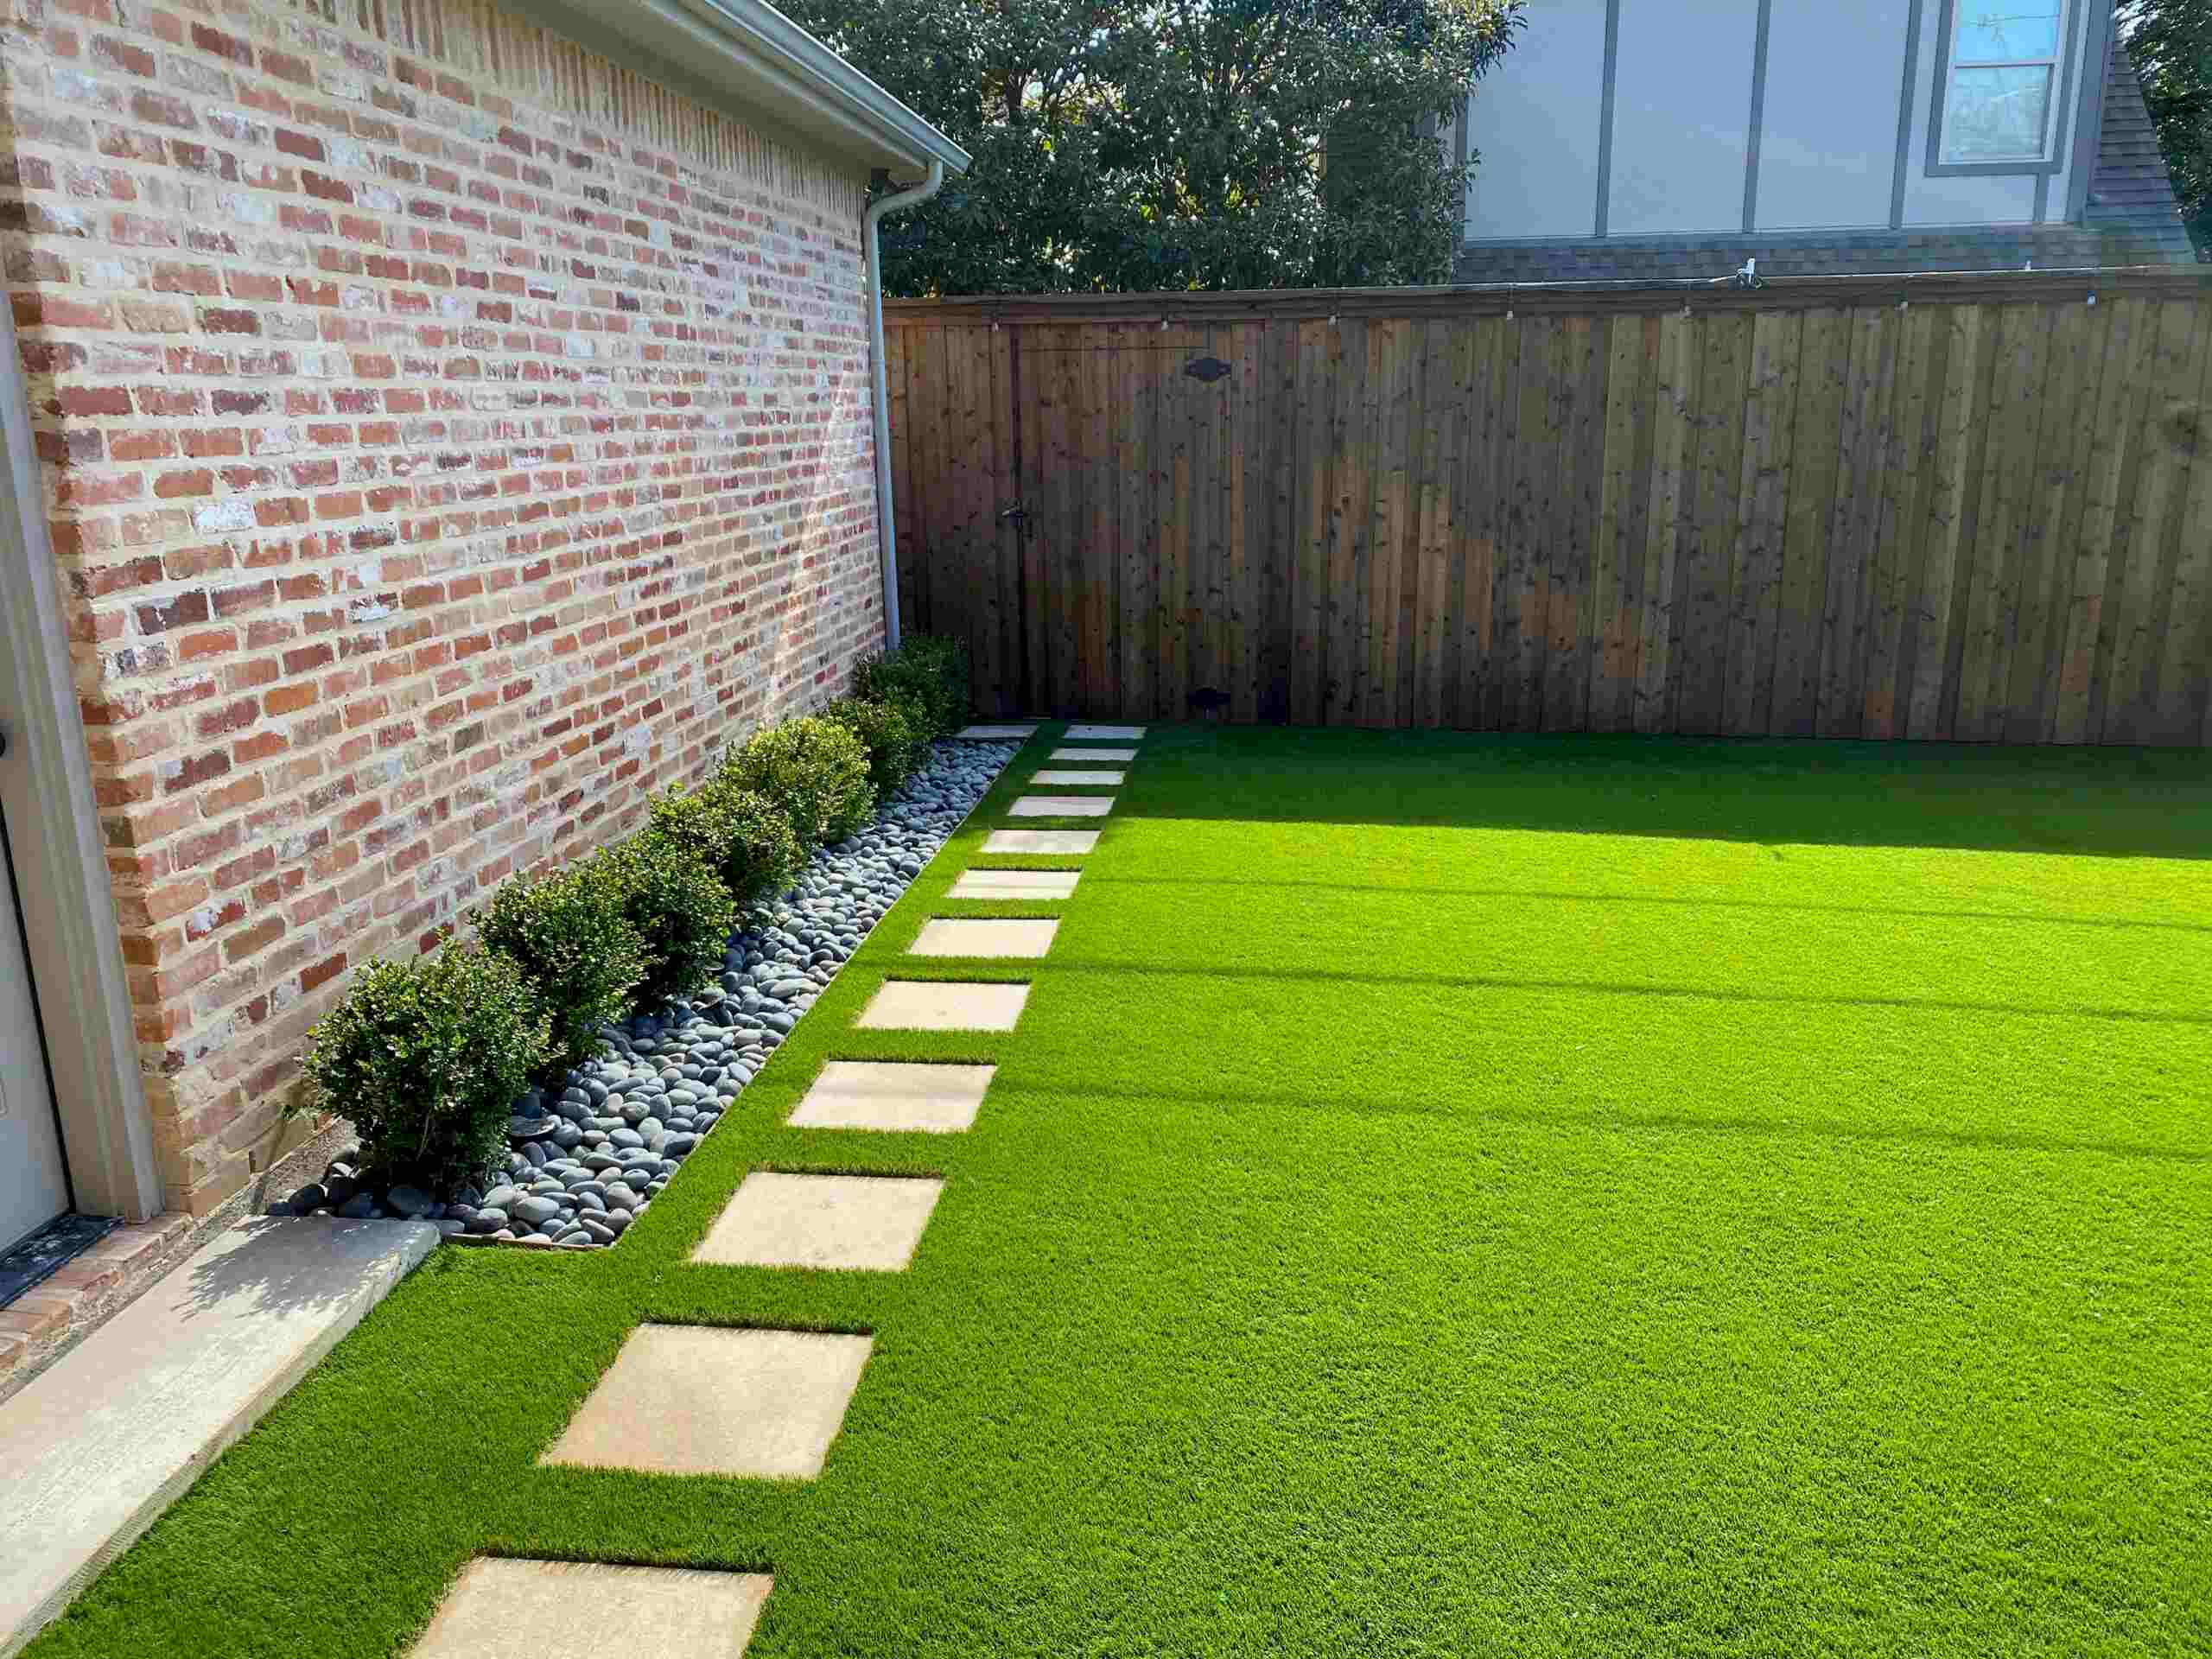
- Step 9: Installing the Turf
- Step 10: Watering and Maintenance
- Conclusion
Introduction
Welcome to the world of DIY projects, where you have the power to transform your backyard into a lush and inviting space. One of the most popular and rewarding projects for homeowners is installing turf. Whether you want to create a green play area for your kids, a beautiful landscape for entertaining, or simply enhance the overall aesthetics of your outdoor space, installing turf can make a significant difference. Not only does it provide a low-maintenance solution, but it also adds value to your property.
Installing turf may seem like a daunting task, but with the right guidance, tools, and preparation, it can be a rewarding experience. In this article, we will walk you through the step-by-step process of installing turf in your backyard, ensuring that you achieve professional-looking results.
Before we dive into the specifics, it’s important to note that proper planning and preparation are key to a successful turf installation. By following these steps, you will be able to create a beautiful and durable lawn that you can enjoy for years to come.
So, are you ready to roll up your sleeves and get started? Let’s turn your backyard dreams into a reality!
Step 1: Preparing the Area
Before you can start installing turf, it’s crucial to prepare the area properly. This step ensures that the turf will have a solid foundation and allows for optimal growth and longevity. Here’s what you need to do:
- Measure the area: Start by measuring the area where you want to install the turf. This will help you determine how much turf you need to purchase.
- Clear the area: Remove any existing debris, rocks, or plants from the area. It’s important to have a clean and smooth surface before moving forward.
- Mark the boundaries: Use stakes and string to mark the boundaries of the turf installation. This will help you visualize the final layout and ensure that you stay within the designated area.
- Identify any slopes or uneven areas: Take note of any slopes or uneven areas in your backyard. These areas may require additional preparation, such as grading or leveling, to ensure a uniform turf installation.
- Consider drainage: Evaluate the drainage in your backyard. If there are areas prone to pooling water, it’s important to address this before installing the turf. Poor drainage can lead to waterlogged turf and promote the growth of weeds or diseases.
By taking the time to properly prepare the area, you can ensure that your turf installation will be smooth and successful. This step sets the foundation for a healthy and vibrant lawn, so don’t skip it!
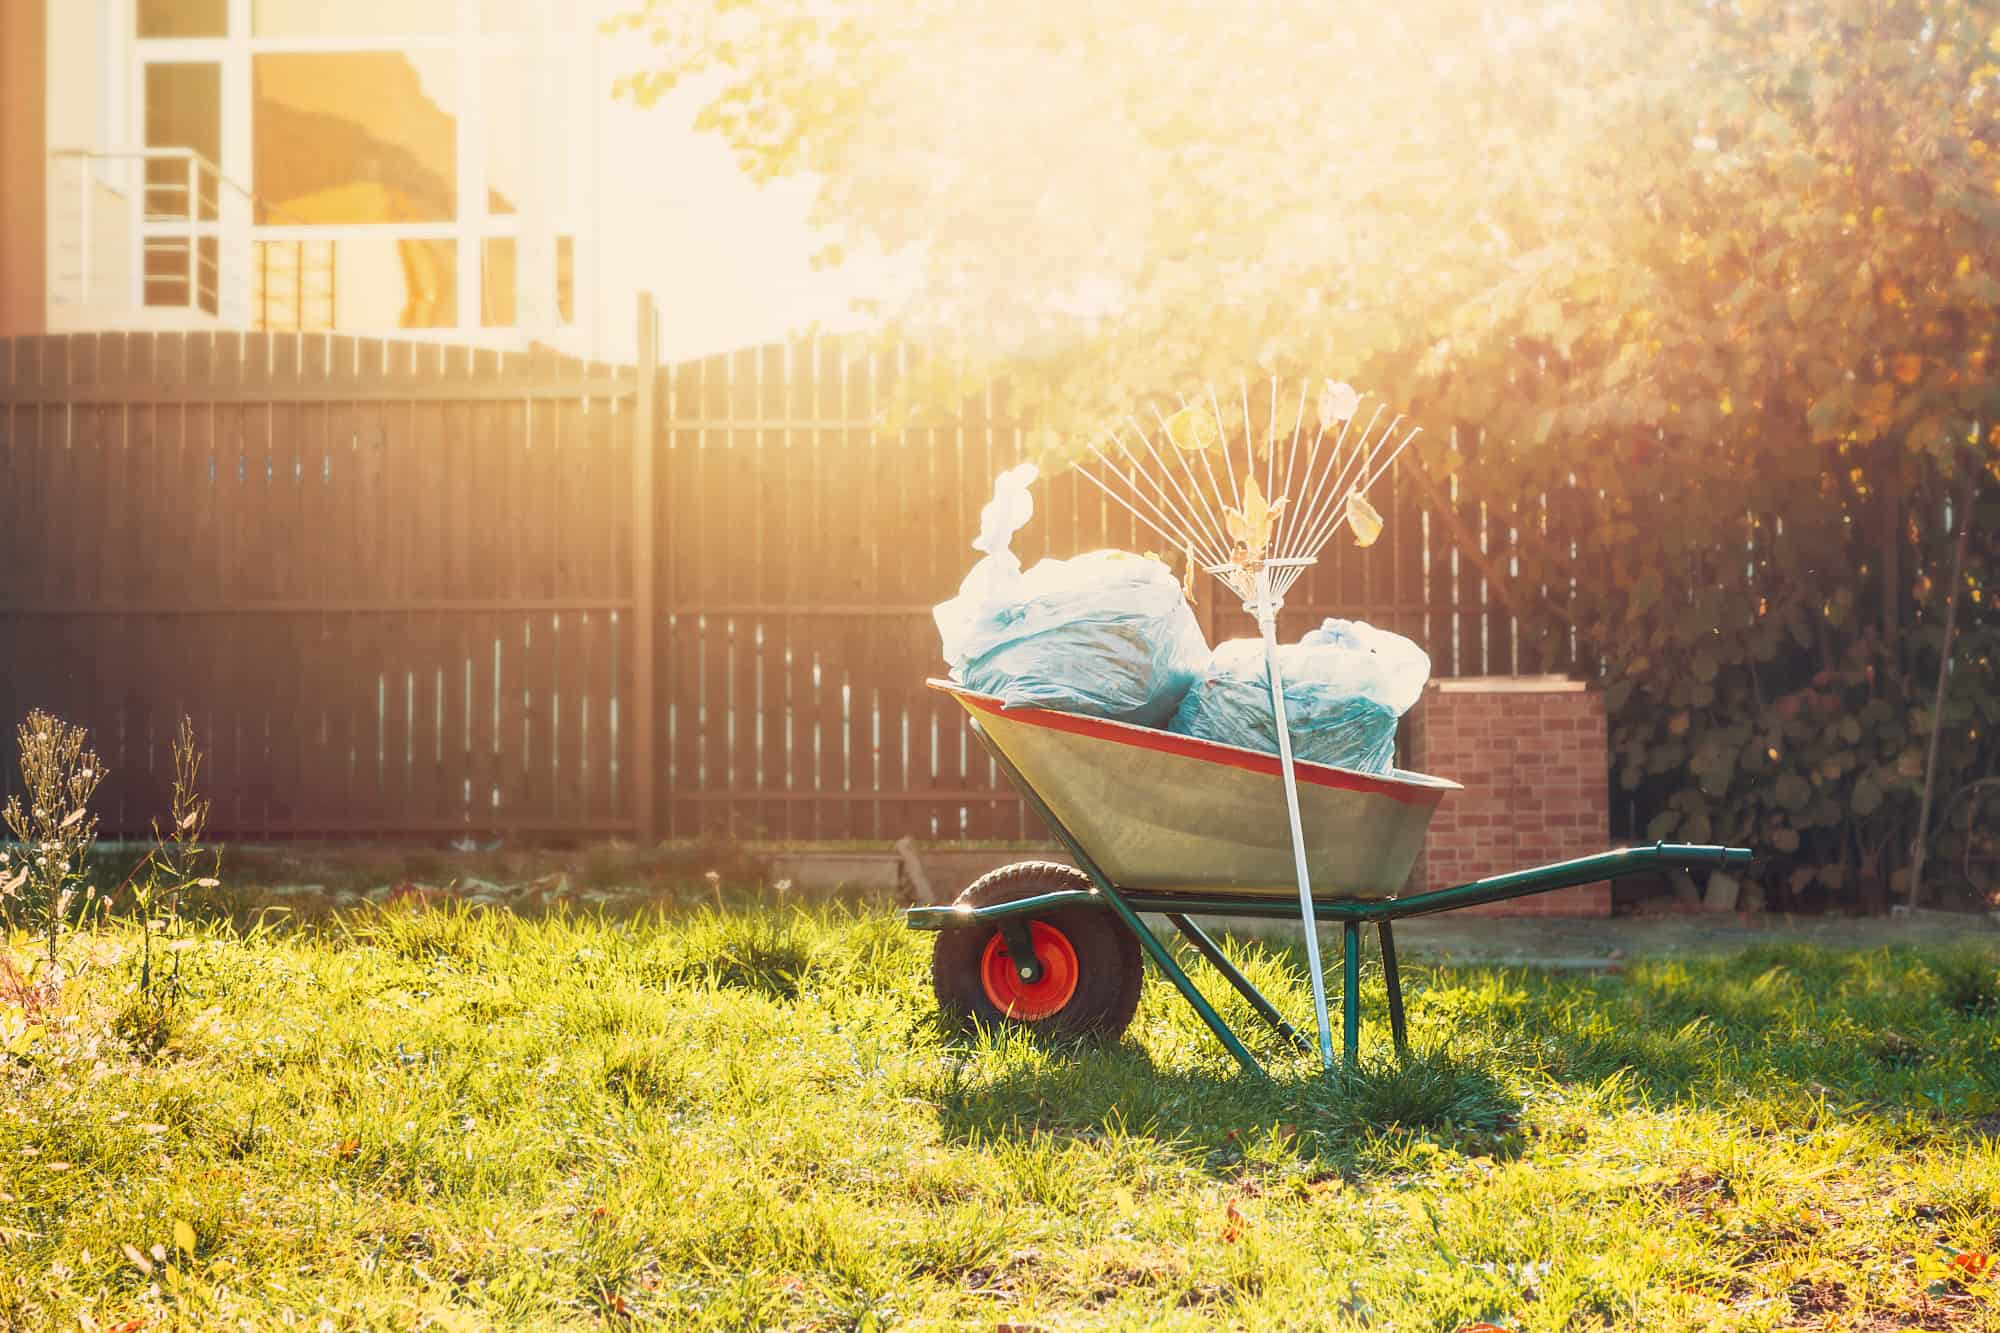
Step 2: Removing Existing Vegetation
Now that you have prepared the area, it’s time to remove any existing vegetation that may interfere with the turf installation. Follow these steps to ensure a clean and clear surface:
- Mow or trim the grass: Start by mowing or trimming the existing grass as short as possible. This will make it easier to remove and expose the underlying soil.
- Use a sod cutter: If you have a large area to clear, consider renting a sod cutter. This machine will help you remove the existing grass and vegetation more efficiently.
- Manually remove stubborn weeds: In areas where the sod cutter may not reach or in cases of stubborn weeds, use a shovel or hand tools to carefully remove the vegetation from the roots. Ensure that you remove all traces of the existing grass, weeds, and their root systems.
- Dispose of the vegetation: Properly dispose of the removed vegetation. Depending on the amount, you may be able to compost it or arrange for it to be collected by your local waste management service.
Removing existing vegetation is an essential step to create a clean slate for your turf installation. It eliminates competition for nutrients and ensures that your turf has a fresh start. Take your time during this step to ensure that you remove all the vegetation thoroughly.
Step 3: Leveling the Ground
After removing the existing vegetation, it’s important to level the ground to create a smooth and even surface for the turf. Here’s how to level the ground effectively:
- Inspect the area: Walk around the cleared area and identify any low or high spots. Low spots can be filled with topsoil, while high spots may need to be leveled by removing excess soil.
- Use a rake or shovel: Start by breaking up any compacted soil using a rake or shovel. This will help improve the soil’s drainage and ensure proper root growth for the turf.
- Add topsoil: If there are low spots, add a layer of topsoil and level it with a rake or shovel. Use a garden roller to compact the soil gently.
- Check for levelness: Use a long, straight board or a level to check the ground’s levelness. Adjust as necessary by adding or removing soil until the surface is even and flat.
Leveling the ground is crucial to prevent uneven turf and potential drainage issues. A smooth and level surface ensures that the turf will be properly installed and provides an optimal environment for healthy turf growth. Take your time during this step to ensure that the ground is properly leveled before proceeding with the installation.
Step 4: Installing Drainage System (If Needed)
Installing a proper drainage system is essential for maintaining a healthy turf and preventing waterlogged areas. If your backyard has poor drainage or is prone to water accumulation, consider incorporating a drainage system into your turf installation. Here’s how to install a drainage system:
- Evaluate the drainage: Assess the drainage in your backyard by looking for areas where water tends to accumulate or where the soil remains consistently wet. This could indicate the need for a drainage system.
- Determine the type of drainage system: Choose between two common types of drainage systems: surface drainage and subsurface drainage. Surface drainage systems involve creating slopes or channels to direct water away from the turf surface. Subsurface drainage systems involve installing pipes or French drains underground to redirect excess water.
- Consult a professional: If you’re unsure about the type of drainage system needed or how to install it, it’s best to consult with a professional landscape contractor or drainage specialist. They can assess your specific needs and recommend the best solution for your backyard.
- Install the drainage system: Follow the instructions provided by the professional or manufacturer to install the chosen drainage system. This may involve digging trenches, laying pipes, and creating appropriate outlets for water runoff.
- Test the drainage system: Once the drainage system is installed, test it by running water through it or by observing how it handles natural rainfall. Make adjustments as needed to ensure proper drainage.
Installing a drainage system, if needed, is crucial for preventing water buildup, which can lead to waterlogged and unhealthy turf. Proper drainage will promote optimal turf growth and minimize the risk of diseases. Consider implementing a drainage system if your backyard has drainage issues to ensure the long-term success of your turf installation.
Step 5: Applying Weed Barrier
To ensure that your turf remains free of weeds and unwanted vegetation, it’s important to apply a weed barrier before installing the turf. The weed barrier acts as a protective layer that prevents weeds from penetrating the surface and competing with the turf for nutrients and water. Here’s how to apply a weed barrier:
- Clean the ground: Ensure that the ground is free of debris and any remaining vegetation. This will provide a clean and smooth surface for applying the weed barrier.
- Measure and cut the weed barrier: Measure the dimensions of the area and cut the weed barrier to fit appropriately. It’s important to overlap the edges by a few inches to ensure complete coverage.
- Position the weed barrier: Lay the weed barrier over the prepared ground, ensuring that it covers the entire area. Smooth out any wrinkles or folds to create an even surface.
- Secure the weed barrier: Use landscaping pins or staples to secure the weed barrier to the ground. Place them at regular intervals, approximately every 12 inches, around the perimeter and throughout the area.
- Make necessary cuts: If there are any existing plants or trees in the area, carefully cut slits or holes in the weed barrier to accommodate them. Be cautious not to damage the barrier or the plants.
Applying a weed barrier is an essential step in maintaining a weed-free turf. It helps to keep the turf healthy and allows it to thrive without competition from unwanted plants. Take the time to properly install the weed barrier to minimize the risk of future weed growth in your turf.
Step 6: Preparing the Soil
Properly preparing the soil is crucial for the successful establishment and growth of your turf. By creating a nutrient-rich and well-aerated soil bed, you provide the ideal conditions for the turf to thrive. Here’s how to prepare the soil:
- Test the soil: Use a soil test kit or send a soil sample to a lab to determine its pH level and nutrient content. This will help you understand the soil’s composition and whether any amendments are necessary.
- Remove rocks and debris: Inspect the soil and remove any rocks, roots, or other debris that may hinder the turf’s root growth or cause unevenness in the final surface.
- Amend the soil (if needed): Based on the soil test results, add any necessary amendments, such as compost, topsoil, or organic fertilizer, to improve the soil’s nutrient content and structure.
- Till the soil: Use a tiller or garden fork to loosen and aerate the soil to a depth of at least 6 inches. This helps to improve drainage, root penetration, and overall soil structure.
- Level the soil: Smooth out the soil surface using a rake or the backside of a garden hoe. Ensure that the soil is evenly distributed and free of large clumps or bumps.
- Water the soil: Before installing the turf, thoroughly water the prepared soil to ensure that it is moist but not saturated. This creates a favorable environment for the turf’s root establishment.
By properly preparing the soil, you provide the foundation for healthy turf growth. The soil amendments and aeration contribute to improved nutrient availability, root development, and overall turf vigor. Take the time to prepare the soil adequately to set the stage for a thriving and beautiful lawn.
Step 7: Choosing the Right Turf
Choosing the right turf is a critical step in achieving a beautiful and resilient lawn. The selection of turf will depend on factors such as climate, sunlight exposure, intended use, and personal preferences. Here’s how to choose the right turf for your backyard:
- Consider climate and local conditions: Research the climate in your area and select turf species that are well-suited to the local conditions. Some grass varieties thrive in warm, tropical climates, while others are more adaptable to cooler regions.
- Assess sunlight exposure: Evaluate the amount of sunlight your backyard receives throughout the day. Some turf species require full sunlight, while others are more shade-tolerant. Choose a turf variety that matches the available sunlight in your yard.
- Determine the intended use: Consider how you plan to use your backyard. If you have kids or pets who will be playing on the turf, select a more resilient and durable variety that can withstand heavy foot traffic.
- Research maintenance requirements: Different turf species have varying maintenance needs. Some require frequent mowing, fertilizing, and watering, while others are more low-maintenance. Choose a turf variety that aligns with the amount of time and effort you are willing to invest in maintenance.
- Seek professional advice: If you’re unsure about the best turf option for your backyard, consult with a local nursery, landscape professional, or turf specialist. They can provide valuable insights and recommend the most suitable turf varieties for your specific needs and conditions.
Choosing the right turf is essential for achieving a vibrant and healthy lawn. By considering factors such as climate, sun exposure, use, and maintenance requirements, you can select a turf variety that will thrive in your backyard and provide you with years of enjoyment.
Step 8: Measuring and Cutting Turf
Before installing the turf, it’s crucial to measure the area accurately and cut the turf to fit properly. This step ensures a precise and seamless installation. Here’s how to measure and cut the turf:
- Measure the area: Use a measuring tape to determine the length and width of the installation area. Multiply these measurements to calculate the total square footage needed for the turf.
- Account for overlaps and edges: Add a few extra inches to the measurements to account for overlaps along the edges and any irregularities in the installation area.
- Unroll the turf: Unroll the turf rolls and position them over the installation area. Ensure that they are aligned and cover the entire space without gaps.
- Make precise cuts: Use a sharp utility knife or turf cutter to make precise cuts along the edges of the turf. Follow the measurements taken earlier to ensure an accurate fit.
- Cut around obstacles: If there are any obstacles, such as trees or garden features, carefully cut the turf around them to create a seamless and professional-looking installation.
- Dispose of excess turf: Properly dispose of any excess turf that is cut off. You can either compost it or arrange for it to be collected by your local waste management service.
Measuring and cutting the turf accurately is essential for a seamless and professional installation. Taking the time to ensure precise measurements and clean cuts will result in a visually appealing and well-fitted turf that enhances the overall aesthetics of your backyard.
Step 9: Installing the Turf
Now that your preparation is complete, it’s time to install the turf and bring your backyard to life. Follow these steps to ensure a successful turf installation:
- Start from one edge: Begin laying the turf from one edge of the installation area, working your way across. This allows for a more seamless look and helps to prevent footprints on the freshly laid turf.
- Butt the edges: Ensure that the edges of the turf pieces are tightly butted against each other without overlapping. This creates a smooth and cohesive appearance.
- Avoid gaps and overlaps: Check for any gaps or overlaps between the turf pieces and make adjustments as needed. Properly aligning the edges provides a uniform and visually appealing result.
- Smooth out the turf: As you lay each piece of turf, gently smooth it out with your hands or a rake to eliminate any wrinkles or bumps. This helps to create an even and level surface.
- Trim excess turf: Use a utility knife or turf cutter to trim any excess turf along the edges or around obstacles. Take care to create clean and precise cuts for a neat finish.
- Stagger the seams: Stagger the seams between the turf pieces, similar to brickwork, to create a more natural and seamless appearance. This also helps to reinforce the strength and stability of the turf installation.
Installing the turf requires attention to detail and precision. Take your time during this step to ensure that each piece of turf is properly aligned and smoothly laid. By following these guidelines, you will achieve a professional-looking turf installation that transforms your backyard into a lush and inviting space.
Step 10: Watering and Maintenance
Once the turf is installed, it’s important to establish proper watering and maintenance routines to ensure its health and longevity. Here’s what you need to do:
- Water immediately after installation: After installing the turf, water it immediately to help settle the soil and promote root penetration. Ensure that the soil is moist but not saturated.
- Establish a watering schedule: Create a watering schedule based on the needs of the turf species and the local climate. Generally, it’s recommended to water deeply but infrequently, allowing the soil to dry out between watering sessions.
- Mow regularly: Once the turf has established roots, start mowing it regularly to maintain an optimal height. Follow the recommended mowing height for your turf variety to promote healthy growth and discourage weed infestations.
- Fertilize appropriately: Apply fertilizer according to the specific needs of your turf species. Follow the recommended dosage and timing instructions to provide adequate nutrients and promote vigorous growth.
- Weed control: Keep an eye out for any weeds or invasive plants and promptly remove them. This prevents them from competing with the turf for nutrients and reduces the risk of weed infestations.
- Aerate the turf: To improve soil oxygenation and root growth, aerate the turf periodically. This involves creating small holes in the soil to allow for better water and nutrient absorption.
- Monitor and address any turf issues: Keep a close eye on the turf for any signs of pests, diseases, or nutrient deficiencies. Consult with a professional if you notice any problems to determine the appropriate course of action.
- Perform regular maintenance: In addition to watering, mowing, and fertilizing, perform regular maintenance tasks such as edging, dethatching, and overseeding as needed. This helps to maintain the health and appearance of the turf.
Watering and proper maintenance play a significant role in the long-term success of your turf. By following a consistent and appropriate routine, you can enjoy a lush and vibrant lawn that enhances your outdoor space for years to come.
Conclusion
Congratulations! You have successfully learned how to install turf in your backyard. By following the step-by-step process outlined in this guide, you have created a beautiful and inviting outdoor space that you can enjoy with family and friends.
Remember, proper preparation is key to a successful turf installation. By taking the time to clear the area, level the ground, and install a drainage system if needed, you have set a solid foundation for your turf to thrive. Applying a weed barrier and preparing the soil ensure that your turf has optimal growing conditions.
Choosing the right turf is essential for achieving the desired look and functionality in your backyard. Measure and cut the turf with precision to ensure a seamless fit. Installing the turf carefully and maintaining it through regular watering, mowing, and maintenance routines will keep your lawn looking its best.
Enjoy the benefits of having a lush, green lawn in your backyard. Whether it’s playing with your kids, hosting outdoor gatherings, or simply relaxing in a beautiful outdoor space, your turf installation will undoubtedly create a wonderful environment for all to enjoy.
Now that you have the knowledge and skills, go ahead and embark on this rewarding DIY project. Transform your backyard into an oasis of green and make lasting memories in a space you can be proud of.