Home>Gardening Techniques>DIY Projects>How To Install French Drain In Backyard
DIY Projects
How To Install French Drain In Backyard
Modified: January 22, 2024
Learn how to install a French drain in your backyard with this step-by-step guide. Take on this DIY project and enjoy a dry and well-drained outdoor space.
(Many of the links in this article redirect to a specific reviewed product. Your purchase of these products through affiliate links helps to generate commission for Chicagolandgardening.com, at no extra cost. Learn more)
Table of Contents
Introduction
Are you tired of dealing with a waterlogged backyard every time it rains? Installing a French drain might be the solution you’ve been looking for. A French drain is a simple and effective drainage system that redirects excess water away from your property, preventing water damage and ensuring a dry and healthy backyard. This DIY project is not only practical but also cost-effective, allowing you to take matters into your own hands and tackle the issue head-on.
In this article, we will guide you through the step-by-step process of installing a French drain in your backyard. From planning and digging to laying the drainage pipe and testing the system, we will cover every aspect to help you complete this project with confidence. Whether you’re a seasoned DIY enthusiast or a beginner, our comprehensive guide will provide you with the knowledge and skills needed to successfully complete the installation.
Before we dive into the details, it’s important to understand the benefits of installing a French drain. Aside from preventing water damage, a properly functioning French drain can help maintain the integrity of your home’s foundation, prevent soil erosion, and improve the overall drainage of your backyard. By keeping excess water at bay, you can enjoy a dry and usable outdoor space all year round.
Now that you understand the importance and benefits of a French drain, let’s get started on transforming your backyard into a water-free oasis. Grab your tools, roll up your sleeves, and let’s dig into this DIY project together!
Step 1: Plan and Design
Before you start digging, it’s essential to carefully plan and design your French drain system. This step will ensure that the drainage system effectively redirects water away from your property and prevents any potential issues in the future.
Begin by assessing your backyard and identifying the areas where water tends to accumulate. Look for low-lying spots, areas with poor drainage, or places where water gathers after a heavy rain. These are the crucial points where you’ll need to install the French drain to divert the water away.
Next, determine the desired location of the drainage outlet. The drainage outlet should be positioned in a way that allows the water to flow naturally out of your property, usually towards a street, a storm drain, or another suitable drainage system. Make sure to check the local building codes and regulations to ensure compliance.
Once you have identified the drainage areas and the outlet point, it’s time to calculate the length and depth of your trench. Measure the distance between the starting point and the ending point of your French drain, taking into consideration the necessary slope for proper water flow. A 1% to 2% slope is generally recommended.
After determining the length, decide on the trench depth. The ideal depth is typically 6 to 12 inches, but it can vary depending on the specific needs of your yard. Consider the depth of the water table, the type of soil in your yard, and the volume of water you expect to handle. Remember that the trench should be deep enough to accommodate both the drain pipe and the gravel.
Finally, draw a detailed diagram of your planned French drain system. This will help you visualize the layout and ensure that you have all the necessary materials and tools for the project. Take note of any obstacles or existing structures in your yard that may affect the installation process. Adjust the design if needed to work around these challenges.
By carefully planning and designing your French drain, you will save time and effort during the installation process. This initial step will set the foundation for a successful project and provide you with a clear roadmap to follow. Once you have completed the planning and design, you’re ready to move on to the next step: gathering materials and tools.
Step 2: Gather Materials and Tools
Now that you have a well-thought-out plan for your French drain system, it’s time to gather the necessary materials and tools. Having everything you need in advance will ensure a smooth and efficient installation process.
Here’s a list of the materials and tools you’ll need for installing a French drain in your backyard:
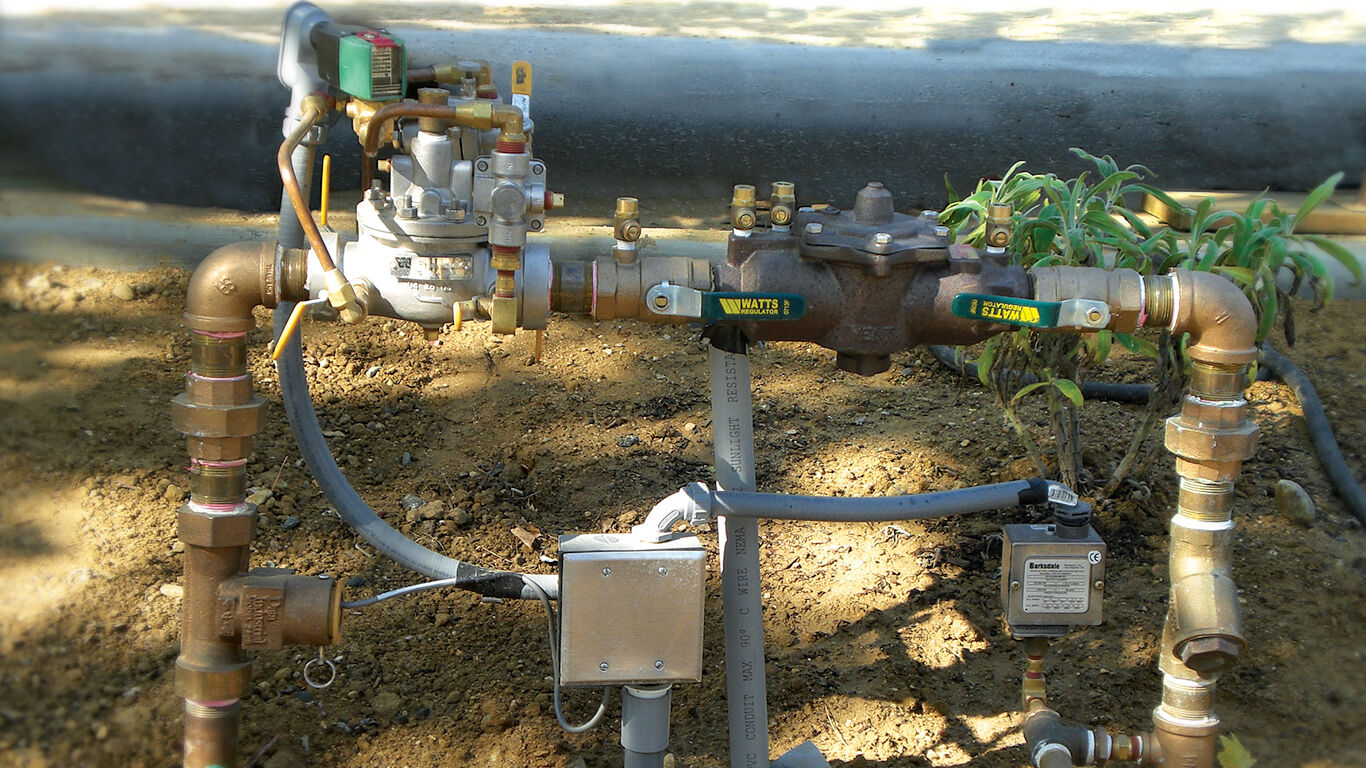
- Perforated drainage pipe: This pipe allows water to enter from all sides, ensuring effective drainage. Measure the length needed based on your plan.
- Gravel: Choose clean gravel that is ¾-inch in size. The amount will depend on the length and depth of your trench.
- Landscape fabric: This fabric will prevent soil from entering the drain pipe and clogging it. Make sure it’s large enough to cover the entire trench.
- Trench liner: Optional but recommended, a trench liner helps to further protect the drain pipe from debris and prolong its lifespan.
- Shovel: A sturdy shovel will be your main tool for digging the trench and moving the soil.
- Tape measure: You’ll need accurate measurements while planning and during the installation process.
- Level: Use a level to ensure the proper slope of the trench for optimal drainage.
- Utility knife: This will come in handy for cutting the drainage pipe and landscape fabric.
- Gloves and safety goggles: Protect yourself from any sharp objects or debris while working.
Before starting the project, make sure to double-check the list above and ensure that you have all the necessary materials and tools. This will prevent any unnecessary interruptions during the installation process.
It’s also a good idea to gather any other additional supplies you may need, such as drainage inlet boxes, couplings, or connectors, depending on your specific drain system design. These additional components will aid in connecting the drain pipe and ensuring a seamless installation.
By having all the materials and tools ready, you’ll be fully prepared to tackle the installation process without any delays. In the next step, we’ll discuss how to mark the drainage path and prepare the area for digging the trench.
Step 3: Mark the Drainage Path
With all the necessary materials and tools at hand, it’s time to mark the drainage path in your backyard. This step will ensure that you dig the trench in the right location, following the planned design.
Start by using stakes and string to mark the starting and ending points of your French drain. These points should correspond to the drainage areas you identified during the planning stage. If you plan to have multiple drainage areas, mark each of them accordingly.
Next, use the string as a guide to mark the path of the trench. Take into account any bends or turns in the design and adjust the string accordingly. This will provide you with a clear visual reference as you start digging.
Once you have marked the path, use spray paint or landscaping marking paint to trace a line along the string. This will create a visible guideline for digging the trench. Make sure to mark the line with enough visibility, especially if you’re working in low light conditions or if your backyard has tall grass or vegetation.
During this step, it’s important to consider any existing structures or obstacles in your yard that may impact the trench’s path. Make adjustments to the design if needed to work around these obstacles and ensure a seamless flow of water.
Remember to measure and mark the desired trench depth along the marked line. This will ensure that you dig to the correct depth throughout the entire length of the trench. Use a tape measure and mark the depth at regular intervals, such as every couple of feet, to guide your digging.
By accurately marking the drainage path, you will ensure that the trench is dug in the right location and with the correct depth. This step is crucial for the proper functioning of your French drain system. With the marking complete, you’re now ready to move on to the next step: digging the trench.
Step 4: Dig the Trench
With the drainage path marked, it’s time to roll up your sleeves and dig the trench for your French drain. This step requires some physical effort, so make sure you’re prepared for a bit of digging.
Using a shovel, start by removing the top layer of grass or vegetation along the marked path. Set it aside to use for later if desired. Then, begin digging the trench along the line, making sure to follow the marked depth as closely as possible. Use the tape measure and level to periodically check the depth and ensure it remains consistent throughout the entire trench.
Keep the width of the trench consistent as well, typically around 6 to 12 inches, depending on the size of the drainage pipe and the amount of water it needs to handle. Adjust the width if necessary to accommodate the specific requirements of your drain system.
As you dig, it’s essential to maintain a slight slope along the trench to ensure proper water flow. The recommended slope is 1% to 2% or 1/8 inch drop per foot of length. This will allow the water to naturally flow towards the drainage outlet. Use the level to check the slope periodically and make any necessary adjustments.
Be cautious of any underground utilities or irrigation systems that may exist in your yard. Take the necessary precautions to avoid damaging or disrupting them while digging. If you’re unsure about the location of these utilities, consider contacting your local utility company for assistance.
As you proceed with the digging, remove any rocks, roots, or debris that may hinder the installation of the drainage system. Keep the trench as clean as possible to ensure smooth installation and functionality of the French drain.
Once the trench is dug to the desired depth and length, you have successfully completed this step. Congratulations! The hard part is over, and you’re now ready to move on to the next step: installing the drainage pipe.
Step 5: Install the Drainage Pipe
Now that the trench is dug, it’s time to install the drainage pipe for your French drain system. The drainage pipe is a critical component that collects and redirects water away from your property, preventing water buildup and potential damage.
Begin by placing a layer of gravel at the bottom of the trench. This will act as a base for the drainage pipe and aid in water filtration. Spread the gravel evenly, making sure it covers the entire width of the trench.
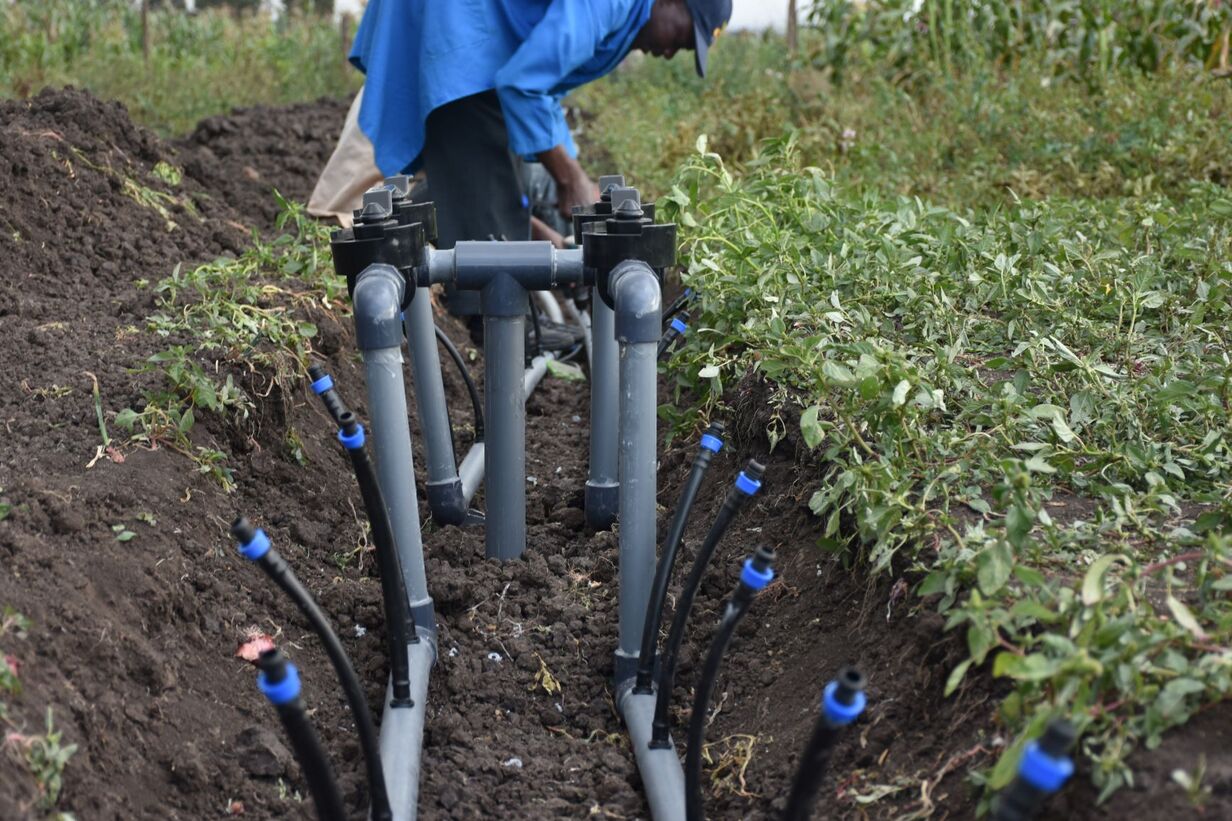
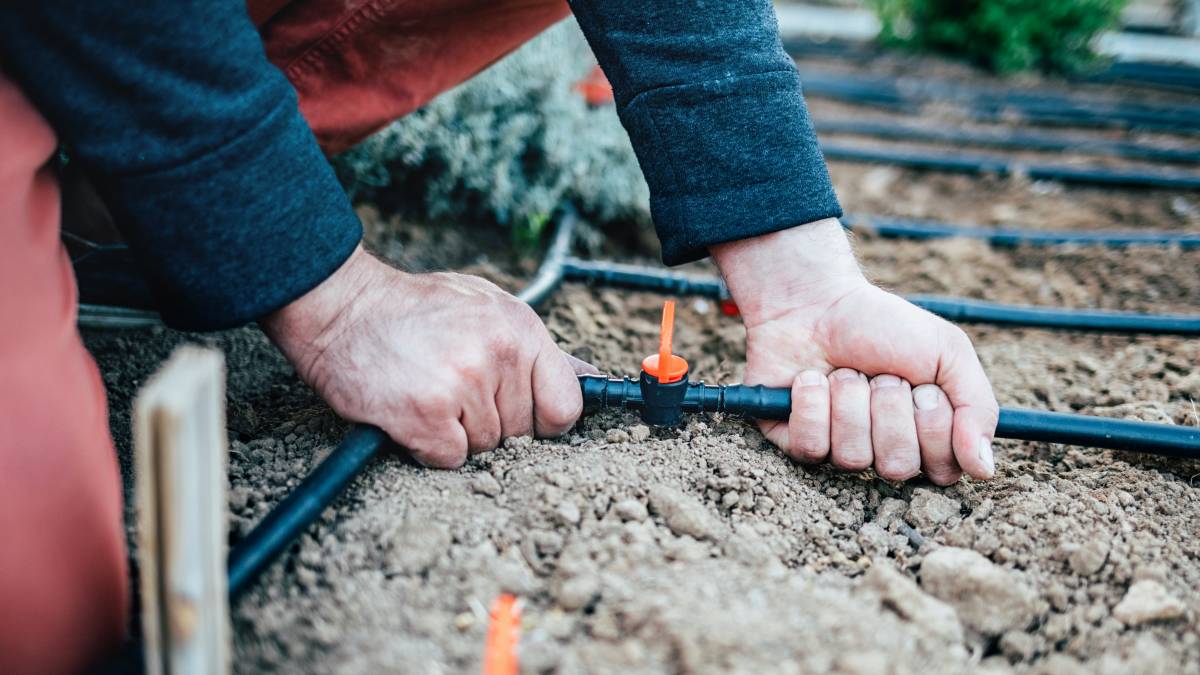
Next, lay the perforated drainage pipe along the bottom of the trench, making sure it follows the marked path. The perforations should face downward, allowing water to enter the pipe from all sides. Connect multiple lengths of pipe using couplings or connectors if necessary, ensuring a secure and watertight connection.
As you place the drainage pipe, avoid sharp bends or kinks that could restrict the flow of water. If you encounter any obstacles or tight corners, use gentle curves or elbows to guide the pipe around them, maintaining a smooth and continuous flow.
Once the pipe is in place, cover it with a layer of gravel. This will help to prevent clogging by providing additional filtration and support. Fill the trench with gravel until it reaches a few inches below ground level, ensuring that the pipe is fully covered.
To protect the drainage pipe from dirt and debris, lay a layer of landscape fabric on top of the gravel. This fabric acts as a filter, allowing water to pass through while preventing soil from entering the pipe. Cut the fabric to fit the trench and ensure that it completely covers the gravel and pipe.
Finally, add another layer of gravel on top of the landscape fabric. This will secure the fabric in place and provide further filtration. Make sure the gravel is evenly distributed and fills the trench to ground level.
Congratulations! You have successfully installed the drainage pipe in your French drain system. The pipe will now efficiently collect and redirect excess water away from your property. In the next step, we will discuss adding gravel and fabric to further enhance the functionality of the drain system.
Step 6: Add Gravel and Fabric
In this step, we will enhance the functionality of the French drain system by adding a layer of gravel and landscape fabric. These additional components will further aid in water filtration and prevent any soil or debris from clogging the drain pipe.
Start by adding a layer of gravel on top of the landscape fabric. This layer should be about 2 to 3 inches thick and evenly spread across the entire trench. The gravel provides additional support to the fabric and helps to distribute the weight evenly.
Using a rake or shovel, spread the gravel and ensure it fills any gaps or spaces between the pipe and the trench walls. This will help maintain the proper slope for water flow and prevent any uneven settling.
Next, cut an additional piece of landscape fabric to cover the layer of gravel. This will act as a barrier, preventing any fine particles or soil from seeping into the gravel and ultimately clogging the drain pipe.
Lay the fabric over the gravel, ensuring that it overlaps the edges of the trench. Secure the fabric in place by lightly tucking the edges into the sides of the trench or using landscape fabric pins or staples. The fabric should be smooth and tightly stretched across the trench to maximize its effectiveness.
Take care to cut openings or slits in the fabric if you plan to add any downspouts or secondary drainage inlet boxes to the French drain system. These openings will allow for easy connection of additional components while maintaining the integrity of the fabric barrier.
Finally, add another layer of gravel on top of the landscape fabric, filling the trench until it is level with the ground. This final layer of gravel will protect the fabric from damage and help to ensure proper drainage.
By adding gravel and landscape fabric, you have improved the functionality and longevity of your French drain system. The gravel provides support, filtration, and thermal protection, while the fabric acts as a barrier against soil and debris. With this step completed, you’re one step closer to having a fully functional and reliable drainage system in your backyard. In the next step, we’ll discuss backfilling the trench to complete the installation process.
Step 7: Backfill the Trench
Now that the French drain system is in place and the gravel and fabric layers have been added, it’s time to backfill the trench. Backfilling will replace the soil that was originally dug out and restore the ground to its previous level.
To begin, collect the soil that was originally excavated from the trench and set it aside. This soil will be used for backfilling. If necessary, amend the soil with organic matter or compost to improve its drainage properties.
Start backfilling the trench by layering the soil back in. Begin with a small layer of soil and compact it gently using a tamper or the back of a shovel. Repeat this process until the trench is completely filled, ensuring that the soil is firmly packed.
While backfilling, be mindful not to disrupt or damage the installed drainage pipe. Take care to work around it, adding soil evenly on both sides and on top of the pipe. Use your hands to gently spread and compact the soil around the pipe to provide stability.
Once the trench is fully backfilled, use a rake or shovel to smooth out the surface of the soil. Make sure the ground is level and even, blending the backfilled area with the rest of your yard. This will create a seamless and aesthetically pleasing finish.
After backfilling, water the area thoroughly to help settle the soil. This will ensure that any remaining gaps or air pockets are filled, providing stability to the ground. Continue to water regularly in the following days to aid in the soil’s settling process.
With the trench fully backfilled and the soil settled, you have successfully completed the installation of your French drain system. The system is now concealed beneath the surface, ready to efficiently drain excess water from your backyard. In the next step, we will discuss how to test the drainage system to ensure its proper functioning.
Step 8: Test the Drainage System
Testing the drainage system is a crucial step to ensure that your French drain is functioning properly and effectively redirecting water away from your property. By conducting a thorough test, you can identify any potential issues and make necessary adjustments before finalizing the project.
To begin, locate the drainage outlet and ensure it is clear and unobstructed. This is where the excess water from your French drain will flow out. Remove any debris or dirt that may be blocking the outlet to allow for unobstructed water flow.
Next, gather a sufficient amount of water, either through a garden hose or by collecting rainwater. Slowly pour the water into the French drain system at the starting point. Observe how the water flows through the drain pipe and exits through the drainage outlet.
Pay attention to any areas where water pools or flows slowly. This may indicate a clog or obstruction in the drainage system. Take note of these areas and make a plan to address them later.
Additionally, observe the water flow rate and ensure that it matches your expectations. The water should flow consistently and steadily through the drainage pipe, without any significant backups or disruptions.
If you notice any issues during the test, such as slow water flow or pooling, try adjusting the slope of the trench or repositioning any secondary drainage inlet boxes. It may also be necessary to check and clean the drainage pipe for any potential clogs.
Once you are satisfied with the performance of your French drain system and have addressed any issues, repeat the test with a larger volume of water. This will provide a more accurate assessment of the system’s capacity to handle heavy rainfall or large amounts of water.
By thoroughly testing the drainage system, you can ensure that it is functioning optimally and effectively removing excess water from your backyard. Taking the time to conduct this test will provide peace of mind and help prevent future drainage problems. In the final step, we will discuss covering the drainage system to protect and hide it from view.
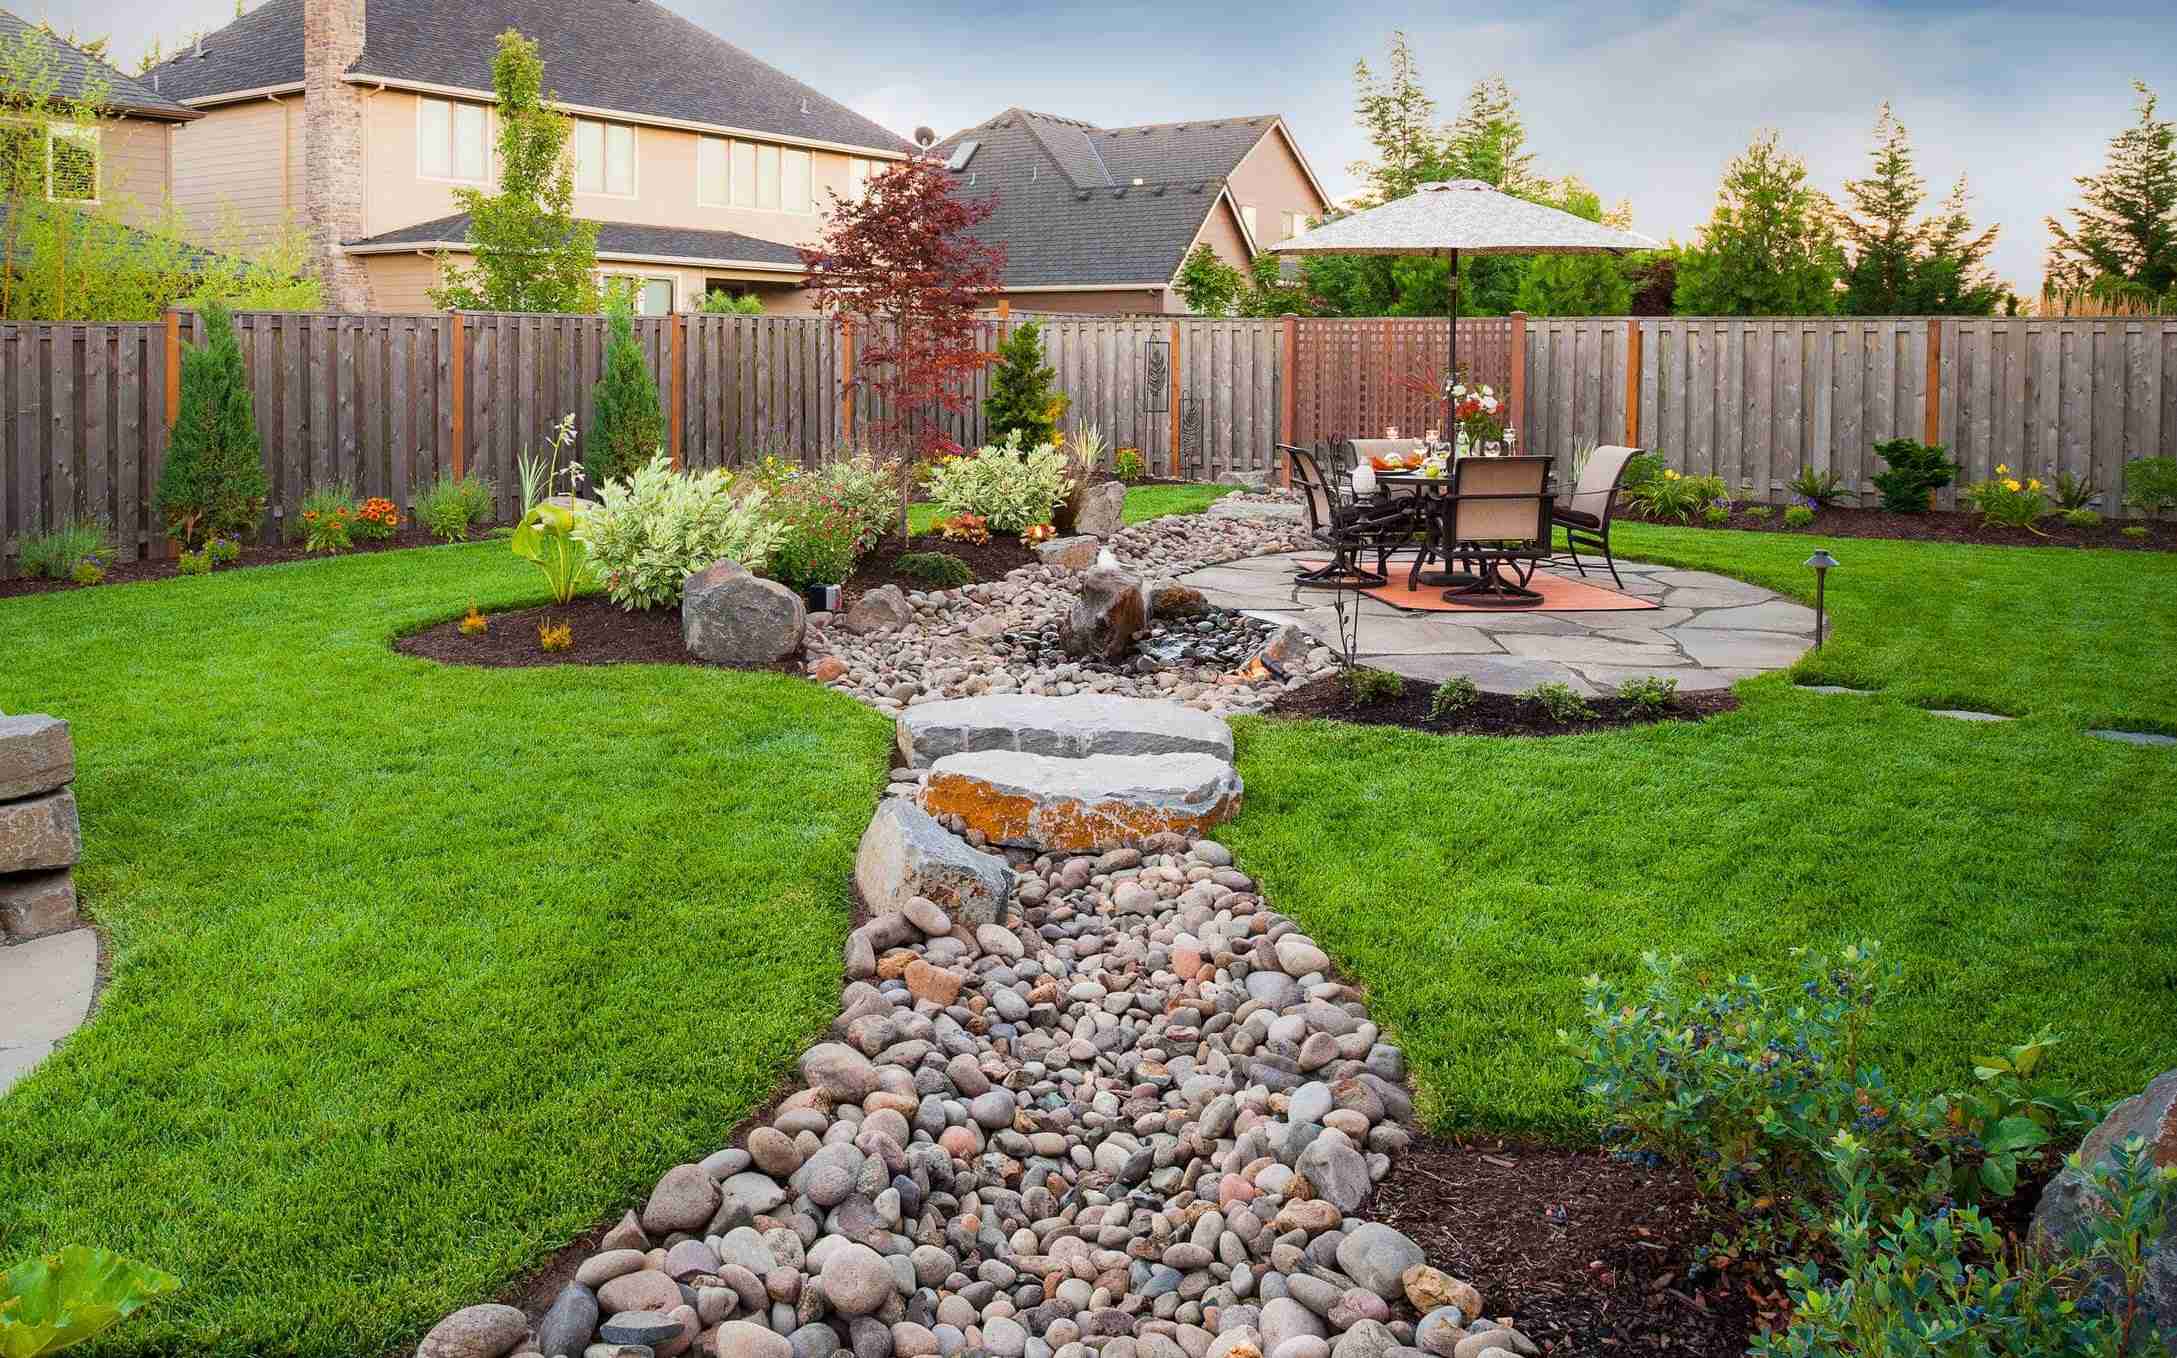
Step 9: Cover the Drainage System
Once you have tested and confirmed the functionality of your French drain system, the final step is to cover it to protect and hide it from view. Covering the drainage system not only ensures its longevity but also helps maintain the aesthetic appeal of your backyard.
Start by replacing the top layer of grass or vegetation that you removed during the initial digging process. If you had set it aside, now is the time to carefully place it back over the trench. Ensure that the grass is level with the surrounding area, using a rake or your hands to blend it seamlessly into the rest of your yard.
If you did not save the original grass, consider using topsoil or a layer of mulch to cover the trench. Spread it evenly over the trench, creating a smooth and even surface. This will help to conceal the drainage system while allowing for easy maintenance and lawn care.
Once the trench is covered, avoid placing heavy objects or driving vehicles over the area to prevent any damage to the drain pipe or disturbance to the soil. Taking care of the covered area will ensure the ongoing effectiveness of your French drain system.
To further enhance the appearance, consider adding decorative elements such as shrubs, flowers, or potted plants around the area where the drainage outlet is located. This will help to integrate the drainage system seamlessly into your landscaping design.
Regularly inspect the covering of your French drain system, checking for any signs of erosion or sediment buildup. Over time, you may need to add more topsoil or mulch to maintain the proper coverage and appearance.
By covering your French drain system, you’re not only protecting it from potential damage but also ensuring that it remains visually appealing and seamlessly blends into your backyard landscape. This final step completes the installation process, leaving you with a fully functional and aesthetically pleasing drainage solution.
Conclusion
Installing a French drain in your backyard can be a rewarding DIY project that resolves the issue of water accumulation and protects your property from potential damage. Following the step-by-step guide we’ve provided, you now have the knowledge and skills to successfully plan, design, and install a French drain system.
Remember to begin by planning and designing the drain system, identifying the drainage areas and outlet point, and calculating the trench length and depth. With a well-thought-out plan in place, gather all the necessary materials and tools, including the perforated drainage pipe, gravel, and landscape fabric.
Mark the drainage path clearly, ensuring a smooth water flow, and then proceed to dig the trench following the marked line. Be mindful of any obstacles and maintain a proper slope to promote adequate water drainage.
With the trench ready, install the drainage pipe, covering it with gravel and landscape fabric to prevent clogging and improve filtration. Backfill the trench with soil, ensuring stability and proper ground level.
Test the drainage system by pouring water through the pipe and observe its flow, making adjustments if necessary. Once satisfied with the system’s performance, cover the trench with grass, topsoil, or mulch to blend it seamlessly with your yard’s landscape.
By successfully completing these steps, you have created a functional and efficient French drain system that will keep your backyard dry and prevent water damage. Regular maintenance, such as inspecting for clogs and erosion, will help ensure its continued performance.
Now, sit back and admire your handiwork as you enjoy a water-free and inviting backyard space. With this DIY project completed, you have not only enhanced the functionality and value of your property, but you’ve also gained the confidence to tackle more home improvement ventures in the future. Happy draining!