Home>Types of Gardening>Ornamental Gardening>How To Plant Caladium Bulbs

Ornamental Gardening
How To Plant Caladium Bulbs
Published: January 23, 2024
Discover the best techniques for planting caladium bulbs and creating a stunning ornamental garden with our expert tips and advice. Start your ornamental gardening journey today!
(Many of the links in this article redirect to a specific reviewed product. Your purchase of these products through affiliate links helps to generate commission for Chicagolandgardening.com, at no extra cost. Learn more)
Table of Contents
Introduction
Welcome to the wonderful world of caladiums! These vibrant and versatile plants are a fantastic addition to any ornamental garden, adding a pop of color and a touch of elegance to your outdoor space. Whether you're a seasoned gardener or just starting out, caladiums are a fantastic choice due to their ease of care and stunning visual impact.
Caladiums, also known as "angel wings" or "elephant ears," are prized for their striking foliage, which comes in a dazzling array of colors and patterns. From deep greens and vibrant reds to delicate pinks and creamy whites, the leaves of the caladium plant are a true feast for the eyes. Whether you're looking to add a splash of color to a shady corner or create a lush, tropical paradise in your garden, caladiums are sure to impress.
In this comprehensive guide, we will walk you through the process of planting caladium bulbs, from choosing the perfect location to caring for your plants as they grow and thrive. Whether you're aiming to create a stunning display of caladiums in your garden beds, borders, or containers, we've got you covered with expert tips and insights to ensure your caladiums flourish.
So, roll up your sleeves, grab your gardening gloves, and get ready to embark on a delightful journey into the world of caladiums. By the end of this guide, you'll be well-equipped to cultivate these beautiful plants and enjoy their captivating beauty throughout the growing season. Let's dive in and discover the secrets to successfully planting and caring for caladium bulbs!
Choosing the Right Location
Before diving into the planting process, it’s crucial to select the ideal location for your caladiums. These plants thrive in partial to full shade, making them perfect for brightening up areas of your garden that receive limited direct sunlight. When choosing a spot for your caladiums, consider areas under trees, along the north side of buildings, or in any location that receives dappled sunlight throughout the day.
It’s important to avoid planting caladiums in direct sunlight, as this can scorch their delicate leaves. Additionally, they should be shielded from strong winds, as excessive exposure can damage their foliage. Caladiums also prefer well-draining soil, so be mindful of areas that are prone to waterlogging, as this can lead to root rot.
Another factor to consider is the ambient temperature. Caladiums thrive in warm, humid conditions and are sensitive to cold temperatures. Therefore, if you live in a region with cooler climates, it’s best to plant caladium bulbs after the threat of frost has passed. By selecting a sheltered, shady location with the right temperature and soil conditions, you’ll set the stage for your caladiums to flourish and showcase their stunning foliage.
When planting caladiums in containers, choose pots that provide ample room for the bulbs to grow and are equipped with drainage holes to prevent waterlogging. This allows for better control over the soil and moisture levels, making it easier to create an optimal environment for your caladiums.
By carefully considering these factors and choosing a suitable location, you’ll provide your caladiums with the ideal growing conditions, setting the stage for a spectacular display of color and foliage in your garden or outdoor space.
Preparing the Soil
Creating the right soil environment is essential for the successful growth of caladiums. These plants thrive in well-draining, nutrient-rich soil that is slightly acidic. Start by preparing the planting area by loosening the soil to a depth of around 8-10 inches. This process helps improve soil aeration and drainage, creating a hospitable environment for the caladium bulbs to establish their roots.
Adding organic matter, such as compost or well-rotted manure, to the soil can significantly enhance its quality by improving its texture and fertility. This organic amendment provides essential nutrients for the caladiums and promotes a healthy soil structure, ensuring optimal growing conditions.
It’s important to note that caladiums prefer slightly acidic soil with a pH level between 5.5 and 6.5. Testing the soil pH can help determine if any adjustments are needed. If the soil is too alkaline, amending it with elemental sulfur can help lower the pH to the desired range. Conversely, if the soil is too acidic, adding lime can help raise the pH level.
When planting caladiums in containers, using a high-quality potting mix specifically designed for tropical plants can provide the ideal growing medium. These mixes are formulated to provide excellent drainage and aeration while supplying essential nutrients to support the growth of caladiums in a container environment.
By taking the time to prepare the soil and create a nurturing foundation for your caladiums, you’ll set the stage for healthy growth and vibrant foliage. The enriched soil will provide the essential nutrients and optimal growing conditions that caladiums need to thrive, ensuring a breathtaking display of color and beauty in your garden or outdoor space.
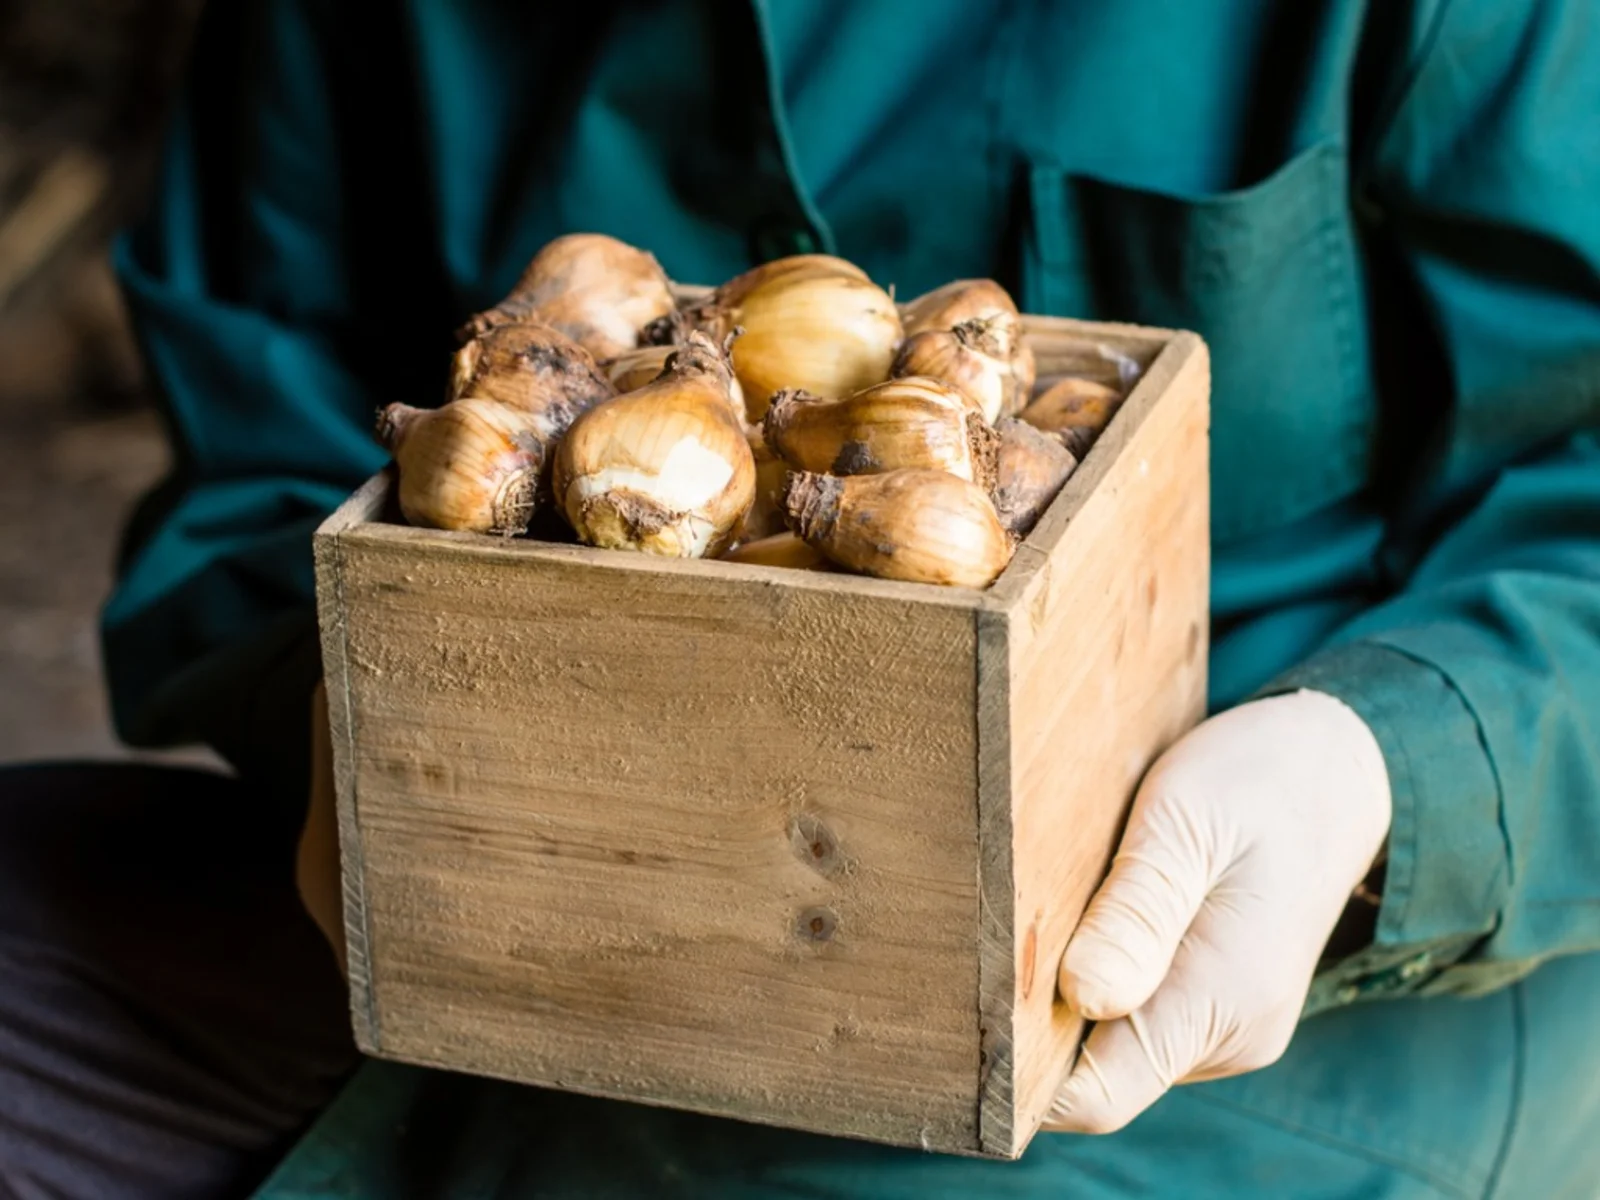
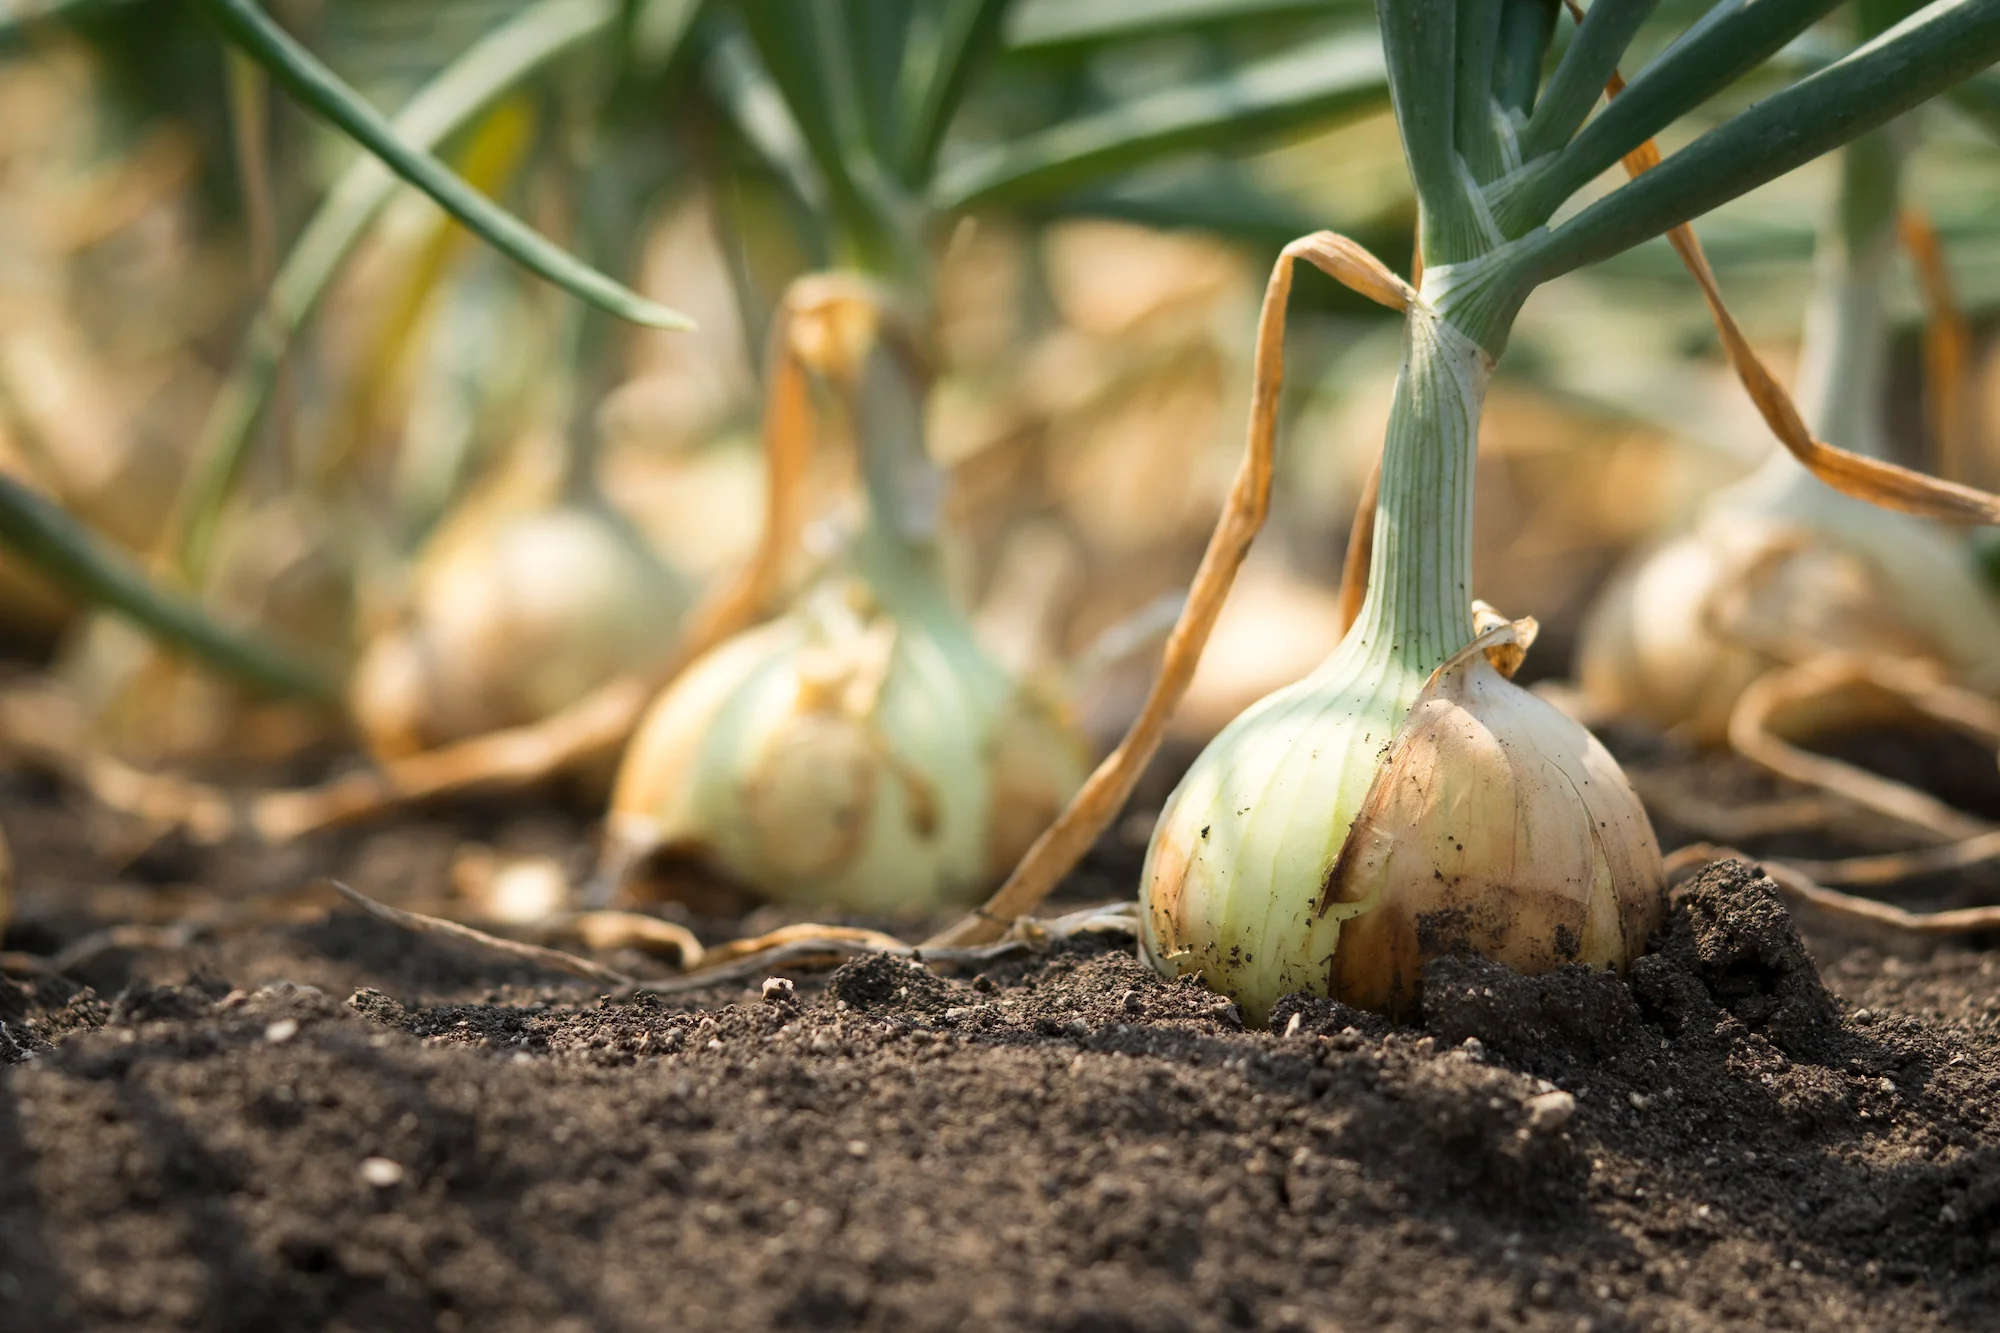
Planting the Bulbs
Now that you’ve chosen the perfect location and prepared the soil, it’s time to plant your caladium bulbs. Before planting, it’s essential to ensure that all risk of frost has passed, as caladiums are sensitive to cold temperatures. Planting should take place when the soil temperature has reached a consistent 70-75°F (21-24°C) to promote successful sprouting and growth.
When planting caladium bulbs directly in the ground, place them about 1-1.5 inches deep with the knobby or rounded side facing up. Ensuring proper spacing between the bulbs is crucial, with a recommended distance of 8-12 inches between each bulb. This spacing allows the mature plants to have ample room to grow and showcase their vibrant foliage without overcrowding.
If you’re planting in containers, select a pot that provides sufficient space for the bulbs to grow and space them out accordingly. It’s important to use a well-draining potting mix to prevent waterlogging, which can lead to root rot. Plant the bulbs at the same depth as when planting them in the ground, ensuring that they have enough space to establish their roots and thrive.
After planting, gently water the area to settle the soil around the bulbs. It’s essential to maintain consistent moisture levels to support the initial growth of the bulbs. However, be cautious not to overwater, as excessive moisture can lead to rotting. As the bulbs begin to sprout and the plants emerge, continue to monitor the soil moisture and adjust your watering routine as needed to support healthy growth.
By following these planting guidelines, you’ll provide your caladium bulbs with the optimal conditions for establishing strong roots and initiating growth. With the right care and attention during the planting phase, you’ll soon witness the emergence of beautiful caladium foliage, adding a stunning visual element to your garden or outdoor space.
Watering and Fertilizing
Proper watering and fertilizing are essential aspects of caring for caladiums and promoting healthy growth and vibrant foliage. When it comes to watering, caladiums thrive in consistently moist soil, but it’s crucial to avoid overwatering, which can lead to issues such as root rot. Aim to keep the soil evenly moist, allowing it to dry slightly between waterings to prevent waterlogged conditions.
During periods of active growth, regular watering is essential, especially during dry spells or hot weather. When watering, aim to provide enough moisture to penetrate the soil to the depth of the roots, ensuring that the entire root zone receives adequate hydration. However, be mindful of excessive rainfall, as caladiums are sensitive to waterlogged conditions. Proper drainage is crucial to prevent water from accumulating around the roots.
Applying a layer of organic mulch around the base of the plants can help retain soil moisture, regulate temperature, and suppress weed growth. This natural mulch also contributes organic matter to the soil as it breaks down, enriching the growing environment for the caladiums.
When it comes to fertilizing, a balanced, slow-release fertilizer can provide the essential nutrients that caladiums need to thrive. Applying a fertilizer with a formulation such as 10-10-10 or 15-15-15 in early to mid-spring can support healthy growth and vibrant foliage. Be sure to follow the manufacturer’s recommendations regarding application rates and frequency to avoid overfertilization, which can lead to adverse effects on the plants.
For caladiums grown in containers, regular fertilization is particularly important, as the nutrients in the potting mix can become depleted over time. Using a liquid fertilizer formulated for foliage plants can provide a quick nutrient boost to support ongoing growth and the development of vibrant leaves.
By maintaining a consistent watering routine and providing appropriate fertilization, you’ll support the health and vigor of your caladiums, ensuring that they continue to thrive and adorn your garden with their captivating foliage throughout the growing season.
Caring for Caladiums
Once your caladiums are planted and begin to flourish, ongoing care is essential to ensure their continued health and the stunning display of their vibrant foliage. Regular maintenance tasks, including monitoring for pests, providing support, and addressing any issues promptly, can contribute to the overall well-being of your caladium plants.
One important aspect of caring for caladiums is monitoring for pests and diseases. Keep an eye out for common pests such as aphids, spider mites, and caterpillars, which can potentially damage the foliage. If pests are detected, consider using natural pest control methods or targeted insecticides to manage infestations while minimizing the impact on beneficial insects and the environment.
As the caladiums grow, providing support for the foliage can help maintain their upright appearance and prevent bending or breakage, especially in windy conditions. Gentle staking or the use of plant supports can help protect the plants and preserve their aesthetic appeal, ensuring that the vibrant leaves remain prominently displayed.
Regularly inspect the plants for any signs of stress, such as wilting or discoloration, and take appropriate action to address any issues promptly. This may involve adjusting watering practices, providing additional shade during periods of intense sunlight, or addressing soil nutrient deficiencies through targeted fertilization. By remaining attentive to the needs of your caladiums, you can help them thrive and continue to showcase their captivating beauty.
During the growing season, it’s natural for older leaves to fade and wither. Removing these spent leaves can help redirect the plant’s energy toward the development of new, healthy foliage. Gently trim away any yellowing or declining leaves, taking care not to damage the emerging growth points or young leaves.
As the growing season progresses, you may also consider applying a light layer of organic mulch around the base of the plants to help maintain soil moisture, regulate temperature, and suppress weed growth. This natural mulch contributes to the overall health of the growing environment and supports the continued vigor of your caladiums.
By providing attentive care and addressing the needs of your caladiums throughout the growing season, you’ll ensure that these stunning plants continue to thrive and grace your garden with their captivating foliage, creating a visually striking and vibrant outdoor display.
Conclusion
Congratulations on embarking on the journey of planting and caring for caladiums! These remarkable plants have the power to transform any garden or outdoor space with their stunning foliage and vibrant colors. By following the guidelines outlined in this comprehensive guide, you’ve gained valuable insights into the process of cultivating caladiums and creating an enchanting display of natural beauty.
From selecting the perfect location with the right amount of shade to preparing the soil and planting the bulbs with care, you’ve set the stage for your caladiums to thrive and flourish. By providing consistent moisture, appropriate fertilization, and attentive care, you’ve supported the health and vigor of your caladiums, ensuring that they continue to dazzle with their captivating foliage.
As you tend to your caladiums throughout the growing season, remember to embrace the joy of gardening and the connection it fosters with nature. Observing the growth and transformation of your caladium plants can be a deeply rewarding experience, offering moments of tranquility and inspiration as you witness the beauty of the natural world unfolding before you.
Whether your garden is adorned with lush beds of caladiums, vibrant container displays, or carefully curated borders, the presence of these remarkable plants is sure to captivate and delight all who encounter them. The visual impact of their intricate leaves and bold hues creates a sense of wonder and enchantment, infusing your outdoor space with a touch of elegance and charm.
As you continue to nurture your caladiums, remember that gardening is a journey filled with discovery and growth. Embrace the process, learn from the experiences, and savor the moments spent tending to your plants. Your efforts will be rewarded with a breathtaking display of caladium foliage, a testament to the beauty and resilience of nature.
May your garden be enriched by the presence of these remarkable plants, and may the vibrant allure of caladiums continue to inspire and uplift your outdoor sanctuary for years to come.