Home>Gardening Techniques>Plant Care>How To Test Seeds For Germination
Plant Care
How To Test Seeds For Germination
Modified: January 22, 2024
Learn how to test seeds for germination and improve your plant care techniques with expert tips and advice. Boost your gardening success today!
(Many of the links in this article redirect to a specific reviewed product. Your purchase of these products through affiliate links helps to generate commission for Chicagolandgardening.com, at no extra cost. Learn more)
Table of Contents
- Introduction
- Why is Seed Germination Testing Important?
- Factors Affecting Seed Germination
- Methods for Seed Germination Testing
- Step 1: Gathering the Necessary Materials
- Step 2: Preparing the Testing Environment
- Step 3: Selecting the Seeds for Testing
- Step 4: Conducting the Germination Test
- Step 5: Observing and Recording the Results
- Step 6: Interpreting the Germination Rates
- Tips for Successful Seed Germination Testing
- Conclusion
Introduction
Welcome to the world of gardening and plant care! Whether you’re a seasoned green thumb or just starting your journey as a plant enthusiast, understanding seed germination is crucial to your success. Proper seed germination testing ensures that you’ll have the best chance of growing healthy and thriving plants from your seeds.
Seed germination is the process by which a seed begins to grow and develop into a new plant. It involves the activation of the seed’s life processes, including the absorption of water, initiation of metabolic activities, and the emergence of the embryonic plant from its protective seed coat.
By testing the germination rate of your seeds, you can determine their viability and assess the likelihood of successful growth. This information is invaluable for planning your planting schedule and optimizing your garden space.
Moreover, understanding the factors that influence seed germination will allow you to provide optimal conditions for your seeds to sprout and grow. Factors such as temperature, moisture, and light play a significant role in the germination process and can greatly impact the success of your gardening endeavors.
In this article, we’ll explore the importance of seed germination testing, delve into the key factors that affect germination, and provide you with step-by-step instructions on how to conduct a germination test for your seeds. By the end, you’ll have the knowledge and skills to confidently assess the viability of your seeds and set yourself up for gardening success.
Why is Seed Germination Testing Important?
Seed germination testing is a crucial step in the gardening process for several reasons:
- Assessing seed viability: Not all seeds are created equal. Some may be old, damaged, or lack the necessary vigor to sprout and grow. By conducting germination tests, you can determine which seeds are viable and discard those that are unlikely to thrive, saving you time and effort.
- Optimizing planting schedules: Knowing the germination rate of your seeds allows you to plan your planting schedule more effectively. You can determine the ideal time to sow your seeds, ensuring that they have enough time to grow and mature before unfavorable weather conditions arrive.
- Maximizing garden space: Testing seed germination rates helps you make informed decisions about how many seeds to sow and how much space to allocate for each plant. This allows for efficient use of your garden space and prevents overcrowding.
- Preventing disappointment: There’s nothing more disheartening than waiting weeks for your seeds to sprout, only to realize that they were never viable to begin with. Germination testing helps you avoid disappointment by identifying non-viable seeds early on and sparing you from dedicating time and resources to plants that won’t grow.
- Improving success rates: By understanding the germination requirements of different plants and testing their seeds accordingly, you can optimize the conditions for each species. This knowledge enhances your overall success rate in growing healthy and robust plants.
Overall, seed germination testing provides essential information for successful gardening. It empowers you to make informed decisions, increases your chances of growing thriving plants, and ensures that your hard work in caring for your garden is rewarded. Now that we understand why seed germination testing is important, let’s explore the factors that can affect seed germination in more detail.
Factors Affecting Seed Germination
Several factors can influence the germination process and determine whether a seed will successfully sprout into a healthy plant. Understanding these factors is crucial for providing optimal conditions for seed germination. Here are some key factors to consider:
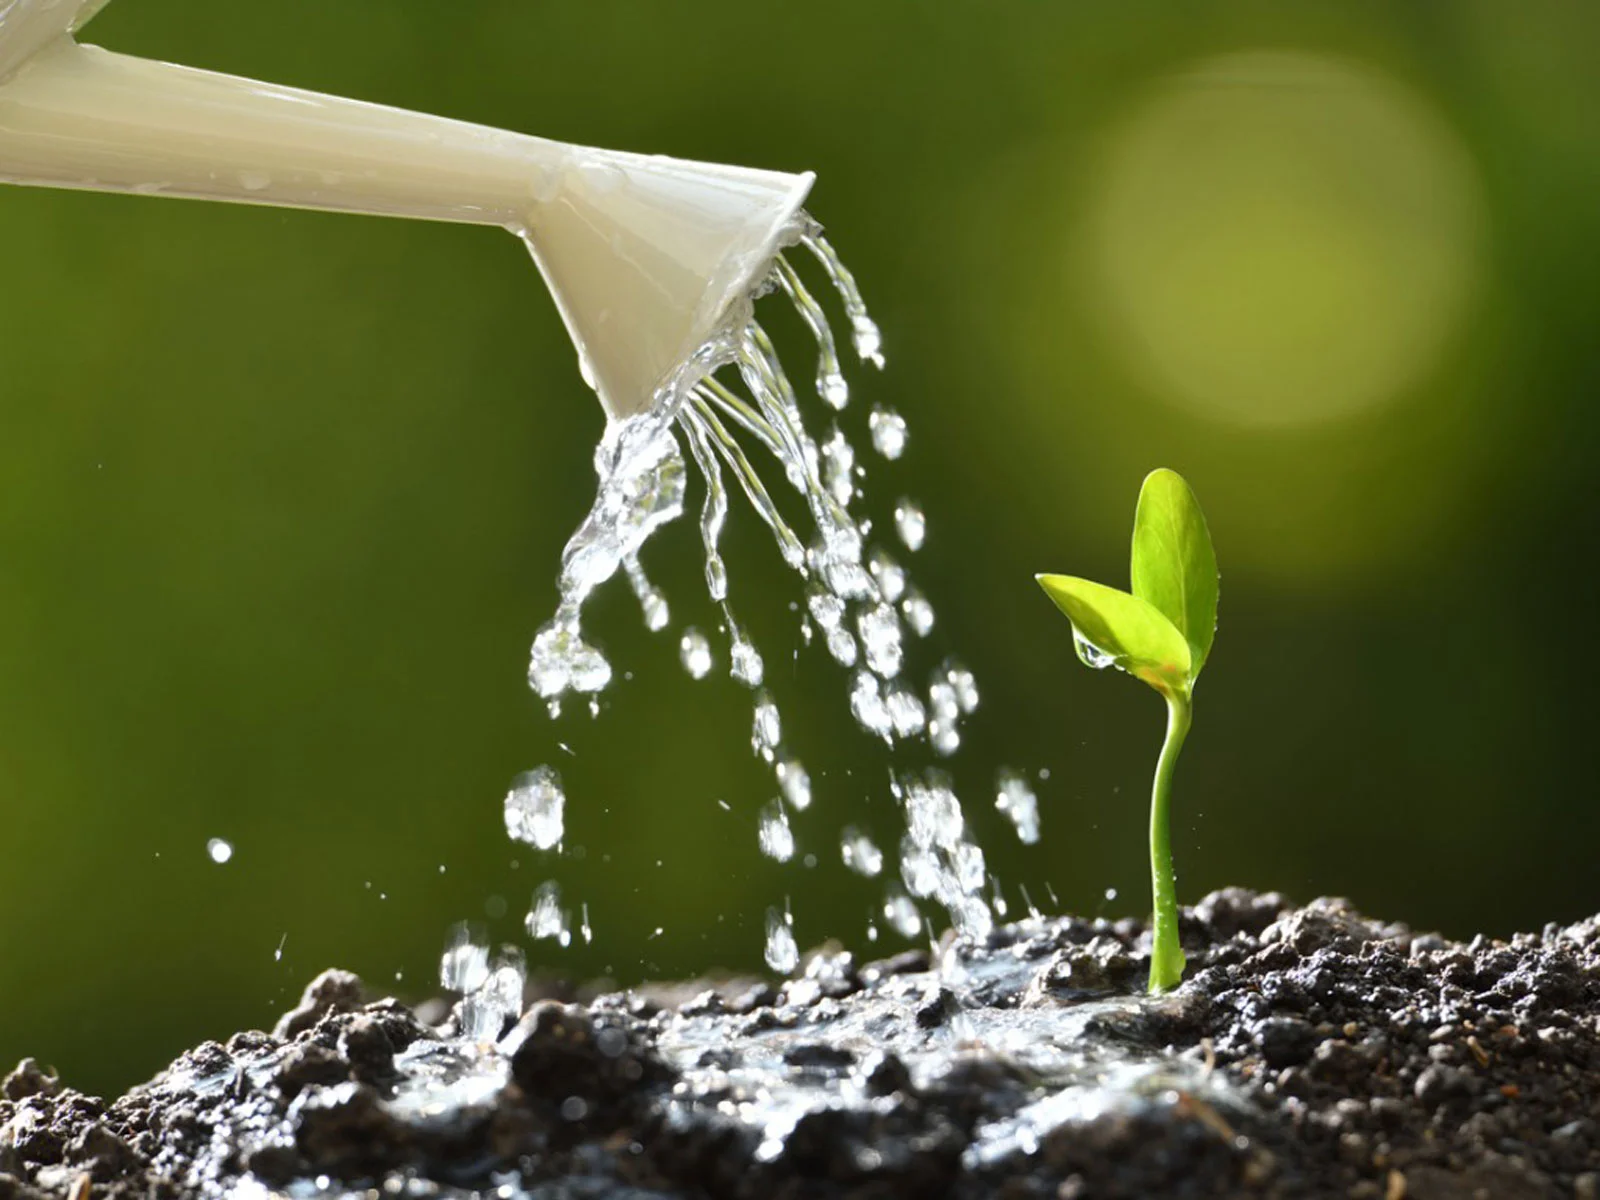
- Water: Adequate moisture is essential for seed germination. Water helps soften the seed coat, allowing the embryo to absorb nutrients and initiate growth. Insufficient moisture can prevent germination, while excessive moisture can lead to rot and fungal diseases.
- Temperature: Different plants have specific temperature requirements for germination. Some seeds find cool temperatures favorable, while others require warmer conditions. Providing the appropriate temperature range is vital for triggering the metabolic processes necessary for germination.
- Light: Light requirements for seed germination vary among plant species. Some seeds need light to germinate, while others require darkness. Understanding the light preferences of your seeds will help you place them in the right environment for successful germination.
- Soil quality: The quality and composition of the soil can significantly impact germination. Seeds need a well-draining and fertile growing medium to absorb water and nutrients. Compacted or nutrient-deficient soil can hinder germination and lead to weak seedlings.
- Oxygen: Seeds require oxygen for the respiration needed to release energy for growth. Proper aeration of the soil ensures that seeds have access to the oxygen they need to germinate. Poorly aerated or waterlogged soil can suffocate seeds, hindering germination.
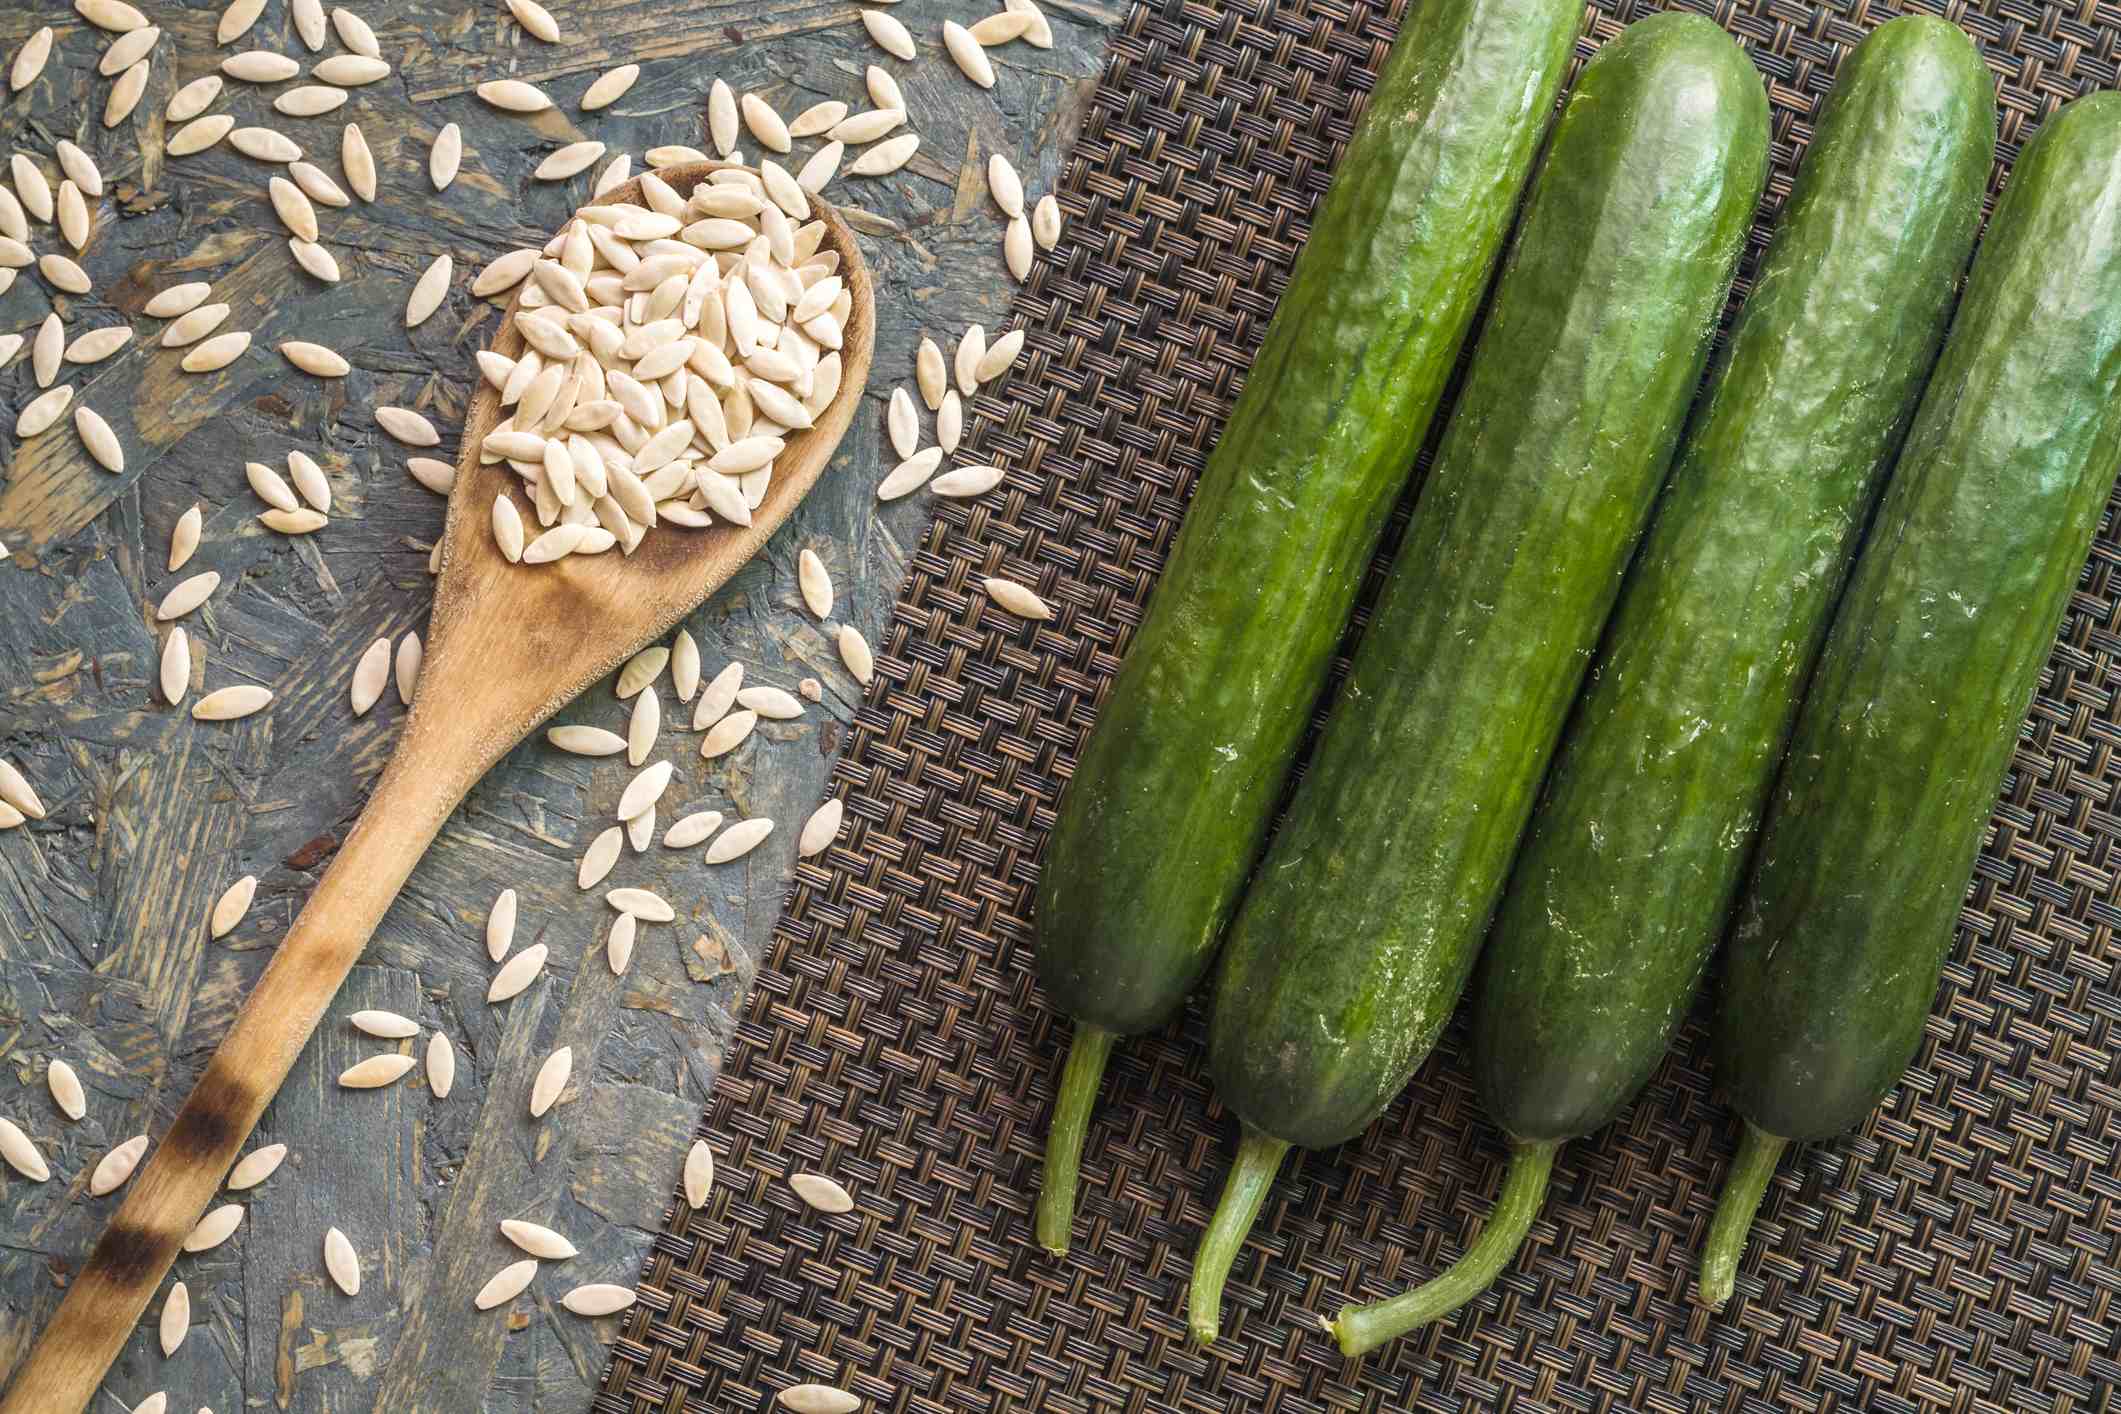
- Seed age and quality: Old or poor-quality seeds may have reduced viability and lower germination rates. Fresh, high-quality seeds are more likely to germinate successfully and produce healthy plants. It’s important to source seeds from reputable suppliers and store them properly for optimal germination.
By understanding and manipulating these factors, you can create the ideal conditions for seed germination. Adjusting the moisture levels, temperature, light exposure, and soil quality can significantly enhance germination rates and increase the success of your gardening endeavors. In the next section, we will explore various methods for conducting seed germination testing.
Methods for Seed Germination Testing
There are several methods you can use to test the germination rate of your seeds. Each method has its advantages and can be chosen based on the types of seeds you are testing and the resources available to you. Here are some commonly used methods:
- Standard Paper Towel Test: This is a simple and widely used method. Moisten a paper towel and place a few seeds on it. Fold the towel over the seeds and keep it in a warm and dark place. Check the seeds regularly for germination, noting the rates of successful sprouting.
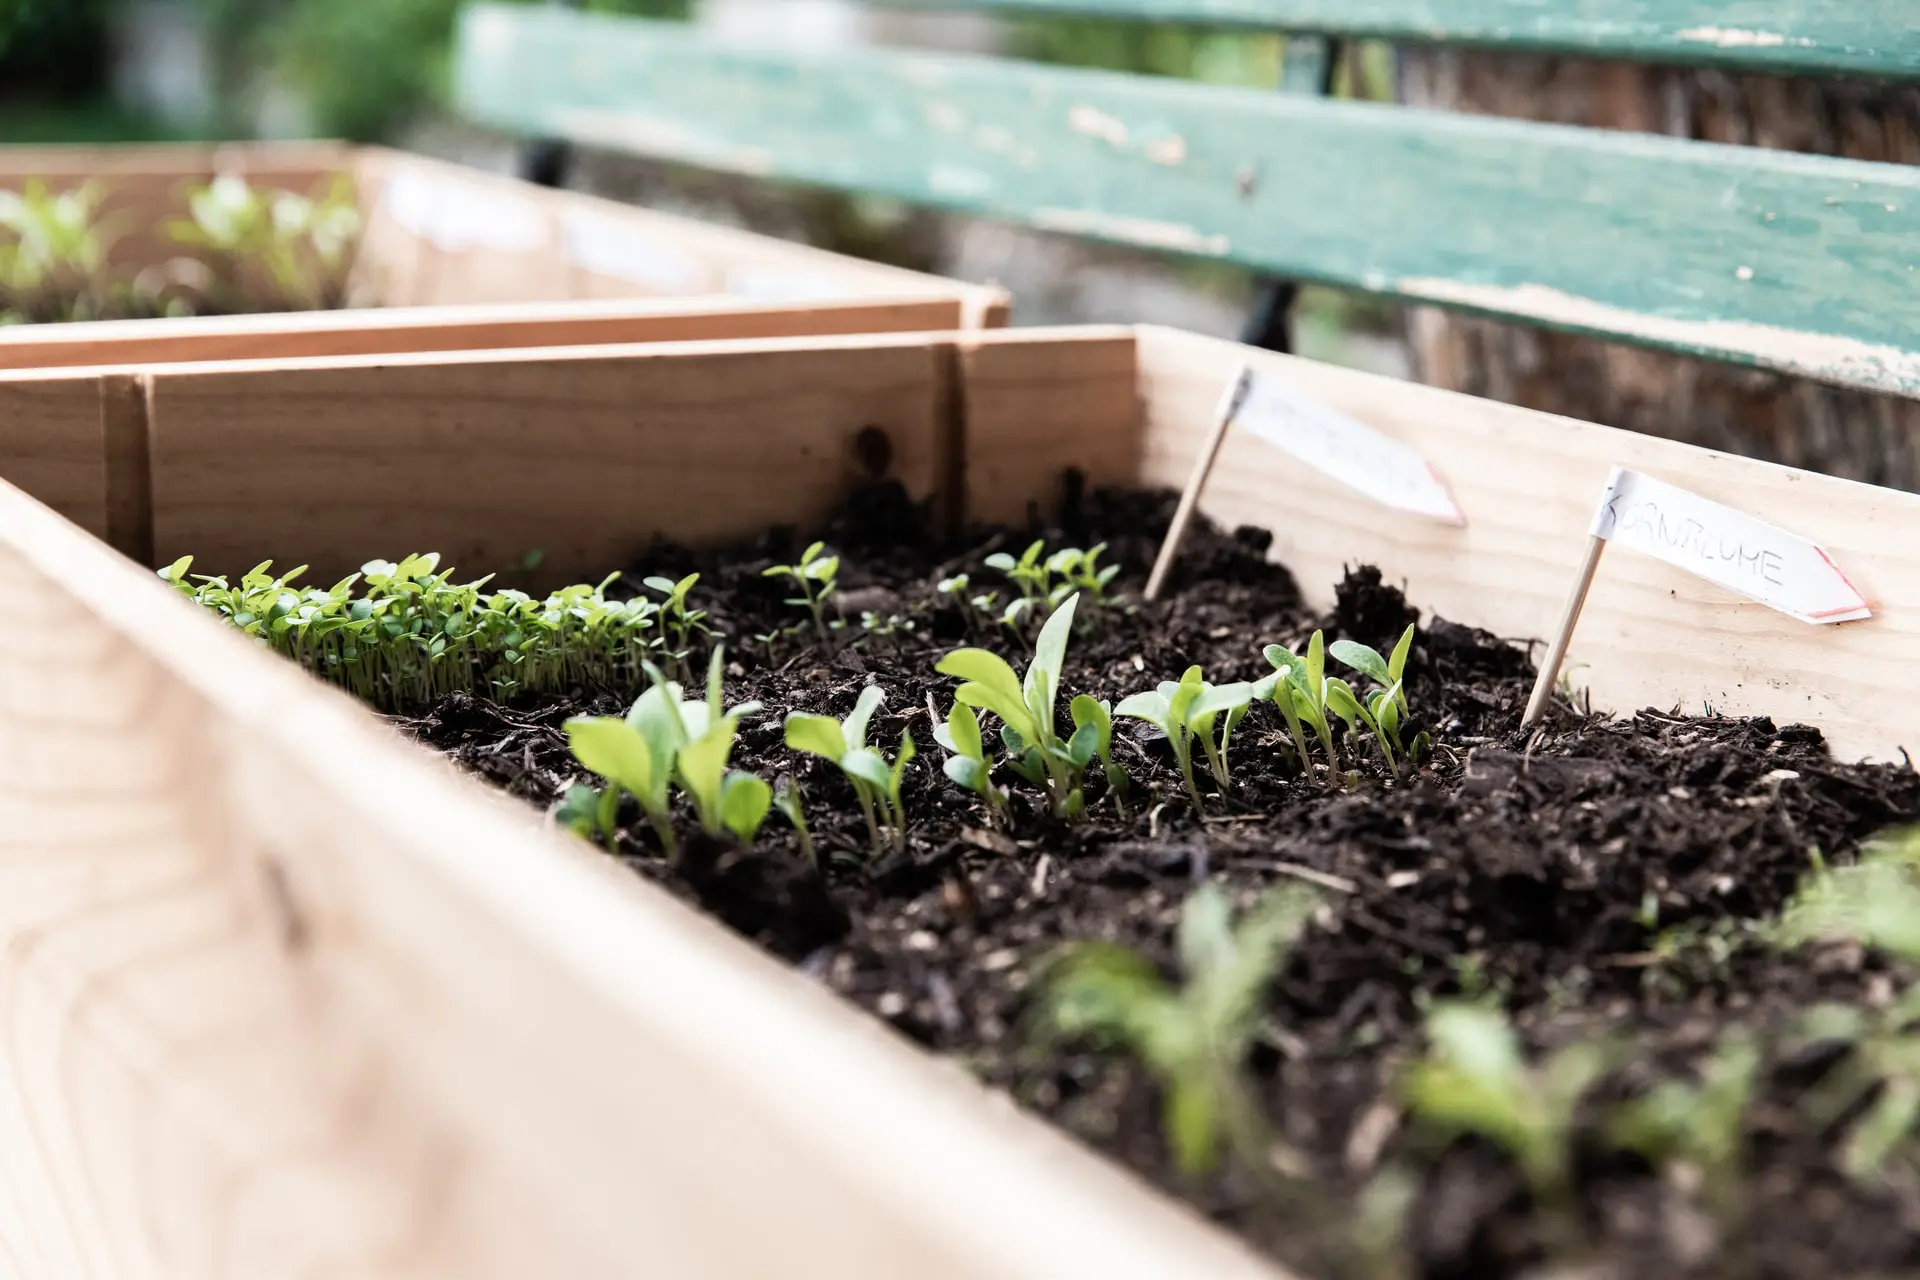
- Seedling Tray Method: This method involves using seedling trays or small containers filled with a growing medium, such as seed starting mix or sterile soil. Sow the seeds according to their planting depth requirements, water them, and cover the tray with a transparent lid or plastic wrap to create a mini greenhouse environment. Monitor the seeds for germination over time.
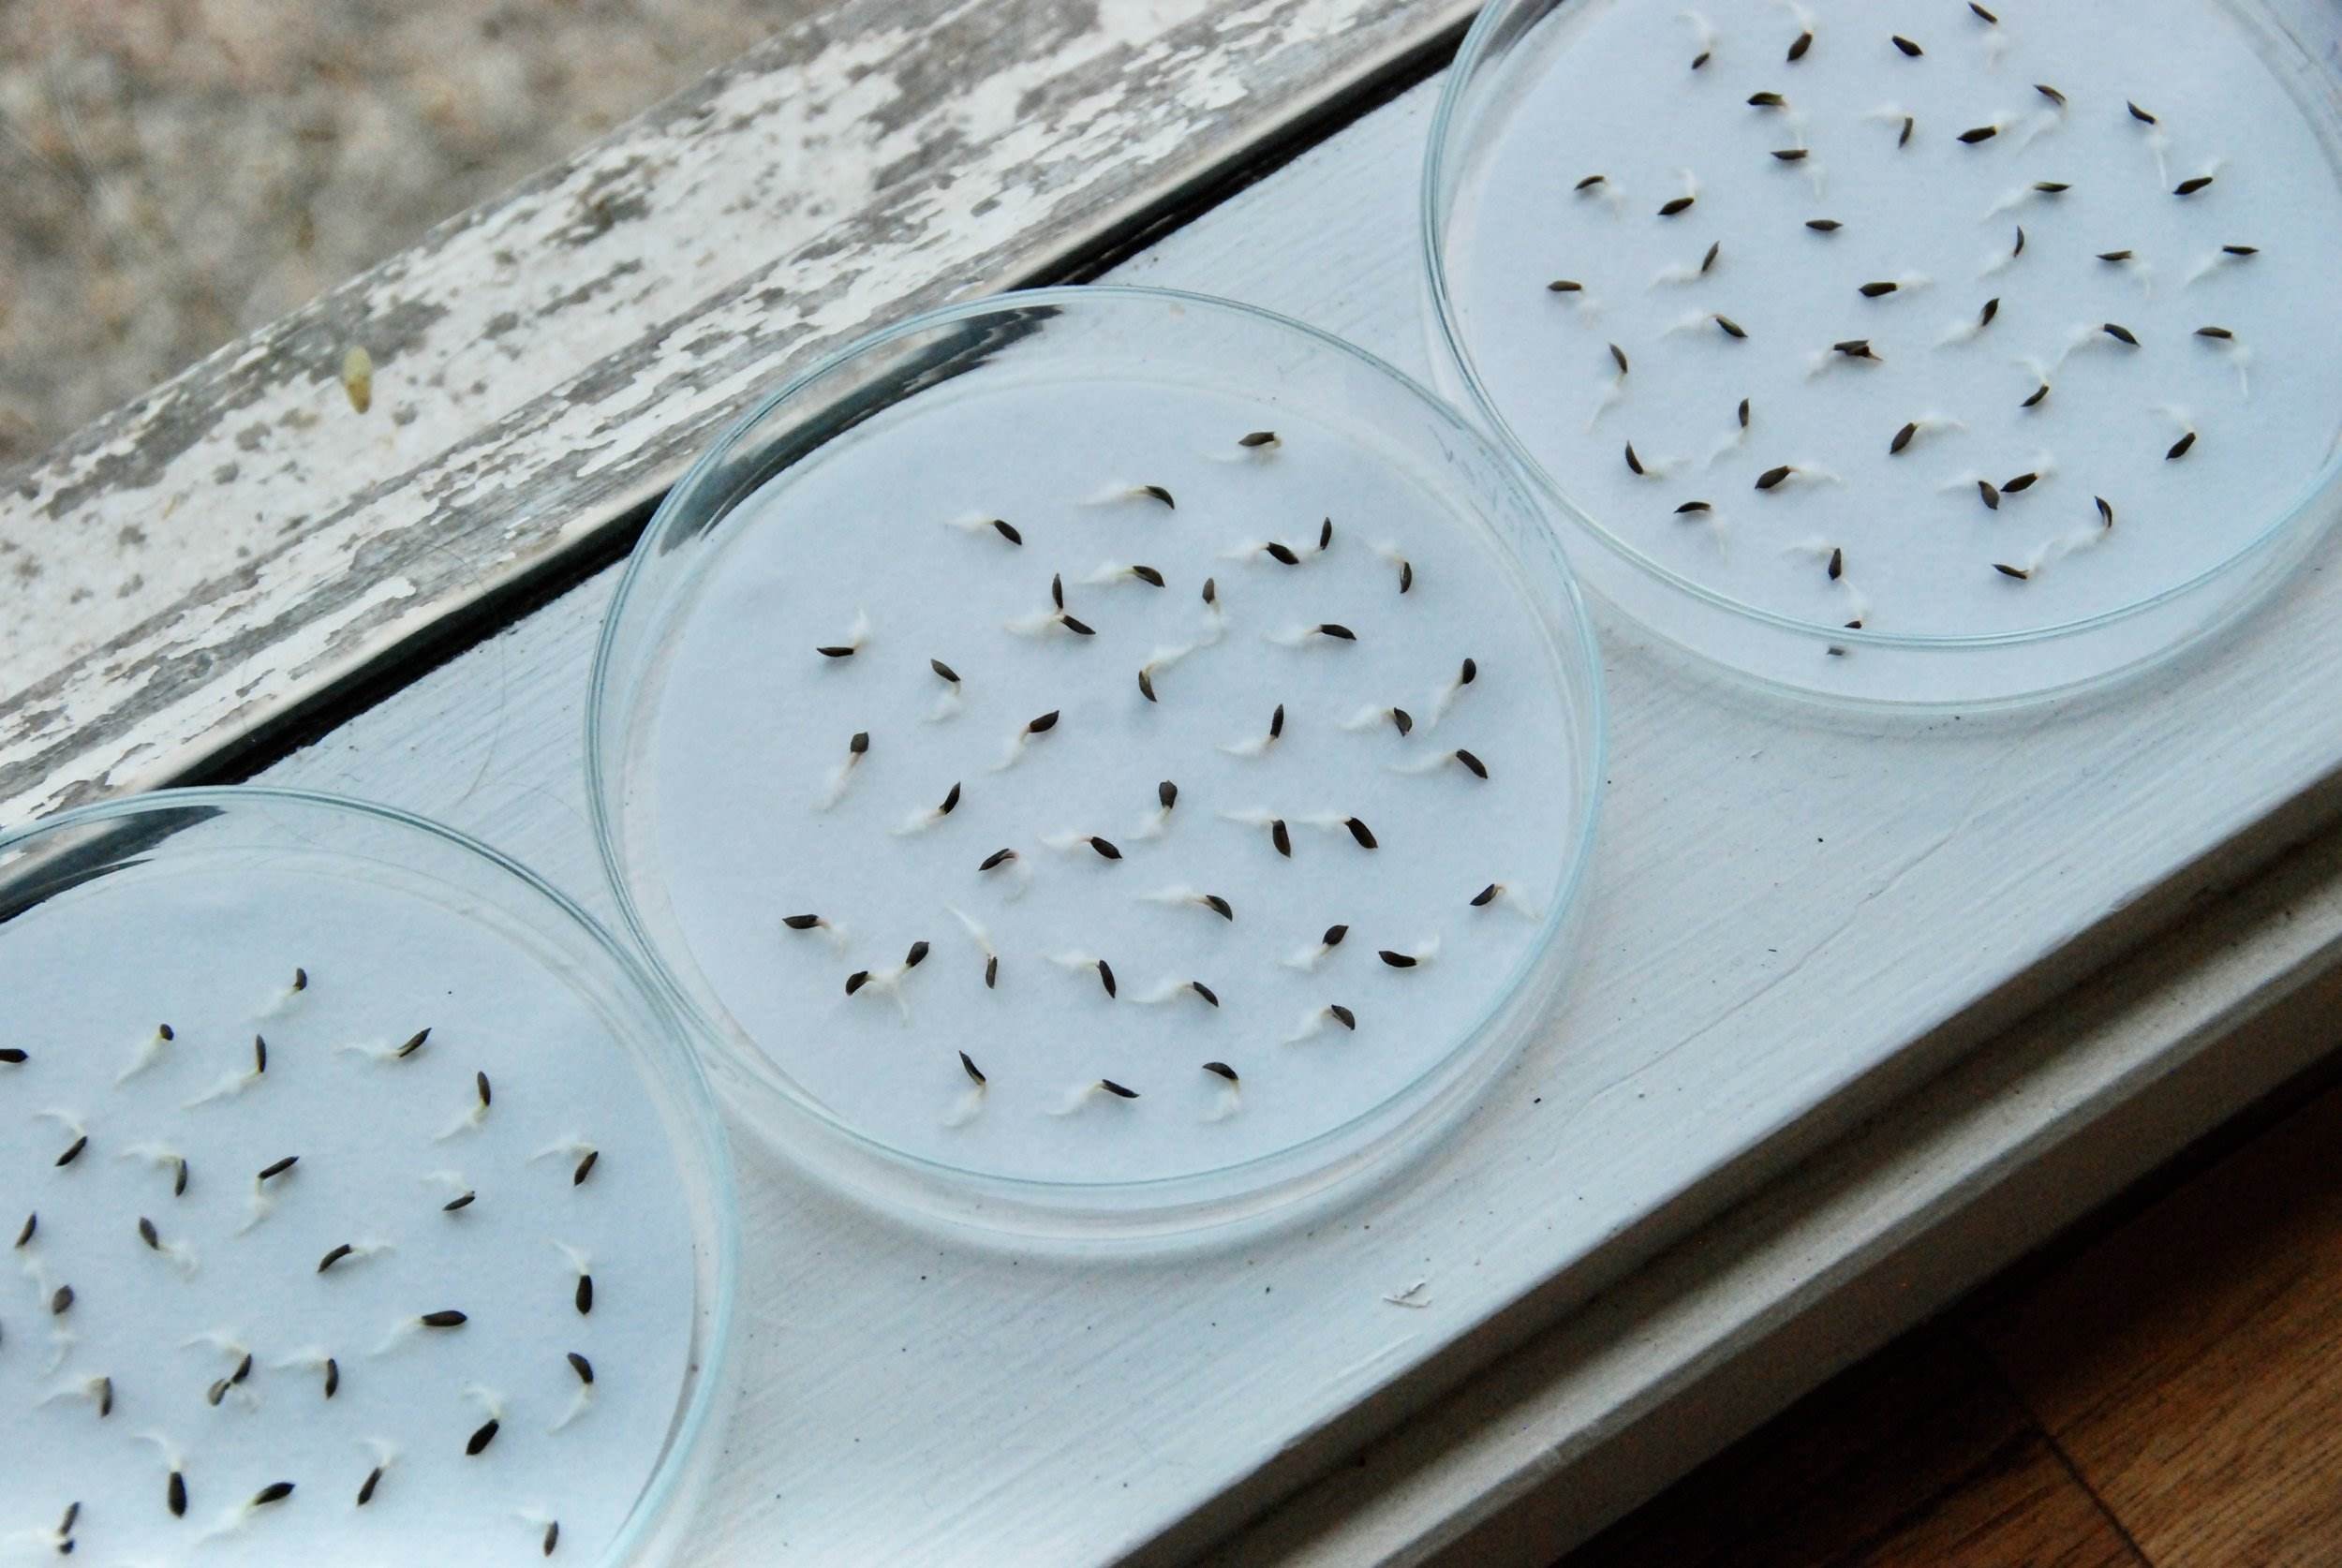
- Petri Dish Method: This method is ideal for small seeds. Place a few seeds on a moistened filter paper or cotton pad in a petri dish. Seal the dish with a lid or plastic wrap to retain moisture. Keep the dish in a warm location and observe the germination progress.
- Direct Sowing Method: This method involves planting the seeds directly in the garden or designated growing area. Monitor the area and record the germination rates as the seeds sprout and grow. This method is suitable for larger seeds or plants that have specific germination requirements when sown directly in soil.
Regardless of the method you choose, it’s important to maintain consistent environmental conditions during the testing period. Keep the seeds at the recommended temperature, provide adequate moisture, and monitor the germination progress regularly.
Once you have conducted the germination test, you can move on to observing and recording the results, which we will discuss in the next section. By implementing these germination testing methods, you will gain valuable insights into the viability of your seeds and be better equipped to plan your planting strategies for a successful garden.
Step 1: Gathering the Necessary Materials
Before you begin conducting a seed germination test, it’s important to gather all the necessary materials. Having everything prepared in advance will help ensure a smooth and efficient testing process. Here are the key materials you’ll need:
- Seeds: Select the seeds you want to test. It’s best to choose seeds that are relatively fresh and from a reputable source. Make sure you have enough seeds to obtain accurate germination rate results.
- Containers: Depending on the germination method you choose, you will need appropriate containers. This could include seedling trays, pots, plastic bags, or petri dishes. Make sure the containers are clean and have sufficient drainage holes if necessary.
- Growing medium: Use a suitable growing medium for your seeds. This can include seed starting mix, sterile soil, or a paper towel for certain germination tests. Ensure the medium is clean and free from any contaminants.
- Water: Have access to clean and distilled water for moistening the growing medium or paper towel. Avoid using tap water, as it may contain chlorine or other chemicals that can hinder germination.
- Labels: Use labels or markers to identify the seeds being tested. Labeling is crucial for keeping track of different seed varieties and their germination rates.
- Light source: Depending on the light requirements of the seeds, you may need a light source such as a grow light or natural sunlight. Ensure your testing environment provides the appropriate amount of light for the seeds being tested.
- Environmental conditions: Check the recommended temperature range for the seeds you’re testing. Make sure you have a way to control and maintain the temperature within the required range.
- Notebook and pen: Keep a notebook and pen handy to record your observations and germination rates. Accurate and detailed note-taking will help you interpret the results and make informed decisions for future planting.
By gathering all the necessary materials before starting your seed germination test, you’ll be well-prepared to carry out the process smoothly and effectively. Remember to read and follow the instructions specific to the germination method you choose. In the next section, we will discuss the steps for preparing the testing environment.
Step 2: Preparing the Testing Environment
Creating the right testing environment is crucial for successful seed germination. A suitable environment will provide optimal conditions for the seeds to sprout and grow. Follow these steps to prepare the testing environment:
- Clean and disinfect: Ensure that all containers, tools, and surfaces you’ll be using are clean and free from any potential contaminants. Disinfecting the containers with a mild bleach or hydrogen peroxide solution can help prevent the growth of harmful pathogens.
- Choose the location: Select a suitable location for your seed germination test. It should be a stable environment with consistent temperature and lighting conditions. Avoid areas that are prone to drafts or extreme temperature fluctuations.
- Control temperature: Depending on the temperature requirements of the seeds being tested, maintain the appropriate temperature range in the testing area. You can use a heating pad, a thermostat-controlled heat mat, or natural indoor heating to achieve the desired temperature. Avoid exposing the seeds to direct heat sources or extreme temperature variations.
- Provide proper lighting: Determine the lighting requirements of the seeds being tested. Some seeds require darkness for germination, while others need exposure to light. If light is needed, ensure that the light source is set up at the appropriate distance and intensity.
- Ensure adequate ventilation: Adequate air circulation is essential for preventing the buildup of excess moisture and promoting healthy seed germination. If using containers with lids or plastic wraps, make sure there are small vents for air exchange.
- Maintain moisture levels: Different germination methods require different moisture levels. For methods that involve a growing medium, ensure it is moistened but not waterlogged. For paper towel or petri dish methods, ensure adequate moisture is maintained without excessive pooling of water.
- Organize and label: Set up your containers in an organized manner, ensuring that you have labeled each container appropriately. This will help you keep track of the different seed varieties being tested and their respective locations.
By properly preparing the testing environment, you provide the seeds with the optimal conditions they need for successful germination. Consistent temperature, balanced moisture levels, appropriate lighting, and good ventilation will all contribute to higher germination success rates. Once you have prepared the testing environment, you can move on to the next step of selecting the seeds for testing.
Step 3: Selecting the Seeds for Testing
Choosing the right seeds for your germination test is essential for obtaining accurate and meaningful results. Here are the steps to follow when selecting the seeds for testing:
- Consider seed quality: Start by selecting seeds that are high-quality and relatively fresh. Avoid using old or damaged seeds, as they may have lower viability and affect the accuracy of your germination test.
- Determine the number of seeds: Decide how many seeds you will test for each seed variety. Testing a sufficient number of seeds will provide a more representative germination rate. Aim for a minimum of 10 seeds per variety, but testing more seeds will yield more accurate results.
- Label each seed variety: Use labels or markers to identify each seed variety you are testing. This will help you keep track of the different seeds and their corresponding germination rates.
- Consider seed type: Different types of seeds may have specific requirements for germination. Some seeds may benefit from pre-soaking, scarification, or stratification. Take note of any special requirements and follow the appropriate pre-germination treatments if necessary.
- Choose representative seeds: When selecting the seeds, aim for a mix of sizes and shapes within each seed variety. This will help ensure that you are testing a representative sample and accounting for variations in seed characteristics.
- Random selection: Randomly select the seeds from your seed stock. Avoid deliberately selecting seeds, as this may bias the sample and affect the reliability of your germination rate results.
- Record the seed details: Keep a record of the seed variety, the number of seeds being tested, and any specific notes or characteristics associated with each seed variety. This documentation will help you interpret the results later.
By following these steps, you can ensure that you’re selecting a representative sample of seeds for your germination test. This will provide more accurate insights into the germination rates and viability of the seeds you are testing. Once you have selected the seeds, you can proceed to the next step and conduct the germination test itself.
Step 4: Conducting the Germination Test
Now that you have gathered the necessary materials, prepared the testing environment, and selected the seeds, it’s time to conduct the germination test. Follow these steps to carry out the test successfully:
- Prepare the containers: Depending on your chosen germination method, set up the containers by filling them with the appropriate growing medium. Ensure that the medium is moistened but not waterlogged.
- Sow the seeds: Plant the seeds according to the recommended planting depth for each variety. Follow any specific instructions or treatments required for certain seeds, such as scarification or stratification.
- Moisten the growing medium or paper towel: For methods using a growing medium, water the medium lightly to maintain adequate moisture. For methods using a paper towel or petri dish, moisten the towel or pad to ensure it stays consistently damp.
- Label the containers: Label each container with the corresponding seed variety. This is essential for keeping track of the different varieties being tested and their germination rates.
- Place the containers in the testing environment: Put the labeled containers in the designated area you prepared earlier. Ensure that the environmental conditions, such as temperature and lighting, are maintained consistently.
- Monitor the germination progress: Regularly check the containers for signs of germination. Observe and record the number of seeds that sprout and the time it takes for germination to occur. Note any abnormalities or issues you may encounter.
- Maintain the testing environment: Throughout the testing period, continue to monitor and maintain the appropriate temperature and moisture levels. Make any necessary adjustments to ensure optimal conditions for germination.
- Record your observations: Keep a detailed record of the germination progress, noting the number of seeds that germinate for each variety. This data will help you calculate the germination rate and interpret the results.
Following these steps will allow you to conduct the germination test accurately and efficiently. Be patient, as germination times can vary between different seed varieties. Once the seeds have sprouted and you have recorded the results, you can move on to the next step of observing and recording the germination rates.
Step 5: Observing and Recording the Results
After conducting the germination test, it’s time to observe and record the results. This step is essential for calculating the germination rate and gaining valuable insights into the performance of the seeds. Follow these steps to effectively observe and record the results:
- Examine the germinated seeds: Carefully observe the containers and identify the seeds that have successfully germinated. Look for signs such as seedling emergence, root growth, and leaf development.
- Count the germinated seeds: Count the number of seeds that have germinated for each seed variety. This will be the numerator for calculating the germination rate.
- Calculate the germination rate: Divide the number of germinated seeds by the total number of seeds tested, then multiply by 100 to calculate the germination rate as a percentage. For example, if 8 out of 10 seeds have germinated, the germination rate would be 80%.
- Note any abnormalities: Take note of any abnormal growth patterns, weak or unhealthy seedlings, or other issues observed during the germination process. This information will help you assess the overall seed quality and identify potential problems.
- Record the results: Document the germination rates and any relevant observations in your notebook or record sheet. Include the seed variety, the number of seeds tested, the number of seeds that germinated, and any additional notes you made during the observation process.
- Interpret the results: Analyze the germination rates and observations to assess the seed quality and viability. Healthy and high germination rates indicate good seed quality, while lower rates may suggest issues with seed viability or environmental factors.
By carefully observing and recording the results, you can evaluate the performance of the tested seeds and make informed decisions for your gardening endeavors. The information gathered during this step will help you determine the success of your seed germination and guide your future planting strategies.
Step 6: Interpreting the Germination Rates
Interpreting the germination rates obtained from your seed germination test is an essential step in understanding the viability and potential success of your seeds. Here’s how you can interpret the germination rates:
- High germination rates: If you observe high germination rates (e.g., 80% or above), it indicates that the majority of the tested seeds are viable and have the potential to grow into healthy plants. This is a positive outcome and suggests good seed quality.
- Low germination rates: Low germination rates (e.g., below 50%) may indicate poor seed quality, low seed viability, or unsuitable germination conditions. It’s essential to evaluate the potential reasons for low germination, such as age, improper storage, or unfavorable environmental factors.
- Varied germination rates: If you observe a wide range of germination rates across different seed varieties, it suggests variations in seed quality or seed characteristics. This information can help you identify which varieties require special attention or adjustments in future planting.
- Abnormal germination patterns: Take note of any abnormal growth patterns, weak or unhealthy seedlings, or other issues observed during the germination process. These observations can indicate potential issues that may affect the long-term growth and health of the plants.
- Compare with expected germination rates: Consult reliable sources, such as seed packets, gardening references, or online resources, to determine the expected germination rates for the seed varieties you tested. Comparing your results to the expected rates can provide further insight into the performance of the seeds.
- Use the information for future planting: The germination rates and observations gathered from your test can guide your decisions for future plantings. You can adjust the number of seeds sown, plan for additional treatments or pre-germination requirements, or seek out higher-quality seed sources based on the outcomes of the germination test.
By interpreting the germination rates, you can make informed decisions about the viability of your seeds and plan your planting strategies accordingly. Remember that germination rates can be influenced by various factors, including seed quality, age, storage conditions, and environmental factors. Regular germination tests can help you monitor and improve the performance of your seeds, leading to more successful and productive gardening endeavors.
Tips for Successful Seed Germination Testing
To ensure accurate and reliable results from your seed germination testing, consider the following tips:
- Use fresh and high-quality seeds: Fresh seeds tend to have higher viability and better germination rates. Source your seeds from reputable suppliers or harvest them from healthy plants.
- Follow the recommended storage guidelines: Properly store your seeds in a cool, dry, and dark place. Use airtight containers or seed packets to maintain seed viability.
- Understand the specific germination requirements: Different seeds have specific requirements for germination. Research and understand the optimal temperature, moisture levels, and light conditions for each seed variety.
- Pre-germination treatments: Some seeds may benefit from pre-soaking, scarification, or stratification. Follow the recommended pre-germination treatments for specific seed varieties to enhance germination rates.
- Maintain consistent environmental conditions: Throughout the germination process, ensure that the temperature, moisture levels, and lighting conditions remain consistent and appropriate for the seeds being tested.
- Regularly monitor and observe: Check on the containers regularly to observe the germination progress. Record your observations, noting any abnormalities, growth patterns, or issues encountered.
- Record accurate and detailed data: Keep thorough records of the number of seeds tested, the number of seeds that germinated, and any observations made during the testing period. This data will be valuable for future reference and analysis.
- Repeat the germination test: For important or valuable seed varieties, consider conducting multiple germination tests to ensure consistent and reliable results. This can help verify the accuracy of the initial test and provide more robust data.
- Seek guidance and resources: Consult gardening references, online resources, or local gardening communities for additional tips, techniques, and information specific to the seeds you are testing. Learning from experienced gardeners can enhance your understanding of seed germination.
- Adjust and improve: Use the results of your germination tests to adjust your planting strategies, such as the number of seeds sown, timing, or pre-germination treatments. Continuously strive to improve the success rates of your seed germination by learning from each testing experience.
By following these tips, you can increase the accuracy and success of your seed germination testing. Remember, seed germination can sometimes be a trial-and-error process, and continuous learning and adaptation are key to improving your gardening skills. Enjoy the journey of exploring the wonders of seed germination and the joy of growing your own plants.
Conclusion
Seed germination testing is a critical step in ensuring successful gardening. By assessing the viability of your seeds and understanding the key factors that influence germination, you can optimize your planting schedule, maximize garden space, and prevent disappointment. Through methods such as the paper towel test, seedling tray method, or petri dish method, you can effectively test your seeds and gather valuable information about their germination rates.
Gathering the necessary materials, preparing the testing environment, selecting the seeds, conducting the germination test, observing and recording the results, and interpreting the germination rates are all important steps in this process. By following these steps and incorporating tips such as using fresh seeds, understanding specific germination requirements, and maintaining consistent environmental conditions, you increase the likelihood of obtaining accurate and reliable results.
Interpreting the germination rates, whether they are high, low, or varied, allows you to assess seed quality, identify potential issues, and make informed decisions for future planting. Through regular germination testing, you can monitor the performance of your seeds, make adjustments to your planting strategies, and improve the success rates of your gardening endeavors.
Remember, seed germination is not an exact science, and each seed variety may have its own unique requirements. Continuously seek knowledge and advice, and be open to learning from your experiences. With patience, care, and attention to detail, you can enjoy the rewards of successful seed germination and watch your garden flourish with healthy and thriving plants.