Home>Types of Gardening>Edible Gardening>How To Germinate Cantaloupe Seeds

Edible Gardening
How To Germinate Cantaloupe Seeds
Modified: January 22, 2024
Learn how to germinate cantaloupe seeds and start growing your own delicious cantaloupes at home with this comprehensive guide on edible gardening.
(Many of the links in this article redirect to a specific reviewed product. Your purchase of these products through affiliate links helps to generate commission for Chicagolandgardening.com, at no extra cost. Learn more)
Table of Contents
Introduction
Welcome to the exciting world of edible gardening! Whether you have a sprawling backyard or a small balcony, growing your own food can be a rewarding and fulfilling experience. One plant that is a favorite among gardeners is cantaloupe. Known for its sweet and juicy flesh, cantaloupe is the perfect addition to any edible garden.
In this article, we will guide you through the process of germinating cantaloupe seeds. Germination is the first step in growing healthy, productive plants. By following the steps outlined here, you can ensure a successful start to your cantaloupe growing journey.
Cantaloupe seeds require specific conditions in order to germinate and thrive. With a little bit of planning and care, you can enjoy a bountiful harvest of fresh, homegrown cantaloupes.
So, let’s dive into the world of cantaloupe seeds and learn how to germinate them!
Step 1: Preparing the Seeds
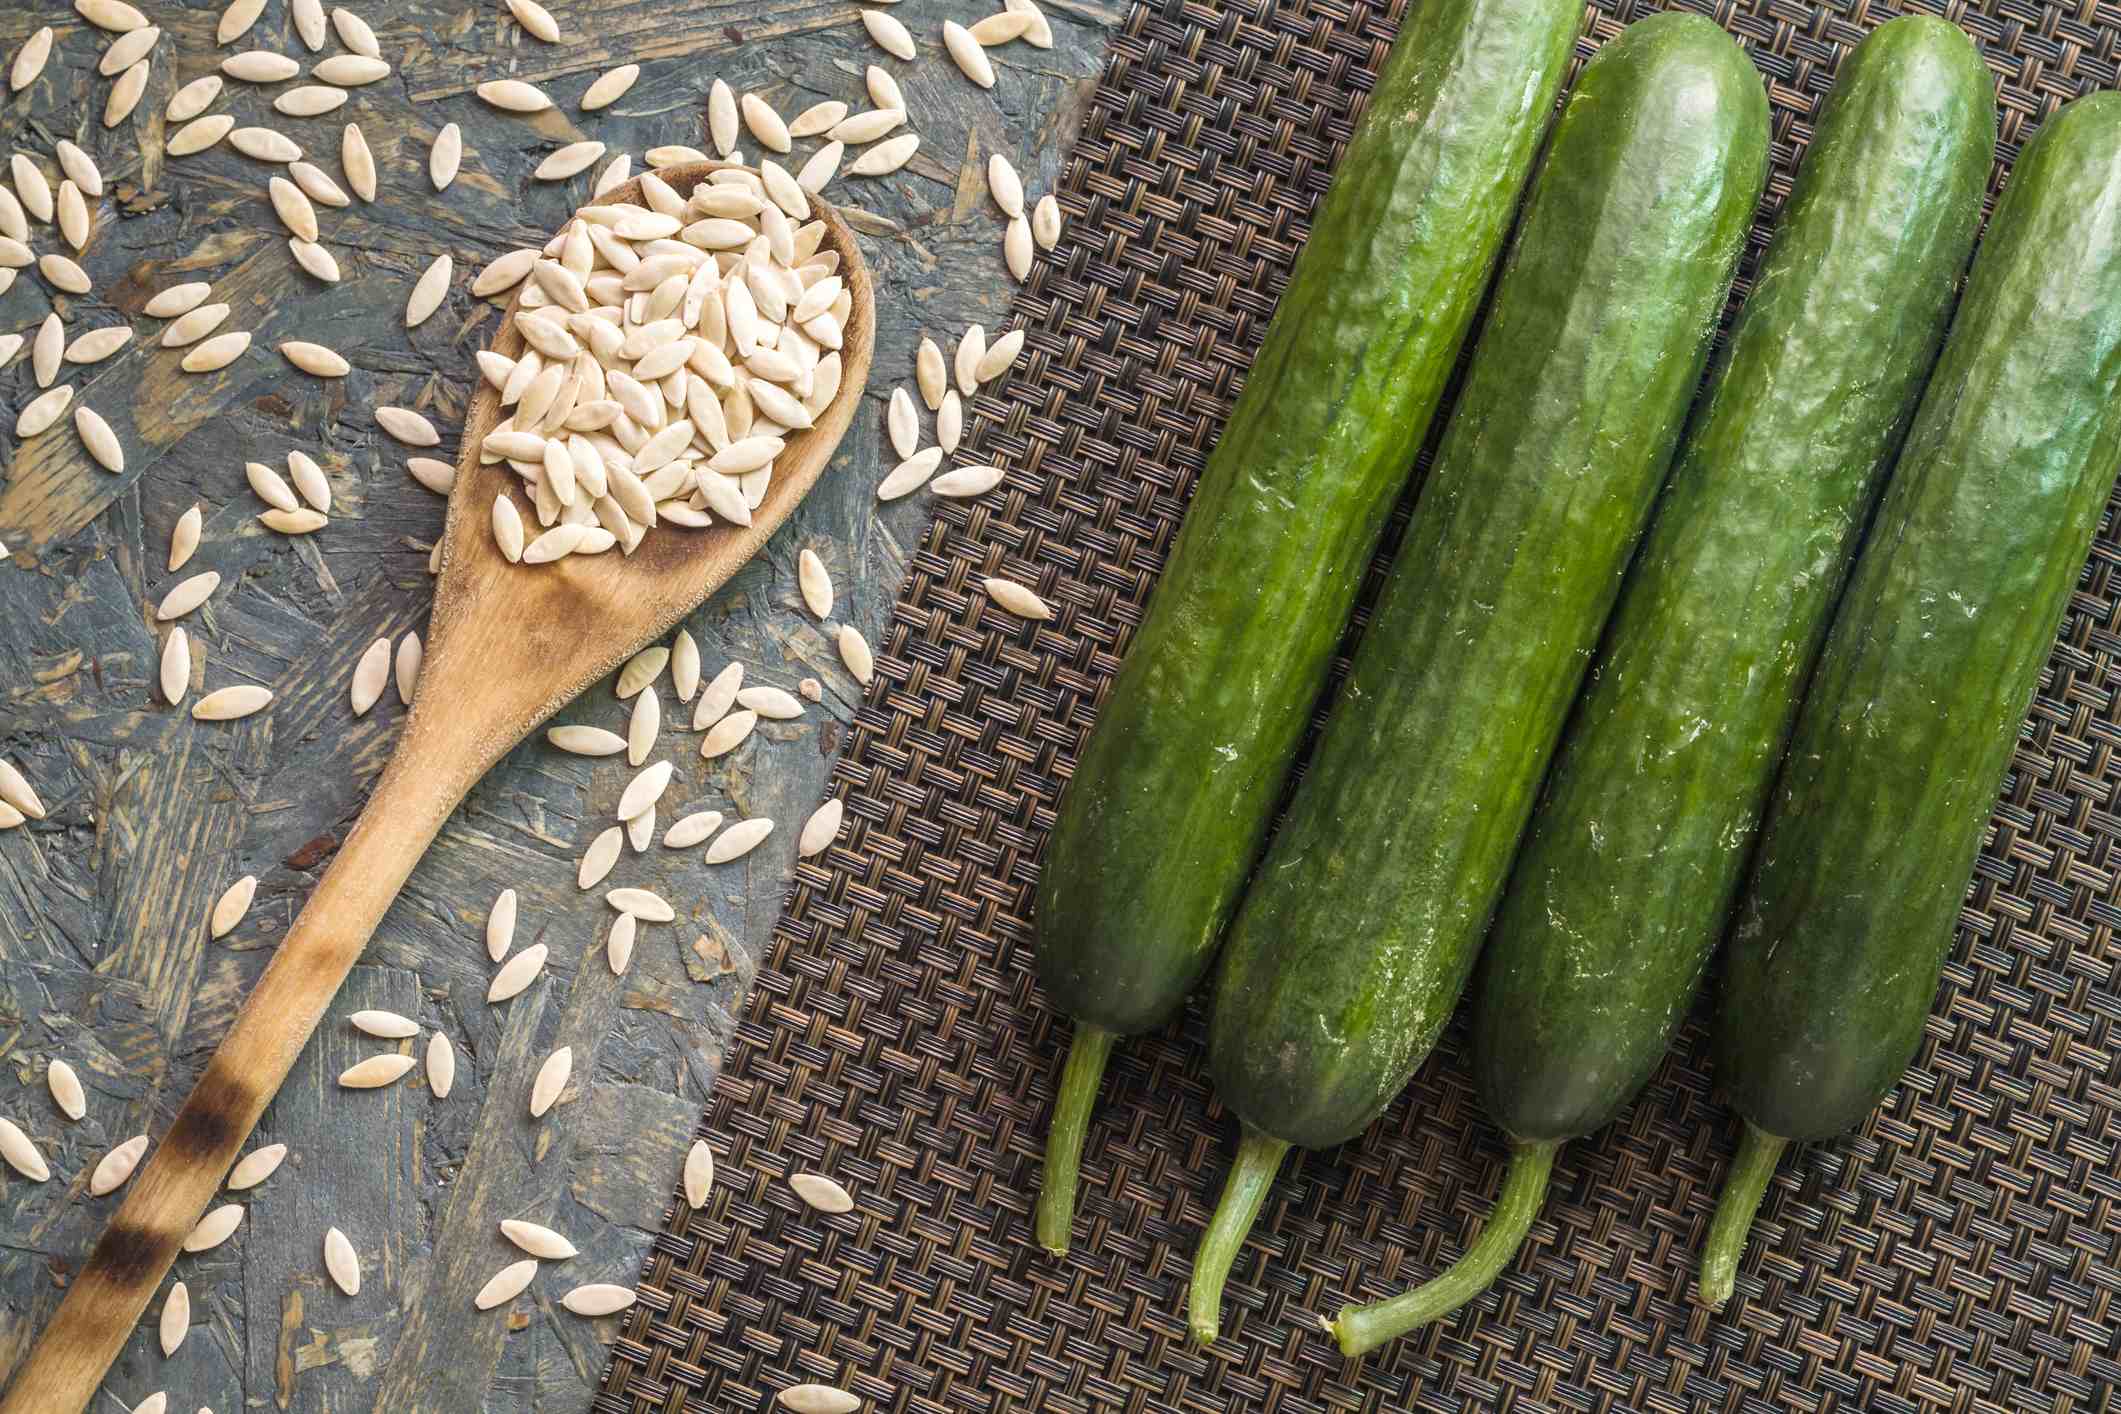
The first step in germinating cantaloupe seeds is to ensure that you have high-quality seeds. You can either purchase seeds from a reliable supplier or save seeds from a ripe cantaloupe that you have enjoyed. If you choose to save seeds, make sure to select a ripe, healthy fruit with good flavor.
Once you have obtained your cantaloupe seeds, it is important to properly prepare them for the germination process. This involves a few simple steps:
- Harvesting: If you are saving seeds from a ripe cantaloupe, scoop out the seeds and place them in a container filled with water. Gently rub the seeds against the side of the container to remove the pulp.
- Straining: Pour the seed and water mixture through a strainer to separate the seeds from any remaining pulp or debris. Rinse the seeds thoroughly with water.
- Drying: Spread the cleaned seeds out on a paper towel or a clean, dry surface. Allow them to air dry completely. This process can take a few days.
- Labeling: Once the seeds are dry, it is essential to label them with the variety and the date they were harvested. This will help you keep track of your seeds and their freshness.
- Storage: Store your labeled cantaloupe seeds in a cool, dry place until you are ready to sow them.
By following these steps, you are ensuring that your cantaloupe seeds are clean, dry, and properly labeled, setting the stage for successful germination.
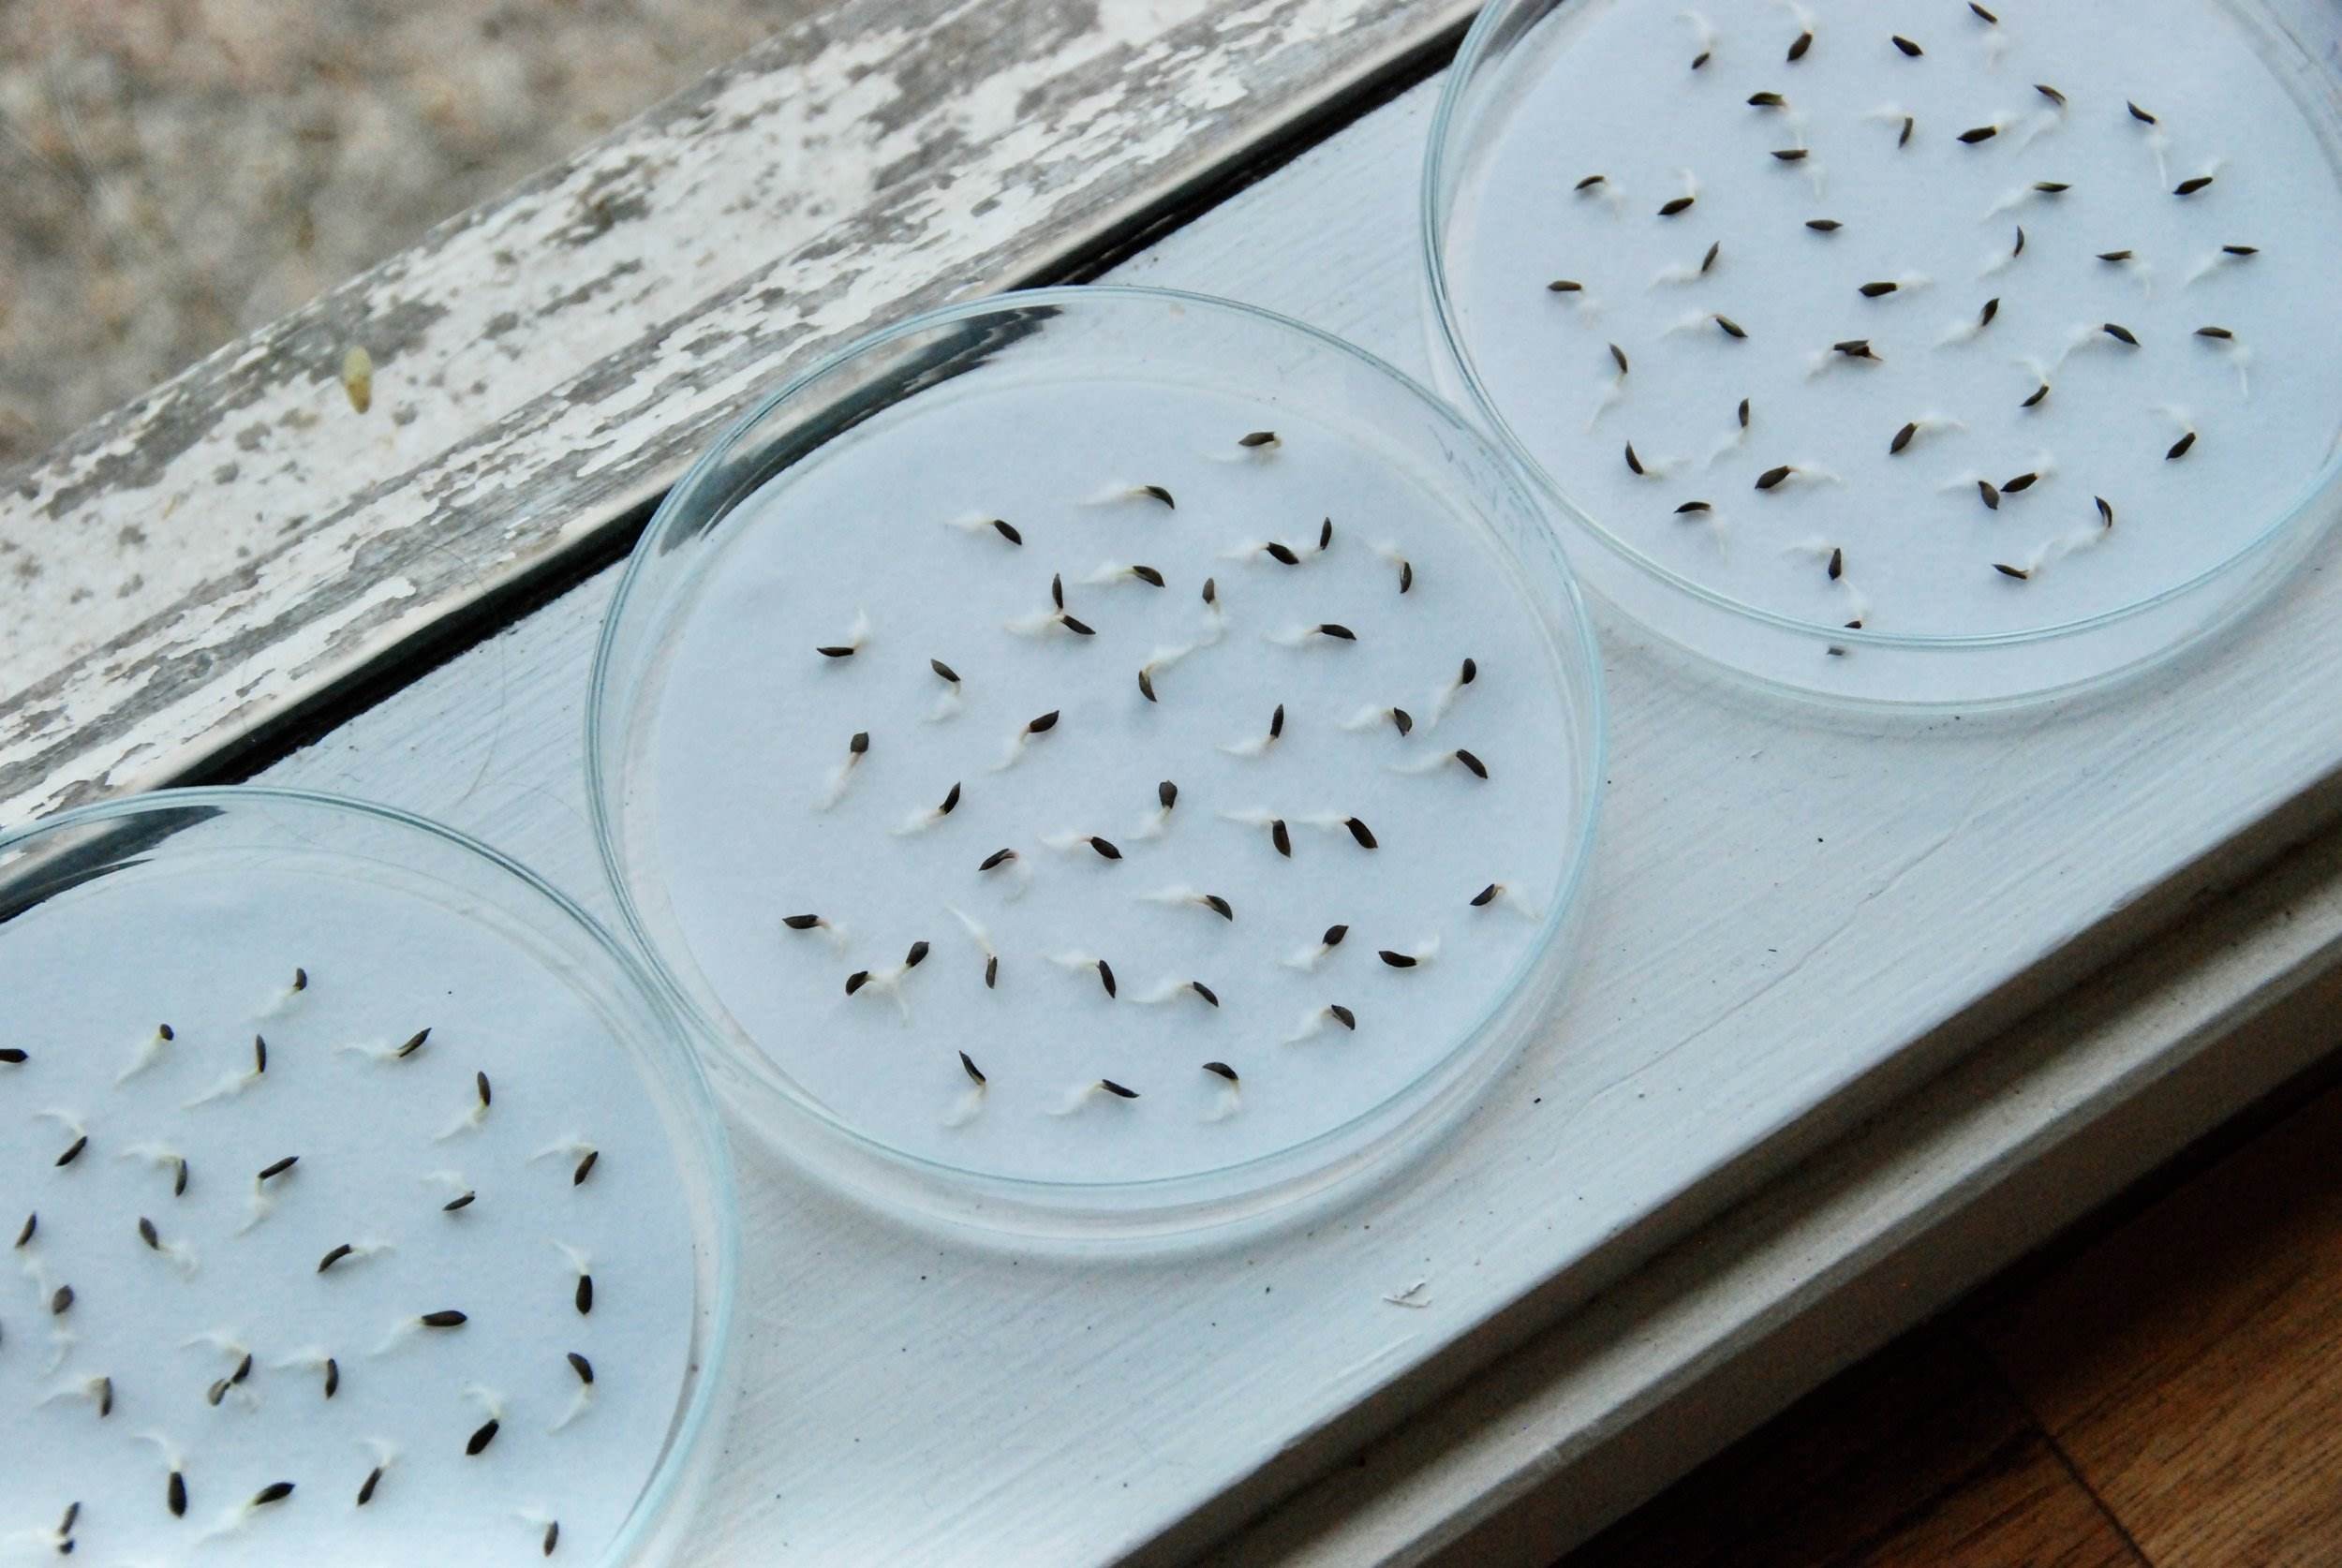
Step 2: Soaking the Seeds
Once you have prepared your cantaloupe seeds, the next step is to soak them before planting. Soaking the seeds can help to expedite the germination process and increase the chances of successful sprouting.
Here’s how to soak your cantaloupe seeds:
- Select a container: Choose a clean container that is large enough to hold the number of seeds you are planning to sow. A glass or a shallow bowl works well for this purpose.
- Add water: Fill the container with lukewarm water. Make sure there is enough water to cover the seeds fully.
- Place the seeds: Gently drop the cantaloupe seeds into the water. Allow them to soak for about 24 hours. This soaking period helps to soften the seed coat and encourage faster germination.
- Drain the water: After 24 hours, carefully pour out the water, taking care not to lose any of the seeds. Using a fine-mesh strainer can make this process easier.
It is important to note that not all seeds require soaking. Some varieties of cantaloupe seeds have a thinner seed coat and may not benefit from soaking. However, if you are unsure, it is recommended to soak them anyway, as it does not harm the seeds and can potentially enhance germination.
By soaking your cantaloupe seeds, you are providing them with the initial moisture they need to trigger the germination process. This simple step can significantly increase the chances of successful seed sprouting and ultimately lead to healthier and more productive plants.
Step 3: Planting the Seeds
Now that your cantaloupe seeds have been prepared and soaked, it’s time to plant them and give them the opportunity to germinate and grow into healthy seedlings. When planting cantaloupe seeds, it’s essential to consider the following factors:
- Timing: Cantaloupes thrive in warm weather, so it’s crucial to sow the seeds when the soil has warmed up and the risk of frost has passed. This is typically in the spring, after the last frost date in your area.
- Location: Choose a suitable location for planting your cantaloupe seeds. Ensure that the spot receives full sun for at least 6-8 hours a day. Cantaloupes also prefer well-drained soil with good organic content.
- Prepare the soil: Before sowing the seeds, prepare the soil by loosening it with a garden fork or tiller. Remove any weeds or debris and incorporate compost or well-rotted manure to improve the soil’s fertility.
- Planting depth: Create small holes in the soil, approximately 1 inch deep. Space the holes 12-24 inches apart to allow the vines to spread. Place 2-3 soaked seeds in each hole.
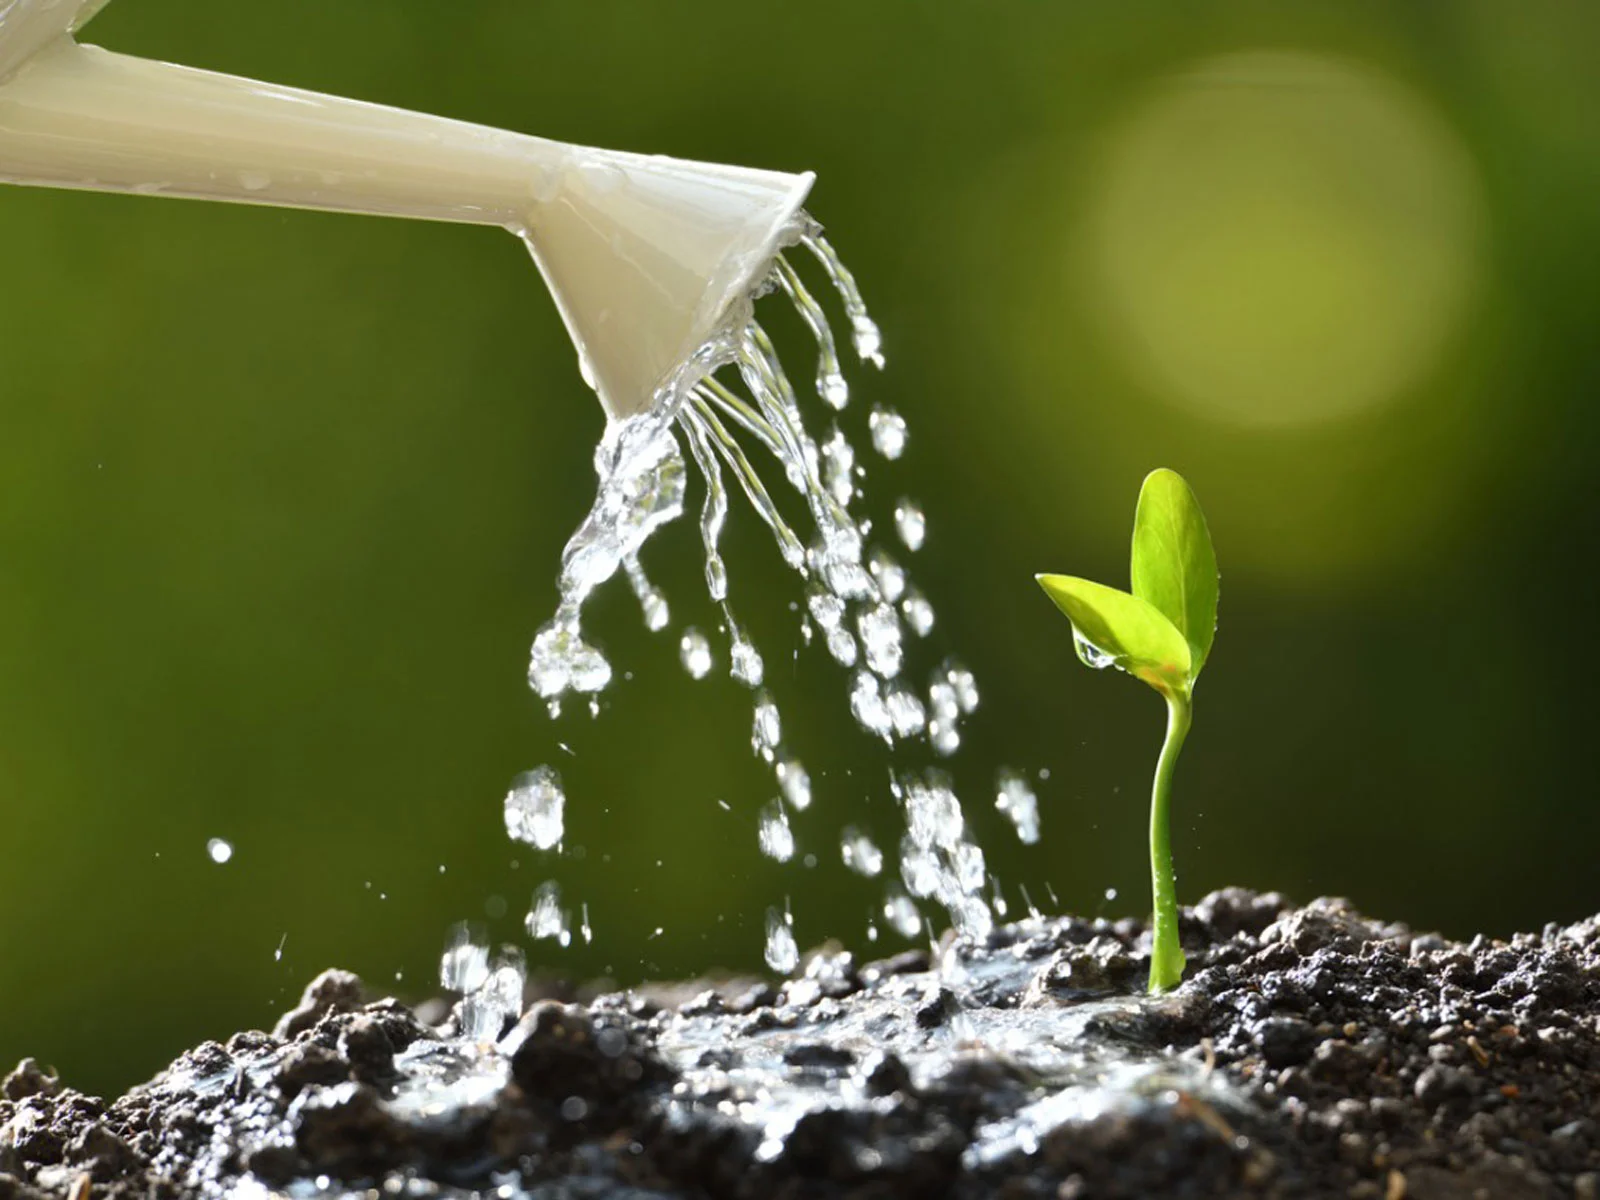
- Cover and water: Cover the seeds with soil, gently patting it down. Water the area thoroughly but gently to ensure the seeds have proper moisture for germination.
It’s important to note that cantaloupe seeds require warm soil temperatures to germinate successfully. If the soil is still too cold, consider using protective covers or starting the seeds indoors and transplanting the seedlings outdoors once the soil has warmed up.
By following these steps and properly planting your cantaloupe seeds, you are setting the stage for successful germination. The next steps involve creating the right conditions and providing proper care to ensure healthy and productive cantaloupe plants.
Step 4: Providing the Right Conditions
Creating the right conditions for your cantaloupe seeds is essential to promote optimal germination and healthy plant growth. Here are some key factors to consider:
- Temperature: Cantaloupes thrive in warm temperatures, with an ideal range of 70-85°F (21-29°C). Make sure to provide the seeds with a warm environment for successful germination. If temperatures are cooler than this range, consider using a seedling heat mat or starting the seeds indoors.
- Moisture: Cantaloupe seeds require consistent moisture for germination. Keep the soil evenly moist, but be careful not to overwater. Overwatering can lead to rotting of the seeds or the emergence of fungal diseases. Regularly check the soil moisture level and adjust watering accordingly.
- Light: Once the seedlings emerge, they need ample sunlight to grow into healthy plants. Place the containers or plantings in an area that receives full sun. If growing indoors, provide them with 12-16 hours of bright artificial light each day.
- Air circulation: Good air circulation is important to prevent the development of fungal diseases on the leaves. Make sure the plants are not overcrowded and have proper spacing to allow air to circulate around them.
By providing the right conditions, you are creating an environment that promotes healthy growth and development of your cantaloupe plants. Remember to monitor the temperature, moisture, light, and airflow regularly to ensure the optimal conditions are maintained.
Now that the seeds are in the ground and the right conditions are set, it’s time to move on to the next step: taking care of the germinating cantaloupe seeds.
Step 5: Taking Care of Germinating Seeds
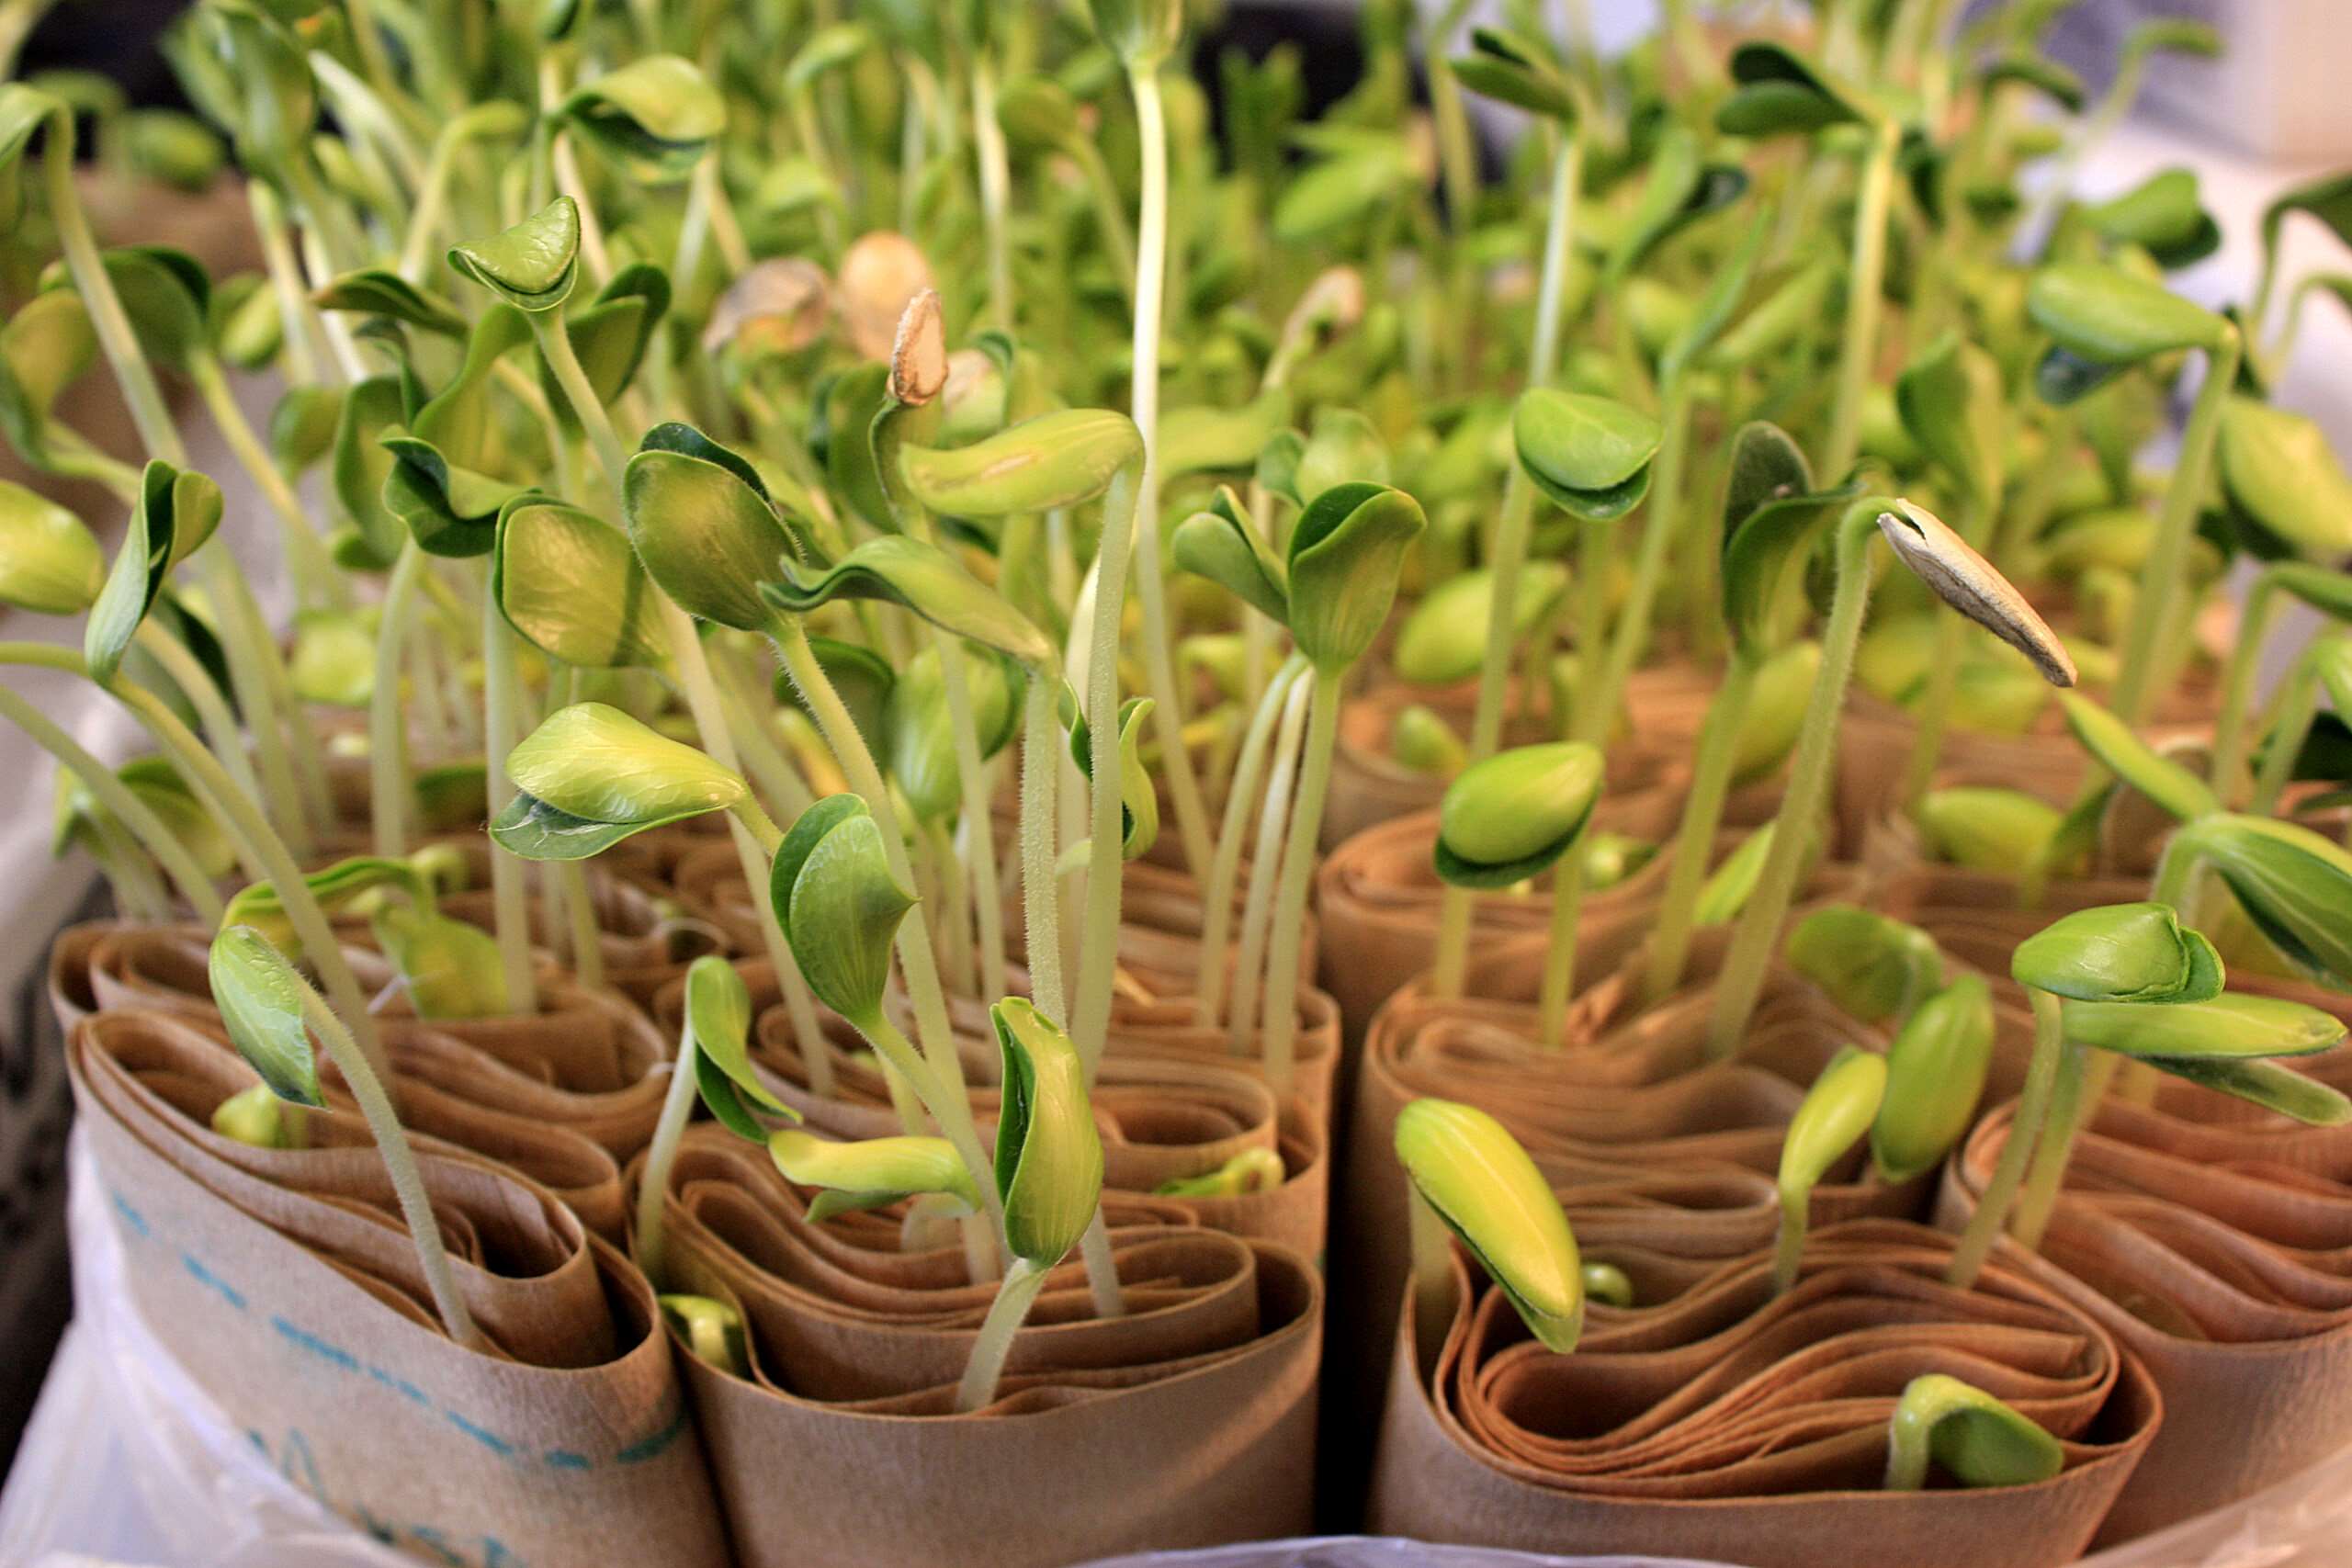
Once your cantaloupe seeds have germinated and started to grow, it’s important to provide them with proper care to ensure healthy development. Here are some essential steps to follow:
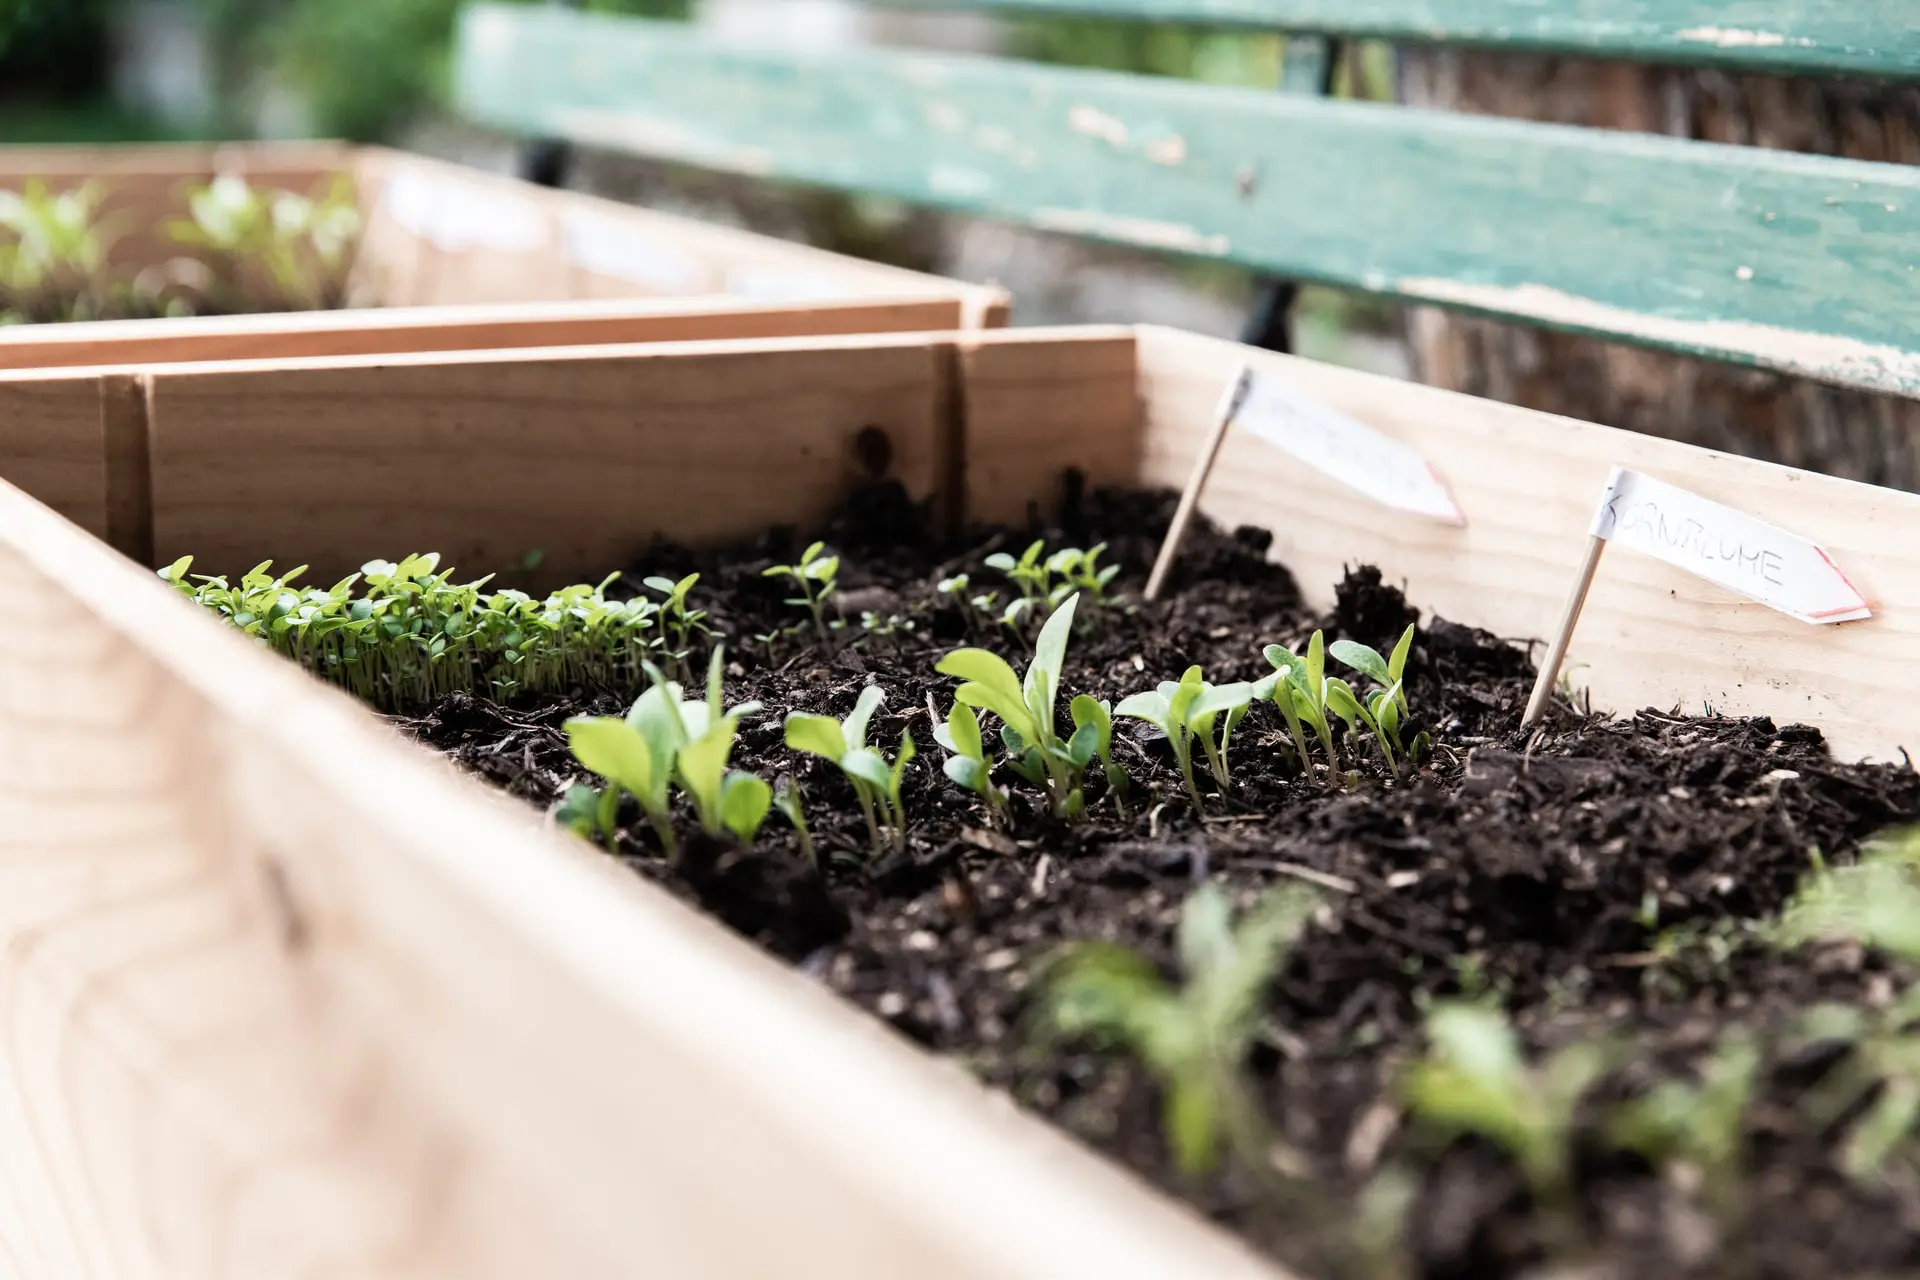
- Thin out seedlings: If multiple seeds have sprouted in the same hole, carefully thin them out, leaving only one strong seedling per hole. This will prevent overcrowding and competition for resources.
- Watering: Continue to water the seedlings regularly, keeping the soil consistently moist but not waterlogged. Avoid overhead watering, as it can promote the spread of diseases. Instead, water at the base of the plants to keep the leaves dry.
- Fertilization: As the seedlings grow, they will benefit from regular fertilization. Apply a balanced organic fertilizer following the manufacturer’s instructions. Avoid excessive nitrogen, as it can promote lush foliage growth at the expense of fruit production.
- Support: As the cantaloupe vines grow, they will need support to prevent them from sprawling on the ground. Install trellises or stakes to provide support for the vines and encourage upward growth.
- Weed control: Regularly remove any weeds that compete with the cantaloupe plants for nutrients and water. Mulching around the plants can help suppress weed growth and maintain soil moisture.
- Pest management: Keep an eye out for common pests like aphids, cucumber beetles, and squash bugs. Use organic pest control methods, such as hand-picking or applying neem oil, to keep the pests under control.
Taking care of germinating cantaloupe seeds involves providing them with the right amount of water, nutrients, and support, while also protecting them from pests and weeds. By following these steps, you are ensuring the healthy growth and development of your cantaloupe plants.
Now that the cantaloupe seedlings have grown into strong young plants, it’s time to explore the next step: transplanting them into the garden.
Step 6: Transplanting the Seedlings
Once your cantaloupe seedlings have reached a size of about 3-4 inches and have developed a few true leaves, they are ready to be transplanted into the garden. Transplanting the seedlings allows them more space to grow and ensures optimal conditions for fruit production. Follow these steps to transplant your cantaloupe seedlings:
- Choose the right location: Select a sunny spot in your garden with well-drained soil. Cantaloupes prefer soil that is rich in organic matter and slightly acidic. Avoid areas prone to waterlogging.
- Prepare the soil: Prior to transplanting, prepare the soil by loosening it with a garden fork and removing any weeds or debris. Incorporate compost or aged manure to enrich the soil and improve its fertility.
- Dig holes: Dig holes in the prepared soil that are slightly larger than the root ball of the seedlings. Space the holes about 2-3 feet apart to allow adequate room for the vines to spread.
- Remove seedlings from containers: Gently loosen the seedlings from their containers by tapping the sides or squeezing the bottom. Be careful not to damage the fragile roots. If the seedlings are in peat pots, you can plant them directly into the ground as the pots will decompose.
- Place seedlings in the holes: Carefully place each seedling in a hole and backfill with soil, firming gently around the base to provide stability.
- Water: After transplanting, water the seedlings thoroughly to help them establish in their new location. Ensure the soil is evenly moist but not waterlogged.
- Provide support: Install trellises, cages, or stakes near the transplanted seedlings to provide support for the vines as they grow.
Transplanting your cantaloupe seedlings into the garden provides them with the space and resources they need to thrive. Remember to water regularly, monitor for pests, and provide proper support as the plants continue to grow.
Now that your cantaloupe seedlings are settled in their new home, it’s time to move on to the final step: caring for the cantaloupe plants throughout their growth and fruiting stages.
Step 7: Caring for the Cantaloupe Plant
As your cantaloupe plants continue to grow and develop, it’s important to provide proper care to ensure healthy growth and a bountiful harvest. Here are some essential steps to follow when caring for your cantaloupe plants:
- Watering: Cantaloupes require consistent moisture throughout the growing season. Water deeply when the top inch of soil feels dry, ensuring that the entire root zone is moistened. Avoid overwatering, as it can lead to root rot.
- Fertilization: Feed your cantaloupe plants regularly with a balanced fertilizer to ensure they receive an adequate supply of nutrients. Follow the fertilizer manufacturer’s instructions for application rates and timing.
- Pruning: Prune the cantaloupe plants to control their growth and promote better airflow. Remove any excessive foliage and dead or diseased leaves. This helps to prevent the spread of diseases and encourages fruit development.
- Pollination: Cantaloupes rely on bees and other pollinators for successful fruit production. Encourage pollinators to visit your garden by planting flowering plants nearby and avoiding the use of harmful pesticides that may harm pollinators.
- Weed control: Regularly weed your cantaloupe patch to reduce competition for nutrients and water. Applying mulch around the plants can help suppress weed growth and conserve soil moisture.
- Pest and disease management: Monitor your plants regularly for any signs of pests or diseases. Common pests affecting cantaloupes include aphids, cucumber beetles, and squash bugs. Promptly address any pest or disease issues using organic pest control methods.
- Support: As the cantaloupe fruits develop and grow in size, provide additional support to prevent them from resting on the ground. Using straw or a soft material beneath the fruits can help keep them clean and prevent rotting.
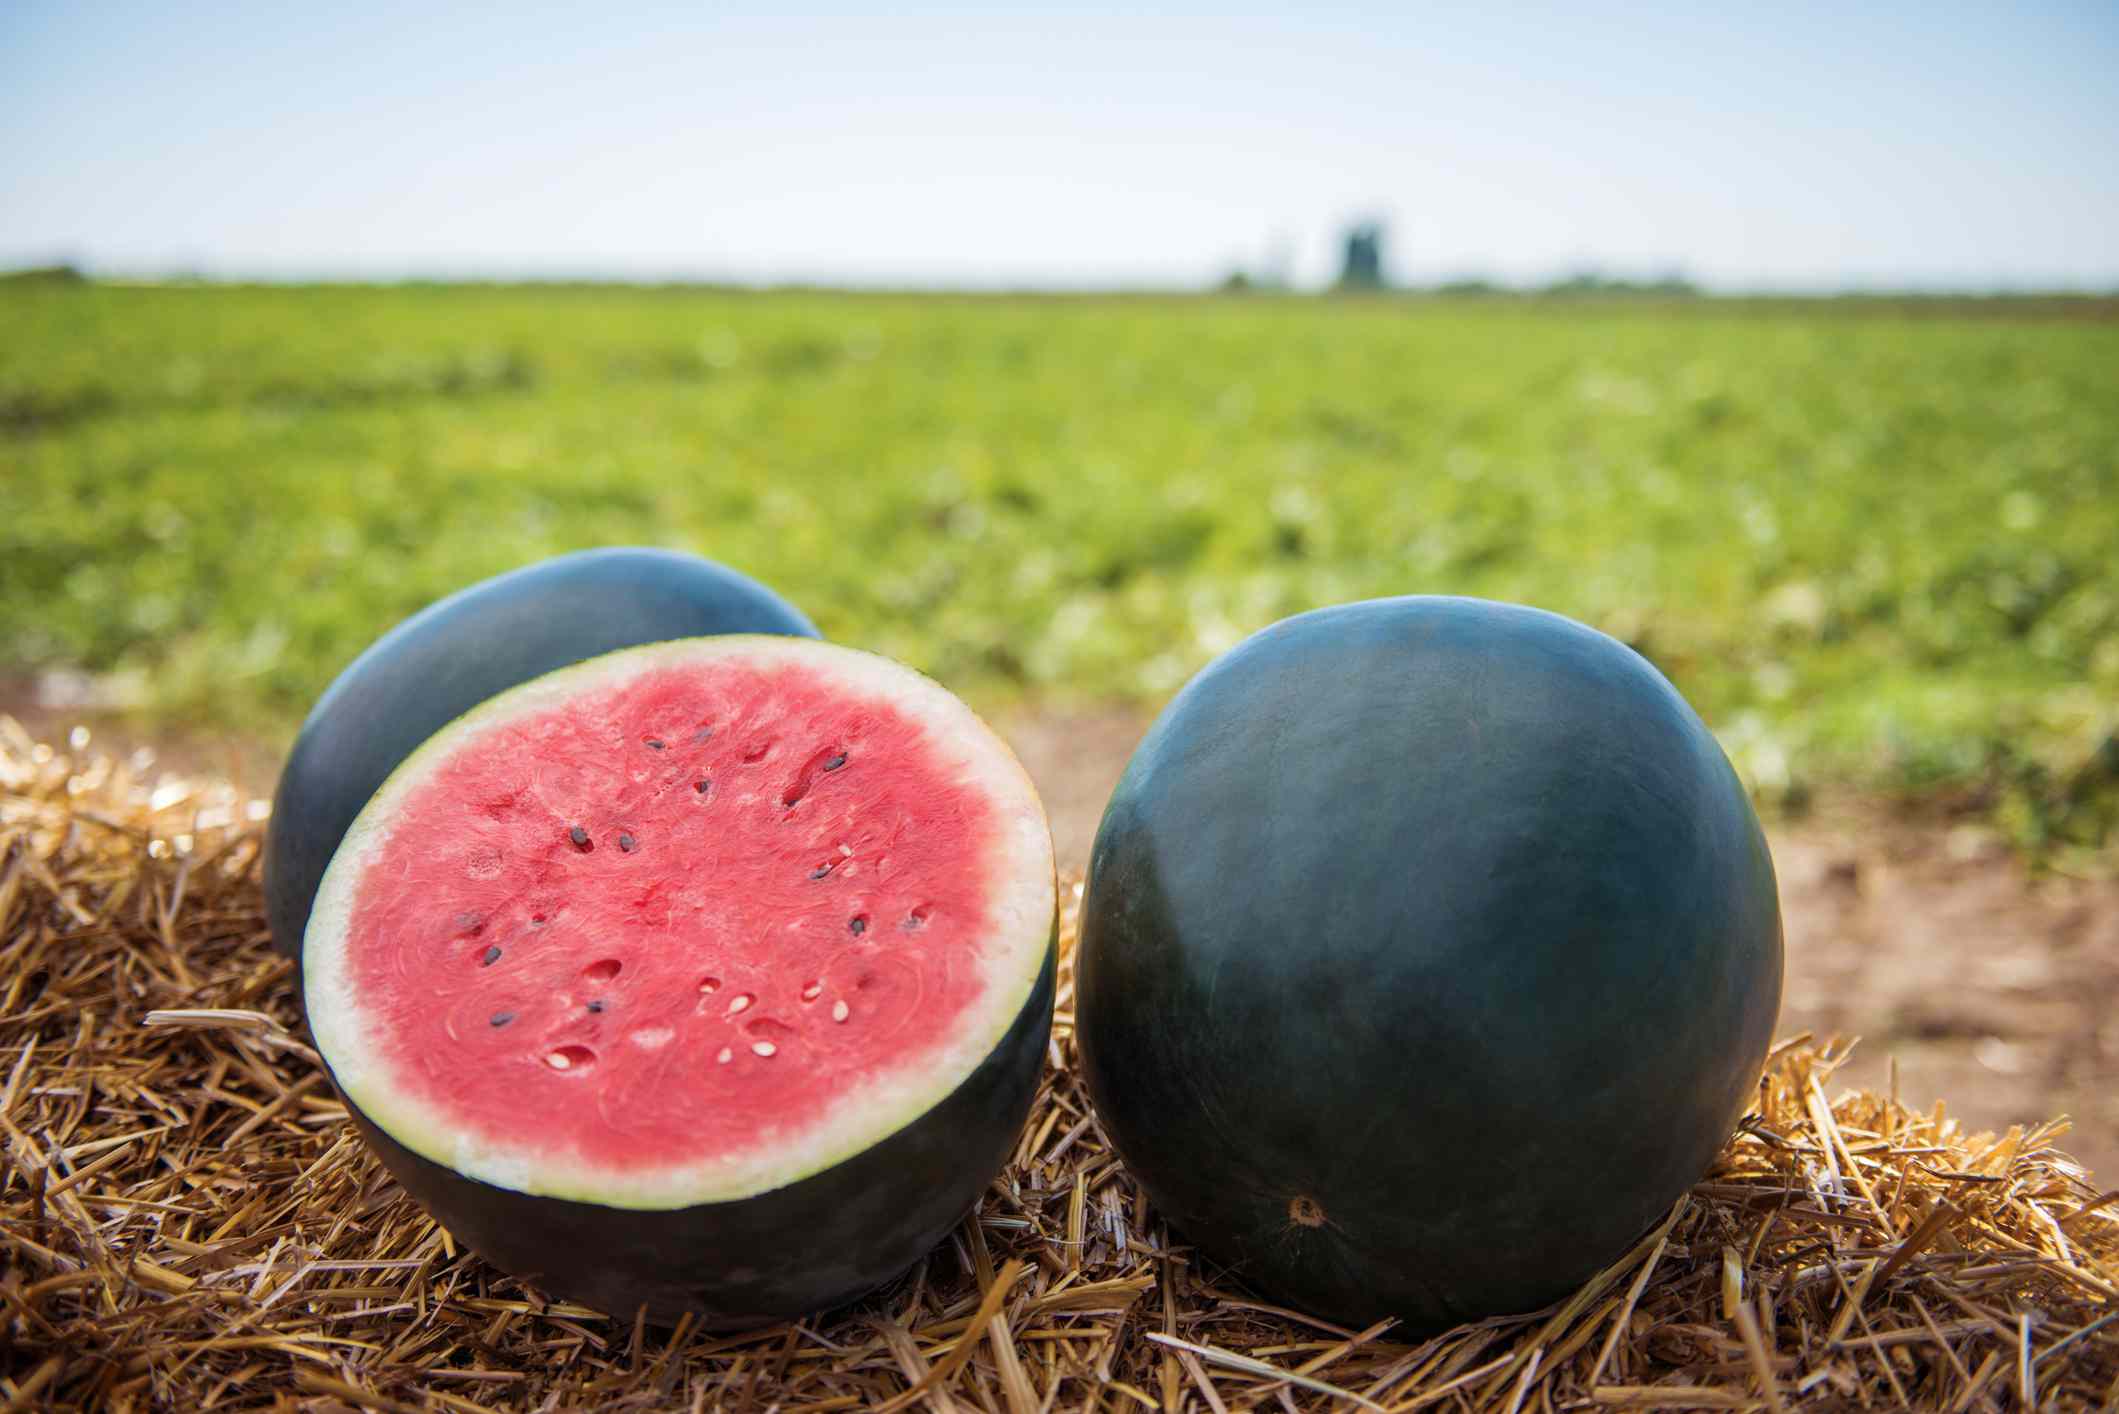
- Harvesting: Observe the fruit for signs of maturity, such as a sweet aroma, slightly softening of the stem end, and a change in color. Harvest the cantaloupes by cutting the stem with a sharp knife, leaving a small portion attached to the fruit.
By caring for your cantaloupe plants diligently, you are ensuring optimal growth, fruit development, and a successful harvest of juicy and delicious cantaloupes.
With these essential steps and proper care, you can enjoy the satisfaction of growing your own fresh, homegrown cantaloupes. Happy gardening!
Conclusion
Congratulations on successfully germinating and growing your own cantaloupe plants! By following the steps outlined in this article, you have learned how to prepare the seeds, soak them, plant them, provide the right conditions, take care of the germinating seeds, transplant the seedlings, and care for the cantaloupe plants throughout their growth stages. Your efforts and patience will soon be rewarded with delicious, homegrown cantaloupes.
Remember, the key to a successful harvest lies in providing the right growing conditions – warmth, moisture, sunlight, and proper nutrition. Regular monitoring of the plants, controlling pests and diseases, and providing support as needed will help ensure healthy and productive plants.
Nothing beats the satisfaction and joy of enjoying the fruits of your labor, quite literally. Ripe cantaloupes bursting with sweetness and flavor will be a delight for your palate and a testament to your gardening skills.
So, get ready to savor the taste of homegrown cantaloupes and take pride in your edible gardening journey. Happy harvesting!