Home>Gardening Techniques>DIY Projects>How To Design A Drip Irrigation System


DIY Projects
How To Design A Drip Irrigation System
Modified: February 8, 2024
Learn how to design your own DIY drip irrigation system for your garden with our step-by-step guide. Improve water efficiency and grow healthier plants.
(Many of the links in this article redirect to a specific reviewed product. Your purchase of these products through affiliate links helps to generate commission for Chicagolandgardening.com, at no extra cost. Learn more)
Table of Contents
- Introduction
- Benefits of Drip Irrigation
- Factors to Consider Before Designing a Drip Irrigation System
- Steps to Design a Drip Irrigation System
- Determining Water Needs
- Calculating Water Pressure and Flow Rate
- Selecting the Right Drip Irrigation Components
- Planning the Layout of the System
- Installing the Drip Irrigation System
- Maintaining and Troubleshooting the System
- Conclusion
Introduction
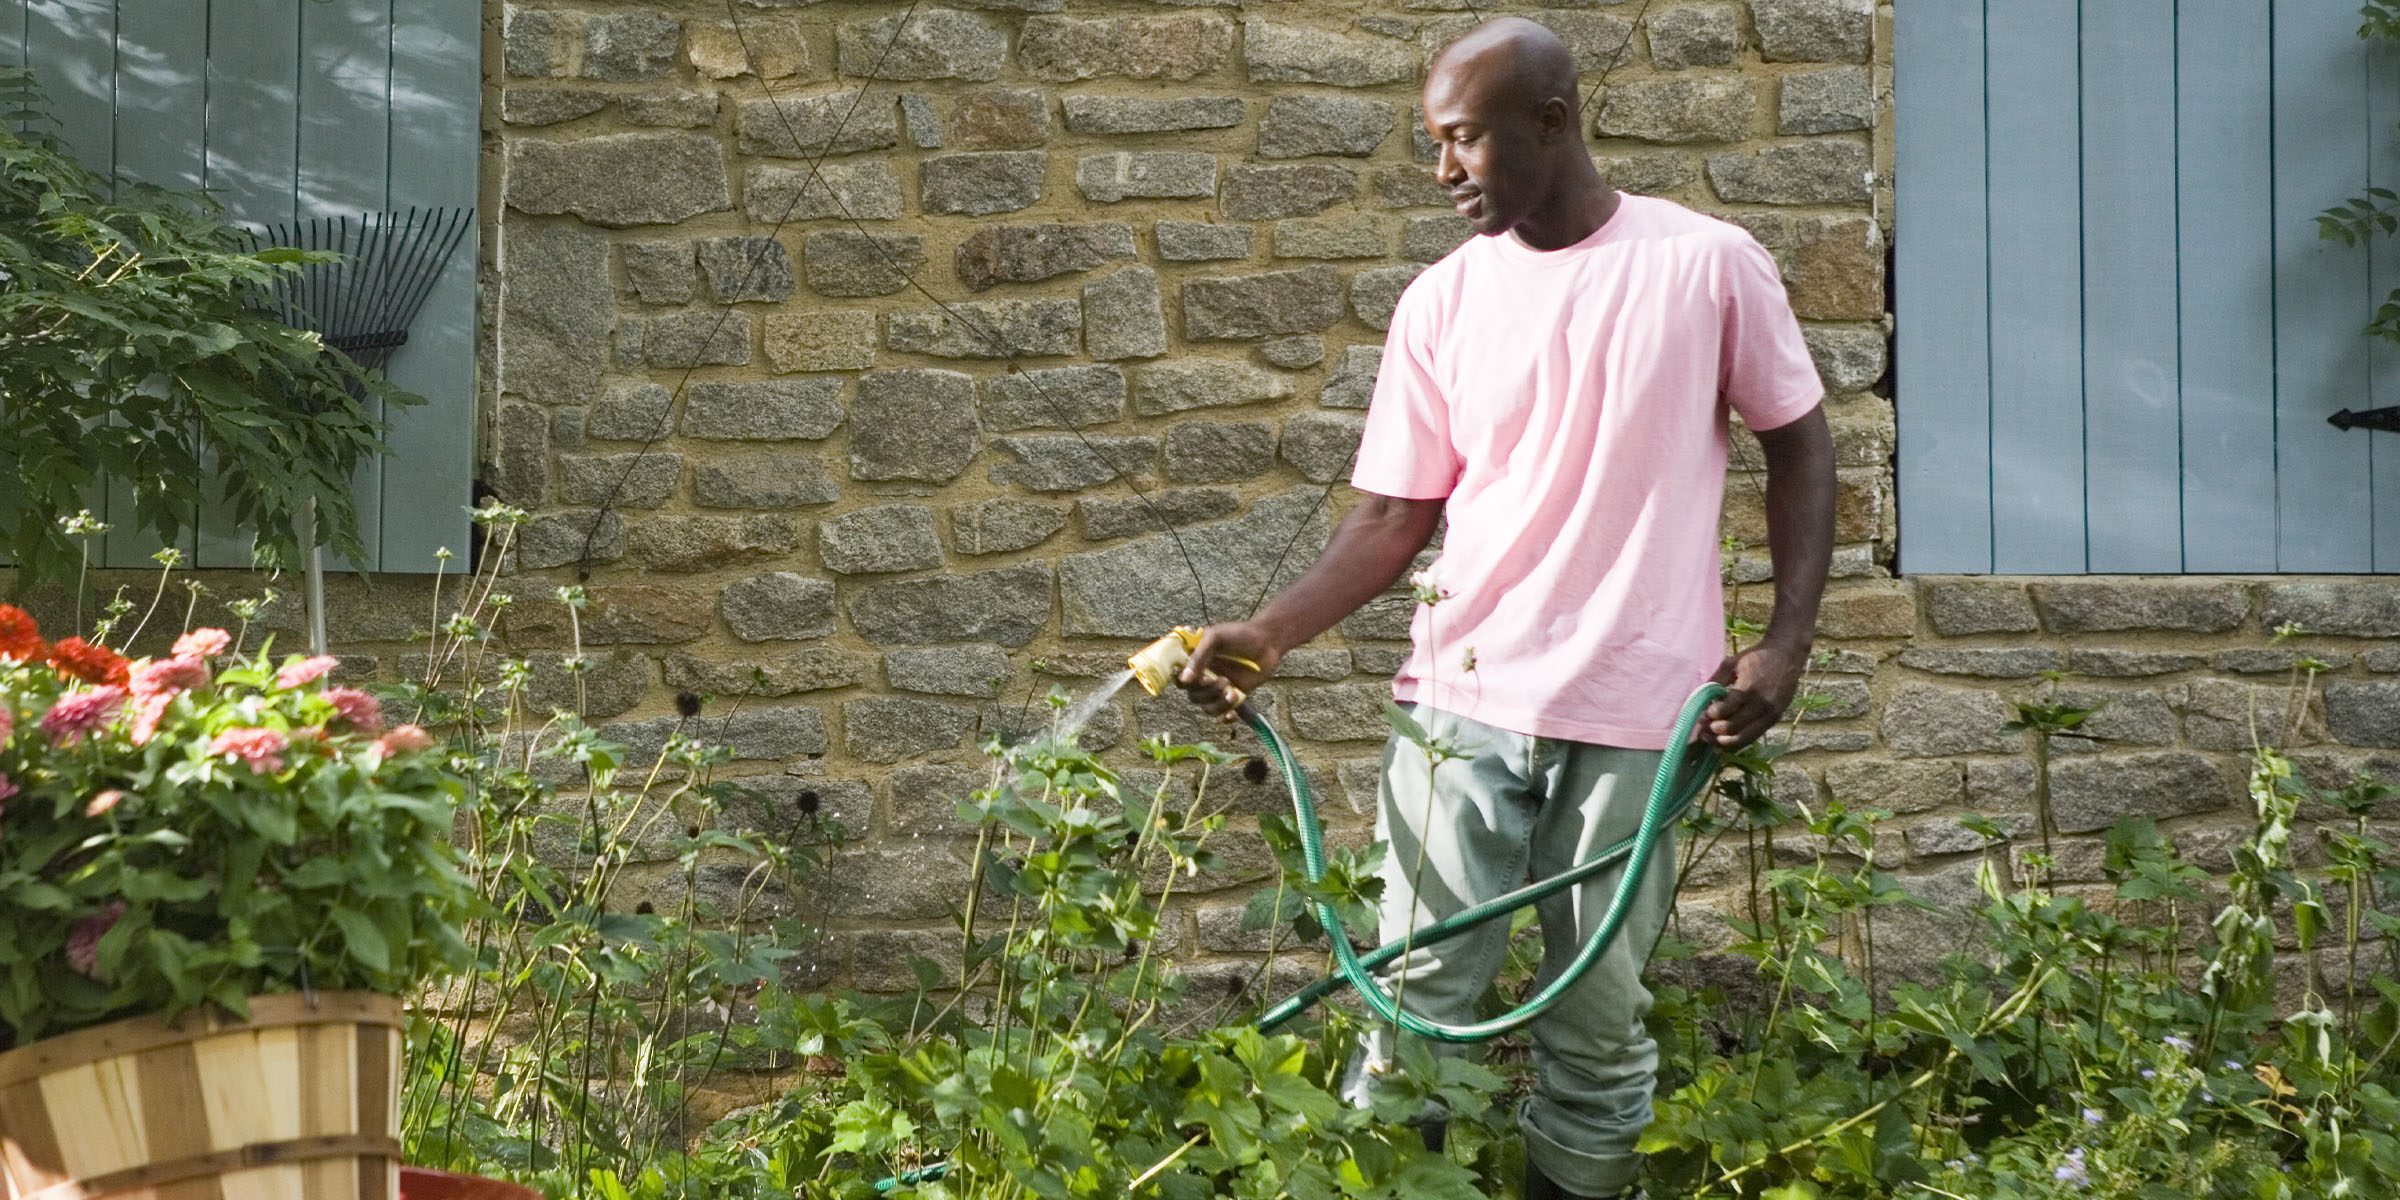
Welcome to the world of DIY projects! If you’re a gardening enthusiast looking to optimize your irrigation system, you’ve come to the right place. Drip irrigation is a fantastic solution for efficient water distribution, delivering water directly to the base of plants, minimizing waste, and maximizing growth. In this article, we will take you through the steps of designing your own drip irrigation system, helping you achieve healthy plants and a thriving garden.
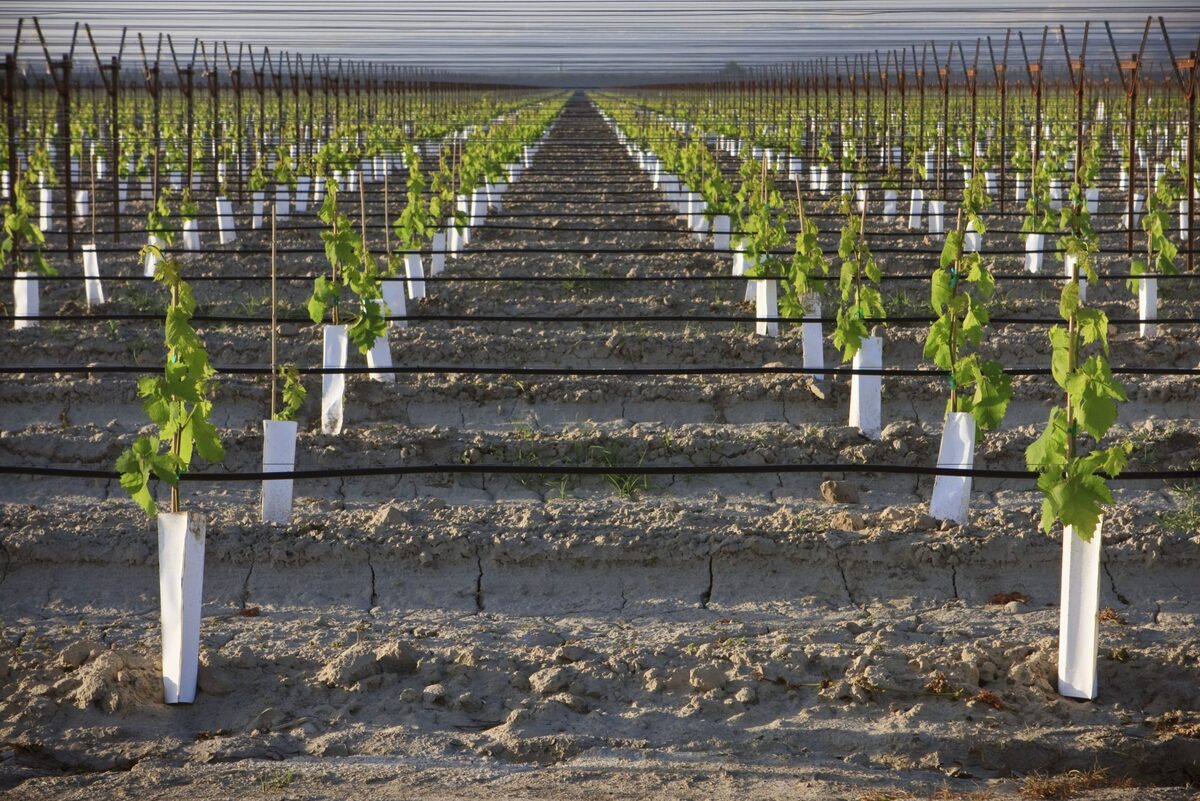
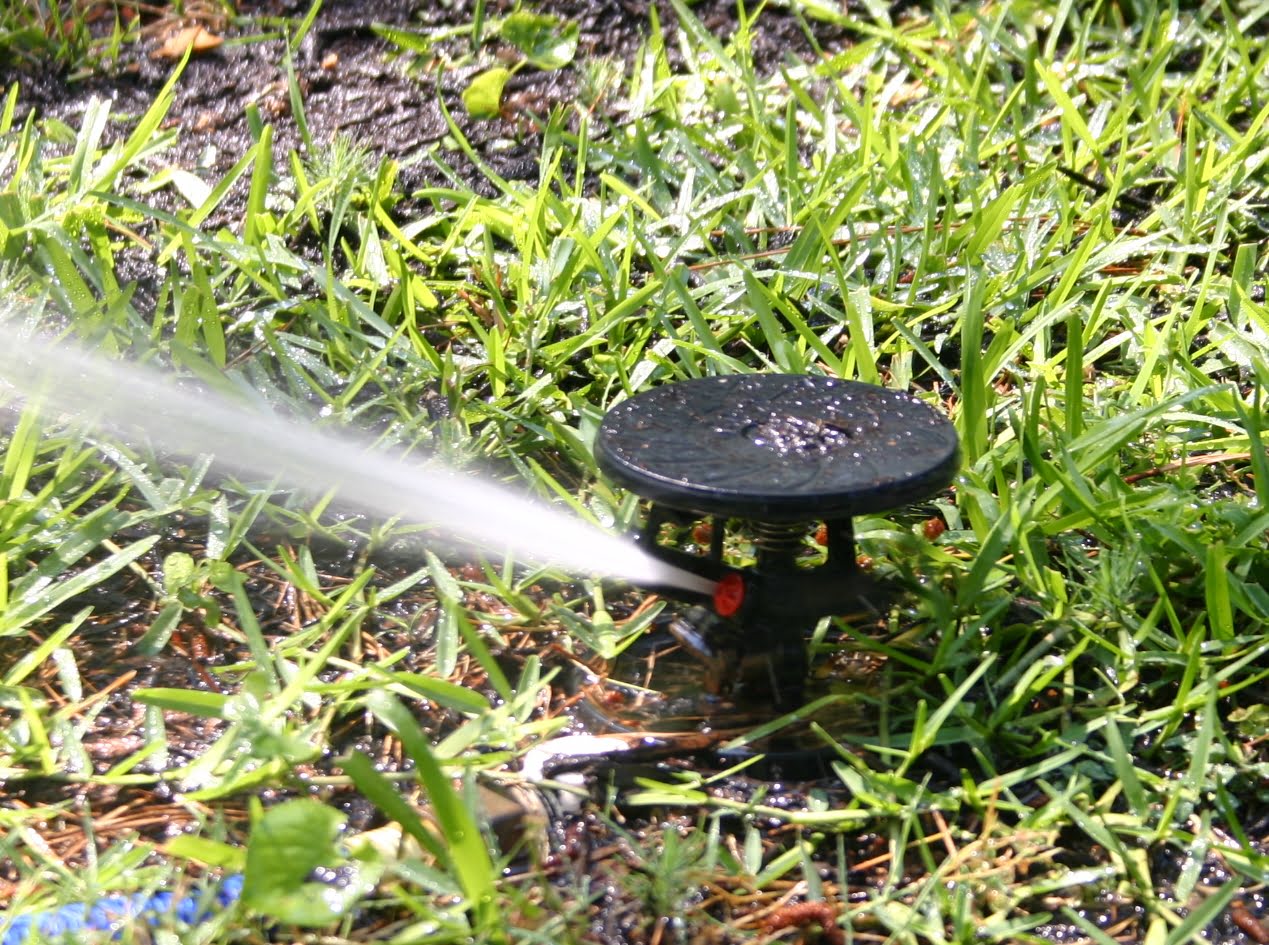
When it comes to irrigation methods, drip irrigation stands out for its numerous benefits. Unlike traditional sprinkler systems that spray water over a large area, drip irrigation uses a network of tubes and emitters to deliver water directly to the individual plants’ root zones. This targeted approach minimizes water loss due to evaporation, reduces weed growth, and prevents disease by keeping foliage dry. Additionally, by providing water at a slow and steady rate, drip irrigation promotes deeper root growth and reduces the risk of soil erosion.
Before diving into the design process, there are a few factors to consider. First, you’ll need to assess the specific needs of your garden, such as the types of plants you have, their water requirements, and the layout of your space. Understanding these aspects will help you determine the appropriate size and configuration of your drip irrigation system. Additionally, it’s important to consider the available water pressure and flow rate in your area to ensure your system operates efficiently.
Now let’s explore the step-by-step process of designing a drip irrigation system:
Benefits of Drip Irrigation
Drip irrigation offers a range of benefits that make it an excellent choice for watering your plants. Let’s explore some of the key advantages:
- Water Efficiency: One of the main benefits of drip irrigation is its water efficiency. By delivering water directly to the plant’s roots, drip irrigation minimizes water wastage due to evaporation and surface runoff. This targeted approach ensures that the plants receive the necessary moisture without excess water being wasted.
- Reduced Weed Growth: Unlike traditional sprinkler systems where water is sprayed over a wide area, drip irrigation delivers water right at the base of the plants. This targeted approach helps keep the surrounding soil dry and reduces weed growth. By minimizing weeds, you’ll save time and effort in weed control, allowing your plants to thrive without competition for nutrients and water.
- Healthy Plant Growth: Drip irrigation delivers water slowly and steadily, mimicking natural rainfall. This gentle and consistent watering promotes healthier plant growth, as the roots have constant access to the moisture they need. Additionally, drip irrigation reduces the risk of overwatering, which can lead to root rot and other plant diseases.
- Flexibility and Customization: Drip irrigation systems are highly customizable, allowing you to cater to the specific needs of your plants. You can adjust the flow rate and location of the emitters to ensure that each plant receives the ideal amount of water. This flexibility makes drip irrigation suitable for a wide range of garden layouts and plant types.
- Soil Erosion Prevention: By delivering water directly to the root zones, drip irrigation helps prevent soil erosion. Traditional sprinkler systems can cause water to pool on the surface, leading to erosion and nutrient loss. With drip irrigation, the water is targeted and absorbed by the soil more efficiently, minimizing erosion risks and preserving the integrity of your garden beds.
- Time and Labor Savings: Once properly installed, drip irrigation requires less maintenance and attention compared to other irrigation methods. The system operates automatically, reducing the need for manual watering. This saves you time and effort, allowing you to focus on other aspects of gardening while ensuring your plants receive consistent and adequate water.
Drip irrigation is a sustainable and efficient way to meet your garden’s watering needs. By conserving water, promoting healthy plant growth, and minimizing maintenance, it is an ideal choice for gardeners looking to optimize their irrigation systems.
Factors to Consider Before Designing a Drip Irrigation System
Before designing and installing a drip irrigation system, it’s important to consider a few key factors to ensure optimal performance and efficiency. Let’s take a look at the factors you need to keep in mind:
- Water Source: Start by identifying the water source for your drip irrigation system. This could be a tap, a well, or a rainwater harvesting system. Evaluating the water source will determine the water pressure and flow rate available, which are essential for designing the system.
- Water Quality: Assess the quality of your water source. If your water contains a high level of sediments or minerals, it can clog the drip system’s emitters over time. Water filters or a water treatment system may be required to ensure the long-term functionality of your drip irrigation system.
- Garden Layout: Study the layout of your garden and determine the areas that require irrigation. Consider factors such as the size and shape of the garden beds, the location of plants, and any obstacles that may affect the layout of the drip lines. This will help you plan the most efficient distribution of water to meet the specific needs of your plants.
- Plant Water Needs: Different plants have different water requirements. Take into account the types of plants in your garden and their individual needs for water. Some plants may require more frequent watering, while others may prefer a drier soil environment. This information will help you determine the appropriate emitter spacing and watering schedule for your drip system.
- System Size: Calculate the size of your drip irrigation system by determining the total area that needs to be watered. This will help you determine the number of emitters, length of tubing, and other components required. It’s important to ensure that the system can handle the water demand of your garden without compromising its efficiency.
- Slope and Soil Type: Evaluate the slope of your garden and the soil type. The slope affects water distribution and the potential for runoff. If you have a steep slope, you may need to install additional measures such as check valves or pressure-compensating emitters to ensure uniform water distribution. Soil type will also impact water absorption and drainage, which should be considered when selecting the appropriate drip irrigation components.
- Budget: Consider your budget for designing and installing a drip irrigation system. While drip irrigation is cost-effective in the long run due to water savings, there may be an initial investment required for purchasing components and equipment. Determine your budget and prioritize the essential components to ensure a successful drip irrigation system within your means.
By taking these factors into consideration, you will be better equipped to design a drip irrigation system that meets the unique needs of your garden. This thoughtful planning will ensure the efficient use of water, healthier plants, and an overall successful irrigation system.
Steps to Design a Drip Irrigation System
Designing a drip irrigation system requires careful planning and attention to detail. Follow these step-by-step guidelines to ensure a successful design:
- Determine Water Needs: Assess the water requirements of your plants by researching their specific needs. Consider factors such as plant type, growth stage, and environmental conditions. This information will help you determine the frequency and duration of watering needed for each plant.
- Calculate Water Pressure and Flow Rate: Measure the water pressure and flow rate available at the chosen water source using a pressure gauge and flow meter. These measurements will enable you to select the appropriate drip irrigation components that can handle the water demand of your system.
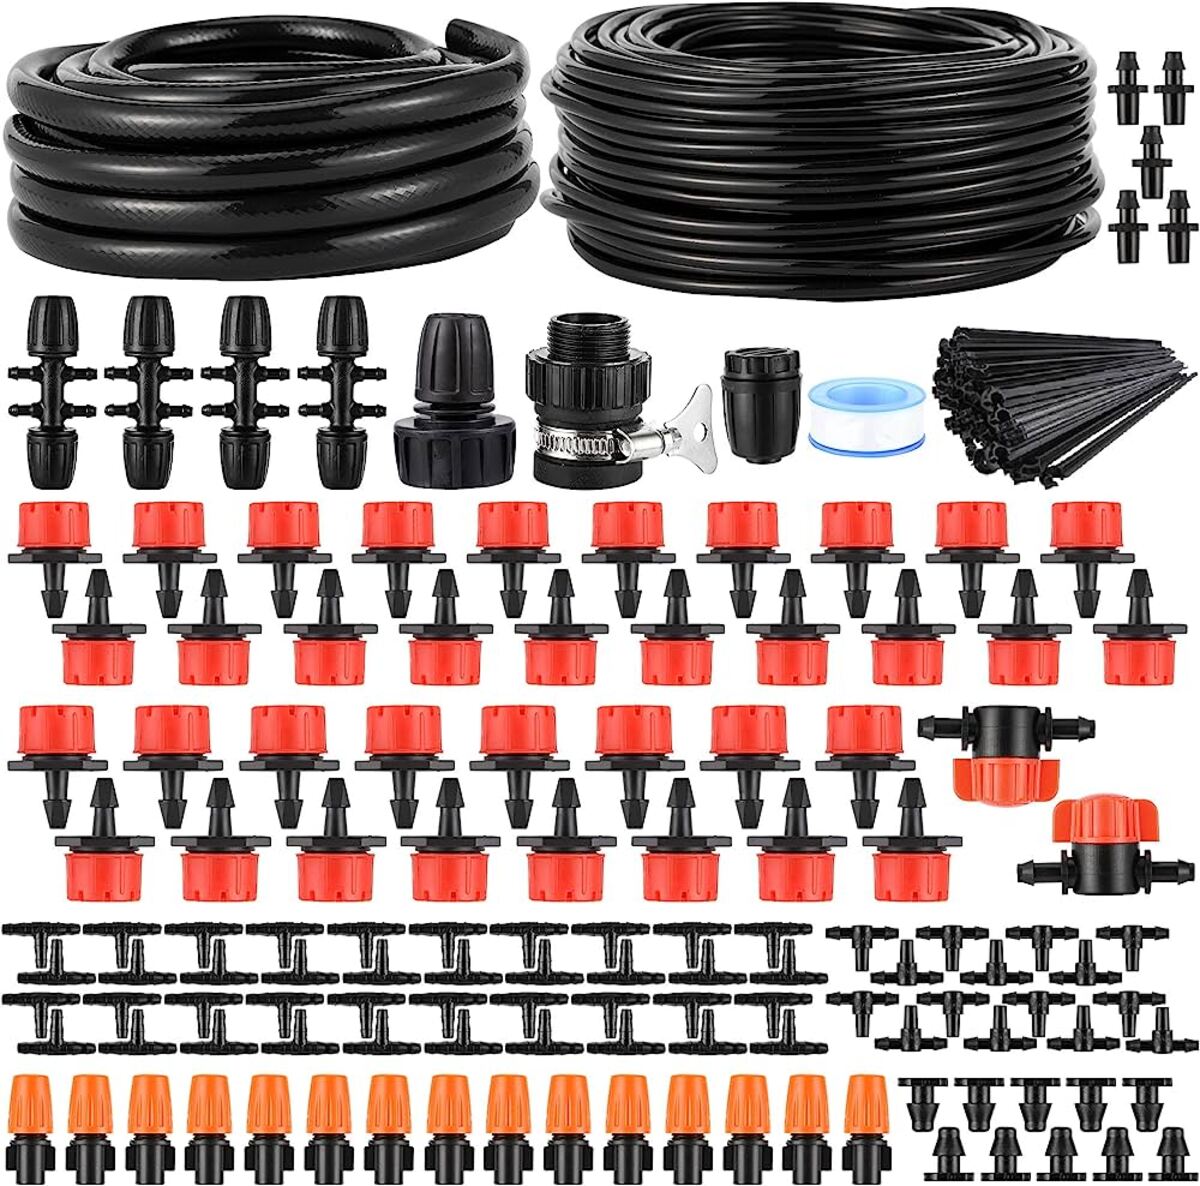
- Select the Right Drip Irrigation Components: Choose high-quality drip irrigation components that are suited to your garden’s needs. This includes drip emitters, tubing, connectors, filters, and pressure regulators. Consider factors such as emitter flow rate, tubing diameter, and compatibility with your water source and soil type.
- Plan the Layout of the System: Using a pencil and paper or a garden design software, create a layout plan for your drip irrigation system. Mark the locations of your plants, the paths of the tubing, and the placement of the emitters. Ensure that the layout allows for proper coverage of all plants and efficient water distribution.
- Install the Drip Irrigation System: Begin by connecting the main water supply line to the water source, ensuring a tight and secure connection. Lay out the tubing according to your planned design, cutting and connecting sections as necessary. Install emitters at the appropriate spacing for each plant, ensuring they are securely attached to the tubing. Test the system for leaks and make adjustments as needed.
- Maintain and Troubleshoot the System: Regularly inspect your drip irrigation system for any leaks, clogs, or damage. Clean or replace filters as needed to prevent blockages, and ensure that emitters are delivering water properly. Adjust the watering schedule as plants grow and weather conditions change. Keep the system properly maintained to ensure its efficiency and longevity.
Designing your own drip irrigation system may require some time and effort, but the benefits are well worth it. With proper planning and execution, you can create a customized system that provides efficient and targeted watering for your plants, contributing to their overall health and success.
Determining Water Needs
Understanding the water needs of your plants is crucial for designing an effective drip irrigation system. Here are the steps to accurately determine the water requirements of your garden:
- Research Plant Watering Guidelines: Begin by researching the specific water requirements of the plants in your garden. Different plants have varying needs based on factors such as their type, growth stage, and environmental conditions. Consult gardening resources, plant labels, or seek advice from local gardening experts to gather information on the recommended watering guidelines for each plant.
- Observe Soil Moisture: Regularly monitor the moisture levels of your garden’s soil. Use a moisture meter or simply perform a visual and tactile inspection by checking the top few inches of soil. Ensure that the soil stays consistently moist but not overly saturated. This will give you an idea of how frequently you should water your plants.
- Consider Environmental Factors: Take into account the climate, season, and weather patterns in your area. Hot and dry conditions may require more frequent watering, while cooler and more humid climates may necessitate less water. Consider the amount of sunlight, wind exposure, and rainfall your garden receives, as these factors influence plant water requirements.
- Assess Plant Size and Growth Stage: The size and growth stage of your plants will impact their water needs. Newly planted or recently transplanted seedlings often require more frequent watering until they establish their root systems. Pay attention to the growth rate and overall size of your plants, adjusting the watering frequency accordingly.
- Check Soil Drainage: Evaluate the drainage capabilities of your soil. If the soil drains poorly, it may require less frequent watering to avoid waterlogged conditions. On the other hand, fast-draining soil may require more frequent watering to prevent it from drying out too quickly. Understanding your soil’s drainage properties will help you adjust your watering schedule accordingly.
- Perform the Finger Test: If you don’t have a moisture meter, you can use a simple finger test to determine soil moisture. Insert your finger into the soil, up to the second knuckle. If the soil feels dry at this depth, it’s an indication that the plants require watering. If the soil feels slightly moist or damp, it likely has adequate moisture and watering can be postponed.
By considering these factors and consistently monitoring your plants’ water needs, you can establish an effective and efficient watering schedule for your drip irrigation system. Remember that it’s better to provide slightly less water than too much, as overwatering can lead to root rot and other plant health issues. Regular observation and adjustment of watering practices will keep your plants happy and thriving.
Calculating Water Pressure and Flow Rate
Accurately determining the water pressure and flow rate of your water source is essential for designing an efficient drip irrigation system. Follow these steps to calculate these important measurements:
- Pressure Measurement: Use a pressure gauge to measure the water pressure at your chosen water source. Attach the gauge to a faucet or spigot and turn on the water to obtain a reading. Ensure that no other water outlets are in use during the measurement to get an accurate reading of the static water pressure.
- Flow Rate Measurement: Measure the flow rate of your water source using a flow meter or a simple timing method. Place a container of known volume, such as a bucket, under the faucet or spigot. Turn on the water fully and measure the time it takes to fill the container. Divide the volume of water by the time taken to fill the container to calculate the flow rate in gallons per minute (GPM).
- Check for Variations: It’s important to check for variations in water pressure and flow rate that may occur during different times of the day. Factors such as high water usage in your area or fluctuations in water supply can affect these measurements. Take multiple readings at different times to get an average value and to ensure a more accurate calculation.
- Consider Friction Loss: Account for friction loss that occurs as water flows through the drip system’s tubing and components. Friction loss reduces the pressure and flow rate, so it’s important to select components that minimize this effect. Use manufacturer-provided charts or online calculators to determine the estimated friction loss for the specific drip irrigation components you’re using.
- Ensure Adequate Tolerance: It’s important to choose drip irrigation components that can handle the water pressure and flow rate of your water source. Select components that have a higher pressure and flow rate tolerance than your calculated values to allow for any unexpected fluctuations or future system expansions.
By accurately calculating the water pressure and flow rate of your water source, you can select appropriate drip irrigation components that will ensure optimal performance and efficiency. This information will help you design a drip irrigation system that delivers the right amount of water to your plants with minimal water waste.
Selecting the Right Drip Irrigation Components
Choosing the right drip irrigation components is crucial for the effectiveness and efficiency of your system. Here are the key factors to consider when selecting the components:
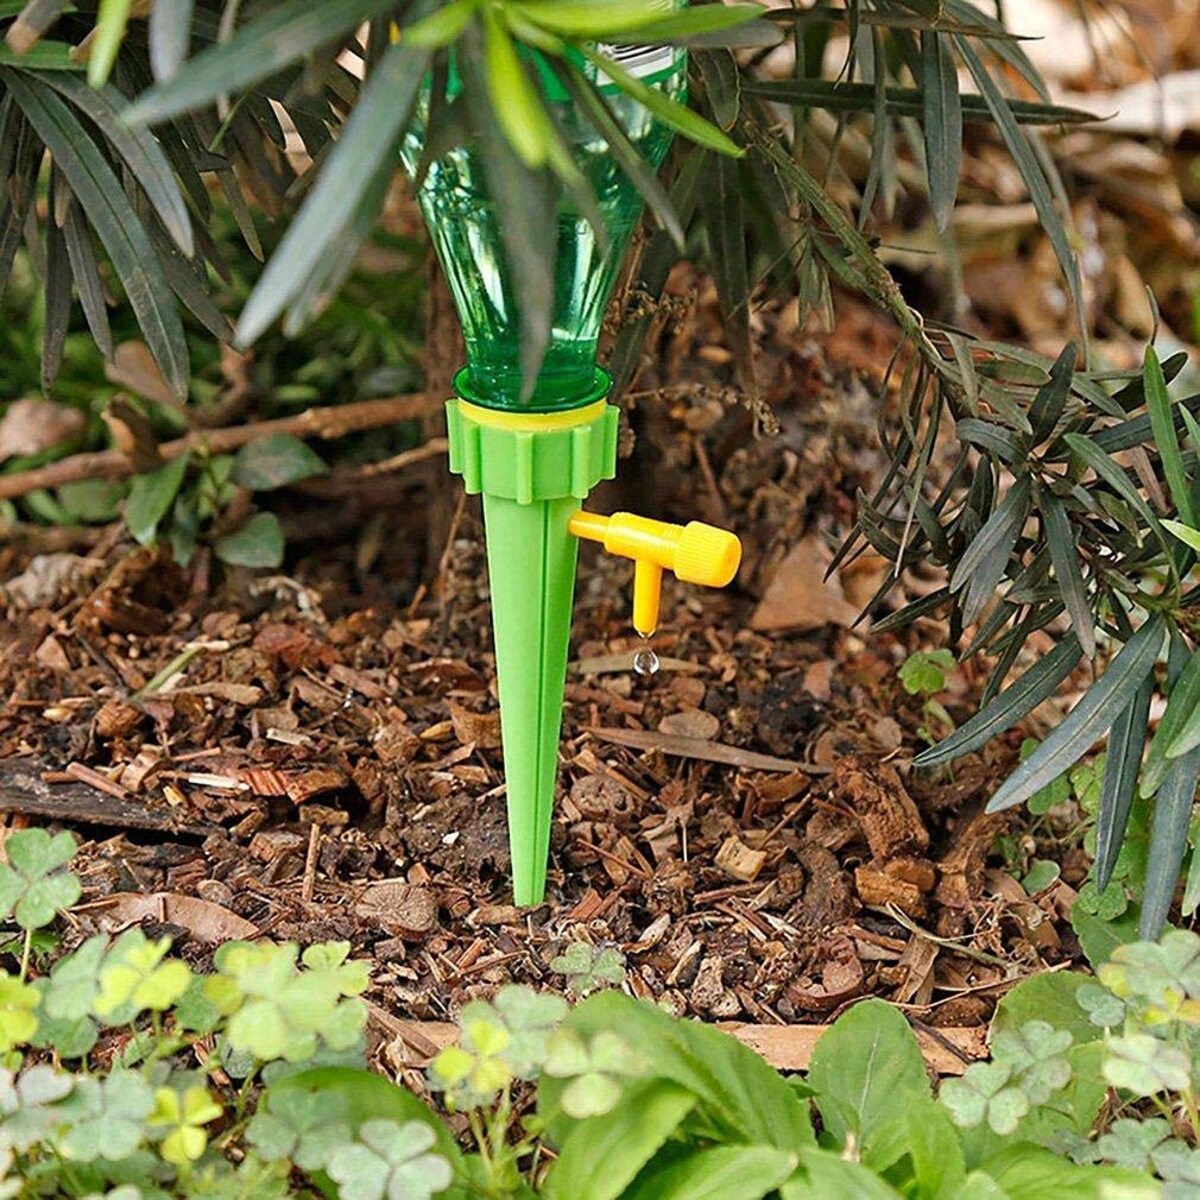
- Drip Emitters: Consider the type of drip emitters that best suit your plants’ needs. There are various types available, including adjustable flow, bubblers, and micro-sprinklers. Take into account factors such as the flow rate, coverage area, and watering pattern of each emitter. Select emitters that are suitable for the plant types, spacing requirements, and water needs in your garden.
- Tubing: Choose the appropriate tubing material and diameter for your drip irrigation system. Polyethylene tubing is commonly used due to its durability and flexibility. The diameter of the tubing depends on the flow rate and length of the system. Larger diameter tubing is suitable for longer runs and higher flow rates, while smaller diameter tubing is used for shorter runs and lower flow rates.
- Connectors and Fittings: Use connectors and fittings that ensure secure and leak-free connections between the tubing and emitters. Common types include barbed connectors, compression fittings, and twist-lock fittings. Select fittings that are compatible with your tubing and provide a tight connection to withstand water pressure and prevent leakage.
- Filtration: Install filters to prevent clogging of the drip emitters. Filters help remove debris, sediment, and other particles that can block the small openings in the emitters. Choose filters with the appropriate mesh size based on the quality of your water source. Fine mesh filters are effective for removing smaller particles, but may require more frequent cleaning.
- Pressure Regulators: Consider using pressure regulators to maintain a consistent and optimal water pressure throughout your drip irrigation system. Pressure regulators ensure that the pressure remains within the recommended range for the emitters, preventing them from becoming overwhelmed or inefficient. Choose pressure regulators that match the desired pressure range for your specific system.
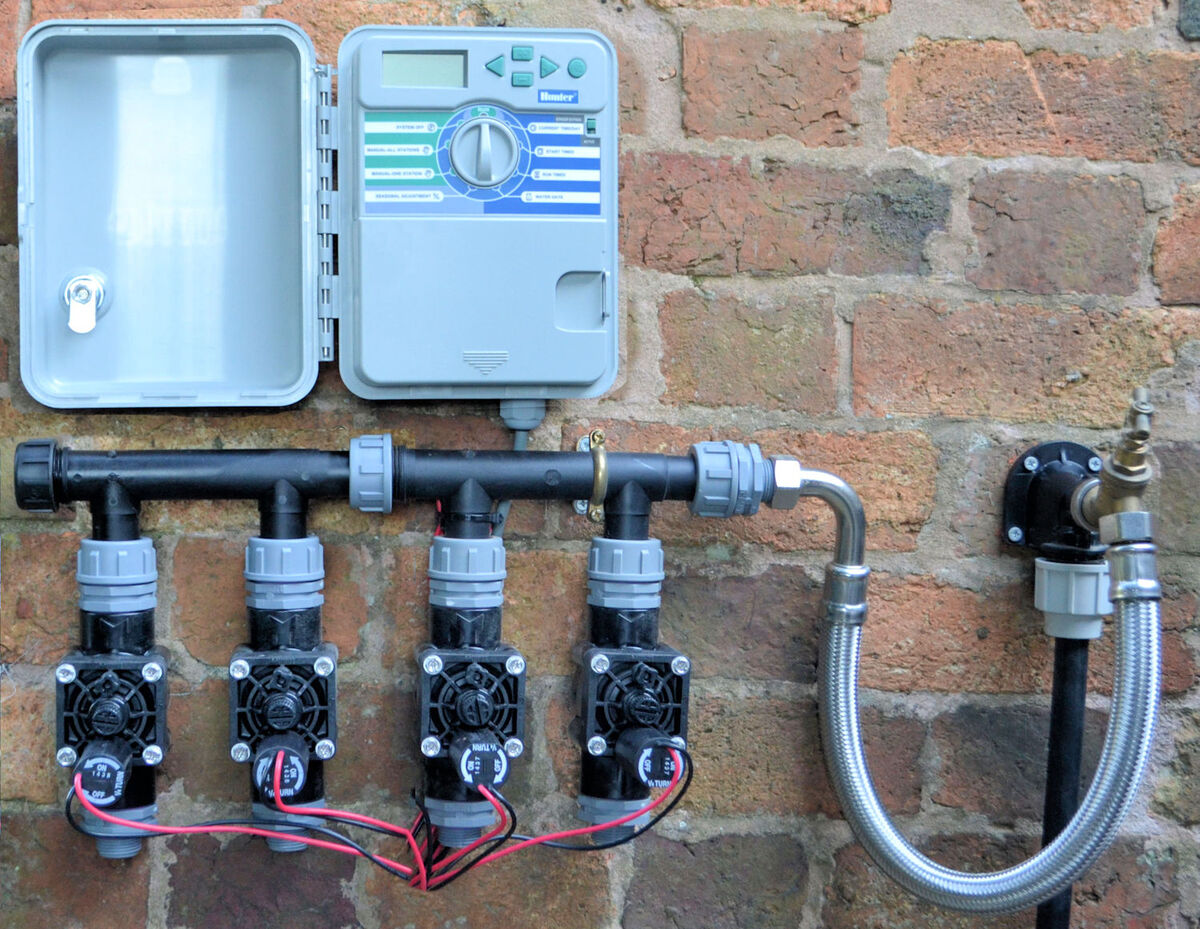
- Main and Sub-Main Lines: For larger drip irrigation systems, a main or sub-main line may be necessary to distribute water from the water source to different zones. Select a main line that has a sufficient diameter to accommodate the total flow rate of the system and minimize pressure loss. Sub-main lines can branch off the main line to distribute water to different garden areas.
When selecting drip irrigation components, ensure that they are of high quality and compatible with your water source, soil type, and specific garden requirements. Following these guidelines will help you build a reliable and efficient drip irrigation system that delivers water precisely to your plants, promoting their health and growth.
Planning the Layout of the System
Planning the layout of your drip irrigation system is essential to ensure proper coverage and efficient water distribution. Consider the following steps to effectively plan the layout of your system:
- Map Out Your Garden: Start by creating a map or sketch of your garden. Note the location of plants, garden beds, pathways, and any other relevant features. This will give you a visual representation of your garden’s layout and help you identify the areas that require irrigation.
- Group Plants with Similar Watering Needs: Group plants with similar water requirements together. This allows you to tailor your irrigation system and watering schedule to the needs of specific plant groups. For example, plants that require more frequent watering can be placed in one zone, while those with lower water requirements can be in another.
- Consider Water Source Placement: Ensure that your drip irrigation system is located near a suitable water source, such as a faucet or rainwater collection system. This will minimize the length of tubing required and make it easier to connect your system to the water supply.
- Determine Emitter Spacing: The spacing between emitters depends on the water requirements of your plants and the flow rate of your system. Research the recommended emitter spacing for the plant types in your garden and consider factors such as the plant’s size and watering needs. You may need a closer spacing for thirsty plants and a wider spacing for low-water-use plants.
- Plan Tubing Pathways: Determine the path that the tubing will take to reach each plant or zone. Lay out the tubing along garden beds, pathways, or other suitable areas. Minimize sharp bends or kinks in the tubing to maintain optimal water flow. When branching off to different areas, consider using header lines or sub-main lines to efficiently distribute water.
- Account for Slopes and Elevation Changes: If your garden has slopes or elevation changes, plan your tubing layout accordingly. Ensure that water can flow properly and evenly throughout the system by incorporating techniques such as using pressure-compensating emitters or adjusting the tubing elevation to counteract changes in water pressure.
- Measure Tubing Length: Measure the length of tubing required for each section of your system. It’s essential to accurately measure the distance between emitters, connectors, and fittings to ensure you have sufficient tubing. Add a few extra feet to account for any unforeseen adjustments or extensions needed during installation.
By carefully planning the layout of your drip irrigation system, you can ensure that water is distributed effectively and efficiently throughout your garden. Proper layout planning will optimize water usage, minimize wastage, and provide targeted irrigation for your plants, contributing to their overall health and productivity.
Installing the Drip Irrigation System
Installing a drip irrigation system requires careful execution and attention to detail. Follow these steps to ensure a successful installation:
- Prepare the Water Source: Begin by ensuring that your water source is ready for connection. If using a faucet or spigot, ensure that it is in good working condition and has a suitable connector for attaching the mainline of the drip system. If using a rainwater collection system or well, ensure that it is adequately set up and functioning.
- Connect the Backflow Preventer: Install a backflow preventer between the water source and the drip irrigation system. This device prevents the water in your drip system from flowing back into the main water supply, reducing the risk of contamination. Follow the manufacturer’s instructions for proper installation.
- Lay Out the Mainline: Lay out the mainline tubing from the water source to the desired starting point of your drip system. Ensure that it is connected securely to the water source and extend it to the area where you’ll begin distributing water to the various zones or sections of your garden.
- Install Emitters: Attach the appropriate emitters to the mainline at the desired spacing for each plant or zone. Use connectors or fittings that provide a secure and leak-proof connection. Ensure that the emitters are positioned near the plants’ root zones, delivering water directly where it is needed most.
- Install Tubing and Connectors: Lay out the tubing according to your planned layout, connecting it to the emitters and mainline as required. Use compatible connectors or fittings to make smooth and secure connections. Cut the tubing to the appropriate length, allowing for proper spacing between emitters and flexibility in your system.
- Add Pressure Regulators and Filters: Install pressure regulators and filters as needed in your system. Pressure regulators help maintain a consistent water pressure throughout the system, while filters prevent debris and sediment from clogging the emitters. Install them in line with the tubing, following the manufacturer’s instructions.
- Test for Leaks and Adjustments: Once the installation is complete, turn on the water source and test the system for any leaks or issues. Check all connections, emitters, and fittings for proper functioning. Make any necessary adjustments, such as tightening connections or repositioning emitters, to ensure that the system is functioning optimally.
- Monitor and Fine-Tune: Regularly monitor your drip irrigation system to ensure that it is delivering water effectively to your plants. Observe the plants’ health and look for any signs of over- or under-watering. Adjust the watering schedule, emitter spacing, or other factors as needed to achieve the best results.
By following these installation steps and paying attention to the details, you can install a drip irrigation system that efficiently delivers water to your plants, promoting their growth and health.
Maintaining and Troubleshooting the System
Maintaining and troubleshooting your drip irrigation system is essential to keep it functioning efficiently and delivering optimal water to your plants. Here are some key maintenance and troubleshooting tips:
- Regular Inspections: Regularly inspect your drip irrigation system for any signs of leaks, clogs, or damage. Check all connections, emitters, and tubing for proper functioning. Look for any vegetation growth around emitters, which may indicate a leak.
- Clean or Replace Filters: Clean or replace filters at regular intervals to prevent clogging of emitters. Inspect the filters for debris and sediment buildup, and clean them as necessary. Follow the manufacturer’s instructions for proper cleaning and replacement.
- Adjust Watering Schedule: Monitor the moisture levels of the soil regularly and adjust the watering schedule as needed. Increase or decrease the frequency or duration of watering based on the needs of your plants, the weather, and other environmental factors.
- Check for Clogs: If you notice that certain emitters are not delivering water or are delivering less than usual, check for any clogs. Remove the affected emitter and clean it thoroughly to remove any blockages. If the emitter cannot be cleared, replace it with a new one.
- Monitor Water Pressure: Regularly check the water pressure in your system to ensure that it is within the appropriate range. If you notice a significant decrease in pressure, check for any leaks, kinks, or obstructions in the tubing that may be causing the issue.
- Inspect and Maintain the Water Source: Regularly check the water source for any issues that may affect the functioning of the drip irrigation system. Ensure that the faucet or spigot is in good condition and that the water supply is consistent and clean. Clean any debris or sediment from rainwater collection systems or filters.
- Winterize the System: If you live in a region with freezing temperatures, take steps to winterize your drip irrigation system to prevent damage. Drain all water from the system, remove emitters and filters, and store them in a dry place. Insulate exposed tubing to protect it from freezing.
- Consult Experts if Needed: If you encounter persistent issues or are unsure about how to troubleshoot a problem, don’t hesitate to consult a local gardening expert or professional irrigation specialist. They can provide guidance to resolve any complex issues and ensure that your system is operating at its best.
Regular maintenance and timely troubleshooting will help keep your drip irrigation system working efficiently and prolong its lifespan. By addressing problems promptly and maintaining the system properly, you can ensure that your plants receive the water they need for healthy growth and thriving gardens.
Conclusion
Congratulations on completing the design and installation of your own drip irrigation system! By investing time and effort into designing an efficient and targeted watering system, you have taken a significant step towards optimizing the health and productivity of your garden.
Drip irrigation offers numerous benefits, including water efficiency, reduced weed growth, healthy plant growth, flexibility, prevention of soil erosion, and time and labor savings. With its ability to deliver water directly to the root zones of plants, drip irrigation ensures that your plants receive the right amount of water without wastage. This targeted approach promotes healthier growth, conserves water, saves time, and helps you achieve a beautiful and thriving garden.
Throughout the design and installation process, you considered important factors such as the water source, garden layout, plant water needs, water pressure, and flow rate. You carefully selected the appropriate drip irrigation components and planned the layout of your system to ensure optimal coverage and efficiency.
Remember, the maintenance and troubleshooting of your drip irrigation system are just as crucial as its initial installation. Regularly inspect and clean your system, adjust the watering schedule based on the needs of your plants, and address any issues promptly to keep your system functioning at its best.
With your new drip irrigation system in place, you can enjoy the benefits of efficient, targeted watering while conserving water and promoting the health and vitality of your garden. So grab your gardening tools, relax, and watch your plants thrive with the help of your custom-designed drip irrigation system.
