Home>Garden Design>Planning Your Garden>How To Design A Irrigation System

Planning Your Garden
How To Design A Irrigation System
Modified: January 22, 2024
Learn the best methods for planning your garden and designing an efficient irrigation system that will keep your plants healthy and thriving.
(Many of the links in this article redirect to a specific reviewed product. Your purchase of these products through affiliate links helps to generate commission for Chicagolandgardening.com, at no extra cost. Learn more)
Table of Contents
- Introduction
- Understanding the basics of irrigation systems
- Assessing the water needs of your plants
- Determining the layout of your irrigation system
- Choosing the appropriate irrigation method
- Selecting the right components for your irrigation system
- Installing the irrigation system
- Testing and adjusting the irrigation system
- Maintaining and troubleshooting common issues
- Conclusion
Introduction
Welcome to the world of gardening! Planning your garden is an exciting and fulfilling endeavor. One aspect of garden planning that should not be overlooked is designing an efficient and effective irrigation system. Adequate water supply is essential for the health and vitality of your plants, and a well-designed irrigation system can make a significant difference in the success of your garden.
In this article, we will guide you through the planning and design process of creating an irrigation system for your garden. Whether you have a small flower bed or a large vegetable garden, understanding the basics of irrigation will help you make informed decisions to ensure your plants receive the right amount of water they need to thrive.
Before we dive into the nitty-gritty of irrigation system design, it is important to note that the needs of your garden will depend on various factors such as the types of plants you are growing, the climate in your area, and the size of your garden. By considering these factors and following proper irrigation techniques, you can save water, time, and effort, while still achieving lush and healthy plants.
In the sections that follow, we will walk you through the steps involved in designing an irrigation system for your garden. Starting with understanding the basics of irrigation systems, we will then delve into assessing the water needs of your plants, determining the layout of your irrigation system, and choosing the appropriate irrigation method. We will also discuss the selection of the right components, the installation process, testing and adjusting the system, and finally, maintenance and troubleshooting.
So, let’s jump right in and uncover the secrets to designing a functional and effective irrigation system for your garden!
Understanding the basics of irrigation systems
Before you can design an effective irrigation system, it is important to have a good understanding of the basic components and principles of irrigation. In simple terms, irrigation is the process of providing water to plants when natural rainfall is not sufficient. This helps to ensure that plants receive the necessary amount of water to grow and thrive.
There are several key components that make up an irrigation system:
- Water source: This is the starting point of your irrigation system. It could be a tap, a well, a pond, or a rainwater harvesting system.
- Pump: If the water source is not pressurized, you may need a pump to supply water through the irrigation system.
- Pipes and tubing: These are used to transport water from the source to the plants. Pipes are typically used for main lines, while tubing is used for smaller and more flexible connections.
- Valves: Valves help control the flow of water in different parts of the irrigation system. They are used to turn the water on and off, as well as to regulate the amount of water flowing to different zones or areas.
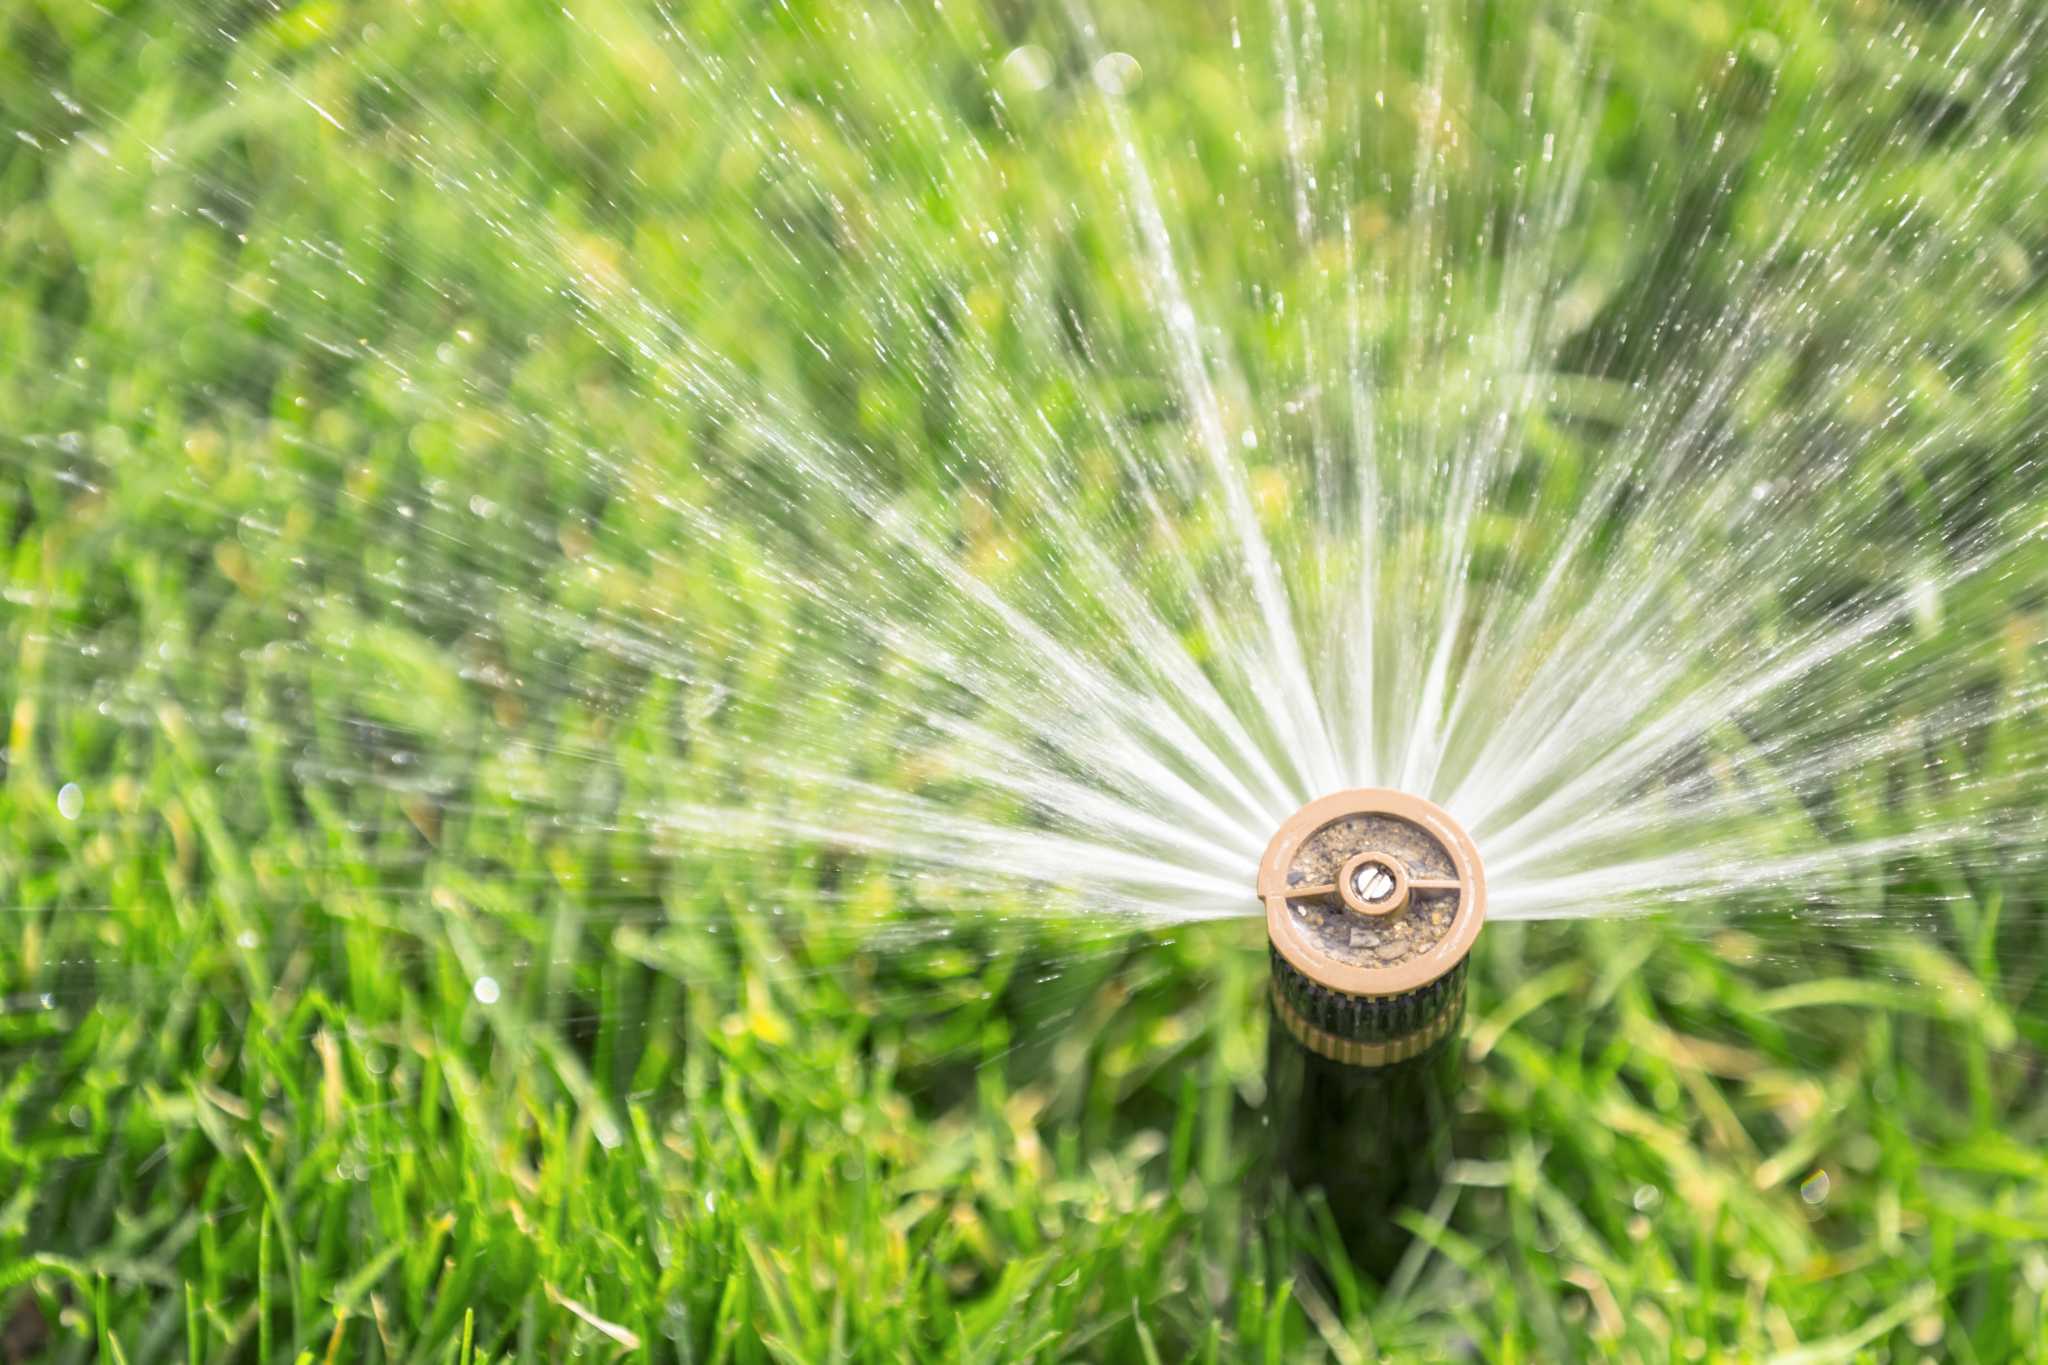
- Sprinklers or emitters: Sprinklers and emitters are the devices that deliver the water to the plants. Sprinklers produce a fine spray or mist, while emitters are designed to deliver water directly to the root zone of individual plants.
- Controller: A controller is an electronic device that allows you to automate and program the irrigation system. It enables you to set specific watering schedules and durations, ensuring that your plants receive water at the right time and in the right amount.
Understanding the basics of irrigation systems also involves knowing the different types of irrigation methods. The most common methods include:
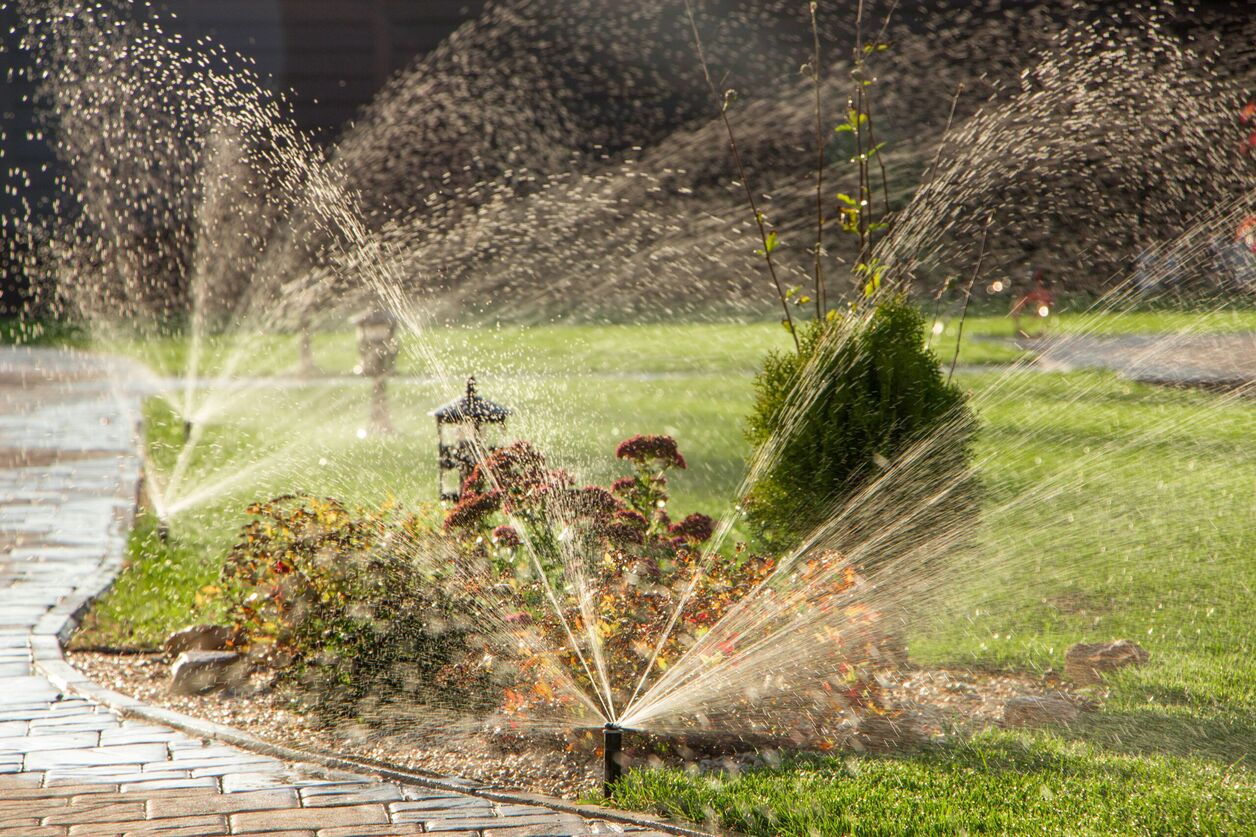
- Sprinkler irrigation: This method uses sprinklers to distribute water over a large area, similar to rainfall. It is suitable for lawns, large gardens, and areas with a variety of plants.
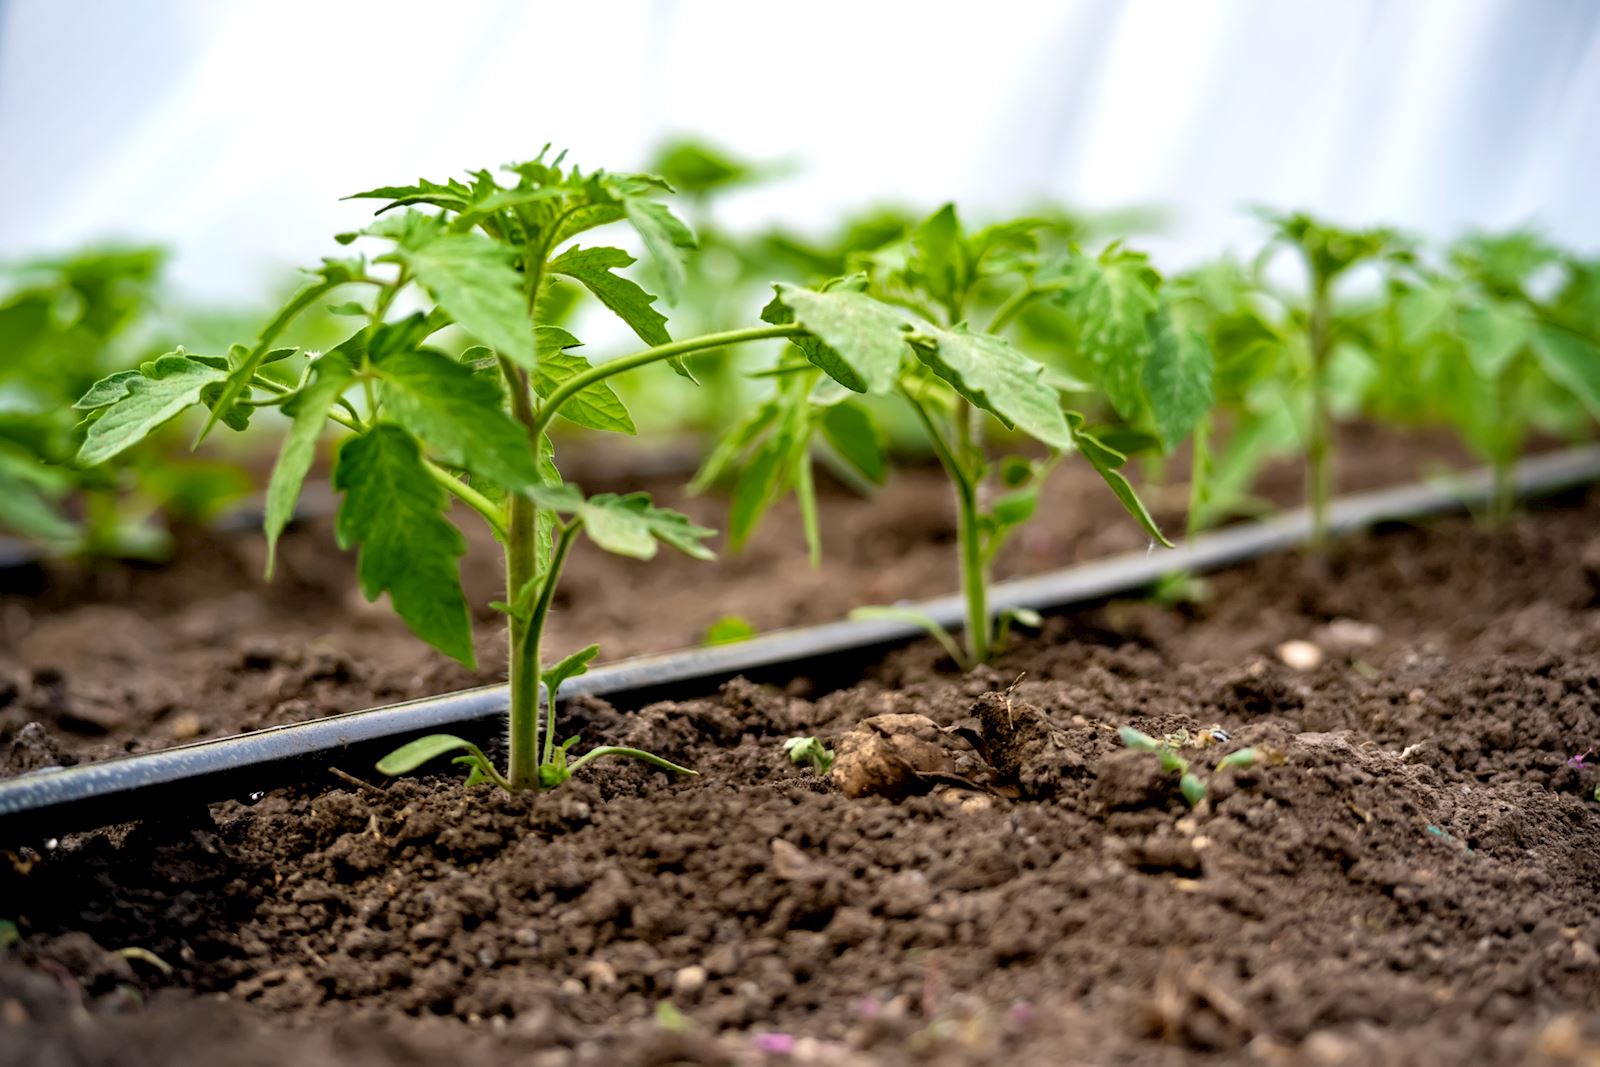
- Drip irrigation: Drip irrigation delivers water slowly and directly to the root zone of plants. It is a more efficient method that reduces water wastage and is ideal for individual plants, vegetable gardens, and flower beds.
- Soaker hoses: Soaker hoses are made of porous materials that allow water to seep out along the length of the hose. They are perfect for long, narrow plant beds and garden rows.
By understanding the basic components and methods of irrigation systems, you can make informed decisions when designing your own system. The next step is to assess the water needs of your plants, which we will explore in the following section.
Assessing the water needs of your plants
One of the critical factors in designing an effective irrigation system is understanding the water requirements of your plants. Different plants have varying water needs depending on their species, stage of growth, climate, and soil conditions. By assessing the water requirements of your plants, you can ensure they receive the right amount of water for optimal growth and health.
The first step in assessing the water needs of your plants is to consider their natural environment. Research or consult gardening resources to determine the typical water requirements for each plant species in your garden. Some plants prefer moist soil, while others thrive in drier conditions.
Next, consider the stage of growth for each plant. Newly planted and young plants generally require more frequent watering to establish their root systems. Mature plants, on the other hand, may have deeper roots and require less frequent watering.
Climate also plays a significant role in determining watering needs. If you live in an arid region with hot and dry summers, plants will likely require more water compared to those in cooler and more humid areas. Take note of the average rainfall in your area and consider how it affects the watering requirements of your plants.
Soil conditions should also be taken into account. Some soils retain moisture better than others, while certain types of soil may drain water quickly. Understanding the soil composition and drainage characteristics will help you adjust your watering schedule accordingly.
To accurately assess the water needs of your plants, it is helpful to monitor the moisture content of the soil. You can do this by inserting your finger into the soil to a depth of a few inches. If the soil feels dry, it may be an indication that your plants need watering. Alternatively, you can use a soil moisture meter to measure the moisture levels more precisely.
Remember that overwatering can be just as harmful as underwatering. It can lead to root rot, disease, and nutrient leaching. Aim for a balance by providing enough water to keep the soil consistently moist, but not saturated.
Once you have assessed the water requirements of your plants, you can move on to the next step, which is determining the layout of your irrigation system.
Determining the layout of your irrigation system
When designing the layout of your irrigation system, it is important to consider the size and shape of your garden, as well as the specific watering needs of your plants. Planning the layout in advance will help ensure that water is distributed evenly and efficiently throughout your garden.
Start by mapping out your garden on paper or using a digital mapping tool. Include any structures, pathways, and existing plants in your sketch. This will give you a clear idea of the areas that need to be covered by your irrigation system.
Next, identify zones in your garden. Zones are areas with similar watering needs. For example, you might have a zone for flower beds, another for vegetable gardens, and a separate zone for trees and shrubs. Dividing your garden into zones allows you to tailor the watering schedule and duration to the specific needs of each area.
Consider the water source and the location of your irrigation system components. You will need a water source nearby, such as a tap or a rainwater harvesting system. Locate the controller, valves, and pipes strategically to ensure easy access and minimal water loss due to long pipe runs.
Take into account the water pressure available in your area. Different irrigation methods require different water pressure levels. For example, sprinkler systems typically require higher water pressure than drip irrigation systems. Ensure that your water source and system components can handle the required water pressure for your chosen irrigation method.
When determining the placement of sprinklers or emitters, consider the spray patterns or coverage areas. Ideally, they should overlap slightly to ensure uniform water distribution. Avoid placing sprinklers or emitters too close to structures, pathways, or other areas where water may not be needed.
Factor in the slope of your garden if there is one. If your garden has a slope, it is important to design the irrigation system to prevent runoff and ensure that water reaches the plants evenly. This can be achieved by using drip irrigation or adjusting the positioning of sprinklers to avoid concentrated water flow in one direction.
Lastly, consider the future growth of your garden. Leave room for expansion or modification of your irrigation system as your garden evolves over time. Planning ahead can save you time and effort in the long run.
By carefully determining the layout of your irrigation system, you can customize it to meet the specific needs of your garden and ensure efficient water distribution. The next step is to choose the appropriate irrigation method for your plants, which we will explore in the following section.
Choosing the appropriate irrigation method
When it comes to choosing the appropriate irrigation method for your garden, several factors need to be considered, including the type of plants you are growing, the soil conditions, and the climate in your area. Each irrigation method has its advantages and is suited for different garden settings.
Sprinkler irrigation: Sprinkler systems are a popular choice for larger gardens and areas with a variety of plant types. They are versatile and can cover a wide area with a fine spray or mist of water, simulating natural rainfall. Sprinklers are especially effective for lawns, as they provide even coverage. However, they can be less efficient than other methods due to water loss through evaporation and wind drift.
Drip irrigation: Drip irrigation is a precise and efficient method that delivers water directly to the root zone of your plants. This method minimizes water loss and provides optimal moisture to the plants, reducing weed growth and preventing fungal diseases. Drip irrigation is particularly beneficial for individual plants, raised beds, and container gardens. It can also be installed underground and hidden from view, providing a neat and organized garden appearance.
Soaker hoses: Soaker hoses are porous hoses that allow water to seep out slowly along their length. They are generally used in long, narrow garden beds or rows of plants. Soaker hoses are cost-effective, easy to install, and provide gentle and consistent watering to plants. They are excellent for water conservation as they reduce evaporation and runoff.
When deciding on an irrigation method, consider the time and effort you are willing to invest in maintaining and managing the system. Sprinkler systems may require more maintenance due to the moving parts and potential for nozzle clogging. Drip irrigation and soaker hoses may require occasional inspection and cleaning to ensure proper functioning.
Additionally, take into account your local water regulations and restrictions. Some areas have specific guidelines for watering methods and frequency. Choose an irrigation method that aligns with these regulations to avoid penalties and conserve water resources.
It is worth noting that a combination of irrigation methods can be used in your garden, especially if you have different plant types with varying water needs. For example, you may use sprinklers for larger areas and a drip irrigation system for your vegetable garden. The key is to consider the specific requirements of your plants and design the irrigation system accordingly.
Once you have chosen the appropriate irrigation method, it is time to select the right components for your irrigation system, which we will explore in the following section.
Selecting the right components for your irrigation system
Choosing the right components for your irrigation system is crucial to ensure its efficiency and longevity. Each component plays a key role in delivering water to your plants and maintaining the overall functionality of the system. Here are some essential components to consider:
Pipes and tubing: Select pipes and tubing that are durable and resistant to damage from UV rays and weather conditions. PVC pipes are commonly used for main lines, while flexible polyethylene tubing is often used for smaller connections and lateral lines. Consider the size and length of pipes and tubing based on the water flow and pressure requirements of your irrigation system.
Valves: Valves are essential for controlling the water flow in your irrigation system. Choose high-quality valves that are reliable and easy to operate. Ball valves and inline irrigation valves are common choices for controlling water flow to different zones or areas of your garden.
Sprinklers or emitters: Depending on the irrigation method you have chosen, select sprinklers or emitters that are suitable for your plants’ water requirements and the desired coverage area. Consider factors such as spray radius, spray pattern, and adjustable features to tailor the water distribution to your specific needs.
Controllers: Controllers, also known as timers or irrigation clocks, are electronic devices that automate the watering process. Look for controllers with user-friendly interfaces and programming options. Consider features such as multiple programs, adjustable watering schedules, and rain sensors to optimize water usage and conserve resources.
Filters and screens: Incorporating filters and screens in your irrigation system is essential to prevent clogging and damage to the emitters or sprinklers. Choose filters that are appropriate for the water source, such as sand filters for well water or mesh filters to remove debris from collected rainwater.
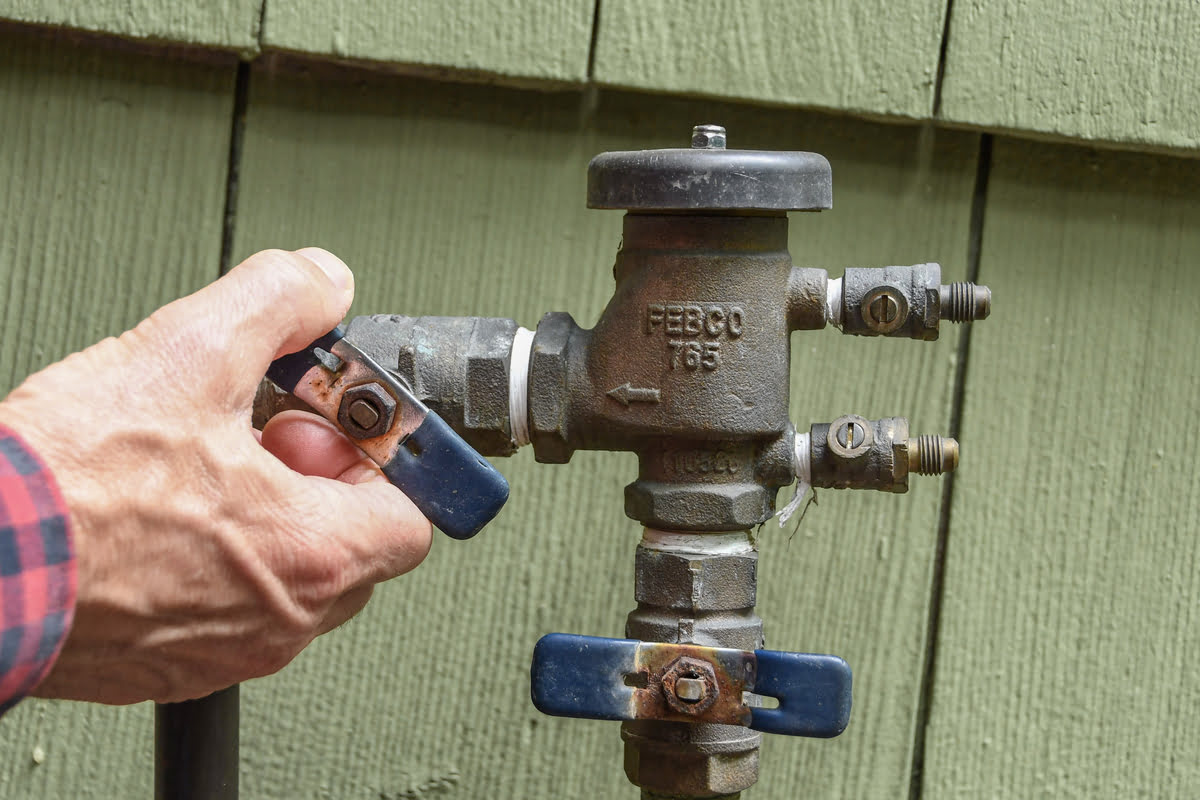
Backflow prevention devices: Backflow prevention devices are crucial to protect the potable water supply from contamination. Check local regulations regarding the specific backflow prevention requirements for your irrigation system and ensure that the devices are properly installed and maintained.
Irrigation accessories: Consider additional accessories such as pressure regulators, pressure gauges, and connectors to enhance the functionality and efficiency of your irrigation system. These accessories can help maintain optimal water pressure, monitor system performance, and ensure proper connections between components.
Selecting the right components may require some research and consultation with experts or irrigation suppliers. Ensure compatibility among the components, and consider the specific needs and requirements of your garden and plants. By choosing high-quality components and properly installing them, you can maximize the effectiveness and longevity of your irrigation system.
With the selection of components complete, the next step is to install your irrigation system, which we will explore in the following section.
Installing the irrigation system
Installing your irrigation system is an exciting step in the process of planning your garden. With a well-designed layout and the right components in hand, you can begin the installation process to bring your irrigation system to life. Follow these steps to ensure a successful installation:
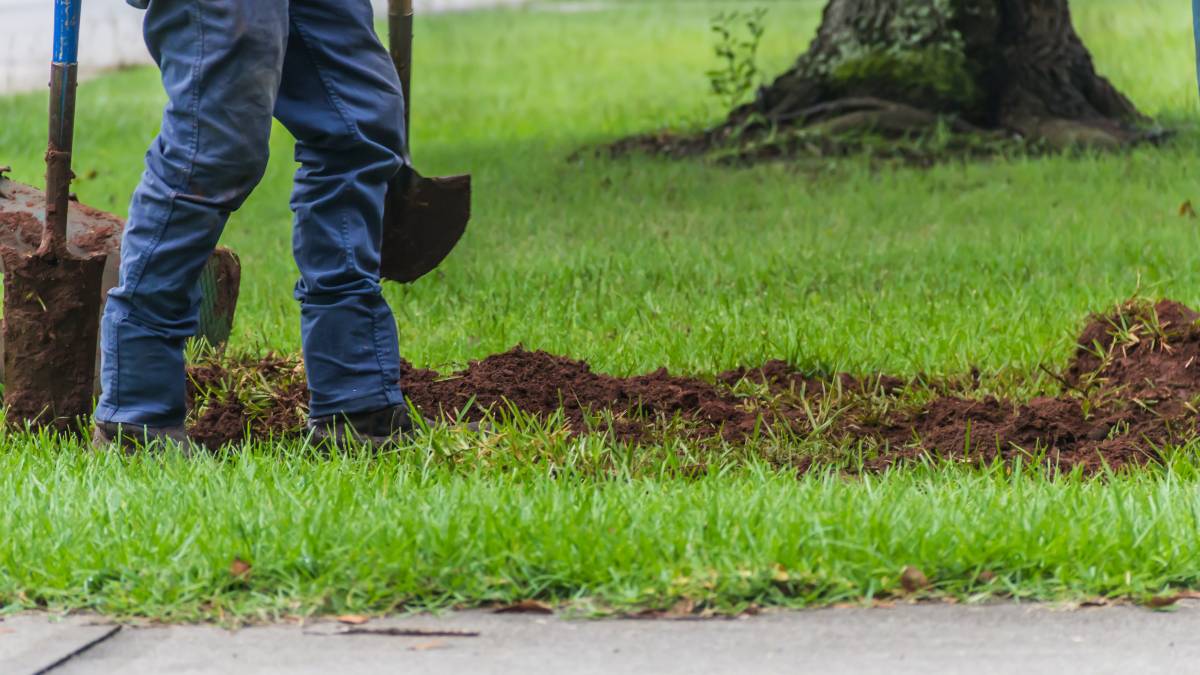
1. Prepare the site: Before installation, clear any debris, rocks, or vegetation from the area where the irrigation system will be installed. Ensure that the ground is level and free from any obstacles that could interfere with the placement of pipes, tubing, or sprinklers.
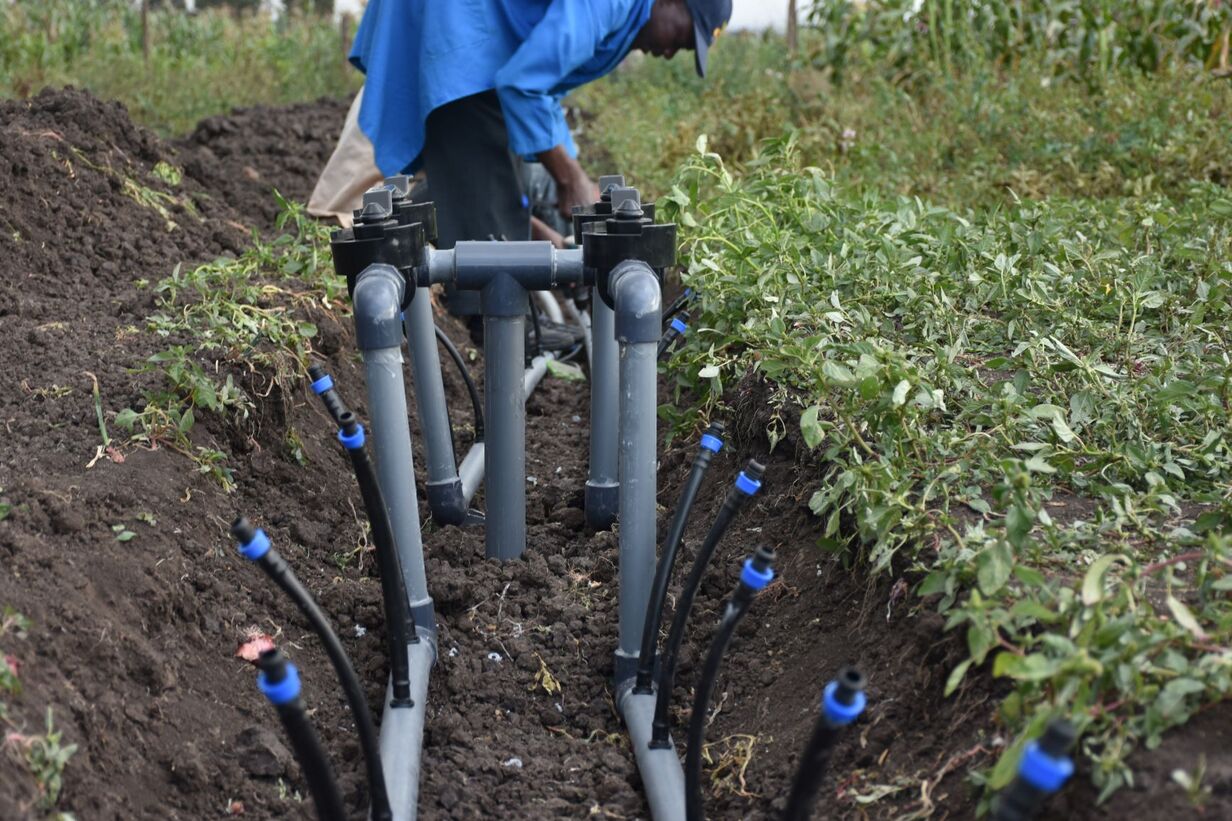
2. Lay out the pipes and tubing: Begin by laying out the main lines of the irrigation system, connecting them to the water source. Use PVC pipes for main lines and flexible tubing for lateral lines. Ensure that the pipes and tubing are appropriately sized and positioned to supply water to each zone or area of your garden.
3. Install the valves: Install the valves in strategic locations to control the water flow to different zones. Place the valves near the main lines and connect them to the pipes or tubing. Ensure that the valves are properly sealed and securely attached.
4. Position the sprinklers or emitters: Position the sprinklers or emitters according to your garden layout. Adjust the spray direction and pattern to cover the desired area. Secure the sprinklers or emitters in place using stakes or mounting brackets.
5. Connect the controller and sensors: Install the controller in a protected area where it can be easily accessible. Connect the controller to the valves and any sensors, such as rain sensors or moisture sensors. Follow the manufacturer’s instructions for wiring and programming the controller.
6. Test the system: Before covering the pipes and tubing with soil, test the system by turning on each zone separately. Check for any leaks, misaligned sprinklers, or issues with water flow. Adjust the positioning of sprinklers or emitters as needed to ensure optimal coverage.
7. Bury the pipes and tubing: Once the system has been tested and adjusted, bury the pipes and tubing to protect them from damage. Use caution when backfilling to avoid disrupting the connections or altering the alignment of the components.
8. Finalize the installation: After burying the pipes and tubing, secure any exposed components, such as the controller or valves. Make sure all connections are tight and properly sealed. Check that the system is functioning correctly and ready for regular use.
Consider consulting a professional or seeking guidance from irrigation experts if you are unsure about any aspect of the installation process. They can provide valuable advice and ensure that your irrigation system is installed correctly.
With your irrigation system now installed, the next step is to test and adjust the system to ensure optimal watering for your plants. This process will be covered in the following section.
Testing and adjusting the irrigation system
Once your irrigation system is installed, it is essential to test and adjust it to ensure that it is functioning optimally and delivering water effectively to your plants. By conducting thorough testing and making necessary adjustments, you can fine-tune your irrigation system to meet the specific needs of your garden. Follow these steps to test and adjust your system:
1. Run a complete system test: Activate your irrigation system and run it for a full cycle to observe the watering patterns and coverage. Check for any malfunctions, such as leaks, clogged emitters, or uneven water distribution. Take note of any areas that may be overwatered or underwatered.
2. Inspect and adjust sprinkler heads or emitters: Check each sprinkler head or emitter to ensure they are working properly and distributing water evenly. Adjust the spray direction, arc, or flow rate as needed to achieve uniform coverage. Replace any damaged or malfunctioning components.
3. Evaluate water pressure: Measure the water pressure at various points in your irrigation system to ensure it matches the requirements of your chosen components. Adjust pressure regulators if necessary to maintain optimal operating pressure.
4. Check for leaks: Inspect all connections, valves, and pipes for any signs of leaks. Repair or replace any damaged or leaking components to prevent water wastage and system inefficiencies.
5. Monitor watering duration: Observe the amount of time it takes for each zone to receive adequate water. Consider factors such as soil type, plant water requirements, and environmental conditions to determine appropriate watering durations for each zone.
6. Adjust watering schedule: Based on the results of your testing and observations, adjust the watering schedule of your irrigation system to ensure your plants receive the right amount of water at the right times. Consider factors such as weather conditions, seasonal changes, and specific plant needs.
7. Consider water conservation: Look for opportunities to conserve water in your irrigation system. Consider incorporating rain sensors or moisture sensors that automatically adjust the watering schedule based on rainfall or soil moisture levels. This helps prevent overwatering and unnecessary water usage.
8. Regularly inspect and maintain the system: Regularly inspect your irrigation system for any issues or damage. Clean or replace clogged filters or emitters. Ensure proper drainage and remove any debris around sprinkler heads or emitters. Keep an eye out for changes in plant health or signs of overwatering or underwatering.
By testing and adjusting your irrigation system, you can ensure that your plants receive adequate water while optimizing water usage and minimizing wastage. Regular monitoring and maintenance will help keep your system operating efficiently throughout the growing season.
With your irrigation system now properly tested and adjusted, you can enjoy the benefits of a well-functioning system that keeps your plants healthy and thriving. In the next section, we will discuss how to maintain your irrigation system and troubleshoot common issues that may arise.
Maintaining and troubleshooting common issues
Maintaining your irrigation system is essential to ensure its longevity and optimal performance. Regular maintenance will help prevent potential issues and keep your system functioning efficiently. Additionally, understanding common issues that may arise and knowing how to troubleshoot them will save you time and effort. Here are some maintenance tips and troubleshooting steps:
Regular inspections: Periodically inspect your irrigation system for any signs of leaks, clogs, or damaged components. Check for proper alignment of sprinkler heads or emitters and ensure that valves are opening and closing correctly. Regular inspections allow you to address any issues promptly before they escalate.
Cleaning and clearing: Keep sprinkler heads or emitters clean and clear of any debris, such as dirt, grass, or leaves. Clogged sprinklers or emitters can disrupt water flow and result in uneven watering. Use a small brush or toothpick to remove any obstructions and ensure proper functioning.
Adjusting water flow: If you notice areas in your garden that are receiving too much or too little water, adjust the water flow to achieve even coverage. This can be done by changing the nozzle size on sprinklers, adjusting the water pressure at the valves, or relocating sprinklers to better suit your plant’s watering needs.
Proper watering schedule: Evaluate the watering schedule of your irrigation system regularly to ensure it aligns with the changing needs of your plants and the weather conditions. Adjust the frequency and duration of watering based on seasonal changes and any specific requirements of your plants.
Monitor irrigation efficiency: Keep an eye on the water usage and efficiency of your irrigation system. Look for signs of overwatering, such as water runoff or excessively wet soil, which can indicate a need to adjust the watering schedule. Similarly, monitor for signs of underwatering, such as wilting or dry soil, and increase watering as necessary.
Winterizing: If you live in an area with freezing temperatures, it is crucial to winterize your irrigation system to protect it from damage. Drain any water from the pipes, valves, and sprinklers to prevent freezing and cracking. Disconnect and store any removable components indoors during the winter months.
Emergency shut-off: Familiarize yourself with the location of the main shut-off valve for your irrigation system. In case of any emergencies, such as a broken pipe or out-of-control sprinkler, you can quickly turn off the water supply to prevent further damage.
If you encounter any persistent issues with your irrigation system or require assistance with troubleshooting, it may be helpful to consult with a professional landscaper or irrigation specialist. They can provide expert guidance and help resolve any complex problems that may arise.
By regularly maintaining your irrigation system and promptly addressing any issues, you can ensure its proper functioning and prolong its lifespan. With a well-maintained system, your garden will thrive, and you can enjoy the beauty and benefits of a healthy and well-watered landscape.
Conclusion
Congratulations on completing your journey through the world of irrigation system planning and design! By understanding the basics of irrigation systems, assessing the water needs of your plants, determining the layout, choosing the appropriate irrigation method, selecting the right components, installing the system, testing and adjusting it, and maintaining it properly, you have equipped yourself with the knowledge and skills to create an efficient and effective irrigation system for your garden.
Remember, designing an irrigation system is not a one-size-fits-all process. It requires consideration of various factors, such as plant types, climate, soil conditions, and water availability. By tailoring your irrigation system to meet these specific needs, you can conserve water, promote healthy plant growth, and save time and effort in the long run.
Regular monitoring, maintenance, and troubleshooting will help you identify and address any issues promptly, keeping your irrigation system working optimally throughout the seasons. Additionally, staying informed about local water regulations and implementing water-saving practices, such as using rain sensors or adjusting watering schedules based on weather conditions, can contribute to a more sustainable and eco-friendly garden.
Remember to seek professional guidance when needed, as experts can provide valuable insights and solutions for complex issues. Your garden will benefit from your dedication and effort in creating a well-designed irrigation system that ensures proper hydration for your plants.
So, go ahead and put your newfound knowledge into practice. Enjoy the beauty and abundance of your garden, knowing that you have created an irrigation system that will support the growth and well-being of your plants for years to come!

