Home>Types of Gardening>Edible Gardening>How Long From Planting To Harvest Potatoes

Edible Gardening
How Long From Planting To Harvest Potatoes
Published: September 6, 2023
Learn how long it takes for potatoes to grow from planting to harvest in your edible gardening journey. Discover valuable tips and techniques for successful potato cultivation.
(Many of the links in this article redirect to a specific reviewed product. Your purchase of these products through affiliate links helps to generate commission for Chicagolandgardening.com, at no extra cost. Learn more)
Table of Contents
Introduction
Edible gardening has gained immense popularity in recent years, with more and more people taking up the rewarding hobby of growing their own food. Among the numerous vegetables that can be grown in a home garden, potatoes stand out as a versatile and nutritious choice. Whether you have a spacious backyard or a small balcony, cultivating potatoes is a feasible and enjoyable endeavor.
From the satisfying act of planting the seed potatoes to the joy of harvesting a bountiful crop, the journey of growing potatoes is a fulfilling experience. However, it’s important to have a good understanding of the growth process and the various factors that affect potato plant development in order to achieve a successful harvest.
In this article, we will explore the factors influencing potato growth, the best practices for planting potatoes, the different stages of potato growth, and the optimal time frame for planting to harvesting. By the end of this article, you’ll have a comprehensive understanding of the potato cultivation process and be equipped with the knowledge to embark on your own edible gardening adventure.
Factors Affecting Potato Growth
Several factors play a crucial role in determining the growth and development of potato plants. Understanding these factors will help you create an optimal environment for your potatoes to thrive. Here are the key factors that influence potato growth:
- Soil Quality: Potatoes thrive in well-draining soil that is rich in organic matter. Soil pH should be slightly acidic, ideally between 5.0 and 6.0. Adequate levels of nutrients, such as nitrogen, phosphorus, and potassium, are essential for healthy growth. Conducting a soil test can help you determine if any amendments are needed.
- Sunlight: Potatoes require at least six to eight hours of direct sunlight each day. Plant them in a location that receives ample sunlight to promote optimal growth and yield.
- Temperature: Potatoes are cool-season crops and thrive in temperatures between 60°F and 70°F (15°C to 21°C). They can tolerate light frost, but extreme heat can negatively affect tuber development. Planting when soil temperatures are around 50°F (10°C) is ideal.
- Watering: Consistent moisture is crucial for potato growth. However, overwatering can lead to rot, while underwatering can result in reduced yield. Aim for even moisture levels by watering deeply but infrequently, providing around 1 to 2 inches of water per week.
- Spacing: Adequate spacing between potato plants is important to ensure good air circulation and prevent the spread of diseases. Plant your potato tubers about 12 to 15 inches apart in rows spaced around 2 to 3 feet apart.
- Disease and Pest Control: Various diseases, such as late blight and early blight, can affect potato plants, along with pests like potato beetles. Practicing crop rotation, using disease-resistant varieties, and implementing organic pest control methods can help manage these issues effectively.
By paying attention to these factors and making necessary adjustments, you can create an ideal growing environment for your potato plants. This will maximize their growth potential and increase your chances of a successful harvest.
Planting Potatoes
When it comes to planting potatoes, proper preparation and technique are key to ensure successful germination and healthy growth. Let’s dive into the steps involved in planting potatoes:
- Choose the Right Seed Potatoes: Start by selecting high-quality seed potatoes from a reputable source. Look for certified disease-free varieties suited for your region and desired qualities.
- Preparing the Soil: Prepare the planting bed by loosening the soil to a depth of 8 to 10 inches. Remove any weeds or large stones, and incorporate organic matter, such as compost or well-rotted manure, to improve soil fertility and drainage.
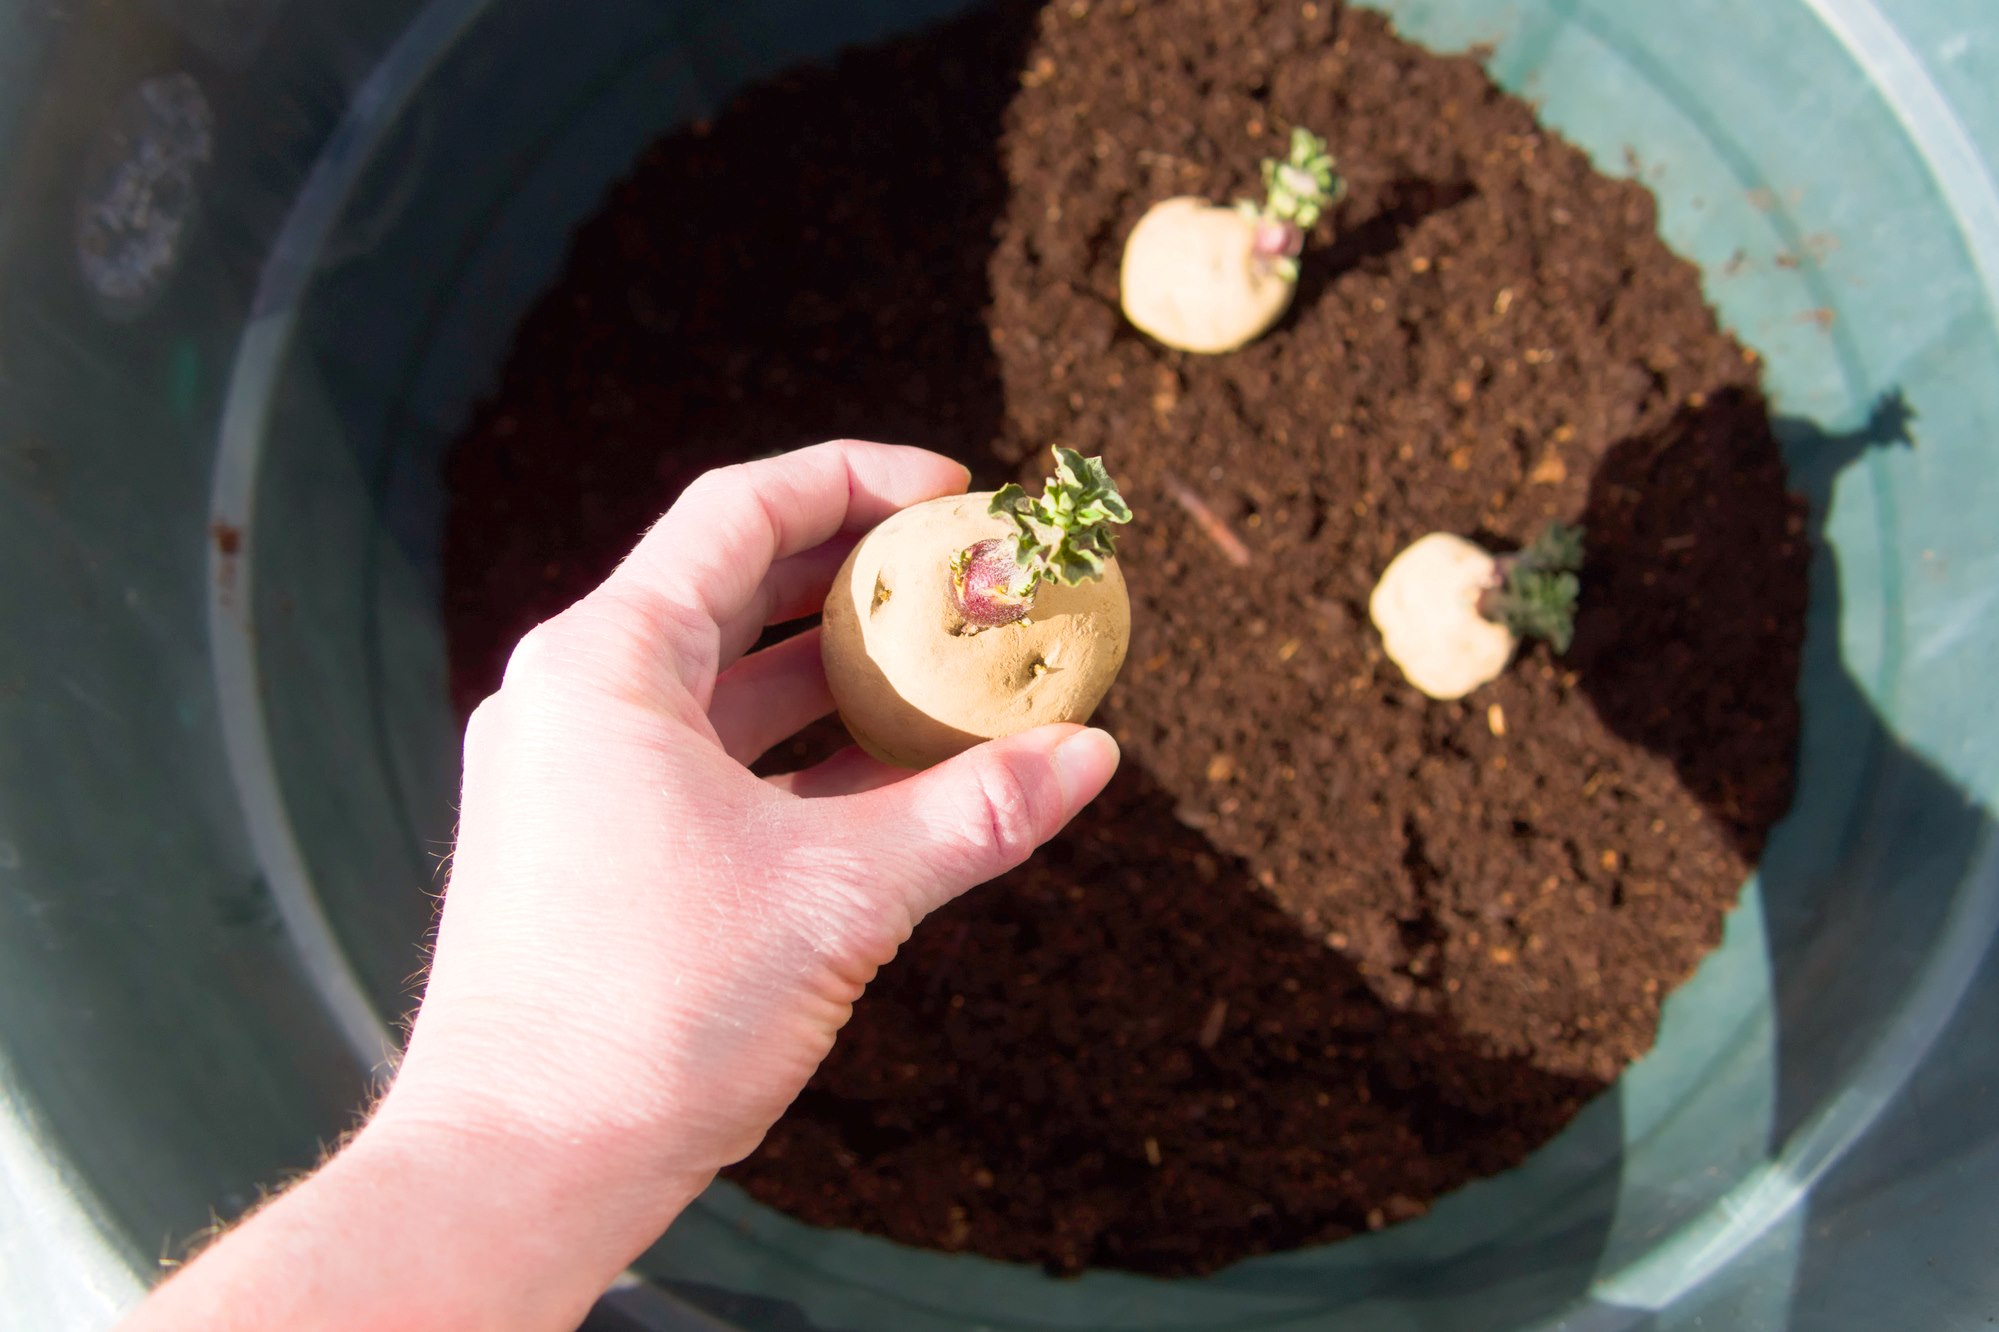
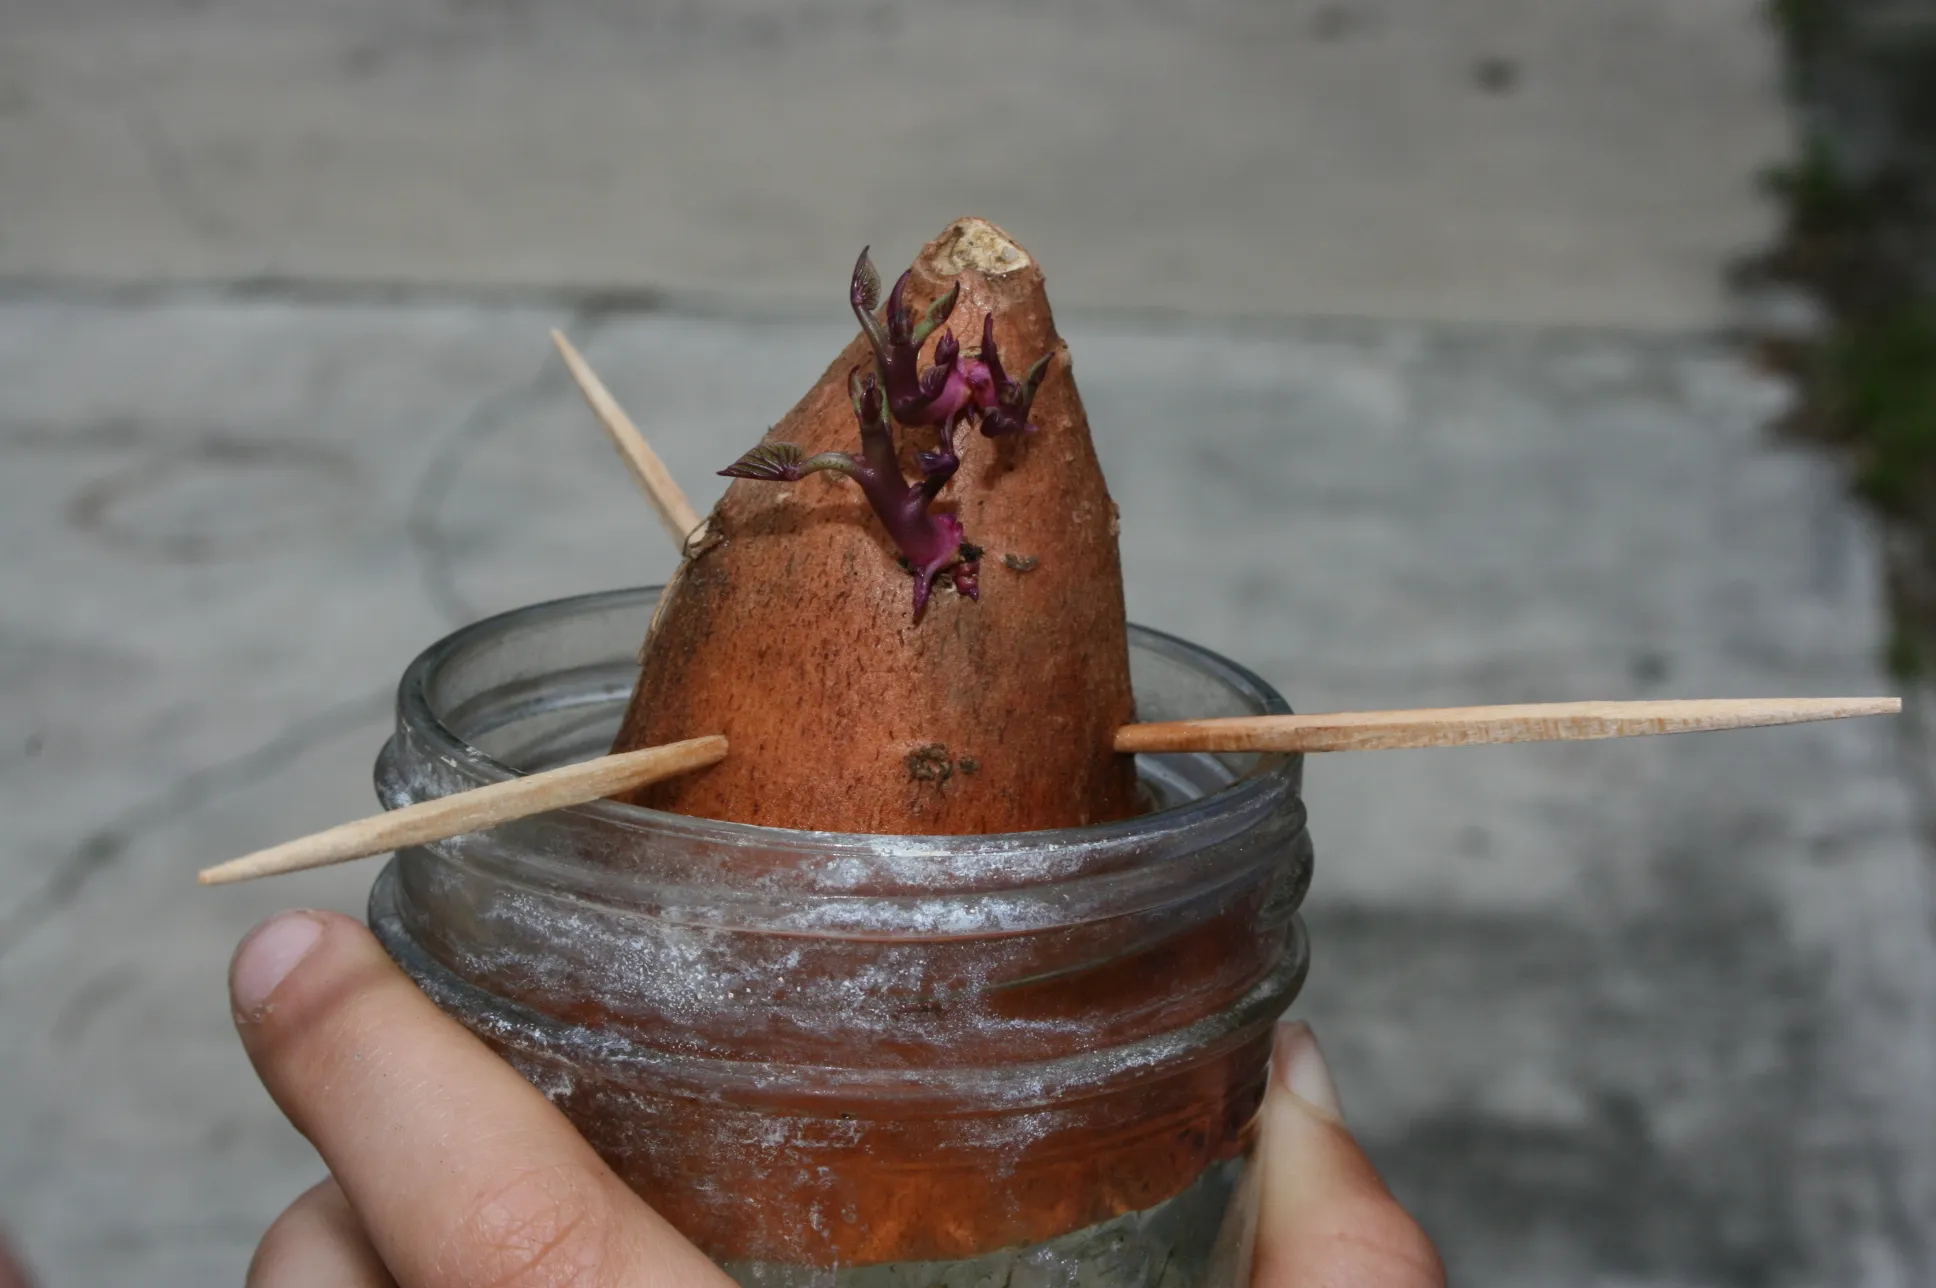
- Chitting: Some gardeners choose to “chit” or pre-sprout their seed potatoes before planting. This involves placing the potatoes, with the eyes facing upward, in a cool, well-lit location for a few weeks. This encourages the development of sturdy sprouts, giving the potatoes a head start.
- Cutting and Drying: If your seed potatoes are large, you can cut them into smaller pieces, each containing at least one or two eyes. Allow the cut surfaces to dry for a day or two before planting. This helps minimize rot and encourages faster healing of cut surfaces.
- Planting: Dig shallow trenches, around 4 to 6 inches deep, and place the seed potatoes with the cut side facing downwards and the eyes pointing up. Space the potatoes as mentioned earlier, ensuring proper spacing between plants and rows.
- Hilling: As the potato plants grow, they need to be hilled or covered with soil to prevent exposure to sunlight, which can cause the developing tubers to turn green and become toxic. As the plants reach about 6 inches in height, mound soil around the base of the plants, covering the lower stems and leaving only the top few leaves exposed.
- Watering and Maintenance: Keep the soil consistently moist but not waterlogged throughout the growing season. Monitor for pests and diseases, and address any issues promptly to ensure healthy potato plants.
Remember to choose the appropriate planting time based on your climate and soil temperature. With proper planting techniques and care, you’ll be well on your way to a thriving potato crop.
Potato Growth Stages
Understanding the different growth stages of potatoes is essential for proper care and timely management. Let’s explore the key stages of potato plant development:
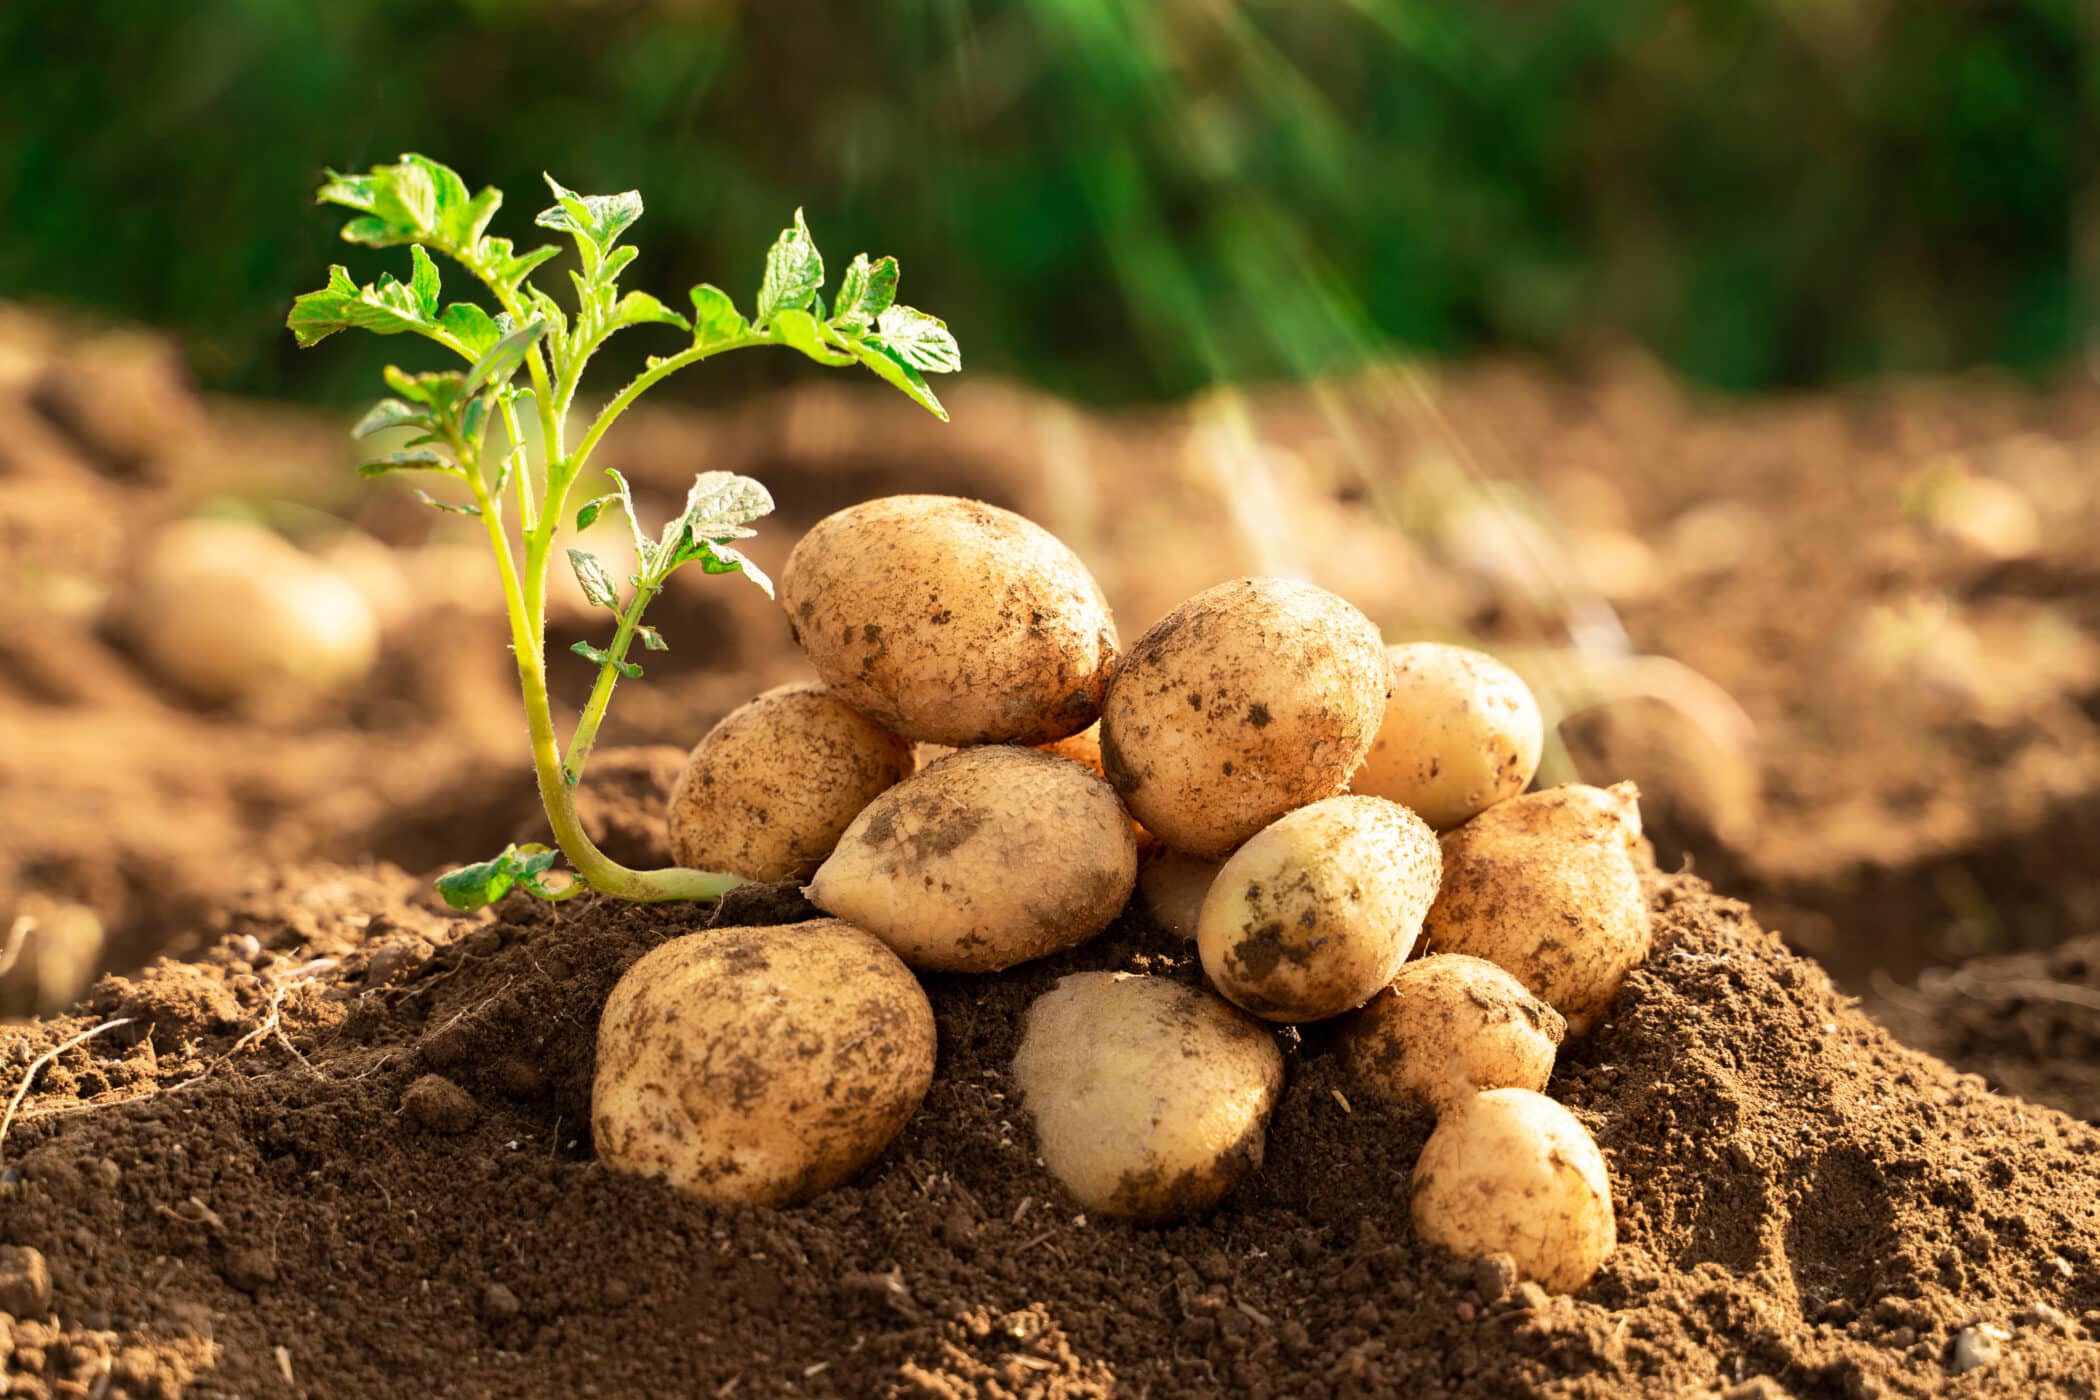
- Sprouting and Emergence: After planting, the seed potatoes sprout and begin to emerge from the soil within a couple of weeks. This marks the start of the growth cycle.
- Vegetative Growth: During this stage, the potato plants focus on vegetative growth, producing lush foliage and establishing a strong root system. The plant’s energy is primarily directed towards leaf development and gathering nutrients from the soil.
- Flowering: In the later stages of vegetative growth, potato plants produce small white or purple flowers. While the flowers themselves are not necessary for potato formation, they indicate that the plant is well-established and nearing maturity.
- Tuber Formation: As the vegetative growth slows down, the plant initiates the formation of tubers. This is a critical stage in the potato’s life cycle, as it determines the size and number of tubers that will develop. Adequate water, nutrients, and sunlight during this stage are crucial for optimal tuber growth.
- Bulking: This stage is characterized by the rapid enlargement of the tubers. The potatoes accumulate starches and nutrients, resulting in significant growth in size and weight. It is important to ensure consistent soil moisture and provide adequate potassium during this stage to promote healthy tuber bulking.
- Maturation: Towards the end of the growth cycle, the foliage of the potato plant begins to die back, indicating that the tubers have reached maturity. The skin of the potatoes thickens, and they develop their characteristic flavor and texture.
Each growth stage is a critical part of the potato plant’s development. Monitoring these stages and providing appropriate care, including irrigation, fertilization, and pest control, will help ensure a successful potato harvest.
Harvesting Potatoes
Harvesting potatoes is an exciting and rewarding process that marks the culmination of your hard work in the garden. Here are the key steps to follow when it’s time to harvest your potato crop:
- Timing: Potatoes can be harvested at various stages, depending on your preference and the intended use. For “new” or “baby” potatoes, harvest them when the plants are still in the flowering stage. For mature potatoes, wait until the foliage has withered and died back, usually around 2-3 weeks after the plants have stopped flowering. This allows the skins to thicken and the tubers to reach their maximum size.
- Preparing for Harvest: Prior to harvest, it’s important to stop watering the potato plants for about two weeks. This allows the skin to firm up, making it easier to handle and store the harvested tubers.
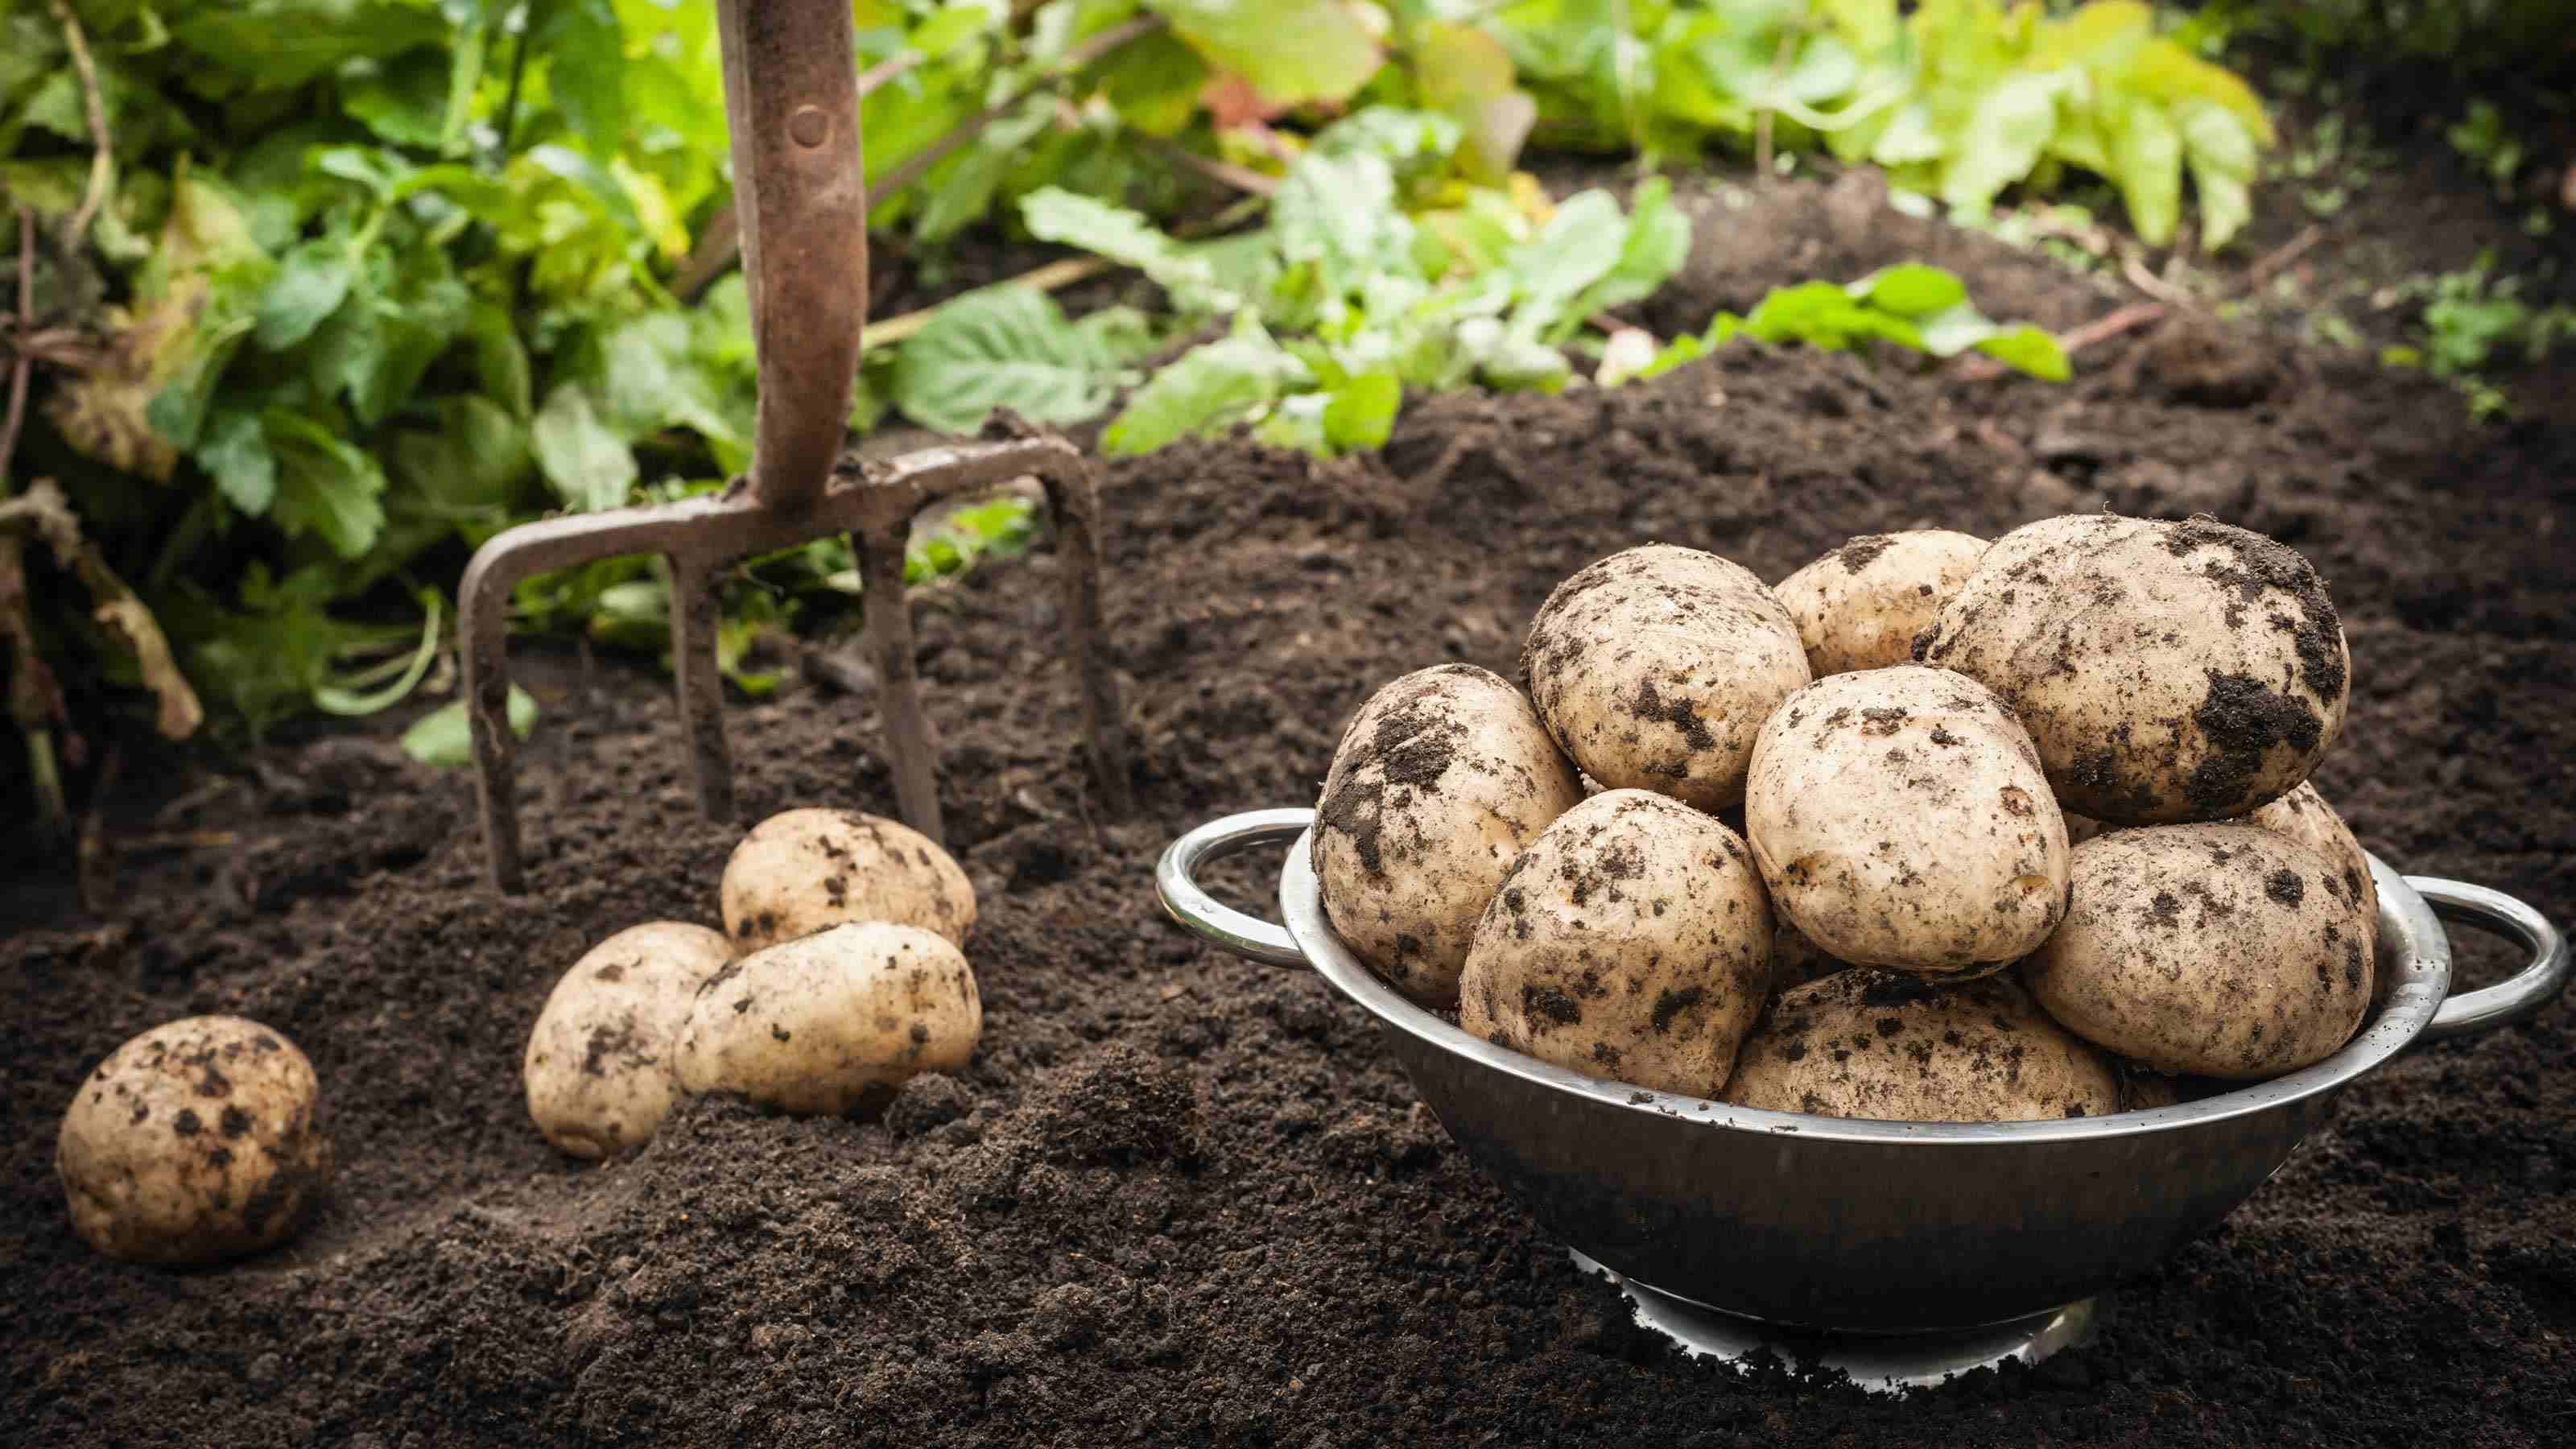
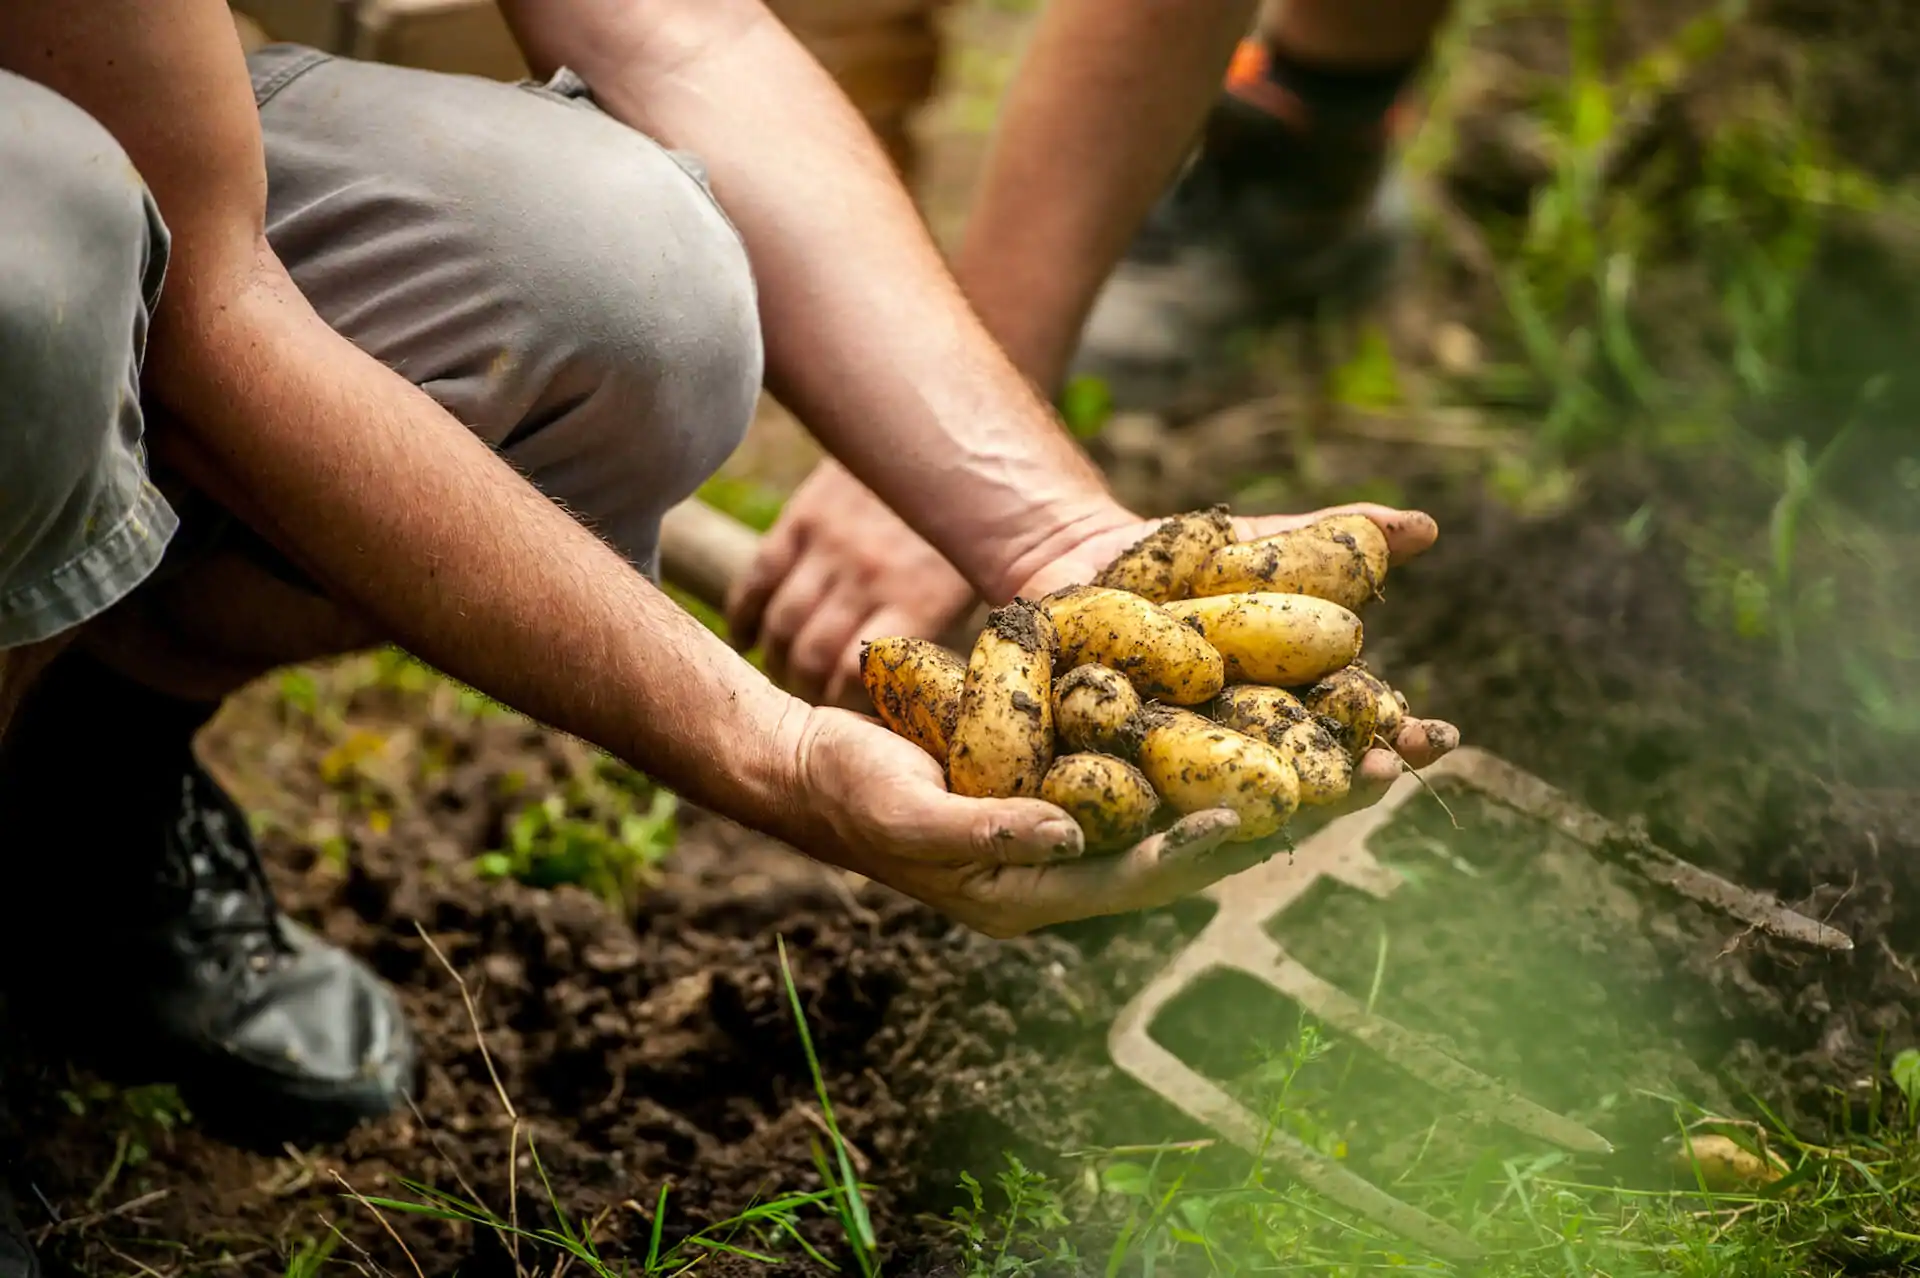
- Digging: Use a garden fork or shovel to carefully dig around the base of the plants, taking care not to damage the tubers. Start digging a few inches away from the plant and gradually move closer to avoid accidentally piercing the potatoes.
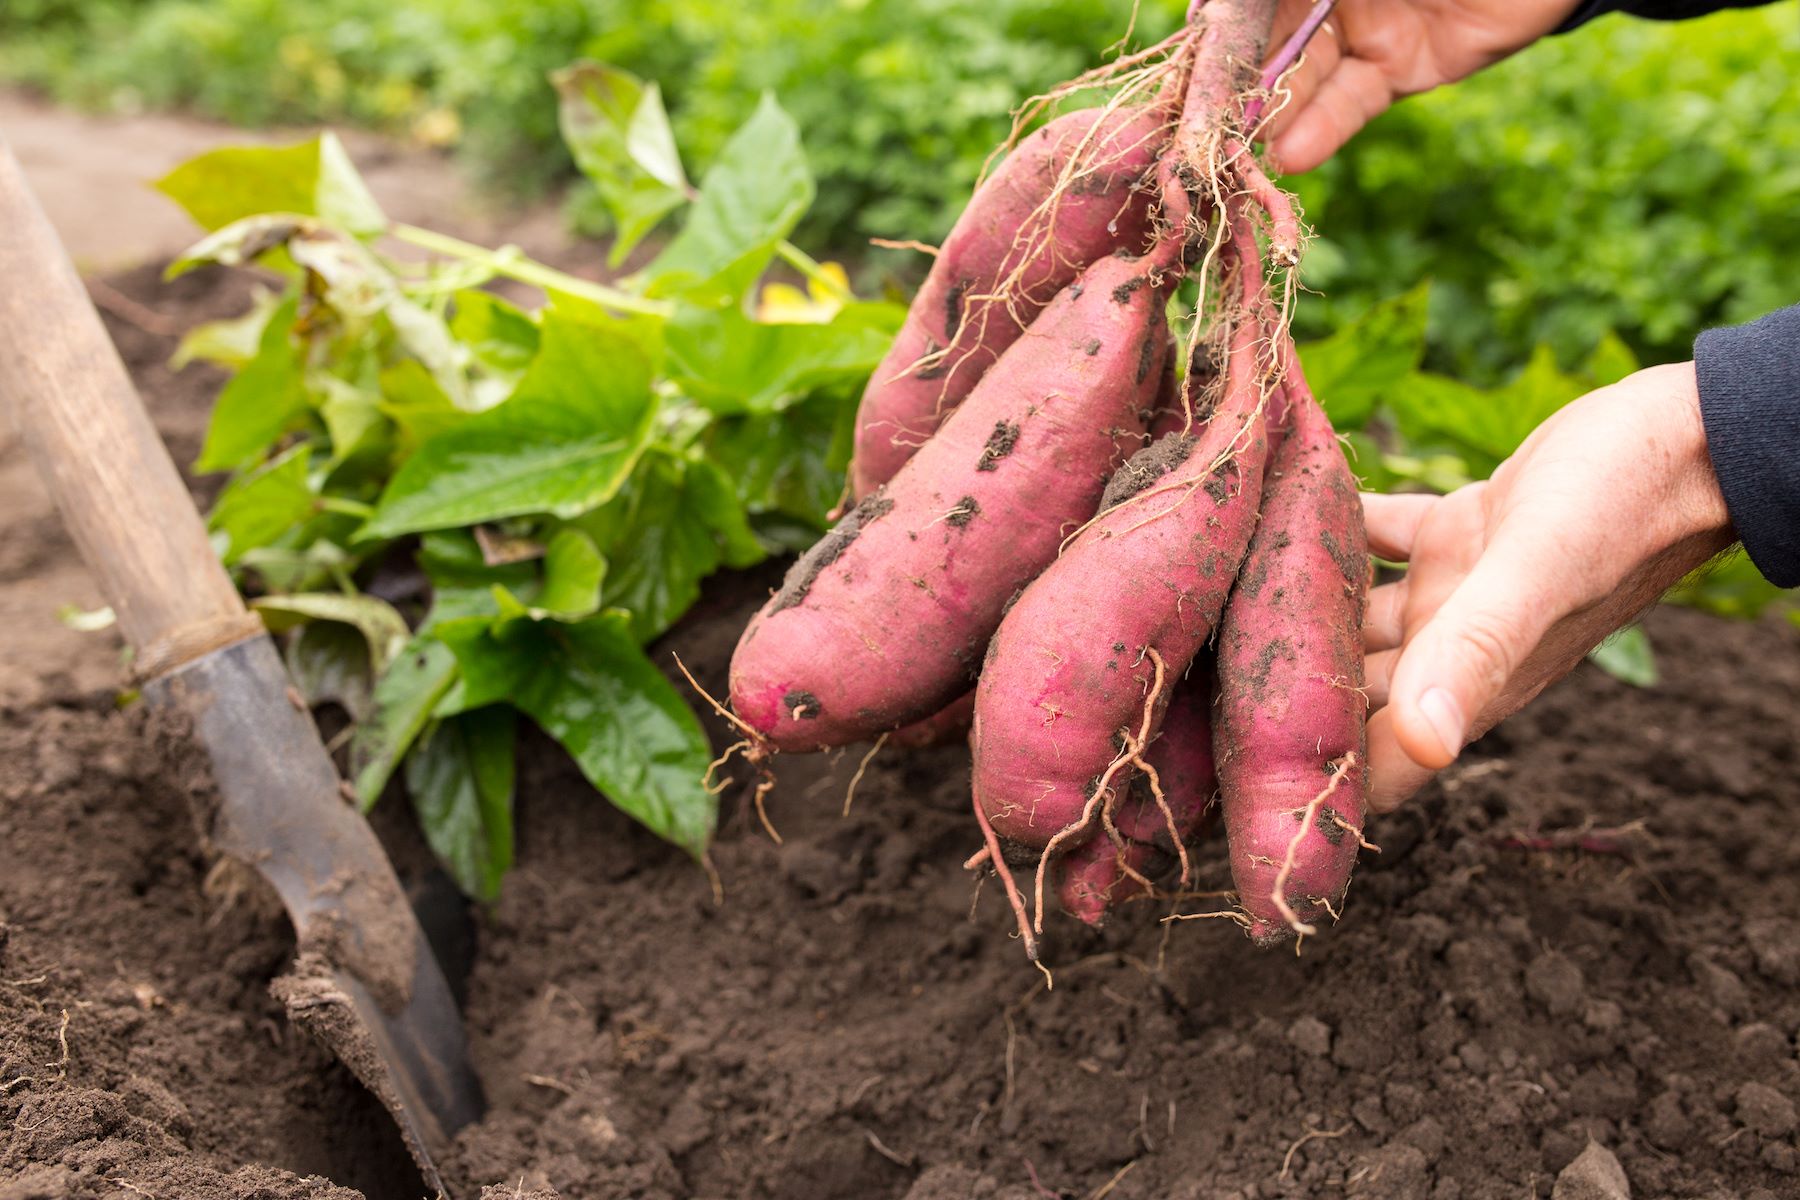
- Harvesting: Gently lift the potato plants from the soil, shaking off any excess dirt. Examine the tubers, and remove any damaged or diseased potatoes. Avoid exposing the harvested tubers to direct sunlight, as this can cause them to turn green and become toxic.
- Curing: After harvesting, allow the potatoes to cure for a short period, usually about a week, in a cool, dark, and well-ventilated area. This helps the skins to further toughen up, extending their storage life.
- Storage: Store your harvested potatoes in a dark, cool, and humid environment, ideally between 45°F and 50°F (7°C to 10°C) with a humidity level of 90-95%. Proper storage conditions will help prevent sprouting, shriveling, and rotting, allowing you to enjoy your homegrown potatoes for an extended period.
Remember that freshly harvested potatoes can be enjoyed immediately, providing a delicious treat straight from the garden. Celebrate your gardening success by incorporating these homegrown potatoes into your favorite culinary creations!
Time Frame for Planting to Harvesting
The time it takes for potatoes to go from planting to harvesting varies depending on various factors, including the potato variety, growing conditions, and desired size of the tubers. Here’s a general timeline to give you an idea of the time frame:
- Planting: Potatoes are typically planted in early spring, once the soil temperature reaches around 50°F (10°C). This is usually in March or April, but can vary depending on your region and climate.
- Emergence and Vegetative Growth: After planting, potato sprouts will emerge from the soil within two to three weeks. The plants then go through a period of vegetative growth, focusing on establishing a strong root system and developing foliage. This stage typically lasts for about 6-8 weeks.
- Flowering: Flowering usually occurs about 8-10 weeks after planting, but some varieties may take longer or shorter periods. The appearance of small white or purple flowers signals that the plants are well-established and approaching maturity.
- Tuber Formation: As the potato plants enter the tuber formation stage, which typically starts around 8-10 weeks after planting, the energy shifts towards developing and enlarging the tubers. This process can take anywhere from two to three months, depending on the variety and growing conditions.
- Bulking: During the bulking stage, the tubers rapidly increase in size and accumulate starches and nutrients. This stage usually lasts for about 2-3 weeks and is influenced by factors such as temperature, light conditions, and available nutrients.
- Maturation: Towards the end of the growth cycle, the potato plant’s foliage starts to wither and die back. This typically occurs around 2-3 weeks after the plants have stopped flowering. The tubers reach their maximum size and develop their characteristic flavor and texture.
Considering the various growth stages, the approximate time frame from planting to harvesting can range from 12 to 20 weeks. Early maturing varieties may be ready for harvest at around 12-14 weeks, while main crop varieties may require 16-20 weeks or even longer for full maturity.
It’s important to note that these time frames are rough estimates, and actual harvest times may vary based on environmental conditions and cultivation practices. Monitoring the visual cues, such as the condition of the foliage and the maturity of the tubers, is key to determining the optimal time for harvesting your potatoes.
Conclusion
Growing your own potatoes can be a rewarding and fulfilling experience. By understanding the factors that influence potato growth, following proper planting techniques, and knowing the various growth stages, you can optimize your chances of a successful harvest.
Remember to pay attention to factors such as soil quality, sunlight, temperature, and watering to create an ideal growing environment for your potatoes. Additionally, practicing disease and pest control measures, spacing your plants appropriately, and providing adequate care throughout the growth cycle will contribute to healthy and productive potato plants.
From the initial sprouting and emergence to the bulking and maturation of the tubers, each stage of the potato growth process plays a vital role in the ultimate success of your harvest. Observing the visual cues of plant health and tuber maturity will guide you in knowing when to dig up your potatoes for consumption or storage.
Whether you’re looking to enjoy the satisfaction of growing your own food, improve your self-sustainability, or simply enhance the flavors of your meals, growing potatoes in your edible garden is a fantastic choice. With careful attention to the cultivation process and the joy of reaping a bountiful harvest, you’ll savor the fruits of your labor from planting to harvesting.
So roll up your sleeves, prepare your soil, and get ready to embark on a potato-growing journey that will fill your kitchen with delicious and nutritious tubers. Happy gardening!
