Home>Types of Gardening>Edible Gardening>How To Germinate Japanese Maple Seeds

Edible Gardening
How To Germinate Japanese Maple Seeds
Modified: February 10, 2024
Learn how to germinate Japanese maple seeds and start your own edible gardening project. Discover the steps, tips, and tricks to successfully grow Japanese maple trees from seeds.
(Many of the links in this article redirect to a specific reviewed product. Your purchase of these products through affiliate links helps to generate commission for Chicagolandgardening.com, at no extra cost. Learn more)
Table of Contents
Introduction
Welcome to the exciting world of edible gardening! Growing your own food can be a fulfilling and rewarding experience, and one of the most delicious ways to do so is by cultivating a variety of edible plants in your own backyard. Whether you have a sprawling garden or a small balcony, edible gardening allows you to enjoy fresh and flavorful produce right at your fingertips.
In this article, we will explore the art of edible gardening and guide you through the process of growing your own food. We will cover everything from selecting the right plants to nurturing and harvesting your garden bounty. By the end of this article, you will have the knowledge and confidence to embark on your very own edible garden journey.
Edible gardening not only provides you with a sustainable and eco-friendly way to enjoy fresh produce, but it also allows you to have control over what goes into your food. You can choose to grow your plants organically, free from harmful chemicals and pesticides, ensuring that you and your loved ones are consuming the freshest and healthiest produce possible.
Whether you are a seasoned green thumb or a novice gardener, this article will provide you with valuable insights and practical tips to help you succeed in your edible gardening endeavors. From selecting the right plants for your climate and space to understanding the essential elements of soil, watering, and fertilization, we will cover it all.
So, roll up your sleeves and get ready to dig in the dirt as we dive into the wonderful world of edible gardening. Let’s sow the seeds of knowledge and watch as they blossom into a thriving edible garden that will provide you with fresh and delicious produce for years to come.
Step 1: Gathering Supplies
Before diving into the exciting process of edible gardening, it’s important to gather all the necessary supplies. Having the right tools and materials will make your gardening journey much smoother and more enjoyable. Here are some essential supplies you’ll need:
- Seeds or seedlings: Choose high-quality seeds or healthy seedlings from a reputable source. Opt for varieties that are well-suited to your climate and growing conditions.
- Pots or containers: If you don’t have access to a garden plot, consider using pots or containers. Select containers with proper drainage to prevent waterlogging.
- Soil: Use a nutrient-rich potting mix or a combination of compost, peat moss, and organic matter for your plants to thrive.
- Garden tools: Basic tools like a trowel, gardening gloves, pruning shears, and a watering can or hose will help you take care of your garden effectively.
- Labels and markers: Use labels or markers to identify your plants, especially if you’re growing multiple varieties.
- Fertilizer: Depending on your plants’ needs, you may require organic or slow-release fertilizers to provide essential nutrients.
- Mulch: Apply mulch around your plants to retain moisture, suppress weeds, and regulate soil temperature.
- Support structures: If you’re growing climbing plants or vegetables like tomatoes, consider using stakes, trellises, or cages for support.
- Garden gloves: Protect your hands from dirt and potential injuries with a pair of sturdy garden gloves.
- Watering system: Ensure you have a reliable and efficient watering system, whether it’s a watering can, hose, or drip irrigation setup.
Once you have gathered all your supplies, you’ll be well-equipped to start your edible garden and set yourself up for success. Take the time to gather high-quality seeds or seedlings, invest in good soil and fertilizers, and acquire the necessary tools to make your gardening experience enjoyable and fruitful.
Remember, having the right supplies not only makes your gardening tasks easier but also sets the foundation for the healthy growth of your plants. So, stock up on these essentials, and let’s move on to the next step in our edible gardening journey.
Step 2: Seed Preparation
Properly preparing your seeds is a crucial step in ensuring successful germination and healthy plant growth. Here’s a guide to help you prepare your seeds before planting:
- Clean and sort: Start by removing any debris or impurities from your seeds. Sort through them, discarding any damaged or discolored ones. This will increase the chances of germination and produce healthier plants.
- Seed scarification: Some seeds have tough outer coatings that can prevent water absorption and inhibit germination. To overcome this, you can scarify the seeds by gently sanding or nicking the seed coat with a small file or sandpaper. This will help water penetrate the seed, promoting quicker and more even germination.
- Seed soaking: Soaking seeds overnight can help soften their outer coating and speed up the germination process. Place the seeds in a container of warm water and let them soak for 12 to 24 hours. Be sure to use clean water and change it if it becomes cloudy.
- Cold stratification: Some seeds, especially those from plants that naturally experience winter dormancy, require a period of cold stratification to break their dormancy and promote germination. To cold stratify your seeds, moisten a paper towel, place the seeds on it, fold the towel, and seal it in a plastic bag. Put the bag in the refrigerator for the recommended duration, typically 1 to 3 months, depending on the plant species.
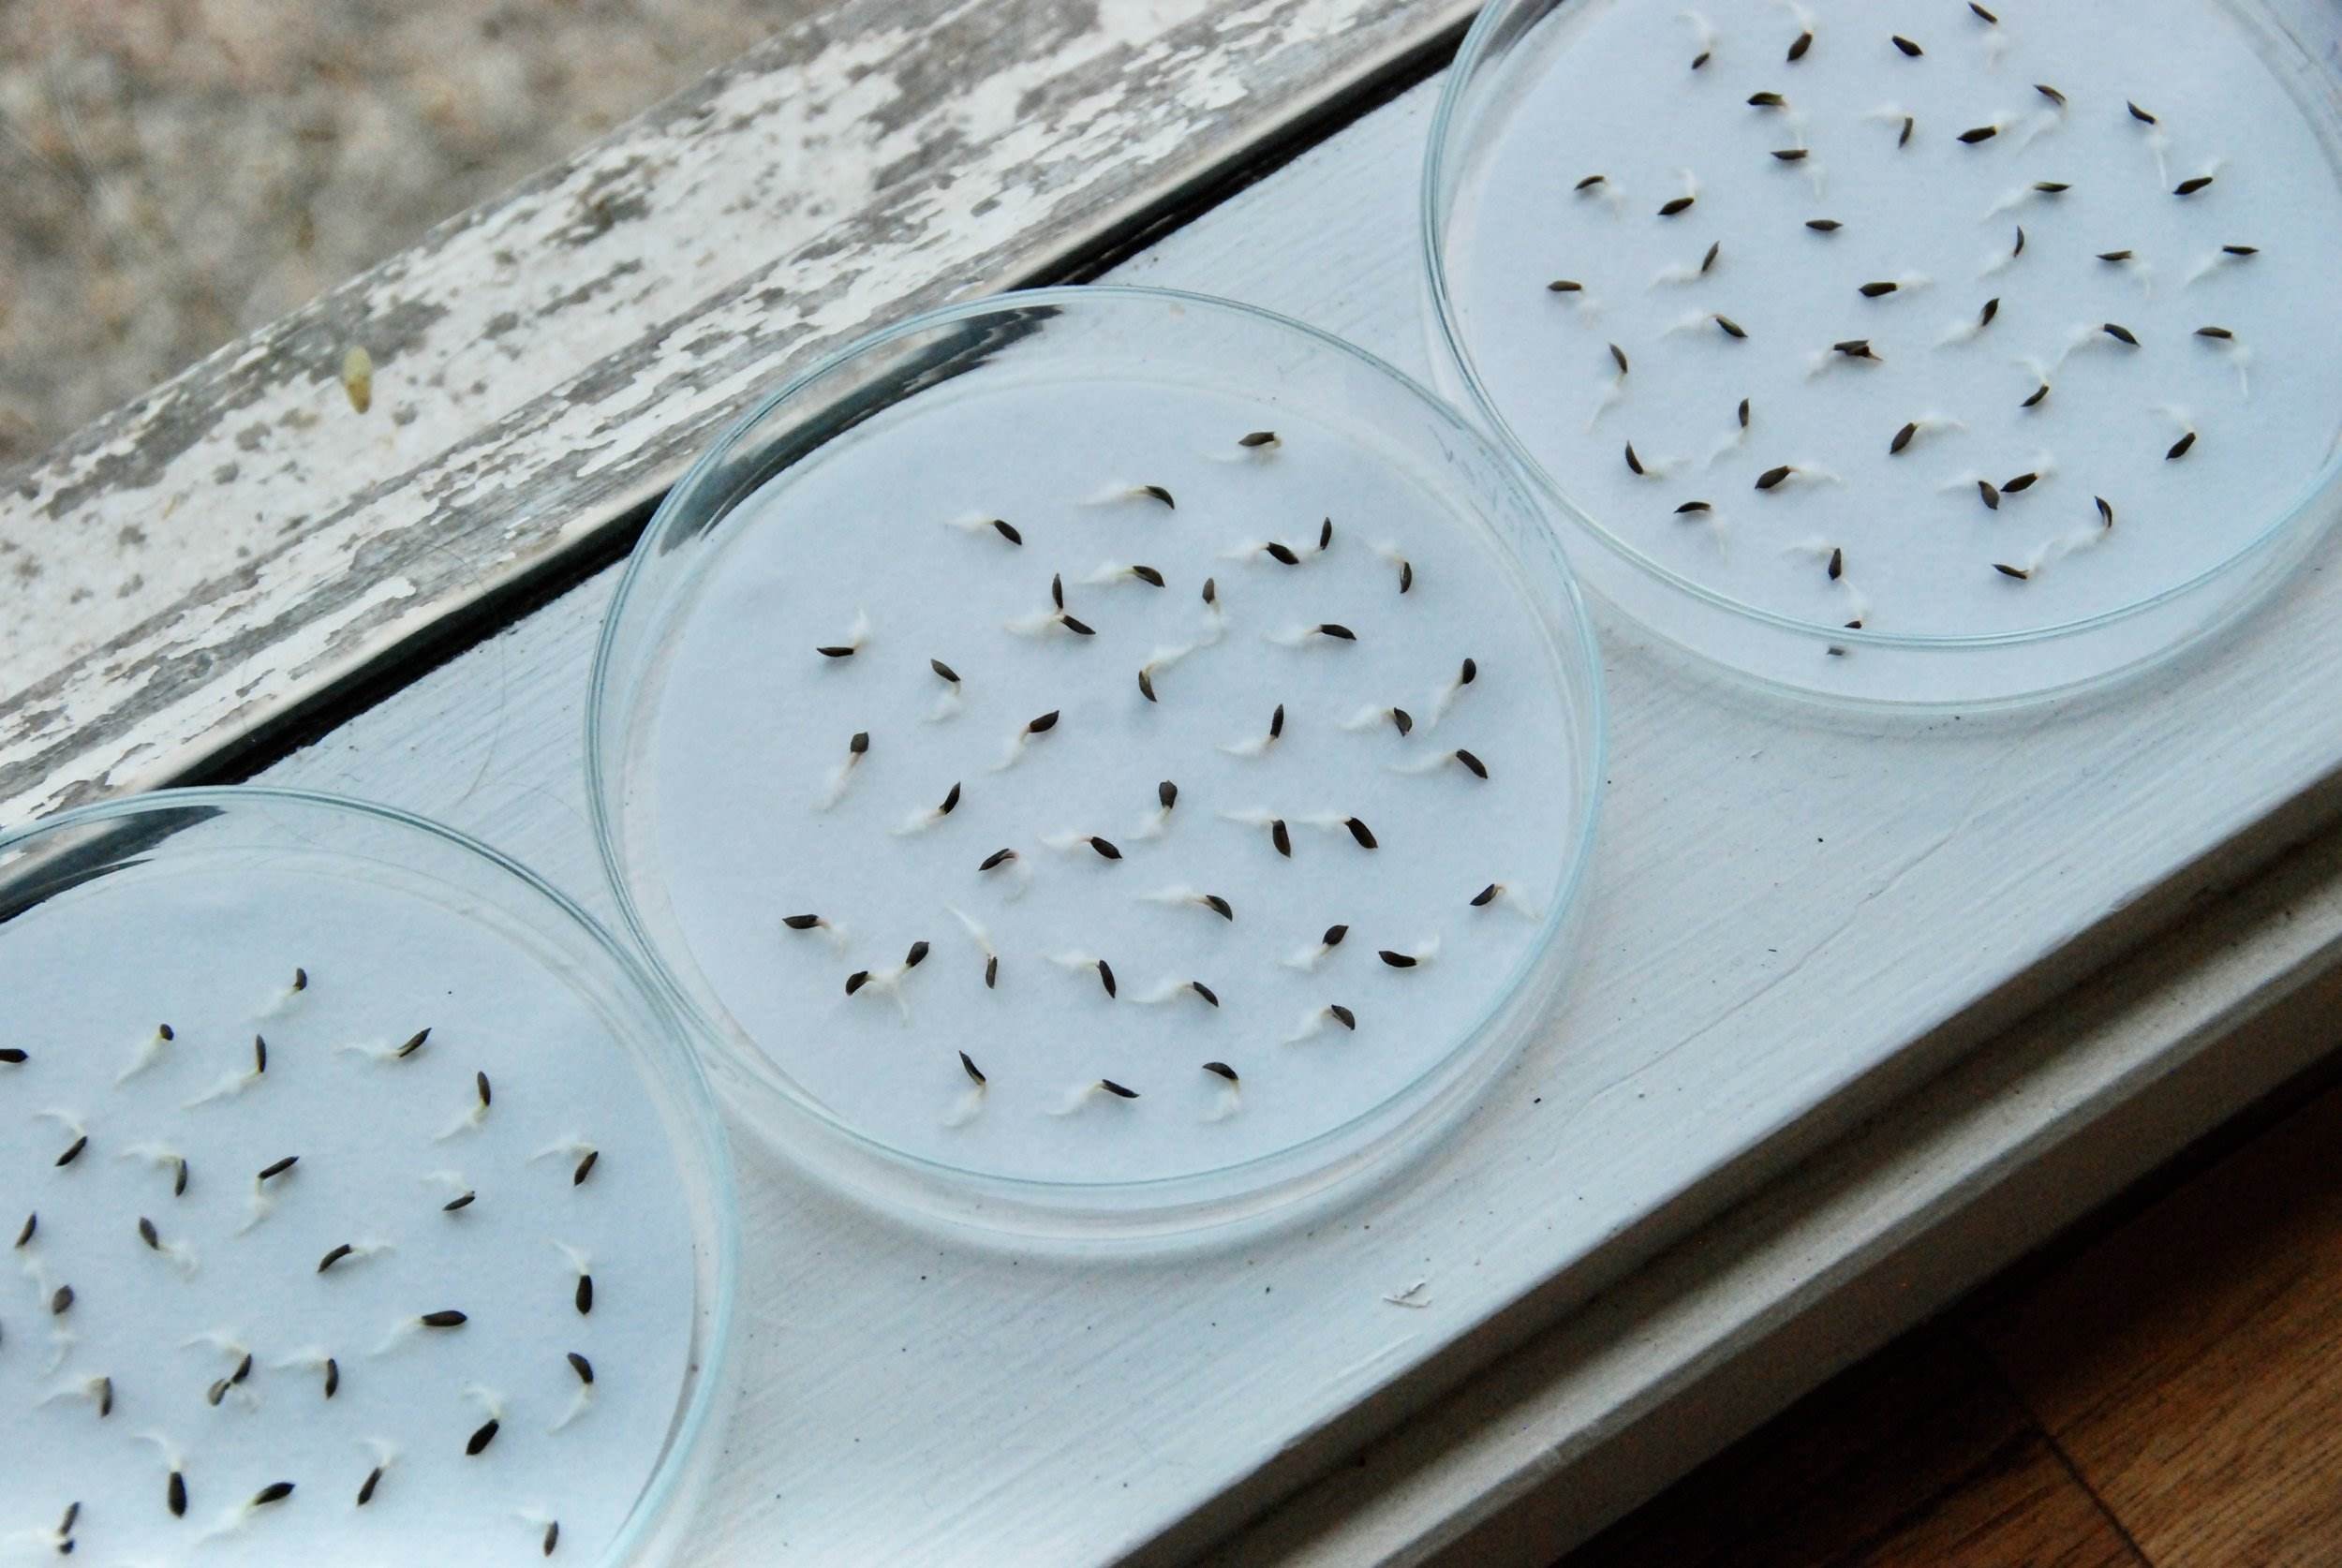
- Pre-germination: Pre-germinating seeds can help you identify viable seeds before planting them. Wrap the seeds in a damp paper towel and place them in a plastic bag. Keep the bag in a warm location, checking regularly for signs of germination. Once the seeds begin to sprout, they are ready for planting.
Each plant species may have specific seed preparation requirements, so be sure to research the particular needs of the seeds you are working with. By properly preparing your seeds, you give them the best chance for successful germination and healthy growth.
Remember to label and keep track of your prepared seeds, as this will help you stay organized and ensure that you’re providing the appropriate care and conditions for each variety. With your seeds now ready, let’s move on to the next step: stratification.
Step 3: Stratification
Stratification is a process that mimics the natural conditions needed for germination in seeds that require a period of dormancy or cold exposure. Cold stratification is particularly important for many native plant species and certain fruit trees. Here’s how you can stratify your seeds:
- Research seed requirements: Different plants have varying stratification requirements. Some may require several weeks of cold treatment, while others need only a few days. Research the specific requirements for the seeds you are germinating to achieve the best results.
- Moisten the medium: Moisten the stratification medium, such as peat moss or vermiculite, but avoid soaking it to the point of excessive moisture. Squeeze out any excess water to ensure the medium is damp but not waterlogged.
- Place seeds in the medium: Spread out your stratification medium in a container or plastic bag and evenly distribute the seeds on top of it. Make sure the seeds are not touching each other to prevent mold or fungal issues.
- Seal and store: Close the container or seal the bag, ensuring that it is airtight. Label the container with the seed variety and the date of stratification, and place it in the refrigerator. Maintain a temperature between 32°F and 41°F (0°C to 5°C) for the recommended stratification period.
- Check for signs of progress: Periodically check the seeds for any signs of sprouting or mold. If you notice any mold, remove and discard the affected seeds to prevent it from spreading to others.
- Monitor stratification duration: Depending on the plant species, stratification can take anywhere from a few weeks to several months. Refer to your research to determine the appropriate duration for your seeds.
By stratifying your seeds, you are providing them with the necessary period of cold exposure to break dormancy and initiate germination. This process simulates the conditions the seeds would experience in their natural environment, and ensures a higher success rate for germination.
Once the stratification period is complete, it’s time to move on to the next step: planting the seeds and witnessing the miracle of new life sprouting from the soil.
Step 4: Planting the Seeds
Now that your seeds are properly prepared and stratified, it’s time to plant them and watch them grow into thriving plants. Here are the steps to planting your seeds:
- Select containers or garden beds: Choose a suitable location for planting your seeds. If using containers, ensure they have drainage holes to prevent waterlogging. If planting directly in the ground, prepare the bed by loosening the soil and removing any weeds.
- Plant at the right depth: Follow the seed packet instructions or general guidelines for the proper planting depth. Typically, seeds should be planted at a depth that is approximately two to three times their size. Gently press the soil over the seeds to ensure good contact.
- Provide optimal conditions: Place your planted seeds in an area that receives the right amount of sunlight for the particular plant species. Water the soil lightly to keep it consistently moist but not saturated. Avoid overwatering as it can lead to waterlogged soil and rotting seeds.
- Label and track: Use plant markers or labels to identify the planted seeds and keep track of the different varieties. This will help you monitor their progress and adjust care as needed.
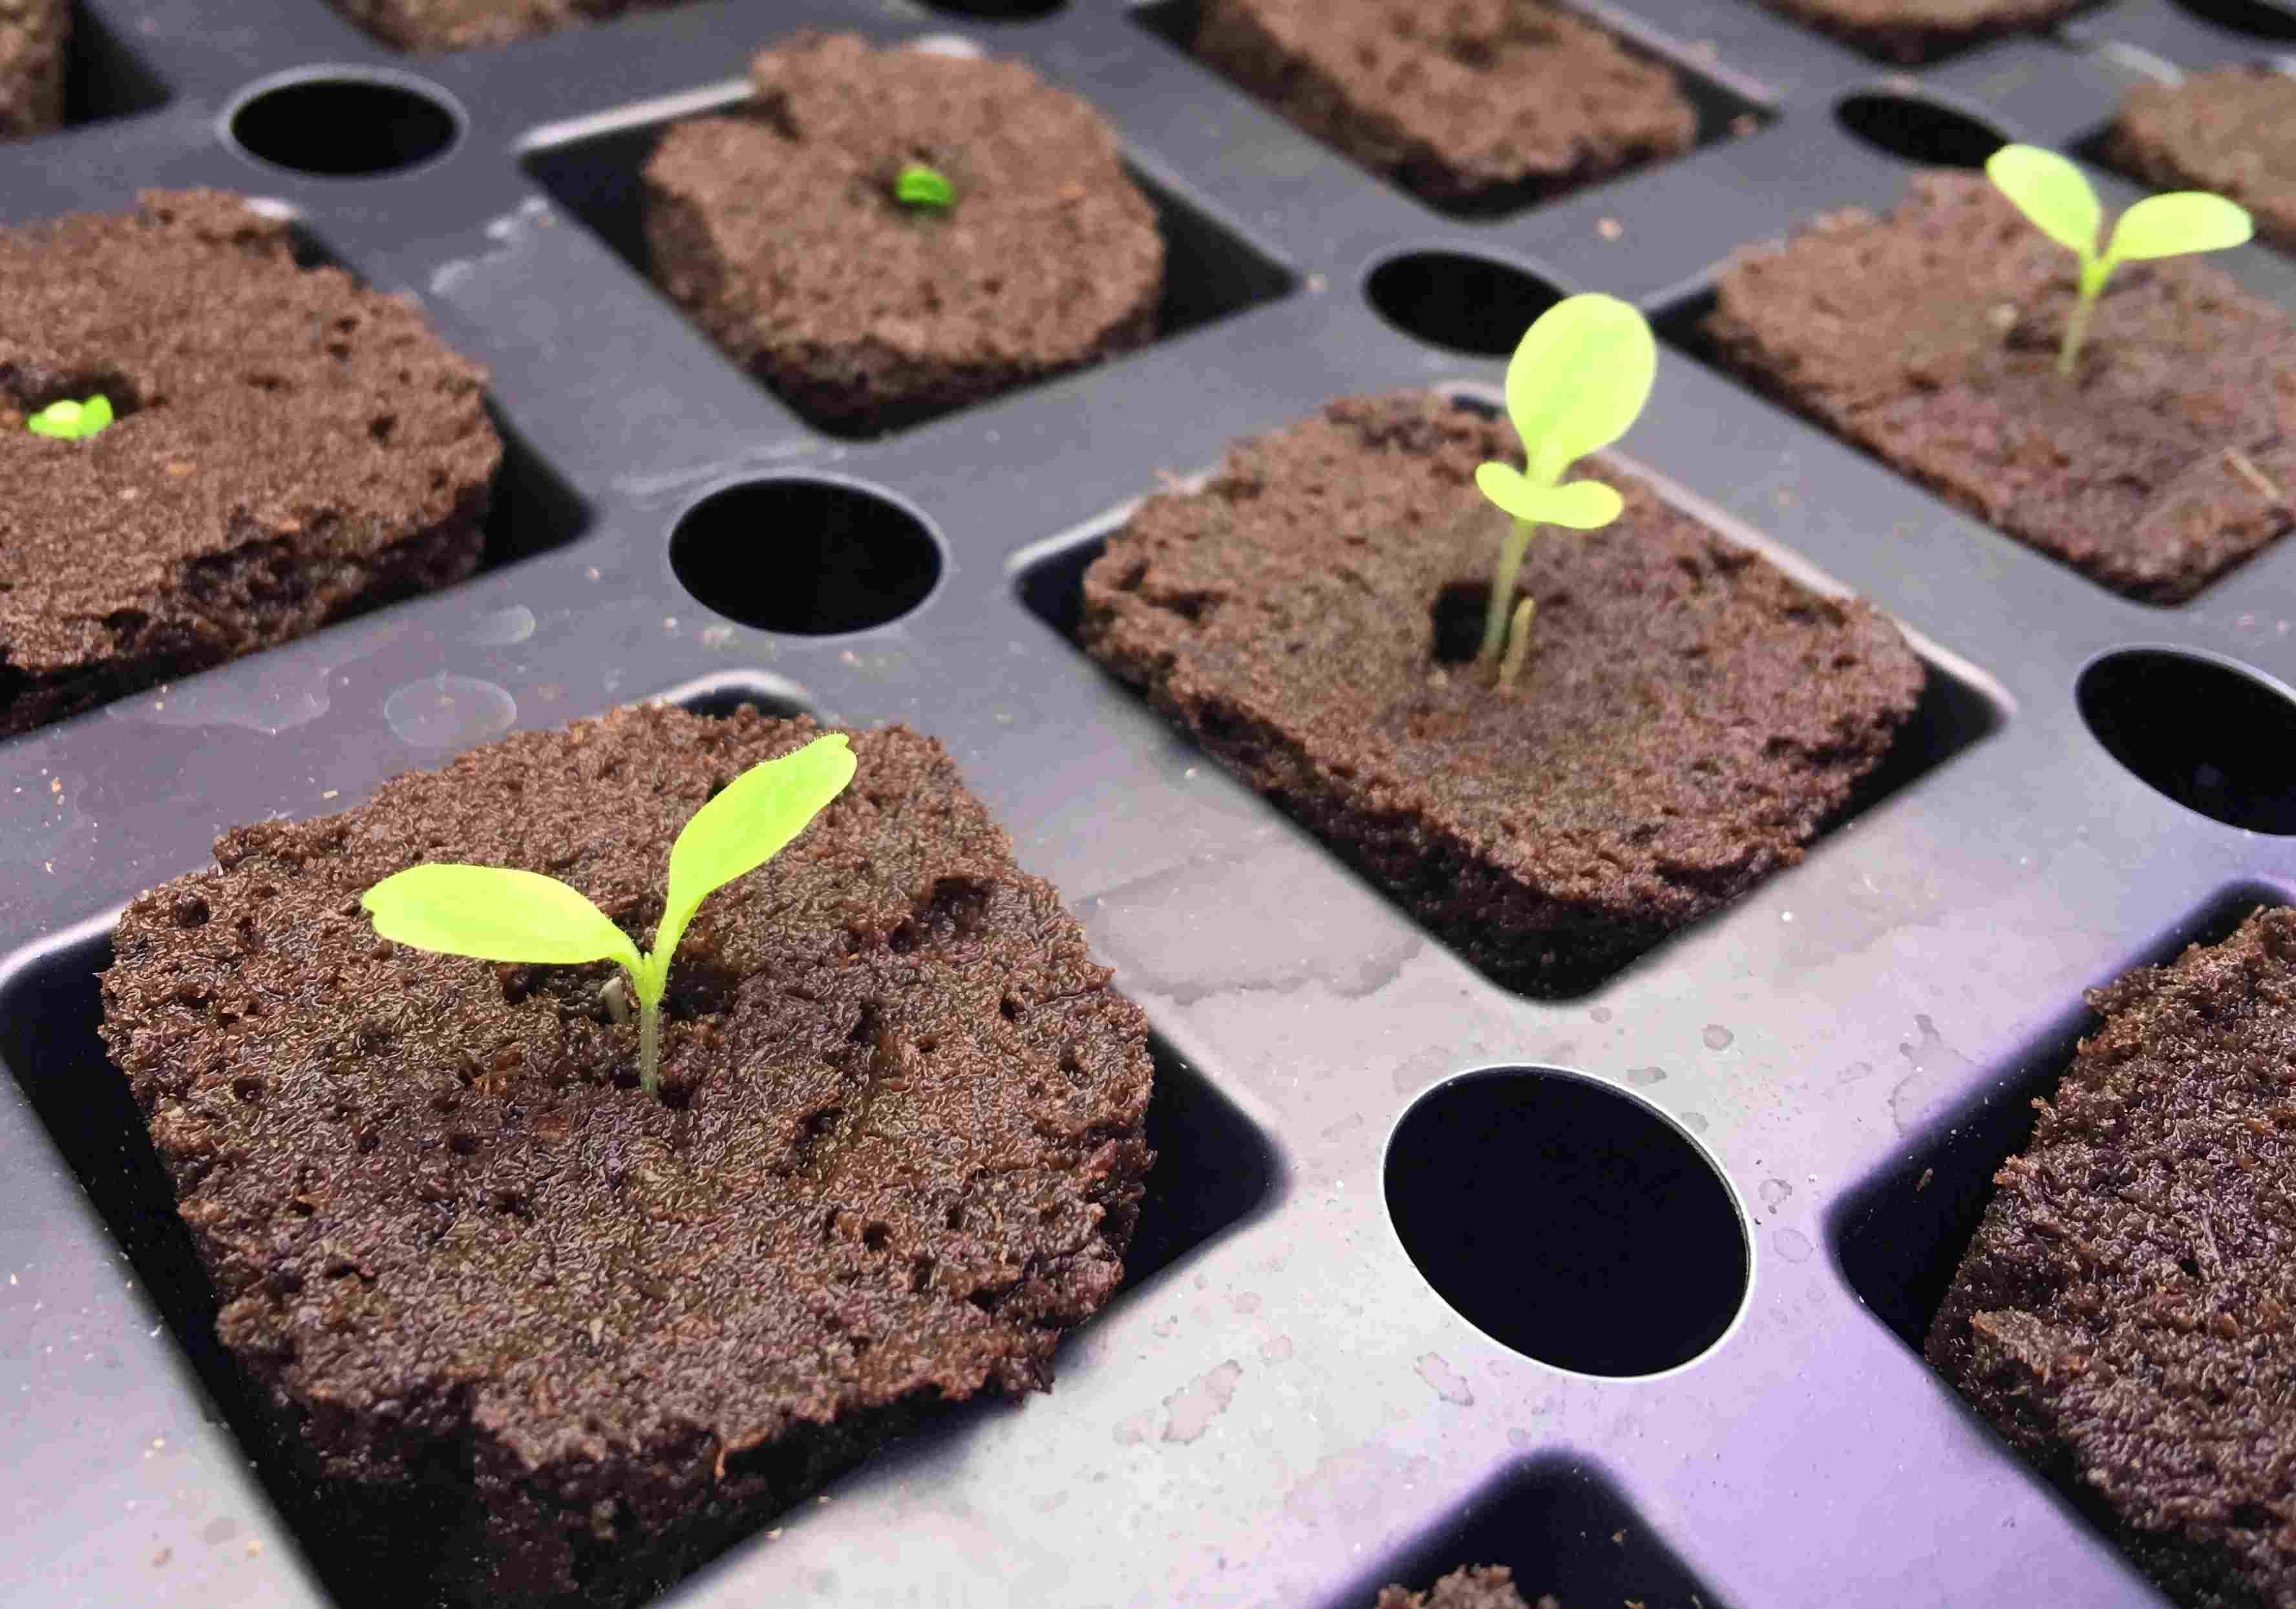
- Germination and care: Keep a close eye on the germination process. Depending on the seeds, germination can take anywhere from a few days to a few weeks. Once the seeds have sprouted, provide proper care by maintaining consistent moisture levels and ensuring adequate sunlight.
- Thin out seedlings: If multiple seedlings emerge in a single planting spot, thin them out by gently removing the weaker ones. This allows the remaining seedlings to have enough space and resources to grow into healthy plants.
- Protect from pests: Protect your seedlings from pests such as slugs, snails, and birds. Use organic pest control methods or physical barriers like netting or row covers to prevent damage.
Remember, each plant species may have specific planting requirements, so it’s essential to do some research or refer to the seed packet instructions for accurate planting guidelines. Providing the optimal conditions and care will increase the chances of successful germination and healthy seedling development.
Now that your seeds are planted, it’s time to nurture and care for the seedlings as they grow. In the next step, we will explore the important aspects of caring for your seedlings to ensure their continued health and vigor.
Step 5: Caring for Seedlings
As your seedlings sprout and emerge from the soil, they require special care to ensure their healthy growth and development. Here are some important aspects to consider when caring for seedlings:
- Watering: Proper watering is crucial for seedlings. Keep the soil consistently moist but avoid overwatering, as this can lead to root rot. Water the seedlings gently at the base to prevent foliage damage.
- Lighting: Provide adequate sunlight or artificial grow lights to promote strong and sturdy seedling growth. Most seedlings require around 12-16 hours of light per day. Place them near a south-facing window or use fluorescent or LED lights if natural light is limited.
- Temperature and ventilation: Maintaining the right temperature is important for seedling health. Most seedlings prefer temperatures between 60-75°F (15-24°C). Ensure proper air circulation by using fans or opening windows to prevent fungal diseases.
- Transplanting: As seedlings grow, they will outgrow their initial containers. When true leaves appear, it’s time to transplant them into larger pots or into the garden. Handle seedlings gently by their leaves or root ball to avoid damaging delicate stems.
- Fertilizing: Seedlings will benefit from a light feeding of diluted organic fertilizer once they have developed their first true leaves. Follow the recommended fertilizer instructions and avoid over-fertilization.
- Hardening off: Before transplanting seedlings outdoors, they need to go through a process known as “hardening off.” Gradually expose them to outdoor conditions over several days to acclimate them to sunlight, temperature, and wind. Start with a few hours of outdoor exposure and gradually increase the time.
Regularly monitor your seedlings for any signs of pests or diseases. If you notice any issues, take prompt action to prevent further damage. Use organic pest control methods whenever possible to minimize the use of harsh chemicals.
Remember, seedlings are delicate and require attentive care. By providing the right combination of water, light, temperature, and nutrients, you will set the foundation for strong and healthy plants in your edible garden.
With your seedlings thriving, it’s time to move on to the next step: transplanting them into their permanent location and continuing their care and maintenance.
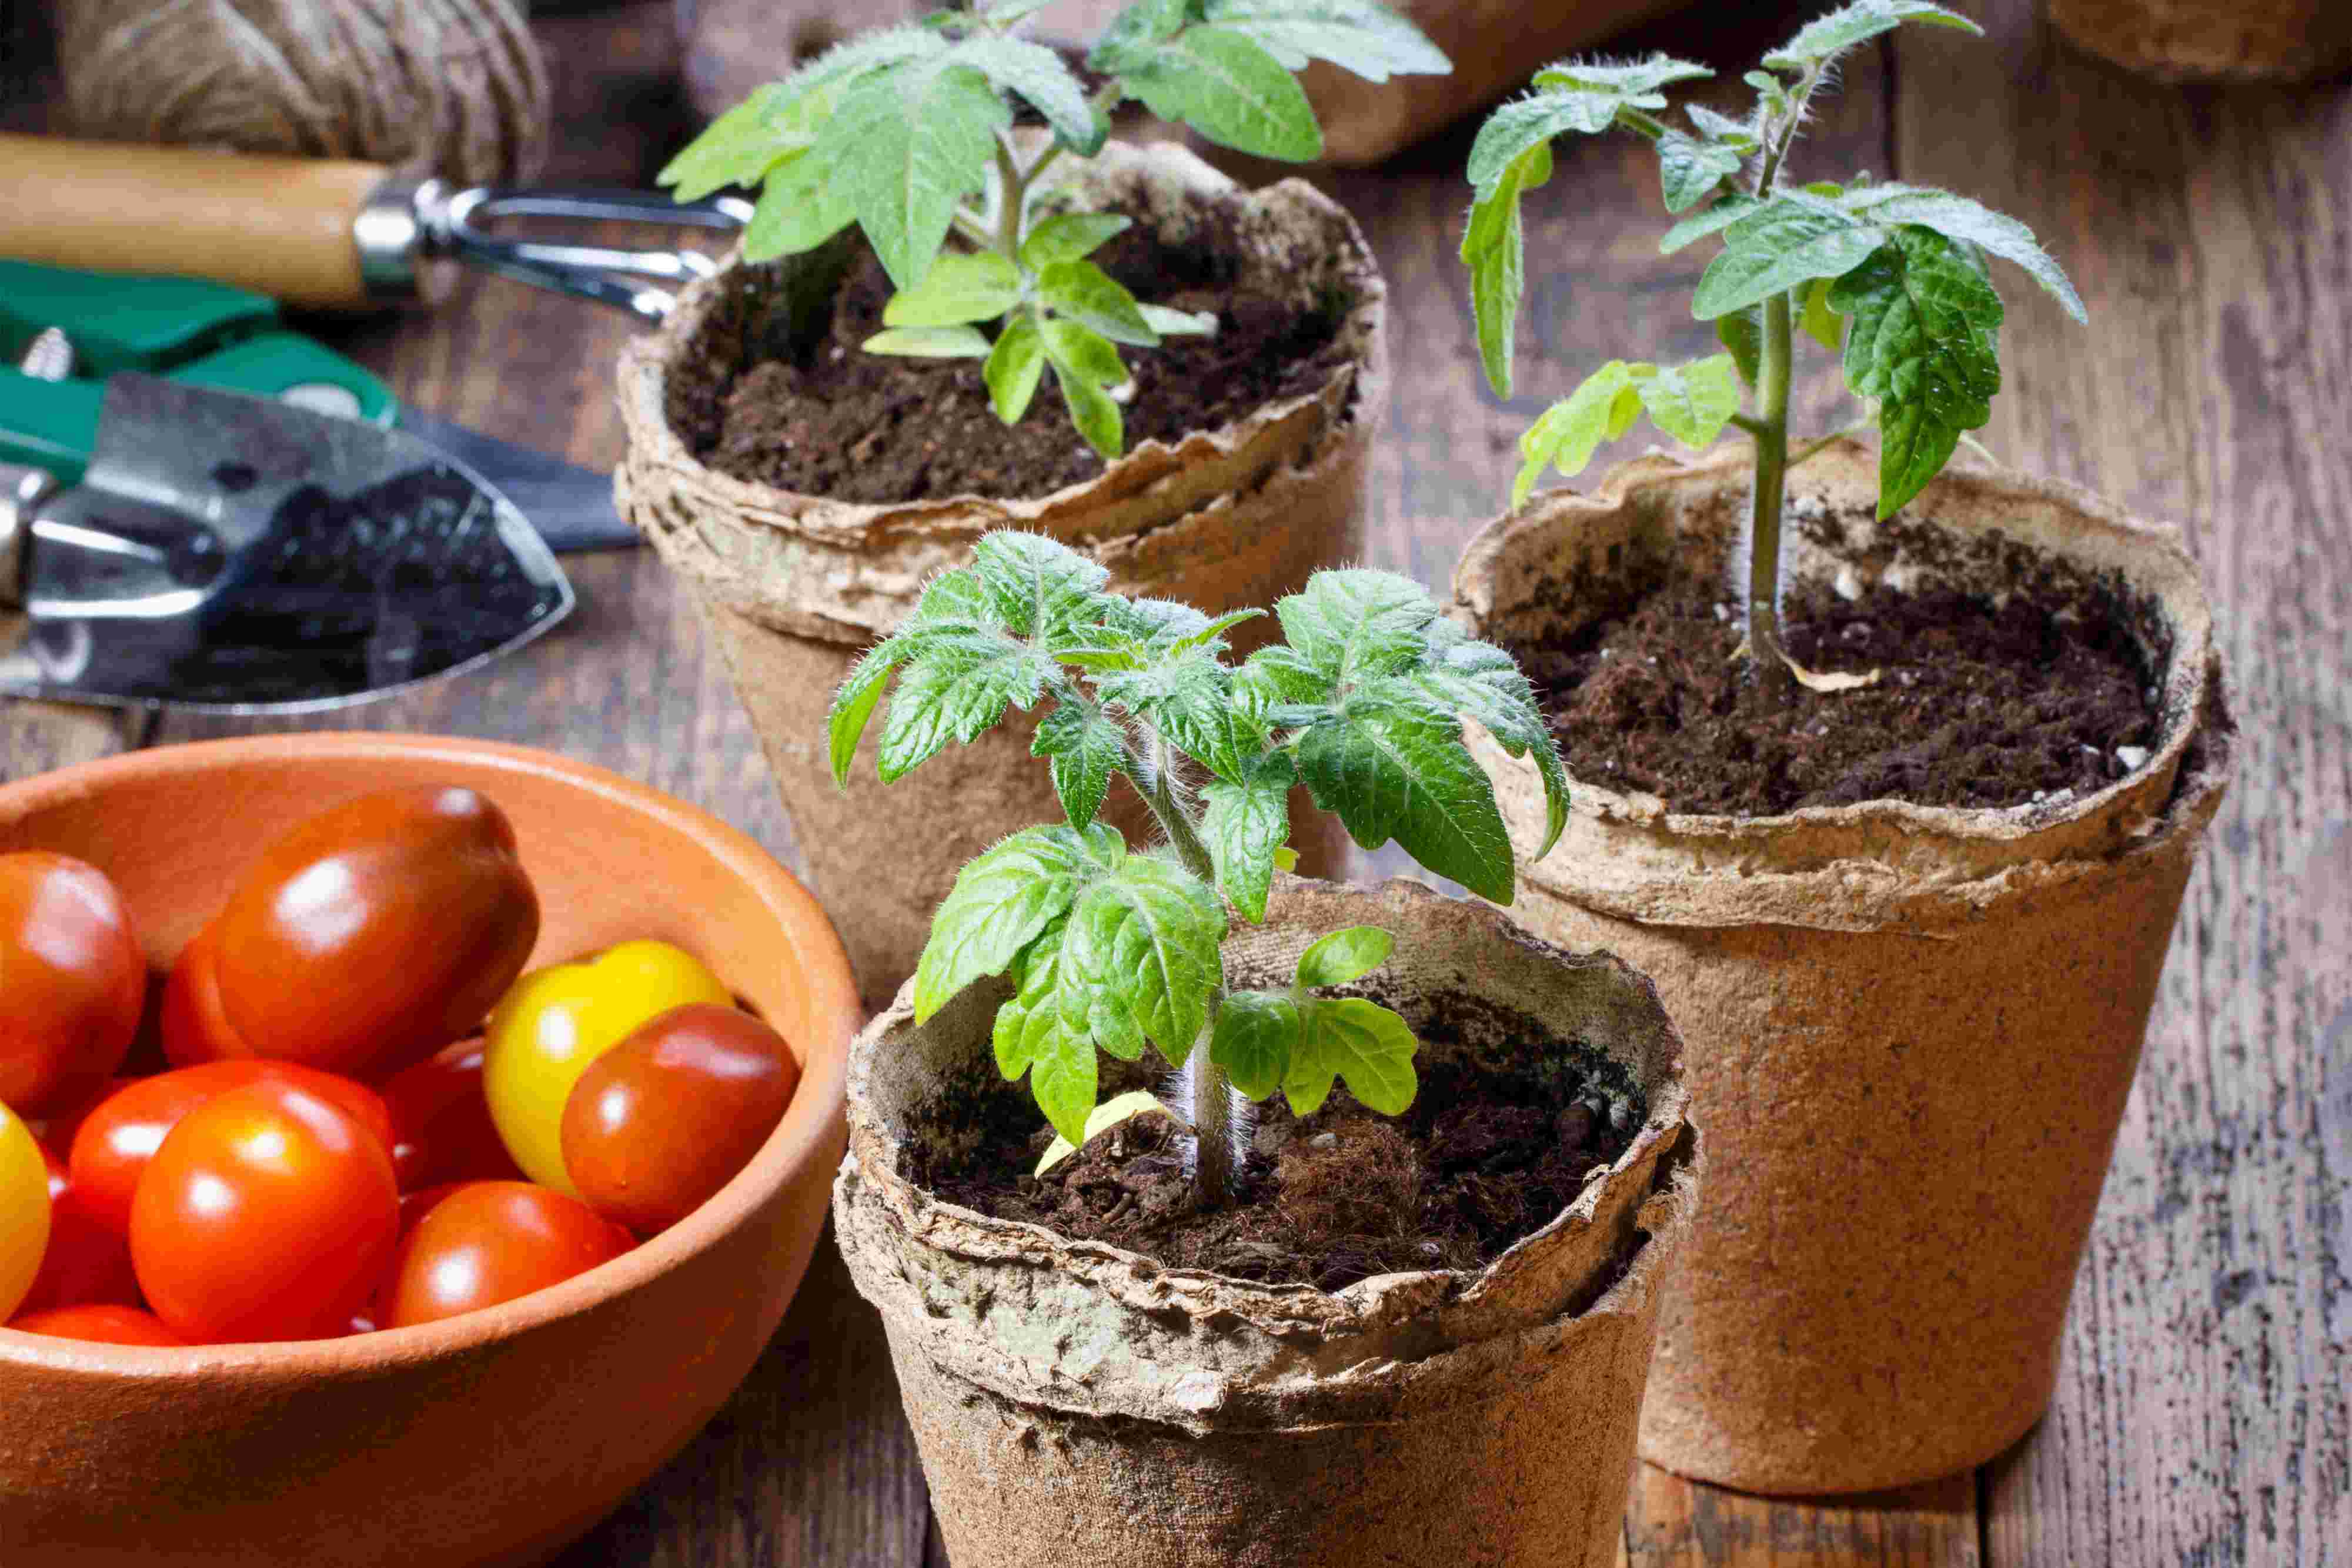
Step 6: Transplanting Seedlings
Transplanting seedlings is a critical step in the edible gardening process. It involves moving your young plants from their temporary pots or containers into their permanent location, whether it be a garden bed, raised bed, or larger pots. Here are the key steps to successfully transplanting seedlings:
- Choose the right timing: Transplant seedlings when they have grown to a sturdy and mature size, typically with a few sets of true leaves. Avoid transplanting during extreme weather conditions or when the soil is too wet.
- Prepare the transplant site: Ensure the soil in the transplant location is well-prepared. Remove any weeds and loosen the soil to improve drainage and root penetration. Incorporate compost or organic matter to enrich the soil and provide nutrients.
- Water the seedlings: Before transplanting, water the seedlings thoroughly to ensure they are well-hydrated and their root balls are moist. This will help ease the transition and minimize transplant shock.
- Dig the planting holes: Dig holes in the transplant location that are slightly wider and deeper than the root ball of the seedlings. Space the holes according to the specific plant’s requirements for proper air circulation and growth.
- Remove seedlings from containers: Gently tap the bottom of the containers or squeeze the sides to loosen the root ball. Carefully remove the seedlings, handling them by the root ball or true leaves to avoid damaging the delicate stems.
- Plant at the correct depth: Place the seedlings in the prepared holes, making sure they are planted at the same depth as they were in their original containers. Firmly press the soil around the plant to eliminate any air pockets.
- Water and mulch: After transplanting, water the soil thoroughly to settle it around the roots and provide moisture to the newly transplanted seedlings. Apply a layer of organic mulch around the plants to retain moisture, suppress weeds, and regulate soil temperature.
- Provide post-transplant care: Monitor the newly transplanted seedlings closely and provide extra care during the first few weeks. Water them regularly and protect them from extreme weather conditions, pests, and diseases.
Transplanting seedlings can be a delicate process, but when done correctly, it gives your plants a better chance to establish themselves in their new environment and flourish in your edible garden. With proper care and attention, your transplanted seedlings will grow into productive and healthy plants.
Now that your seedlings are settled into their permanent homes, let’s move on to the final step: continued care and maintenance to keep your edible garden thriving.
Step 7: Continued Care and Maintenance
Once your seedlings are transplanted and thriving in their new home, it’s important to provide them with ongoing care and maintenance to ensure their healthy growth and abundant harvest. Here are some key aspects to consider for continued care:
- Watering: Consistent and appropriate watering is crucial for the health of your plants. Avoid overwatering or allowing the soil to become bone dry. Provide water at the base of the plants, preferably in the morning, to allow foliage to dry before evening.
- Fertilizing: Feed your plants with organic fertilizers or compost to ensure they receive a balanced supply of nutrients. Follow the specific fertilizer recommendations for each plant variety and apply as needed throughout the growing season.
- Weeding: Regularly remove weeds from your garden to prevent competition for nutrients and water. Mulching can also help suppress weed growth, conserve soil moisture, and regulate the soil temperature.
- Pruning and training: Prune your plants as needed to remove dead or diseased branches, promote airflow, and shape them. For vining or sprawling plants, use trellises, stakes, or cages to support their growth and prevent them from sprawling on the ground.
- Pest and disease control: Monitor your plants regularly for pests or signs of disease. Identify common pests and diseases that affect your specific plants and take appropriate measures for prevention and control, such as using organic pest control methods or introducing beneficial insects.
- Harvesting: Harvest your crops when they are ripe and ready. Regularly harvest fruits, vegetables, and herbs to promote continuous production and prevent plants from becoming overcrowded or stressed.
- Seasonal care: Be aware of the specific needs of your plants throughout the seasons. Provide protection from frost or extreme temperatures, provide shade during heatwaves, and adjust watering and fertilizing as needed.
- Continuous learning: Stay curious and keep learning about edible gardening. Explore new plant varieties, experiment with different techniques, and seek advice from experienced gardeners or gardening resources to continuously improve your skills.
By consistently providing the necessary care and attention, your edible garden will thrive and reward you with a bountiful harvest. Remember to observe your plants closely, be proactive in addressing any issues, and adapt your care routine as needed based on the unique requirements of each plant.
Congratulations on completing all the steps of edible gardening! With your continued care and maintenance, you will enjoy the fruits of your labor and savor the flavors of homegrown produce straight from your own garden.
Conclusion
Congratulations! You’ve learned the ins and outs of edible gardening, from gathering supplies to caring for your plants and harvesting the rewards. By following the steps outlined in this article, you now have the knowledge and confidence to cultivate a thriving edible garden.
Edible gardening offers numerous benefits, from providing fresh and nutritious food to the satisfaction of nurturing plants from seed to harvest. It allows you to reconnect with nature, reduce your carbon footprint, and create a sustainable food source right in your own backyard.
Remember that every gardening journey is unique, and you’ll encounter challenges along the way. Don’t be discouraged by occasional setbacks; instead, view them as opportunities to learn and grow as a gardener. Adaptation and continuous learning are key to success.
As you continue your edible gardening adventure, make sure to stay connected with other gardeners, join local gardening communities, and explore additional resources for guidance and inspiration. Gardening is not just about the end result but also about the joy and satisfaction one experiences throughout the process.
So, put on your gardening gloves, grab your tools, and start planting the seeds of your edible garden. Embrace the beauty and magic of nature as it unfolds before your eyes, and savor the taste of the homegrown fruits, vegetables, and herbs you worked hard to cultivate.
Edible gardening is an enriching and rewarding journey that allows you to connect with the earth, cultivate your green thumb, and nourish both your body and soul. Enjoy the process, and may your edible garden flourish and bring you abundant joy and harvests for years to come.