Home>Types of Gardening>Edible Gardening>How To Start Lemon Seeds


Edible Gardening
How To Start Lemon Seeds
Modified: February 9, 2024
Learn the steps to start lemon seeds and embark on your journey of edible gardening. Discover the joys of growing your own citrus fruits!
(Many of the links in this article redirect to a specific reviewed product. Your purchase of these products through affiliate links helps to generate commission for Chicagolandgardening.com, at no extra cost. Learn more)
Table of Contents
- Introduction
- Step 1: Gather Materials
- Step 2: Prepare the Seeds
- Step 3: Choose the Right Potting Mix
- Step 4: Plant the Seeds
- Step 5: Watering and Care
- Step 6: Provide Adequate Sunlight
- Step 7: Monitor Growth and Repot when Necessary
- Step 8: Prune and Shape the Lemon Tree
- Step 9: Fertilize for Optimal Growth
- Step 10: Harvesting and Enjoying your Lemons
- Conclusion
Introduction
Welcome to the world of edible gardening! Growing your own fruits and vegetables is not only a rewarding experience but also a great way to improve your well-being and reduce your carbon footprint. If you have ever dreamt of plucking fresh and juicy lemons straight from your own lemon tree, then this article is for you. In this guide, we will walk you through the step-by-step process of starting lemon seeds and nurturing them into healthy and productive lemon trees.
Starting lemon seeds is a wonderful way to embark on your edible gardening journey. Not only do you get to witness the miracle of life as the tiny seeds sprout and flourish, but you also get to enjoy the vibrant fragrance and tangy taste of homegrown lemons. Plus, lemon trees make beautiful additions to any garden or patio, adding a touch of lush greenery and a burst of color to your outdoor space.
Whether you’re a seasoned gardener or just starting out, growing lemon trees from seeds is a fun and accessible project that anyone can undertake. It’s a great way to connect with nature, learn about the life cycle of plants, and reap the benefits of your efforts when you finally harvest your first basket of lemons.
So, if you’re ready to get your hands dirty and embark on this citrusy adventure, let’s gather our materials and dive into the fascinating world of growing lemon trees from seeds!
Step 1: Gather Materials
Before you start growing lemon seeds, it’s essential to gather all the necessary materials. Having everything prepared ahead of time will make the process smoother and more enjoyable. Here’s a list of items you’ll need:
- A ripe lemon: Look for a lemon that is fully matured and preferably organic. This will ensure that the seeds are viable and free from any chemicals or pesticides.
- A sharp knife: You’ll need a knife to carefully cut open the lemon and extract the seeds.
- Small containers or pots: To plant the lemon seeds, you’ll need small containers or pots that have drainage holes at the bottom. Make sure they are clean and sterilized before use.
- Seed starting mix: A well-draining seed starting mix is crucial for the successful germination of lemon seeds. You can find pre-mixed seed starting mixes at your local garden center or create your own by combining peat moss, perlite, and vermiculite.
- Labels: It’s helpful to label your containers or pots with the date and variety of lemon seeds you’re planting. This way, you can keep track of their progress and identify any differences between different varieties.
- Plastic wrap or a clear dome: To create a mini greenhouse environment for your lemon seeds, you’ll need a plastic wrap or a clear dome. This will help retain moisture and promote germination.
- A spray bottle or watering can: You’ll need a gentle watering method to keep the soil moist without disturbing the seeds. A spray bottle or a small watering can with a fine spout works well.
- A sunny, warm location: Lemon seeds require warmth and sunlight to germinate and grow. Find a bright and warm spot in your home or garden where your seeds can receive at least 6-8 hours of direct sunlight.
Once you have gathered all the necessary materials, you’re ready to move on to the next step: preparing the lemon seeds for planting.
Step 2: Prepare the Seeds
Now that you have gathered all the materials, it’s time to prepare the lemon seeds for planting. Follow these steps to ensure the best chances of successful germination:
- Slice open the lemon: Use a sharp knife to carefully slice open the lemon. Be cautious not to damage the seeds inside. Choose a ripe lemon as it will have mature and viable seeds.
- Extract the seeds: Pick out the seeds from the lemon flesh. It’s normal for some flesh to stick to the seeds, but try to remove as much as possible. Rinse the seeds gently under running water to remove any remaining pulp.
- Observe the seeds: Take a close look at the seeds you’ve extracted. Healthy seeds are typically plump, pale yellow, and slightly shiny. Discard any seeds that appear shriveled, discolored, or damaged as they are less likely to germinate successfully.
- Prepare a seed starting mix: Fill your small containers or pots with a seed starting mix, leaving a few inches of space at the top. Moisten the mix with water until it’s evenly damp but not overly saturated.
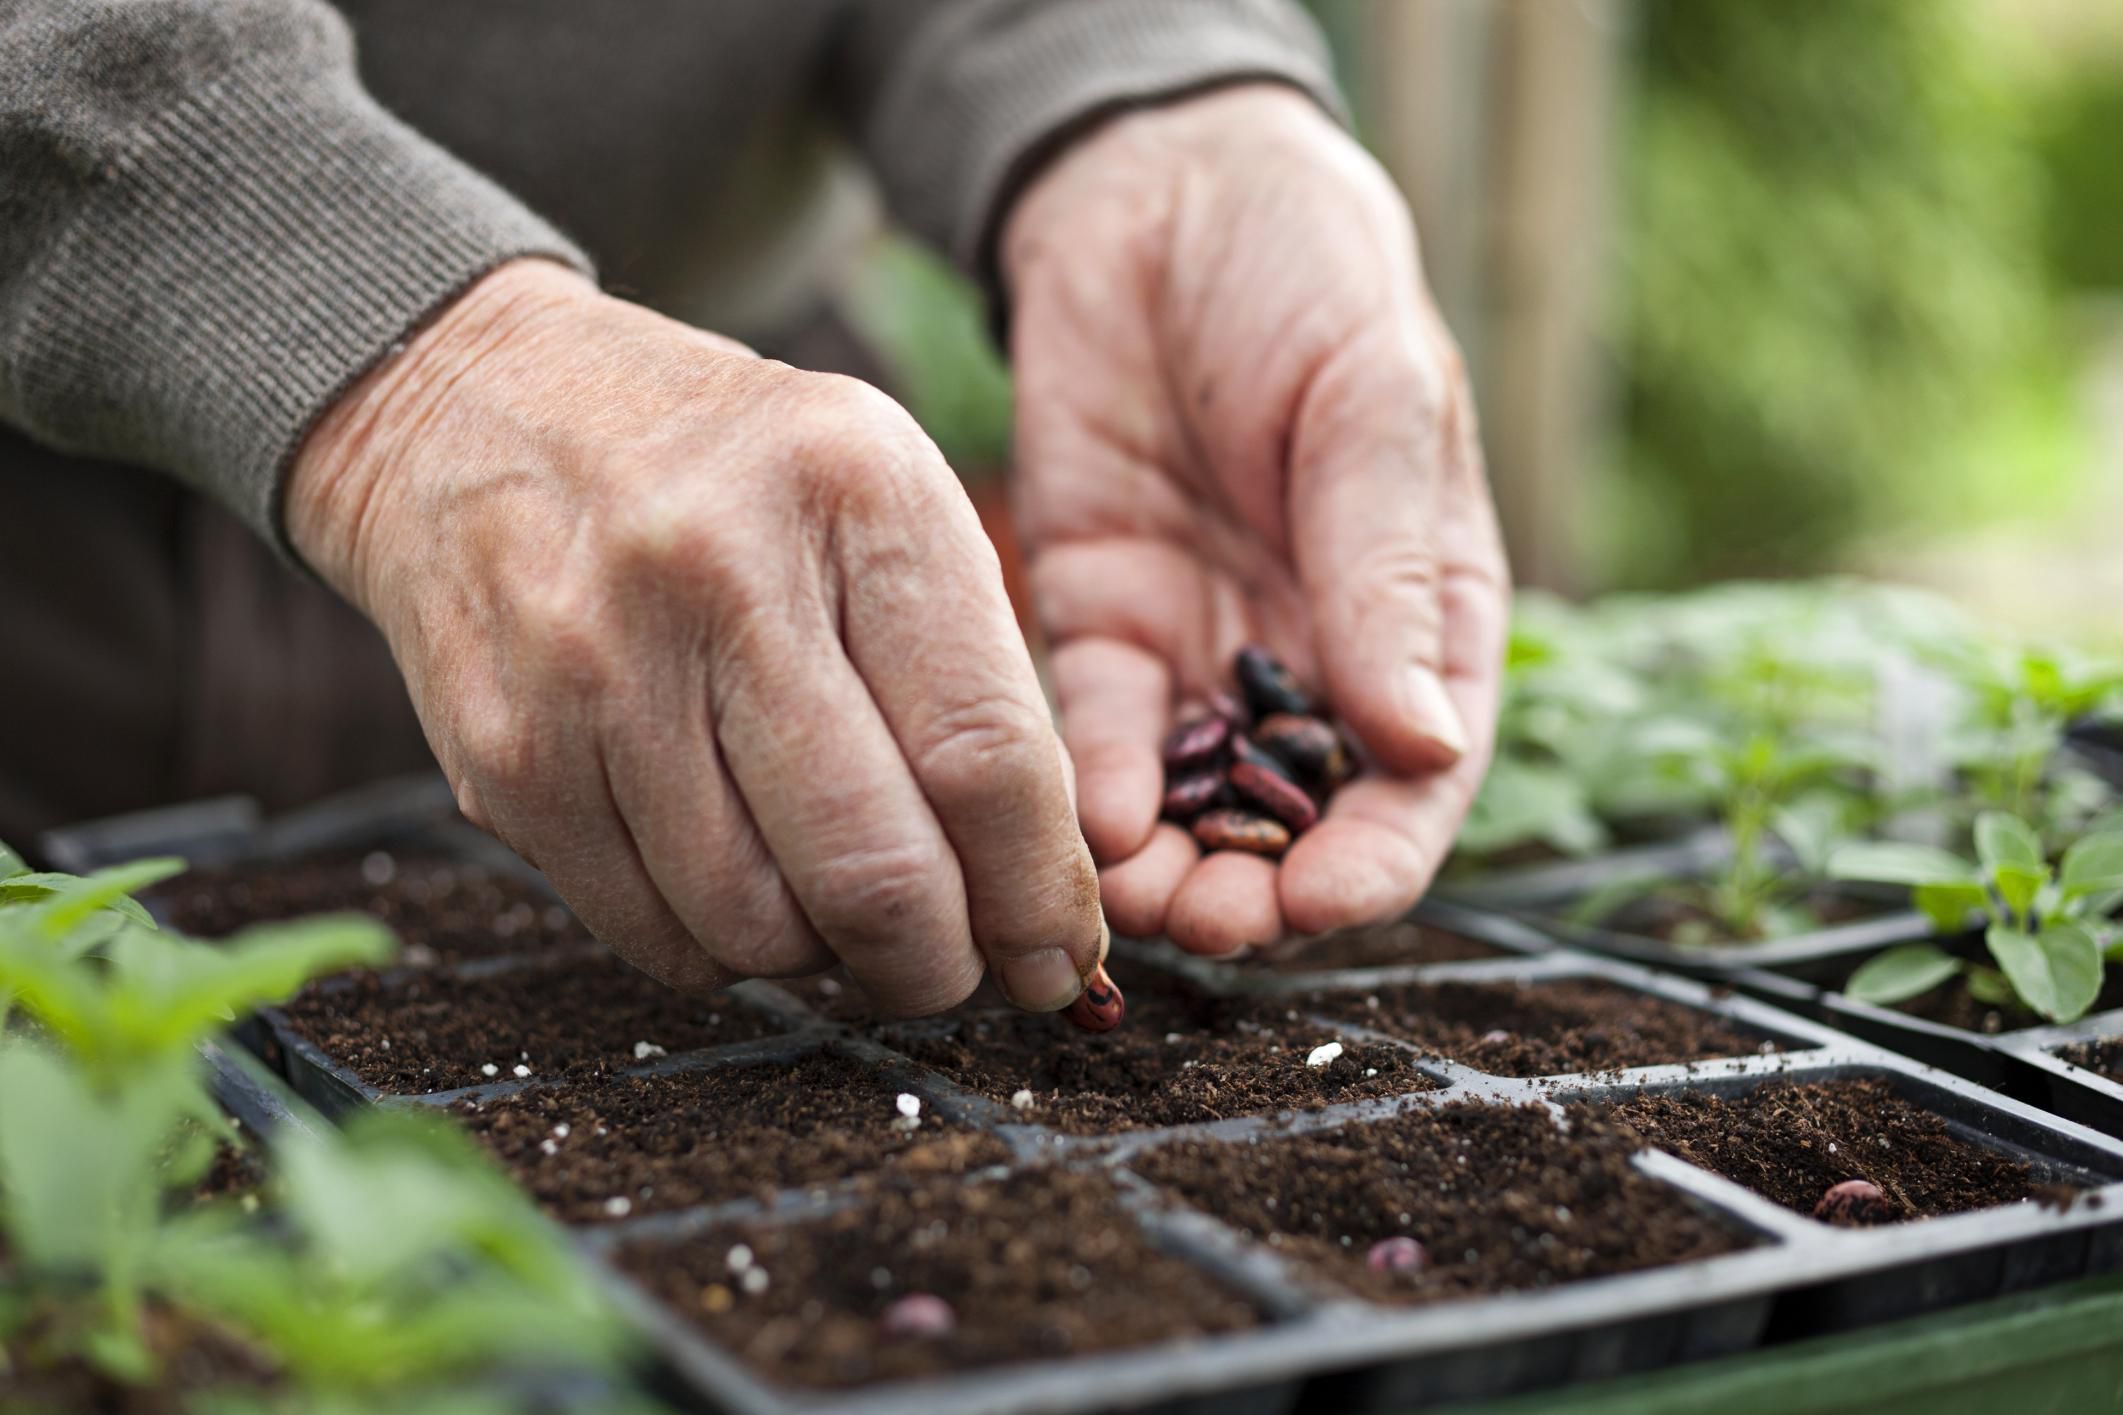
- Plant the seeds: Gently press the lemon seeds into the moist seed starting mix, ensuring they are buried about 1/2 to 1 inch deep. Space the seeds out, allowing room for each seedling to grow.
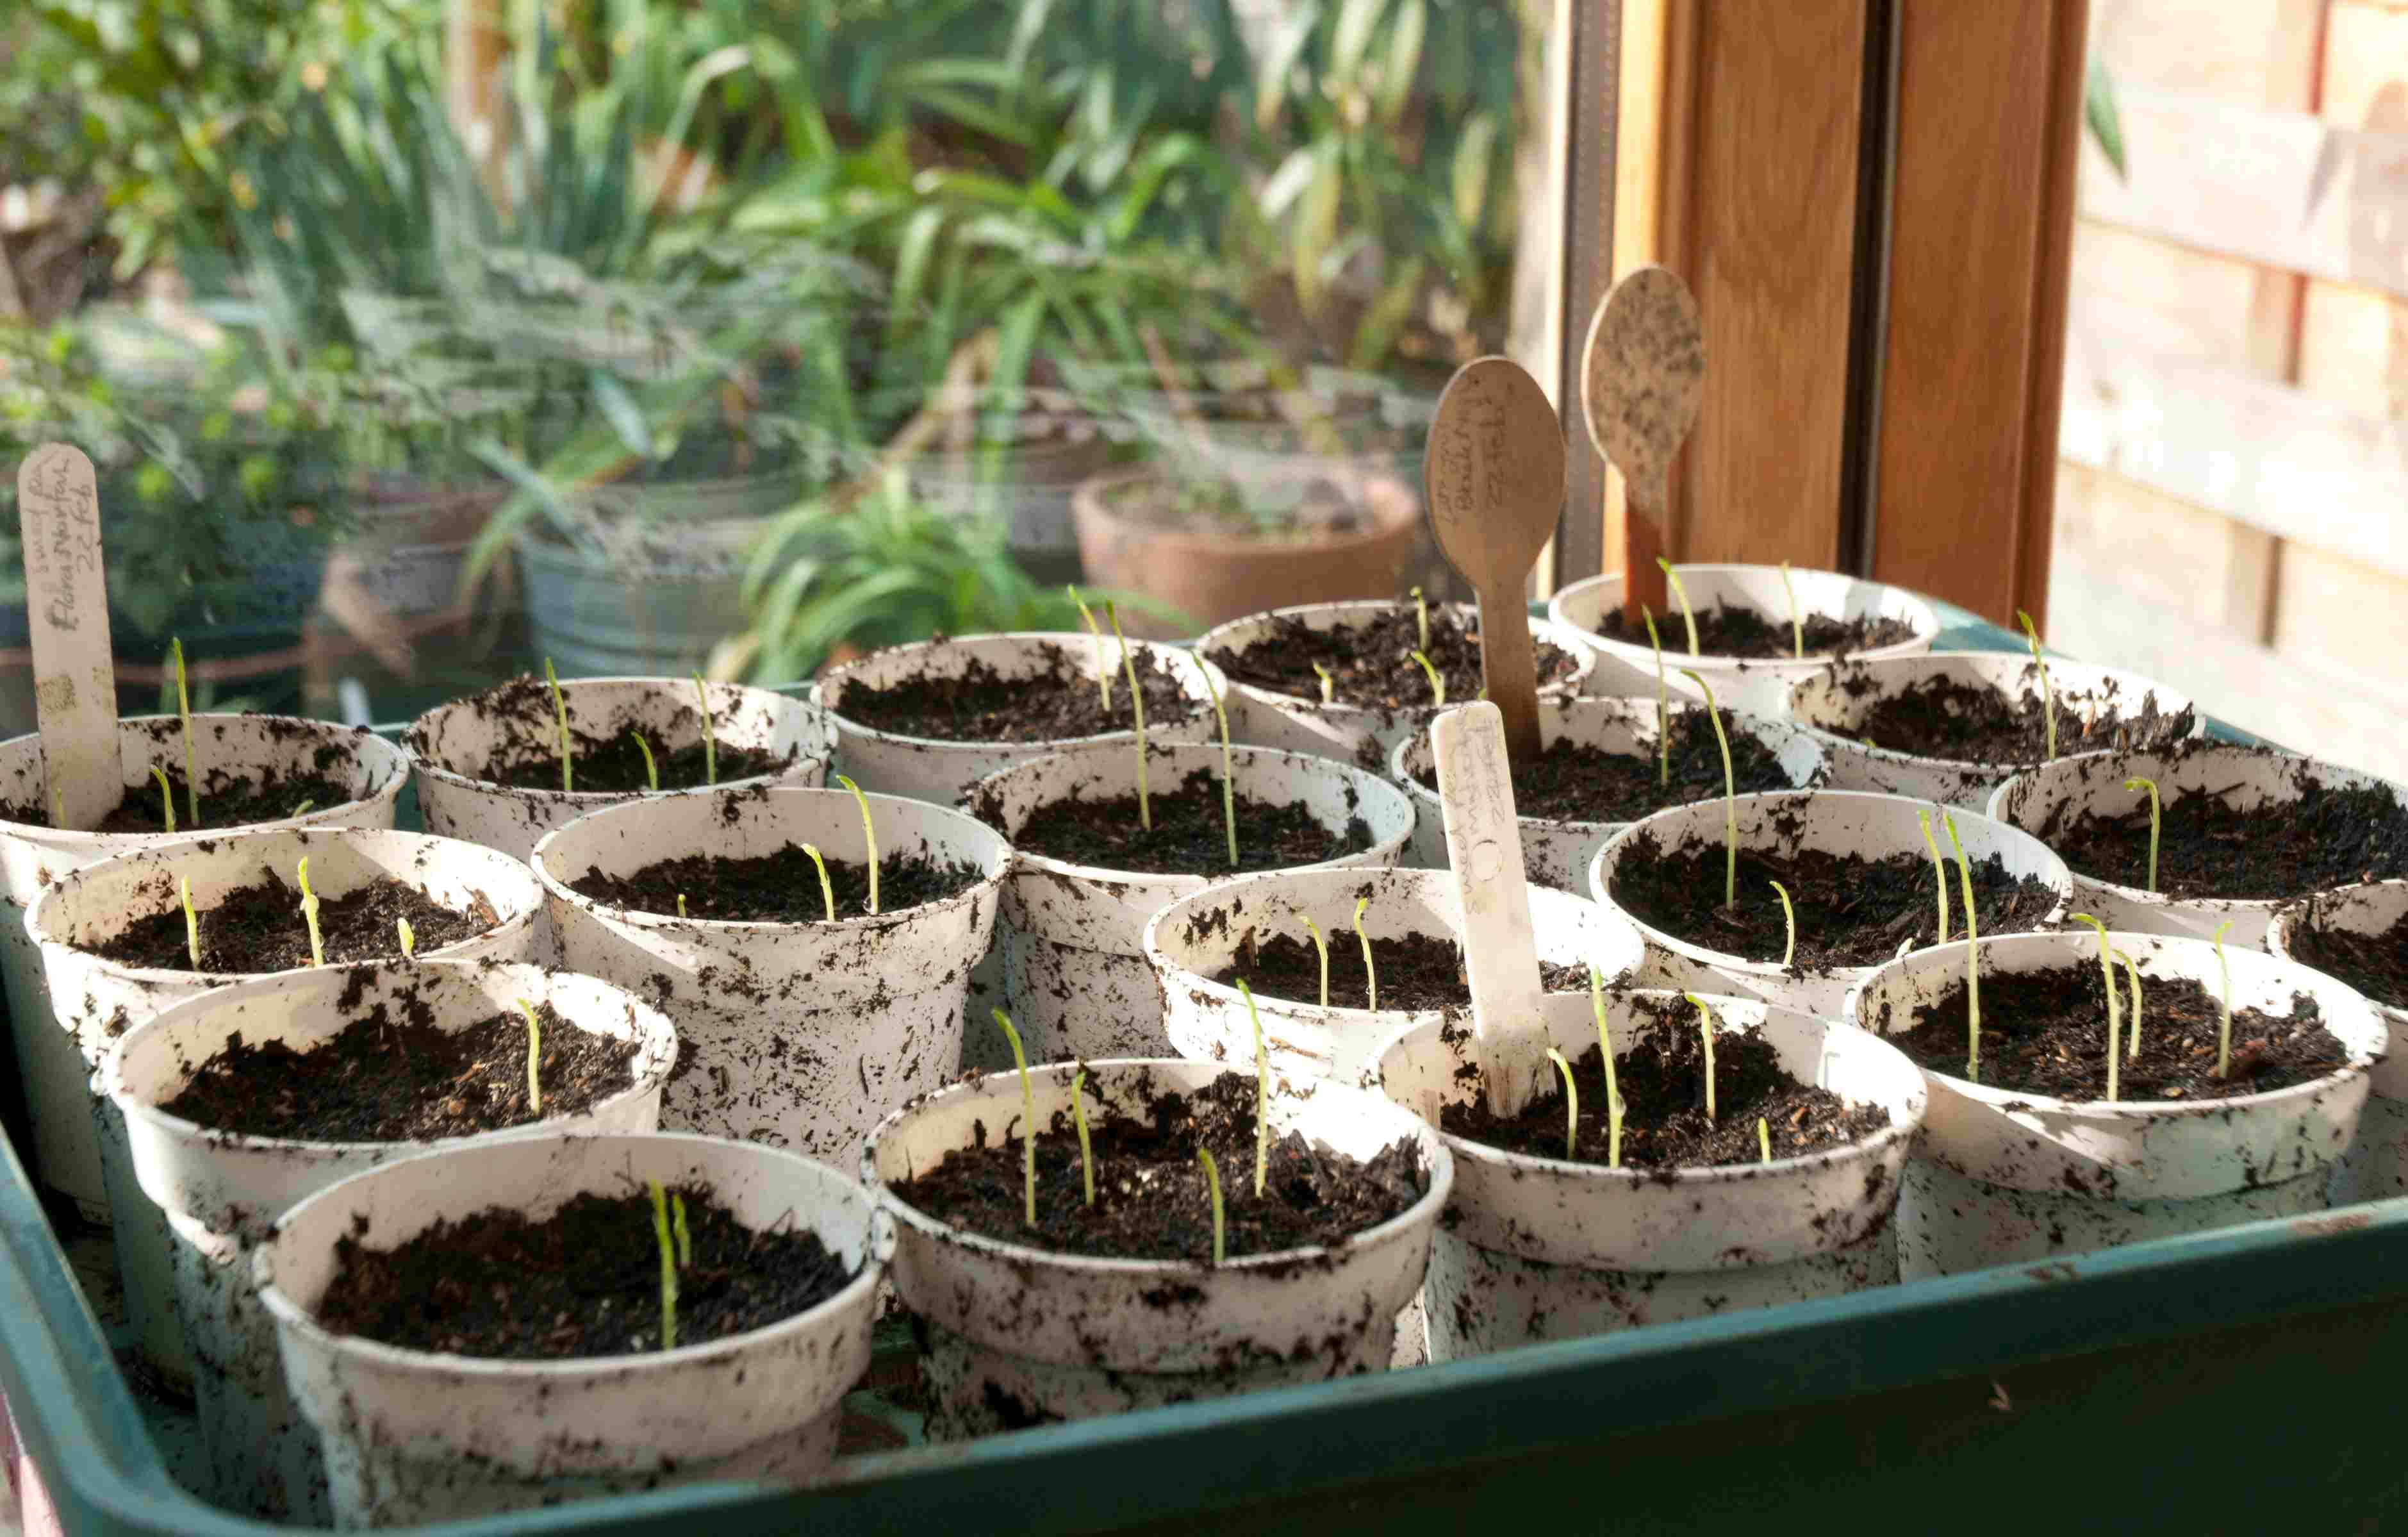
- Cover and label the containers: Once all the seeds are planted, cover the containers with plastic wrap or place a clear dome over them. This will create a humid environment ideal for germination. Label each container with the date and lemon variety.
Now that the seeds are prepared and planted, it’s time to focus on the next step: choosing the right potting mix for your lemon seeds. Remember to keep a close eye on the containers, ensuring the soil remains moist but not soggy, and check for any signs of germination in the coming days.
Step 3: Choose the Right Potting Mix
Choosing the right potting mix is crucial for the healthy growth of your lemon seedlings. A well-draining and nutrient-rich soil will provide the necessary support and nourishment for the young plants. Here are some tips on selecting the perfect potting mix:
- Opt for a lightweight mix: Lemon seeds require a well-aerated growing medium to prevent waterlogged roots and promote healthy root development. Look for a potting mix that is lightweight and contains ingredients like peat moss, perlite, and vermiculite. These components ensure good drainage while retaining enough moisture for the seeds.
- Avoid heavy garden soil: Regular garden soil tends to be too dense and compacts easily, making it unsuitable for potted plants. It can hinder root development and lead to water retention problems. Instead, go for a potting mix specifically formulated for seed starting or container gardening.
- Check the pH level: Lemons prefer slightly acidic soil with a pH range of 5.5 to 6.5. Choose a potting mix that is pH balanced or slightly acidic to create the ideal growing environment for your lemon seedlings.
- Consider organic options: If you are gardening organically or prefer to avoid synthetic fertilizers and pesticides, look for an organic potting mix. These mixes are made from natural ingredients and are free from artificial chemicals.
- Read product labels and reviews: Take the time to read the product labels and reviews of the potting mixes you’re considering. Look for mixes that are specifically designed for starting seeds or container gardening and have a proven track record of success.
Once you have chosen the right potting mix, fill your containers or pots with it, leaving some space at the top for watering. Ensure that the mix is evenly moist but not overly saturated before proceeding to the next step: planting the lemon seeds. Providing your lemon seedlings with a suitable growing medium sets a solid foundation for their future development and overall health.
Step 4: Plant the Seeds
Now that you have prepared the potting mix, it’s time to plant the lemon seeds. Follow these steps to ensure proper planting:
- Prepare the containers: Fill your small pots or containers with the chosen potting mix, leaving a few inches of space at the top. This will give the seedlings room to grow and allow for easy watering.
- Create planting holes: Use your finger or a small tool to create planting holes in the potting mix. Make the holes about 1/2 to 1 inch deep.
- Place the seeds in the holes: Gently place one seed into each hole you created. Ensure the seeds are sitting at the proper depth and not too close to each other.
- Cover the seeds: Carefully cover the seeds with the potting mix, lightly pressing down to secure them in place. Avoid compacting the soil too much, as this can hinder seedling emergence.
- Water the containers: Use a spray bottle or a watering can with a fine spout to water the containers. Make sure the soil is evenly moist but not overly saturated.
- Label the containers: To keep track of the lemon variety and planting date, label each container accordingly. This will help you monitor the progress of each seedling.
After planting, cover the containers with a plastic wrap or place a clear dome over them to create a greenhouse effect. This will help retain moisture and create a warm environment ideal for seed germination. Place the containers in a sunny location where the seeds can receive at least 6-8 hours of direct sunlight each day.
Now that the lemon seeds are planted, it’s time to move on to the next step: watering and caring for the seedlings. Keep a close eye on the containers to ensure the soil remains evenly moist, and be patient as you wait for those first signs of germination to appear!
Step 5: Watering and Care
Proper watering and care are essential for the healthy growth of your lemon seedlings. Follow these guidelines to ensure your plants receive the right amount of water and attention:
- Monitor soil moisture: It’s crucial to keep the soil consistently moist but not waterlogged. Check the moisture level regularly by sticking your finger about an inch into the soil. If it feels dry at this depth, it’s time to water.
- Water gently: Use a spray bottle or a watering can with a fine spout to avoid disturbing the seeds or seedlings. Aim to moisten the soil evenly, ensuring the water reaches the roots.
- Avoid overwatering: While it’s important to keep the soil moist, overwatering can lead to root rot and other issues. Water the plants when needed, but allow the top inch of soil to dry out slightly between waterings.
- Provide adequate drainage: Ensure that your containers have drainage holes at the bottom to allow excess moisture to escape. This prevents water from pooling around the roots and causing damage.
- Encourage airflow: Good air circulation helps prevent damping-off disease and promotes healthy growth. Keep the area around the plants well-ventilated by placing them in a location with gentle air movement.
- Remove plastic covering: Once the seedlings emerge and have a few leaves, remove the plastic wrap or clear dome covering them. This helps prevent excess moisture buildup and reduces the risk of mold or fungal growth.
- Protect from extreme temperatures: Lemon seedlings are sensitive to extreme temperatures. If the temperature drops below 50°F (10°C) or rises above 85°F (29°C), move the containers to a more suitable location indoors or provide them with some shade.
- Shield from strong winds: Strong winds can damage young seedlings. If your location experiences strong gusts, consider placing the containers in a sheltered spot or using wind barriers to protect the plants.
As your lemon seedlings continue to grow, remember to adjust their care accordingly. As they develop more leaves and root systems, they will need slightly more water and nutrients. Stay attentive to their needs and provide the necessary care to ensure their continued healthy growth.
Next, we’ll explore the importance of providing adequate sunlight for your lemon seedlings in Step 6: Provide Adequate Sunlight.
Step 6: Provide Adequate Sunlight
Proper sunlight is crucial for the healthy development of your lemon seedlings. Lemon trees thrive in full sun, which is defined as at least 6-8 hours of direct sunlight each day. Here’s how you can provide adequate sunlight for your lemon seedlings:
- Find a sunny location: Place your containers in a spot that receives abundant sunlight. Ideally, this should be somewhere with southern or western exposure, as these directions typically receive the most sunlight throughout the day.
- Rotate the containers: To ensure even exposure to sunlight, periodically rotate the containers to prevent one side of the seedlings from receiving more sun than the other. This promotes balanced growth.
- Utilize grow lights: If you don’t have access to a location with sufficient natural sunlight, you can supplement with artificial grow lights. LED or fluorescent lights are excellent options for providing the specific wavelengths needed for photosynthesis.
- Adjust light intensity: Seedlings are sensitive to intense sunlight, so it’s important to acclimate them gradually. If your location experiences scorching midday sun, provide some shade during the hottest hours of the day until the seedlings are stronger.
- Protect from extreme heat: While lemon trees love warmth, extreme heat can stress young seedlings. If temperatures rise above 85°F (29°C), provide some shade or move the containers to a cooler area, ensuring they still receive sufficient light.
Adequate sunlight is crucial for photosynthesis, which is the process by which plants convert sunlight into energy. It also helps promote sturdy stems, healthy leaf development, and overall vigorous growth. By ensuring your lemon seedlings receive the right amount of sunlight, you’ll set them up for success and encourage optimal growth.
Now that your lemon seedlings are receiving sufficient light, it’s essential to monitor their growth and determine when they need to be repotted. In Step 7, we’ll explore how to monitor growth and repot when necessary.
Step 7: Monitor Growth and Repot when Necessary
As your lemon seedlings continue to grow, it’s important to monitor their progress and provide them with adequate space for root development. Here’s how you can effectively monitor growth and know when it’s time to repot:
- Observe leaf development: Healthy lemon seedlings will produce new leaves regularly. Monitor the growth of leaves, ensuring they are vibrant green and free from pests or diseases.
- Check root growth: Carefully lift a seedling to check the condition and growth of its roots. If the roots appear crowded and circling around the bottom of the container, it’s a sign that the seedling has outgrown its current pot and needs to be repotted.
- Look for signs of stress: Monitor the overall health of the seedlings. If you notice wilting, stunted growth, yellowing leaves, or signs of nutrient deficiencies, it may be an indication that the seedlings are becoming root-bound and need more space.
- Check for water drainage issues: If you consistently have water pooling on the surface of the potting mix or slow drainage after watering, it could be a sign that the seedlings need a larger container with better drainage.
- Choose the right-sized pot: When repotting, choose a pot that is one or two sizes larger than the current container. This allows for more room for root growth without overwhelming the seedling.
- Use fresh potting mix: When repotting, ensure you use fresh potting mix to provide the seedlings with the necessary nutrients and aeration.
- Handle the seedlings with care: When transferring the seedlings to a larger pot, be gentle with the roots to avoid damaging them. Hold the seedling by its leaves rather than pulling it from the stem.
Regularly monitoring the growth of your lemon seedlings and repotting them when necessary ensures they have the space and resources they need to thrive. Keep a close eye on their development, and don’t hesitate to repot if you observe signs of overcrowding or nutrient deficiencies.
In the next step, we’ll explore the importance of pruning and shaping the lemon tree to encourage healthy branching and optimal fruit production.
Step 8: Prune and Shape the Lemon Tree
Pruning and shaping your lemon tree is an important step in its growth and development. Pruning helps promote healthy branching, allows for better air circulation, and improves fruit production. Here’s how you can effectively prune and shape your lemon tree:
- Wait for the right time: It’s best to prune your lemon tree during its dormant period, which typically occurs in late winter or early spring. Avoid pruning during the growing season, as it may disrupt the tree’s energy and growth.
- Remove dead or diseased branches: Begin by cutting off any dead or diseased branches. These can hinder the tree’s overall health and make it more susceptible to pests and diseases. Use clean and sharp pruning shears for a clean cut.
- Thin out crowded branches: Lemon trees can develop dense foliage, which limits air circulation and sunlight penetration. Remove overcrowded branches to allow better light distribution and airflow. Aim to maintain an open and airy canopy.
- Prune for shape: Shape the lemon tree by removing excessive growth and shaping it into a desirable form. Selectively prune branches to maintain a balanced shape and encourage lateral branching.
- Prune suckers: Suckers are vigorous shoots that emerge from the base of the tree or at the graft union. Remove these suckers promptly, as they divert energy from the main tree and can lead to weak growth.
- Consider the 3 Ds: When deciding which branches to prune, focus on the 3 Ds: remove branches that are dead, damaged, or crossing/rubbing against each other. This will optimize the tree’s health and structure.
- Step back and assess: Take a step back after each pruning cut to evaluate the overall shape and structure of the lemon tree. This will help you maintain a balanced and visually appealing form.
Remember to always use sharp and clean pruning tools to minimize the risk of introducing diseases. Additionally, avoid excessive pruning, as this can stress the tree and affect its fruit production. Pruning should be done in moderation to encourage healthy growth.
By regularly pruning and shaping your lemon tree, you’ll stimulate new growth, improve air circulation, and enhance its overall health. This, in turn, will contribute to higher fruit yields and a more attractive tree.
In the next step, we’ll explore the importance of fertilizing your lemon tree to provide it with the necessary nutrients for optimal growth and fruit production.
Step 9: Fertilize for Optimal Growth
Fertilizing your lemon tree is essential to ensure it receives the necessary nutrients for healthy growth and optimal fruit production. Here are some key points to consider when fertilizing your lemon tree:
- Choose the right fertilizer: Select a fertilizer specifically formulated for citrus trees or fruit-bearing trees. Look for a balanced ratio of nitrogen (N), phosphorus (P), and potassium (K) such as citrus-specific fertilizers with an NPK ratio of 2:1:1 or 3:1:1.
- Follow the recommended application rate: Read the instructions on the fertilizer package to determine the correct amount to apply based on the size and age of your lemon tree. Applying too much fertilizer can burn the roots, while applying too little may not provide adequate nutrients.
- Apply fertilizer in the right season: It’s best to fertilize your lemon tree during its active growing season, which is typically in spring and summer. Avoid fertilizing during the dormant period, as the tree is not actively taking up nutrients.
- Spread the fertilizer evenly: Distribute the fertilizer evenly around the base of the tree, keeping it away from the trunk to prevent root burn. Use a handheld spreader or apply it by hand, ensuring it covers the entire root zone.
- Water thoroughly after fertilizing: After applying the fertilizer, water the tree deeply to help with nutrient absorption and prevent any potential root damage from the fertilizer. This will also wash any excess fertilizer off the leaves, reducing the risk of leaf burn or salt buildup.
- Consider organic fertilizers: If you prefer organic gardening, there are organic fertilizers available specifically for citrus trees. These products are made from natural ingredients and provide a slow release of nutrients to the tree.
- Monitor for signs of nutrient deficiencies: Keep an eye out for any signs of nutrient deficiencies such as yellowing leaves, stunted growth, or poor fruit development. If you notice these symptoms, adjust your fertilization schedule or consult a gardening expert for guidance.
Fertilizing your lemon tree at the right time and with the appropriate nutrients will ensure it receives the essential elements for healthy growth, strong branches, and abundant fruit production. Regular fertilization, combined with proper watering and care, will keep your lemon tree thriving for years to come.
Lastly, we’ll delve into the final step: harvesting and enjoying the fruits of your labor!
Step 10: Harvesting and Enjoying your Lemons
The moment has finally arrived to reap the rewards of your hard work and patience. Harvesting and enjoying your homegrown lemons is a truly gratifying experience. Here are some tips for a successful lemon harvest:
- Timing is key: Wait for your lemons to fully mature before harvesting. They should have a vibrant yellow color and a slightly soft texture when gently squeezed. Keep in mind that lemons can be left on the tree longer if you prefer a more tart flavor.
- Use sharp pruning shears or scissors: Cut the lemons from the tree using sharp pruning shears or scissors. Make a clean cut just above the stem, taking care not to damage the rest of the branch or tree.
- Harvest selectively: Avoid harvesting all the lemons at once. Instead, pick as needed. This ensures a longer harvest period and allows the remaining lemons to fully ripen on the tree.
- Handle with care: Handle the harvested lemons with care to avoid bruising or damaging the fruit. Place them gently in a basket or container, taking care not to stack them on top of each other.
- Wash before use: Before using your lemons, give them a gentle rinse to remove any dirt or debris that may be on the surface. This will ensure a clean and fresh flavor for your culinary creations.
- Store properly: If you have more lemons than you can use immediately, store them in a cool and dry place. They can be kept at room temperature for a few weeks or placed in the refrigerator for longer storage.
- Enjoy the fruits of your labor: Finally, savor the juicy and tangy flavor of your freshly harvested lemons. Use them in various dishes, from refreshing beverages to delicious desserts, or share them with friends and family.
Growing and harvesting your own lemons brings a sense of accomplishment and a connection to nature. The satisfaction of enjoying the fruits of your labor, knowing that you nurtured the tree from a tiny seed, is truly fulfilling.
Congratulations on successfully growing and harvesting your lemons! It’s time to sit back, relax, and savor the delightful taste of your homegrown citrus.
Thank you for following this comprehensive guide on how to start lemon seeds and nurture them into healthy and productive lemon trees. May your lemon-growing journey be filled with joy, abundance, and delicious citrus fruits!
Conclusion
Congratulations on completing the journey of growing lemon trees from seeds! You have learned essential steps, from gathering materials to harvesting and enjoying your bountiful lemons. Through patience, care, and a bit of green-thumb magic, you have transformed tiny lemon seeds into thriving trees that will bring beauty and delicious fruits to your garden.
Edible gardening offers numerous benefits, including the satisfaction of growing your own food, the joy of nurturing plants, and the opportunity to connect with nature. The process of starting lemon seeds and watching them grow provides valuable insights into the cycle of life and the wonders of the natural world.
Remember, as you continue your gardening journey, be mindful of the specific needs of lemon trees. Provide them with ample sunlight, water them properly, and fertilize them appropriately for optimal growth and fruit production. Pruning and shaping your lemon tree will promote healthy branching and structure, while regular monitoring and repotting when necessary will ensure ample space for root development.
Now, it’s time to relish the fruits of your labor. Harvest your ripe lemons, savor their vibrant flavors, and share them with loved ones. Experiment with new recipes, impress your guests with homemade lemonade, or add a zesty twist to your favorite dishes. Your homegrown lemons bring a touch of freshness and satisfaction to every meal.
Thank you for joining us on this edible gardening adventure. We hope this comprehensive guide has provided you with the knowledge and inspiration to start your own lemon trees from seeds and enjoy the rewards of self-sufficiency and sustainable gardening. Happy lemon growing!
