Home>Garden Design>Landscape Design>How To Install Railroad Ties For Landscaping

Landscape Design
How To Install Railroad Ties For Landscaping
Modified: February 8, 2024
Learn how to install railroad ties for landscaping and enhance your landscape design with our step-by-step guide. Transform your outdoor space with ease!
(Many of the links in this article redirect to a specific reviewed product. Your purchase of these products through affiliate links helps to generate commission for Chicagolandgardening.com, at no extra cost. Learn more)
Table of Contents
Introduction
Welcome to the world of landscape design, where creativity meets nature’s canvas. Creating a beautiful outdoor space requires careful planning, attention to detail, and the right materials. One versatile and aesthetically pleasing option for landscaping is the use of railroad ties. These sturdy, weather-resistant timbers have a unique charm that can add character and structure to any garden or yard.
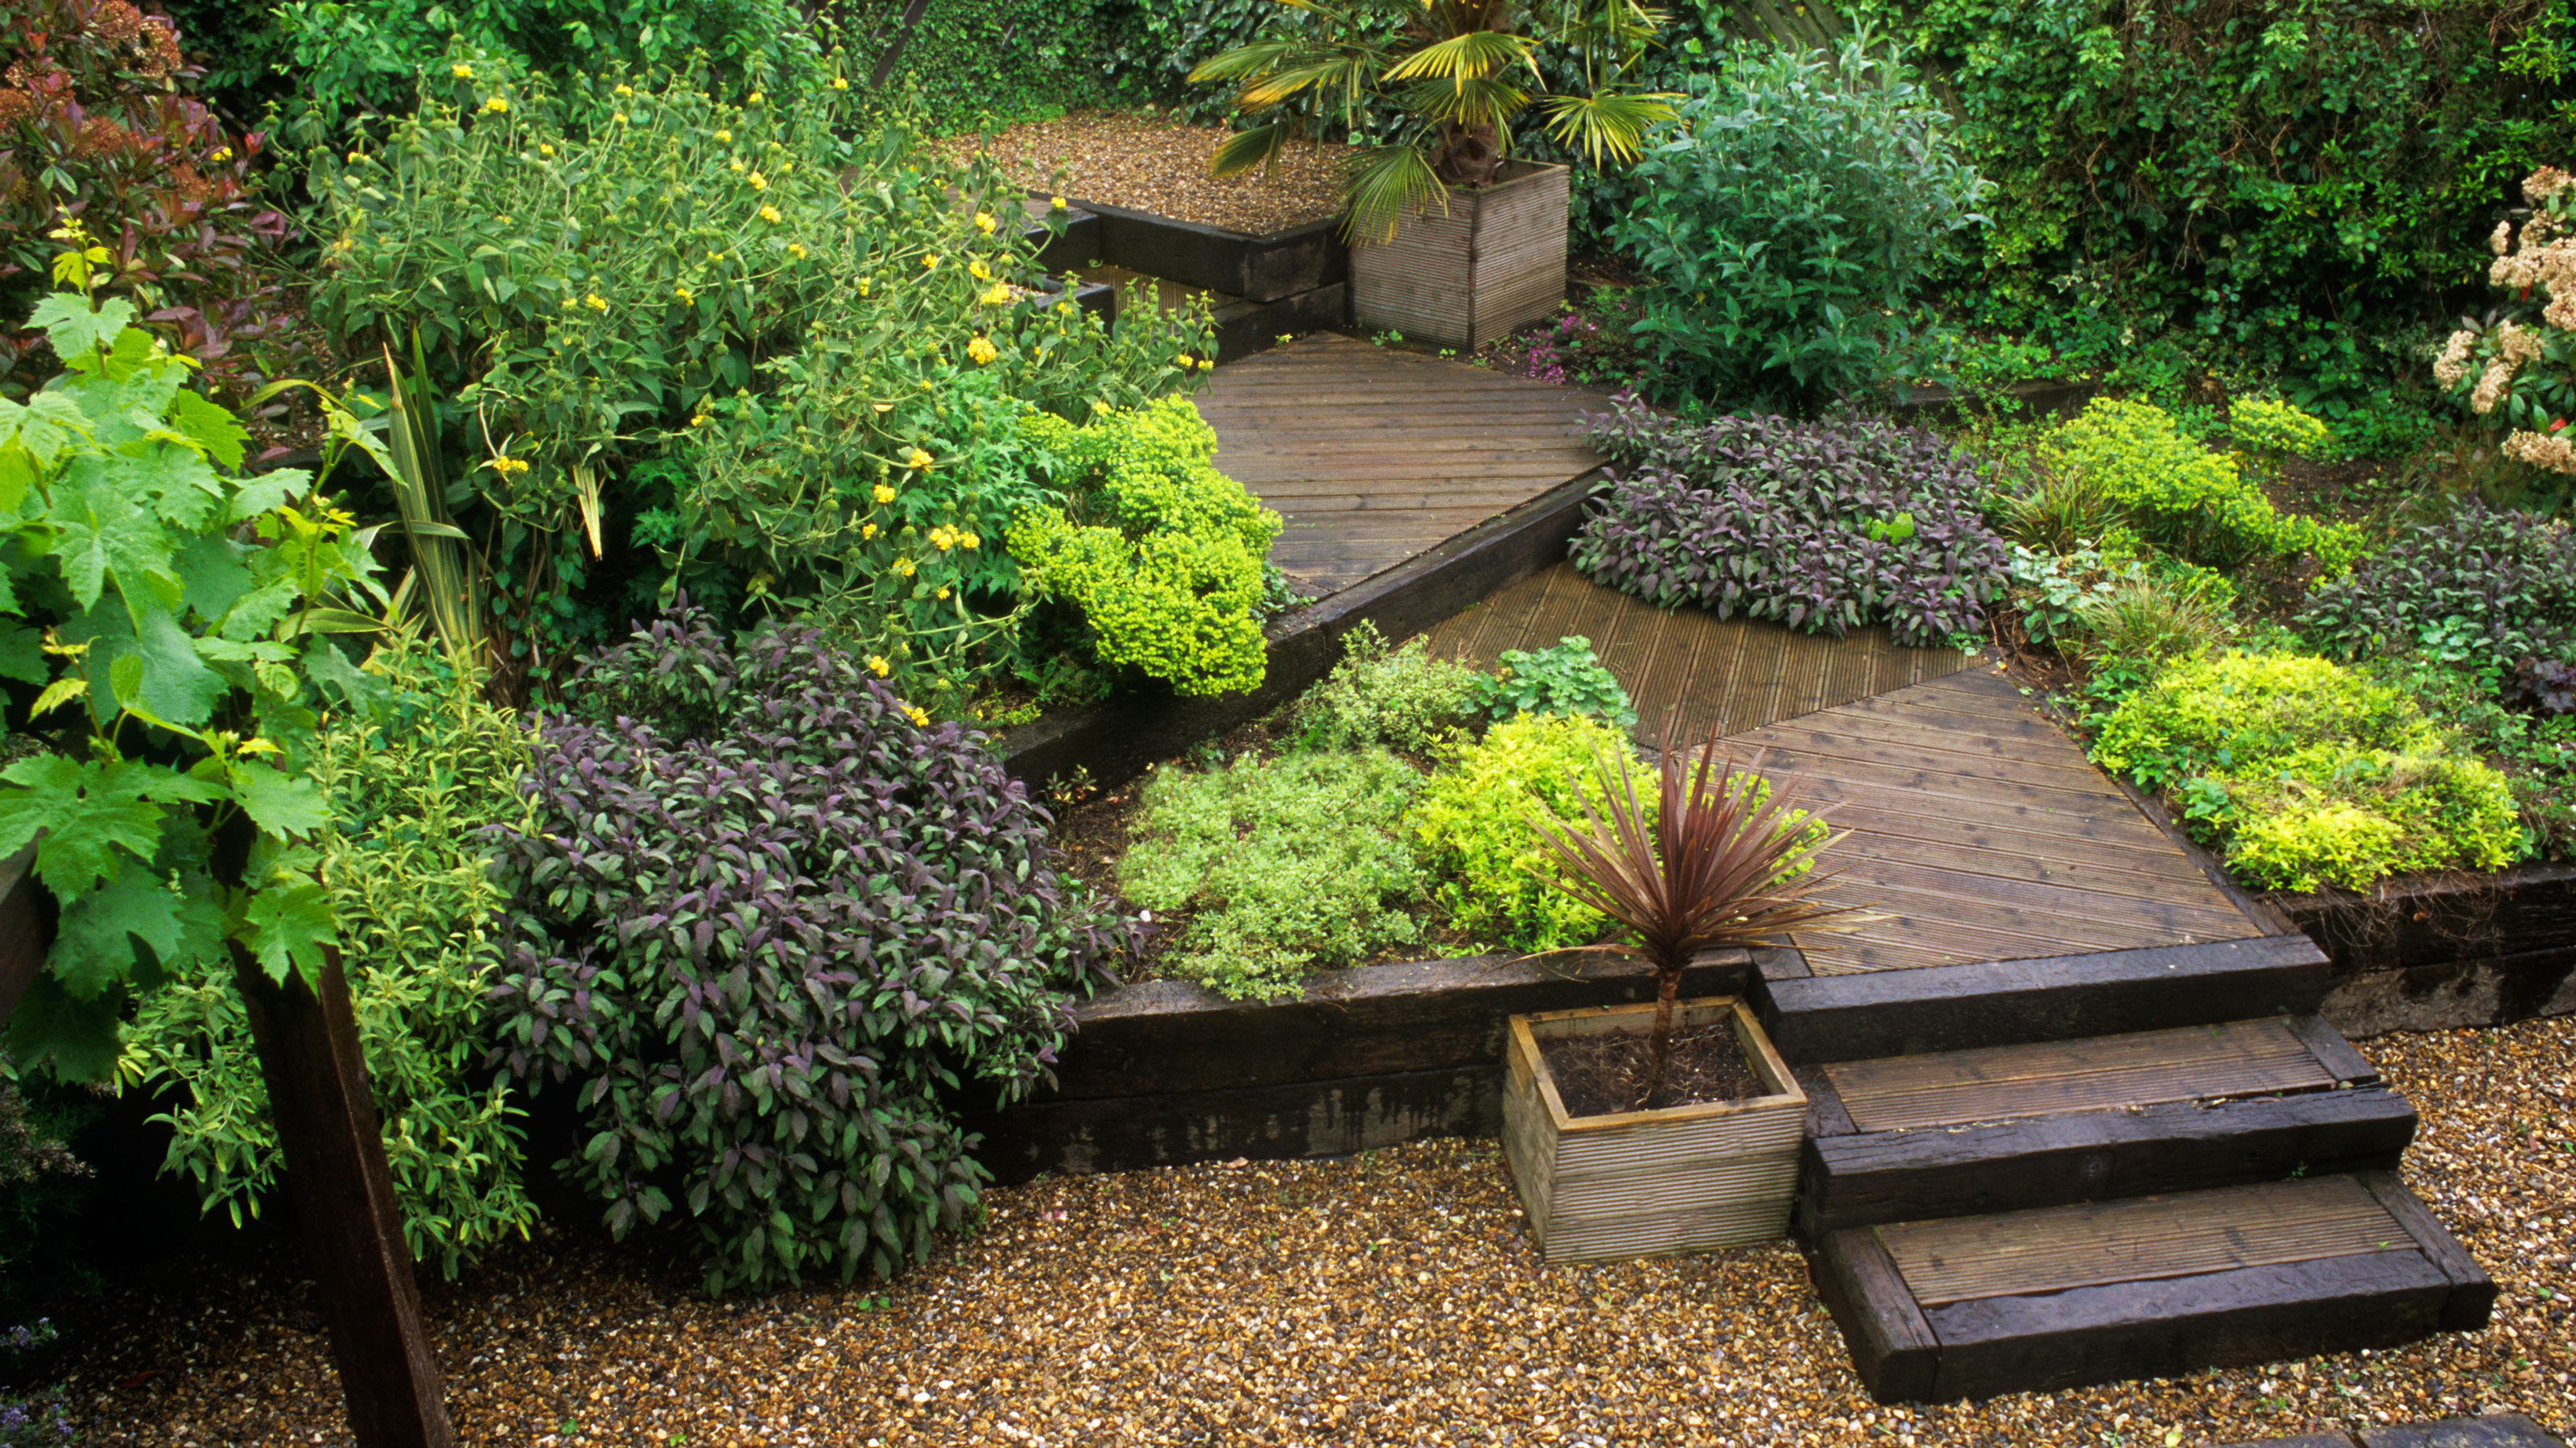
Railroad ties, also known as sleepers, were originally used in railroad tracks to support the rails. Over time, their durability and rustic appeal led to their adoption in landscaping projects. They are now widely used for various purposes, such as creating borders, retaining walls, raised flower beds, and even steps.
There are several reasons why railroad ties have become a popular choice among landscape designers and homeowners. First and foremost, they provide a natural and rustic look, adding a touch of timeless elegance to any outdoor space. Their rough, weathered appearance can complement a wide range of landscaping styles, from traditional to modern.
In addition to their aesthetic appeal, railroad ties offer practical benefits. They are highly durable and long-lasting, able to withstand the elements and the test of time. This makes them an excellent investment for homeowners looking to create a lasting landscape design.
Another advantage of using railroad ties is their versatility. Their sturdy construction allows for a variety of landscaping applications, from creating raised beds for planting flowers, herbs, or vegetables, to building retaining walls that help prevent soil erosion.
Before embarking on a railroad tie landscaping project, it is essential to have a clear plan and the necessary tools and materials. Proper preparation and installation will ensure a successful and visually appealing outcome. In this article, we will walk you through the process of installing railroad ties for landscaping, step-by-step, to help you achieve the outdoor oasis of your dreams.
Benefits of Using Railroad Ties for Landscaping
Railroad ties offer numerous benefits for landscaping projects, making them a popular choice among both professionals and DIY enthusiasts. Here are some of the key advantages of using railroad ties:
1. Durability: Railroad ties are made from naturally rot-resistant wood, such as oak or cedar. This makes them highly durable and able to withstand the elements, ensuring that your landscaping features will last for years to come.
2. Versatility: From creating flower beds and retaining walls to building steps and borders, railroad ties can be used in a variety of landscaping applications. Their sturdy construction and various lengths and widths allow for flexibility in design and installation.
3. Aesthetic Appeal: Railroad ties have a rustic and weathered appearance that adds charm and character to any outdoor space. Their rugged texture and rich colors provide a natural and organic element that complements a wide range of landscaping styles.
4. Cost-Effective: Compared to other landscaping materials, such as bricks or stones, railroad ties are relatively inexpensive. This makes them a cost-effective option for creating visually stunning and functional features in your yard or garden.
5. Easy to Work With: Railroad ties are easy to cut, shape, and manipulate, making them suitable for DIY projects. With the right tools and techniques, you can easily customize the ties to fit your desired design, creating unique and personalized landscaping elements.
6. Environmentally Friendly: Many railroad ties are made from reclaimed wood, reducing the demand for new timber. By using recycled materials, you are helping to minimize the environmental impact associated with the production of new construction materials.
7. Low Maintenance: Once installed, railroad ties require minimal maintenance. They naturally resist decay and insects, reducing the need for regular treatments or replacements. Occasional cleaning and sealing can help prolong their lifespan and retain their original appearance.
Overall, railroad ties offer a winning combination of durability, versatility, and aesthetic appeal for landscaping projects. Whether you’re enhancing your garden, creating raised beds, or building retaining walls, the use of railroad ties can elevate the beauty and functionality of your outdoor space.
Preparing the Area
Before installing railroad ties for your landscaping project, it is crucial to prepare the area properly. Taking the time to prepare the site will ensure a stable foundation and a professional-looking end result. Here are the steps to follow:
1. Clear the area: Start by removing any existing vegetation, rocks, or debris from the area where you plan to install the railroad ties. This will provide a clean and level surface for the ties to rest on.
2. Measure and mark: Use measuring tape and stakes to mark the boundaries of your desired landscaping feature. Whether you’re creating a raised bed or a retaining wall, accurate measurements are essential for proper installation.
3. Dig a trench: Dig a trench along the marked lines, ensuring it is deep enough to accommodate the height of the railroad ties. The trench should be wide enough to allow for some wiggle room and easy installation.
4. Level the ground: Use a level or a straight board to ensure the bottom of the trench is level. This will provide a solid base for the first row of railroad ties.
5. Add a gravel base: To improve drainage and stability, consider adding a layer of gravel to the bottom of the trench. This will help prevent water buildup and potential rotting of the ties.
6. Compact the soil: After adding the gravel, use a hand tamper or a compactor to firmly compact the soil in the trench. This will create a solid foundation for the railroad ties.
7. Check for level and alignment: Take the time to check that the trench is level and the lines are straight. This will ensure that the subsequent installation of the railroad ties will be even and visually pleasing.
By properly preparing the area, you will set the stage for a successful installation of the railroad ties. This initial step is crucial for achieving a professional-looking outcome and ensuring the long-term stability of your landscaping feature. Take the time to prepare the site thoroughly, and you will be rewarded with a beautiful and functional addition to your outdoor space.
Gathering the Necessary Tools and Materials
Before you can begin installing the railroad ties for your landscaping project, it’s important to gather all the necessary tools and materials. Having everything you need on hand will help streamline the installation process and ensure a smooth workflow. Here are the essential items you’ll need:
1. Railroad ties: Purchase the appropriate number and size of railroad ties for your landscaping project. Consider the length and height you require and choose ties that are in good condition and free from major defects.
2. Safety equipment: Ensure you have the necessary safety equipment to protect yourself during the installation process. This may include work gloves, safety glasses, and sturdy footwear.
3. Measuring tape and stakes: Use a measuring tape to accurately measure and mark the dimensions of the desired landscaping feature. Stakes can be used to map out the perimeter and guide the installation process.
4. Shovel and spade: These tools are essential for digging the trench and making adjustments to the soil as needed. Look for sturdy, high-quality options that can withstand the demands of the project.
5. Level and straight board: A level and a straight board will help ensure that the railroad ties are installed evenly and align properly. These tools are crucial for achieving a professional-looking end result.
6. Hand tamper or compactor: Use a hand tamper or a compactor to firmly compact the soil in the trench and create a solid foundation for the railroad ties. This will help prevent shifting or sinking over time.
7. Gravel or crushed stone: Adding a layer of gravel or crushed stone to the bottom of the trench can improve drainage and stability. This will provide a solid base for the ties and help prevent water buildup.
8. Circular saw or reciprocating saw: In some cases, you may need to cut the railroad ties to fit your desired design. A circular saw or reciprocating saw with a suitable blade will make this task easier and more precise.
9. Fasteners: Depending on your specific project, you may need fasteners such as rebar or landscape spikes to secure the railroad ties together or to the ground.
By gathering all the necessary tools and materials before starting the installation, you’ll save time and effort, ensuring a smooth and efficient process. Having everything on hand will also minimize disruptions and allow you to focus on creating a beautiful and lasting landscaping feature using the railroad ties.
Installing the First Row of Railroad Ties
With the area prepared and the necessary tools and materials gathered, it’s time to start installing the first row of railroad ties for your landscaping project. This initial row is crucial, as it sets the foundation for the rest of the installation. Follow these steps for a successful first row:
1. Position the first railroad tie: Place the first railroad tie in the trench, starting at one end. Ensure it is aligned with the marked boundary and level from side to side. Use a level or a straight board to check for evenness.
2. Make adjustments: If necessary, use a shovel or spade to make any adjustments to the soil beneath the railroad tie. This will help ensure that it sits flat and stable.
3. Measure and mark the next tie: Measure the desired distance between the end of the first railroad tie and the next one. Use a stake to mark the spot where the second tie will be positioned.
4. Place the second tie: Position the second railroad tie in the trench, making sure it is level and aligned with the marked stake.
5. Repeat the process: Continue measuring, marking, and placing the remaining railroad ties for the first row. Ensure that each tie is level and aligned with the previous ones.
6. Check for alignment: Take a step back and visually inspect the first row of railroad ties. Ensure that they are straight, even, and aligned with the marked boundary. This will provide a solid foundation for the subsequent rows.
7. Secure the ties: Once the first row is in place, securely fasten the railroad ties together using rebar or landscape spikes. This will help keep them in position and prevent shifting over time.
Installing the first row of railroad ties requires careful alignment and leveling to ensure a stable and visually pleasing foundation. Take your time to position each tie accurately, making adjustments as needed. By following these steps, you’ll be well on your way to creating a beautiful and durable landscaping feature using railroad ties!
Installing Subsequent Rows of Railroad Ties
Now that the first row of railroad ties is securely in place, it’s time to move on to installing the subsequent rows. Building up the height of the landscaping feature requires careful planning and precise positioning. Follow these steps for a successful installation of subsequent rows of railroad ties:
1. Measure and mark: Measure and mark the desired height for the next row of railroad ties. Use a level or a straight board to ensure the marks are aligned and level across the entire length.
2. Position the ties: Place the first tie of the subsequent row on top of the previous row, aligning it with the marked spot. Ensure it is level and securely positioned against the previous row.
3. Secure the ties: Once the tie is in the right position, secure it to the previous row using rebar or landscape spikes. This will prevent any shifting or movement.
4. Repeat the process: Measure, mark, and position the remaining ties for the subsequent row, following the same alignment and leveling guidelines. Ensure each tie is flush against the previous row and securely fastened.
5. Check for alignment and leveling: Periodically check the alignment and leveling of the subsequent rows as you progress. This will ensure that the entire structure remains stable and visually appealing.
6. Continue building up the height: Repeat the process of measuring, marking, positioning, and securing the ties for each subsequent row until you reach the desired height for your landscaping feature.
7. Consider staggering the joints: To improve the stability and aesthetics of the structure, consider staggering the joints between the railroad ties in each row. This will help distribute the load and create a more visually appealing pattern.
Installing subsequent rows of railroad ties requires precision and attention to detail. By following these steps, you’ll create a stable and visually pleasing structure. Remember to maintain alignment and leveling throughout the installation process to ensure a professional-looking end result. With each row added, you’ll see your landscaping feature take shape and become a standout element in your outdoor space!
Securing the Railroad Ties
Once the railroad ties are in place and the rows are built up to the desired height, it’s important to secure them properly. Securing the ties will ensure their stability and longevity, preventing any shifting or movement over time. Follow these steps to effectively secure the railroad ties:
1. Choose the appropriate fasteners: Select the right fasteners based on the size and type of railroad ties you are using. Common options include rebar or landscape spikes. Make sure the fasteners are long enough to penetrate through the ties and into the ground.
2. Pre-drill holes (optional): If you’re using fasteners like rebar, consider pre-drilling holes in the railroad ties to make the installation easier. Use a drill bit slightly smaller than the diameter of the fasteners to create the holes.
3. Position the fasteners: Place the fasteners near the ends and at regular intervals between the railroad ties. This will ensure that each tie is securely connected to the ones adjacent to it.
4. Insert the fasteners: Drive the fasteners into the railroad ties using a hammer or mallet. Make sure they penetrate through the ties and into the ground beneath to provide maximum stability.
5. Check for tightness: After securing each fastener, check to ensure that it is tight and properly anchored. This will prevent any movement or loosening of the ties.
6. Repeat the process: Continue installing fasteners along the length of each row and between rows until all the railroad ties are securely connected.
7. Trim any protruding fasteners: If there are any fasteners sticking out above the surface of the ties, trim them using a hacksaw or reciprocating saw. This will help prevent any injuries and ensure a clean appearance.
Properly securing the railroad ties is essential for maintaining the structural integrity of your landscaping feature. By following these steps and using the appropriate fasteners, you’ll ensure that the ties remain in place, even in the face of external forces. Take the time to secure each tie properly, and you’ll enjoy a durable and visually appealing addition to your outdoor space for years to come!
Trimming and Sanding the Railroad Ties
After securing the railroad ties in place, it’s time to give them a clean and finished look. Trimming and sanding the ties will not only improve their appearance but also make them safer to touch and interact with. Follow these steps to trim and sand the railroad ties:
1. Assess the ties: Examine each railroad tie for any rough edges, splinters, or protruding parts. Note any areas that require trimming or sanding.
2. Wear protective gear: Put on safety gloves and goggles before handling the ties. This will protect your hands and eyes from any potential hazards.
3. Trim with a saw: Use a circular saw or reciprocating saw to trim any excess or uneven parts of the railroad ties. Take care to maintain a straight and clean cut.
4. Sand the surfaces: Use a handheld power sander or sanding block with medium-grit sandpaper to smooth the surfaces of the railroad ties. Sand in the direction of the wood grain to achieve a consistent finish.
5. Round the edges: To further enhance safety and aesthetics, consider rounding the edges of the ties with sandpaper. This will help minimize the risk of accidental injuries and give the ties a more polished look.
6. Check for splinters: Run your hands along the surface of the ties to check for any remaining splinters or rough patches. Sand these areas until they are smooth and splinter-free.
7. Clean up: After trimming and sanding, remove any dust or debris from the ties. Use a brush or cloth to wipe away the particles, ensuring a clean and finished result.
Trimming and sanding the railroad ties will not only improve their aesthetics but also reduce the risk of splinters or injuries. Taking the time to properly trim and sand the ties will add the finishing touch to your landscaping feature, making it visually pleasing and safe to interact with. Enjoy the fruits of your labor as you admire the clean and polished appearance of the railroad ties in your outdoor space!
Finishing Touches
With the railroad ties installed, secured, and trimmed, it’s time to add the finishing touches to complete your landscaping project. These final touches will enhance the overall look and functionality of the area. Consider these options to put the perfect finishing touches on your railroad tie installation:
1. Add mulch or gravel: Apply a layer of mulch or gravel around the base of the railroad ties. This will help improve drainage, prevent weed growth, and give a neat and tidy appearance to your landscaping feature.
2. Plant greenery: Incorporate plants and flowers around the railroad ties to soften the overall look and add color to your landscape design. Choose plants that thrive in your climate and complement the aesthetic you’re aiming for.
3. Install lighting: Enhance the ambiance of your outdoor space by adding outdoor lighting along the railroad ties. This will not only create a pleasant atmosphere but also provide safety and visibility during evening hours.
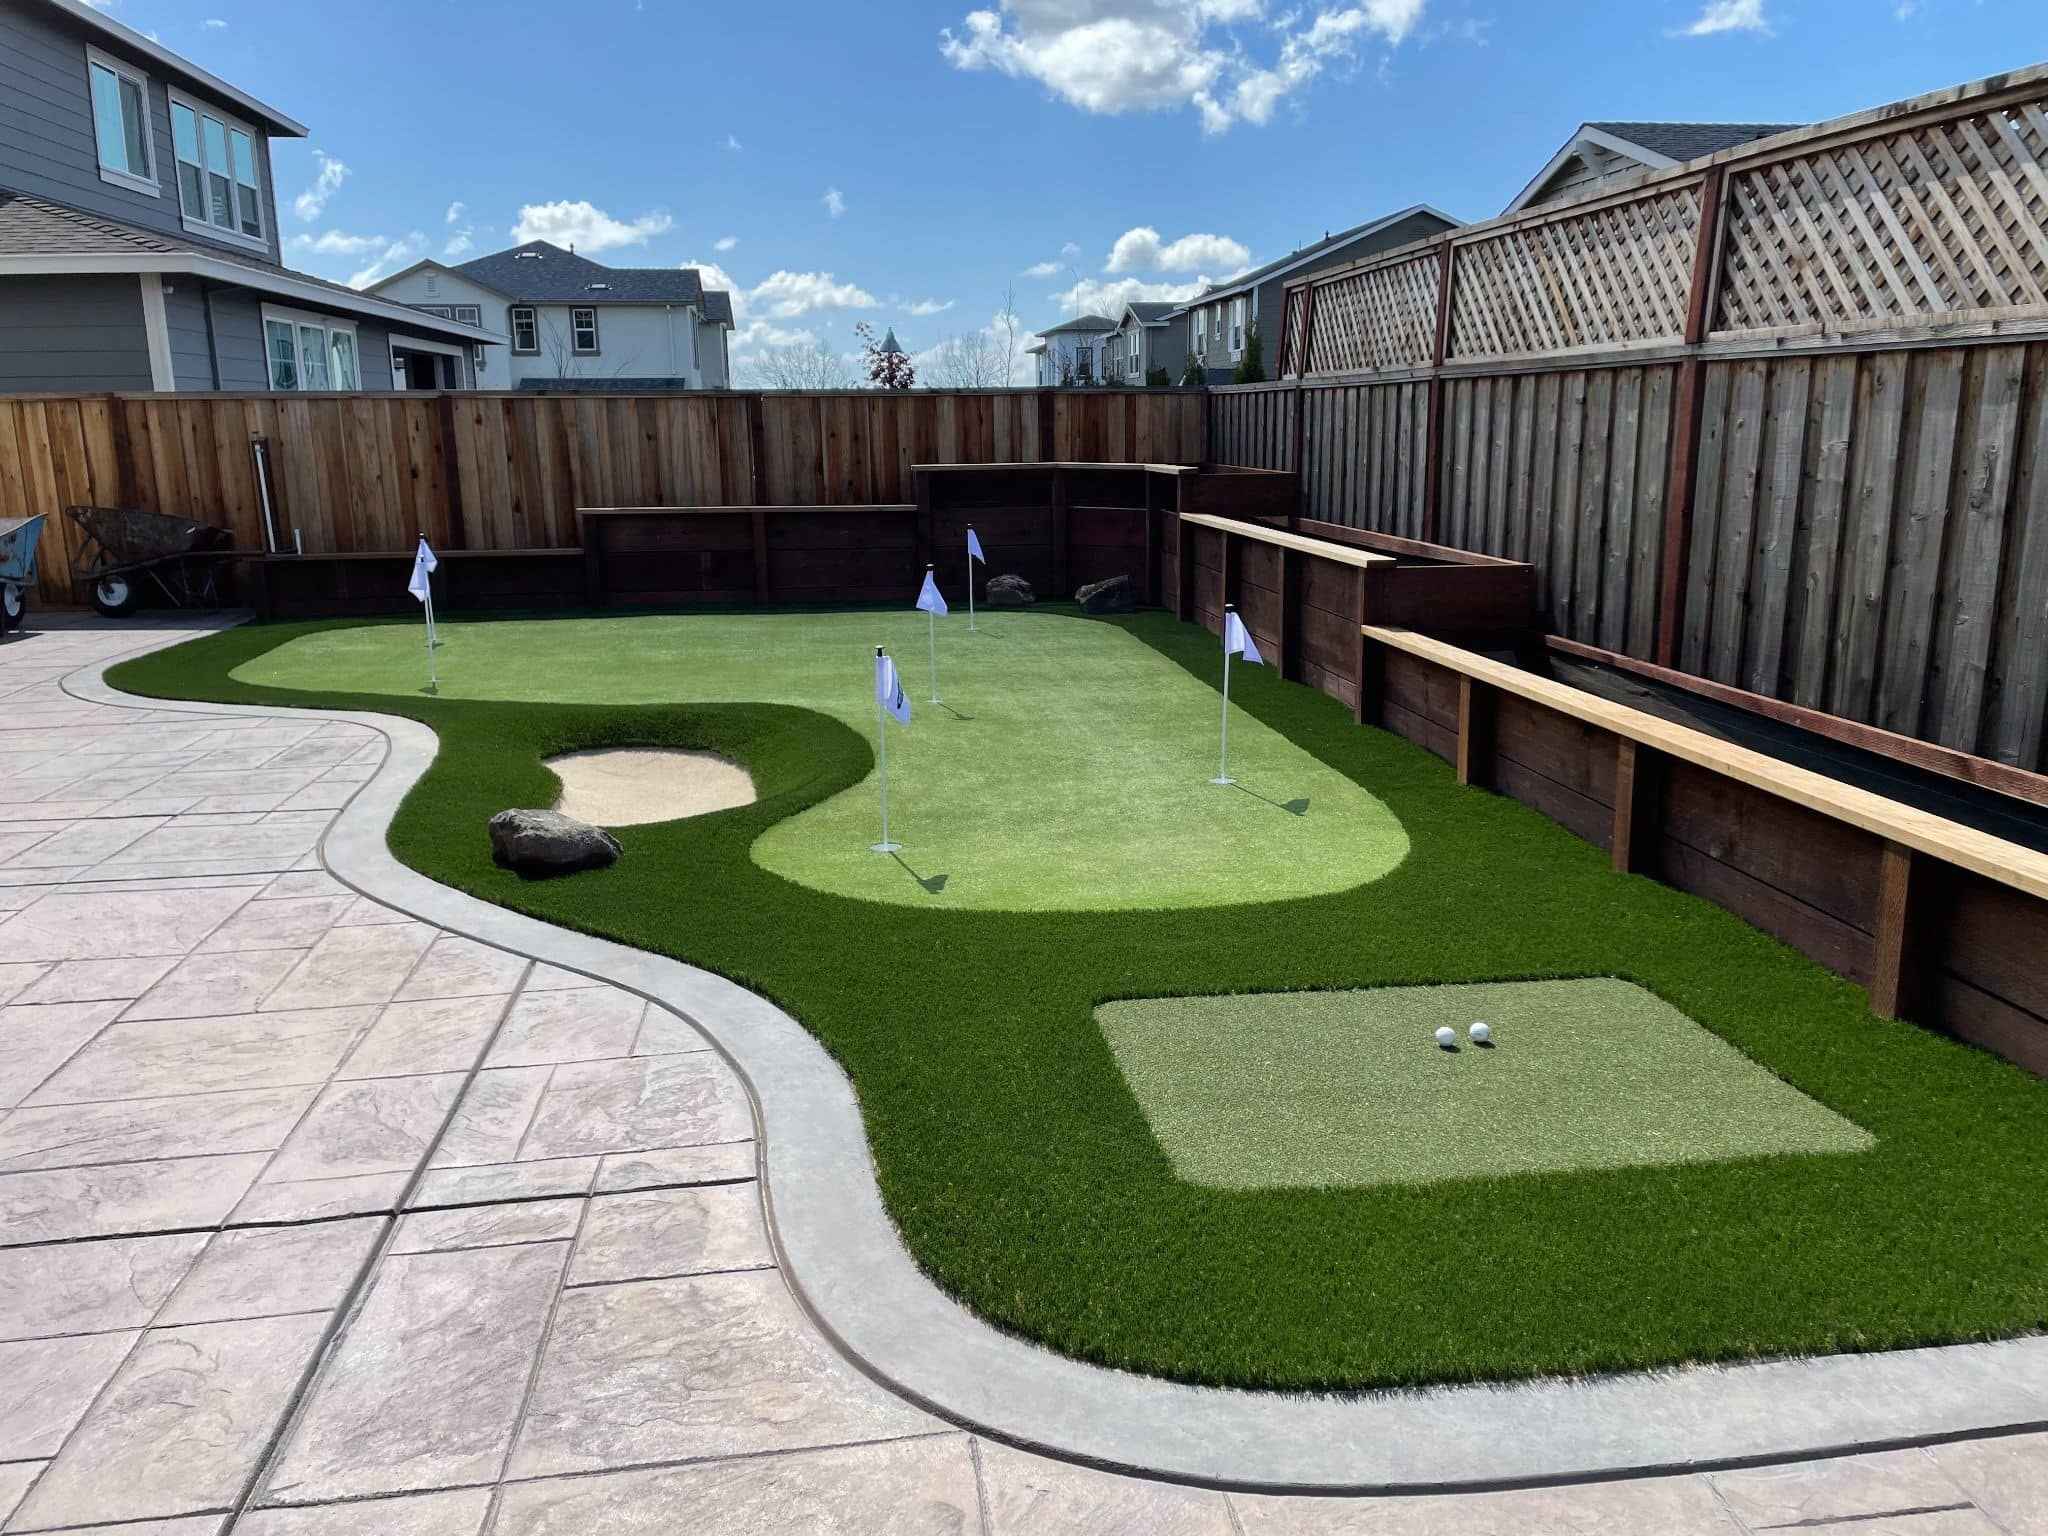
4. Add seating: If your railroad tie installation includes a raised bed or retaining wall, consider adding seating options on top. This will create a functional space where you can relax and enjoy your landscape design.
5. Incorporate decorative elements: Place decorative pieces, such as garden sculptures or ornamental stones, strategically among the railroad ties. This will add interest and create focal points in your landscaping.
6. Maintain and care for the area: Regularly maintain and care for the railroad tie installation by inspecting for any signs of damage, removing weeds or debris, and performing routine maintenance tasks as needed.
Remember, the finishing touches are where your personal style and creativity shine through. Customize your landscape design to reflect your taste and create a space that you’ll truly enjoy spending time in. Whether it’s adding greenery, lighting, or decorative elements, these final touches will elevate the beauty and functionality of your outdoor space.
Conclusion
Incorporating railroad ties into your landscaping design can bring aesthetic appeal, durability, and versatility to your outdoor space. They provide a rustic and timeless charm that complements various landscaping styles, from traditional to modern. From creating borders and retaining walls to constructing raised beds and steps, the possibilities are endless with railroad ties.
Throughout this guide, we explored the step-by-step process of installing railroad ties for your landscaping project. We discussed the importance of preparing the area, gathering the necessary tools and materials, and securing the ties properly. We also highlighted the significance of trimming and sanding the ties for a polished and safe finish.
Railroad ties offer a range of benefits, including durability, versatility, and cost-effectiveness. They require minimal maintenance and are environmentally friendly when made from reclaimed wood. By choosing railroad ties, you can create a long-lasting and visually appealing landscape that enhances the beauty of your outdoor space.
Remember, as you work with railroad ties, keep safety in mind and wear the necessary protective gear. Take the time to plan your project meticulously and follow the installation steps carefully for a successful outcome.
Now that you have a comprehensive understanding of how to install railroad ties for landscaping, it’s time to get creative and transform your outdoor space. Whether you’re adding raised beds for vibrant flowers or building retaining walls to prevent soil erosion, incorporating railroad ties will elevate the beauty and functionality of your landscape design.
Enjoy the process of landscaping with railroad ties, and savor the satisfaction of creating a stunning and enduring outdoor oasis for years of enjoyment to come.
