Home>Types of Gardening>Edible Gardening>How To Plant Green Bean Seeds

Edible Gardening
How To Plant Green Bean Seeds
Modified: January 22, 2024
Learn how to successfully plant green bean seeds in your edible garden. Find expert tips, step-by-step instructions, and more for a bountiful harvest.
(Many of the links in this article redirect to a specific reviewed product. Your purchase of these products through affiliate links helps to generate commission for Chicagolandgardening.com, at no extra cost. Learn more)
Table of Contents
Introduction
Are you interested in growing your own food and enjoying the satisfaction of harvesting fresh vegetables from your backyard? One of the most rewarding and delicious crops you can grow is green beans. Not only are they easy to grow, but they also provide an abundant harvest throughout the growing season. Whether you have a large garden or just a small plot, green beans can thrive in a variety of spaces.
Green beans, also known as snap beans or string beans, are a versatile vegetable that can be enjoyed in a multitude of ways. From sautéing and steaming to pickling and canning, their crisp texture and mild flavor make them a favorite among gardeners and cooks alike. Plus, they are packed with essential vitamins and minerals, making them a nutritious addition to any meal.
In this comprehensive guide, we will walk you through the process of planting green bean seeds and cultivating a successful crop. You will learn how to choose the right green bean variety, select a suitable planting location, prepare the soil, and properly plant the seeds. We’ll also cover essential topics such as watering and fertilizing, providing support for growing bean plants, managing pests and diseases, and harvesting and storing your green beans.
Whether you’re a beginner gardener or have some experience under your belt, this article will provide you with the knowledge and tips you need to have a successful green bean harvest. So, roll up your sleeves and get ready to dig into the wonderful world of growing green beans!
Choosing the Right Green Bean Variety
When it comes to selecting the right green bean variety for your garden, you have several options to choose from. The two main types of green beans are bush beans and pole beans, each with their own characteristics and growing habits.
Bush beans are compact plants that do not require trellising or support. They are a great choice for small gardens or containers. Bush beans have a shorter growing season, usually around 50-60 days, and produce a concentrated harvest. They are ideal for gardeners who want a quick and abundant crop.
Pole beans, on the other hand, are climbing vines that will need some type of support structure. They can grow up to 10 feet tall and require trellises, stakes, or poles to grow vertically. Pole beans have a longer growing season, averaging around 60-80 days, and produce a continuous harvest throughout the season.
When selecting a green bean variety, consider factors such as taste preference, harvesting time, and disease resistance. Some popular bush bean varieties include ‘Provider’ for early harvest, ‘Contender’ for reliable yields, and ‘Dragon Tongue’ for its unique purple and green coloring. For pole beans, ‘Kentucky Wonder’ is a classic choice, known for its excellent flavor and productivity. ‘Blue Lake’ is another favorite, known for its tender pods and long harvest season.
If you are looking for something unique, try growing heirloom varieties like ‘Cherokee Wax’ or ‘Rattlesnake’ that offer exceptional flavor and historical significance. Additionally, consider disease-resistant varieties such as ‘Strike’ or ‘Jade’ to minimize the risk of common bean diseases.
When making your selection, take into account the length of your growing season, space availability, and personal preferences. Remember, there is no right or wrong choice, it’s all about finding the green bean variety that suits your needs and taste preferences.
Selecting a Planting Location
The success of your green bean crop relies heavily on choosing the right planting location. Green beans thrive in areas that receive full sun, which means they need at least 6-8 hours of direct sunlight daily. Select a spot in your garden that is free from obstructions such as large trees or structures that may cast shadows on your plants.
The soil in the chosen area should be well-draining and rich in organic matter. Avoid areas with heavy clay soil that tends to hold water, as this can lead to root rot and other issues. If your soil is not ideal, consider amending it with compost or well-rotted manure to improve its structure and fertility.
It is also important to consider the spacing requirements for green beans. Give your plants enough space to allow for air circulation and prevent overcrowding, which can increase the risk of disease. Bush beans generally require about 4-6 inches between plants, while pole beans need more vertical space, so allow for at least 6-8 inches between plants and sufficient support structure.
Another factor to consider is proximity to a water source. Green bean plants need consistent moisture throughout their growing season, especially during flowering and pod development. Having a water source nearby will make it easier to provide regular irrigation without the hassle of carrying water long distances.
Lastly, consider the convenience and accessibility of the planting location. Keeping your green bean plants near your kitchen or backyard will make it easier to harvest the beans at their peak freshness and incorporate them into your meals. It will also allow you to closely monitor the plants for any signs of pests or diseases.
By selecting a suitable and strategic planting location, you are setting the stage for a successful green bean harvest. Take the time to evaluate your garden space and consider these factors before planting your green beans.
Preparing the Soil
Before planting green bean seeds, it’s essential to prepare the soil to create a favorable growing environment for your plants. Proper soil preparation will help promote healthy root development, nutrient uptake, and overall plant growth.
Start by removing any weeds or grass from the planting area. Weeds compete with your green bean plants for nutrients and water, so it’s important to eliminate them before planting. You can manually pull out weeds or use a garden hoe to loosen the soil and remove them more easily.
Next, loosen the soil to improve its structure and drainage. Use a garden fork or tiller to break up compacted soil, removing any clumps or rocks in the process. Breaking up the soil will create a loose and aerated environment, allowing the roots of the green bean plants to grow freely.
Once the soil is loosened, incorporate organic matter such as compost or well-rotted manure. Organic matter enriches the soil by adding valuable nutrients and improving its moisture-holding capacity. Spread a layer of organic matter over the planting area and work it into the soil with a garden fork or tiller.
Additionally, consider performing a soil test to assess its pH level. Green beans prefer a slightly acidic soil with a pH range of 6.0-6.5. If your soil’s pH is too low (acidic), you can add lime to raise it. On the other hand, if the pH is too high (alkaline), you can lower it by adding elemental sulfur or organic matter like peat moss.
Finally, rake the soil to create a smooth surface, removing any large clumps or debris. This will make it easier to sow the green bean seeds at the appropriate depth and ensure uniform germination.
By taking the time to properly prepare the soil before planting, you are setting the foundation for healthy and productive green bean plants. The enriched soil will provide the essential nutrients and water retention needed for vigorous growth and abundant yields.
Planting Green Bean Seeds
Now that you have prepared the soil, it’s time to plant the green bean seeds. Here are the steps to ensure successful germination and healthy plant growth:
- Start by soaking the green bean seeds in water for 6-8 hours. This will help speed up the germination process.
- While the seeds are soaking, create small furrows in the soil about 1-2 inches deep, spaced according to the recommended planting distance for your chosen green bean variety.
- Place the soaked seeds into the furrows, spacing them evenly along the row. You can plant multiple seeds per hole and thin them out later, or you can plant them individually at the recommended spacing.
- Cover the seeds with soil, gently pressing it down to ensure good seed-to-soil contact.
- Water the newly planted seeds thoroughly, moistening the soil to a depth of at least an inch. This will provide the necessary moisture for germination.
- Label the rows or use plant markers to keep track of the green bean variety and planting date.
- Monitor the soil moisture and water regularly to keep it consistently moist but not overly saturated. Avoid letting the soil dry out completely, as this can hinder germination.
- Within 7-14 days, you should start to see the green bean seedlings emerge from the soil.
- As the seedlings grow, you may need to thin them out if you planted multiple seeds per hole. Leave the strongest and healthiest-looking seedling in each spot, spacing them according to the recommended distance for your variety.
- Continue to water and care for the seedlings, providing regular irrigation and monitoring for any signs of pests or diseases.
Remember to follow the specific planting guidelines provided by the seed packet or seed supplier, as each variety may have slightly different requirements. By carefully sowing your green bean seeds and providing the right growing conditions, you’ll be on your way to a bountiful harvest of fresh, homegrown green beans.
Watering and Fertilizing
Proper watering and fertilizing are crucial for the health and productivity of your green bean plants. Here’s what you need to know to keep them thriving:
Watering is essential, especially during periods of dry weather. Green bean plants require consistent moisture, especially during flowering and pod development. Aim to provide about 1 inch of water per week, either through rainfall or supplemental irrigation.
When watering, it is important to irrigate deeply, ensuring that the water reaches the root zone. Avoid overhead watering if possible, as wet foliage can increase the risk of disease. Instead, direct the water at the base of the plants or utilize drip irrigation or soaker hoses to provide targeted watering.
Regularly monitor the soil moisture levels by inserting your finger or a moisture meter into the soil. Water when the top inch of the soil feels dry. Be cautious not to overwater, as this can lead to root rot and other problems. Finding the right balance is key.
In addition to water, green bean plants also benefit from regular fertilization. Before planting, incorporate a balanced organic fertilizer, such as compost or well-rotted manure, into the soil to provide essential nutrients.
During the growing season, side-dress the plants with compost or a balanced granular fertilizer around 4-6 weeks after planting. This will help replenish the nutrients in the soil and support healthy plant growth.
Avoid using high-nitrogen fertilizers, as this can result in excessive leaf growth at the expense of pod production. Opt for a fertilizer with a balanced ratio of nitrogen (N), phosphorus (P), and potassium (K), such as a 10-10-10 or 5-10-10 formula.
It’s important to note that green beans are considered nitrogen-fixing plants, meaning they have a symbiotic relationship with certain soil bacteria that can convert atmospheric nitrogen into a form usable by plants. This reduces the need for excessive nitrogen fertilization.
Regularly monitor your green bean plants for signs of nutrient deficiencies or excessive fertilization. Yellowing leaves or stunted growth can indicate nutrient deficiencies, while excessive foliage growth without pod development may indicate nitrogen excess.
By providing consistent and appropriate watering, along with balanced fertilization, you will support the growth and productivity of your green bean plants, ensuring a bountiful harvest of delicious and nutritious beans.
Providing Support for Growing Bean Plants
Green beans, especially pole bean varieties, require support as they grow. Providing support not only helps the plants to grow vertically but also promotes better air circulation, reduces the risk of disease, and makes harvesting easier. Here are some methods to support your bean plants:
Trellises or Cages: Erecting trellises or cages is a popular and effective method of supporting green bean plants. You can use bamboo stakes, wooden stakes, or metal cages to create a structure for the plants to climb on. As the vines grow, gently guide them up the trellis or cage, periodically tying them with soft garden twine if necessary.
A-Frame or Teepee: Another option is to create an A-frame or teepee structure using bamboo poles or wooden stakes. Simply tie the poles together at the top to form a cone shape and spread the legs out to create stability. Plant the green bean seeds around the base of the structure and allow the vines to grow up and around the poles.
Fencing or Netting: If you have a fence or wall in your garden, you can utilize it as a support for your bean plants. Attach a mesh netting or chicken wire to the fence, providing a climbing surface for the vines. Ensure that the spacing of the netting or wire is suitable for the size of the bean pods to prevent tangling.
String or Twine: For a simple and cost-effective option, you can create a support system using strings or twine. Install two parallel wires or ropes at a height of about 3-4 feet and tie additional individual strings vertically between them. As the green bean plants grow, gently weave the vines around the strings to provide support.
When supporting your bean plants, it’s important to regularly check the vines and adjust them as needed. Be gentle when handling the plants to avoid damaging the stems or disturbing the roots.
If you’re growing bush bean varieties, some may not require support due to their compact growth habit. However, it’s still beneficial to keep the plants off the ground by using a low trellis or stakes. This helps prevent disease and keeps the beans clean during harvest.
By providing the necessary support systems, you’ll help your green bean plants grow upward, maximize their exposure to sunlight, increase airflow around the foliage, and ultimately improve the overall health and productivity of your bean crop.
Managing Pests and Diseases
Like any garden crop, green beans are susceptible to pests and diseases that can impact their health and yield. However, with proper management techniques, you can minimize the damage caused by these threats. Here are some common pests and diseases that affect green beans and how to address them:
Pests:
- Aphids: These small insects suck the sap from the green bean plants, causing them to weaken and deform. Use a strong stream of water or insecticidal soap to dislodge aphids from the plants.
- Bean Beetles: Adult beetles feed on foliage, while their larvae eat the roots of the plants. Handpick the beetles and remove them from the plants.
- Cutworms: These larvae feed on the base of young seedlings, cutting them off at ground level. Protect seedlings by creating collars around their base or using biological control methods.
- Japanese Beetles: These beetles skeletonize the leaves of green bean plants. Handpick them or use organic insecticides labeled for Japanese beetles.
Diseases:
- Bean Rust: This fungal disease appears as rusty-orange patches on the leaves. Plant disease-resistant varieties and provide adequate spacing to promote air circulation.
- Powdery Mildew: This white powdery coating affects the leaves, causing stunted growth. Remove affected leaves and ensure adequate spacing for proper airflow.
- Anthracnose: This fungal disease causes dark, sunken spots on the pods. Plant disease-resistant varieties and remove and destroy infected plant debris.
- Bacterial Blight: Identified by brown lesions on leaves, this disease may cause plant wilting and reduced yields. Avoid overhead watering and practice proper sanitation to minimize the spread of bacteria.
Implementing preventative measures can also deter pests and diseases. Rotate your crops annually to break the life cycle of pests and diseases. Keep the garden clean by promptly removing plant debris and weeds that can harbor pests or fungal spores. Additionally, consider using organic insecticidal soaps or sprays to manage pest populations. Remember to follow the instructions on the label for safe and effective use.
Regularly inspect your green bean plants for signs of pests or diseases. Early detection and intervention are vital for effective management. By implementing these practices, you can keep your green bean plants healthy and minimize the impact of pests and diseases on your harvest.
Harvesting Green Beans
When it comes to harvesting green beans, timing is key. Harvesting at the right stage ensures the best flavor, texture, and nutritional value. Here’s what you need to know about harvesting green beans:
Green beans can be harvested at different stages, depending on your preference and the variety you’re growing. The common stages for harvesting green beans are:
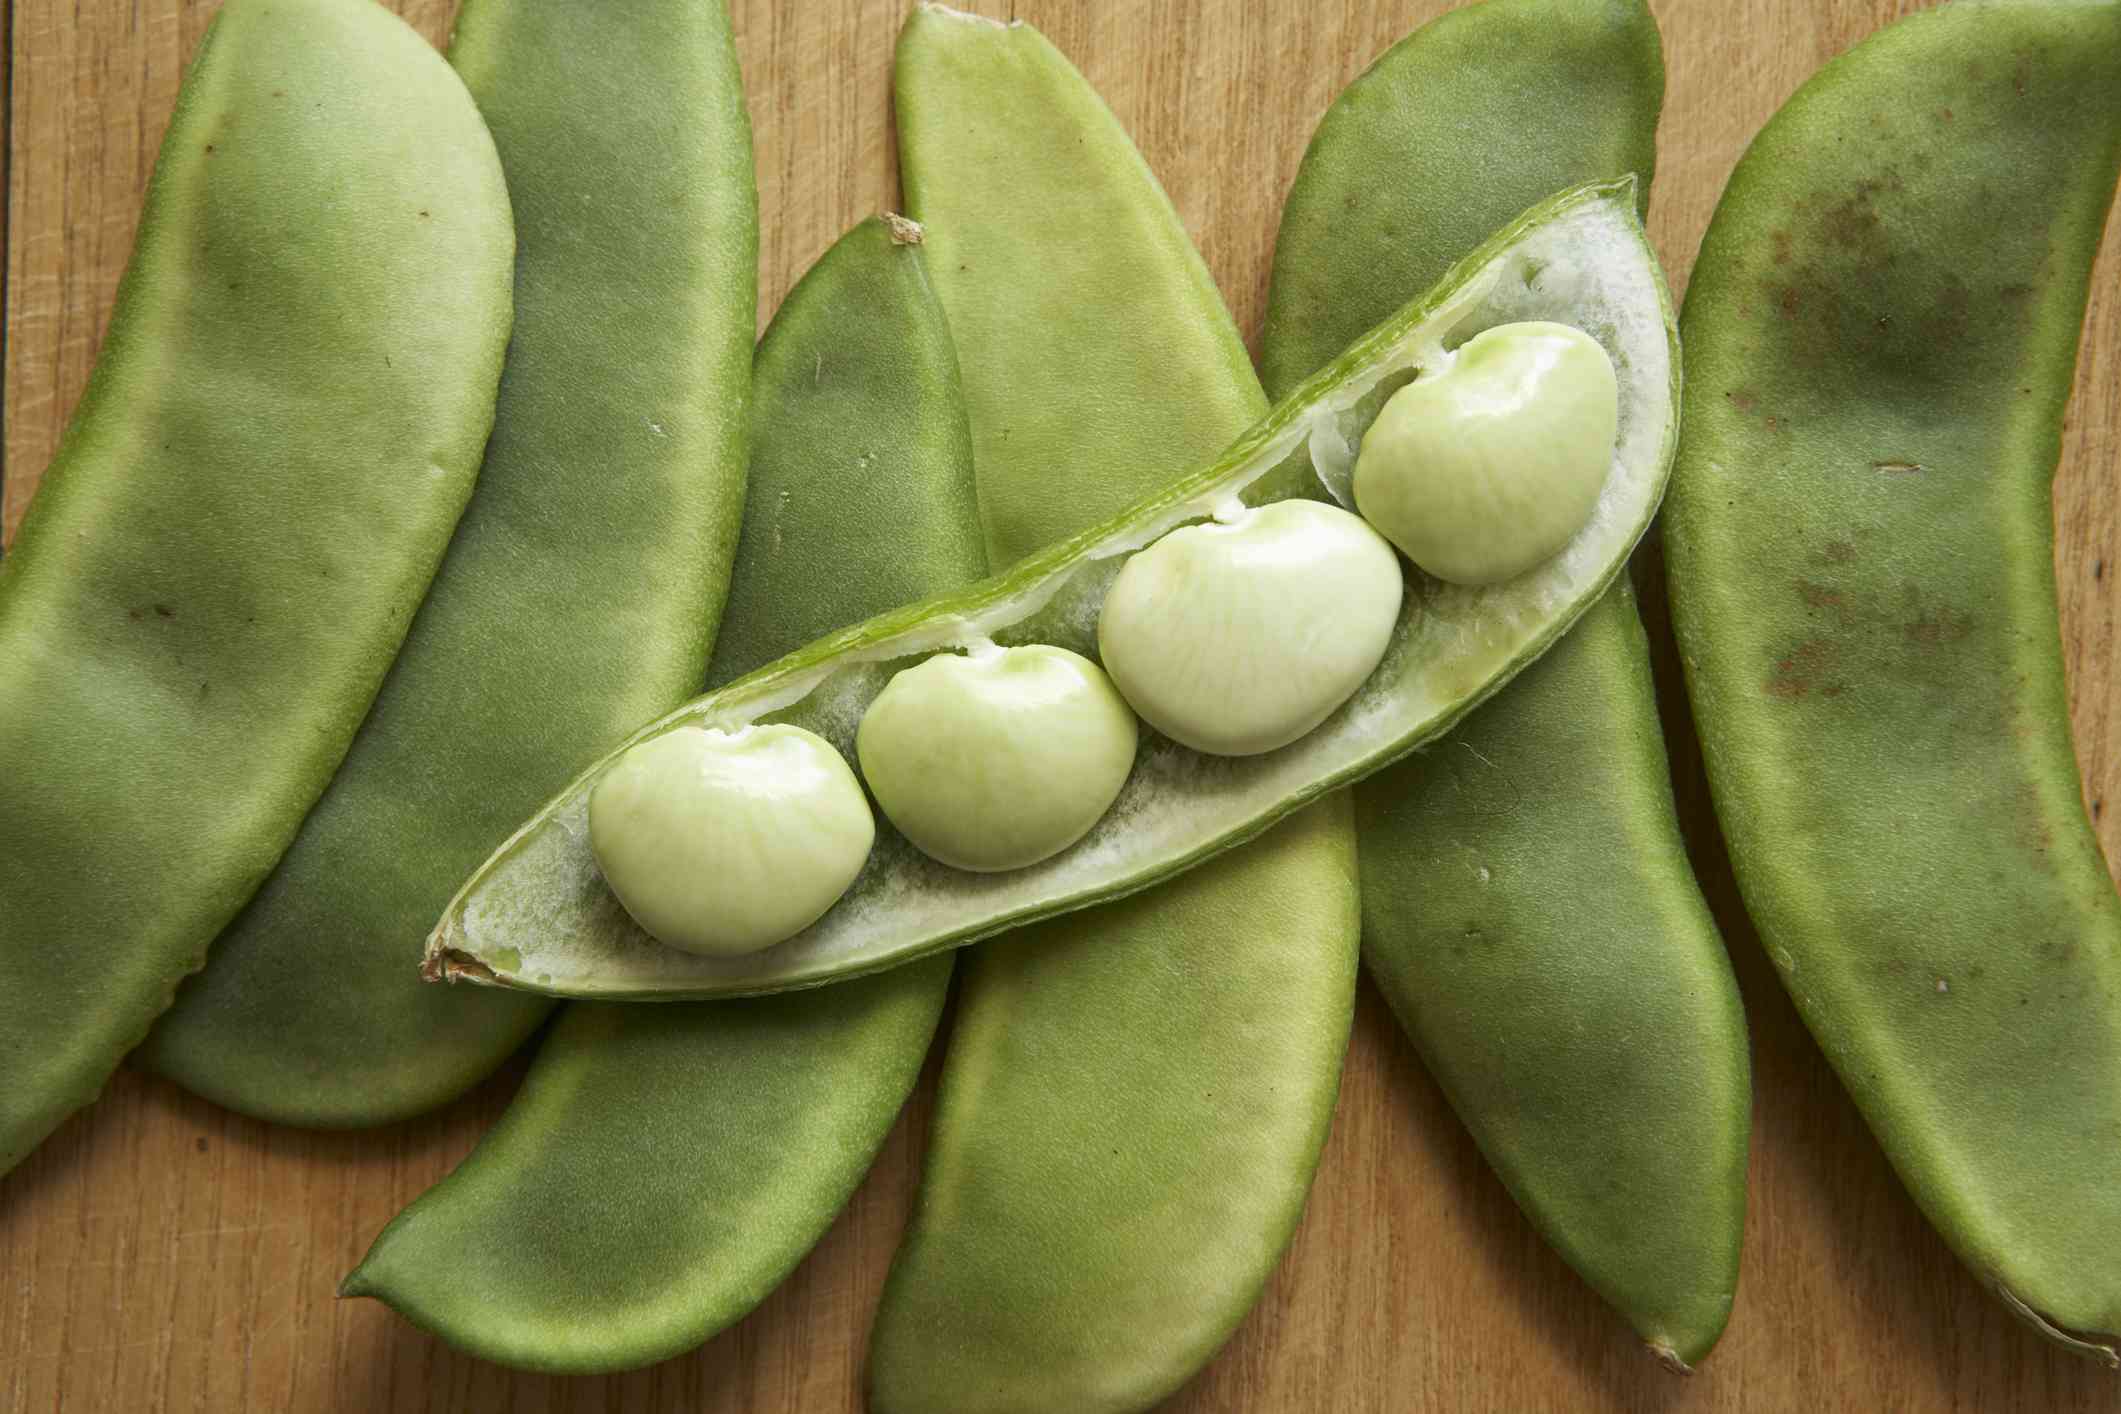
- Harvesting for Snap Beans: Snap beans, also known as green beans, are typically harvested when the pods are young, crisp, and tender. These beans are meant to be eaten whole, pod and all. Harvest snap beans when the pods are about 4-6 inches long and have a smooth texture.
- Harvesting for Shell Beans: Shell beans, also called shelling beans, are allowed to grow further until the seeds inside are fully developed and plump. The pods become thicker and less tender. Harvest shell beans when the pods are fully mature and the seeds have reached their maximum size.
To harvest green beans, gently hold the stem of the bean pod and snap or cut it from the plant using a sharp pair of scissors or garden knife. Be careful not to damage the plant or neighboring pods during the process. Try to harvest green beans regularly, every 2-3 days, as new pods will continue to develop on the plant.
It’s important to harvest green beans before the pods become tough and fibrous. Overripe beans have a dull color, enlarged seeds, and a tough texture. Taste test a few beans before harvesting to determine their tenderness and flavor.
After you’ve harvested your green beans, it’s recommended to use them as soon as possible for maximum freshness and flavor. If you do need to store them, place them in a perforated plastic bag or a container lined with a damp towel in the refrigerator. Stored green beans can stay fresh for up to a week.
Alternatively, green beans can be preserved by freezing or canning. Blanch the beans in boiling water for a couple of minutes, then plunge them into ice water to stop the cooking process. Pack them in freezer-safe bags or containers for freezing, or can them using a pressure canner or water bath canner.
By harvesting green beans at their peak and handling them properly afterward, you can enjoy the freshest and most flavorful beans from your garden. So, get ready to savor the taste of homegrown green beans in your favorite recipes!
Storing and Using Green Beans
Once you have harvested your green beans, it’s important to handle and store them properly to maintain their quality and extend their shelf life. Here’s what you need to know about storing and using green beans:
When it comes to storage, it’s best to use fresh green beans as soon as possible to enjoy their optimal taste and texture. However, if you need to store them, here are a few options:
- Refrigeration: Place unwashed green beans in a perforated plastic bag or a container lined with a damp towel. Store them in the crisper drawer of your refrigerator. Properly stored green beans can stay fresh for up to a week.
- Freezing: If you have an abundance of green beans, you can freeze them for later use. Start by blanching the beans in boiling water for a couple of minutes, then plunge them into ice water to stop the cooking process. Drain and pat them dry, then pack them in freezer-safe bags or containers. Label and date them before placing them in the freezer.
- Canning: Another preservation method is canning. Green beans can be pressure canned or processed using a water bath canner. Follow the guidelines for canning vegetables to ensure safe preservation and long-term storage.
When you’re ready to use your green beans, rinse them under cold water to remove any dirt or debris. Trim off the stem ends if desired, but leave the tapered end intact. Green beans can be used in a variety of dishes, and their crisp texture and mild flavor make them a versatile ingredient in both cooked and raw preparations.
Here are some ideas for using fresh green beans:
- Steamed or Sautéed: Steam or sauté green beans with garlic, olive oil, and a sprinkle of salt and pepper for a simple and healthy side dish.
- Stir-fries: Add green beans to stir-fries for a fresh and crunchy addition alongside other vegetables and protein.
- Casseroles and Gratins: Incorporate green beans into casseroles or gratins for a delicious and comforting dish.
- Salads: Blanch green beans briefly and add them to salads for a vibrant burst of color and crunch.
- Pickling: If you want to try something different, pickle green beans for a tangy and tasty snack or garnish.
Remember to be creative and explore different recipes to make the most of your green bean harvest. Experiment with seasonings, pairings, and cooking methods to discover your favorite ways to enjoy these tender and nutritious vegetables.
By properly storing and utilizing your green beans, you can enjoy their freshness and flavor long after harvest, adding a burst of green goodness to your meals throughout the year.
Conclusion
Congratulations! You have gained valuable knowledge on how to grow, care for, harvest, and utilize green beans in your edible garden. By following the guidelines outlined in this article, you are well-equipped to cultivate a successful green bean crop.
Choosing the right green bean variety that suits your needs and preferences is the first step. Whether you opt for the compactness of bush beans or the vertical growth of pole beans, each type offers its own benefits. Select a suitable planting location that receives ample sunlight, has well-draining soil, and is easily accessible for watering and tending to the plants.
Preparing the soil properly before planting is essential for optimum plant growth and development. Loosen the soil, remove weeds, and enrich it with organic matter to provide the necessary nutrients. Once the soil is prepared, follow the recommended spacing guidelines and sow the green bean seeds at the appropriate depth.
Watering and fertilizing your green bean plants consistently and appropriately will ensure healthy growth and plentiful harvests. Avoid overwatering but maintain consistent moisture levels, especially during crucial stages like flowering and pod development. Use organic fertilizers and provide periodic side-dressing to keep the plants well-nourished.
Supporting your bean plants as they grow is essential, especially for pole bean varieties. Trellises, cages, strings, and other support systems help the plants grow vertically, improve air circulation around the foliage, and facilitate easy harvesting.
To ensure a thriving green bean crop, it’s important to manage common pests and diseases. Regularly inspect your plants for signs of pests and implement appropriate control measures to minimize damage. Proper sanitation, crop rotation, and proactive measures can help prevent disease outbreaks and maintain the health of your plants.
When it’s time to harvest your green beans, do so at the appropriate stages for snap beans or shell beans. Snap beans are best when the pods are young and tender, while shell beans should be allowed to fully mature. Promptly use or store your harvested beans to maintain their freshness and flavor.
Finally, explore the various ways you can enjoy and preserve your green beans. From steaming and sautéing to pickling and freezing, green beans are a versatile and nutritious addition to a wide range of recipes and dishes.
Now, armed with this comprehensive knowledge, go ahead and plant your green beans with confidence. Enjoy the process of caring for your plants, witnessing their growth, and ultimately savoring the rewards of homegrown green beans on your plate!
