Home>Types of Gardening>Edible Gardening>How To Plant Dill Seeds
Edible Gardening
How To Plant Dill Seeds
Modified: February 9, 2024
Learn the art of planting dill seeds in your edible garden and enjoy the fresh aroma and taste of this versatile herb. Master the basics of edible gardening with our helpful guide.
(Many of the links in this article redirect to a specific reviewed product. Your purchase of these products through affiliate links helps to generate commission for Chicagolandgardening.com, at no extra cost. Learn more)
Table of Contents
Introduction:
Welcome to the world of edible gardening! Growing your own herbs and vegetables can be a rewarding and satisfying experience, and one herb that deserves a spot in every garden is dill. Known for its distinctive flavor and versatility in culinary dishes, dill is a popular herb that can be easily grown from seeds.
Whether you’re a seasoned gardener or a novice just starting out, this article will provide you with a comprehensive guide on how to plant dill seeds. From choosing the right location to harvesting and using the leaves and seeds, we’ll cover everything you need to know to successfully grow your own dill at home.
Dill (Anethum graveolens) is an annual herb that belongs to the celery family. It is native to the Mediterranean region but is now cultivated worldwide. Dill plants can reach a height of up to three feet and feature delicate, feathery leaves and yellow flowers. The leaves and seeds of the dill plant are both edible and have distinct flavors. Dill leaves have a fresh, grassy taste, while the seeds have a slightly sweet and tangy flavor.
When it comes to growing dill, one of the best things about it is its versatility. It can be grown in containers, raised beds, or directly in the ground, making it suitable for gardens of all sizes. Whether you have a backyard garden or a small balcony, dill can thrive in various environments as long as it receives adequate sunlight and well-drained soil.
In addition to its culinary uses, dill has a long history of medicinal and therapeutic applications. It is believed to have digestive and anti-inflammatory properties and has been used for centuries to alleviate various ailments, including indigestion, flatulence, and menstrual discomfort.
Now that we’ve covered the basics, let’s dive into the step-by-step process of planting and growing dill seeds. Whether you plan to use dill in your favorite recipes or want to add a touch of beauty to your garden, growing dill is a rewarding endeavor that is both enjoyable and beneficial.
Choosing the Right Location:
Choosing the right location for planting your dill seeds is crucial for their successful growth and development. Dill is a sun-loving herb and requires at least 6-8 hours of direct sunlight each day. Therefore, select a spot in your garden that receives ample sunlight throughout the day.
In addition to sunlight, dill also prefers well-drained soil with a pH level between 5.5 and 6.5. It is adaptable to different soil types, including loam, sandy soil, and clay, as long as it is well-draining. Avoid planting dill in areas with compacted soil or where water tends to accumulate, as this can lead to root rot and other diseases.
Consider the height of dill plants when choosing the location. Since dill can grow up to three feet tall, ensure that it won’t shade other sun-loving plants nearby. Planting dill at the edge of a garden bed or in a separate area where it doesn’t cast shadows on other plants is ideal.
If you have limited space, don’t worry! Dill can also thrive in containers. Choose a container that is at least 12 inches deep to accommodate the root system of the dill plant. Fill the container with well-draining potting soil and place it in a sunny location, such as a balcony or patio.
Another factor to consider is proximity to other plants. Dill is a beneficial companion plant for many vegetables, such as cabbage, broccoli, and carrots. The strong scent of dill leaves can help repel pests that might damage these neighboring plants. However, it’s important to keep dill away from fennel or other plants in the same family, as they can cross-pollinate and affect the flavor of the plants.
Lastly, consider accessibility when choosing the location. Since dill is a versatile culinary herb, it’s best to plant it in a spot that is easily accessible from your kitchen. This way, you can conveniently pluck fresh dill leaves whenever you need them for cooking.
By selecting the right location for planting your dill seeds, you’ll provide the ideal growing conditions for the herb. Remember to consider sunlight, soil drainage, height, and proximity to other plants when choosing the perfect spot in your garden or a container.
Preparing the Soil:
Preparing the soil is an essential step before planting dill seeds. Proper soil preparation ensures optimal growing conditions and allows the dill plants to thrive. Follow these steps to prepare your soil for dill cultivation:
- Clear the area: Remove any weeds, rocks, or debris from the planting area. Weeds can compete with dill for nutrients and hinder their growth, so it’s important to eliminate them before planting.
- Loosen the soil: Use a garden fork or a tiller to loosen the soil. This helps improve drainage and aeration, allowing the dill roots to penetrate easily. Loosening the soil also facilitates the absorption of nutrients.
- Amend the soil: Dill prefers well-draining soil with good fertility. If your soil is heavy clay or lacks organic matter, you can amend it by adding compost or well-rotted manure. These organic materials enhance the soil’s structure, improve its nutrient-holding capacity, and promote healthy growth.
- Test the soil: Consider conducting a soil test to determine the pH level and nutrient content of your soil. Dill thrives in slightly acidic to neutral soil with a pH range of 5.5 to 6.5. Based on the soil test results, you can adjust the pH level by adding lime to raise it or sulfur to lower it.
- Incorporate fertilizer: Dill plants benefit from a balanced fertilizer application during soil preparation. Use a slow-release fertilizer or organic alternatives like fish emulsion or compost. Follow the package instructions for the recommended dosage and method of application.
- Mix and rake the soil: Once you have amended the soil and added the necessary fertilizers, mix them thoroughly with the existing soil using a garden rake. This helps distribute the amendments evenly and ensures that the nutrients are readily available for the dill plants.
After completing these steps, your soil will be well-prepared and ready for planting dill seeds. Remember to water the soil lightly after preparing it to ensure good moisture levels. This will create an ideal environment for the dill seeds to germinate and establish strong root systems.
Sowing Dill Seeds:
Now that you have prepared the soil, it’s time to sow your dill seeds. Follow these steps to ensure successful germination and growth:
- Choose the right time: Dill is a cool-season herb that prefers moderate temperatures. The ideal time to sow dill seeds is in early spring when the soil temperature reaches around 60°F (15°C). If you miss the spring planting window, you can also sow dill seeds in late summer for a fall harvest.
- Plan your spacing: Dill plants can grow quite large, so it’s important to space them properly. Allow for at least 12 inches (30 cm) between each plant to give them enough room to spread. If you’re planting multiple rows, space the rows about 18 inches (45 cm) apart.
- Prepare the sowing area: Make shallow furrows in the soil, about ¼ inch (0.6 cm) deep. Space the furrows about 12 inches (30 cm) apart. These furrows will serve as the beds for the dill seeds.
- Sow the seeds: Sprinkle the dill seeds evenly along the furrows, spacing them about 2-3 inches (5-7.5 cm) apart. Cover the seeds lightly with soil, ensuring that they are not buried too deep. Dill seeds require light to germinate, so a shallow covering is sufficient.
- Water the seeds: After sowing the seeds, water the furrows gently to provide moisture and encourage germination. Be careful not to wash away the seeds by using a gentle stream of water or misting the area with a spray bottle.
- Maintain consistent moisture: Keep the soil consistently moist but not waterlogged. Check the moisture level regularly and water as needed, especially during dry spells. Avoid overwatering, as dill plants are susceptible to root rot in waterlogged soil.
- Germination and thinning: Dill seeds usually take about 7-14 days to germinate. Once the seedlings emerge, thin them out if they are overcrowded. Remove weaker seedlings to allow the stronger ones to grow and develop better.
By following these steps, you’ll ensure proper sowing of your dill seeds. The seeds will germinate, and the seedlings will establish themselves in the prepared soil. Now, you’re ready for the next steps of caring for your growing dill plants.
Watering and Fertilizing:
Proper watering and fertilizing are essential for the healthy growth and development of dill plants. Here’s what you need to know:
Watering:
Dill requires regular watering to keep the soil consistently moist. However, it’s important to strike the right balance and avoid overwatering, as this can lead to root rot. Follow these guidelines for watering your dill plants:
- Monitor soil moisture: Check the moisture level of the soil regularly by inserting your finger into the top inch. If it feels dry, it’s time to water. Dill plants generally need about 1-2 inches of water per week, depending on weather conditions and soil type.
- Water deeply and infrequently: Instead of frequent shallow watering, water your dill plants deeply at regular intervals. This encourages the development of a strong root system. Water the base of the plant, avoiding wetting the leaves to prevent fungal diseases.
- Avoid waterlogged soil: Ensure proper drainage to prevent waterlogged soil, which can lead to root rot. If you notice poor drainage in your planting area, amend the soil with organic matter or consider planting dill in raised beds or containers.
- Adjust watering in extreme weather: During periods of heavy rain or intense heat, adjust your watering schedule accordingly. Too much rainfall may require you to reduce watering frequency, while prolonged dry spells may necessitate increased watering.
Fertilizing:
Dill plants are not heavy feeders but can benefit from occasional fertilization. Use these tips for fertilizing your dill plants:
- Start with rich soil: Before planting, amend the soil with compost or well-rotted manure to provide a nutrient-rich foundation for your dill plants.
- Use organic fertilizers: Opt for natural and organic fertilizers, such as compost, fish emulsion, or seaweed extract. These options provide slow-release nutrients and enrich the soil without harming beneficial soil organisms.
- Apply fertilizers sparingly: Dill plants do not require heavy fertilization. Apply a balanced organic fertilizer once or twice during the growing season. Follow the manufacturer’s instructions for the appropriate dosage and method of application.
- Avoid over-fertilization: Excessive fertilization can lead to lush foliage growth at the expense of the dill’s flavor. Be mindful of not over-fertilizing your dill plants.
By watering your dill plants appropriately and providing occasional organic fertilization, you’ll ensure their healthy growth and maximize the flavor and aroma of the dill leaves and seeds.
Managing Pests and Diseases:
Just like any other plants, dill can face its fair share of pests and diseases. However, with proper management and vigilance, you can keep your dill plants healthy and thriving. Here are some common pests and diseases that affect dill and how to manage them:
Pests:
- Aphids: These tiny insects feed on the sap of the dill plant, causing stunted growth and distorted leaves. Use a strong spray of water or insecticidal soap to get rid of aphids. Introducing natural predators like ladybugs can also help control their population.
- Cabbage loopers: The green caterpillars of cabbage loopers can munch on dill leaves, potentially defoliating the plants. Handpick these caterpillars or use organic insecticides containing Bacillus thuringiensis (BT) to control them.
- Slugs and snails: These slimy pests can feast on young dill seedlings. Use physical barriers like copper tape or diatomaceous earth around the plants to prevent them from reaching your dill. You can also handpick them during dusk or use organic slug repellents.
Diseases:
- Powdery mildew: Powdery mildew appears as a white powdery coating on the leaves, leading to leaf yellowing and curling. Improve air circulation around the dill plants by spacing them properly and avoid overhead watering. Fungicidal sprays containing sulfur or neem oil can help control powdery mildew.
- Leaf spot: Leaf spot causes brown or black spots on dill leaves. Keep the garden area clean by removing fallen leaves and debris, as they can harbor disease-causing organisms. If leaf spot persists, use copper-based fungicides as per label instructions.
- Damping-off: Damping-off is a fungal disease that affects young dill seedlings, causing them to wilt and collapse. To prevent this, ensure good drainage and avoid overwatering. Starting seeds in sterile soil or using a fungicidal seed treatment can also help prevent damping-off.
Regularly inspect your dill plants for any signs of pests or diseases. Early detection and prompt action are crucial in managing and preventing infestations. Additionally, practicing good garden hygiene, such as removing dead plant debris and crop rotation, can help maintain a healthy garden ecosystem and reduce the risk of diseases.
Harvesting Dill:
Harvesting dill is an exciting part of the gardening process. When the dill plants have reached maturity, which is typically around 8-10 weeks after sowing, you can begin harvesting their flavorful leaves and seeds. Here’s how to do it:
Harvesting Dill Leaves:
- Choose the right time: Harvest dill leaves in the morning when their essential oils are at their peak flavor and aroma. Avoid harvesting in the heat of the day, as the leaves may wilt.
- Pick the leaves: Gently snip the desired amount of dill leaves from the main stem, using a sharp pair of pruning shears or scissors. Aim to harvest the outer leaves first, as this encourages the plant to continue producing new growth.
- Leave some foliage: Ensure you leave at least one-third of the plant’s foliage intact during each harvest. This allows the dill plant to continue photosynthesizing and growing.
Harvesting Dill Seeds:
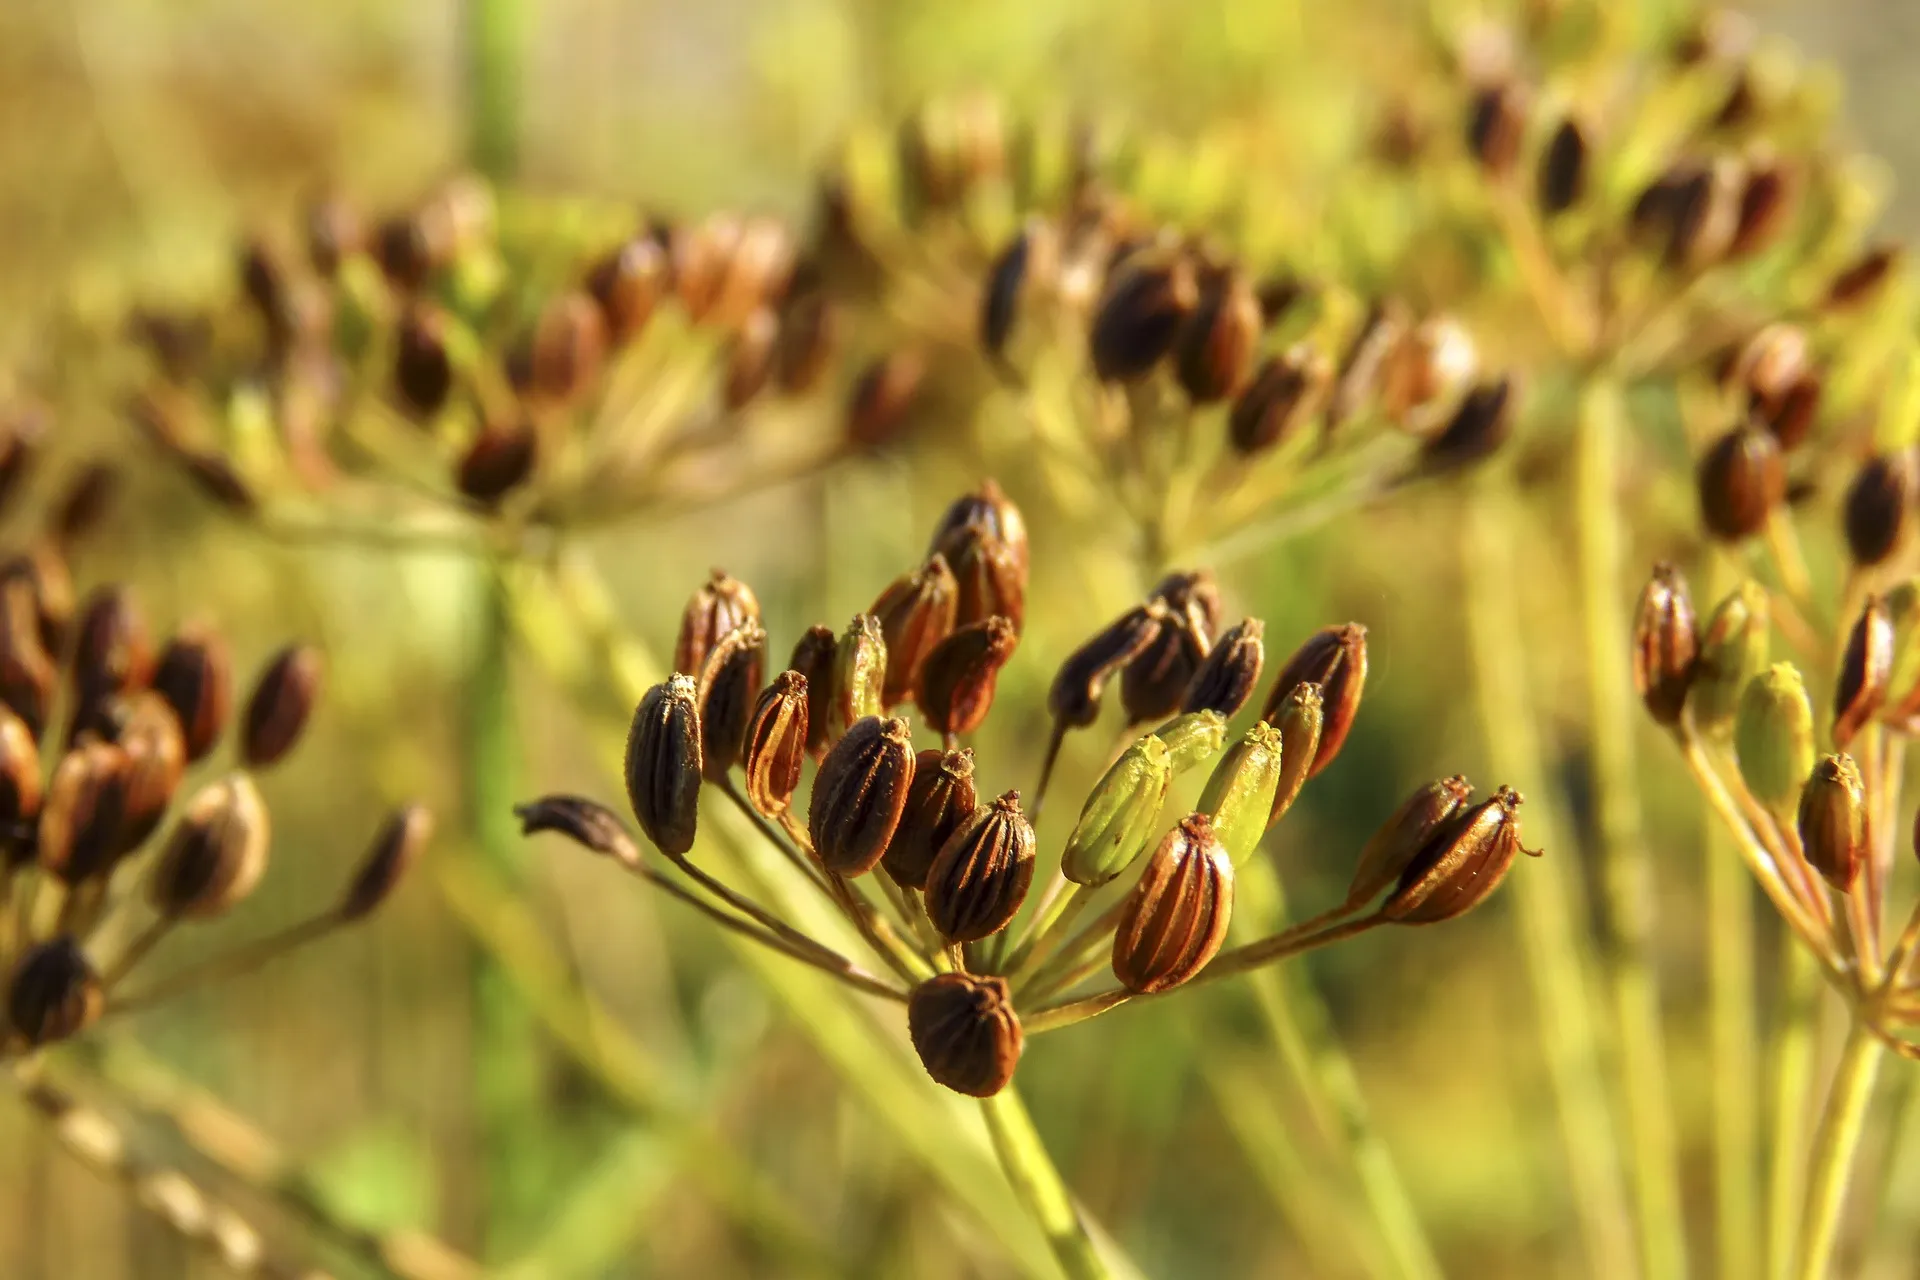
- Wait for the right time: Allow the dill plants to flower, and the flower heads to turn brown and dry. This typically occurs around 12-14 weeks after sowing.
- Harvest the seed heads: Cut the seed heads carefully from the plant using pruning shears. Place a paper bag or a clean container underneath to catch any falling seeds.
- Remove the seeds: Gently rub the dried seed heads or thresh them over a clean white cloth to release the seeds. Remove any chaff or debris from the seeds using your fingers or a fine sieve.
- Store the seeds: Once the seeds are clean and dry, transfer them to an airtight container and store them in a cool, dark place. Properly stored dill seeds can retain their flavor and viability for up to two years.
Throughout the growing season, you can continue to harvest dill leaves as needed. However, keep in mind that dill plants will eventually bolt and produce fewer leaves as they focus on flowering and seed production. To prolong the harvest of dill leaves, you can succession plant by sowing new dill seeds every few weeks.
By harvesting dill leaves at the right time and collecting mature seed heads, you’ll have a fresh supply of flavorful dill to use in your culinary creations and for future plantings.
Storing and Using Dill Leaves and Seeds:
Now that you’ve harvested your dill leaves and seeds, it’s time to learn how to properly store them for future use and explore the various ways to incorporate them into your culinary endeavors.
Storing Dill Leaves:
- Short-Term Storage: Freshly harvested dill leaves can be stored in the refrigerator for up to one week. Wrap them loosely in a damp paper towel or place them in a perforated plastic bag to maintain their freshness.
- Freezing: To extend the storage life of dill leaves, consider freezing them. Blanch the leaves in boiling water for a few seconds, then transfer them to an ice bath to cool. Pat them dry and place them in airtight containers or freezer bags. Frozen dill leaves can retain their flavor for several months.
Using Dill Leaves:
- Culinary Applications: Dill leaves have a fresh, grassy flavor that pairs well with fish, seafood, and vegetables. They are a popular ingredient in dishes like gravlax, salads, soups, sauces, and dips. Chop fresh dill leaves and add them to your favorite recipes to enhance the flavors.
- Garnish: Sprinkle fresh dill leaves on top of dishes as a vibrant garnish. Their feathery appearance adds an elegant touch to any presentation.
- Infused Oils and Vinegars: Add chopped dill leaves to olive oil or vinegar for a flavorful infusion. Let the ingredients steep for a few days to infuse the flavors, then strain out the leaves.
Storing Dill Seeds:
- Drying: Dill seeds should be dried thoroughly before storage to prevent mold and maintain their quality. Spread the seeds in a single layer on a clean, dry surface, and allow them to air dry for several days until they are completely dry.
- Storing: Once the dill seeds are dry, transfer them to airtight containers, such as glass jars or resealable bags. Store them in a cool, dark place away from direct sunlight, heat, and moisture.
Using Dill Seeds:
- Spice and Seasoning: Dill seeds possess a slightly sweet and tangy flavor, often likened to a combination of anise and celery. Use them as a spice or seasoning in pickling, marinades, sauces, and bread recipes. Crush the seeds or grind them into a powder for a more intense flavor.
- Infusions and Tea: Infuse dill seeds in hot water to make a soothing and aromatic tea. The tea is believed to aid digestion and promote relaxation.
By storing your dill leaves and seeds properly and incorporating them into your cooking, you can enjoy the delightful flavors and aromas of dill in various culinary creations throughout the year.
Conclusion:
Congratulations on learning how to plant, care for, and harvest dill in your own edible garden! By following the steps outlined in this guide, you are well-equipped to grow this versatile and flavorful herb from seeds.
From choosing the right location and preparing the soil to sowing the seeds and managing pests and diseases, each step plays a crucial role in the success of your dill plants. Remember to provide your dill plants with adequate sunlight and well-drained soil, and be mindful of watering and fertilizing them appropriately. By practicing good gardening techniques and monitoring for pests and diseases, you can ensure strong and healthy dill plants.
When it comes time to harvest, enjoy the abundance of fresh dill leaves and aromatic seeds. Incorporate the dill leaves into your favorite recipes, enhancing the flavors of fish, salads, soups, and more. Store the dill leaves properly or freeze them for later use. Meanwhile, the dill seeds can be used in pickling, marinades, spice blends, or even enjoyed as a soothing tea.
Edible gardening, such as growing dill, not only provides you with a fresh and flavorful addition to your meals but also offers a rewarding and fulfilling experience. The joy of witnessing the growth and harvest of your own herbs is unmatched.
So, roll up your sleeves, get your hands in the soil, and start planting dill seeds in your garden or containers. With proper care and attention, you’ll be rewarded with a bountiful harvest of dill leaves and seeds, breathing life and flavor into your culinary creations.