Home>Types of Gardening>Ornamental Gardening>How To Plant Lupine Seeds
Ornamental Gardening
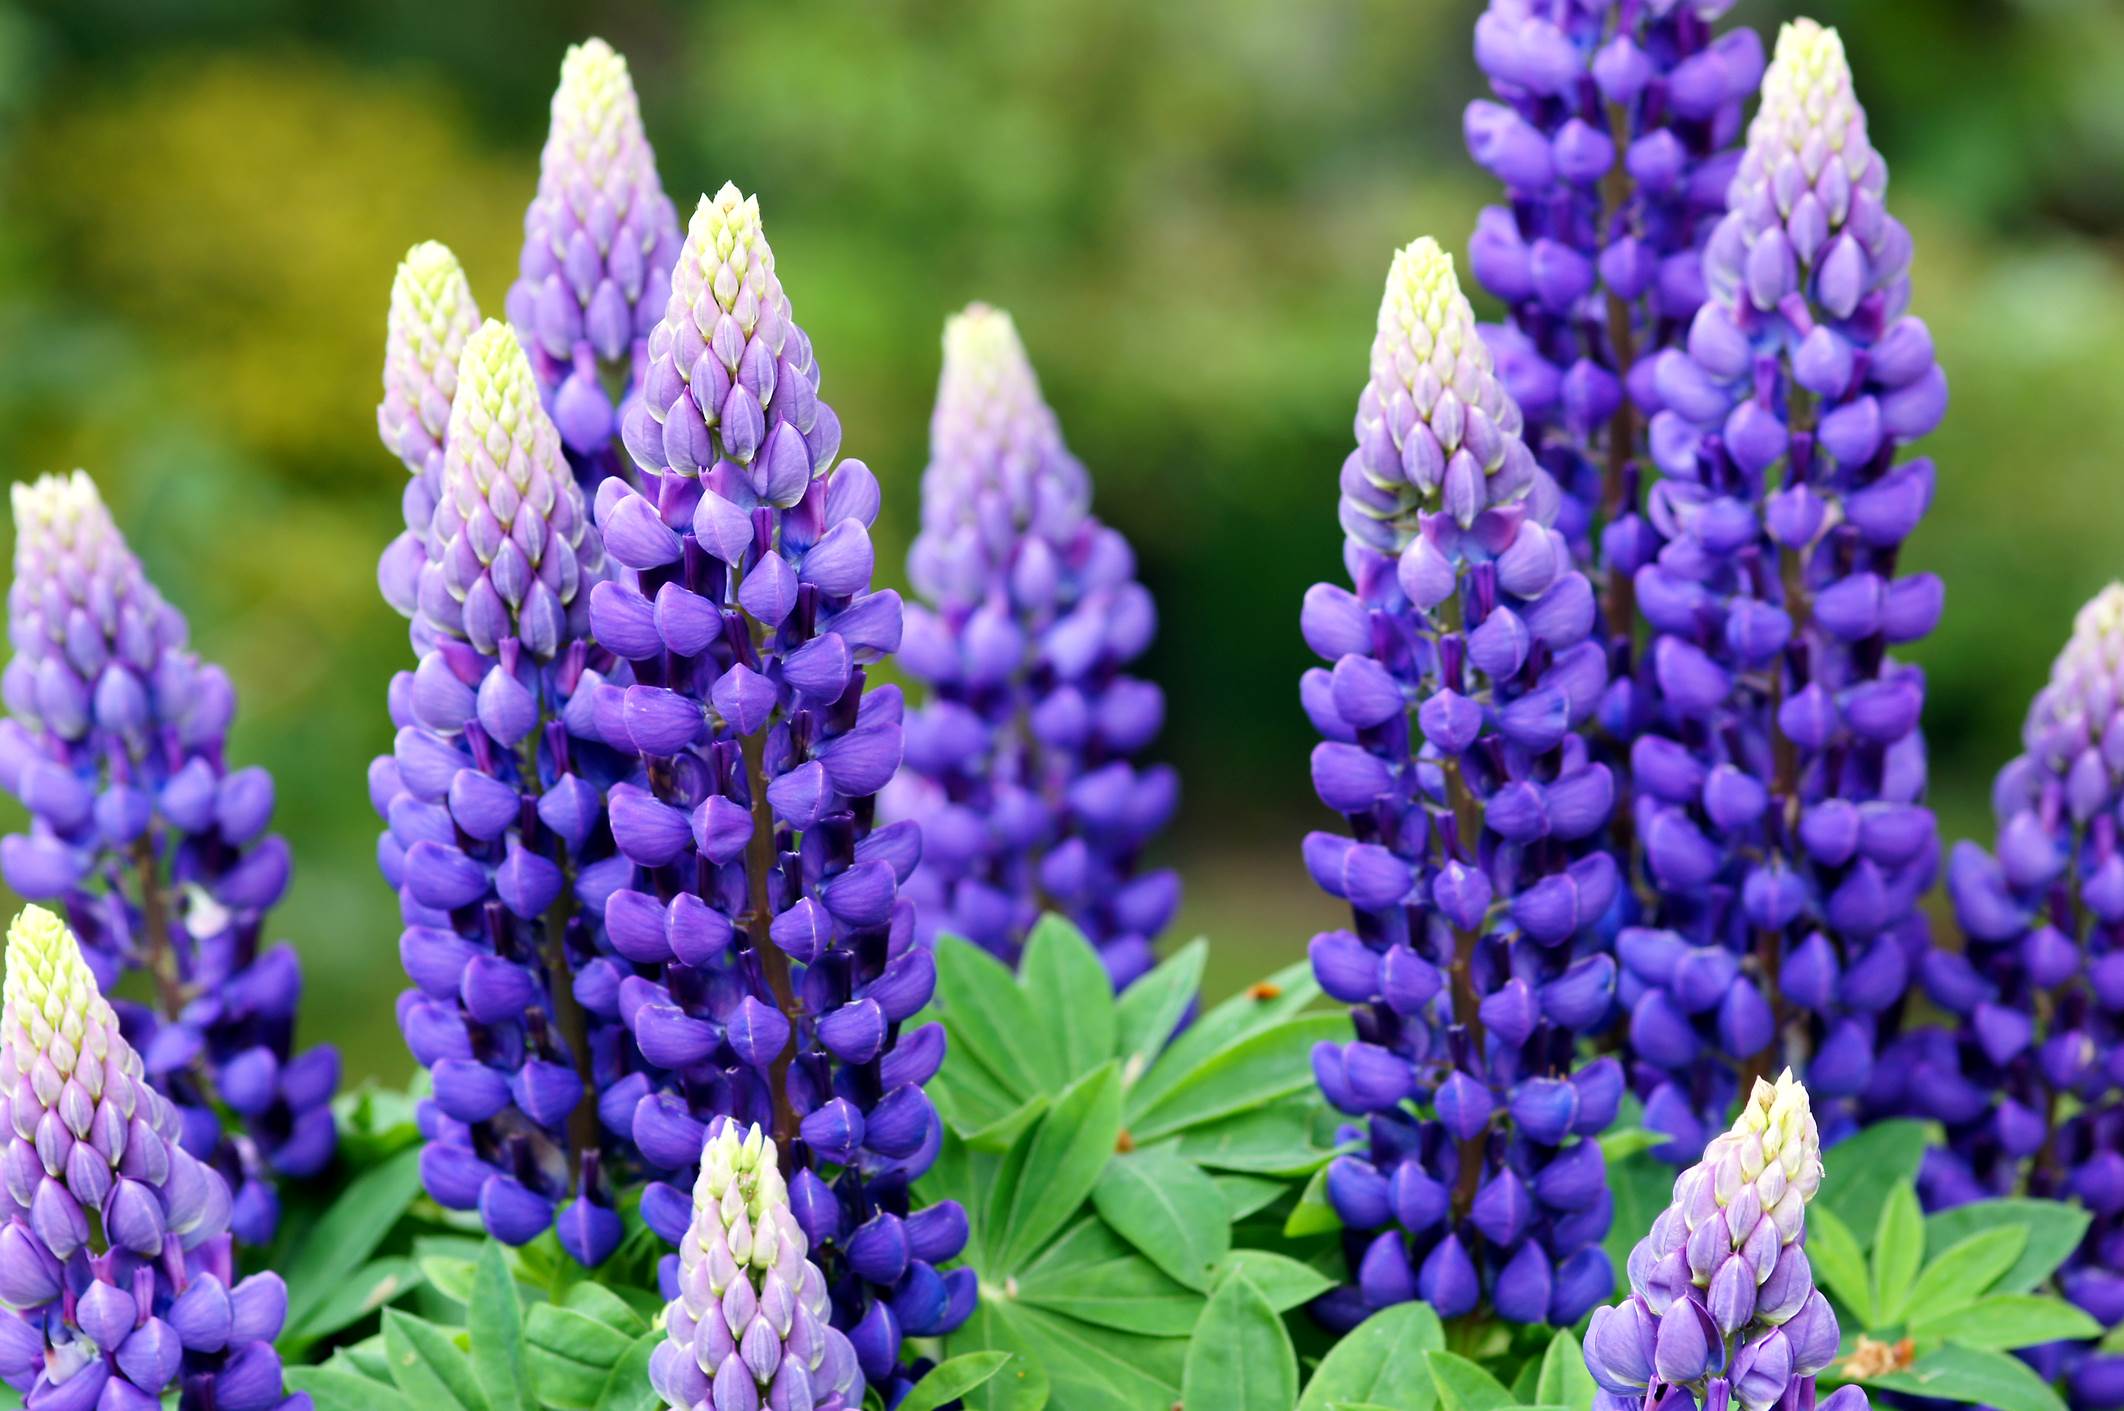
How To Plant Lupine Seeds
Modified: January 22, 2024
Learn how to plant lupine seeds for stunning ornamental gardening. Explore step-by-step instructions, tips, and techniques to successfully grow these beautiful flowers in your garden.
(Many of the links in this article redirect to a specific reviewed product. Your purchase of these products through affiliate links helps to generate commission for Chicagolandgardening.com, at no extra cost. Learn more)
Table of Contents
- Introduction
- Step 1: Choosing the Right Lupine Seeds
- Step 2: Preparing the Soil for Planting
- Step 3: Planting the Lupine Seeds
- Step 4: Proper Watering Techniques
- Step 5: Providing Adequate Sunlight
- Step 6: Taking Care of Young Lupine Seedlings
- Step 7: Transplanting Lupine Seedlings (Optional)
- Step 8: Mulching to Retain Moisture
- Step 9: Protecting Lupine Plants from Pests and Diseases
- Step 10: Harvesting Lupine Seeds
- Conclusion
Introduction
Welcome to the world of ornamental gardening! If you’re looking to add a burst of color and beauty to your garden, growing lupine is an excellent choice. With their vibrant flowers and unique foliage, lupines are sure to be a stunning addition to any landscape.
Lupine seeds are easy to grow and come in a variety of colors, including shades of purple, blue, pink, and white. These hardy plants can thrive in both garden beds and containers, making them a versatile choice for any gardener.
In this article, we’ll guide you through the process of planting lupine seeds and provide you with the knowledge to help them thrive. Whether you’re a seasoned gardener or a beginner, you’ll find valuable tips and techniques that will ensure your lupines flourish.
From choosing the right seeds to caring for the young seedlings, we’ll cover every step of the process. We’ll also provide insights on watering, sunlight requirements, pest control, and harvesting lupine seeds.
So, let’s dive in and discover the magic of growing lupine seeds. Get ready to create a vibrant and breathtaking garden that will be the envy of your neighbors!
Step 1: Choosing the Right Lupine Seeds
Choosing the right lupine seeds is the first step in ensuring successful growth and a bountiful display of flowers. When selecting lupine seeds, consider the following factors:
- Species and Varieties: Lupines come in a variety of species and cultivars, each with its own unique characteristics. Some popular varieties include Lupinus perennis, Lupinus polyphyllus, and Lupinus arboreus. Research different varieties to find the ones that align with your garden’s aesthetic and climate conditions.
- Seed Quality: Look for seeds from reputable sources, as good quality seeds ensure higher germination rates and healthier plants. Check for any signs of damage or disease, such as discoloration or mold, and choose seeds that are plump and firm.
- Color Preferences: Lupines offer a wide range of colors, from vibrant purples and blues to soft pinks and whites. Consider the color palette of your garden and choose lupine seeds that will complement or contrast with the existing plants and flowers.
- Growing Conditions: Take into account the specific growing conditions required by the lupine variety you are interested in. Some lupines prefer full sun, while others can tolerate partial shade. Consider your garden’s exposure to sunlight, soil type, and drainage capabilities to ensure a good match.
- Regional Adaptability: Lupines have different regional adaptability, meaning that certain varieties thrive better in specific climates. Research the recommended growing zones for the lupine seeds you are interested in, and make sure they are suitable for your location.
Once you have considered these factors, you can start purchasing your lupine seeds. Many garden centers, nurseries, and online retailers offer a wide selection of lupine seeds to choose from. Don’t hesitate to seek advice from knowledgeable staff members or fellow gardeners to help you make an informed decision.
Now that you have selected the perfect lupine seeds, it’s time to prepare your garden beds or containers for planting. Let’s move on to the next step: preparing the soil.
Step 2: Preparing the Soil for Planting
Proper soil preparation is essential to provide a healthy growing environment for your lupine seeds. Lupines thrive in well-draining soil that is rich in nutrients. Follow these steps to prepare the soil:
- Clear the area: Start by removing any weeds, rocks, or debris from the planting area. Lupines prefer a clean and weed-free environment.
- Loosen the soil: Use a garden fork or a tiller to loosen the soil to a depth of about 8 to 10 inches. This loosening allows for better root penetration and ensures good drainage.
- Amend the soil: Lupines prefer slightly acidic to neutral soil with a pH level between 6.0 and 7.0. If your soil is too alkaline, use organic matter or soil amendments like peat moss or compost to lower the pH. Mix the amendments thoroughly with the soil.
- Add nutrients: Lupines appreciate fertile soil, so it’s beneficial to incorporate organic matter or a balanced slow-release fertilizer into the soil. This will provide the necessary nutrients for healthy growth.
- Level and smooth the soil: Use a rake to level the soil surface and create a smooth bed for planting. Remove any large clumps or rocks that may hinder root growth.
Once the soil preparation is complete, you are one step closer to planting your lupine seeds. The next step will guide you through the process of planting the seeds properly and ensuring their successful germination. Let’s move on to Step 3: Planting the Lupine Seeds.
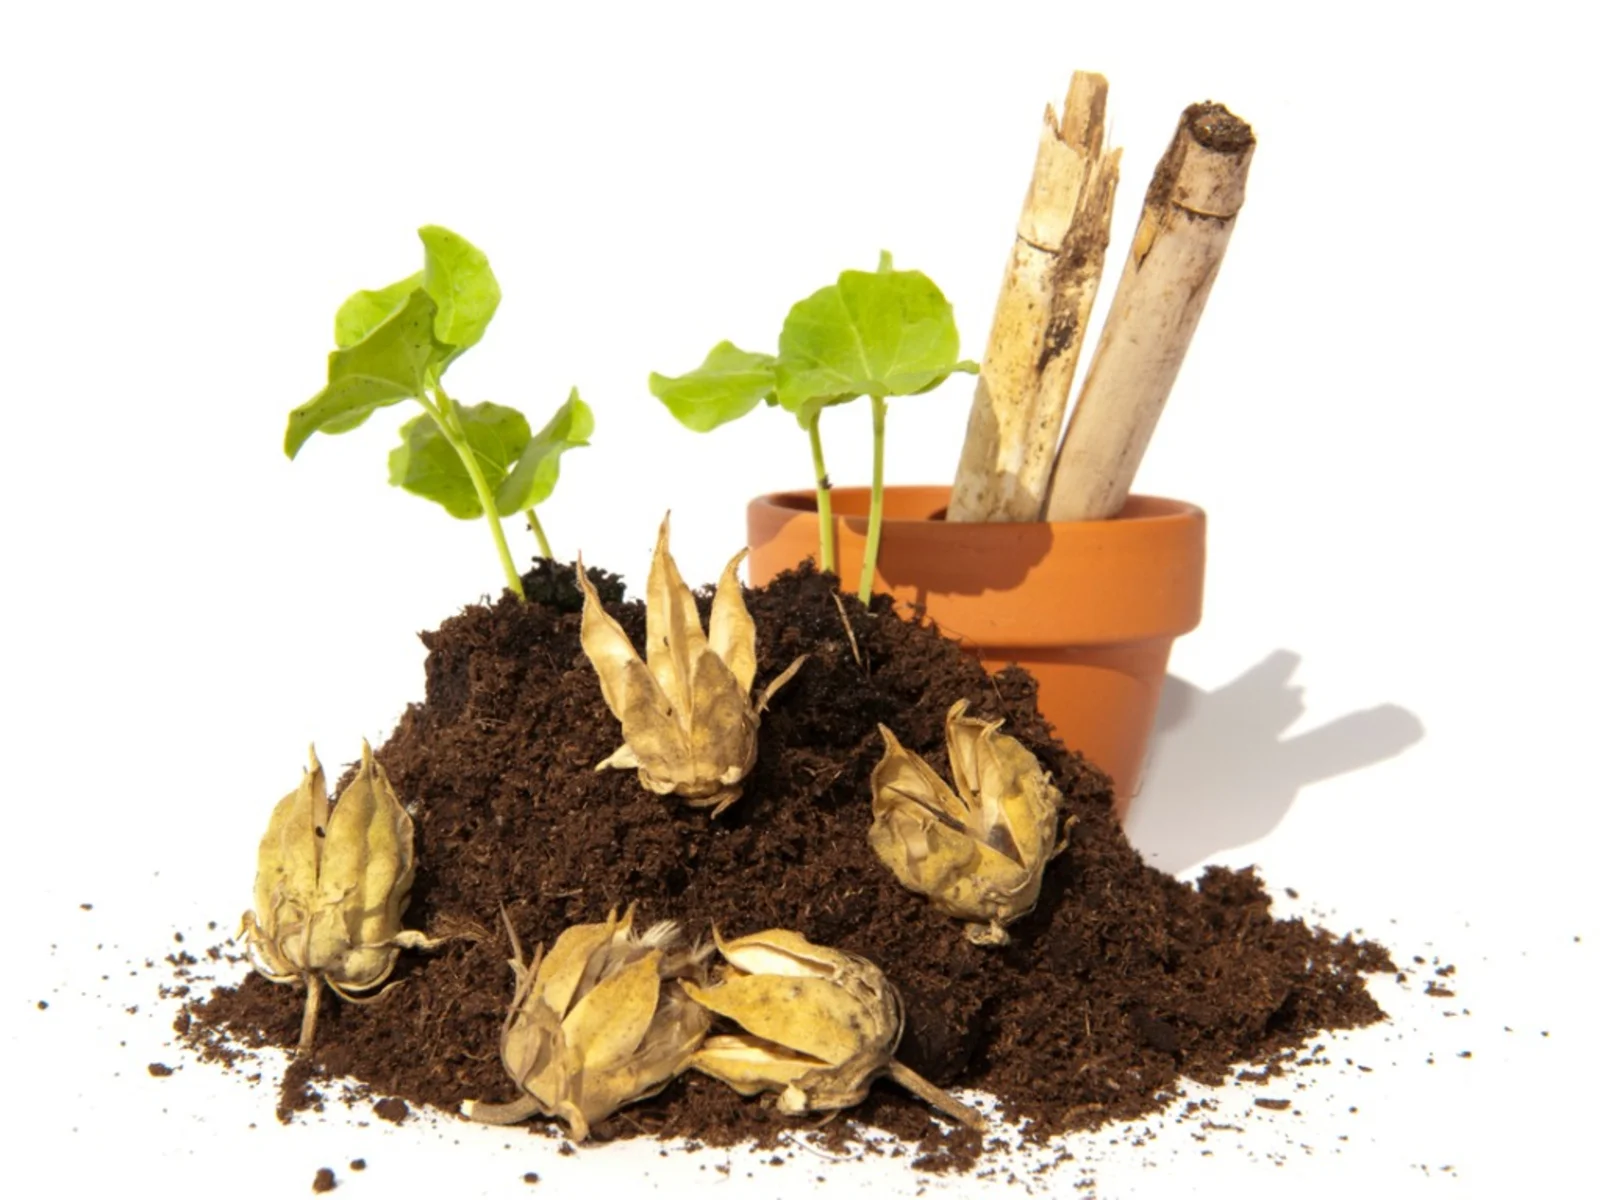
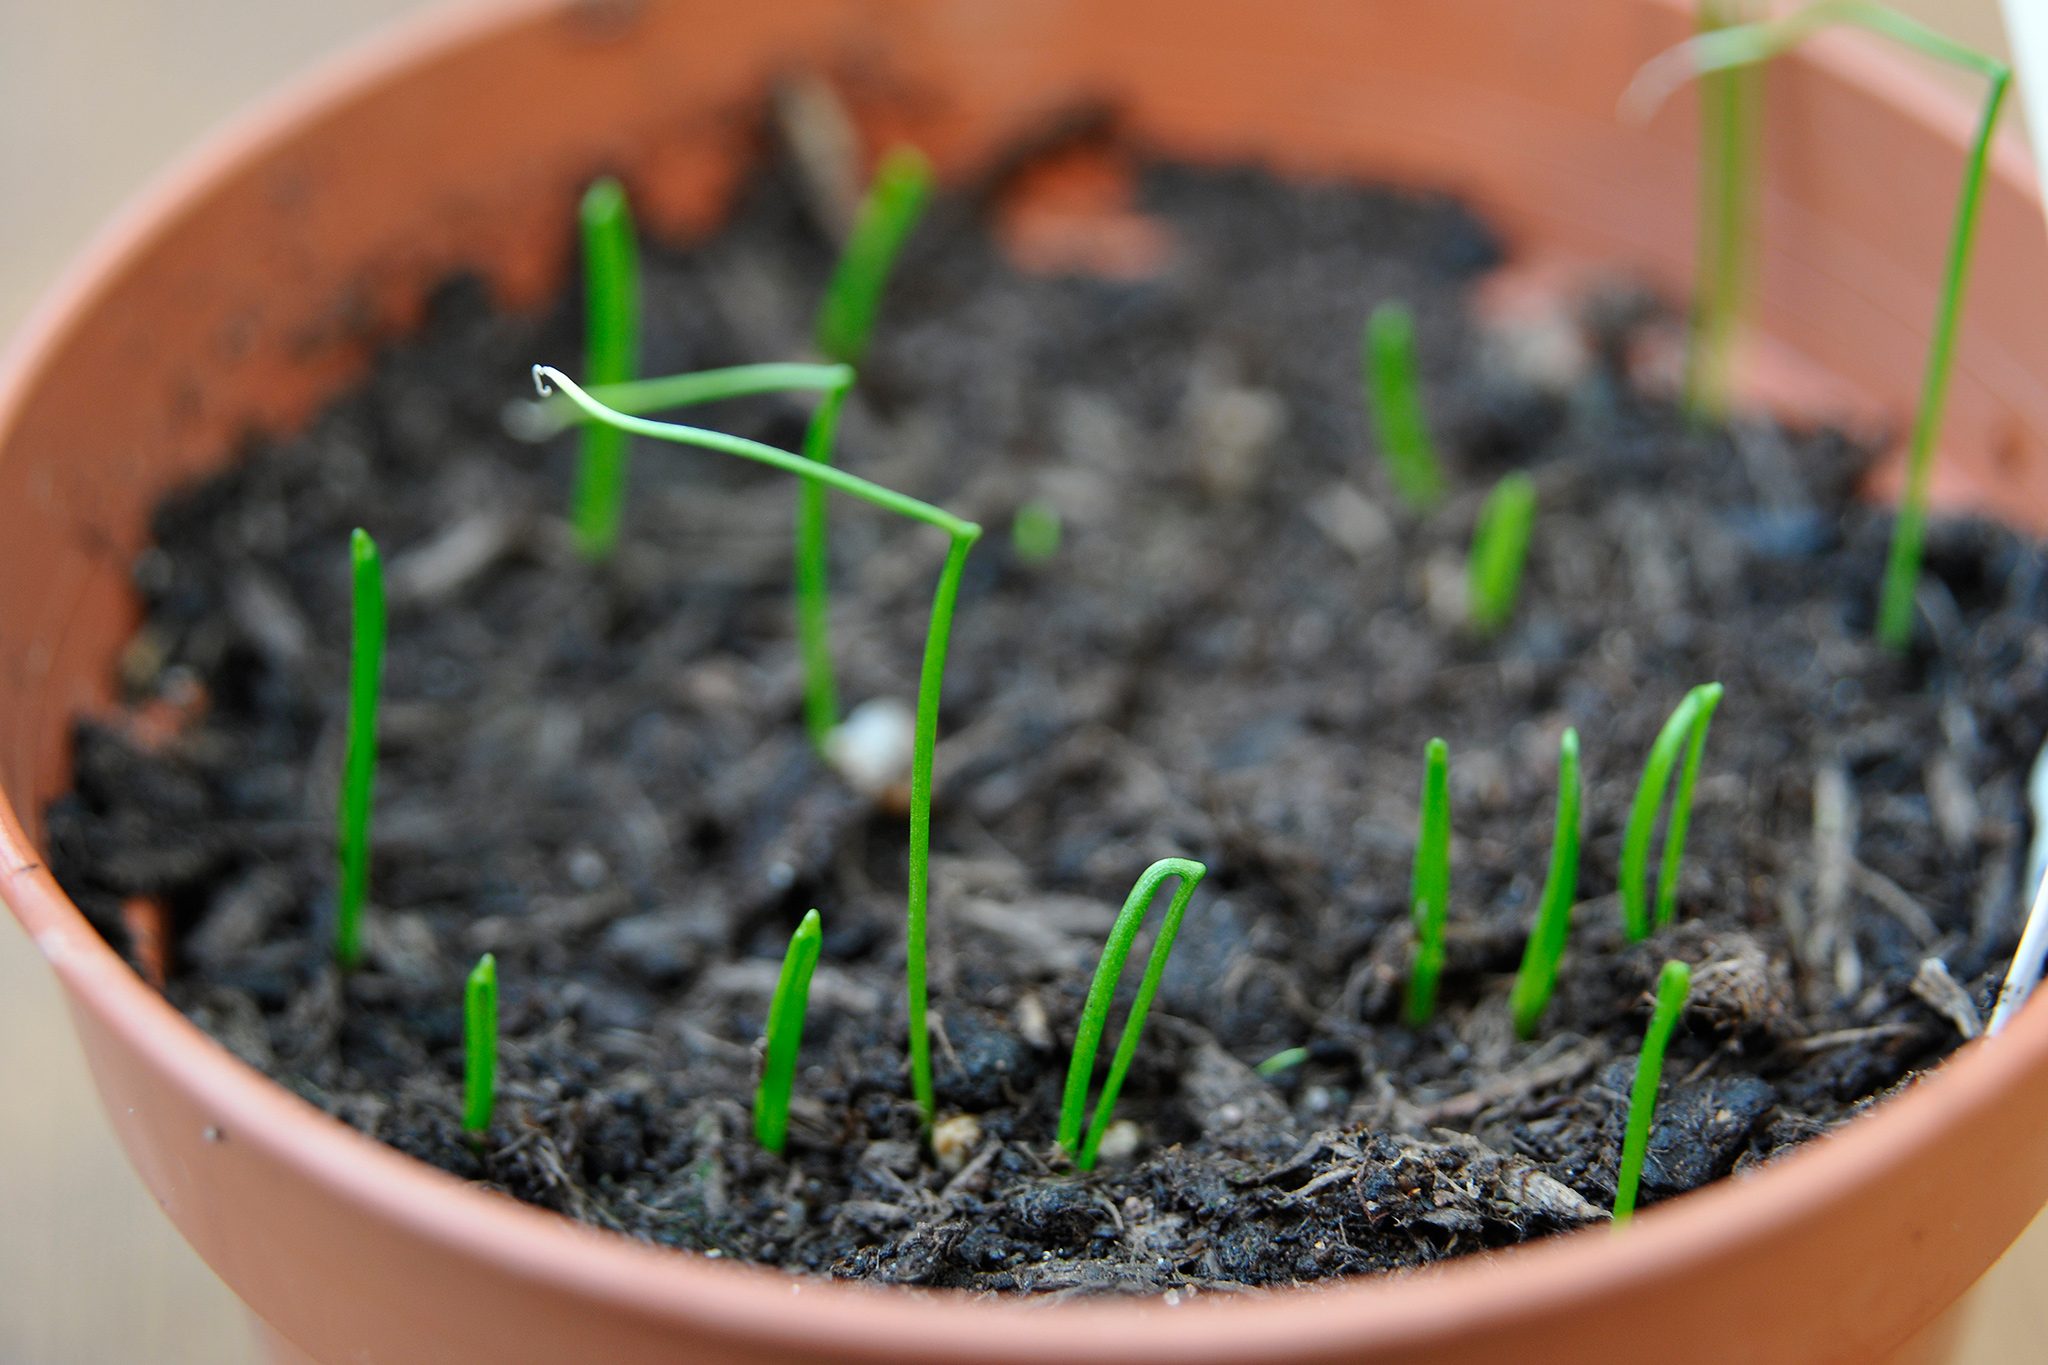
Step 3: Planting the Lupine Seeds
Now that you’ve prepared the soil, it’s time to plant your lupine seeds. Follow these steps to ensure successful germination and healthy seedling growth:
- Timing: Lupine seeds can be planted directly in the garden in early spring or late fall. It’s important to choose a time when the soil is workable and not frozen.
- Spacing: Lupine plants have a tendency to grow tall, so it’s important to give them enough space to spread out. Plant the seeds at a spacing of about 12 to 18 inches apart to allow for adequate air circulation.
- Sowing: Make small holes in the soil, about 1 inch deep. Place a lupine seed in each hole, and cover it with soil. Gently press down to ensure good seed-to-soil contact.
- Watering: After planting, give the soil a thorough watering to provide the seeds with the moisture they need to start the germination process. Keep the soil consistently moist but not waterlogged throughout the germination period.
- Germination: Lupine seeds typically germinate within 10 to 14 days if provided with the right conditions. Keep the soil temperature between 60°F and 70°F (15°C to 21°C) for optimal germination.
- Thinning: Once the seedlings have emerged and are a few inches tall, thin them to ensure proper spacing. Remove the weaker seedlings, leaving the strongest ones spaced according to the variety’s recommended spacing.
It’s important to note that lupine seeds have a hard seed coat that can inhibit germination. To increase the germination rate, you can scarify the seeds by lightly rubbing them with sandpaper or soaking them in warm water overnight before planting. This will help soften the seed coat and promote faster germination.
Now that you have learned how to plant lupine seeds, it’s time to move on to the next step in the process: proper watering techniques. This will ensure that your lupine seedlings receive the right amount of moisture for healthy growth.
Step 4: Proper Watering Techniques
Watering plays a crucial role in the growth and development of your lupine plants. Follow these tips to ensure proper watering techniques for healthy and vibrant lupines:
- Consistent moisture: Lupines thrive in moist soil, so it’s important to provide them with consistent moisture throughout their growth cycle. Avoid allowing the soil to dry out completely between watering.
- Deep watering: When you water your lupine plants, make sure to water deeply. This means applying water at the base of the plants, allowing it to soak down to the root zone. Shallow watering can lead to weak roots and shallow root systems.
- Frequency: The frequency of watering depends on various factors, such as weather conditions, soil type, and stage of plant growth. In general, watering every 7-10 days is sufficient, but adjust accordingly if the soil starts drying out faster.
- Avoid waterlogging: While lupines prefer moist soil, they do not tolerate waterlogged conditions. Excess water can lead to root rot and other issues. Ensure that the soil has proper drainage to prevent water from pooling around the roots.
- Mulching: Applying a layer of organic mulch around the base of lupine plants can help retain moisture in the soil and prevent weed growth. Mulch also acts as a protective barrier, reducing moisture evaporation from the soil surface.
- Time of day: Water your lupines in the early morning or late afternoon to minimize evaporation loss. Avoid watering in the evening, as this can create a damp environment that promotes the growth of fungal diseases.
Monitor the moisture levels in the soil regularly by inserting your finger into the soil to assess the moisture content. If the top inch of soil feels dry, it’s time to water. As your lupine plants mature, their root systems will develop better drought tolerance, but it’s still important to consistently provide adequate moisture.
Proper watering practices will promote healthy growth, lush foliage, and abundant flowering in your lupine plants. Next, we’ll explore the importance of providing adequate sunlight for your lupines.
Step 5: Providing Adequate Sunlight
Sunlight is essential for the growth and blooming of lupine plants. Providing the right amount of sunlight will ensure healthy development and vibrant flowers. Consider the following tips to provide adequate sunlight for your lupines:
- Full sun: Most lupine varieties thrive in full sun, which means at least 6 to 8 hours of direct sunlight per day. Ensure that you choose a location for planting where your lupines will receive ample sunlight.
- Partial shade: Some lupine species, such as Lupinus polyphyllus, can tolerate partial shade. If you live in an area with intense afternoon sun or have limited sunny spaces in your garden, consider planting varieties that can handle partial shade.
- Protect from extreme heat: While lupines appreciate sunlight, they can suffer under extreme heat conditions. If you live in a hot climate, provide some shade during the hottest part of the day to prevent stress on the plants.
- Staking: If your lupines grow tall and have heavy flower spikes, they may require staking to prevent them from falling over or bending under their weight. Staking also ensures that the plant receives enough sunlight by keeping the foliage upright and exposed to the sun.
- Rotate for even sunlight: If your lupines receive sunlight from only one direction, consider rotating the pots or plants every few days to ensure even exposure to sunlight. This will prevent lopsided growth and encourage well-rounded, symmetric plants.
Remember to observe your lupine plants regularly and monitor how they respond to the available sunlight. Adjust their location or provide shade if you notice signs of sunburn or wilting, or if they are not blooming as expected.
By providing the right amount of sunlight, you’ll maximize the growth potential and flowering of your lupine plants. Next, we’ll move on to Step 6, which covers the care of young lupine seedlings as they grow.
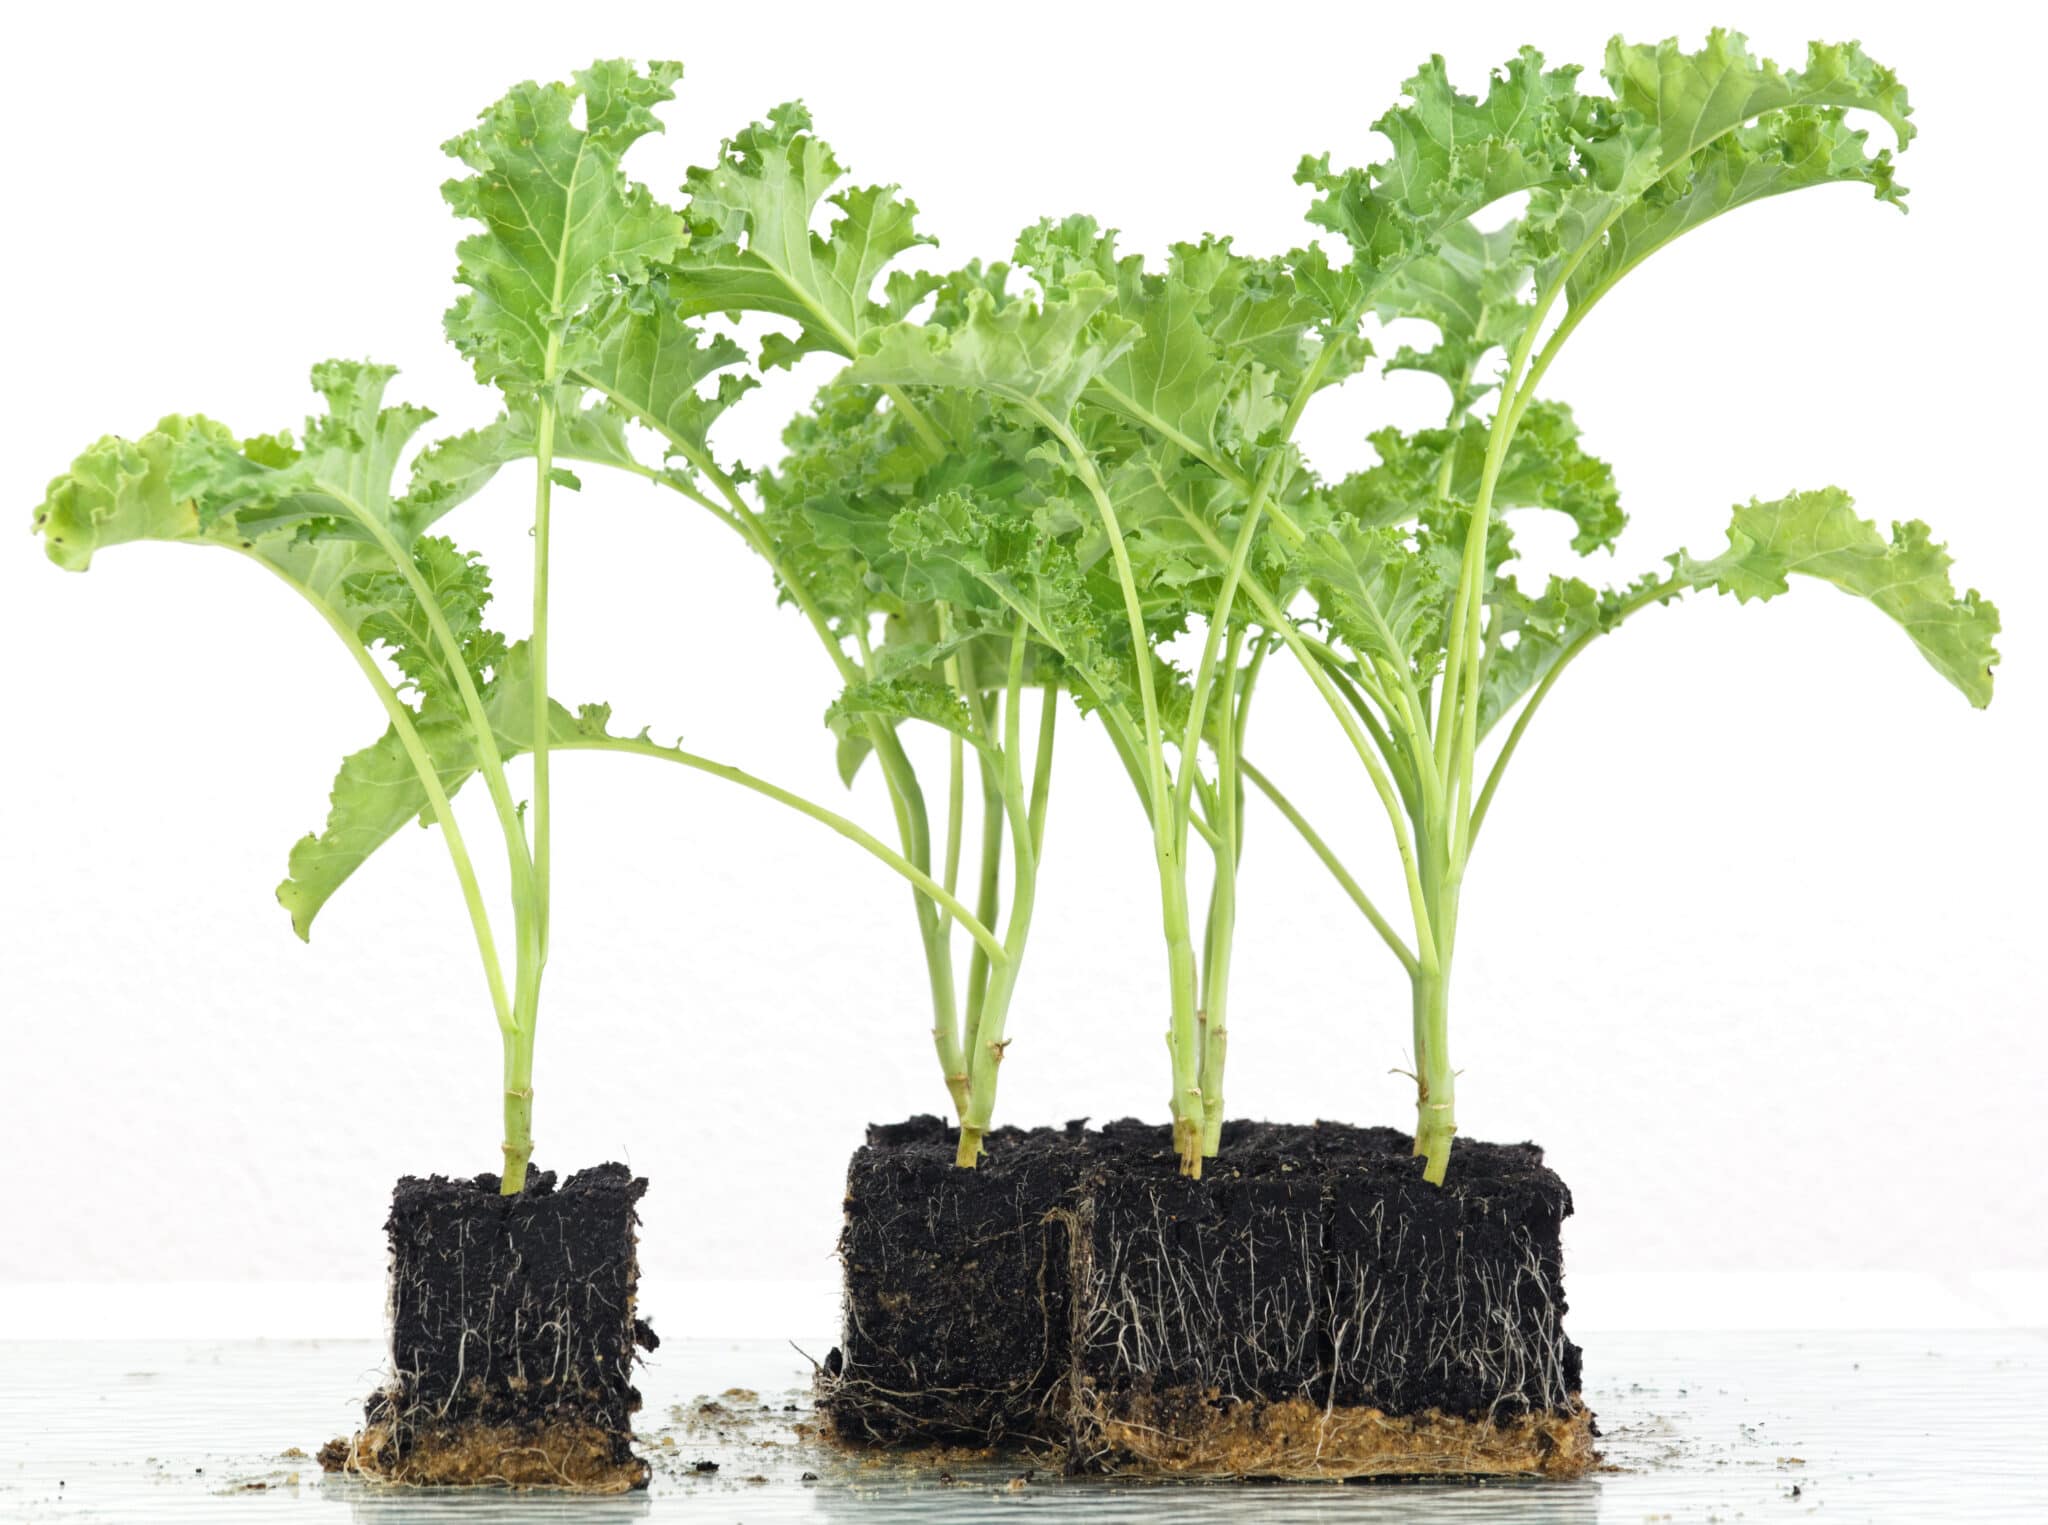
Step 6: Taking Care of Young Lupine Seedlings
Young lupine seedlings are delicate and require proper care to ensure their healthy growth. Follow these tips to provide optimal care for your young lupine seedlings:
- Watering: Keep the soil consistently moist but not waterlogged to provide adequate hydration for the seedlings. Avoid overwatering, as excessive moisture can lead to root rot. Aim for a balance and adjust watering frequency based on the moisture needs of the seedlings.
- Mulching: Apply a thin layer of organic mulch around the base of the seedlings to help retain moisture, regulate soil temperature, and suppress weed growth. Avoid placing the mulch too close to the stems to prevent rotting.
- Thinning: If you have multiple seedlings growing in one spot, thin them out to provide sufficient space for each plant to grow. Gently remove the weaker seedlings, leaving the healthiest ones to continue growing.
- Fertilization: Young lupine seedlings benefit from a gentle feeding of diluted liquid fertilizer or a slow-release granular fertilizer. Follow the instructions on the fertilizer packaging and apply it sparingly and evenly around the seedlings.
- Weed control: Regularly remove any weeds that may compete with the young lupine seedlings for nutrients and water. Be careful not to disturb the roots of the lupine plants while weeding.
- Support: If your lupine seedlings grow tall and start to lean or flop over, provide gentle support with stakes or plant supports. This will prevent them from bending or breaking and promote upright growth.
- Pest and disease management: Watch out for common pests like aphids and slugs, as well as diseases like powdery mildew. Monitor the seedlings closely and take appropriate measures, such as using organic pest control methods or removing infected leaves, to protect the young plants.
Regularly observe the growth and health of your young lupine seedlings. Adjust care practices as necessary based on their specific needs. As the seedlings mature, they will become more resilient and require less attention.
Now that you have learned how to care for young lupine seedlings, you’re well on your way to cultivating beautiful lupine plants. In the next step, we’ll explore the option of transplanting lupine seedlings to a new location if desired.
Step 7: Transplanting Lupine Seedlings (Optional)
Transplanting lupine seedlings is an option if you want to move them to a different location or if you started them indoors and want to introduce them to the outdoor environment. Follow these steps for a successful transplant:
- Timing: It’s best to transplant lupine seedlings when they have developed their second set of true leaves and are around 4 to 6 inches tall. This typically occurs 4 to 6 weeks after germination.
- Prepare the new location: Choose a suitable spot with well-drained soil and adequate sunlight. Prepare the soil as you would when planting lupine seeds, ensuring it is loose, amended with organic matter, and free from weeds.
- Water the seedlings: Thoroughly water the seedlings a day before transplanting. This will help the plants handle stress during the transplantation process.
- Carefully remove the seedling: Gently loosen the soil around the seedling you are transplanting, taking care not to damage the roots. Use a small trowel or your hands to carefully lift the seedling from the soil, ensuring you get the entire root system.
- Plant at the new location: Dig a hole in the new location that is slightly larger than the root ball of the seedling. Place the seedling in the hole, making sure it is planted at the same depth as it was in its original location. Backfill the hole with soil, gently firming it around the seedling.
- Water and provide care: After transplanting, water the seedling thoroughly to help it establish in its new location. Continue to monitor the moisture levels in the soil and ensure the seedling receives adequate sunlight and care.
- Protect the seedling: If you transplant the seedlings during a period of intense sunlight, provide temporary shade using a shade cloth or lightweight fabric to protect them from stress until they adjust to the new environment.
Transplanting lupine seedlings can be a rewarding process, allowing you to relocate them to where they will thrive best or create a desired garden layout. However, keep in mind that transplanting can cause temporary stress to the seedlings, so ensure you provide proper care and monitor their progress closely after the transplantation.
Next, let’s move on to Step 8, where we’ll explore the importance of mulching to retain moisture and improve growing conditions for your lupine plants.
Step 8: Mulching to Retain Moisture
Mulching is a beneficial practice that helps retain moisture in the soil, suppress weeds, and improve overall growing conditions for your lupine plants. Follow these steps to effectively mulch your lupine beds:
- Select the right mulch: Choose an organic mulch, such as straw, wood chips, or shredded leaves. Organic mulches not only help retain moisture but also break down over time, enriching the soil with nutrients.
- Prepare the soil: Before applying the mulch, make sure the soil is adequately watered. Mulching on damp soil helps lock in moisture and prevents water from evaporating too quickly.
- Apply a layer of mulch: Spread a layer of mulch around the base of your lupine plants, leaving a small space around the stem to prevent moisture buildup and potential rotting. Aim for a mulch layer that is about 2 to 3 inches thick.
- Avoid piling mulch against the stem: Be cautious not to pile mulch directly against the stem of the lupine plants, as this can create a moist environment where diseases and pests can thrive. Keep the mulch a couple of inches away from the base of the stems.
- Replenish the mulch: Over time, the mulch will break down and may need replenishing. Check the mulch layer periodically and add more as needed to maintain the desired thickness.
- Monitor moisture levels: Mulching helps retain moisture in the soil, but it’s still essential to regularly monitor the moisture levels. Stick your finger into the soil to gauge the moisture content and water accordingly to keep it consistently moist but not waterlogged.
Mulching not only helps retain moisture but also acts as an insulating layer, protecting the roots of your lupine plants from extreme temperature fluctuations. It also helps suppress weed growth, giving your lupines a competitive edge in accessing nutrients and water.
Now that you have learned about mulching, it’s time to move on to Step 9, which covers protecting your lupine plants from pests and diseases to ensure their health and longevity.
Step 9: Protecting Lupine Plants from Pests and Diseases
Protecting your lupine plants from pests and diseases is crucial to ensure their health and vitality. Follow these steps to prevent and manage common pests and diseases that can affect lupines:
- Monitor regularly: Regularly inspect your lupine plants for any signs of pests or diseases. Look for chewed leaves, discoloration, wilting, or any unusual growth patterns.
- Practice good garden hygiene: Maintain a clean garden environment by removing any dead plant debris or fallen leaves. This helps eliminate potential hiding spots for pests and reduces the risk of diseases spreading.
- Handpick pests: If you notice aphids, caterpillars, or other small pests on your lupine plants, manually remove them by handpicking or using a gentle stream of water to dislodge them.
- Introduce beneficial insects: Encourage natural predators, such as ladybugs and lacewings, that feed on garden pests. You can attract them by planting companion plants, like dill or yarrow, that attract beneficial insects.
- Apply organic pest control: If pest infestations persist, consider using organic pest control methods. These can include insecticidal soaps, neem oil, or other natural remedies. Follow the instructions carefully and apply as needed.
- Prevent fungal diseases: To prevent fungal diseases, water your lupines in the morning to allow any excess moisture on the foliage to dry out during the day. Avoid overhead watering, as this can create a damp environment conducive to fungal growth.
- Treat fungal diseases: If you notice signs of fungal diseases, such as powdery mildew or rust, apply a suitable fungicide to control the spread. Prune and remove infected plant parts to limit the disease’s impact.
- Rotate crops: If you grow lupines in the same location year after year, diseases and pests can build up in the soil. Consider rotating your lupine plants with other non-related plants to break the cycle and reduce the risk of disease and pest infestation.
By practicing good garden hygiene, maintaining vigilance, and taking prompt action, you can effectively protect your lupine plants from pests and diseases. Remember to monitor your plants regularly and address any issues as soon as they arise.
Now that you have learned how to protect your lupine plants, it’s time to move on to Step 10: the exciting process of harvesting lupine seeds.
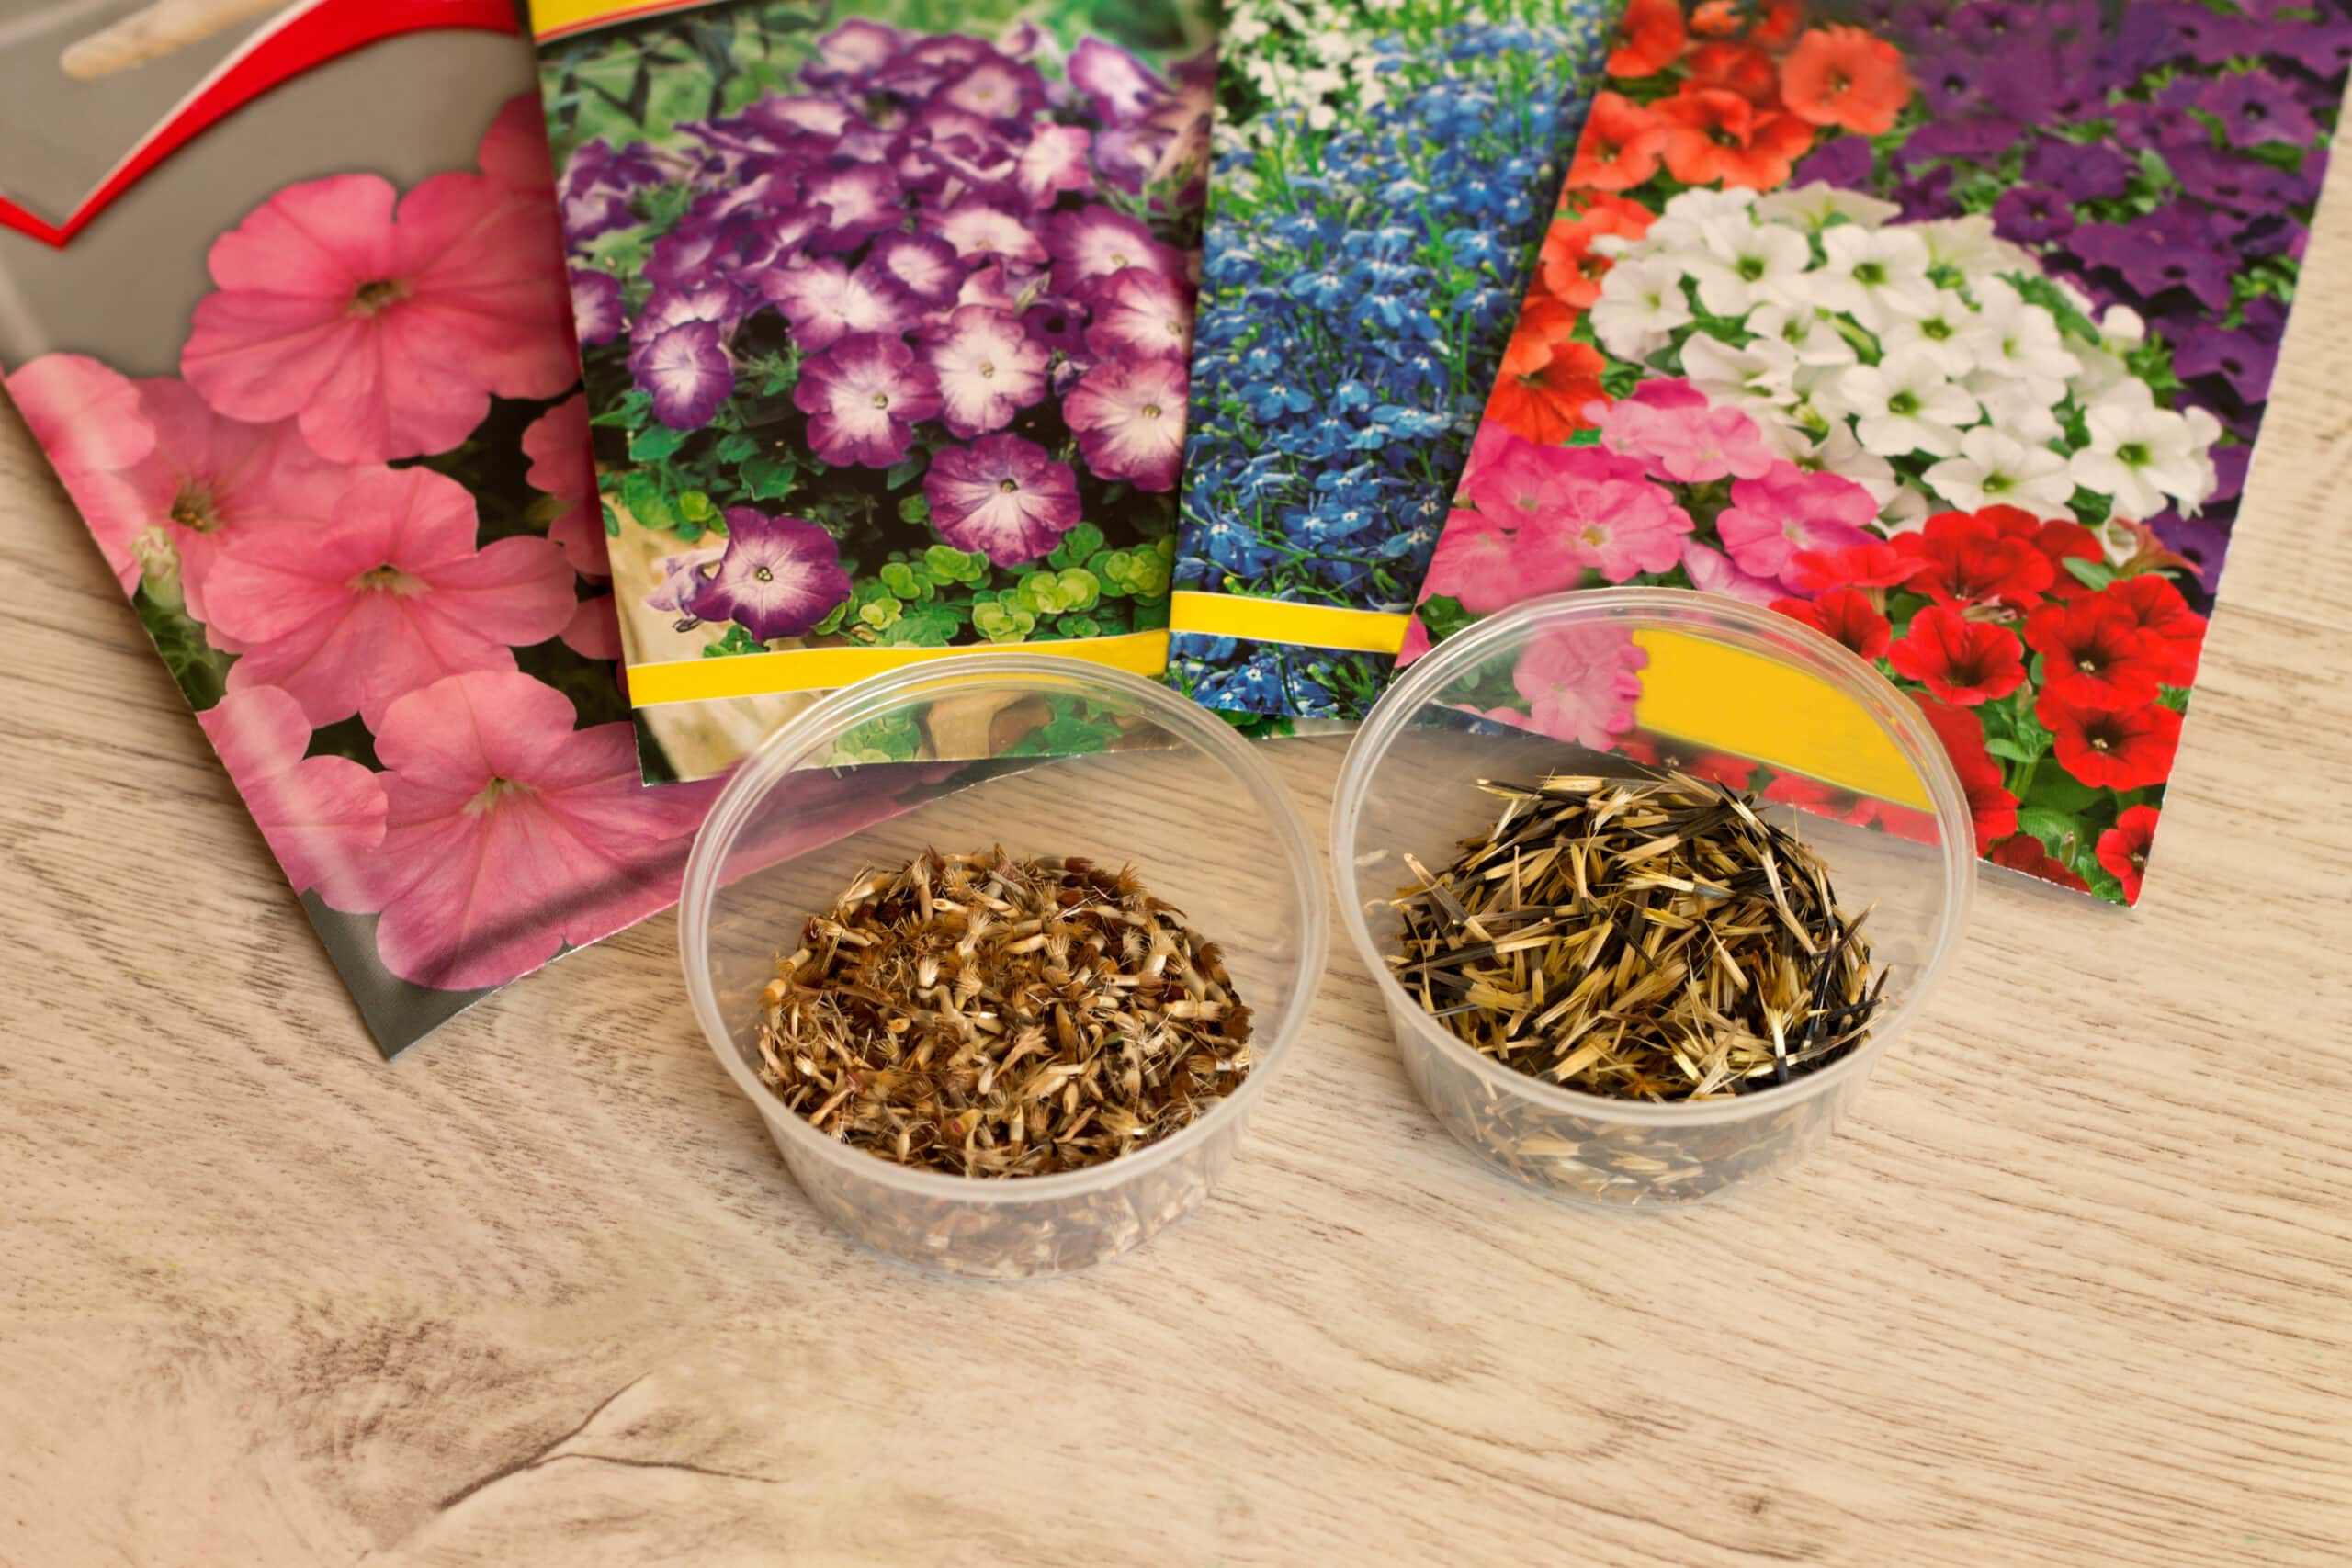
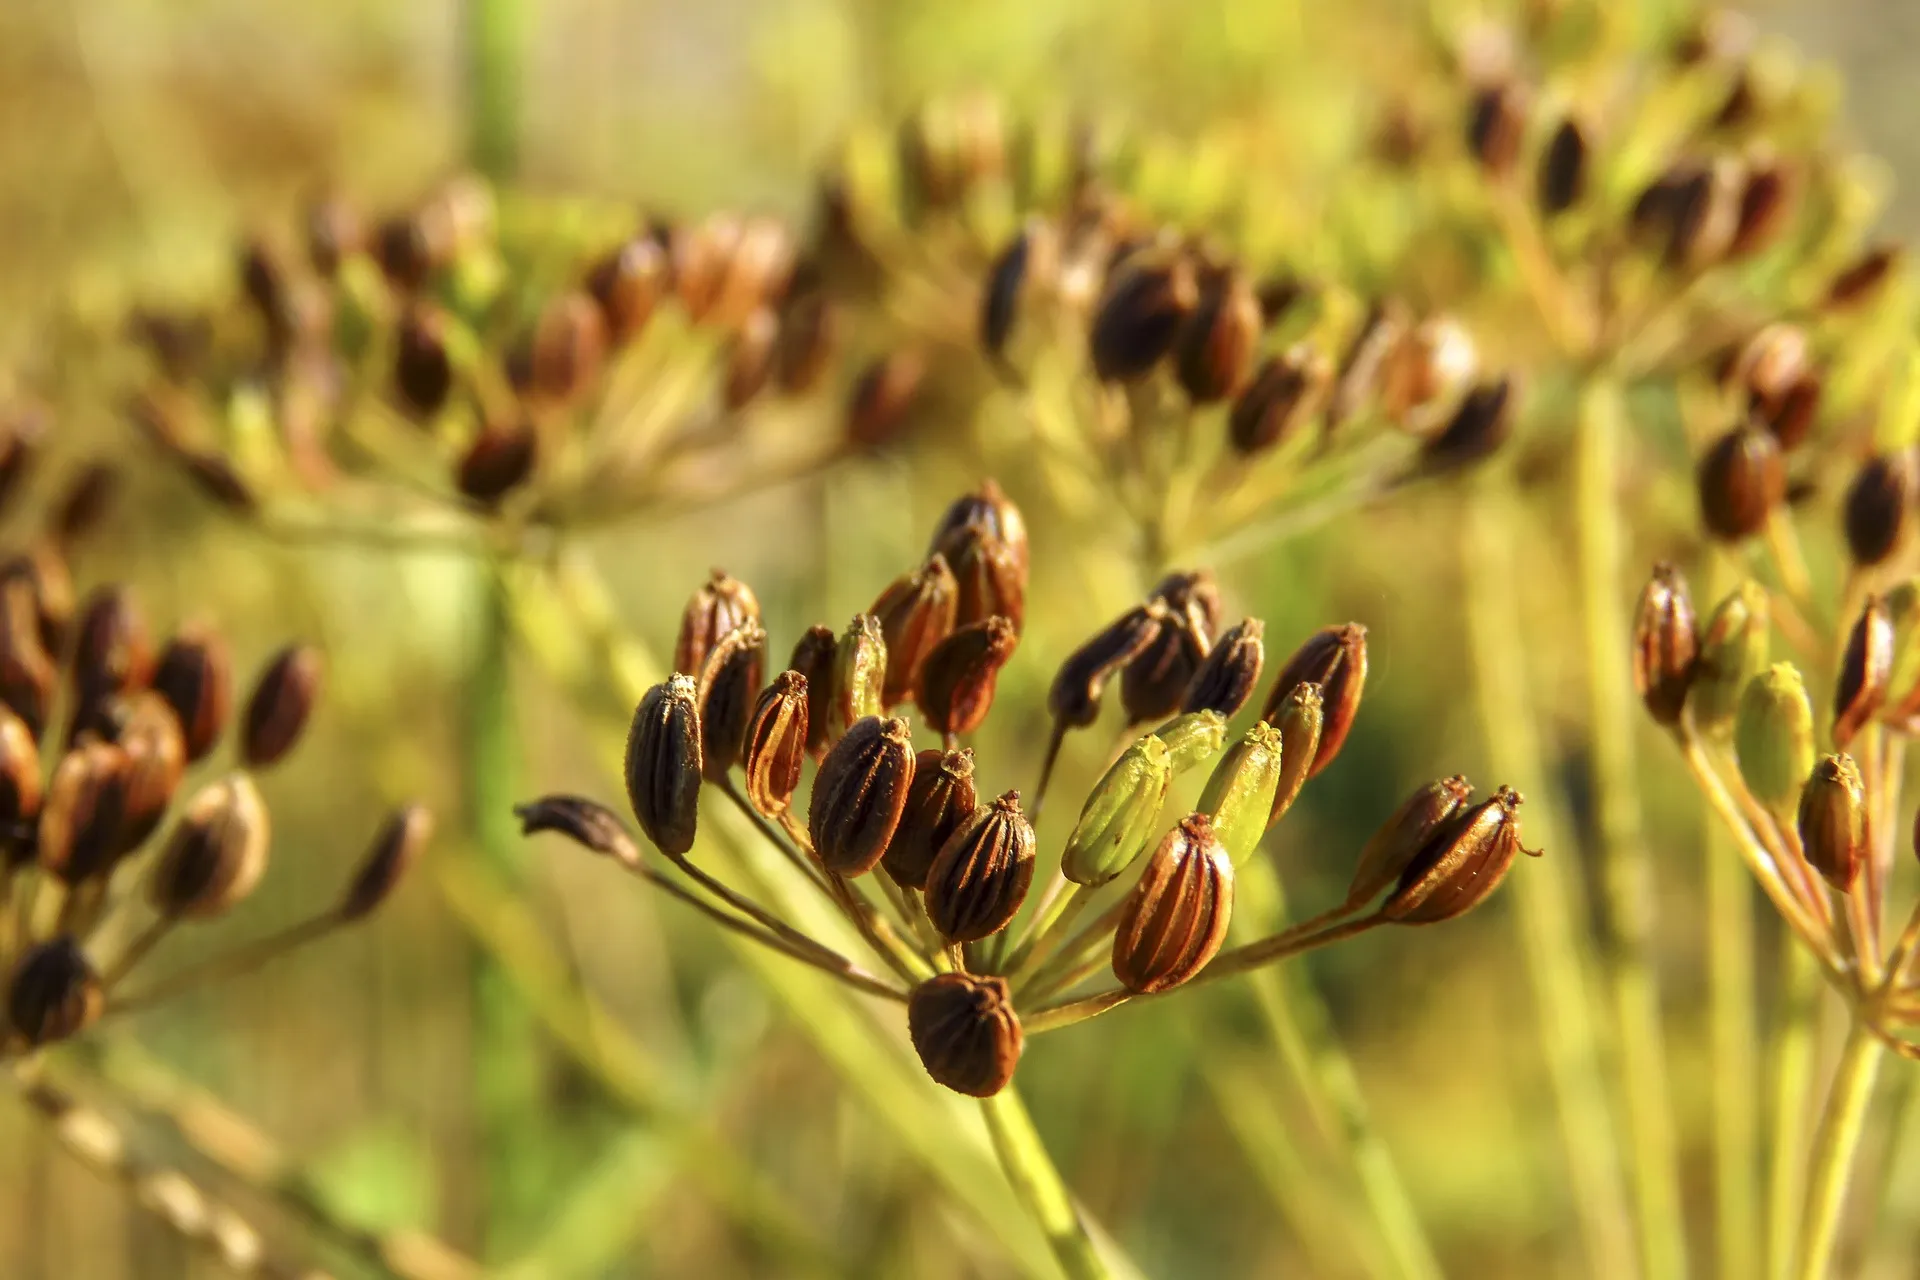
Step 10: Harvesting Lupine Seeds
Harvesting lupine seeds is an exciting step in the gardening process, allowing you to collect seeds for future planting or sharing with other gardening enthusiasts. Follow these steps to harvest lupine seeds:
- Timing: Wait until the lupine flowers have faded and the seed pods begin to turn brown. This generally occurs towards the end of the blooming season, which can vary depending on the specific lupine variety.
- Inspect the seed pods: Check the seed pods for maturity by gently pressing them. Mature seed pods will feel dry and brittle, and they may start to split open slightly.
- Prepare a container: Hold a container, such as a paper bag or envelope, underneath the seed pods to catch the seeds as they fall out.
- Collect the seeds: Carefully squeeze the mature seed pods to open them, allowing the seeds to drop into the container. You can also lightly crush the pods between your fingers to release the seeds.
- Separate the seeds from the chaff: After collecting the seeds, remove any remaining debris or chaff by gently blowing or using a fine-mesh sieve. This will help separate the lighter chaff from the heavier seeds.
- Store the seeds: Once the seeds are clean and completely dry, transfer them to a labeled envelope or airtight container. Store in a cool, dry place until you are ready to plant them or share them with other gardeners.
- Share the joy: Lupine seeds make great gifts for fellow gardeners. Consider sharing your harvested seeds with friends or joining a seed exchange program to expand your plant collection.
Keep in mind that lupine seeds have a protective hard outer shell, which can take some time to germinate. To increase germination rates, you can scarify the seeds by gently rubbing them with sandpaper or soaking them in warm water overnight before planting.
Harvesting lupine seeds allows you to preserve the beauty of your lupine plants for future seasons. Remember to label the seeds with the flower variety and the date of harvest for easy reference.
With the completion of Step 10, you have now learned the entire process of growing lupine plants, from choosing the right seeds to harvesting their seeds. Congratulations! It’s time to put your knowledge into action and cultivate a stunning lupine-filled garden.
Conclusion
Congratulations on completing your journey through the process of growing lupine plants! By following these steps, you have gained the knowledge and skills necessary to cultivate vibrant and healthy lupine flowers in your garden. Let’s recap the key points:
1. Choose the right lupine seeds based on species, varieties, seed quality, color preferences, growing conditions, and regional adaptability.
2. Prepare the soil by clearing the area, loosening the soil, amending it with organic matter, and leveling the surface.
3. Plant the lupine seeds at the appropriate depth, water them adequately, and ensure good seed-to-soil contact.
4. Provide proper watering techniques, including consistent moisture, deep watering, and monitoring the soil moisture levels.
5. Ensure your lupine plants receive adequate sunlight, either in full sun or partial shade, depending on the variety.
6. Take care of young lupine seedlings by watering them properly, thinning them as needed, and providing necessary support.
7. Consider transplanting lupine seedlings to a new location if desired, taking care to handle them gently and provide proper care.
8. Use mulching to retain moisture, suppress weed growth, and improve growing conditions for your lupine plants.
9. Protect your lupine plants from pests and diseases through regular monitoring, good garden hygiene, and organic pest control methods.
10. Harvest lupine seeds when the seed pods are mature and store them appropriately for future planting or sharing.
With these comprehensive steps, you are well-equipped to create a captivating lupine-filled garden. Remember to be patient, as lupines can take time to establish and reach their full potential. Enjoy the process and the beauty that lupines bring to your outdoor space.
May your garden be adorned with the vibrant colors and delicate petals of lupine flowers, creating a breathtaking landscape for you to enjoy and share with others.