Home>Types of Gardening>Ornamental Gardening>How To Plant Bluebonnet Seeds

Ornamental Gardening
How To Plant Bluebonnet Seeds
Modified: February 6, 2024
Learn how to plant bluebonnet seeds for ornamental gardening and enjoy a vibrant burst of colors in your garden. Simple steps and tips for successful growth.
(Many of the links in this article redirect to a specific reviewed product. Your purchase of these products through affiliate links helps to generate commission for Chicagolandgardening.com, at no extra cost. Learn more)
Table of Contents
Introduction
Ornamental gardening has always been a popular and rewarding hobby for those with a green thumb. It allows gardeners to transform their outdoor space into a beautiful and inviting sanctuary, filled with vibrant colors and captivating scents. One particular plant that has become a symbol of beauty and grace in ornamental gardening is the bluebonnet.
With its stunning clusters of blue flowers, the bluebonnet is a true showstopper. This native Texan plant, scientifically known as Lupinus texensis, has captured the hearts of gardeners and wildflower enthusiasts alike. Its vibrant and radiant blue blooms add a touch of elegance and tranquility to any garden.
If you’ve been wondering how to cultivate these enchanting flowers in your own ornamental garden, you’re in the right place. In this comprehensive guide, we will explore the intricacies of growing bluebonnets from seeds, providing you with insightful tips and expert advice along the way.
Whether you’re a seasoned gardener looking to add some Texas charm to your landscape or a beginner eager to embark on a new horticultural adventure, planting bluebonnet seeds will become an enjoyable and rewarding experience. So, let’s dive in and discover the secrets behind successfully cultivating these delightful flowers!
Choosing the Right Location
Before planting bluebonnet seeds, it’s crucial to choose the right location in your garden to ensure their optimal growth and blooming. Bluebonnets thrive in areas with full sun exposure, meaning they require at least six to eight hours of direct sunlight per day. Therefore, it’s essential to select a spot in your garden that receives ample sunlight throughout the day.
In addition to sunlight, bluebonnets also prefer well-drained soil. They don’t tolerate heavy clay or waterlogged areas, as this can lead to root rot and other problems. It’s recommended to choose a location with loose, sandy soil or improve the soil drainage by adding compost or organic matter.
An ideal location for bluebonnets is a raised bed or a sloping area where water can easily drain away. If your garden doesn’t have suitable soil or drainage, you can always consider growing bluebonnets in containers or raised beds filled with the right soil mixture.
Furthermore, consider the overall aesthetic of your garden when choosing the location. Bluebonnets make a stunning display when planted in mass groups or as borders along walkways or flower beds. Take into account the height of the bluebonnet plants, ensuring they won’t obstruct sightlines or overshadow shorter plants nearby.
Lastly, keep in mind the climate of your region. Bluebonnets are native to Texas and thrive in warm and mild climates. While they can adapt to cooler regions, they may not bloom as prolifically. If you live in a colder climate, ensure that the soil has warmed sufficiently before planting the seeds to facilitate germination.
By selecting the right location for your bluebonnets, you’ll provide them with the ideal growing conditions, resulting in healthy and vibrant plants that will enhance the beauty of your garden.
Preparing the Soil
Preparing the soil is a crucial step in ensuring the success of your bluebonnet garden. Bluebonnets prefer well-drained soil that is slightly acidic to neutral in pH. To prepare the soil for your bluebonnets, follow these steps:
- Clear the area: Remove any weeds, rocks, or debris from the planting site. It’s important to have a clean and clear area for optimal seed growth.
- Loosen the soil: Use a garden fork or a tiller to loosen the soil to a depth of about 6 to 8 inches. This allows the roots to penetrate easily and promotes proper drainage. Avoid over-tilling, as it can lead to soil compaction.
- Add organic matter: Incorporate organic matter such as compost or aged manure into the soil to improve its fertility and structure. This helps with moisture retention and nutrient availability for the bluebonnet plants.
- Test the pH: Bluebonnets prefer a slightly acidic to neutral pH range of 6.0 to 7.0. Use a soil testing kit to check the pH level of your soil. If the pH is too acidic or alkaline, you can make adjustments by adding amendments such as lime to raise the pH or sulfur to lower it.
- Level the soil: Smooth out the soil surface with a rake to create a uniform and even planting area. This will provide a consistent environment for the bluebonnet seeds to germinate and grow.
By properly preparing the soil, you create a conducive environment for the bluebonnets to establish their roots and grow vigorously. This will result in healthier plants with more abundant blooms.
Seed Preparation
Properly preparing the bluebonnet seeds before planting is essential for successful germination and seedling growth. Follow these steps to ensure that your seeds are ready for planting:
- Cold stratification: Bluebonnet seeds have a hard outer coat that can hinder germination. To improve germination rates, it’s recommended to subject the seeds to a process known as cold stratification. This mimics the natural winter conditions that the seeds would experience in their native habitat. Place the seeds in a moist paper towel and seal them in a plastic bag. Refrigerate the bag for four to six weeks, ensuring that the temperature remains between 35 to 45 degrees Fahrenheit (2 to 7 degrees Celsius).
- Scarification: After cold stratification, some gardeners prefer to scarify the seeds to further improve germination. Scarification involves breaking or scratching the hard coating of the seeds to promote water absorption. You can achieve this by gently rubbing the seeds with sandpaper or using a small knife to nick the surface. Be careful not to damage the inner embryo of the seed.
- Pre-soaking: Before planting the scarified seeds, consider pre-soaking them in water overnight. This helps to soften the seed coat even further and can enhance germination rates. Simply place the seeds in a container of water and let them soak overnight.
- Drying: After the pre-soaking, allow the seeds to dry slightly before planting. This will prevent them from sticking together during planting and will ensure proper air circulation around the seeds.
By following these seed preparation techniques, you’ll improve the germination rates of your bluebonnet seeds and promote healthy seedling growth. This extra effort will yield more robust and vibrant plants in your ornamental garden.
Planting Bluebonnet Seeds
Planting bluebonnet seeds requires careful consideration of timing and technique. Follow these steps to ensure successful establishment of your bluebonnet plants:
- Timing: Bluebonnet seeds are best planted in the fall or early winter, as they require a period of chilling before germination. The cooler temperatures and moisture during this season help break the seed dormancy and promote healthy growth. In warmer regions, you can also plant the seeds in early spring for a later bloom.
- Site preparation: Prepare the planting site by ensuring that the soil is loose, well-drained, and free of weeds. If needed, amend the soil with organic matter or improve drainage to provide optimal conditions for the seeds.
- Spacing: Bluebonnet seeds should be sown thinly and evenly across the planting area. Aim for a spacing of about 6 to 8 inches between seeds to allow for adequate air circulation and room for growth.
- Planting depth: Bluebonnet seeds should be planted at a depth of no more than ¼ to ½ inch. Gently press the seeds into the soil, but avoid burying them too deeply, as this may hinder germination.
- Watering: After planting, give the soil a thorough watering to ensure good seed-to-soil contact. Keep the soil consistently moist throughout the germination period. However, take care not to overwater, as this can lead to rot and other issues.
- Germination: Bluebonnet seeds typically take about two to three weeks to germinate. During this time, maintain consistent moisture and provide adequate sunlight for successful growth. Thin out any overcrowded seedlings to ensure proper spacing and airflow.
- Establishment: As the bluebonnet seedlings grow, continue to water them when the top inch of soil feels dry. Once they have established a stronger root system, reduce the frequency of watering and transition to deep, infrequent watering to encourage deeper root growth.
By carefully following these planting techniques, you’ll give your bluebonnet seeds the best chance of successful germination and establishment. Soon, your garden will be adorned with the vibrant and cheerful blooms of these beautiful native plants.
Watering and Maintenance
Proper watering and maintenance are essential for the vitality and longevity of your bluebonnet plants. Follow these guidelines to ensure their health and beauty:
- Watering: Bluebonnets are drought-tolerant once established, but they still require consistent moisture during their early growth stages. Water the plants regularly, especially during dry spells or prolonged periods without rainfall. Aim to provide about an inch of water per week, either through irrigation or rainfall. Be careful not to overwater, as bluebonnets are susceptible to root rot in waterlogged conditions.
- Mulching: Applying a layer of mulch around your bluebonnet plants can help conserve moisture, regulate soil temperature, and suppress weeds. Use organic mulch, such as wood chips or straw, and apply it in a layer about 2 to 3 inches deep. Leave a small gap around the base of the plants to prevent excess moisture and potential rot.
- Fertilization: Bluebonnets typically do not require additional fertilization if planted in well-amended soil. However, if your soil lacks nutrients, you can apply a slow-release, balanced fertilizer in early spring. Follow the manufacturer’s instructions for proper application rates, and avoid excessive fertilizer, as it can lead to excessive foliage growth and reduced blooms.
- Weed control: Keep the area around your bluebonnet plants free from weeds, as they can compete for nutrients and moisture. Regularly inspect the garden bed and gently remove any weeds by hand to avoid damaging the bluebonnet plants. Apply mulch to help suppress weed growth and maintain a clean and tidy garden appearance.
- Deadheading: To encourage prolonged blooming, consider deadheading the spent flowers of your bluebonnet plants. This involves removing the faded or wilted blooms from the plant. Deadheading prevents the plant from diverting energy towards seed production and redirects it to the growth of new flowers.
- Pest and disease control: Bluebonnets are generally resistant to pests and diseases. However, keep an eye out for common garden pests like aphids, snails, or slugs. If necessary, treat affected plants with organic pest control methods. Monitor your plants for any signs of diseases such as root rot or powdery mildew, and promptly take appropriate measures if detected.
- Monitoring and observation: Regularly monitor your bluebonnet plants for any signs of stress, nutrient deficiencies, or unusual growth patterns. Observe the overall health and appearance of the plants, and make adjustments to watering, fertilization, or pest control practices if needed.
By practicing proper watering and maintenance techniques, you’ll ensure the continued health and vigor of your bluebonnet plants, allowing them to thrive and add splendor to your ornamental garden.
Dealing with Pests and Diseases
While bluebonnets are generally resilient and less prone to pest and disease issues, it’s important to be aware of potential problems that may arise. Here are some common pests and diseases that can affect bluebonnet plants and how to deal with them:
- Aphids: These tiny insects feed on the sap of plants and can cause curling leaves and stunted growth. Use a strong blast of water to dislodge aphids from the foliage or introduce natural predators like ladybugs or lacewings to control their population.
- Snails and Slugs: These pests can munch on the leaves and flowers of bluebonnet plants, causing significant damage. Use physical barriers like copper tape or diatomaceous earth around the plants to deter snails and slugs. Handpicking them off the plants in the early morning or evening can also be effective.
- Root Rot: Bluebonnets are sensitive to waterlogged soil, which can lead to root rot. Ensure that the planting area has well-drained soil and avoid overwatering. If root rot is suspected, remove affected plants and improve drainage in the area.
- Powdery Mildew: This fungal disease can appear as a white powdery coating on the leaves of bluebonnet plants, causing leaf yellowing and distortion. Provide adequate air circulation around the plants by spacing them properly and avoiding overhead watering. Fungicidal sprays may be necessary in severe cases.
- Leaf Spot: Leaf spot diseases can result in dark spots or lesions on the leaves of bluebonnets. Ensure proper spacing between plants for good airflow and avoid overhead watering. Use a copper-based fungicide if leaf spot becomes problematic.
- Deer and Rabbits: Bluebonnets may be enticing to deer and rabbits, who may graze on the foliage and flowers. Protect your bluebonnet plants by using physical barriers like fences or applying deterrent sprays with a strong odor.
Regular inspection and monitoring of your bluebonnet plants are crucial in detecting and addressing any pest or disease issues early on. By implementing appropriate measures and practicing good garden hygiene, you can effectively manage these challenges and maintain the health and beauty of your bluebonnet plants.
When and How to Harvest Bluebonnet Seeds
Harvesting bluebonnet seeds allows you to collect and save seeds for future planting or sharing with fellow gardeners. Here’s a guide on when and how to harvest bluebonnet seeds:
Timing: Wait until the bluebonnet flowers have completely faded and the seed pods have formed. This typically occurs in late spring or early summer, around May to June, depending on your region. The seed pods will turn brown and dry out as they mature.
Seed Pod Preparation: Once the seed pods are mature, it’s time to harvest the seeds. Gently remove the seed pods from the plant using pruners or scissors. Place the seed pods in a paper bag or a shallow container to dry further.
Drying: Allow the seed pods to dry in a well-ventilated area for a couple of weeks. Ensure that the area is free from humidity and moisture to prevent mold or rot. Once the seed pods are completely dry, they will easily split open to release the seeds.
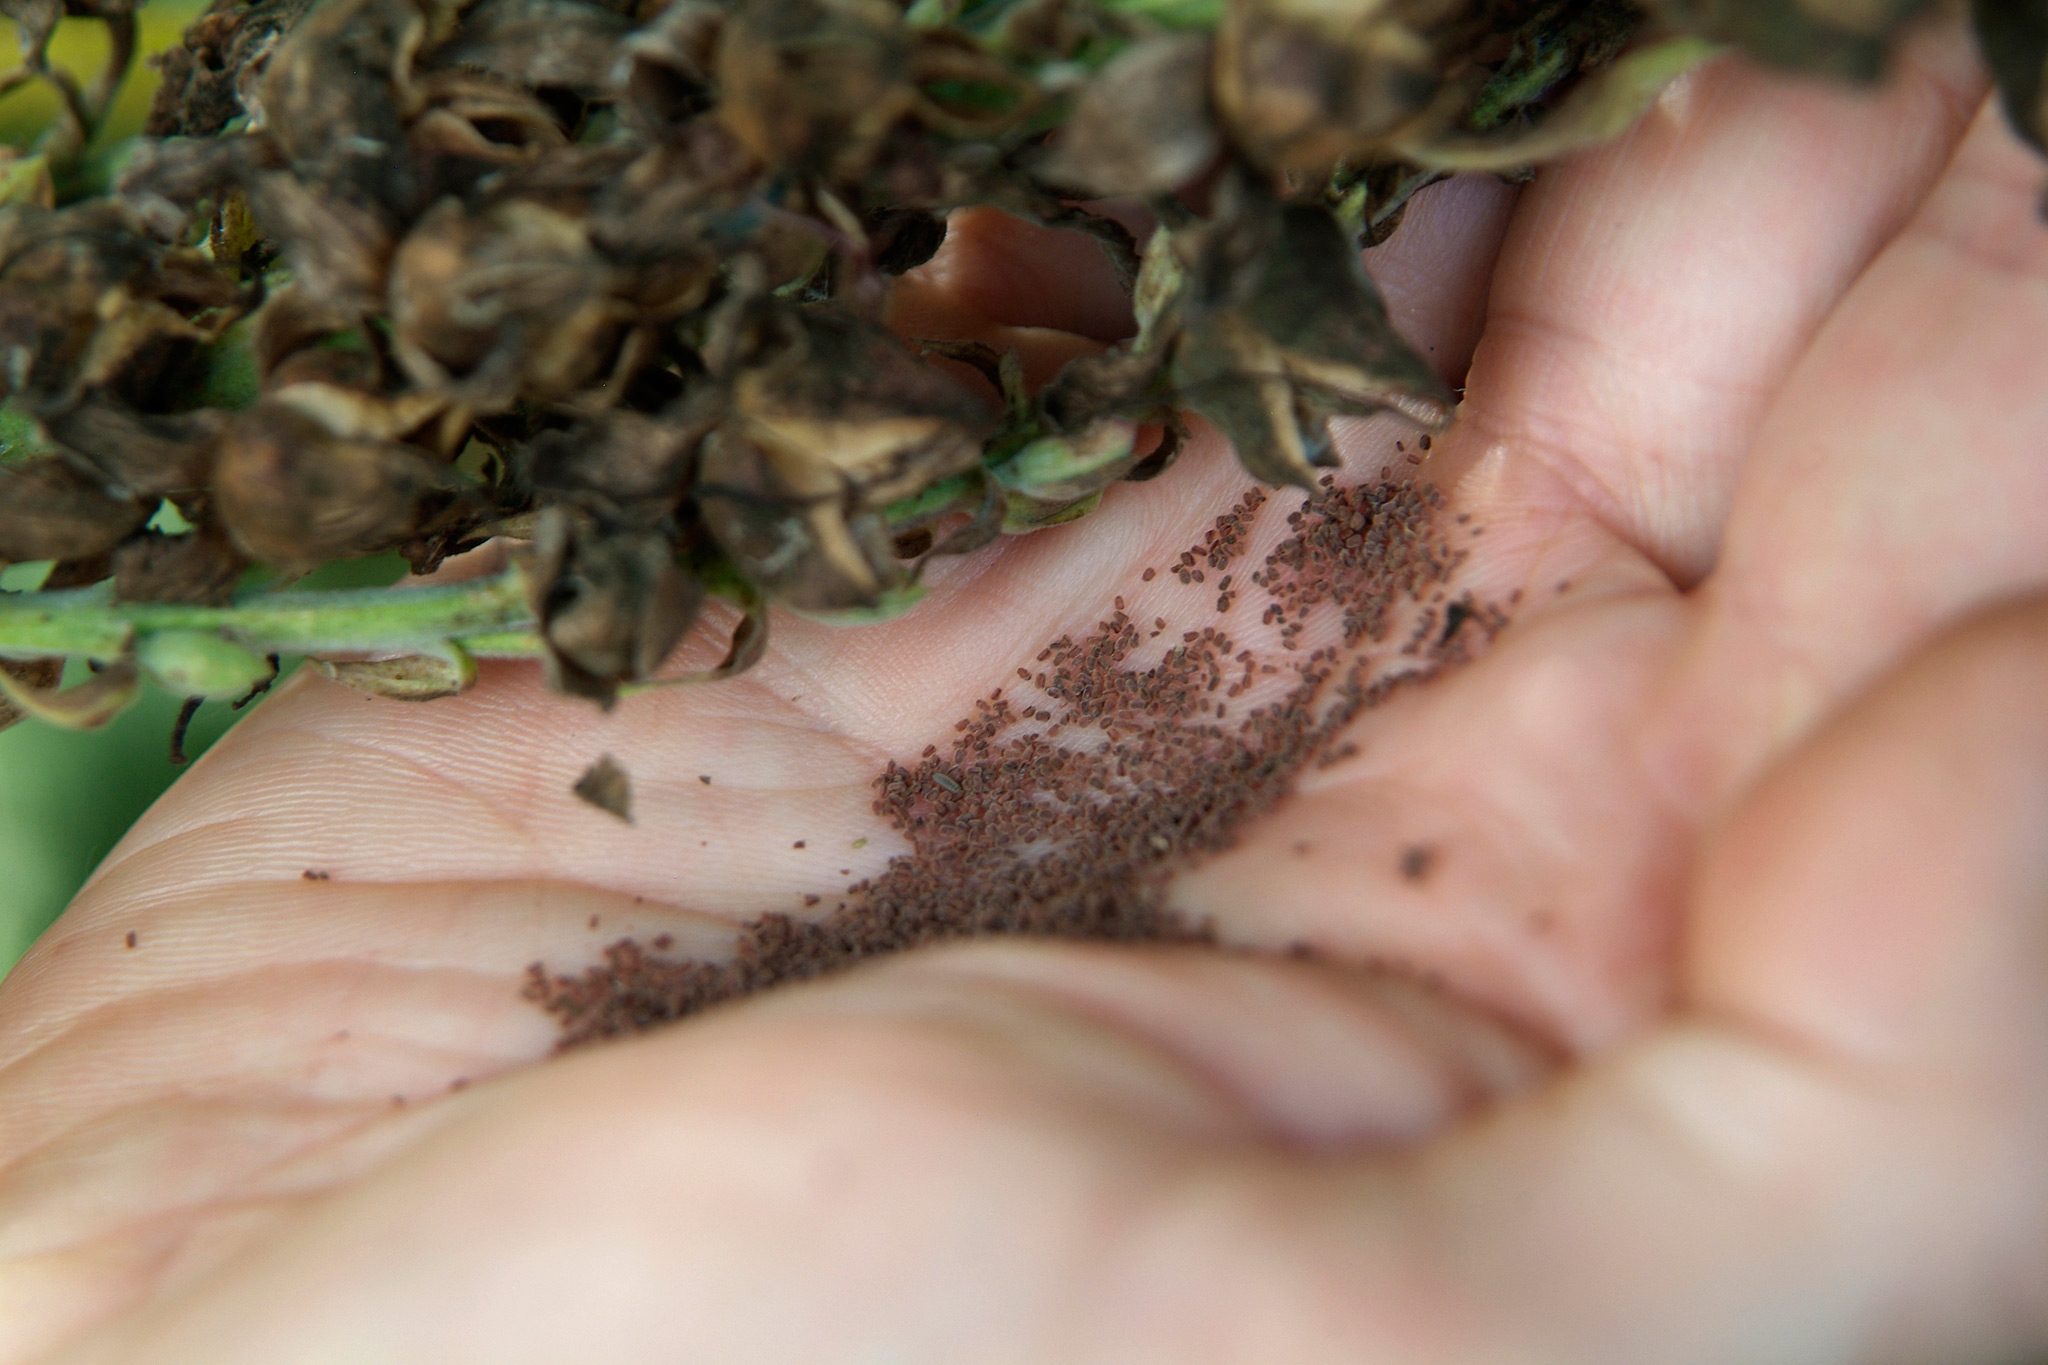
Seed Extraction: To extract the seeds, gently open the dried seed pods by hand. The seeds are small, dark, and resemble beans. Collect the seeds in a clean container, discarding any debris or chaff.
Storage: Store the harvested seeds in an airtight container or a sealed envelope in a cool, dry, and dark location until you are ready to plant them. Be sure to label the container with the date and variety of bluebonnet seeds for easy reference.
Sharing and Planting: Bluebonnet seeds can be shared with other gardening enthusiasts or saved for future planting. To plant the harvested seeds, follow the same planting guidelines as mentioned earlier. Remember to stratify the seeds and scarify if necessary to improve germination rates.
Harvesting bluebonnet seeds allows you to continue the cycle of growth, and it’s a rewarding way to preserve and share these beautiful native plants with others. Enjoy the process of collecting and storing bluebonnet seeds, knowing that you’re playing a part in their conservation and reproduction.
Conclusion
Incorporating bluebonnets into your ornamental garden can bring a touch of natural beauty and elegance to your outdoor space. By following the steps outlined in this comprehensive guide, you can successfully plant, grow, and care for these enchanting flowers from seed to bloom.
Choosing the right location, preparing the soil, and properly sowing the seeds are fundamental steps in ensuring the healthy establishment of bluebonnet plants. Watering and maintenance practices, including proper watering techniques, mulching, and pest control, will contribute to their long-term health and vitality.
Harvesting bluebonnet seeds not only allows you to save and share their beauty with others, but also contributes to their preservation and propagation for future generations to enjoy. It’s a rewarding process that adds a sense of accomplishment to your gardening journey.
Whether you’re a seasoned gardener or a novice enthusiast, bluebonnets offer a delightful and colorful addition to any ornamental garden. Through patience, care, and a touch of creativity, you can create a captivating display of these beloved plants, enhancing the overall aesthetic and charm of your outdoor space.
So, roll up your sleeves, gather your gardening tools, and let the magic of bluebonnets transform your garden into a vibrant haven of natural beauty.